
Get your quilts out and cozy up with some tips for creating quilt patterns on your grids!

Quilts.
Before my life was consumed with creating MM layouts, sewing, and quilting were some of my other favorite pastimes. Many of the layouts I have complete over the years have been based on any number of patterns I’ve seen first in a quilt.
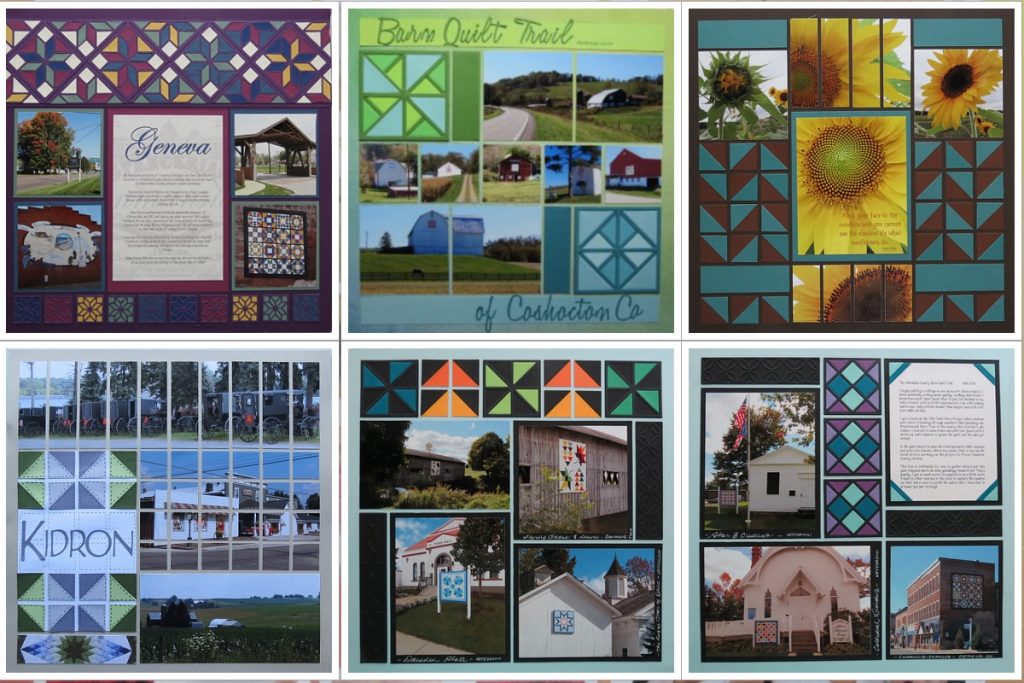
Living in close proximity to the Amish Communities in Ohio has meant I’ve had plenty of inspiration. But my sewing pile will testify, I’m a bit slow in completing some of those quilts I’ve begun. Doing a paper quilt however, is far simpler. It may not be as warm and cozy on a cool fall evening, but the memories it contains surely are.
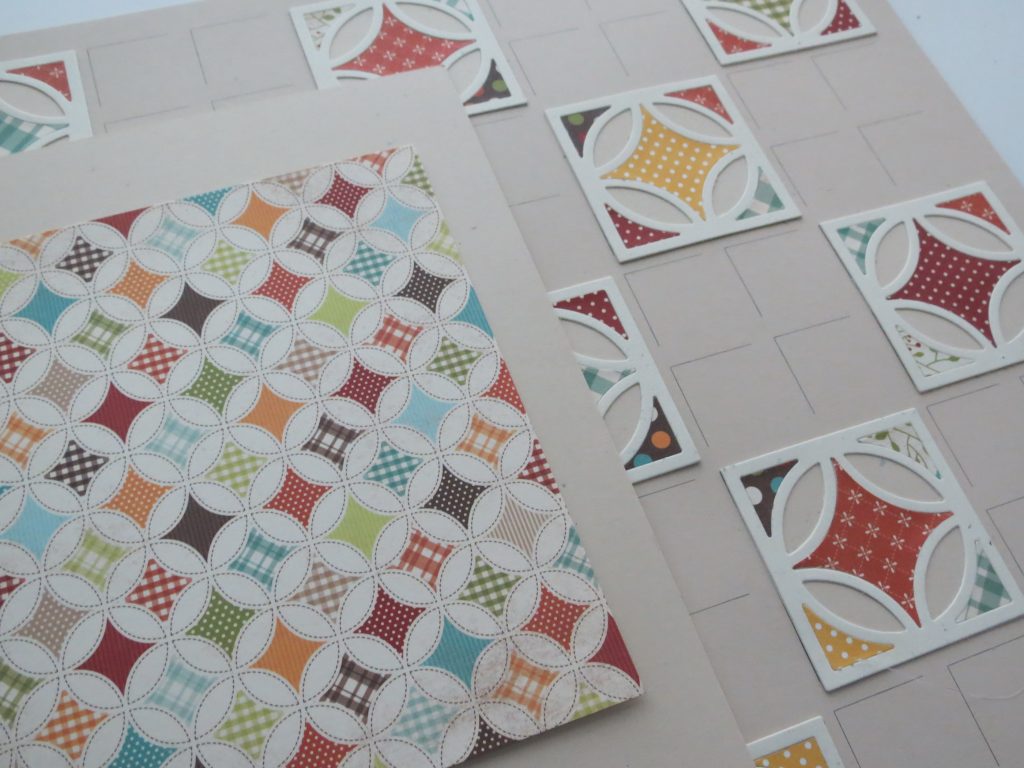
This week, let’s take a look at a few ways to create that paper quilt, from simple to a bit more complex. The grid is an excellent foundation with which to begin. The fall season and all the various seasonal pattern papers out there give you many choices. I prefer to work on a smaller scale for these layouts, a 6×6 or 6×8 pad of patterned papers will give you many choices. Many companies keep similar color choices from year to year and that extends the use of each pad of paper. The reduced scale of the pattern reads nicely in our 1” squares.
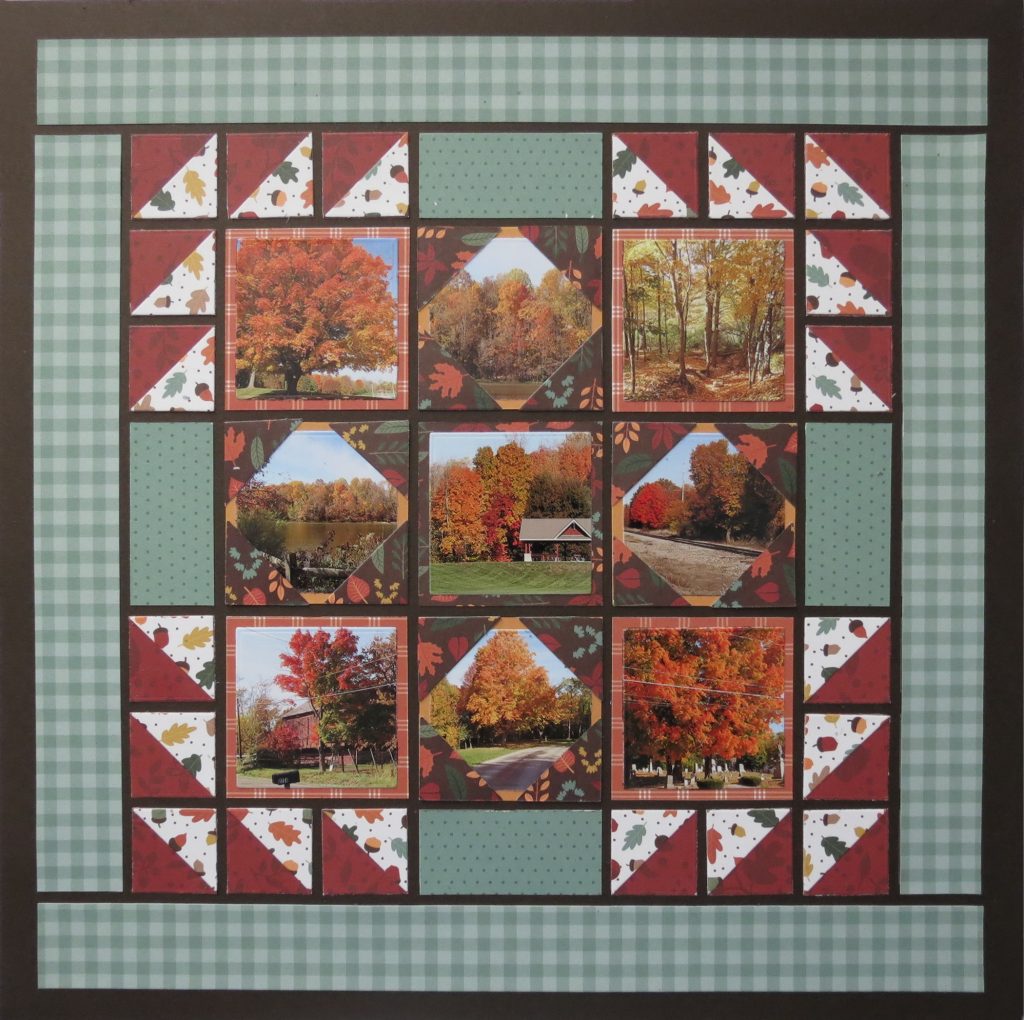
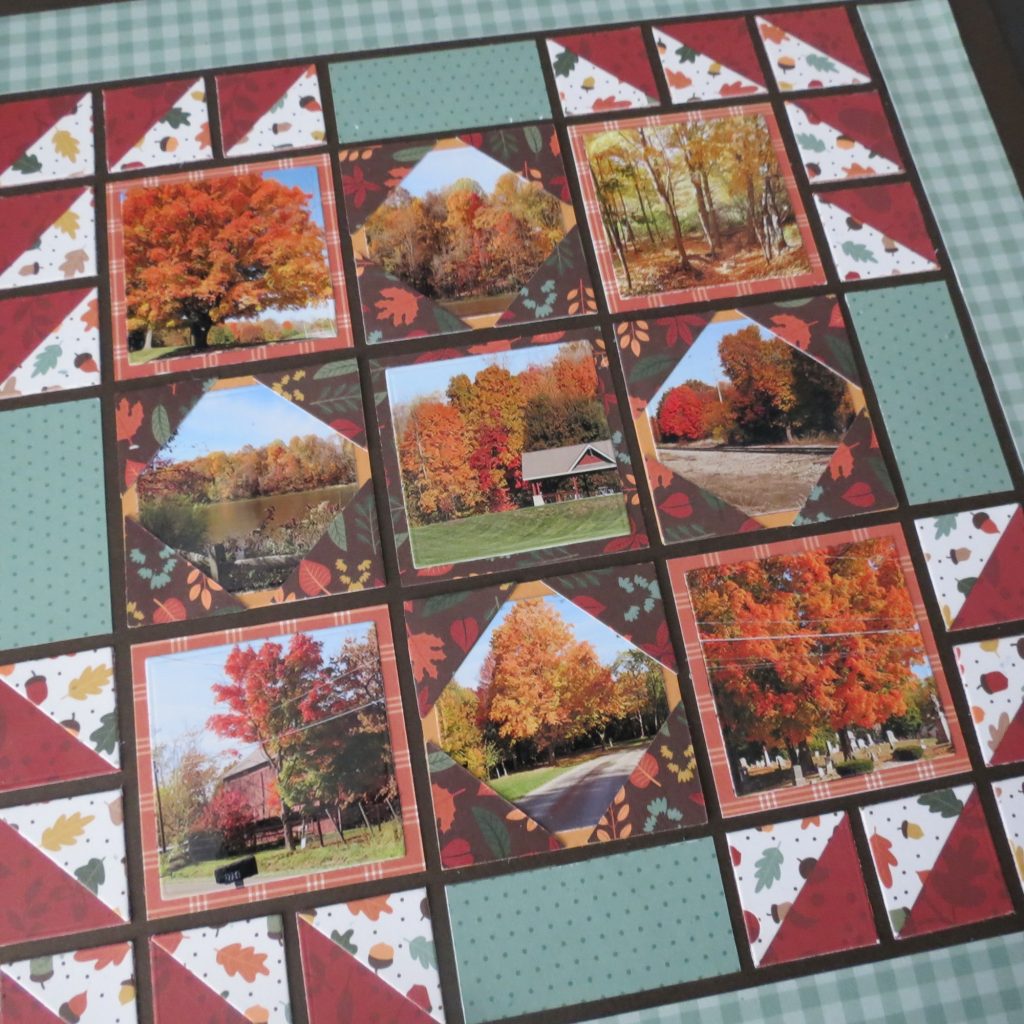
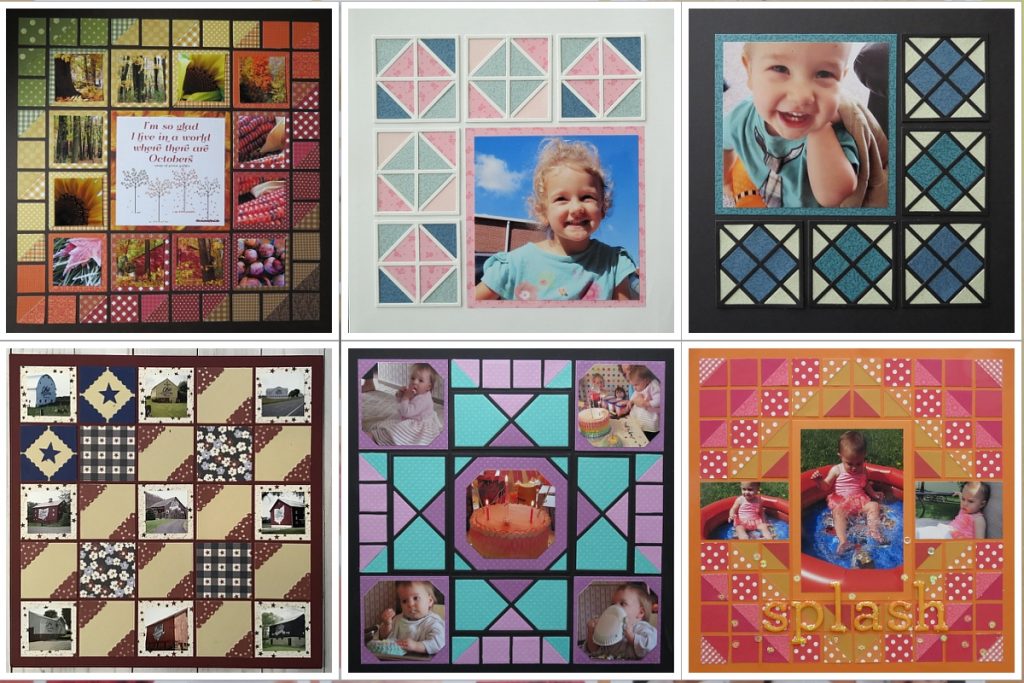
QUILT ONE
Several of our dies lend well to cutting the pieces we need. This first piece we’ll keep it simple. The Square Dies of Die Set A, the 2.125” grid die, the Set A Layering dies and the Jumbo Corner Die. The patterned paper is from PhotoPlay’s Autumn Orchard and my Mosaic Moments Grid Paper is Pumpkin.
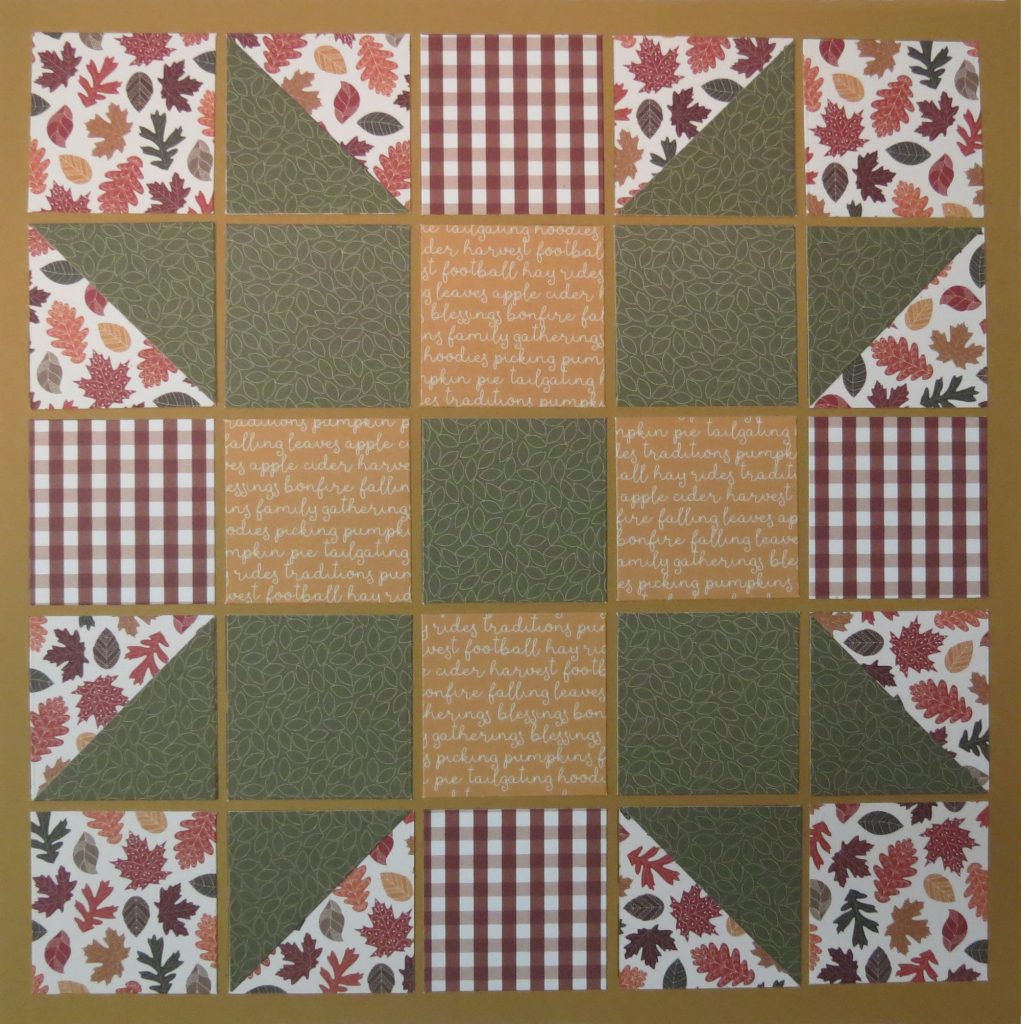
I printed my photos 6 pictures on 4×6 photo paper for 2” size. I then used the AL Layering Die Set to cut them to size to mount on the base tile.
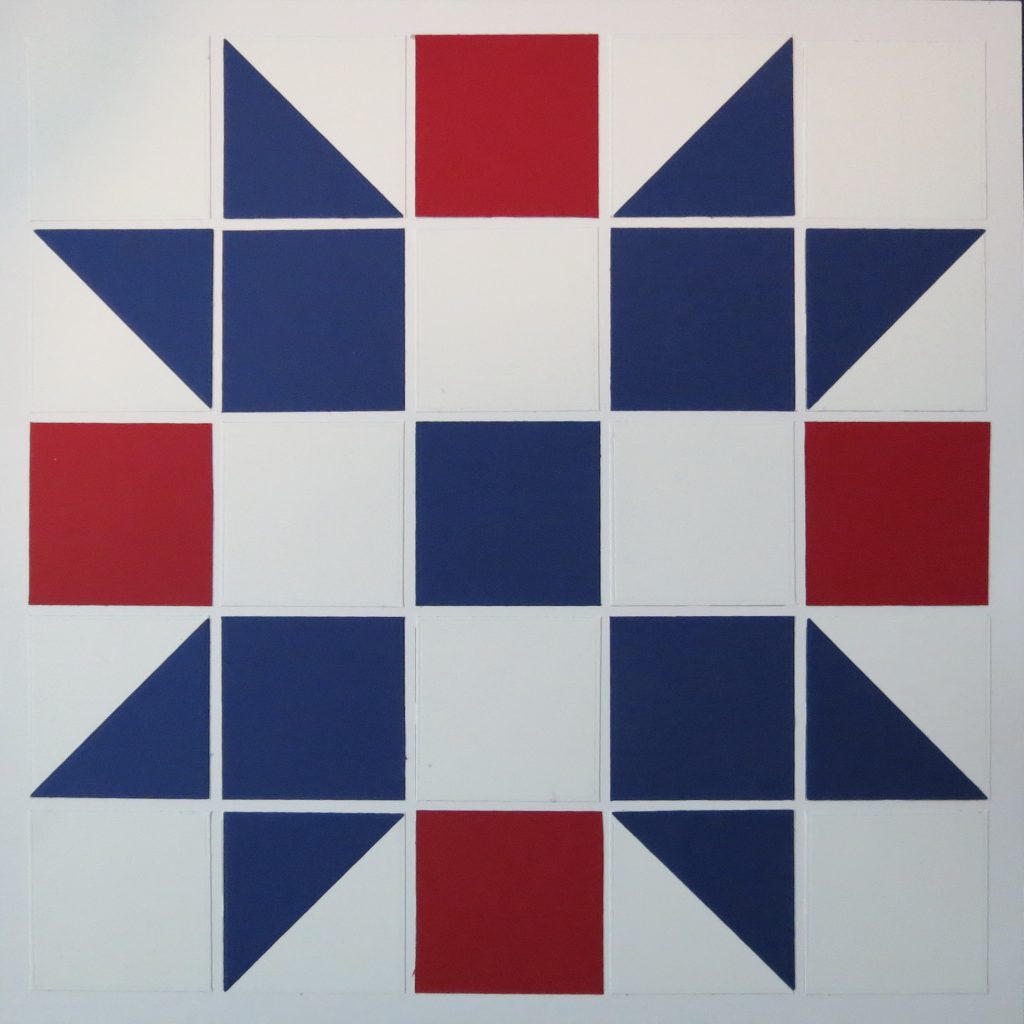
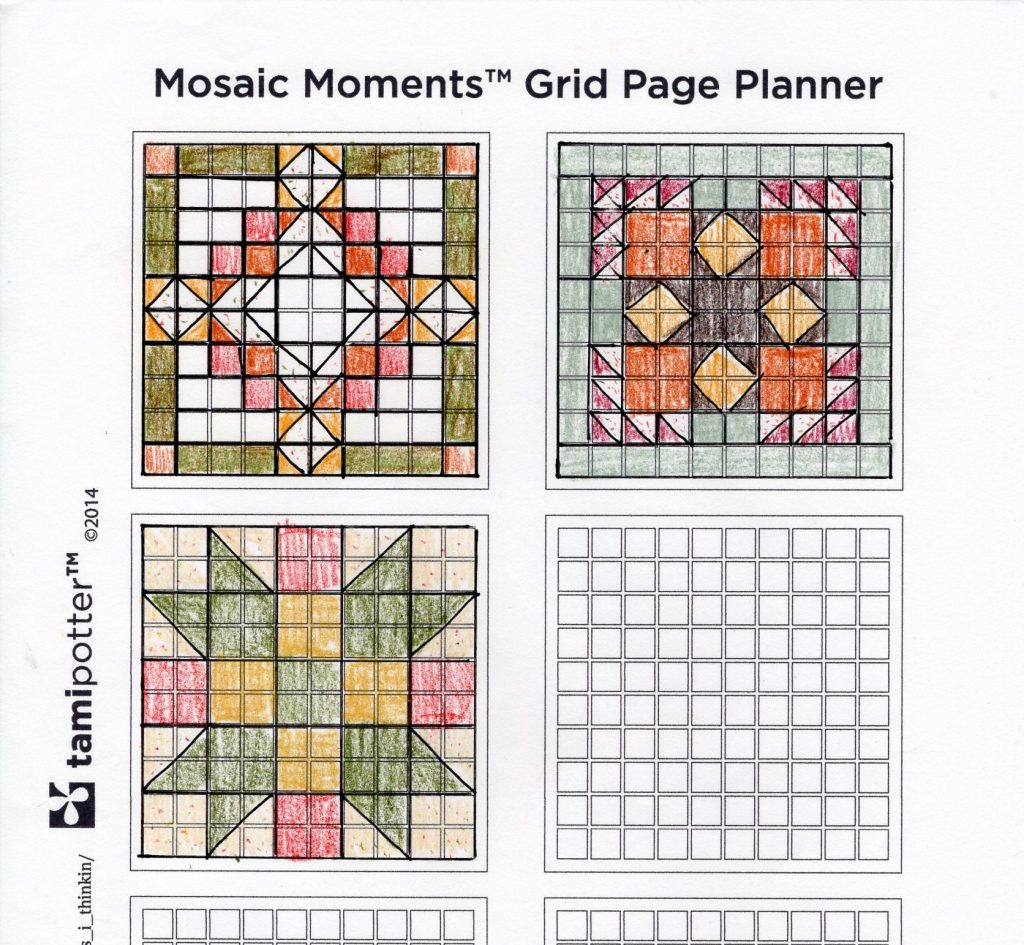
THE QUILT PATTERN
Tip: use the six-up Pattern Planner.
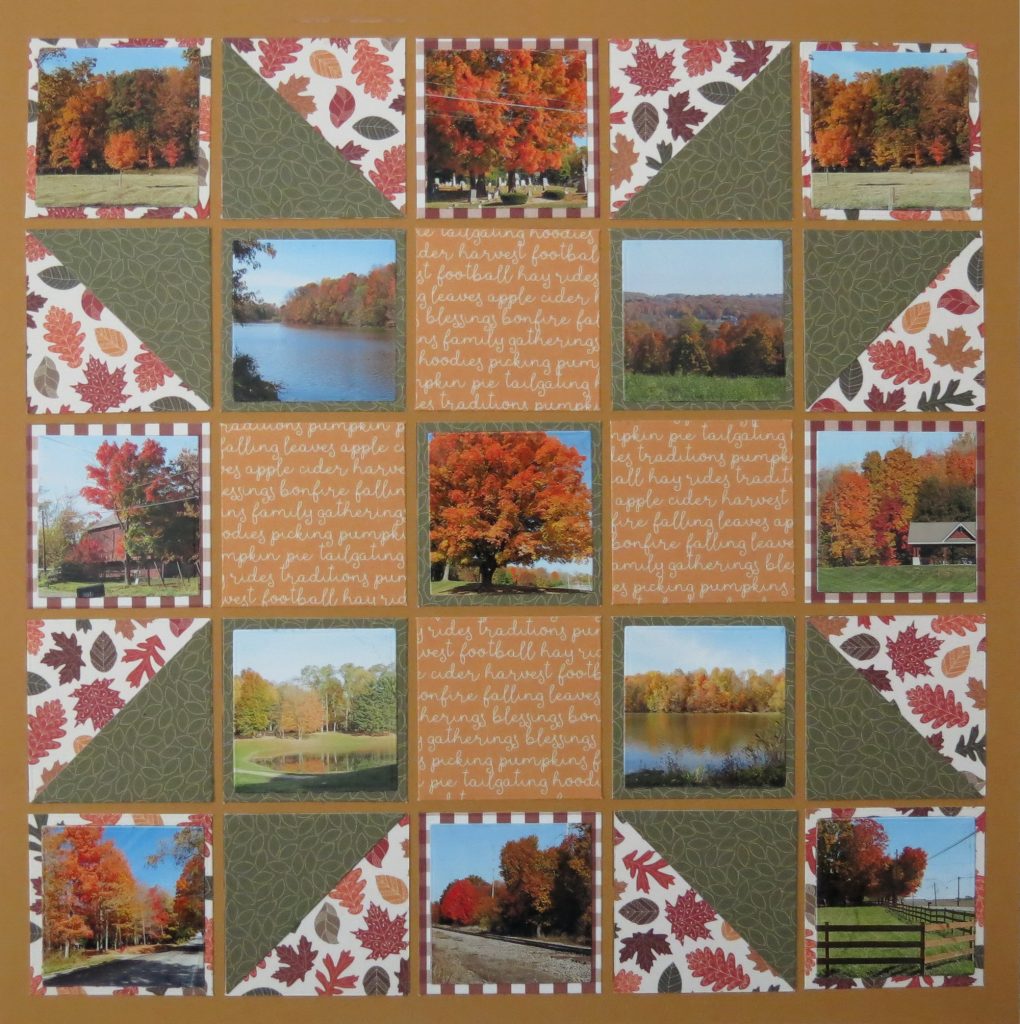
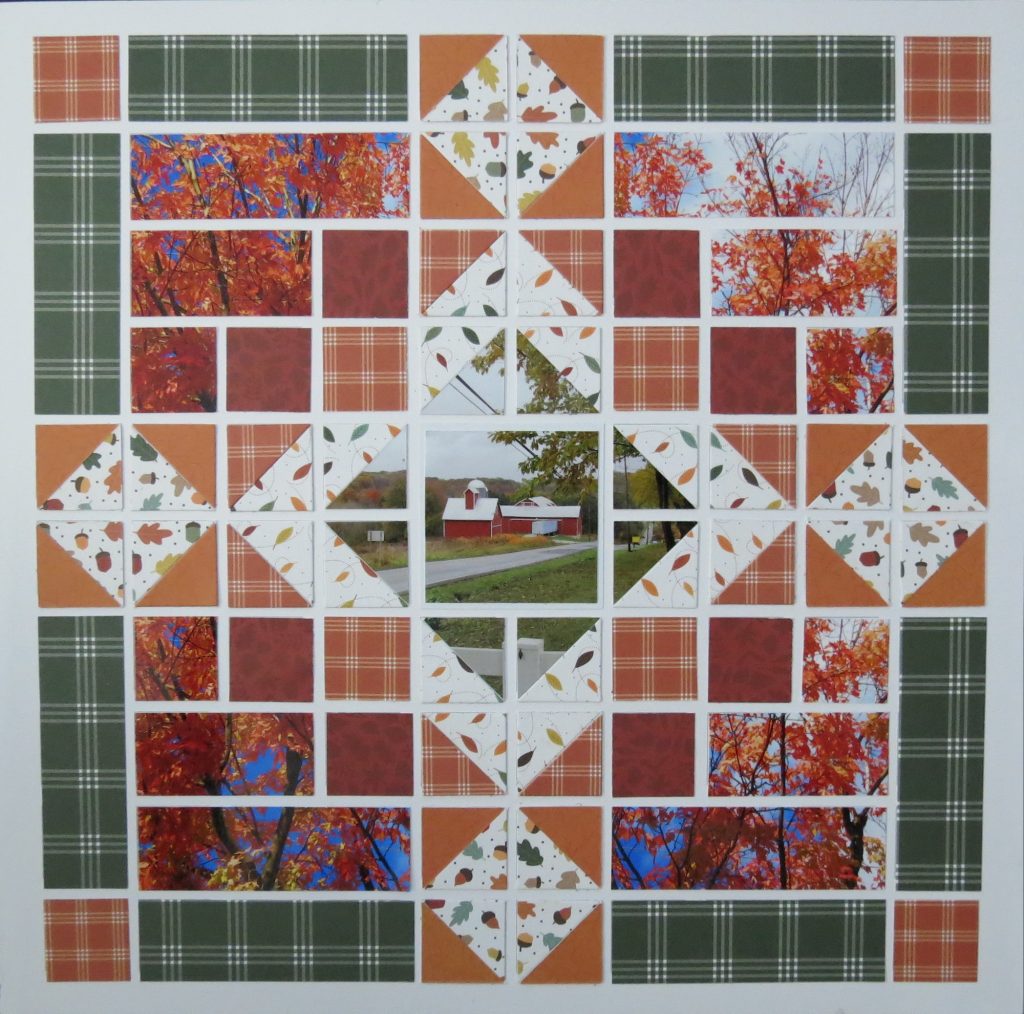
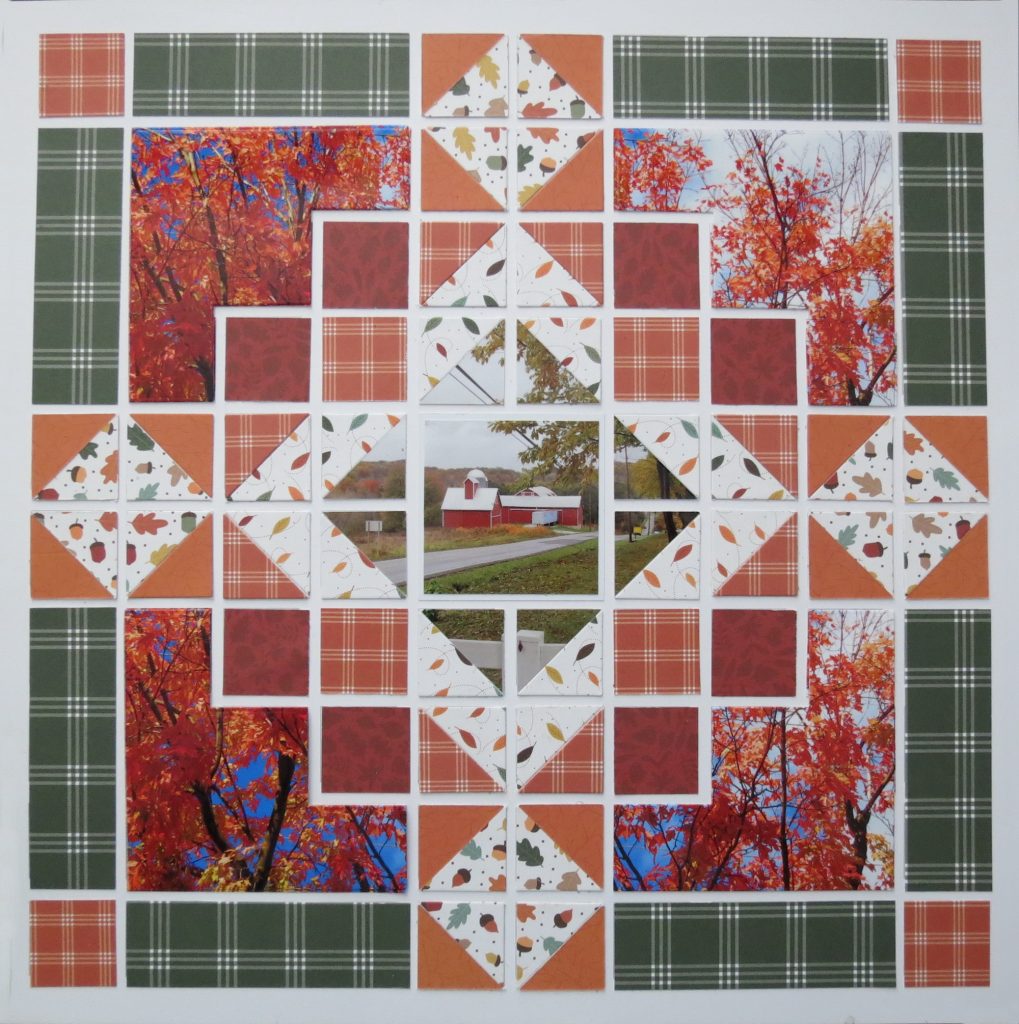
QUILT TWO
For the second layout this quilt inspired me.
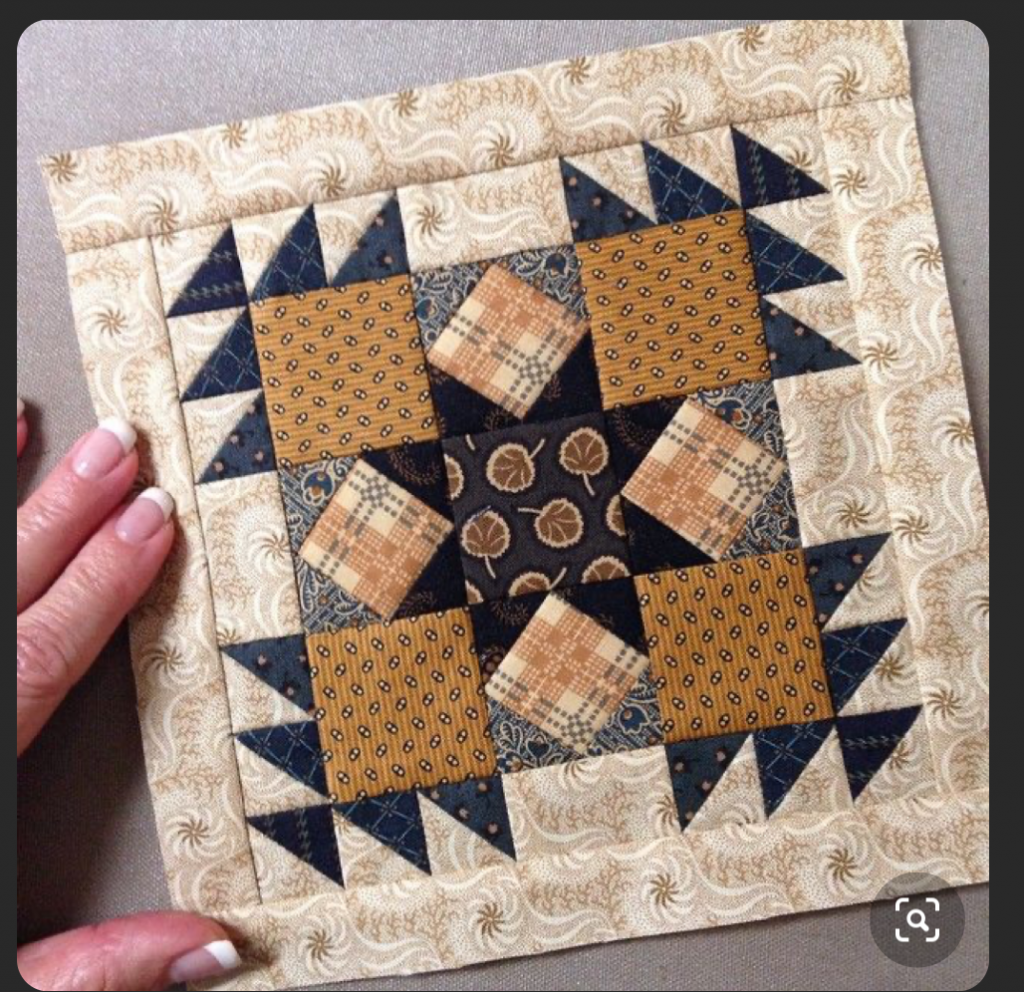
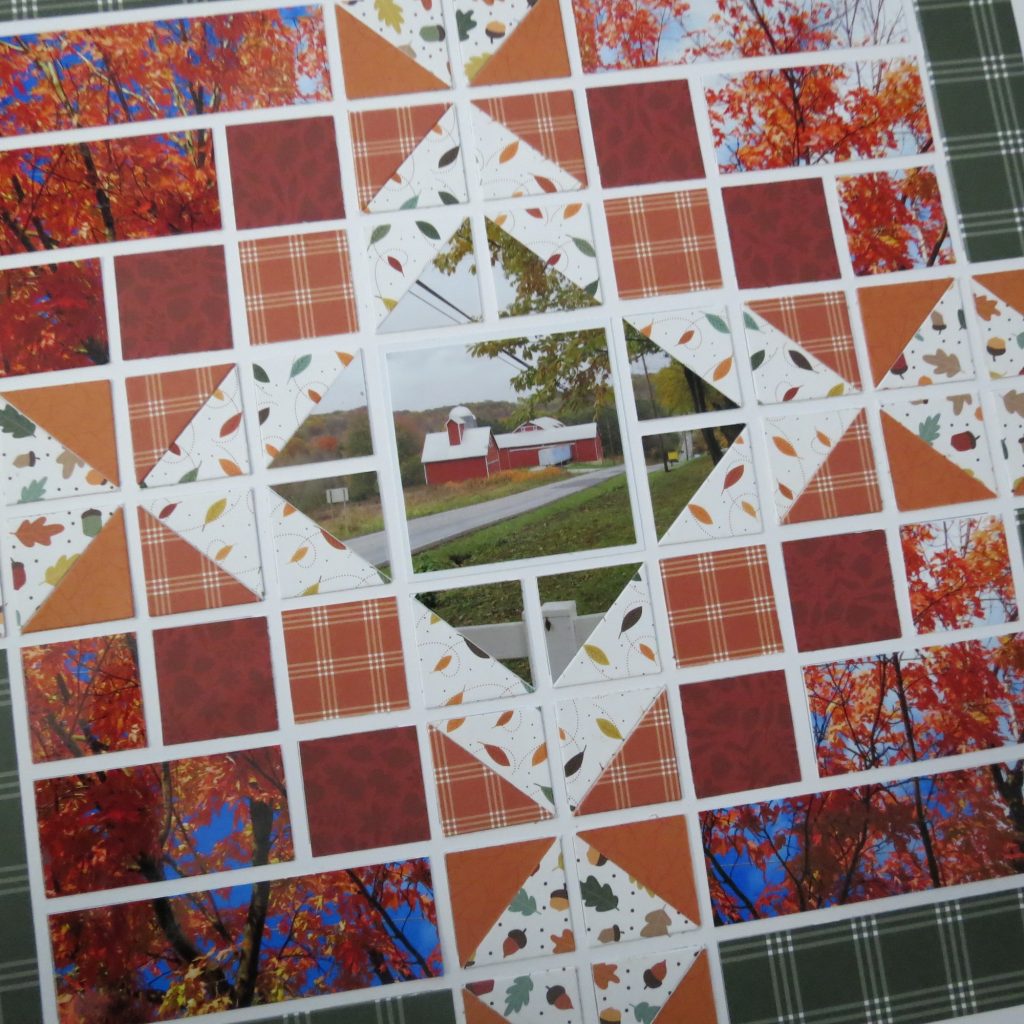
I’m using a quilt pattern that allows me to use the Corners Die (12) for a sawtooth border framing my center section that is a traditional 9-patch, I finish it off with a sashing of 1×10 and 1×8 strips border.
The patterned papers are from Echo Park’s Happy Fall Collection, a combinations of papers from the 6×6 pack and 12×12 sheets. My Mosaic Moments Grid Paper is Cocoa.
I deviated from the pattern color placement as it looked a bit off with my photos. I have added photo corners to four of the center photos. Each of these photos have a cardstock base in orange, as the photos are cut to be layered.
TIP: The sawtooth border is composed of 1” squares with the photo corner tiles laid on top. Time saver and helps to line up your pieces correctly.
TIP: Just like real quilts a combination of colors and patterns that are light, medium and dark are necessary for a good quilt.
NOTE: One of the nice things is that nothing pattern-wise needs to be matched. As with fabric, it will be any which way when assembled.
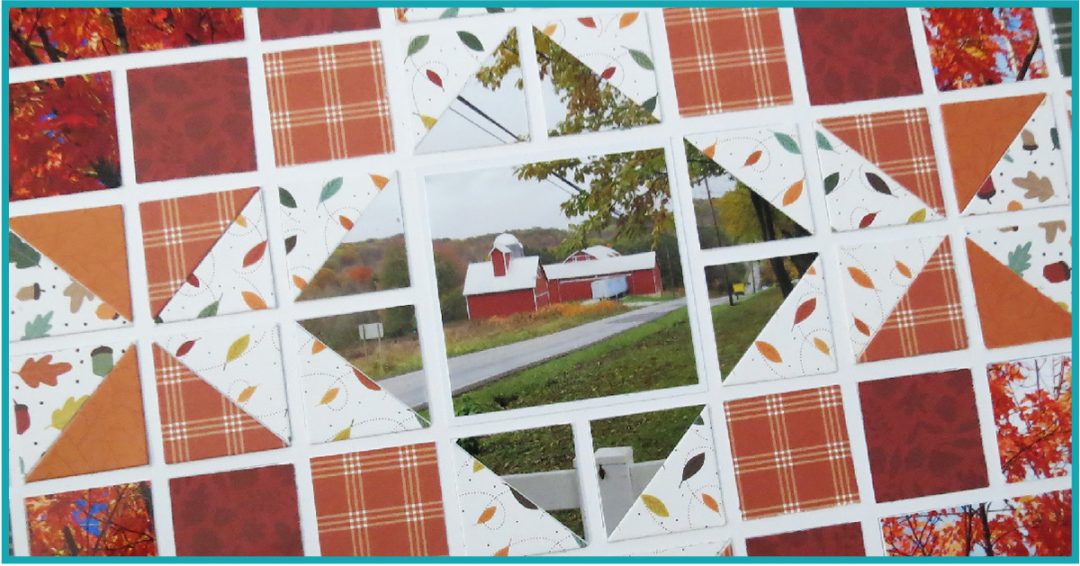
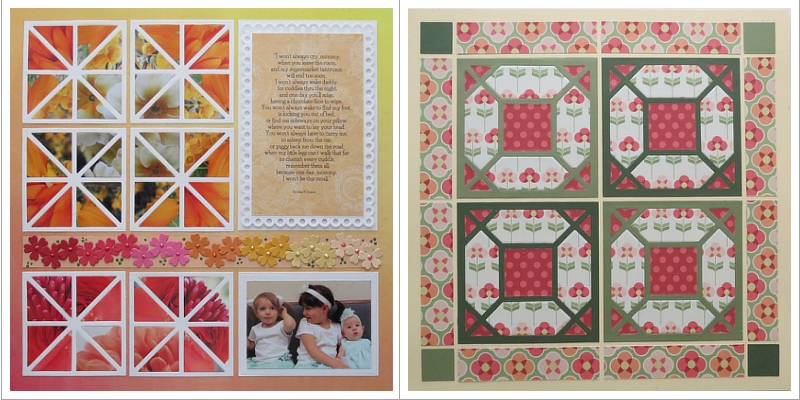
QUILT THREE
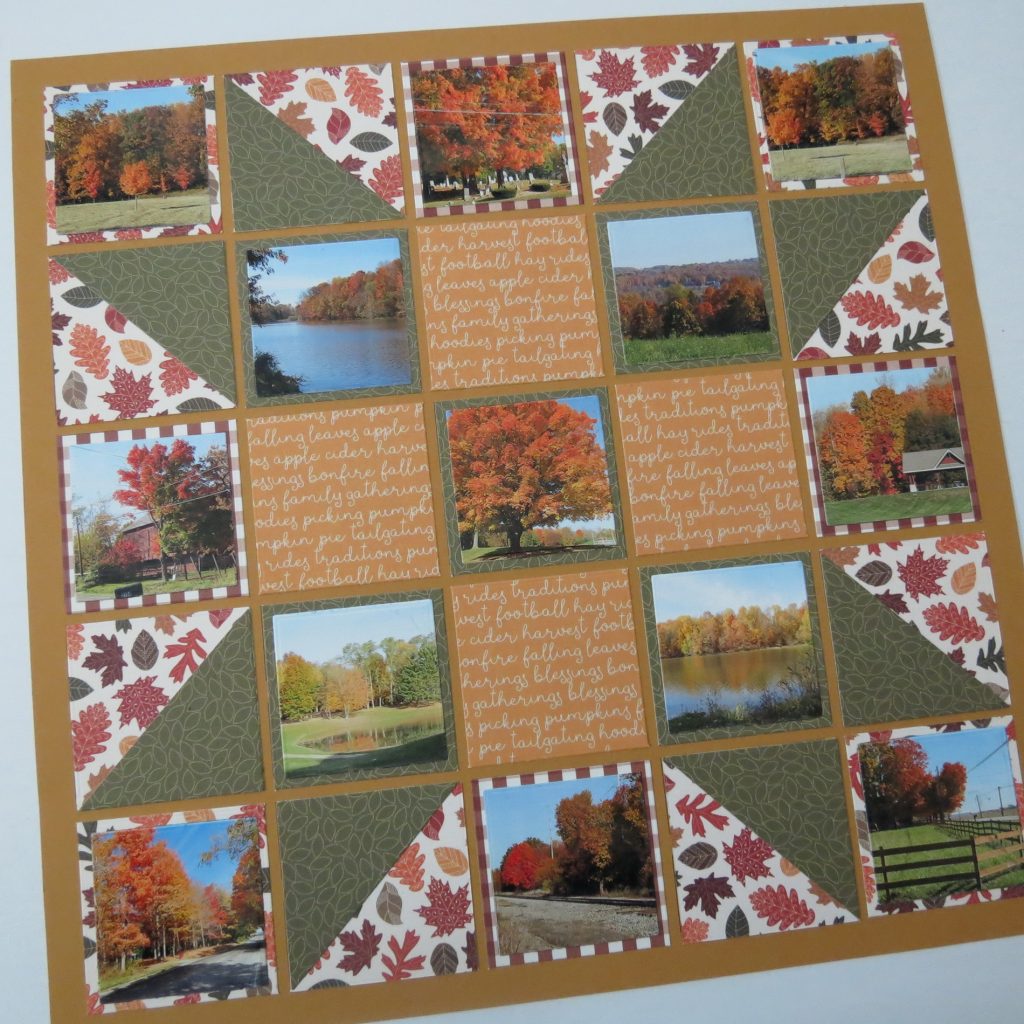
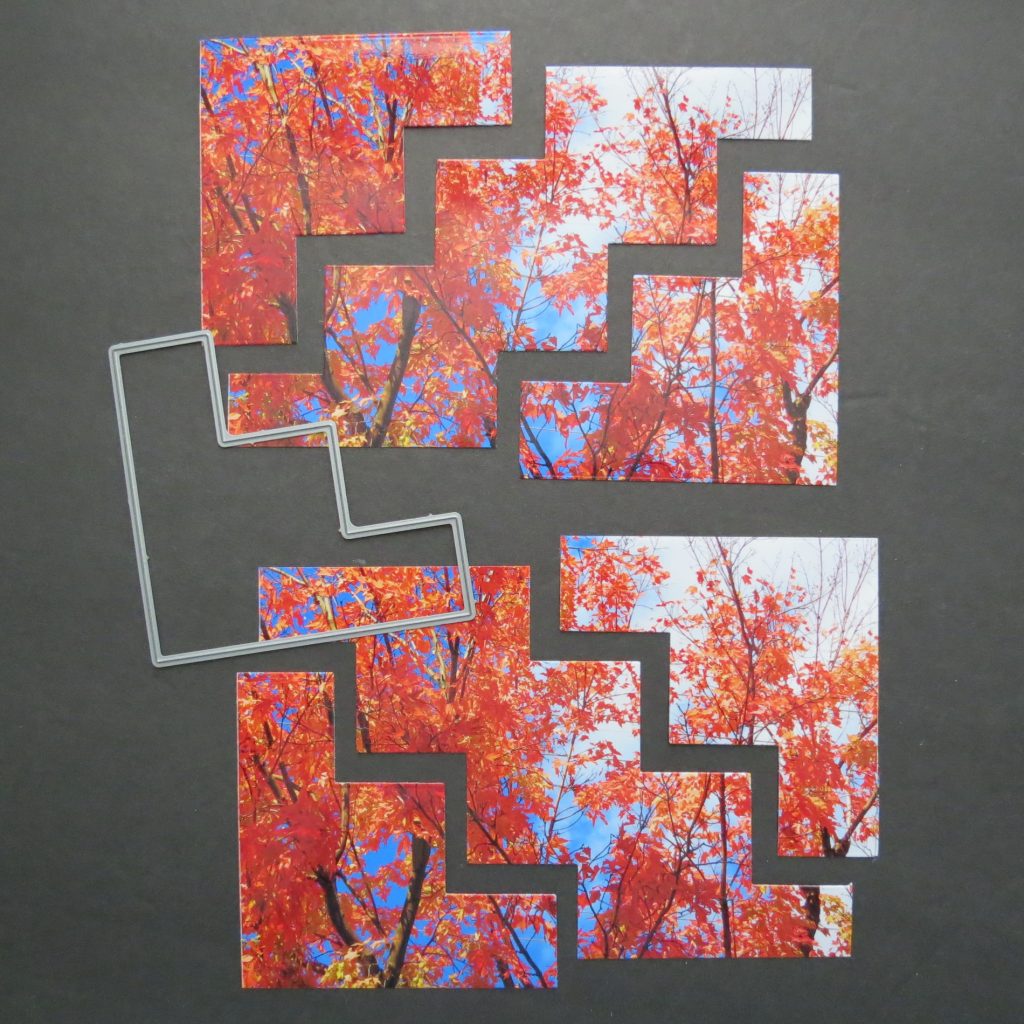
I’ve also done a strip style pattern, just like a quilt but it could also be accomplished by using the Step Die. I’ll show it both ways.
These patterned papers are also from Echo Park’s Happy Fall Collection. This time I chose Mosaic Moments White Grid Paper to build my layout.
I printed and cut two photos of the same leaf/tree 4×6 to be able get all the pieces I need to fill the corner sections. I tacked the photo to keep it secure on the grid as I hand-cut the strips I needed. You can get the top left and bottom right pieces from one and then from the second you get the top right and the bottom left to complete the portions you need.
TIP: Save the leftovers to use as fillers on another layout.
To use the Step Die you will still need two photos and cut from each the same way as above, only you will have one tile instead of strips to complete the page.
My center square is fussy cut. I printed my photo 4”x4” square and ran adhesive around the outside edges. Then cutting in 1” strips on the outside edges, sides, top and bottom, leaving the center two inch square uncut. Lift it from the center lay aside for now. (I will mount it on a 2.125” white square to place on the grid.)
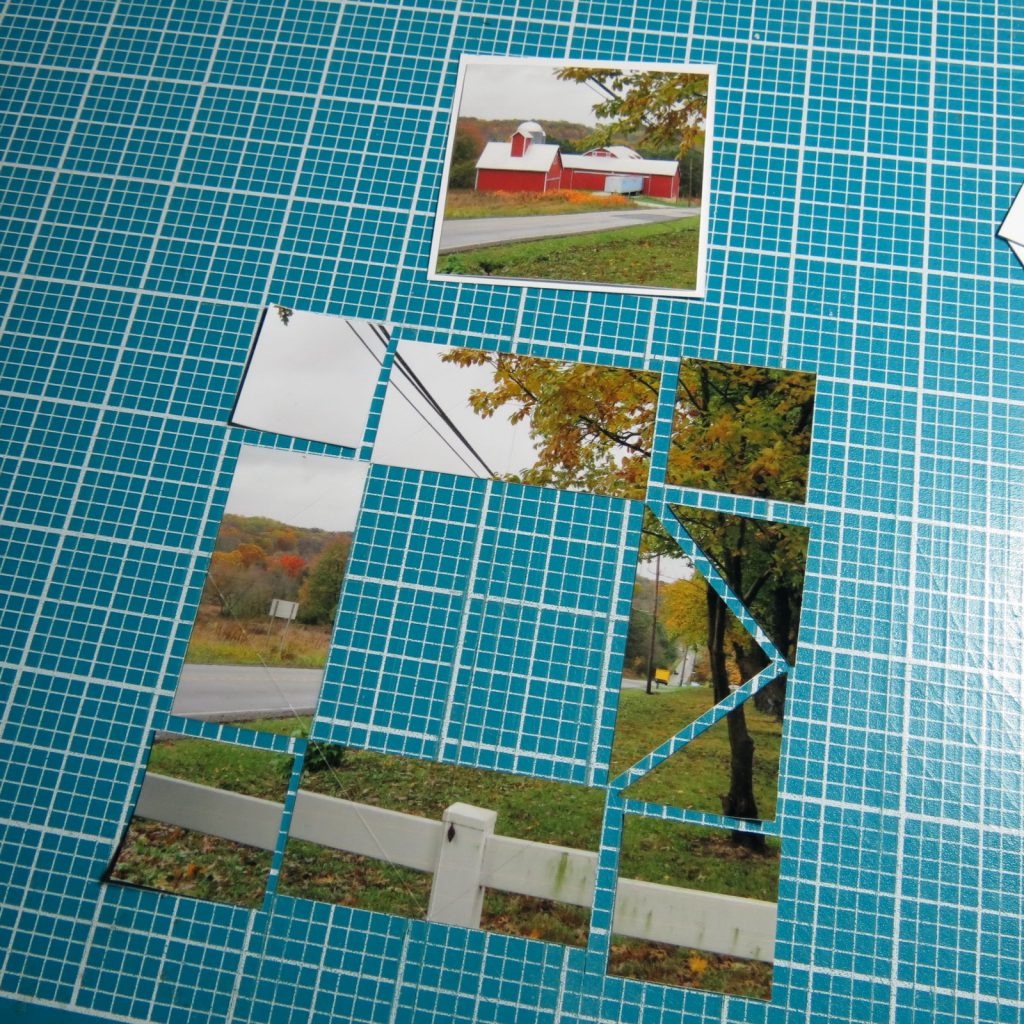
Cut the remaining pieces into 1” squares, leaving all pieces on the grid without moving them. Then remove the corners, you won’t need them. Next use your ruler and X-Acto knife to cut a diagonally and get your triangles. Attach to squares of the pattern paper for ease.
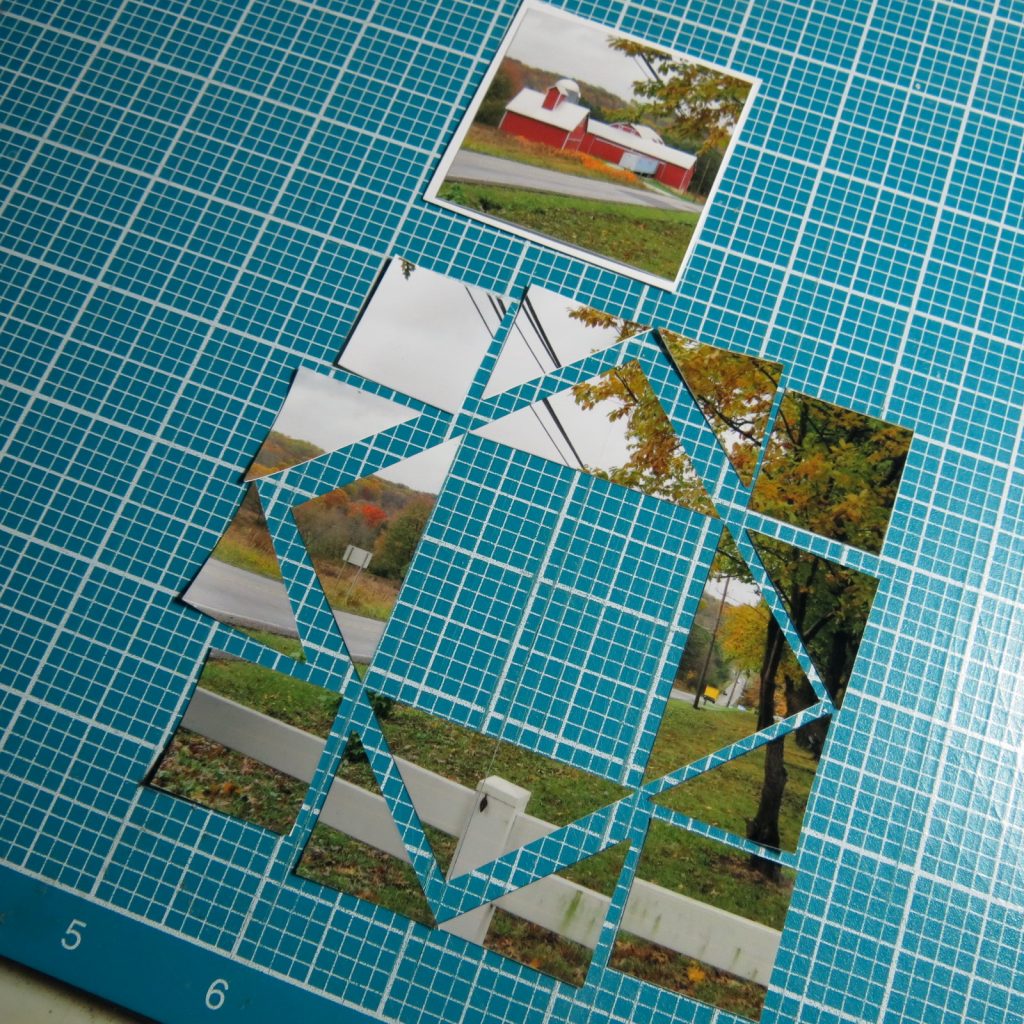
TIP: If you place your ruler on the top center pair of squares and diagonal to the right (or left) center squares, you will cut two triangles at a time, continue until all eight squares are cut into triangles.
Working on the Grid the possibilities are almost endless for creating appealing quilt patterns to display your photos. Whether it’s one special photo or many, all that marvelous color you find in the fall can be enjoyed year-round!
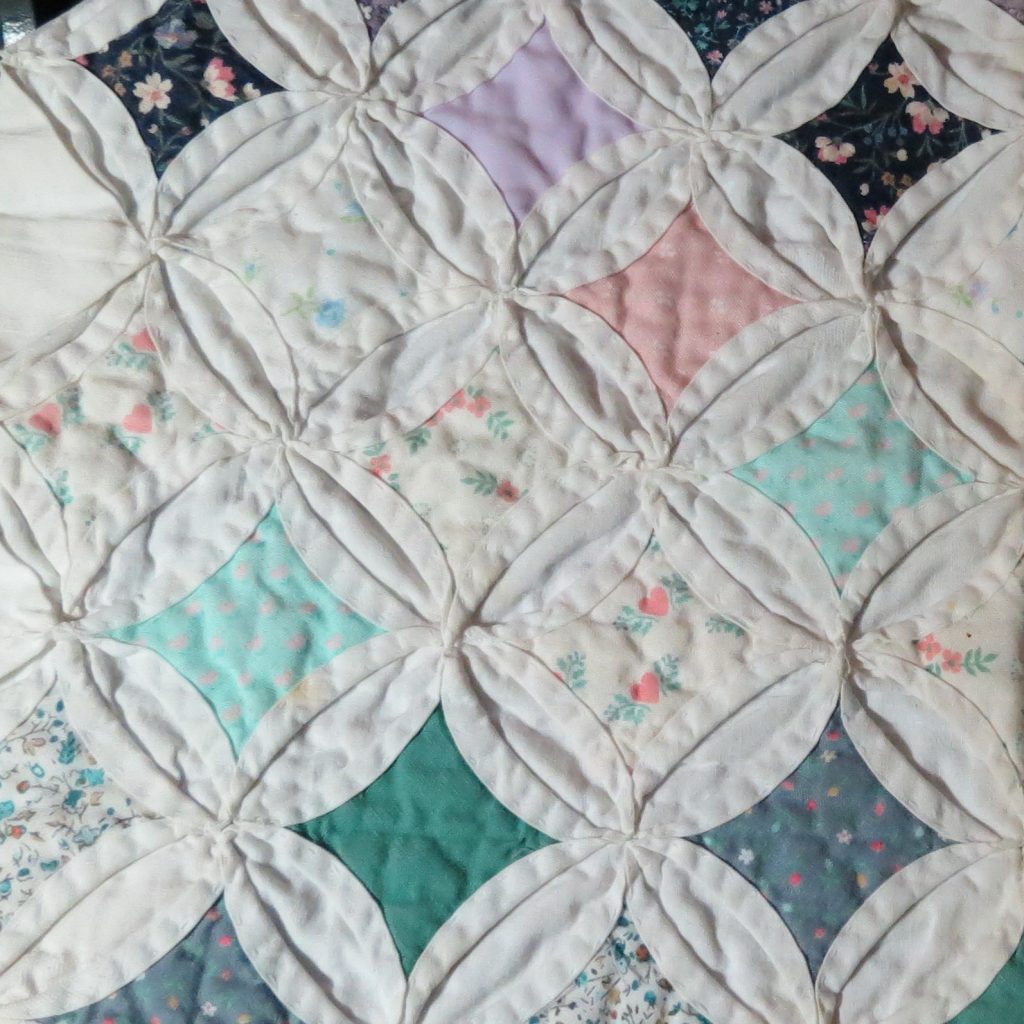
What inspires you for trying a Quilt pattern on the grid? For me, one thing was the bib portion of an apron I made using the Cathedral Square pattern, and later, seeing that same pattern in fall patterned paper!
Here’s some more quilt pattern Inspiration from our blog for other quilt ideas:
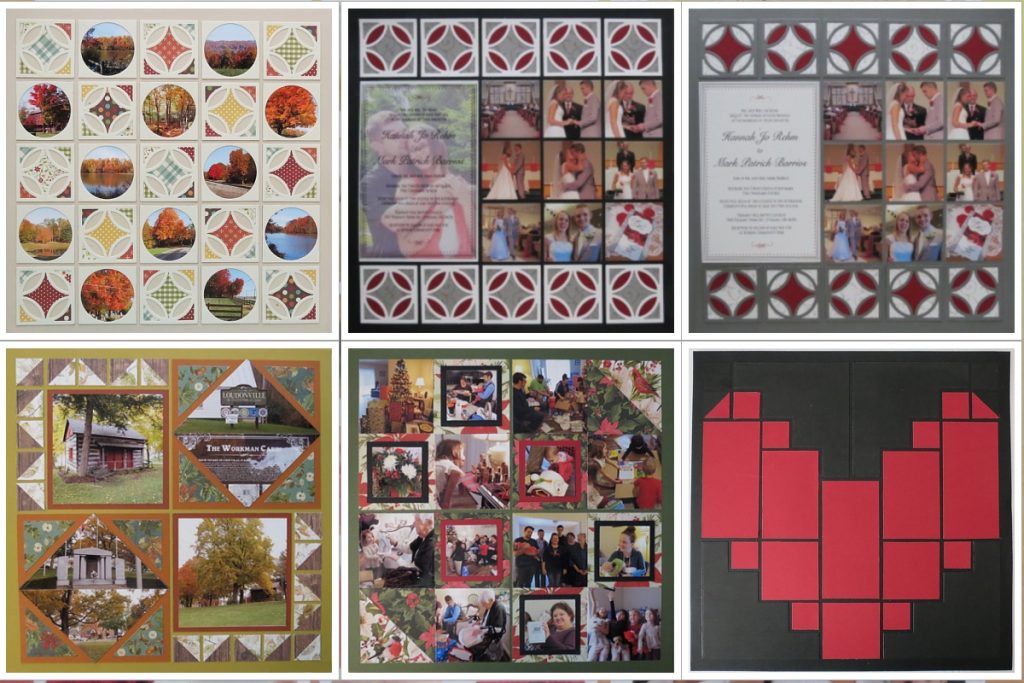
Steps to get out of the box-heart
Enjoy!
Andrea Fisher