#1 - Get Started with Kits
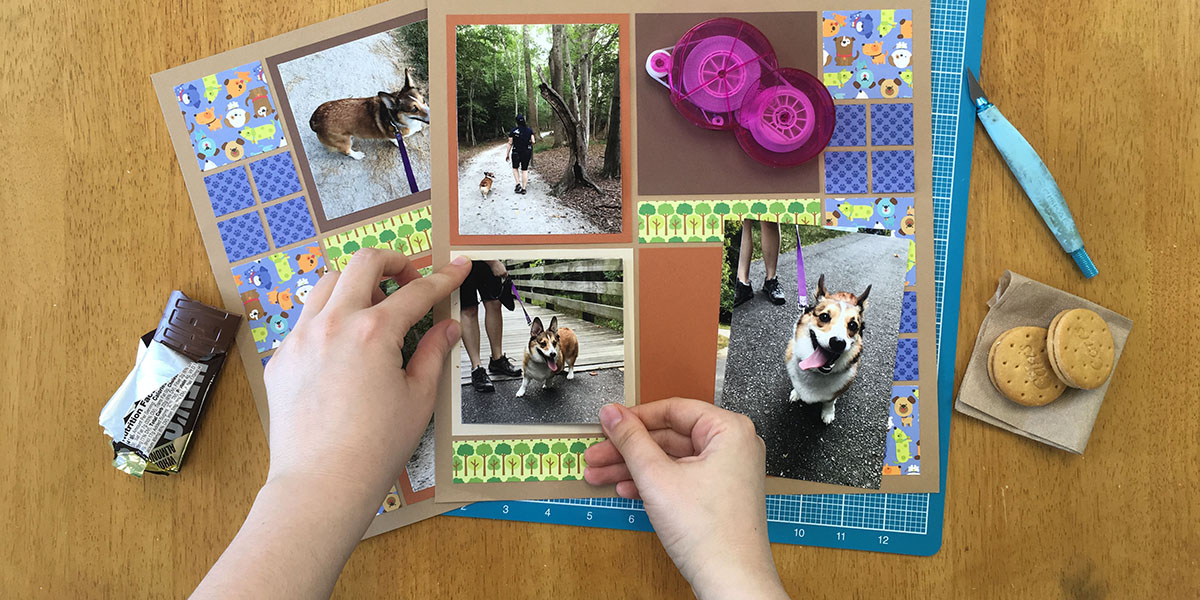
First you may want to get 2-3 Page Kits for practice and get familiar with the grid paper.
Even if you plan to use the dies, this is an easy way to jump in! We have hundreds of Page Kits to choose from on Snapncrop.com.
#2 - Grid Paper
Next you will need a few packs of Grid Paper.
Many customers start with a versatile option like our black, white, and ivory pack. The grid paper is the foundation for every Mosaic Moments® layout. It will keep each element organized and give your pages a professional look.
Click here to see our grid paper collection.

#3 - Re-positionable Glue
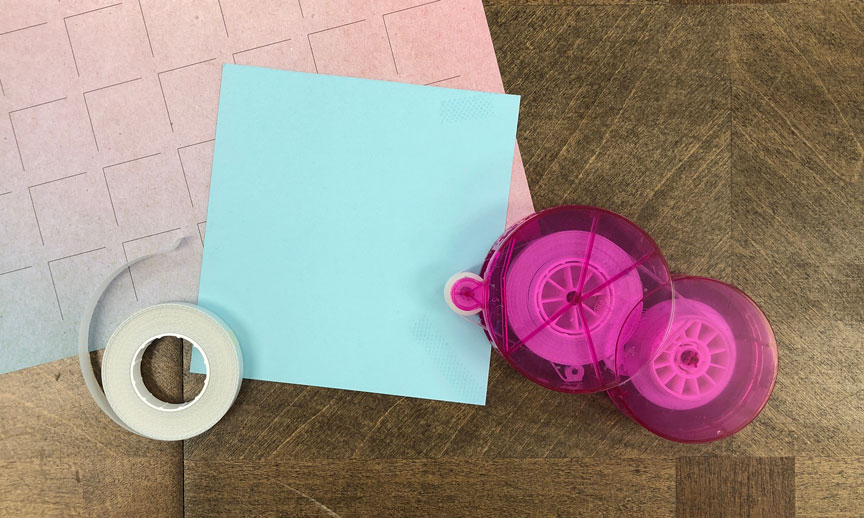
We recommend using re-positionable glue since you may need to make slight adjustments. With re-positionable glue you can easily move an element if you change your mind about placement.
There are many brands of glue, but we recommend using Herma Dotto.
#4 - The Basic Die Bundle
We recommend the basic die bundle for getting started.
You will use the basic dies over and over again. They are a companion to the grid paper. The dies cut sizes to fit the grid and include smaller dies for layering photos on mats.
You can get the Basic Die bundle on Snapncrop.com.

#5 - Die Machine
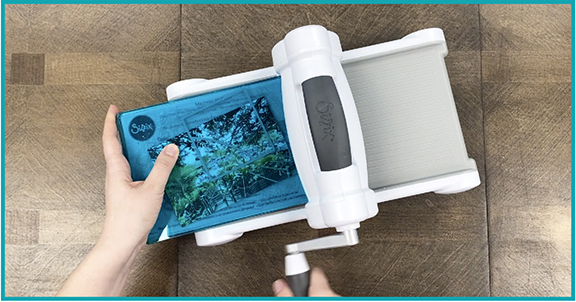
In order to use our dies, you will need a die machine that cuts thin metal dies.
There are many brands on the market, but we like to use the Sizzix and We R Memory Keepers brands.
We do not sell die machines, but you can purchase them at local scrapbook stores, on Amazon.com, or Scrapbook.com. (More about die cutting machines here.)
Optional Item: Pattern Book
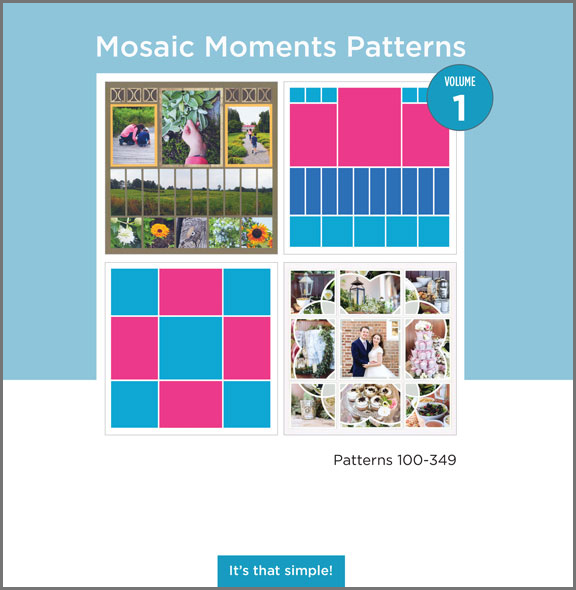
While we do offer free patterns online, many also like to have a physical copy to flip through.
You can get Pattern Books Volume 1 and 2 on Snapncrop.com.
Get More Tips on How to Get Started:
Tools For Hand-cutting
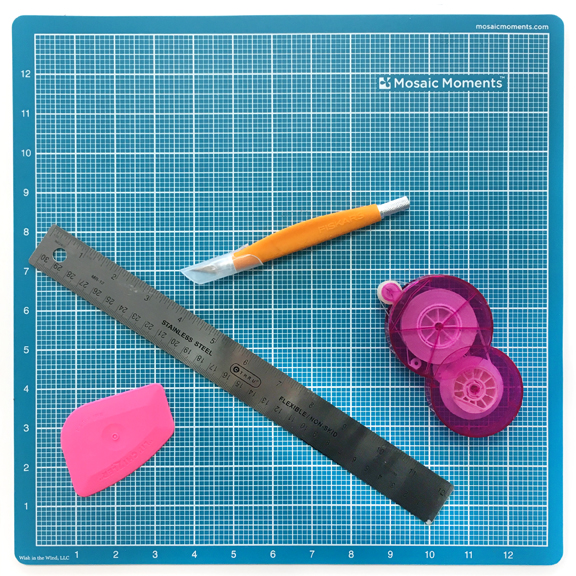
If you plan to hand cut you will need: the Mosaic Moments cutting mat, a craft knife, and a metal ruler with cork backing.
An optional tool is the Quick Glance Guide - to help you visualize how each piece will look when cut. Plus you will also need the grid paper and re-positionable glue.
