
The Diamond Ring Die…yes, diamonds can be a girl’s best friend when it comes to designing a page to remember a special wedding day.
Do you take your camera along with you when you attend the wedding of a friend or family member? Do you scrap those photos? Let me show you a few ways to take some of those photos and create a page that will keep those memories for years to come or to give as a framed gift to the newlyweds or their parents.
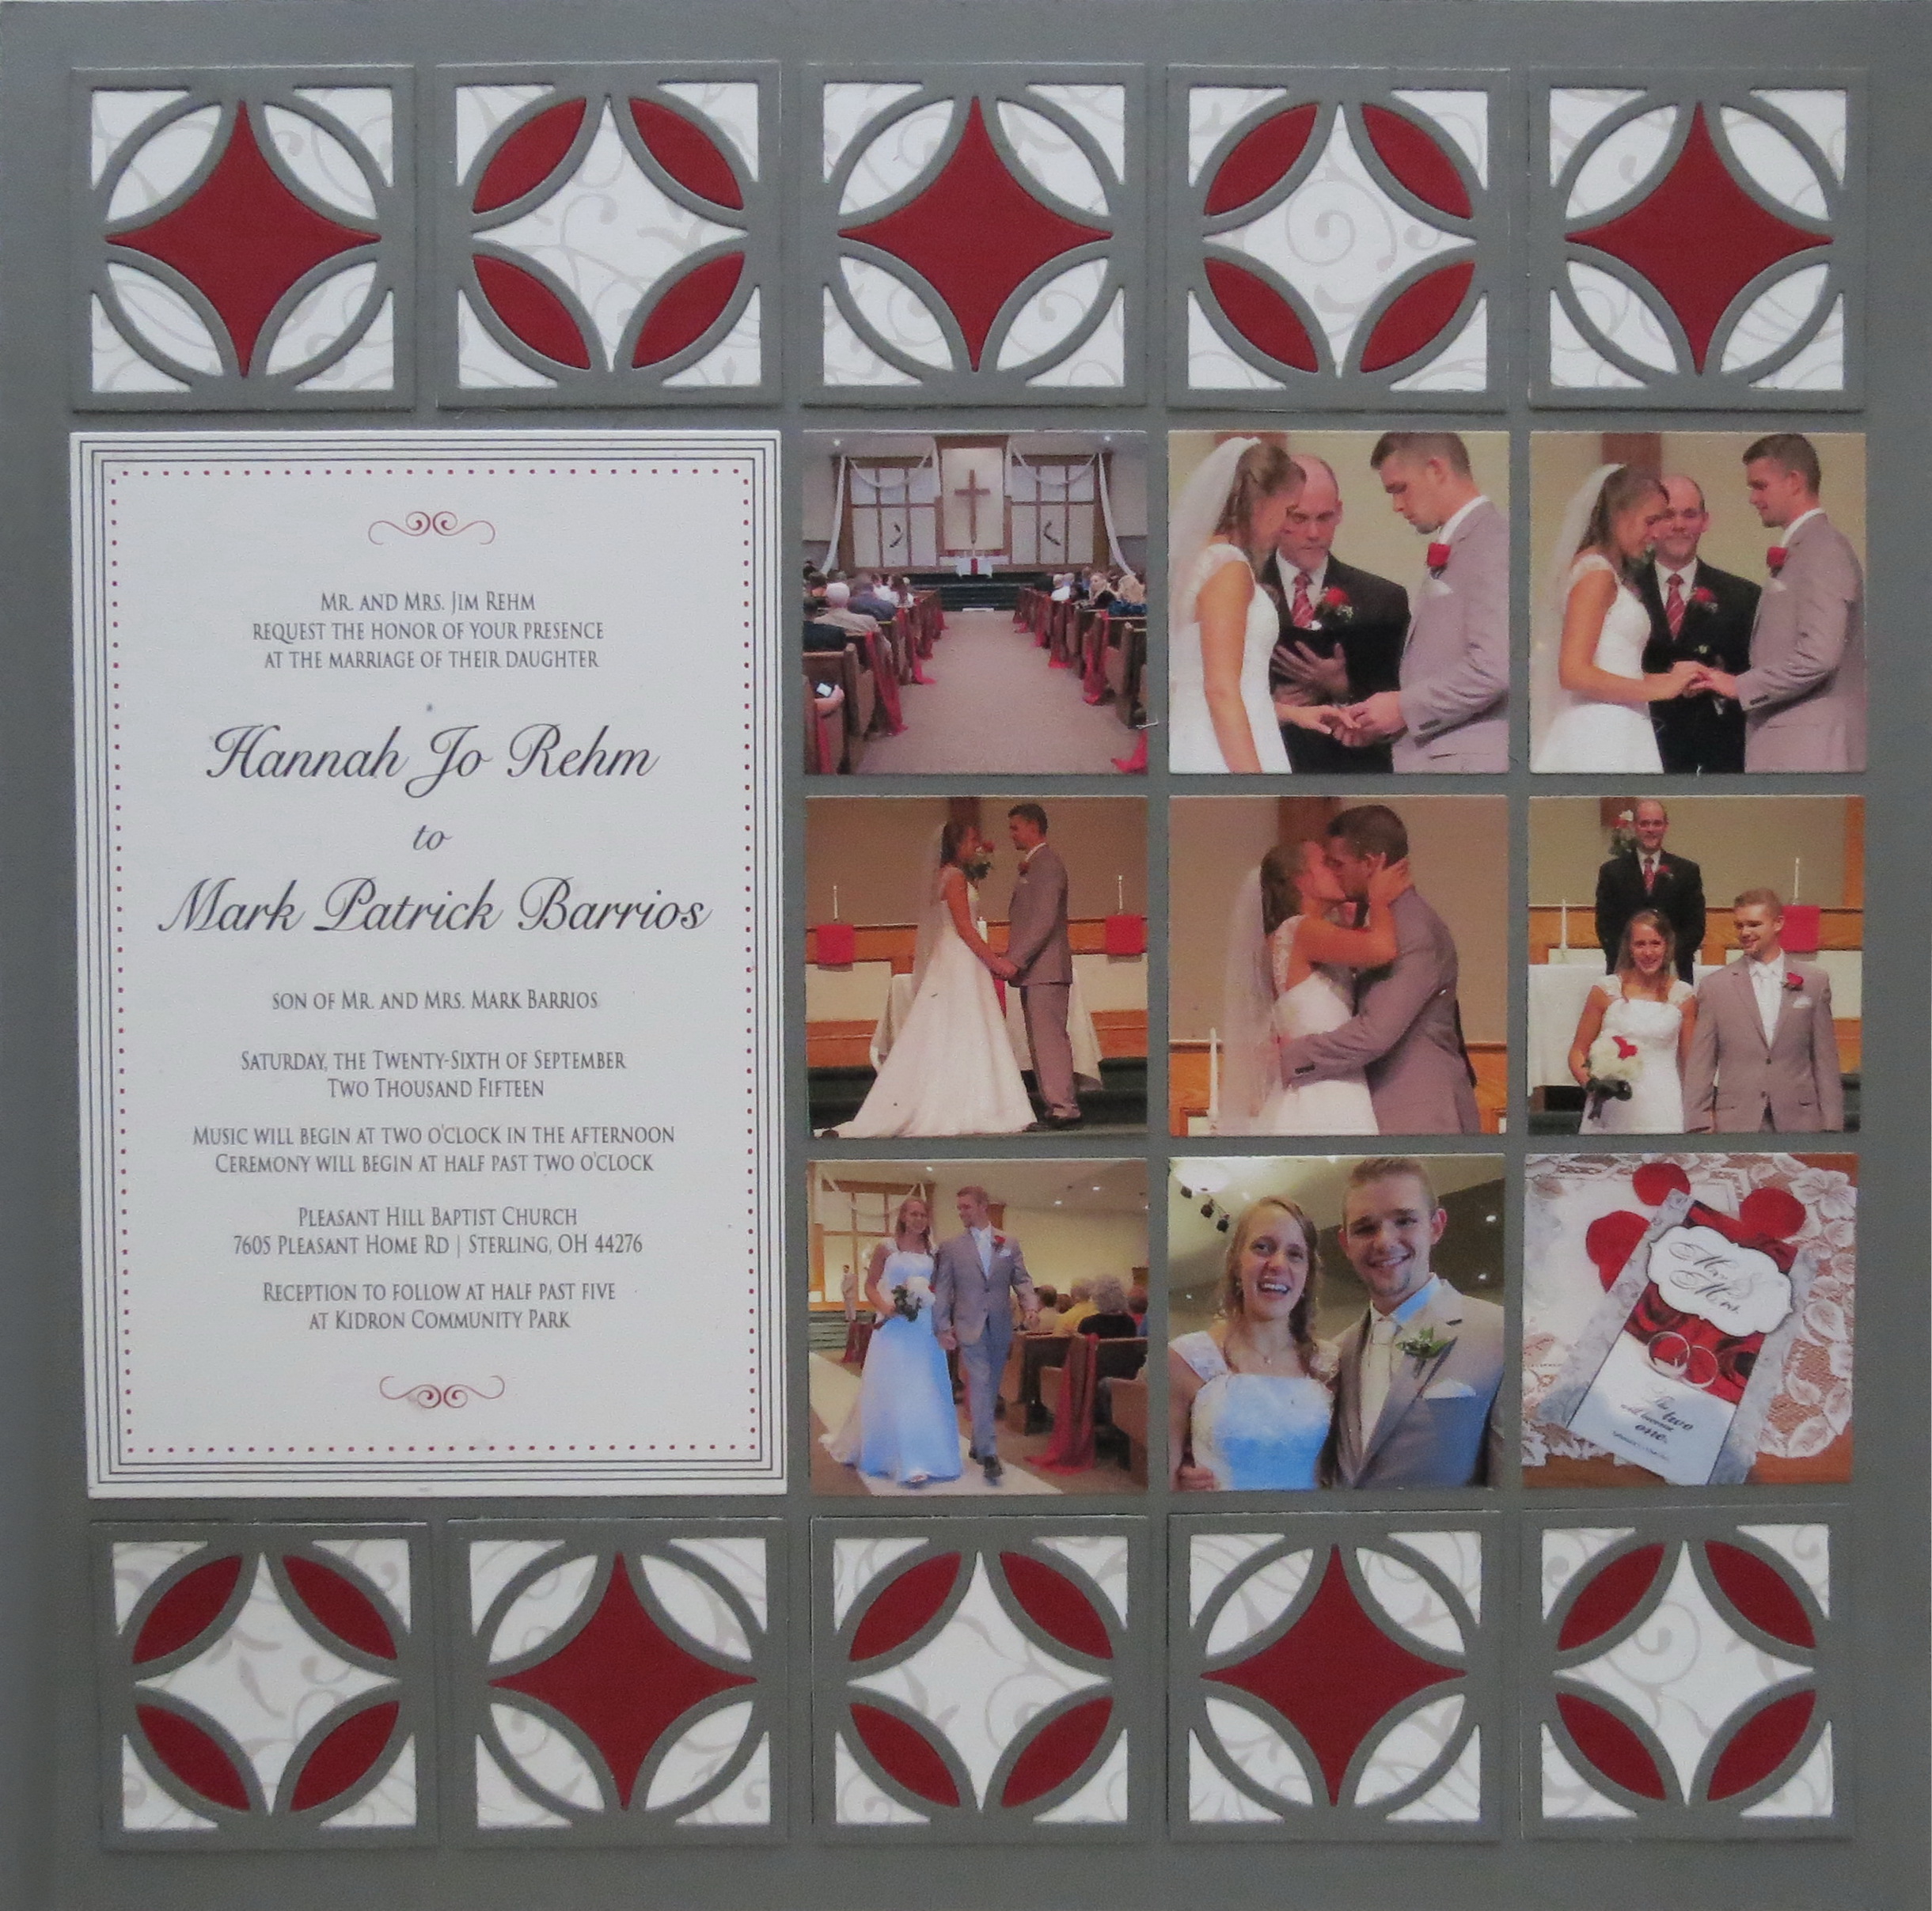
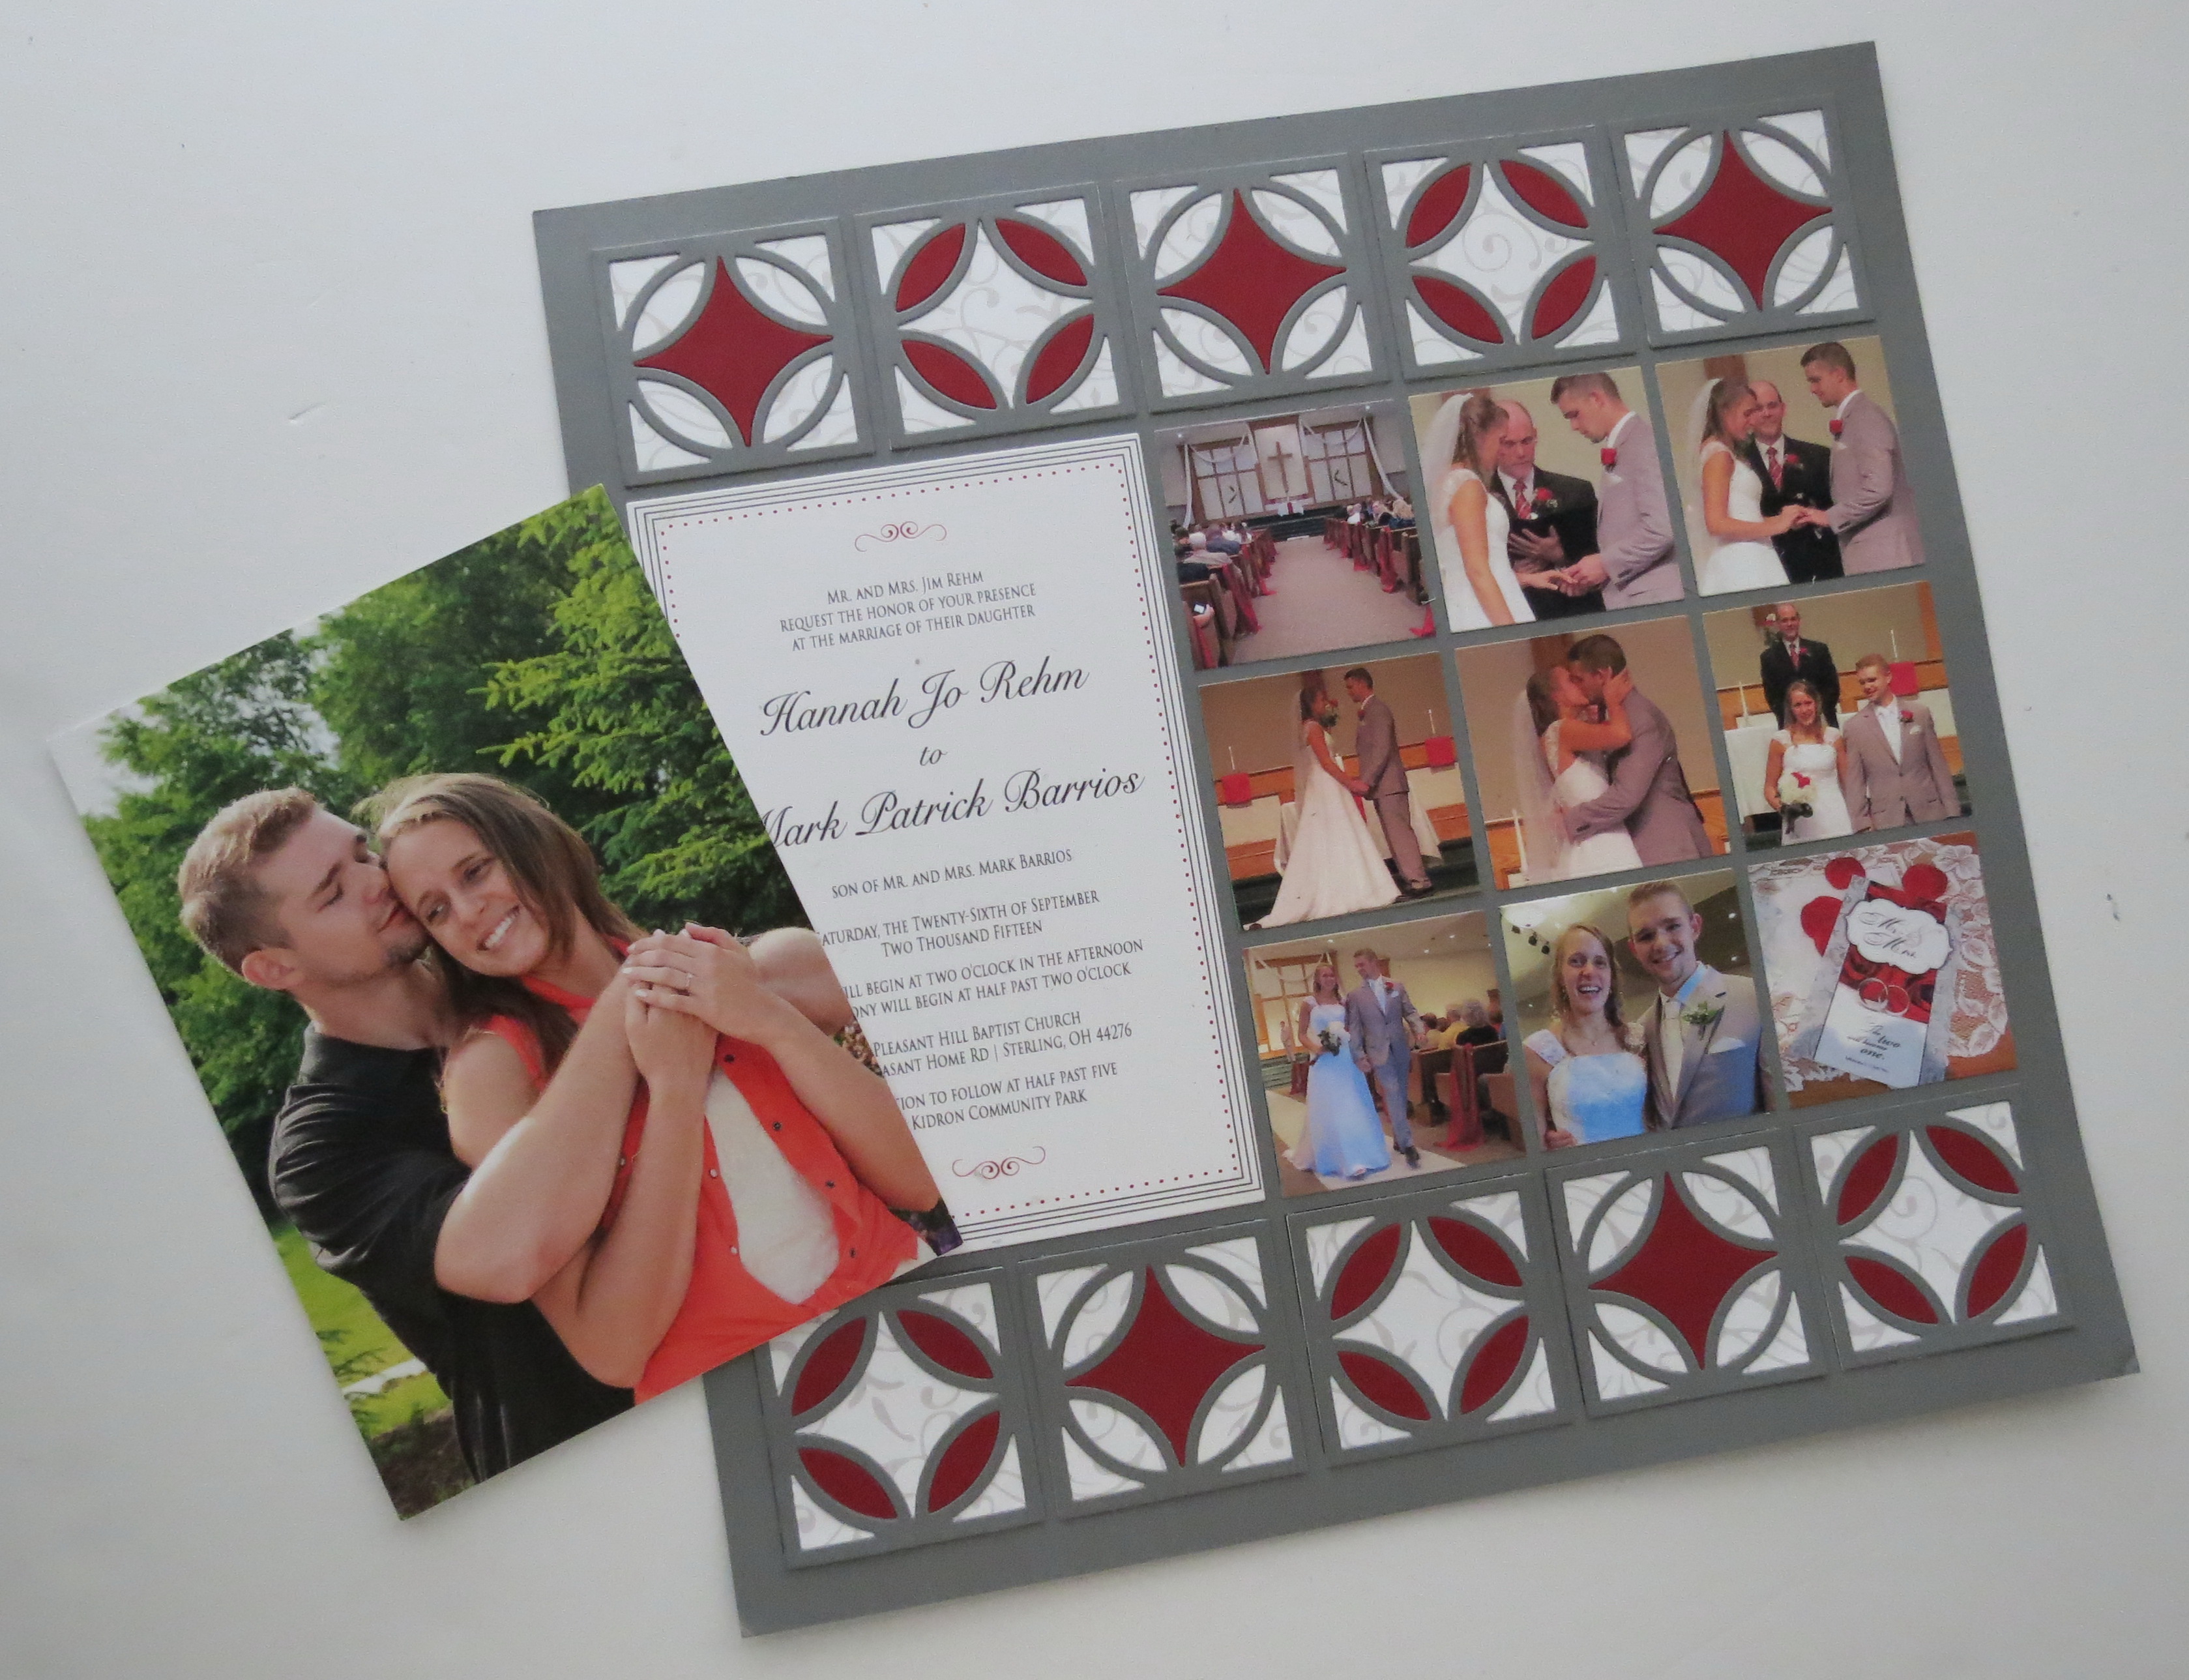
Here’s the layout with everything in place before adding the Cornerstones. It’s a nice layout the way it is, incorporating the wedding colors of scarlet and gray. But let’s see how we can accessorize it a bit using the new Diamond Ring Die.
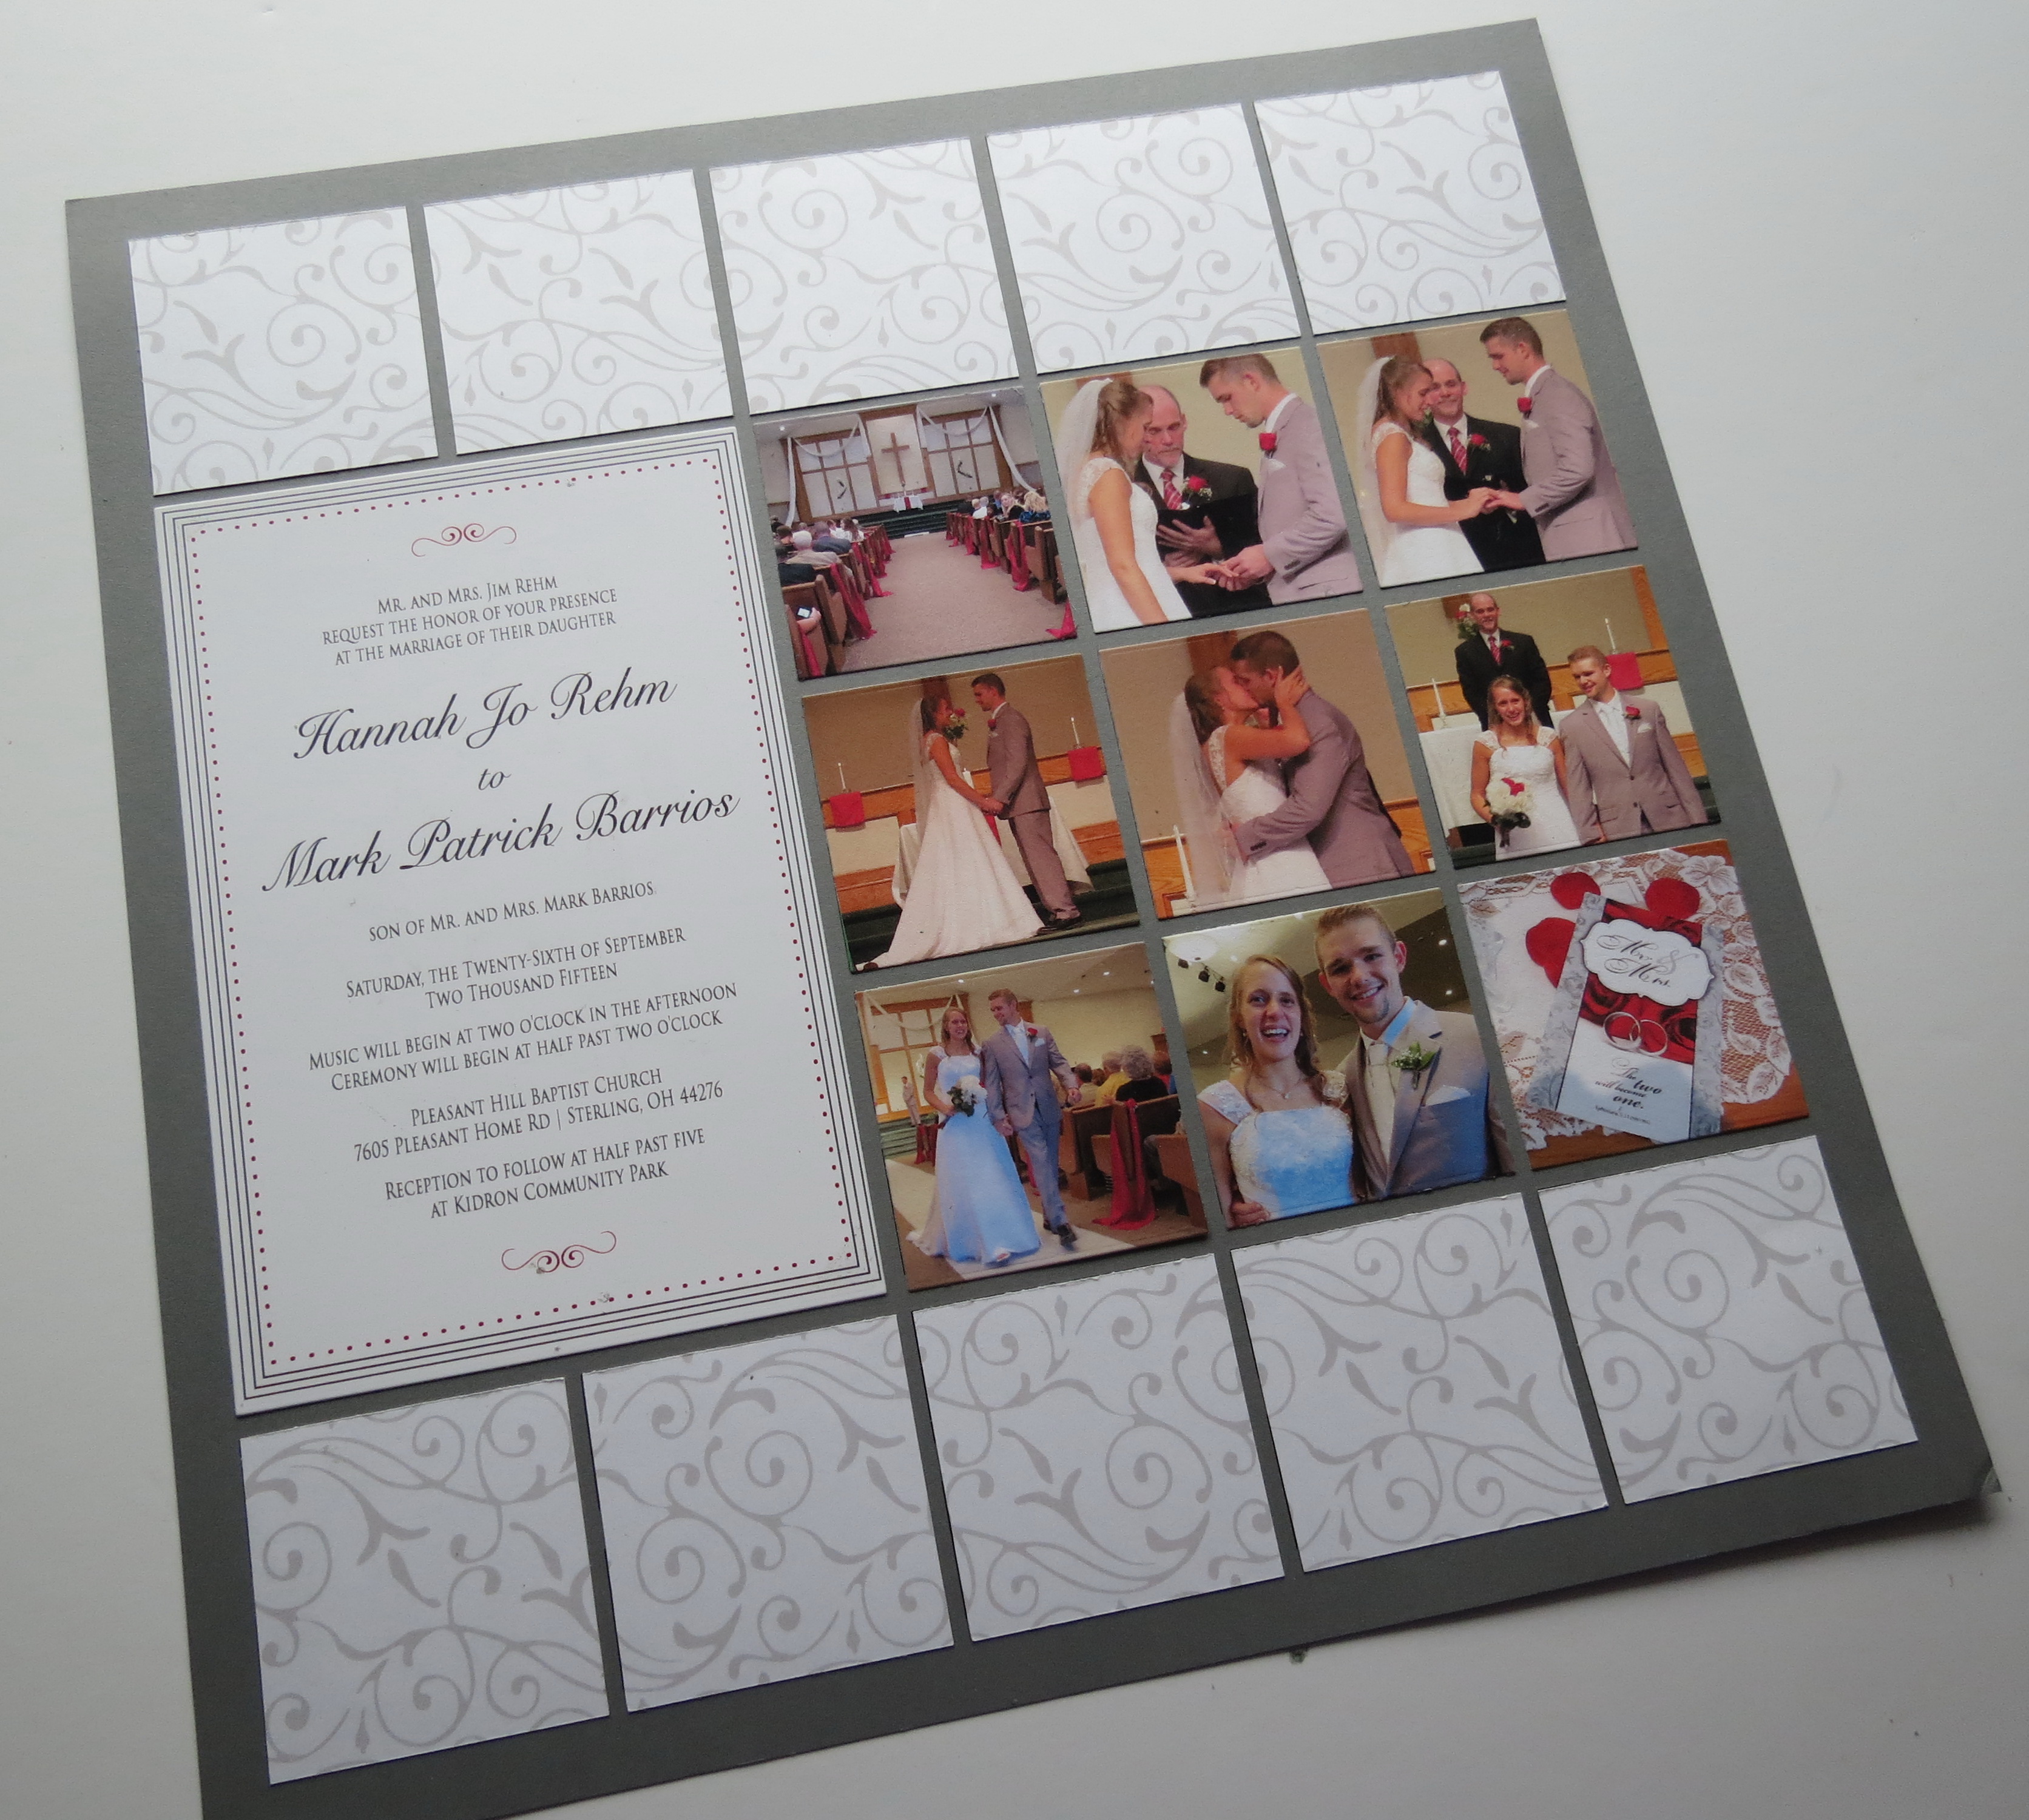
Diamond Ring Die layout before adding embellishments
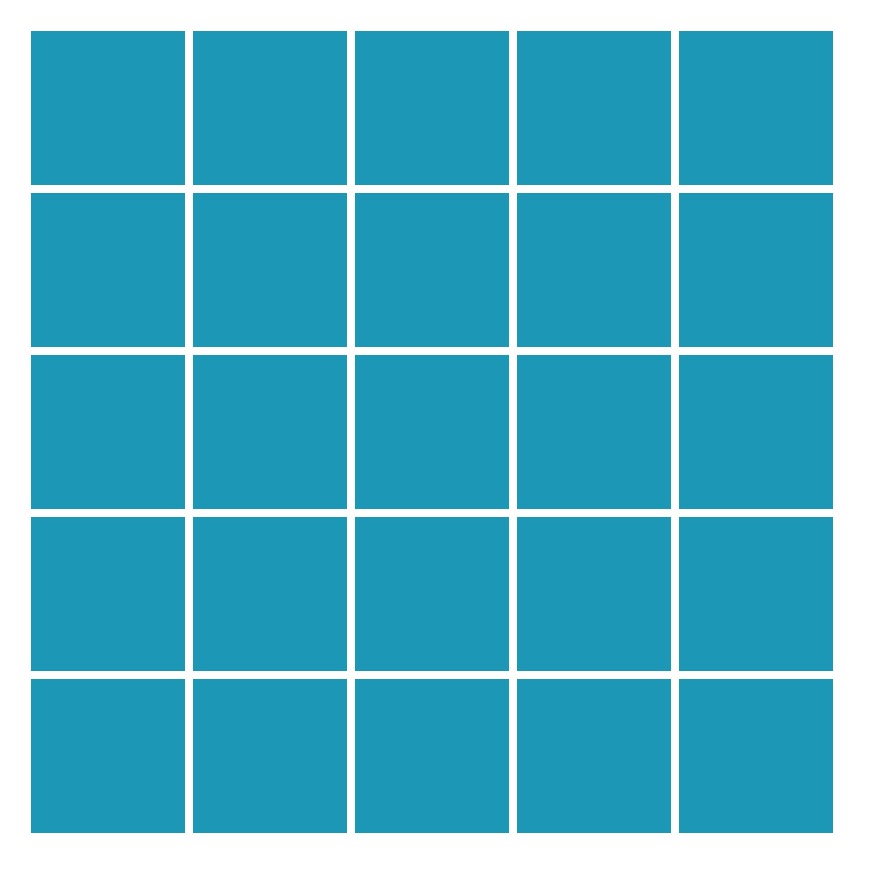
Pattern #101
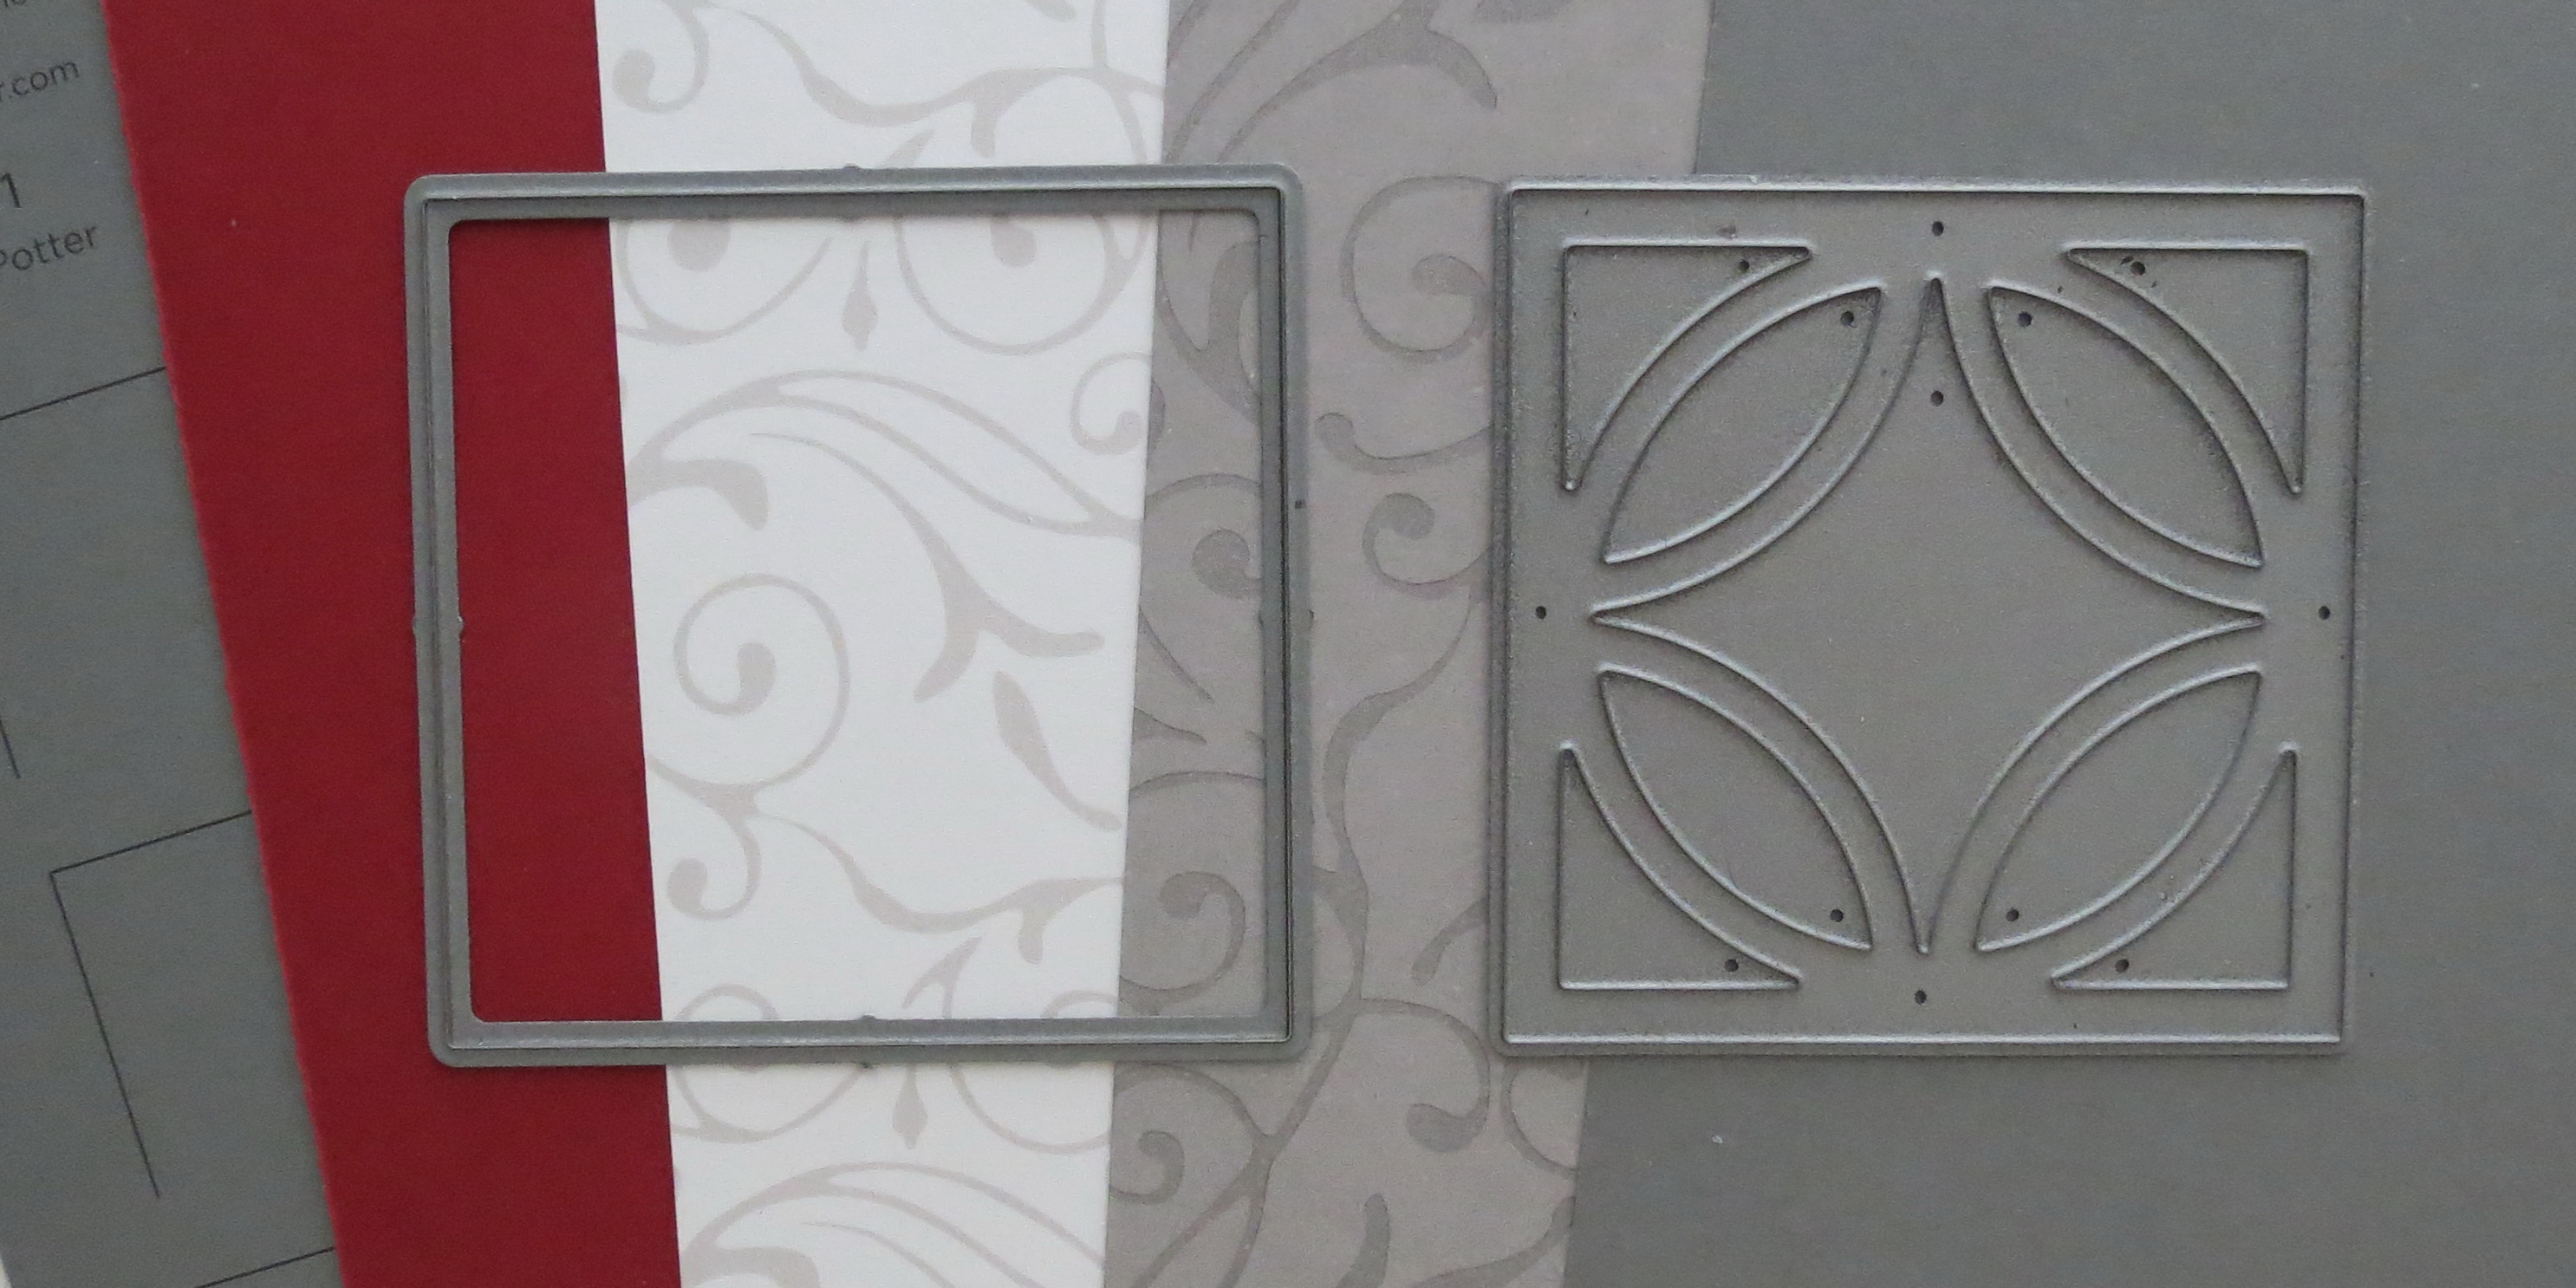
Diamond Ring Die and 2.125″ square Die from Die Set A
Beginning with pattern #101 a squares pattern, I have made one adjustment to this pattern and that was to take six of the squares on the center left side to allow me to include the wedding invitation as a part of this design.
There are 9 squares to the right of the invitation that are filled with moments from the ceremony. Then top and bottom borders will hold the pattern created with the Diamond Ring Die.
There are three variations of the pattern that I have included here, but I’m sure you’ll see many more on your own that will vary with the colors and pattern papers you use.
The Diamond Ring Die is reminiscent of the quilt patterns Wedding Ring and Cathedral Windows. Google them for more inspiration!
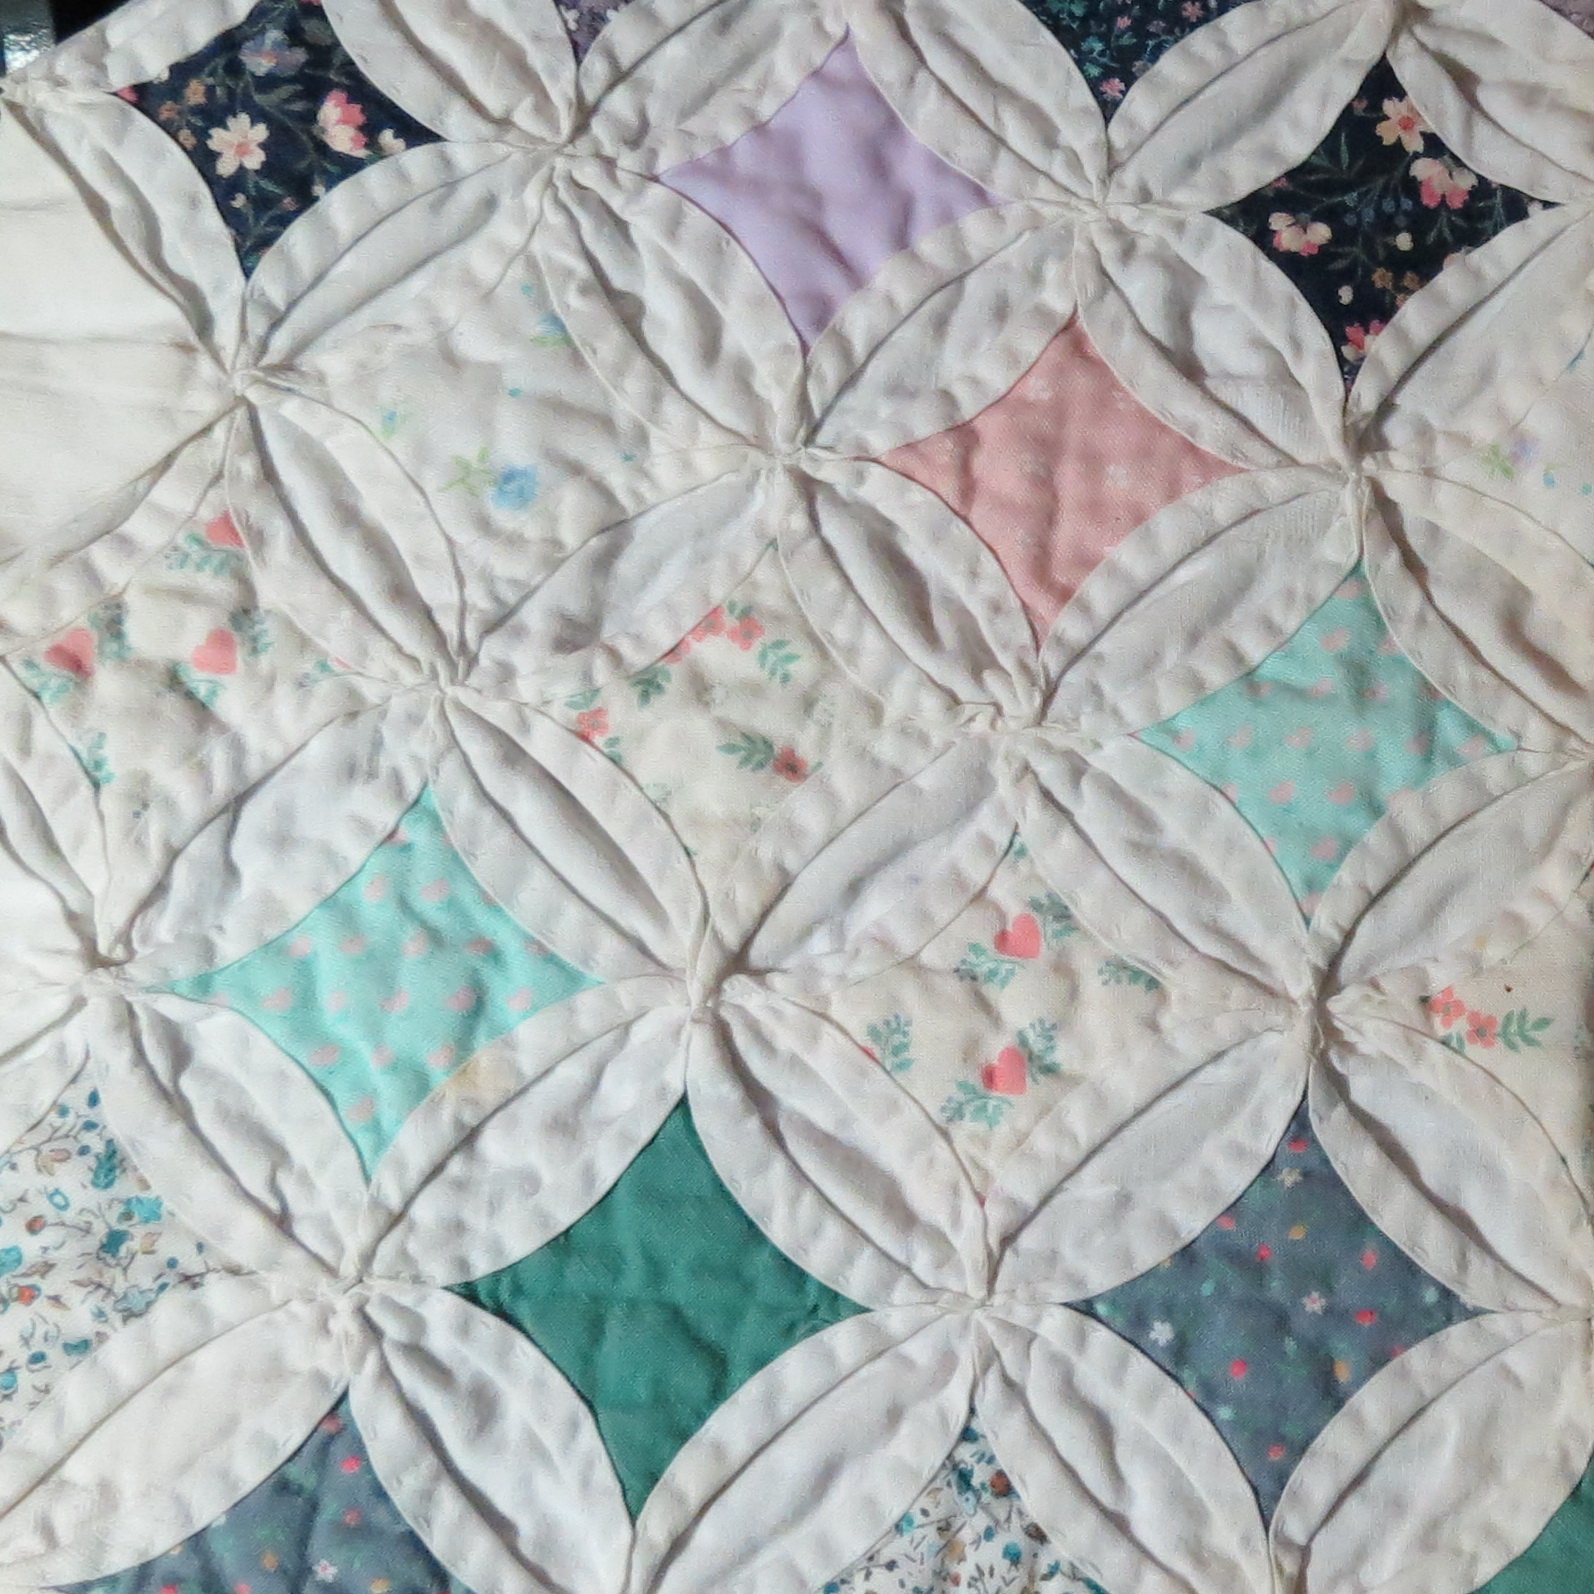
Cathedral Window Quilt sample
This is a Cathedral Window quilt piece I made for an apron long ago. You see the center diamond has the color while in the Wedding Ring Pattern the color is in the circles. On the layouts here I’ve tried to use both ways.
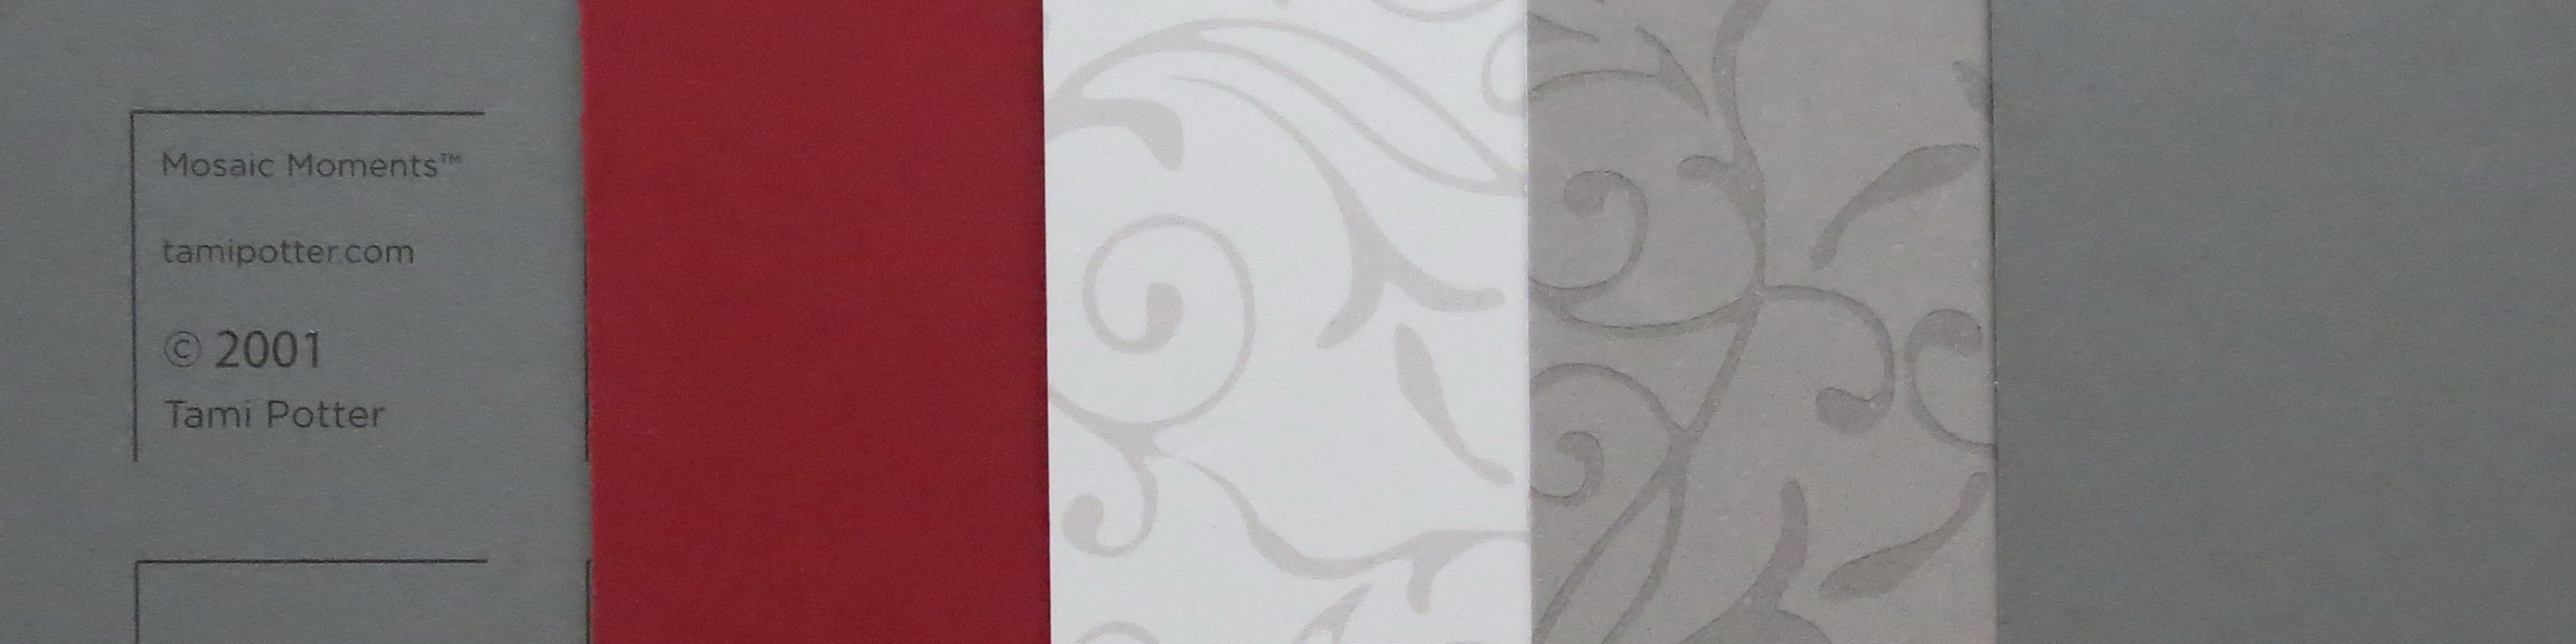
Diamond Ring Die Color Palette Pewter Gird and Paper Tiles, Ash Filigree double-sided cardstock
Layouts One and Two:
• Mosaic Moments 12×12 Grid Paper in Pewter
• Mosaic Moments Paper Tiles in Pewter to create the cornerstones
• Mosaic Moments Cornerstone Diamond Ring Die
• Mosaic Moments 2.125” Square from Die Set A
• Mosaic Moments 6×4 block die from Die Set B
• Ash Filigree double sided patterned paper for background tiles
• ColorMates 12×12 Deep Berry Red cardstock
• Wedding Invitation and photos, cut into 2.125”squares
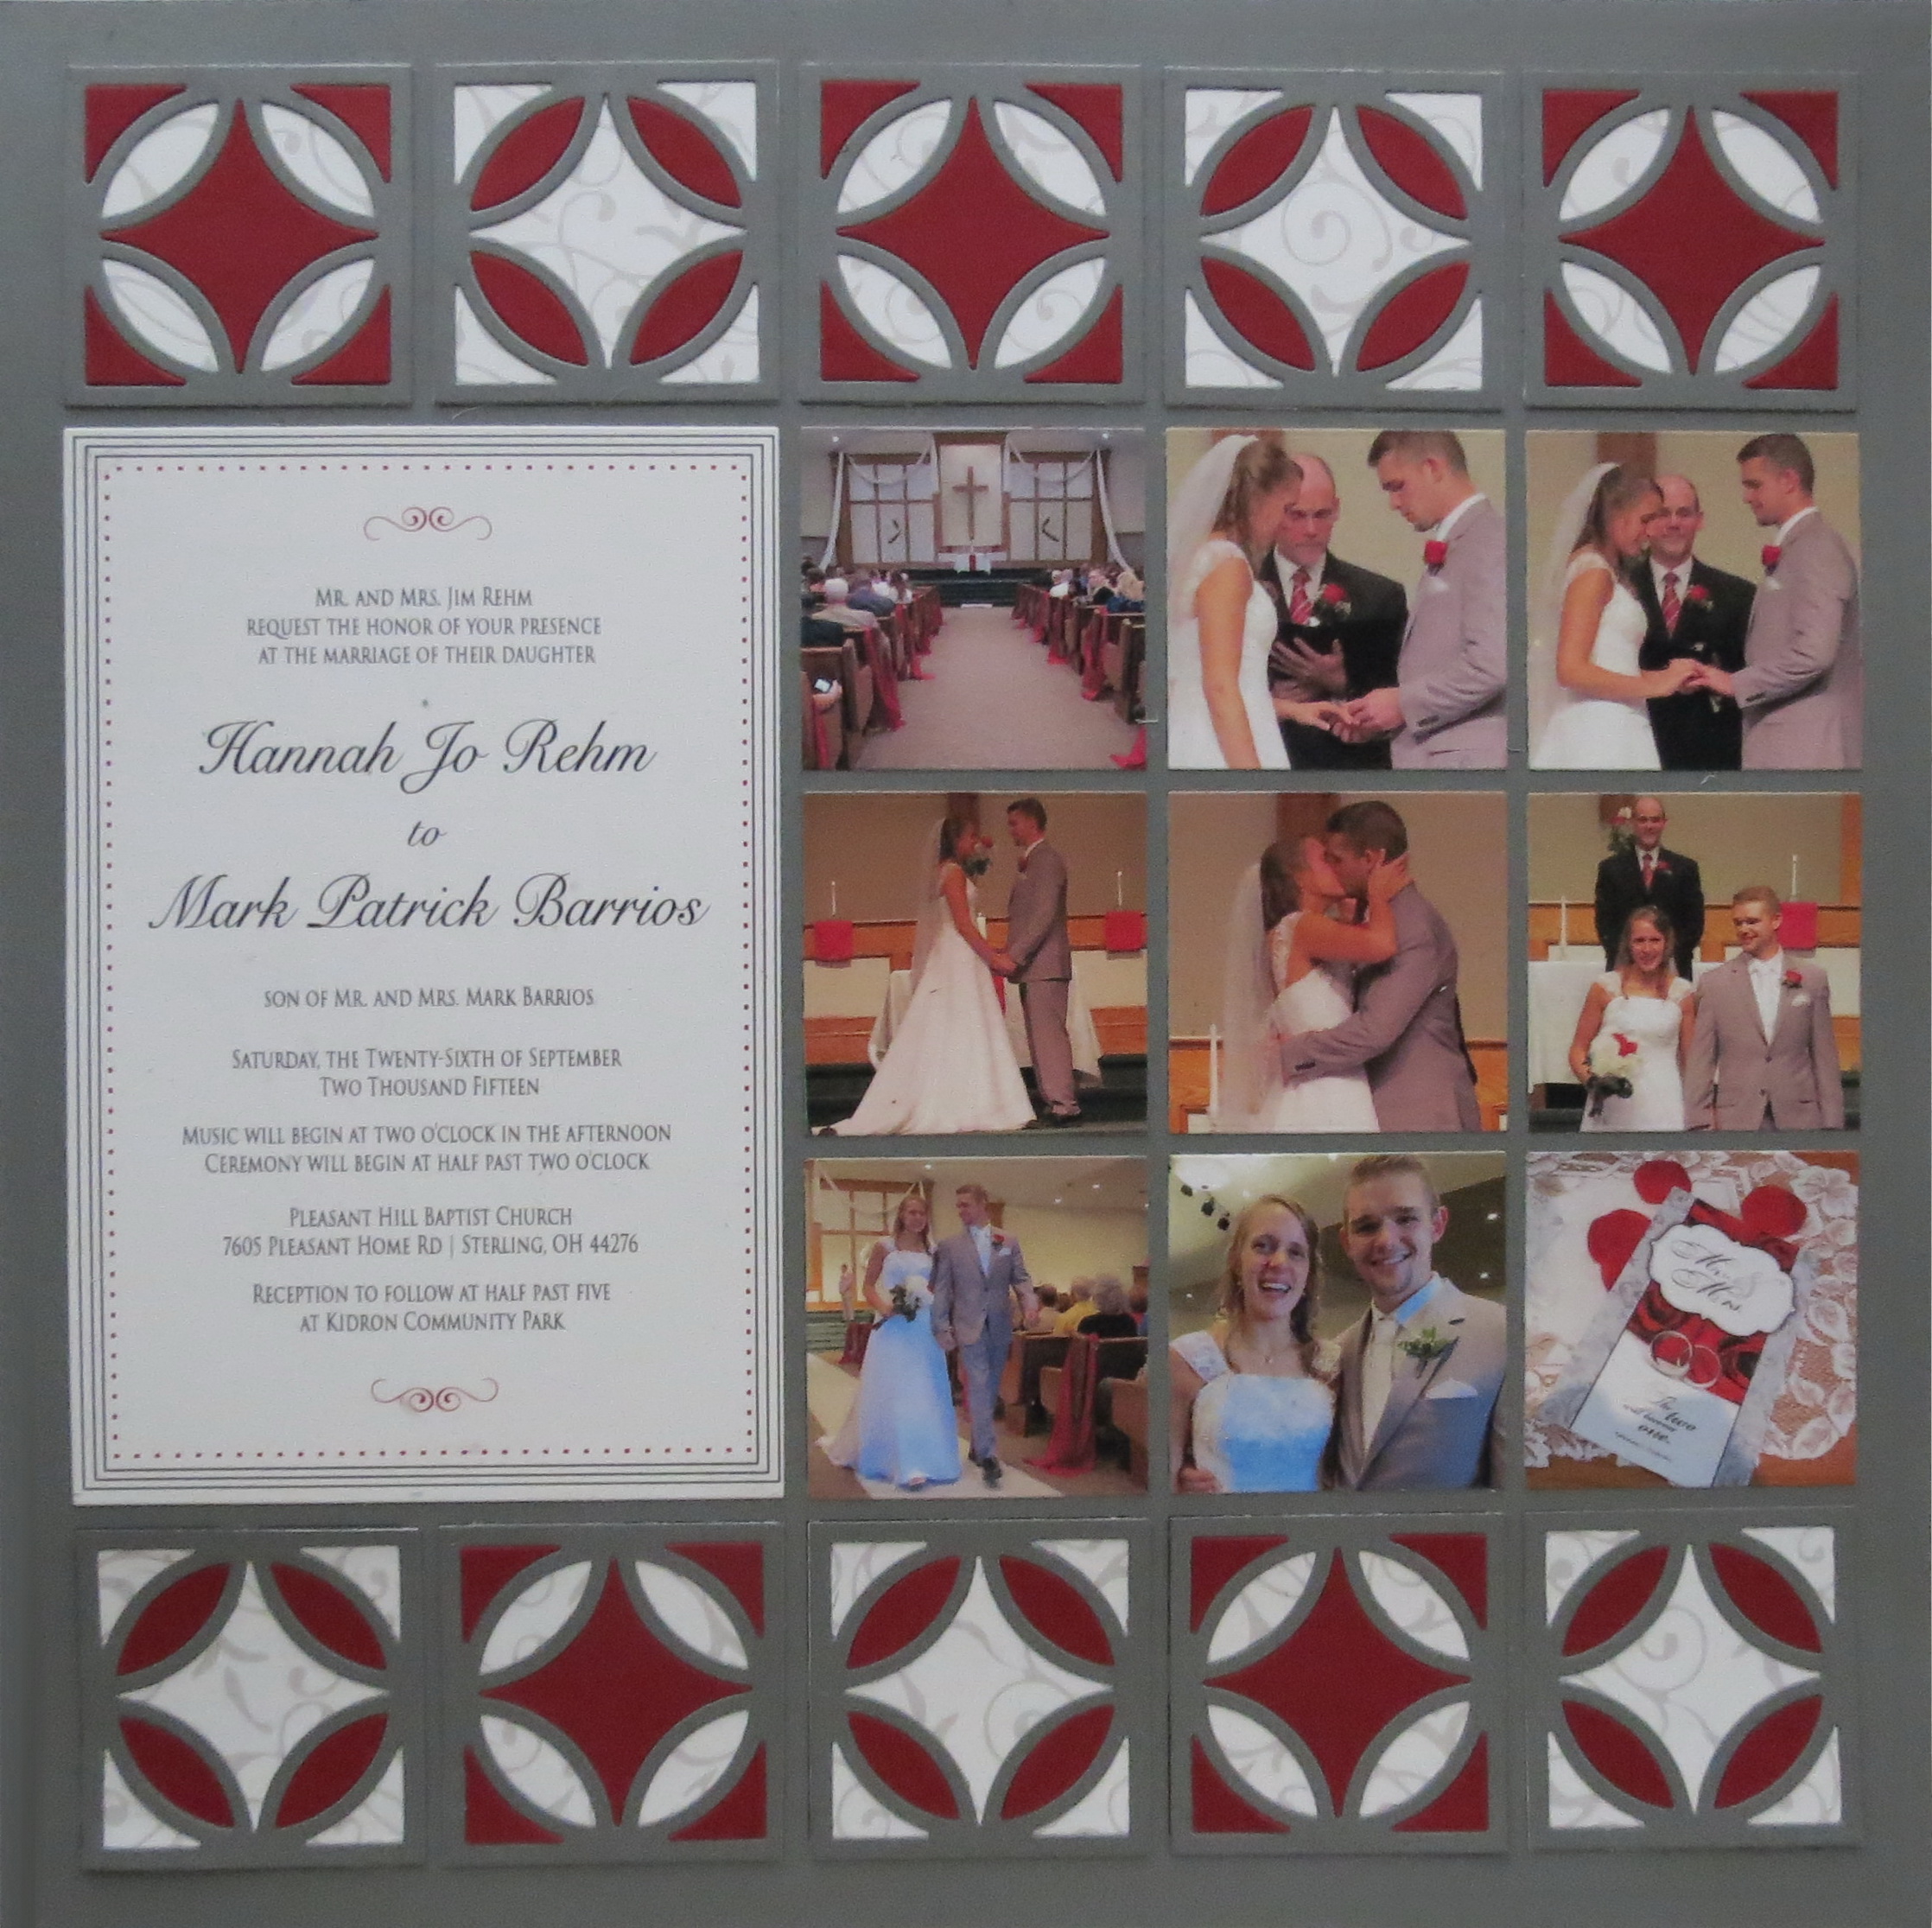
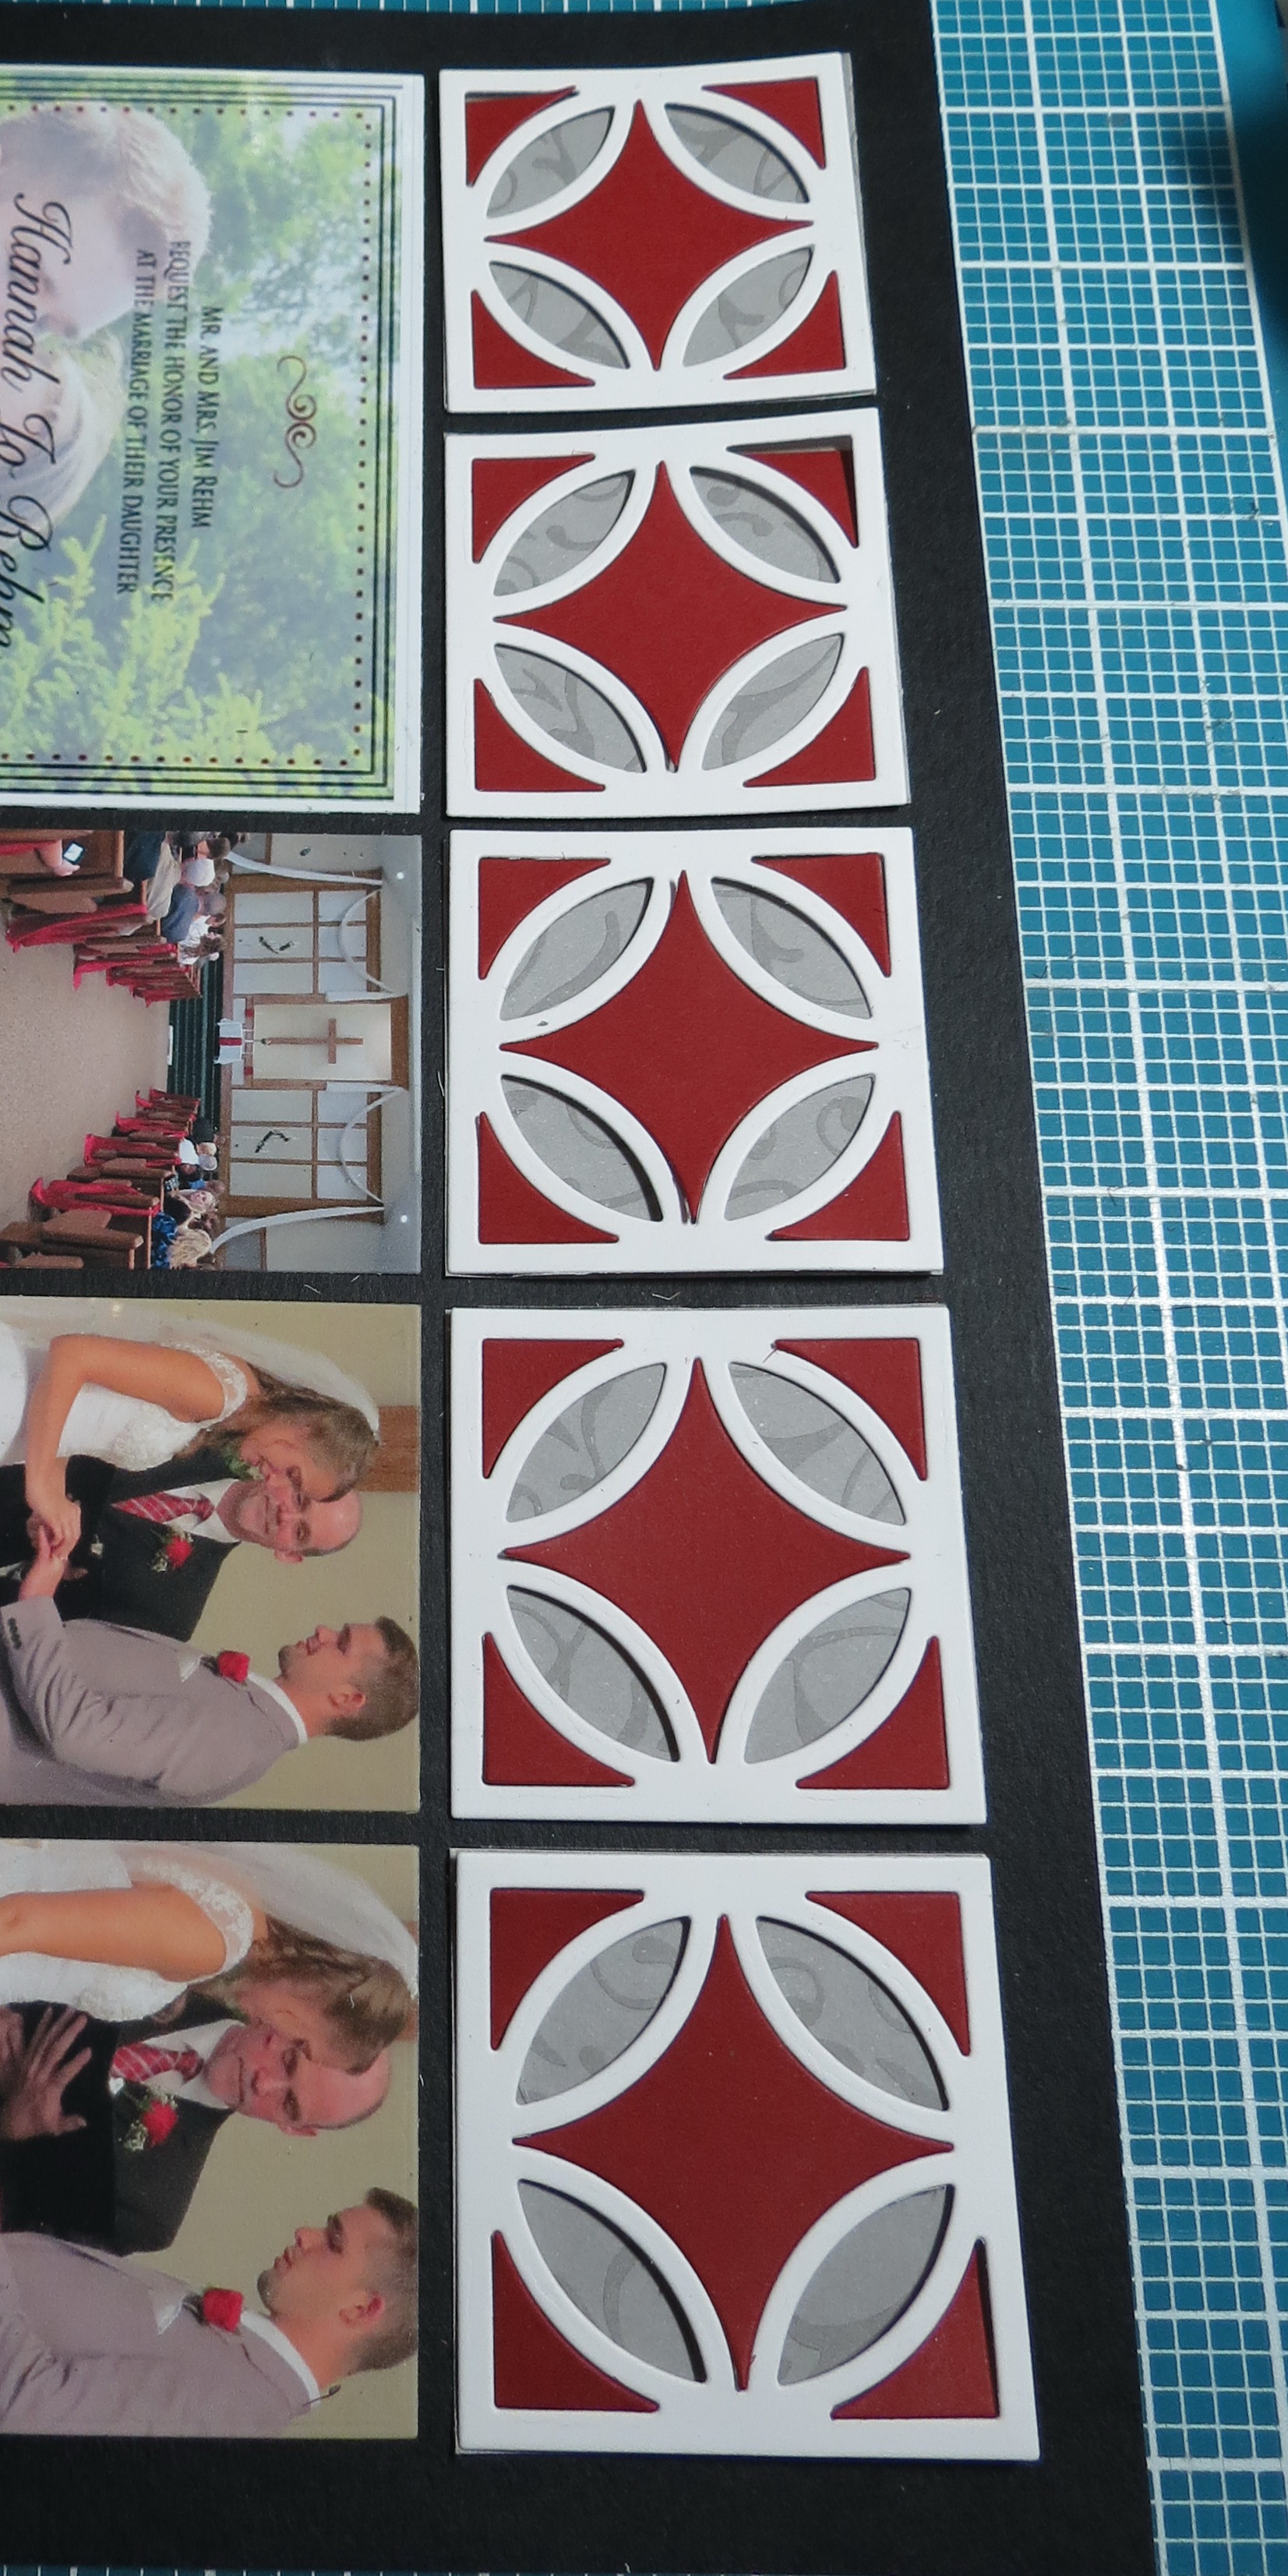
Diamond Ring Die layout one with scarlet and gray border alternating squares
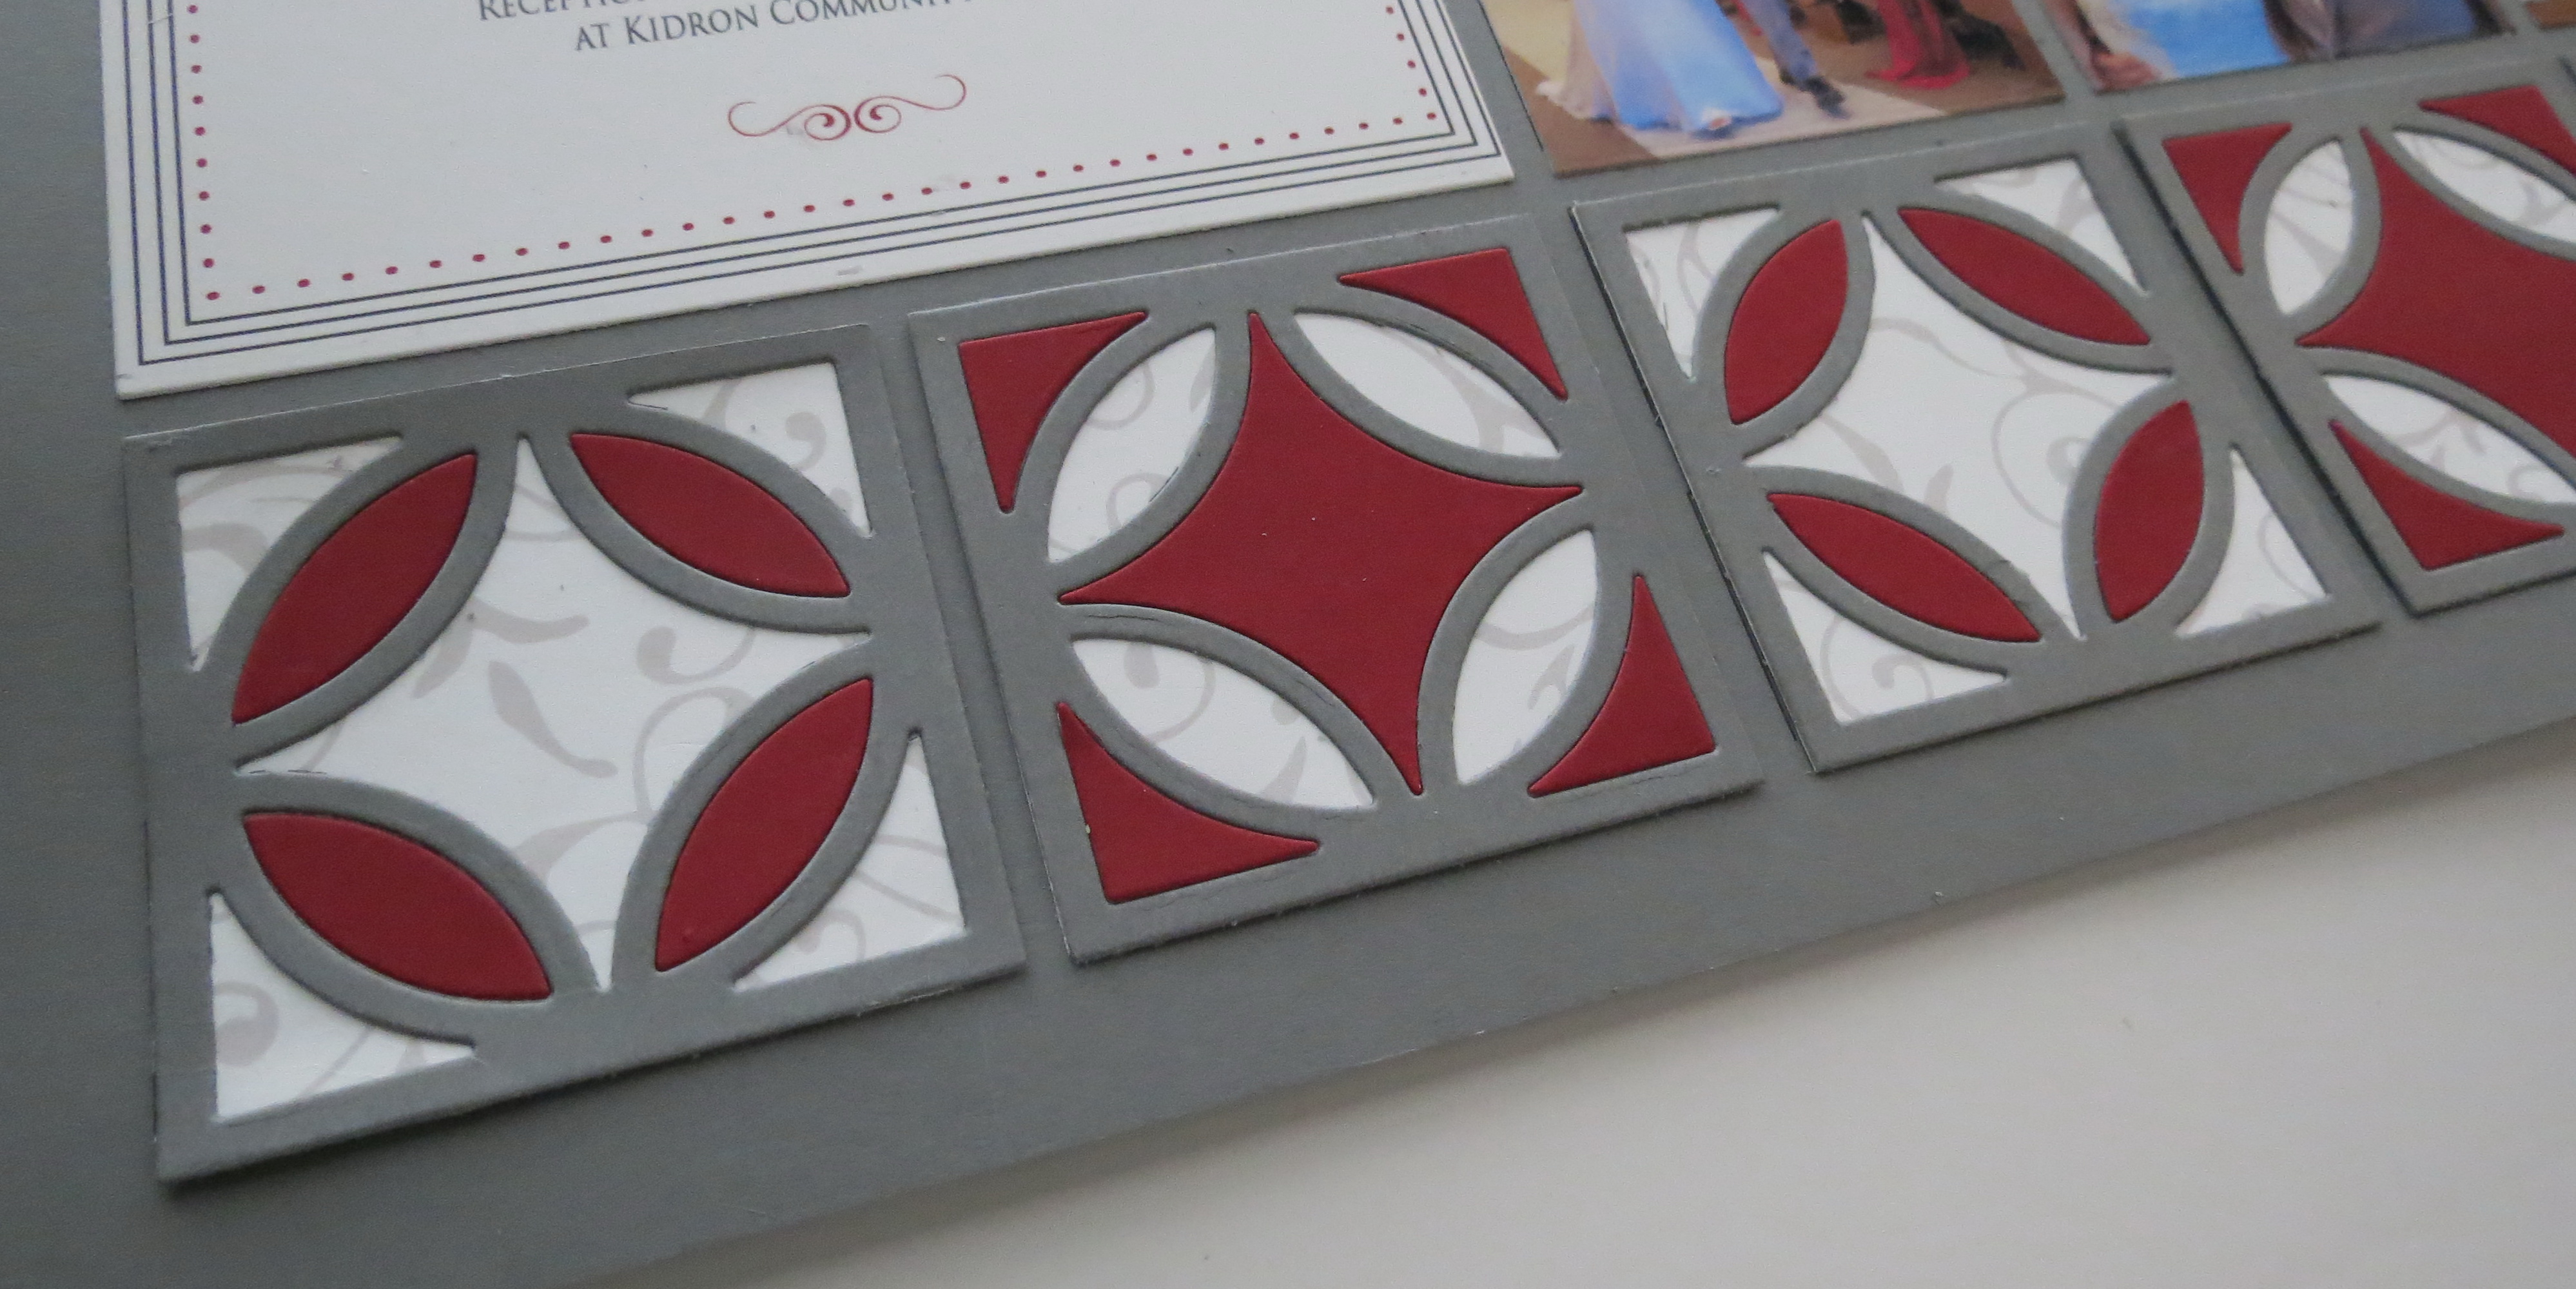
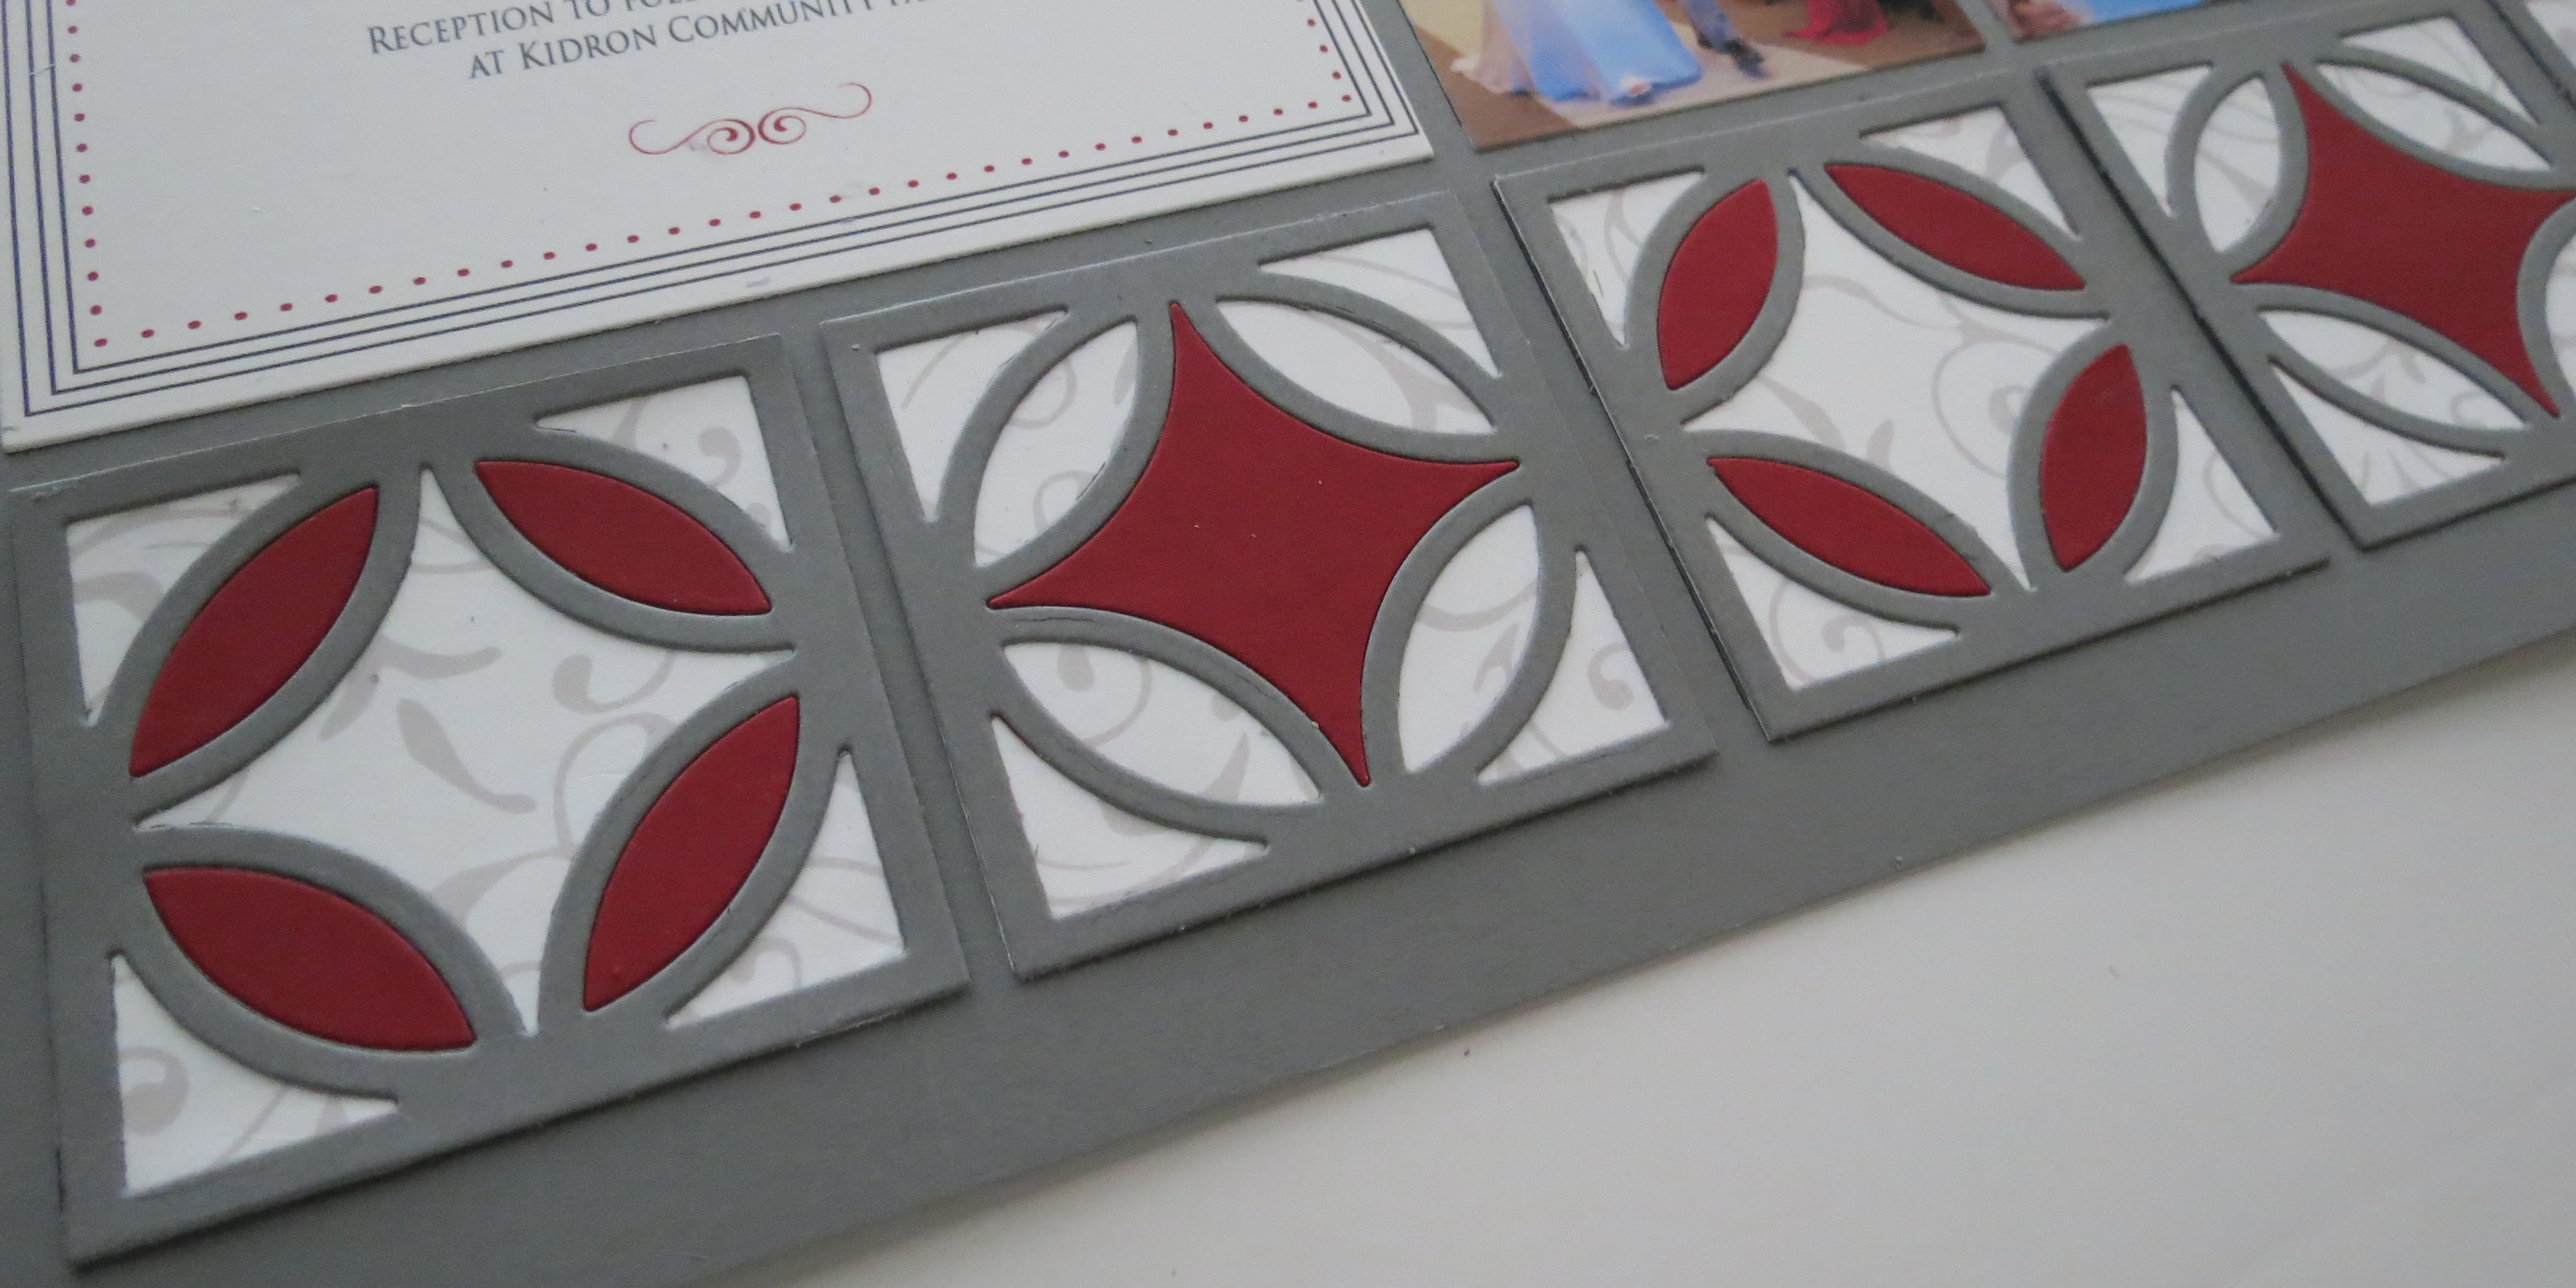
Diamond Ring Die detail of border pattern in alternating squares
Diamond Ring Die Layout border option 2
Diamond Ring Die border option 2
Layouts Three and Option Four, Additional items:
• Mosaic Moments 12×12 Grid Paper in Black
• White cardstock to create the cornerstones
• Merged Wedding invitation
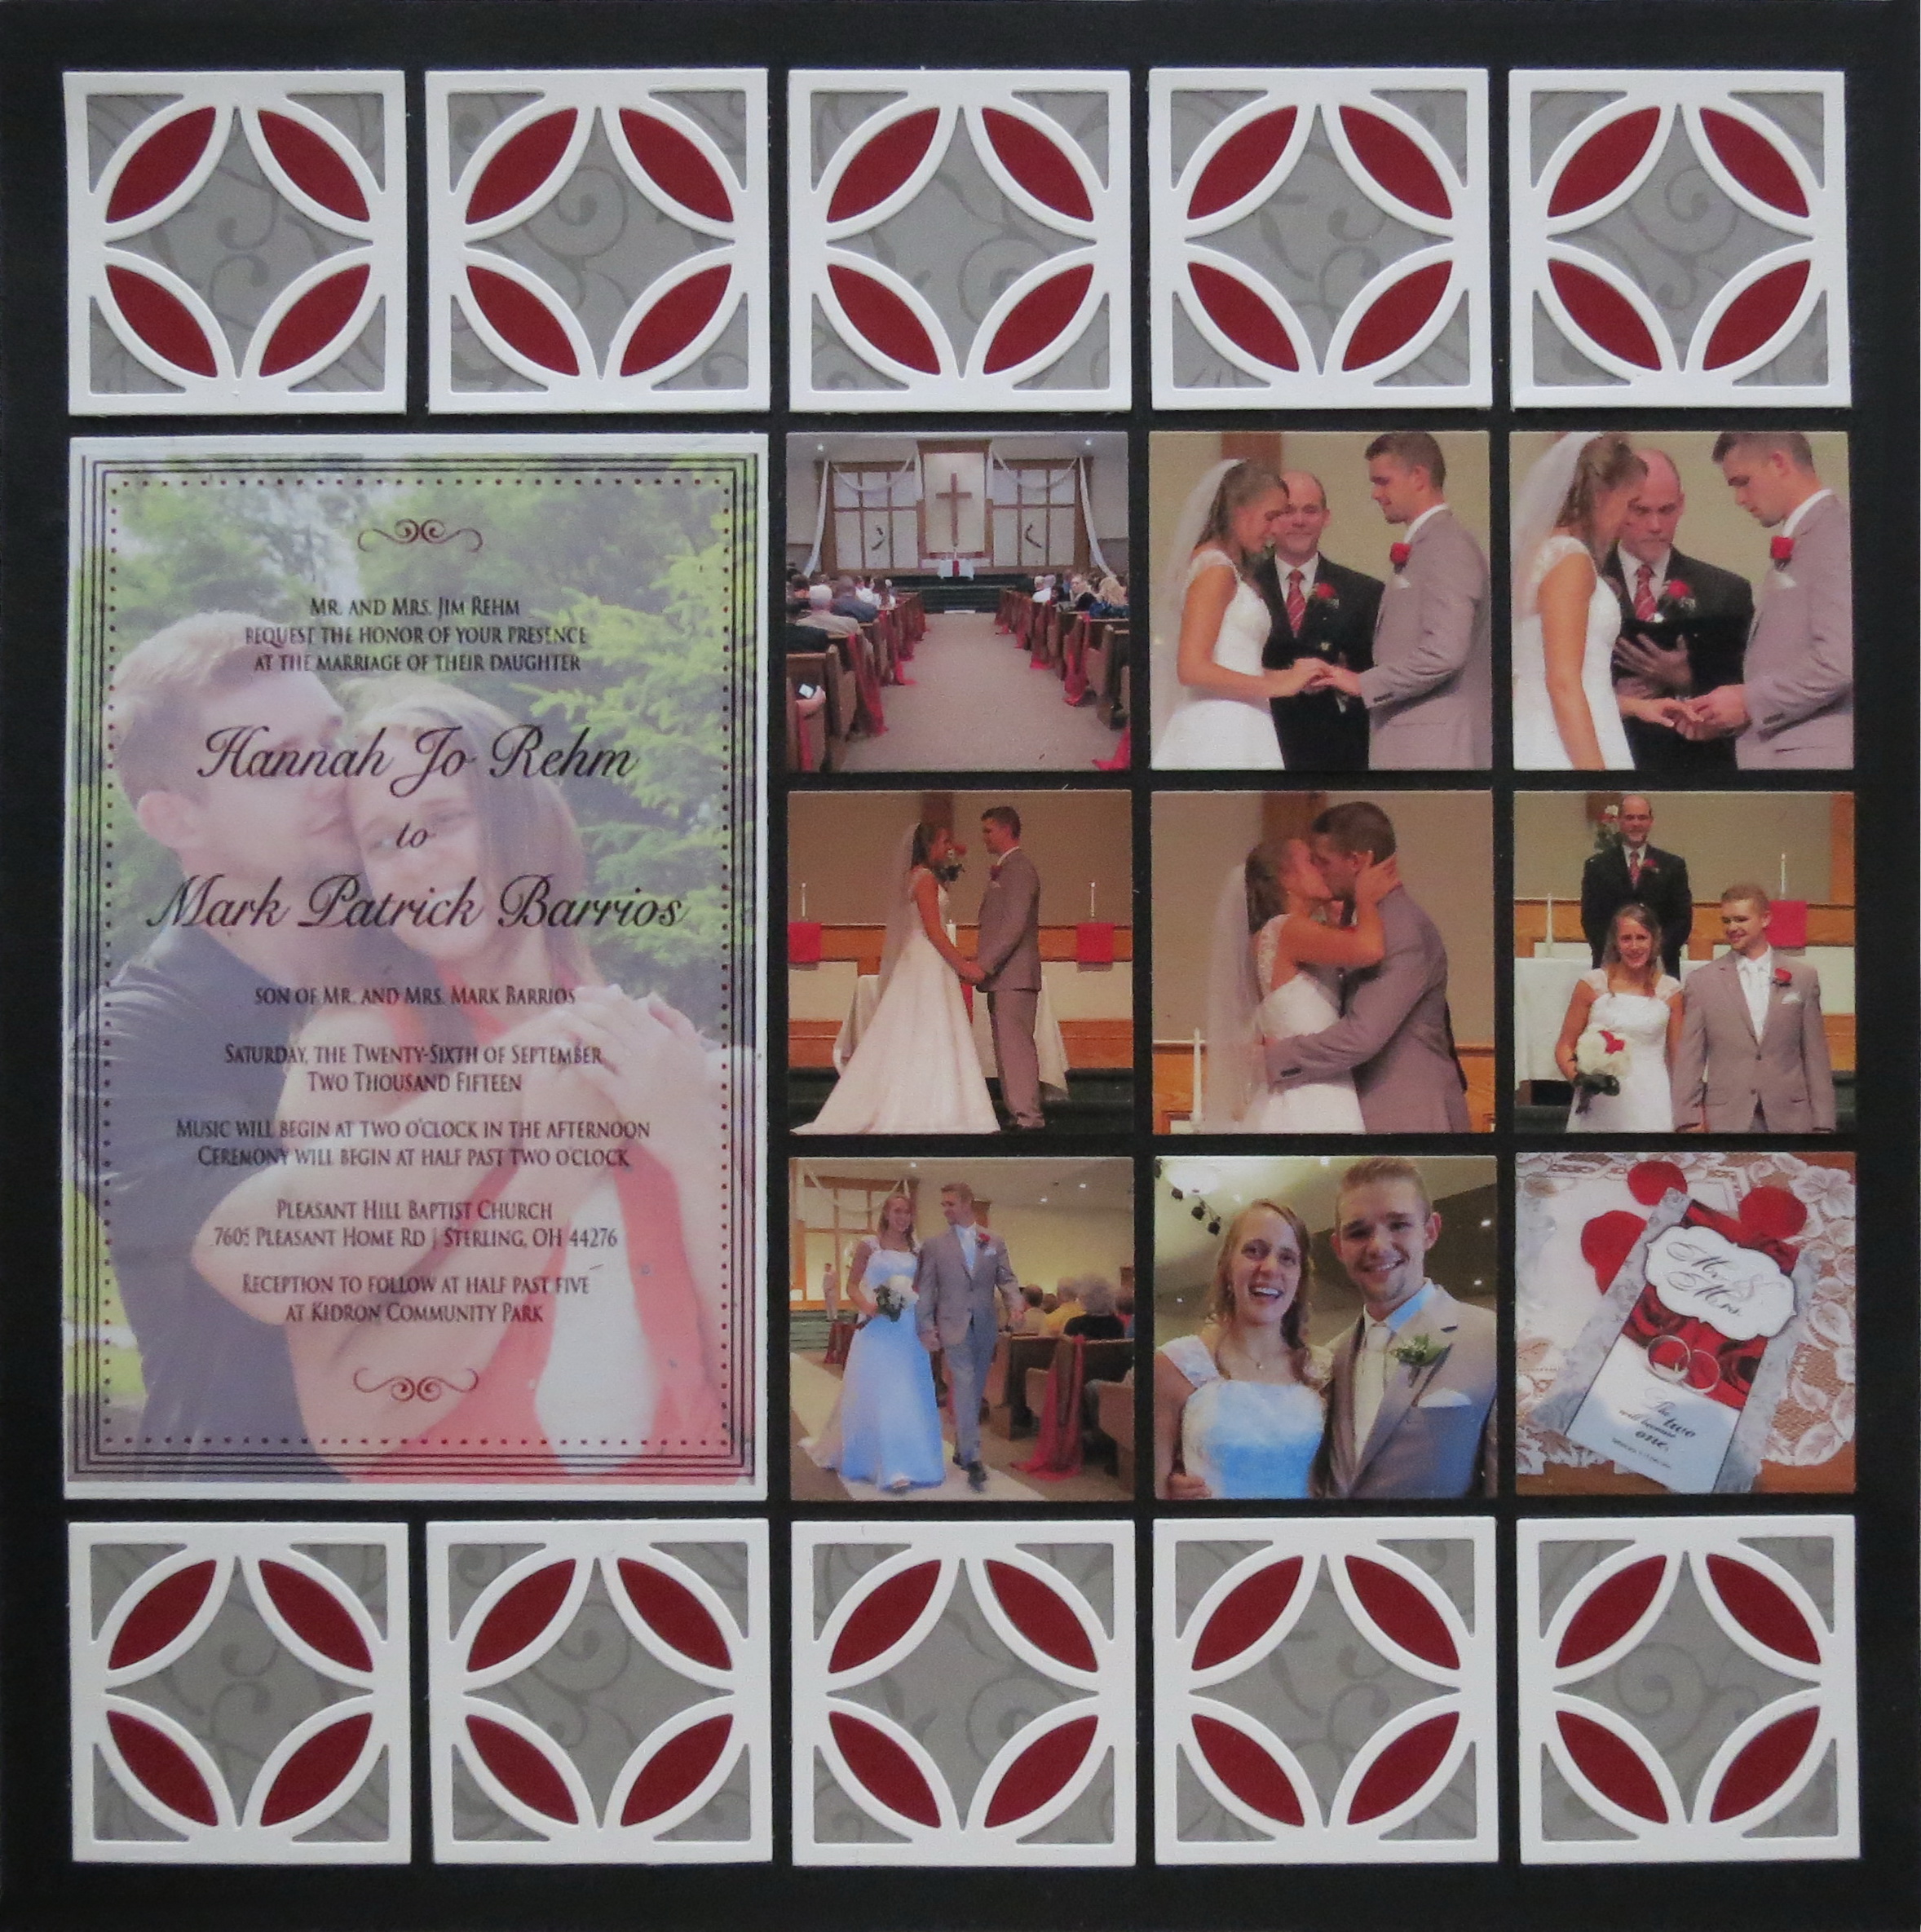
Diamond Ring Die Black Grid with gray and scarlet die elements
The couple’s invitation was two sided so in order to enjoy both I scanned the both sides of the original then overlaid the photo onto the wording and then saved, printed and cropped to fit the space using the 4×6 block die of Set B.
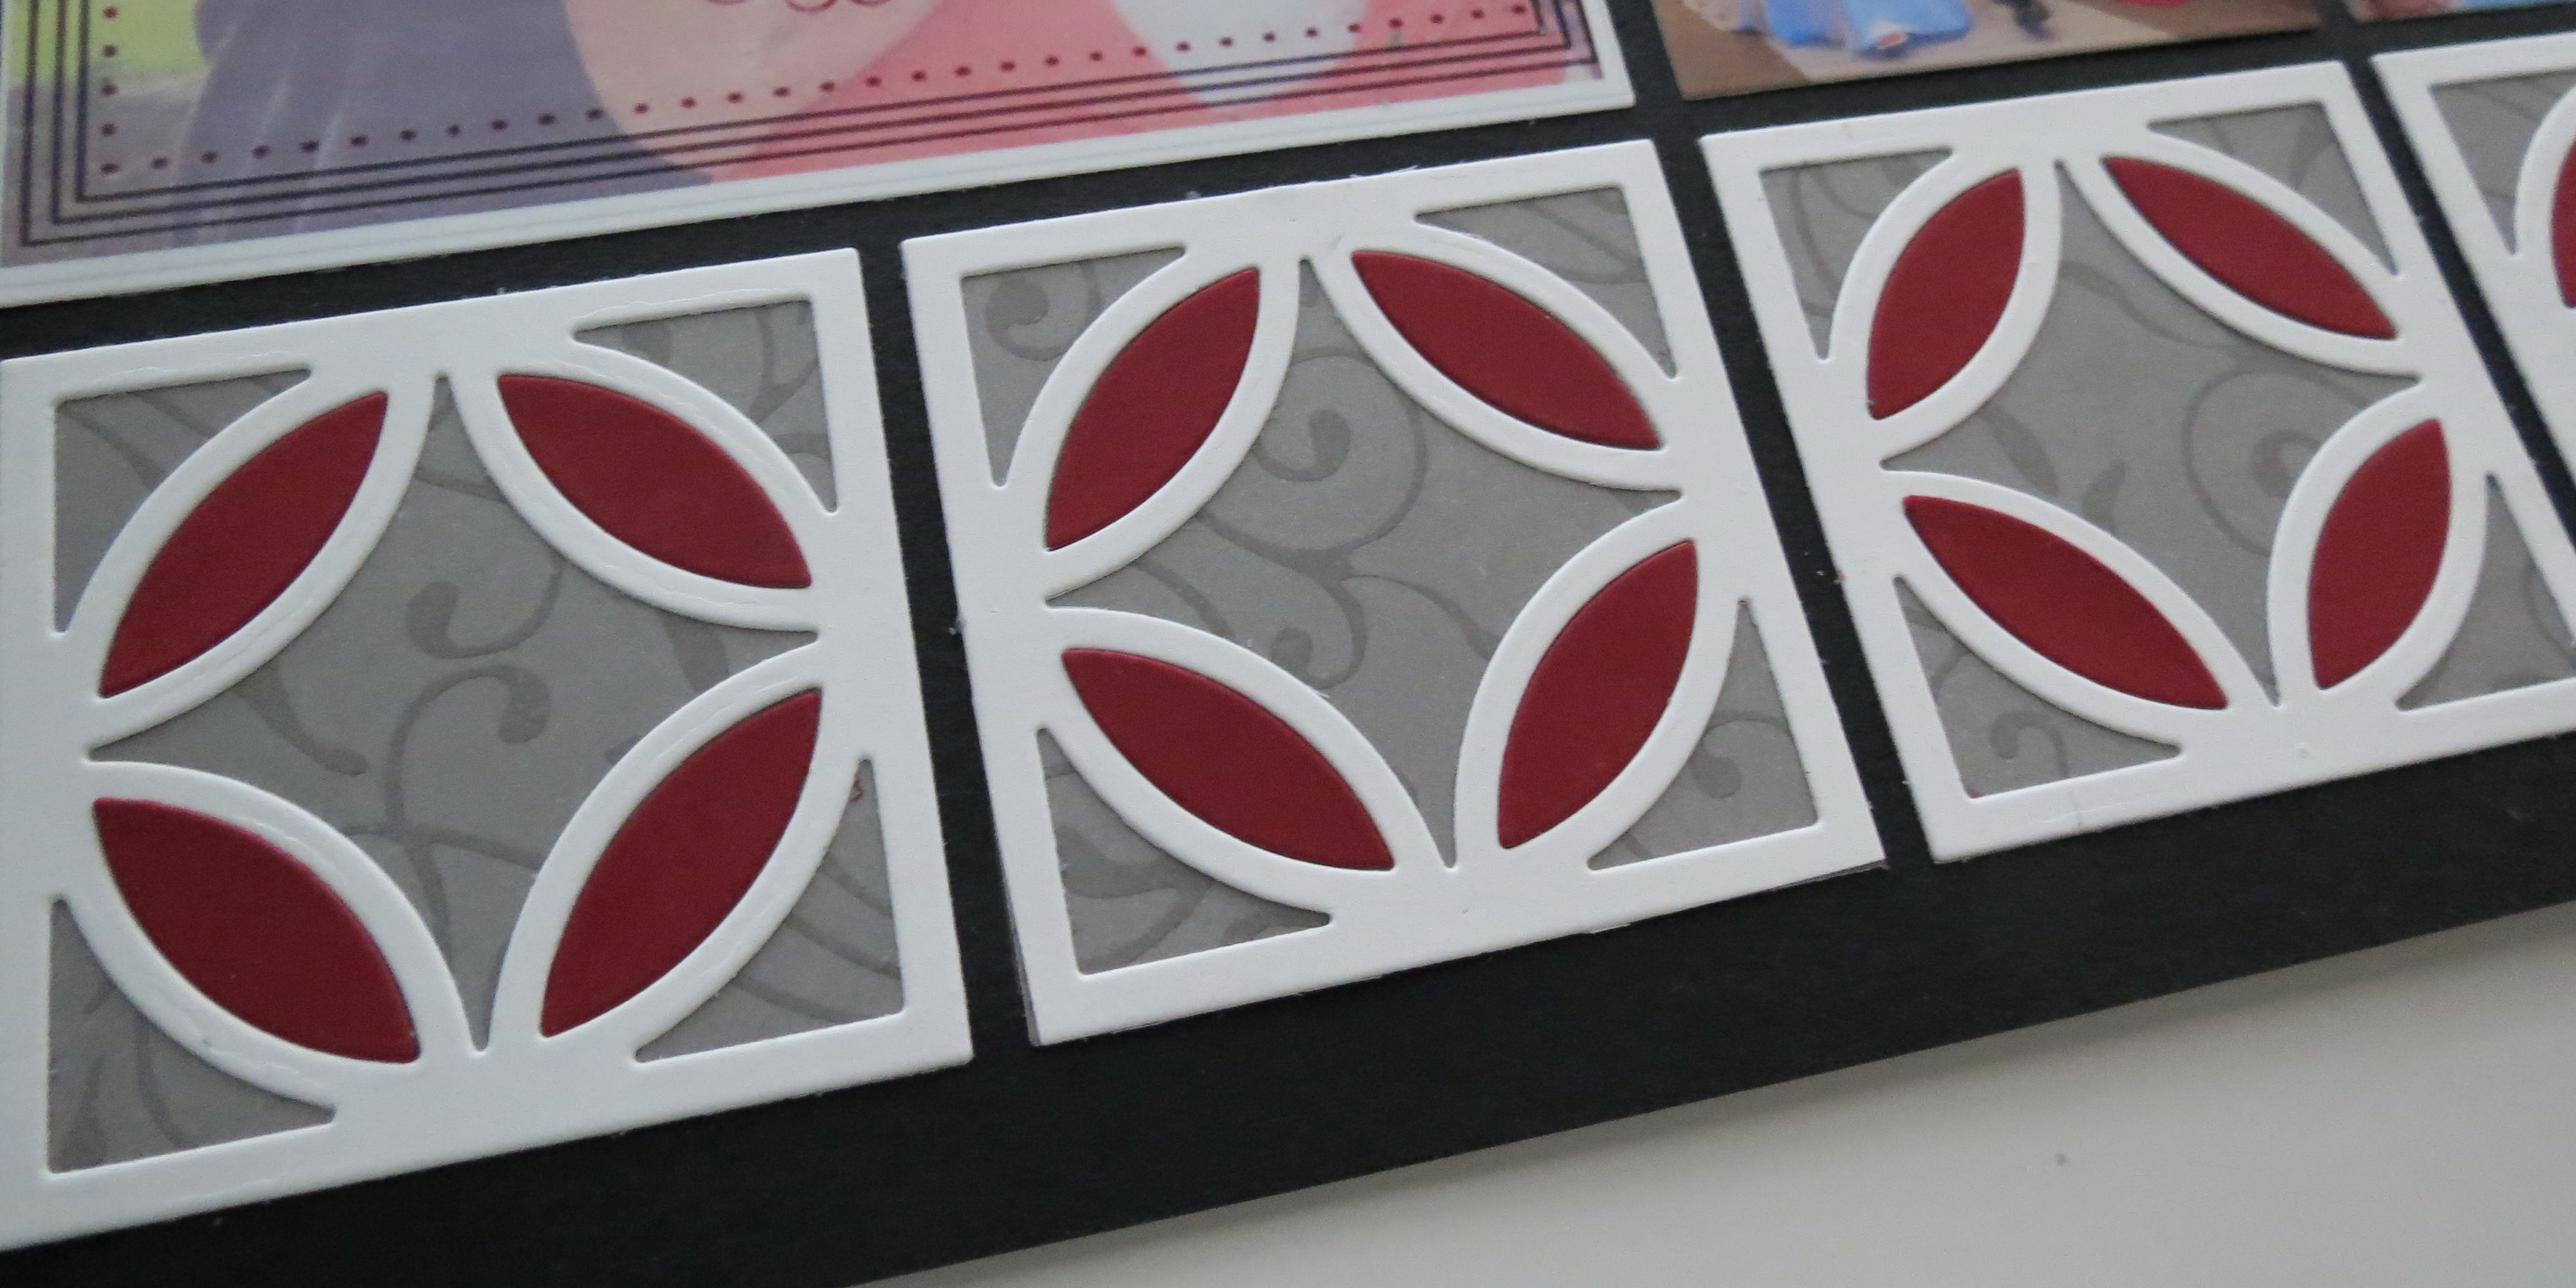
Diamond Ring Die detail of border option
Diamond Ring Die another option for border
Diamond Ring Die using the doublesided wedding invitation as a part of the design
One of the nicest things about owning and using the dies to create embellishments for your pages is that you are able to choose your own colors and it is economical to make as many as you need.
I encourage you to save all the scraps as you cut so that if you want to you are able to use them to inset in various applications. I store my bits-n-pieces in zip-lock bags and file them in photo storage boxes, you never know when they may come in handy!
I have another project in development for use with this die, so be sure to keep posted for that holiday idea in the coming weeks.
Meanwhile, why not get started and play around with these diamonds and see what you can create and be sure to show it off on our Facebook Page.
Andrea Fisher
Stop in on Pinterest for all the latest inspiration on our boards and find this pin here too!
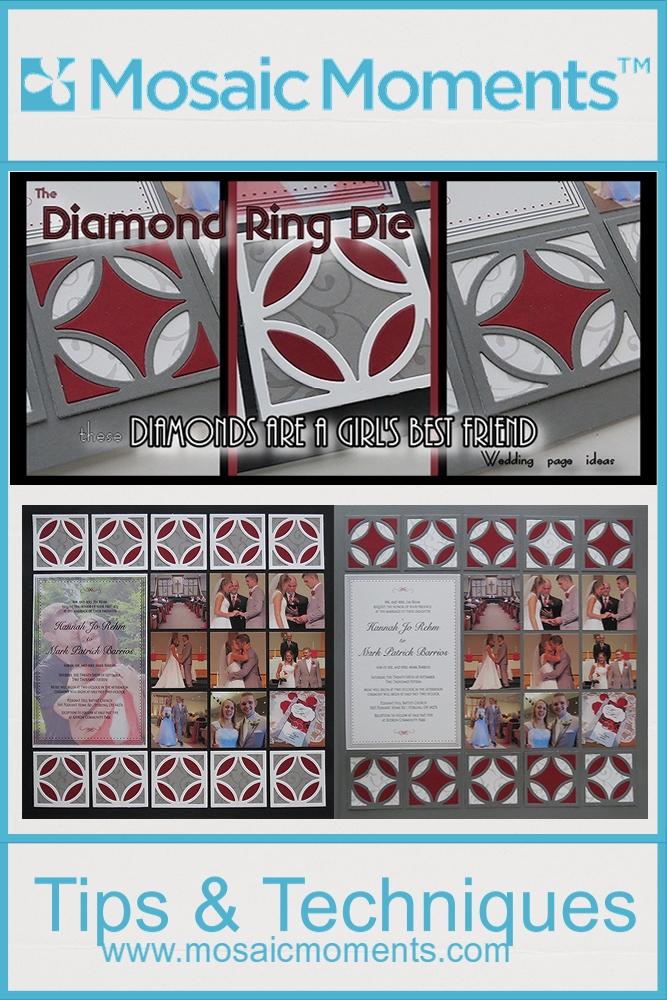
The Diamond Ring Die…these diamonds are a girl’s best friend when it comes to designing wedding pages.