

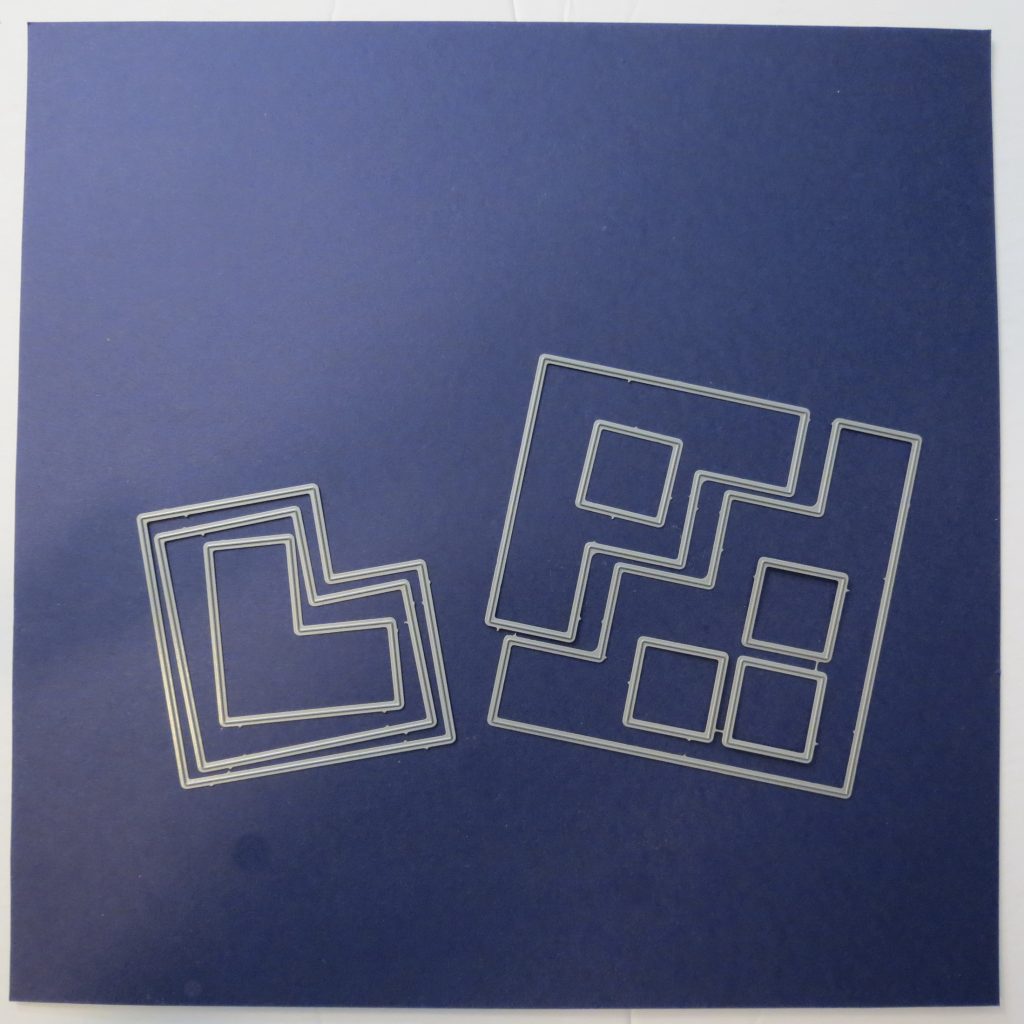
Some of you have found that there are dies that require us to see beyond the Pattern Gallery to use them. Seeing examples of what can be created really helps us visualize their use and often sparks the imagination to more possibilities. The Steps Die and Corner Cut-Out Dies are a pair that have challenged me.
In all honesty, I can’t say that either of these dies are favorites of mine. In fact, I started out decidedly unimpressed by the Corner Cut-Out Dies and didn’t see a huge draw to the Steps Die Set. Until I saw the Corner Cut-Out die work with the Four Corner Cut-Out Die, I wasn’t too sure of the potential of the die.
Likewise, I thought the Steps Die took up a lot of real-estate and limited design options. However, I’ve been wrong before so I thought I’d see how the Steps Die could be used to help me with a pattern I’d been playing around with for a while.
TIP: I’ve found that by cutting a few of the die sections and taking the time to envision what can be created I get the chance to brainstorm and try out some of those ideas. Some work, some don’t, some have lots of options to choose from, but they all let me get familiar with the die before cutting into a photo.
TIP: If a die seems intimidating to you, my best suggestion is to play around with it and see what happens.
So even if I started out unimpressed, I thought it was worth putting some effort into trying to see what I could create. Happily, I now have several options to try out with future layouts.
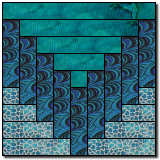
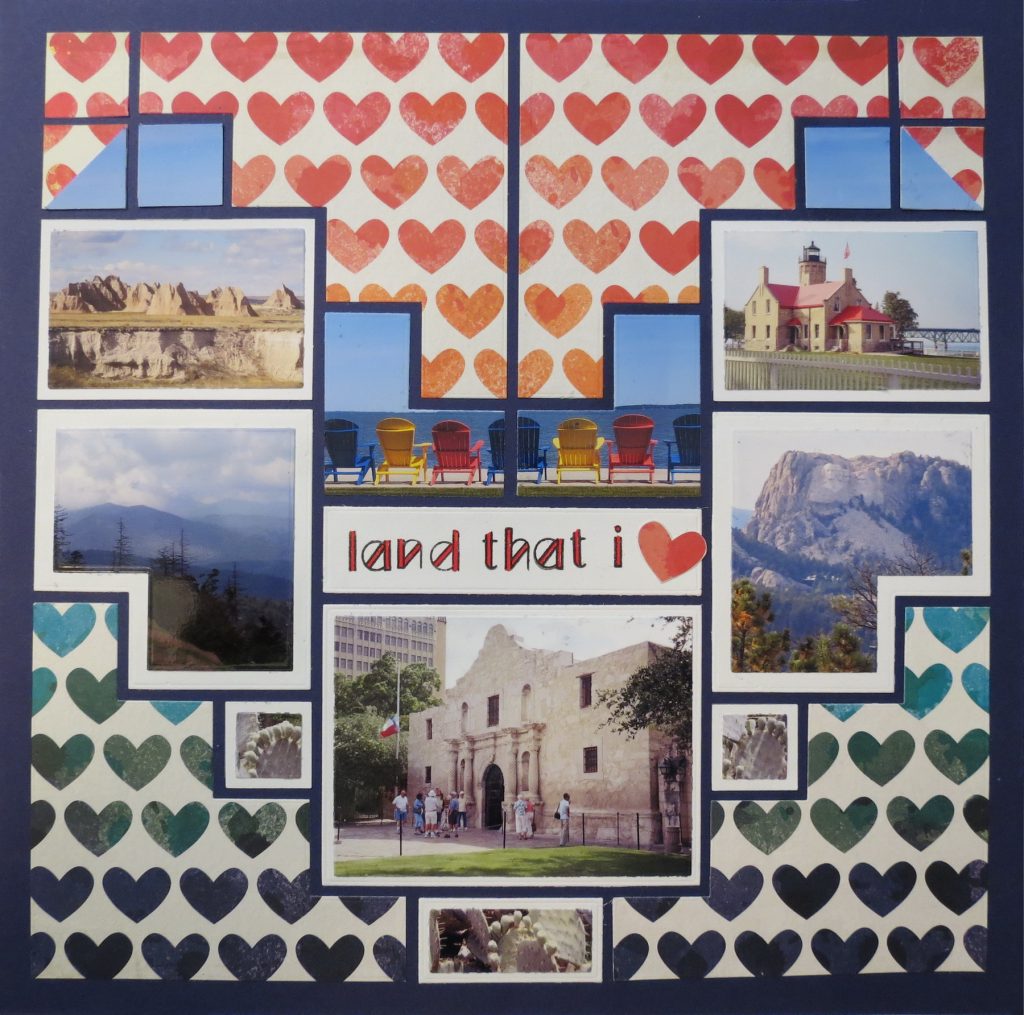
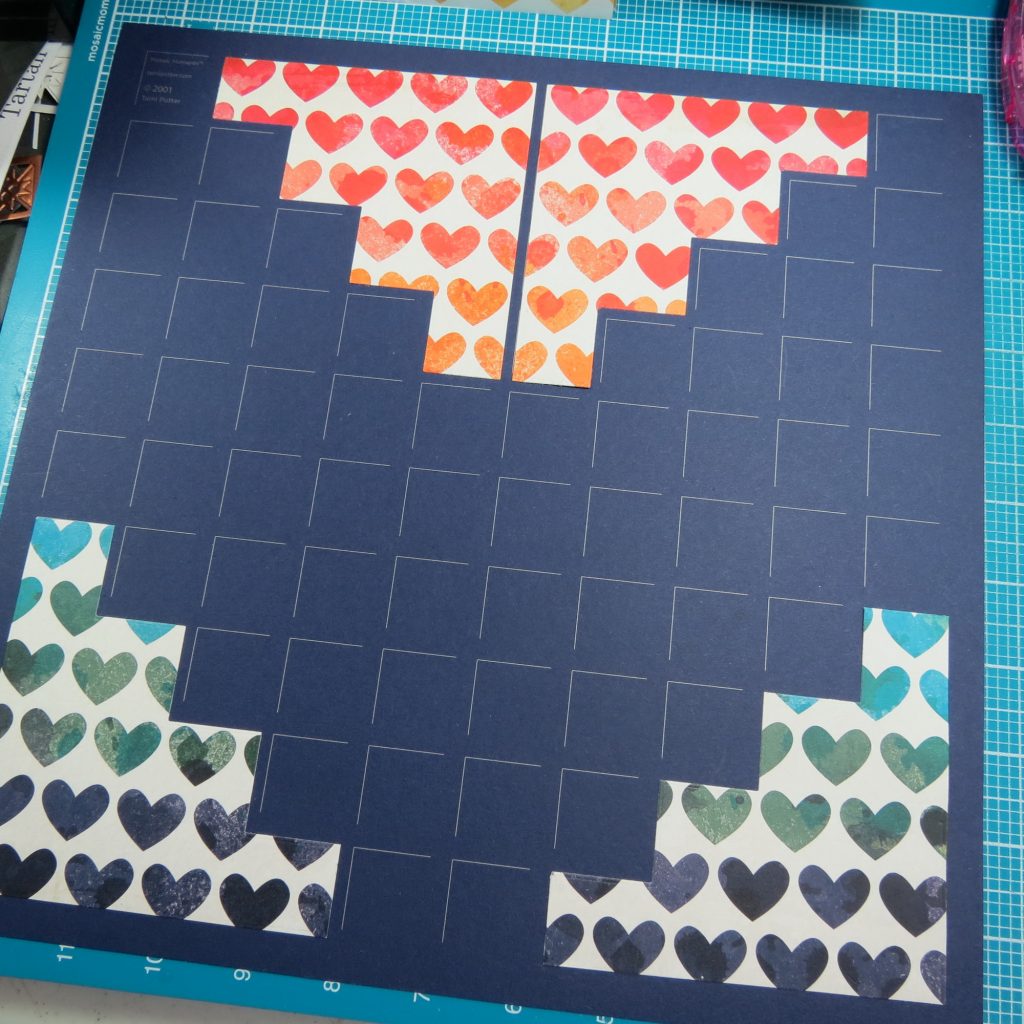
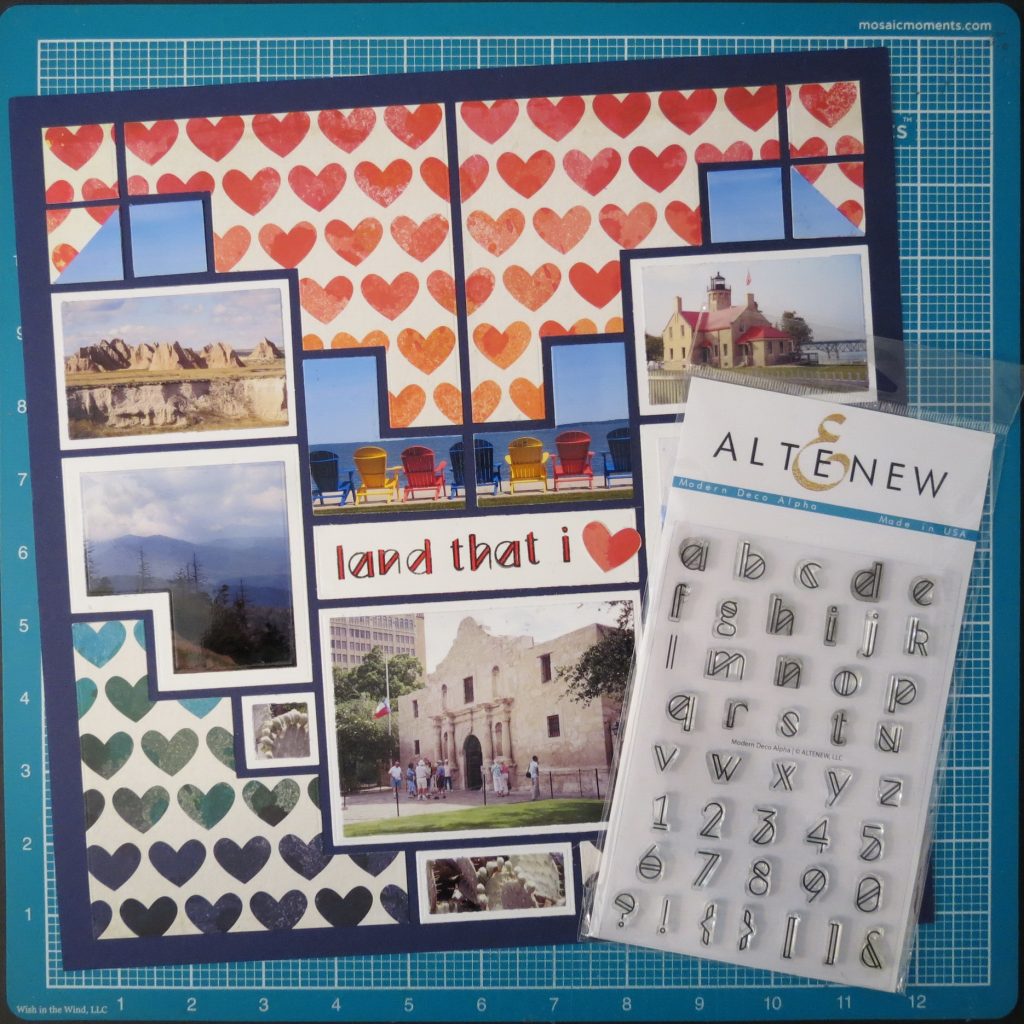
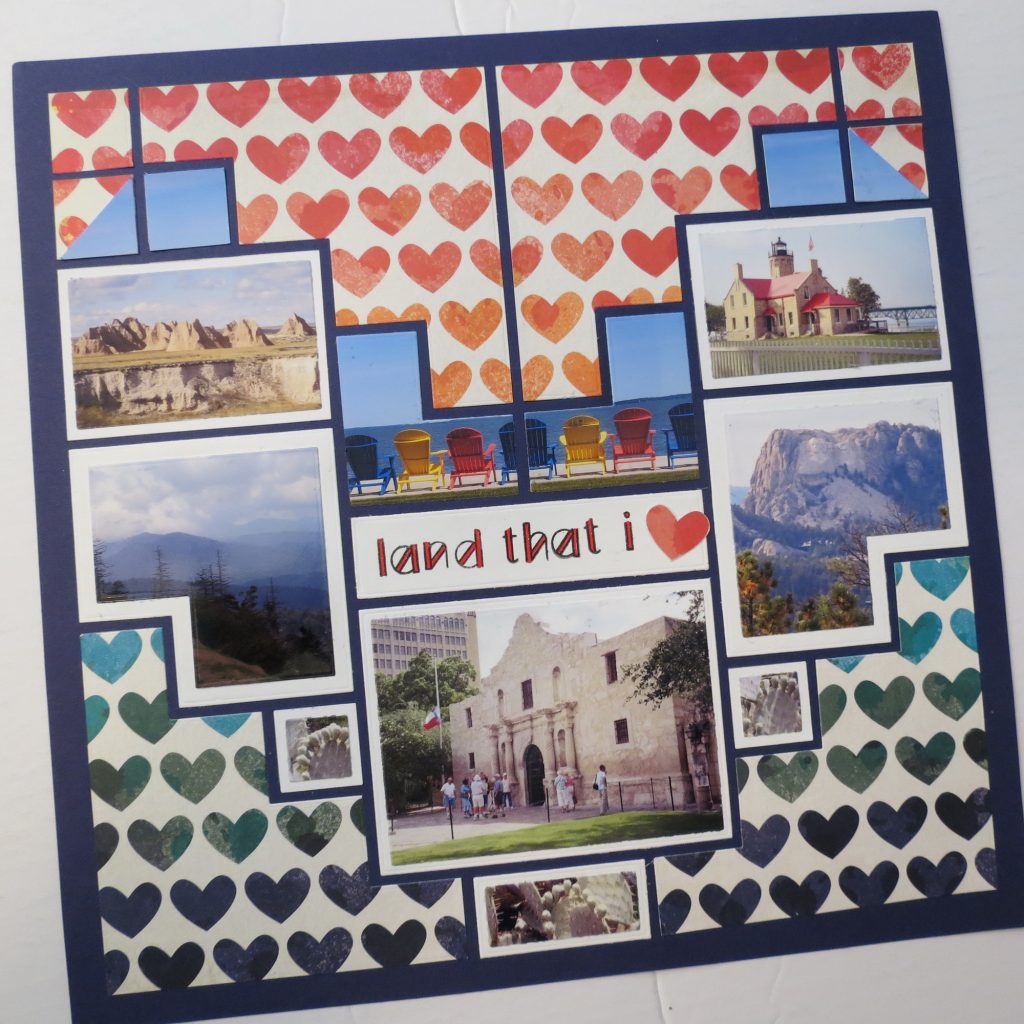
I had two heart patterns I’ve been thinking about ways to translate into a mosaic pattern. I’ve taken the quilt block that inspired me and with the use of the Steps Die worked outside of the Mosaic Moments Pattern Gallery to get this design.
Once the Steps Dies have created the outline of the heart there are countless ways to arrange photos within that area. This is where being able to sketch options out is helpful. Mosaic Moments offers a free download of the ‘Free Grid Planner’ that has six Mosaic squares on one sheet and is perfect to create and view six different solutions to compare ideas.

As I played around with various tile arrangements, I saw how I could easily incorporate the Corner Cut-Out dies and things fell into place.
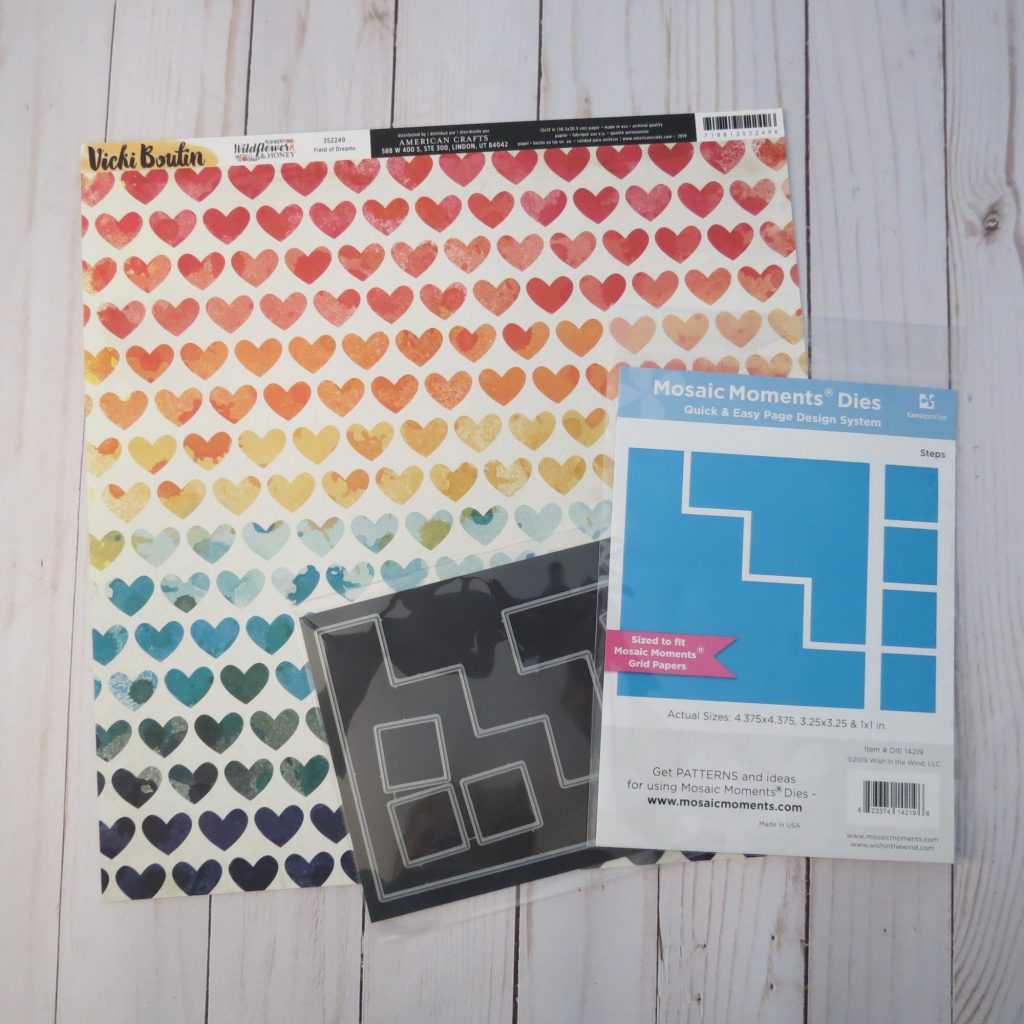
My patterned paper by Vicki Boutin (Field of Dreams) is a heart pattern with a rainbow type flow of colors from red to violet-blue. I divided the paper into four quarters and working from the center out cut the top section with the Steps Die.

I also cut a 1” square from the paper to keep in line with the pattern on the top row. For the second row another 1” square from the pattern. Later I will cut a photo triangle and use it to round it off for the heart shape.
I’ve chosen the Sapphire Blue Grid Paper with its blue-violet color to complement the blue hearts of the paper.
With a red band of hearts at the top and a band of blue hearts along the bottom, it seemed like a good idea to have white mats within the heart for a Red, White and Blue look. I considered mats even for the 1” squares.
IDEA: If you have the layering dies you have a small layering die for the 1” square. So, why not try them out? You just might like the look!
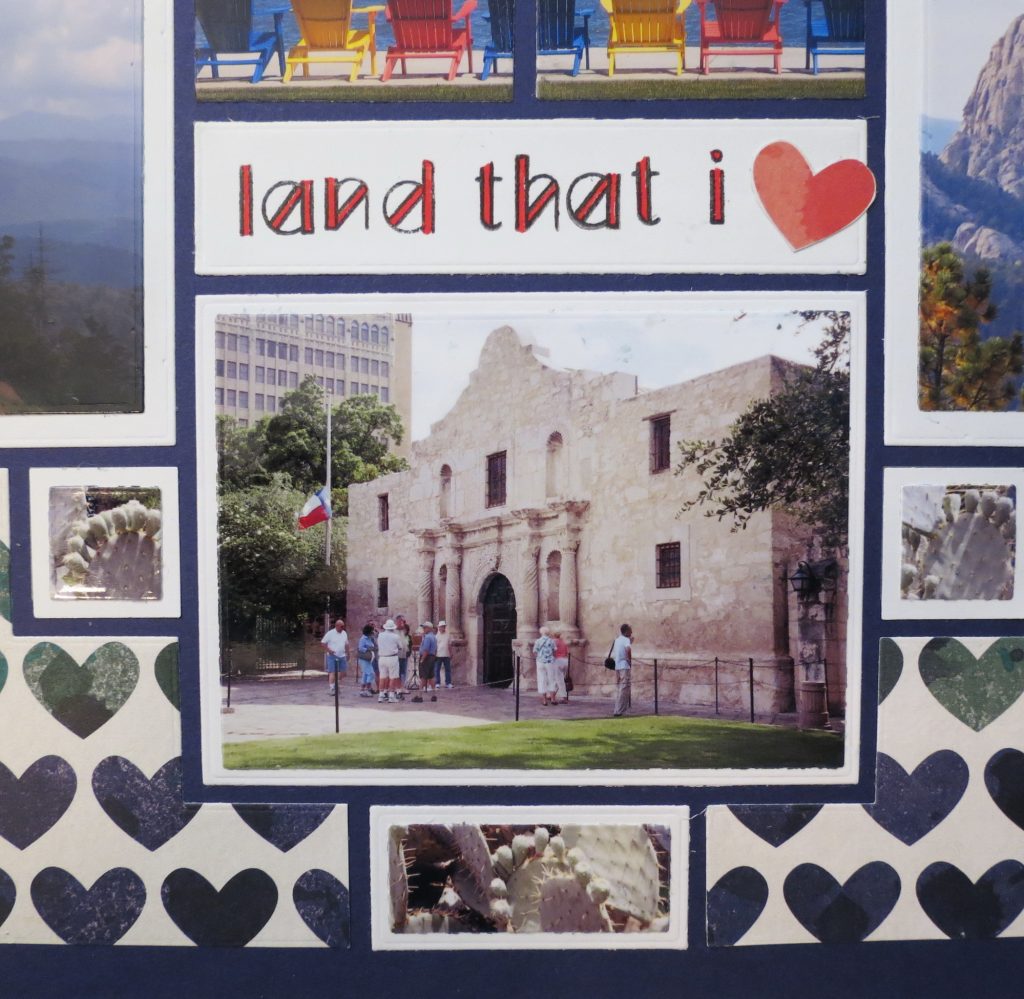
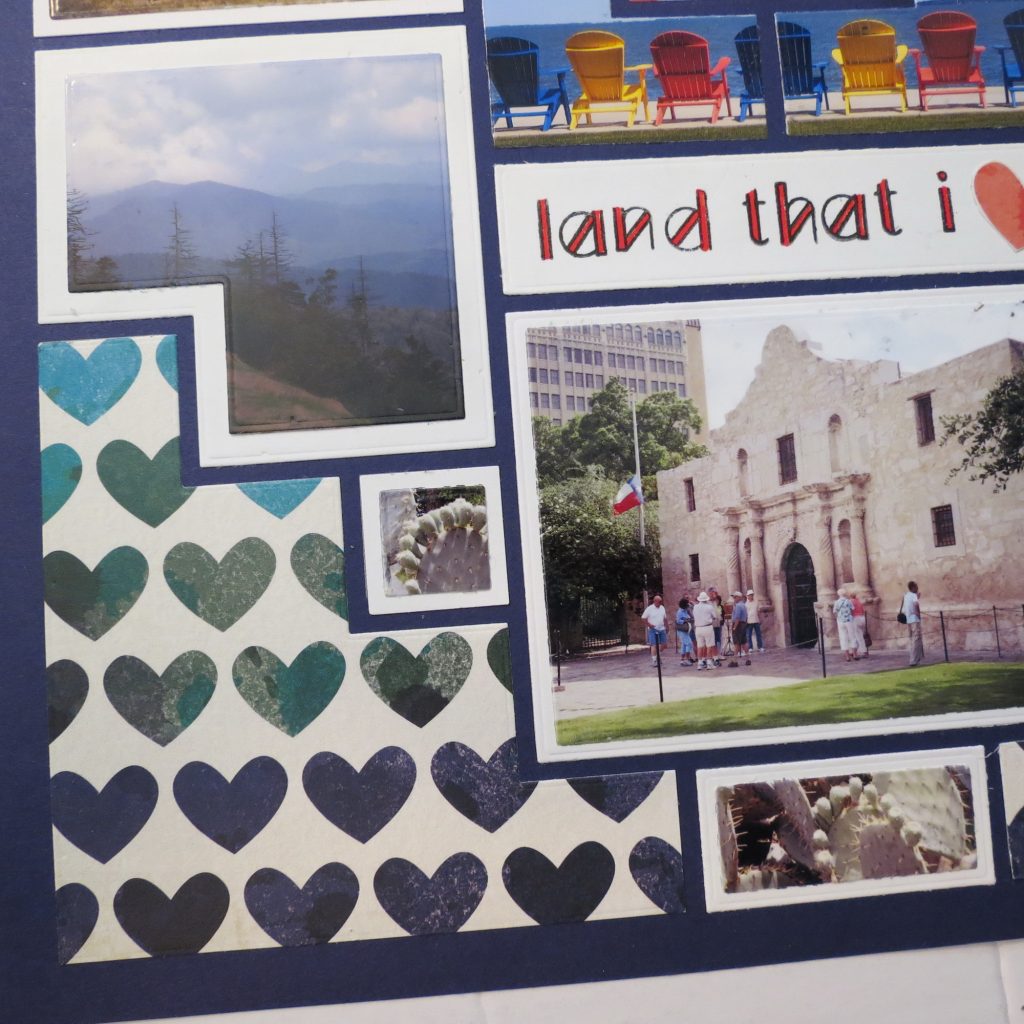
At the very bottom of the heart shape is a 1×2 section that I also used the layering die. These three tiles surrounding the Alamo are filled with sections from a photo of Cacti in the Alamo Garden.
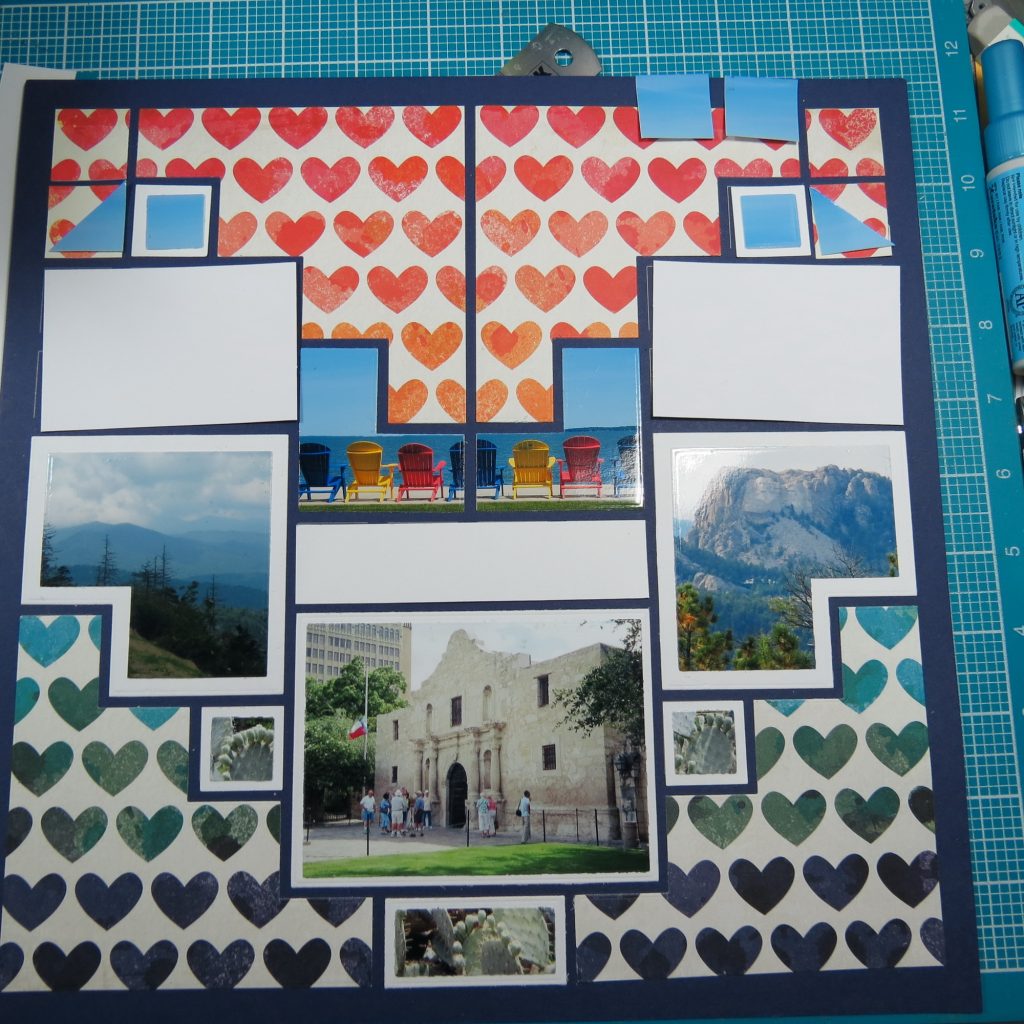
I departed from using the layers for the 1” die for the skyline. Having used the Corner Cut-Out die for my beach chairs, the sky filled the top of each cut, after trying it both ways I opted to use a full 1” sky tile and then cut a second to cut in half for a triangle to lay on top of the patterned paper tile for a ’rounded’ corner for the heart shape.

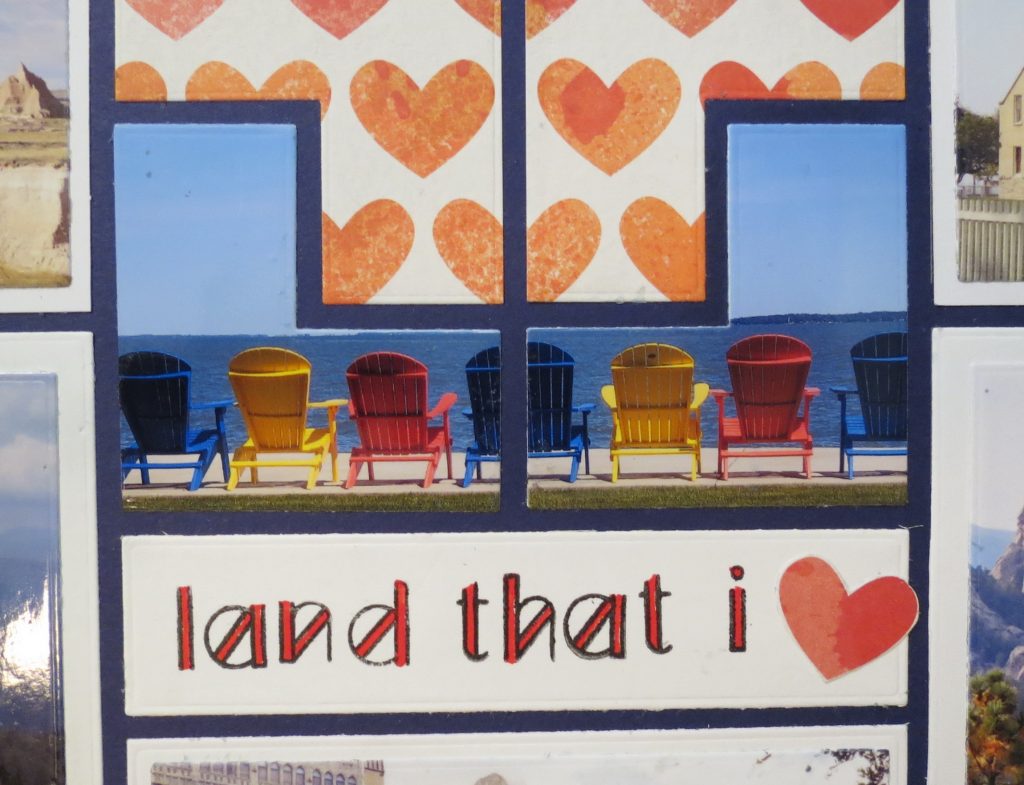
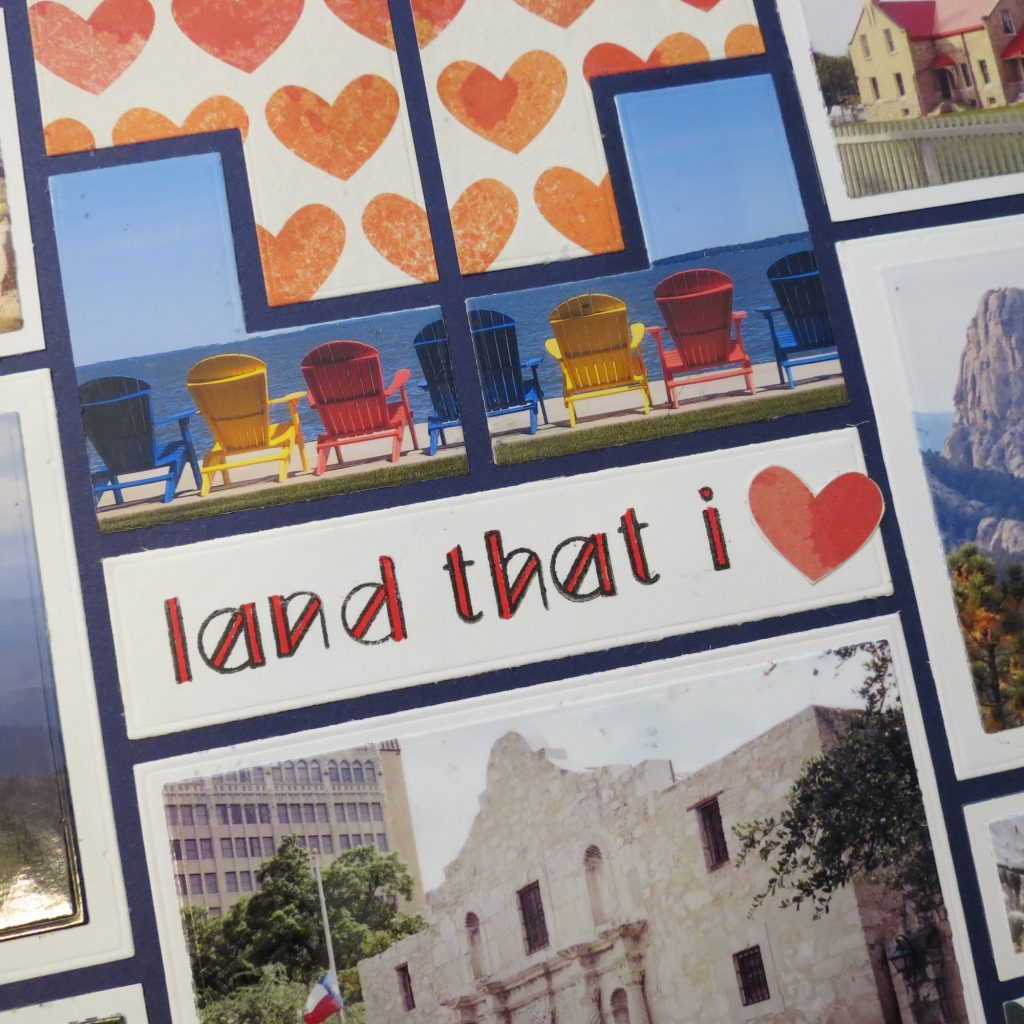
My title is stamped with Altenew’s Modern Deco Alphabet in black and colored with red. I’ve fussy cut one of the hearts from the paper and attached it to the end of the title strip.
There are so many possibilities within the heart border that you can customize any way you’d like. I thought I’d throw another one from my sketches together with strong contrasting colors to show one more way. A series of 2x2s, 2x3s and 2x4s with 1” squares to fill in as needed to maintain the shape.
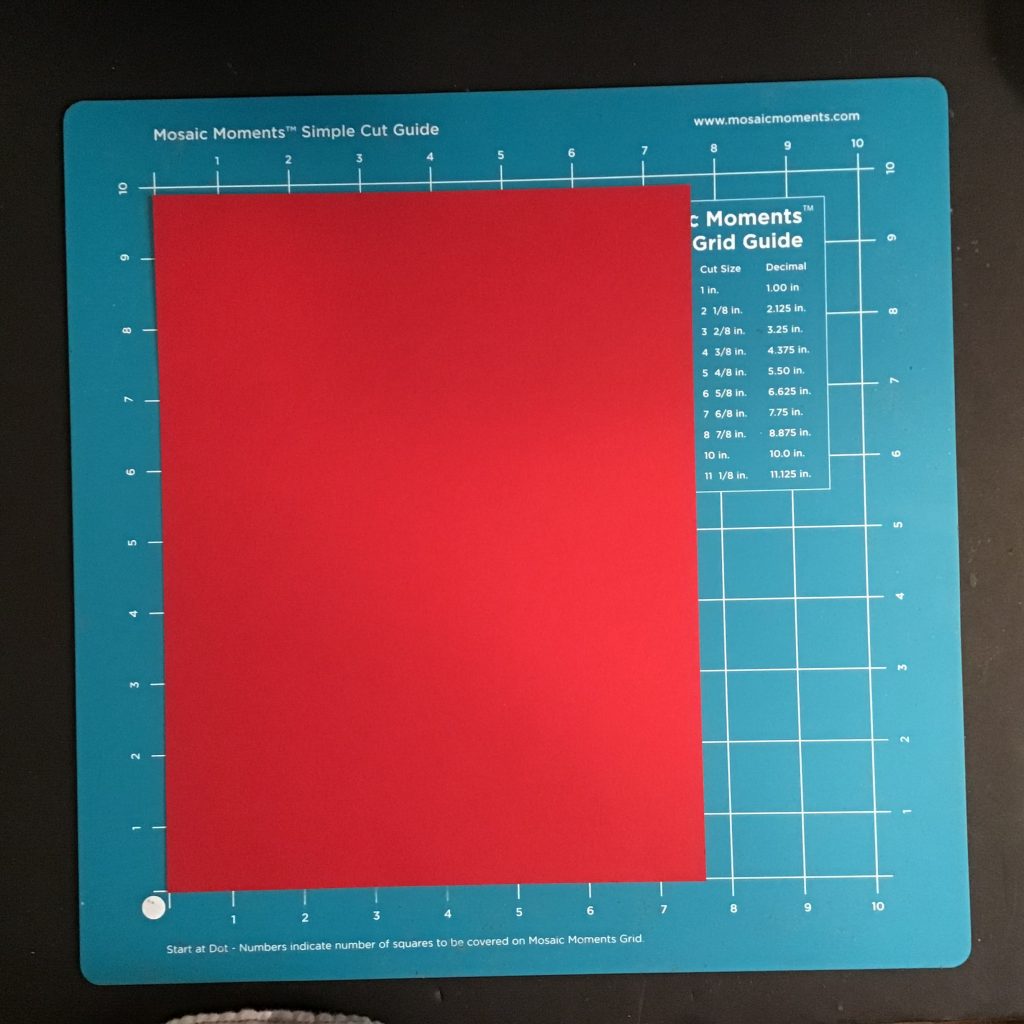
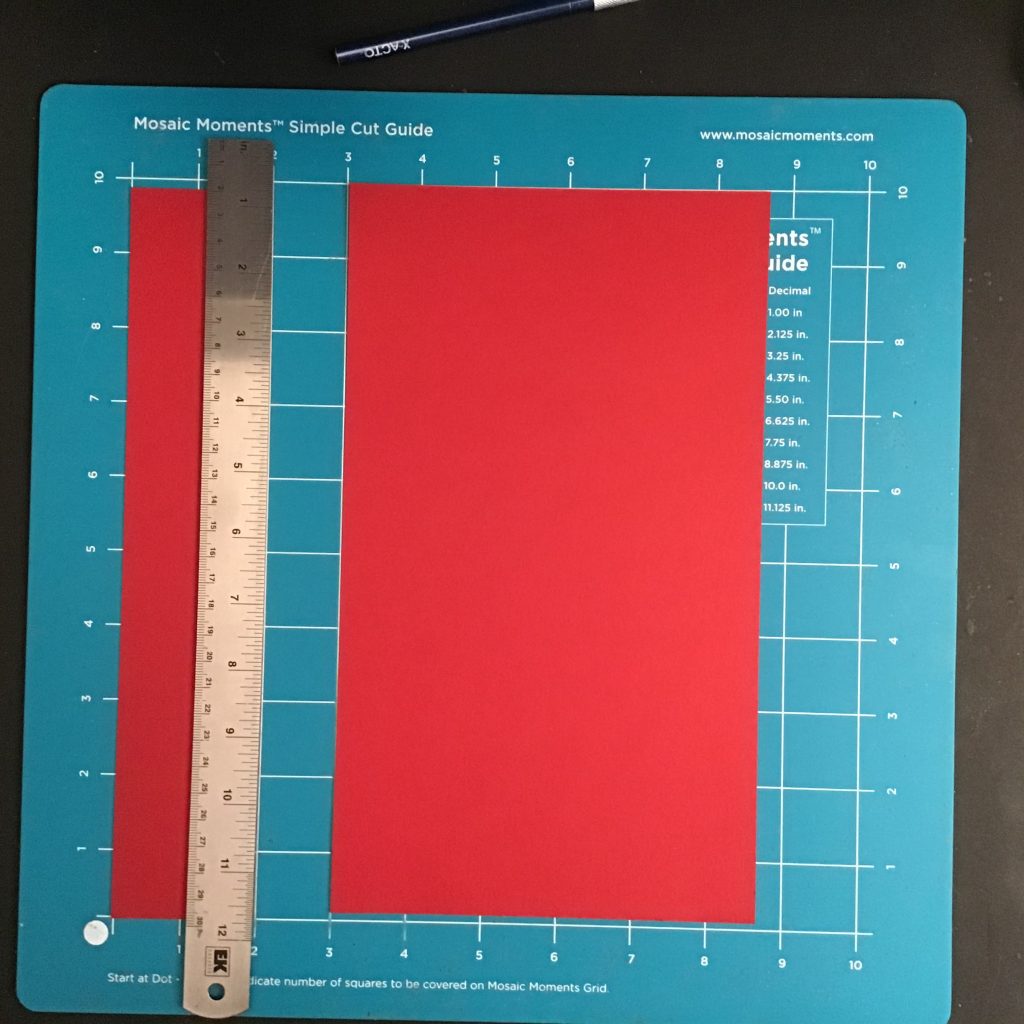
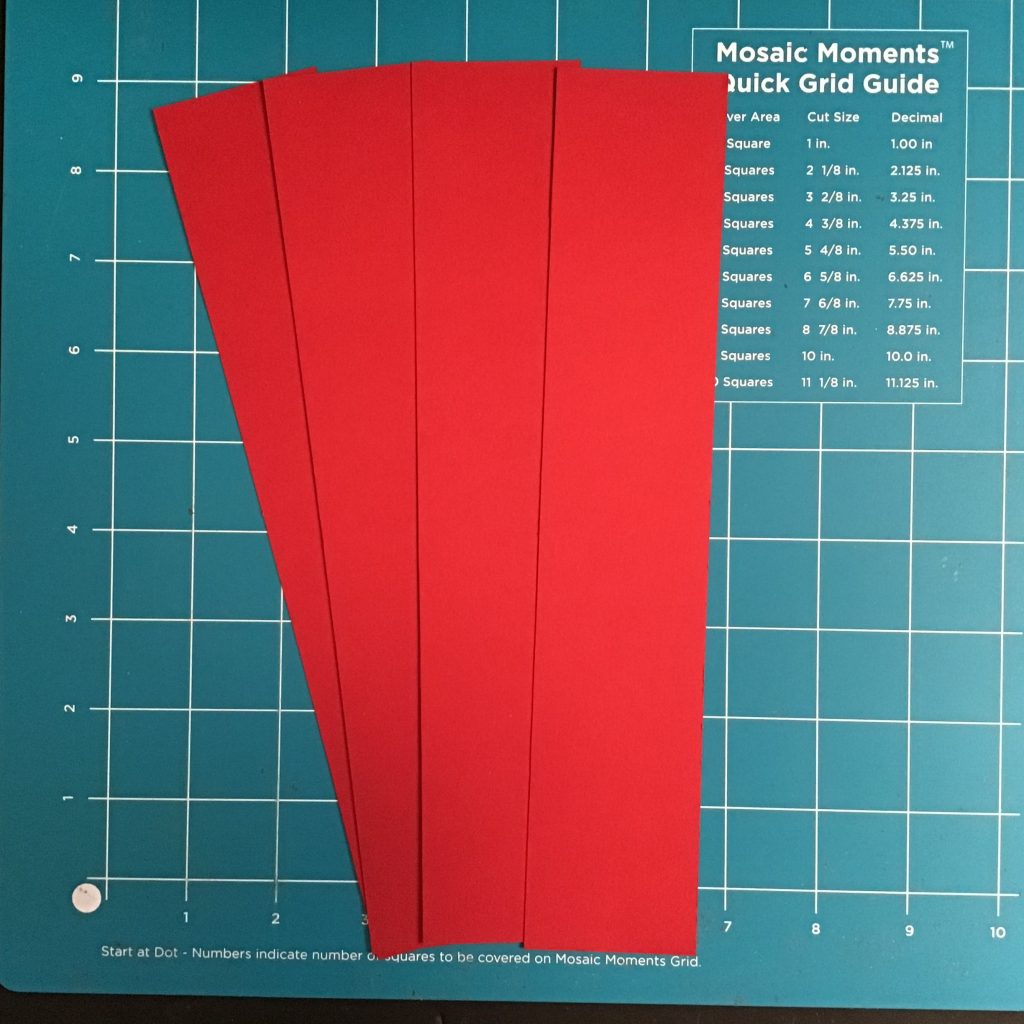
This is easy to do with a single sheet of 8.5”x 11” cardstock. Hand-cut into 4 – 2.125” x 11″ strips using the “B” side of the Double-sided Craft Mat and X-Acto knife then into the tiles that you need.
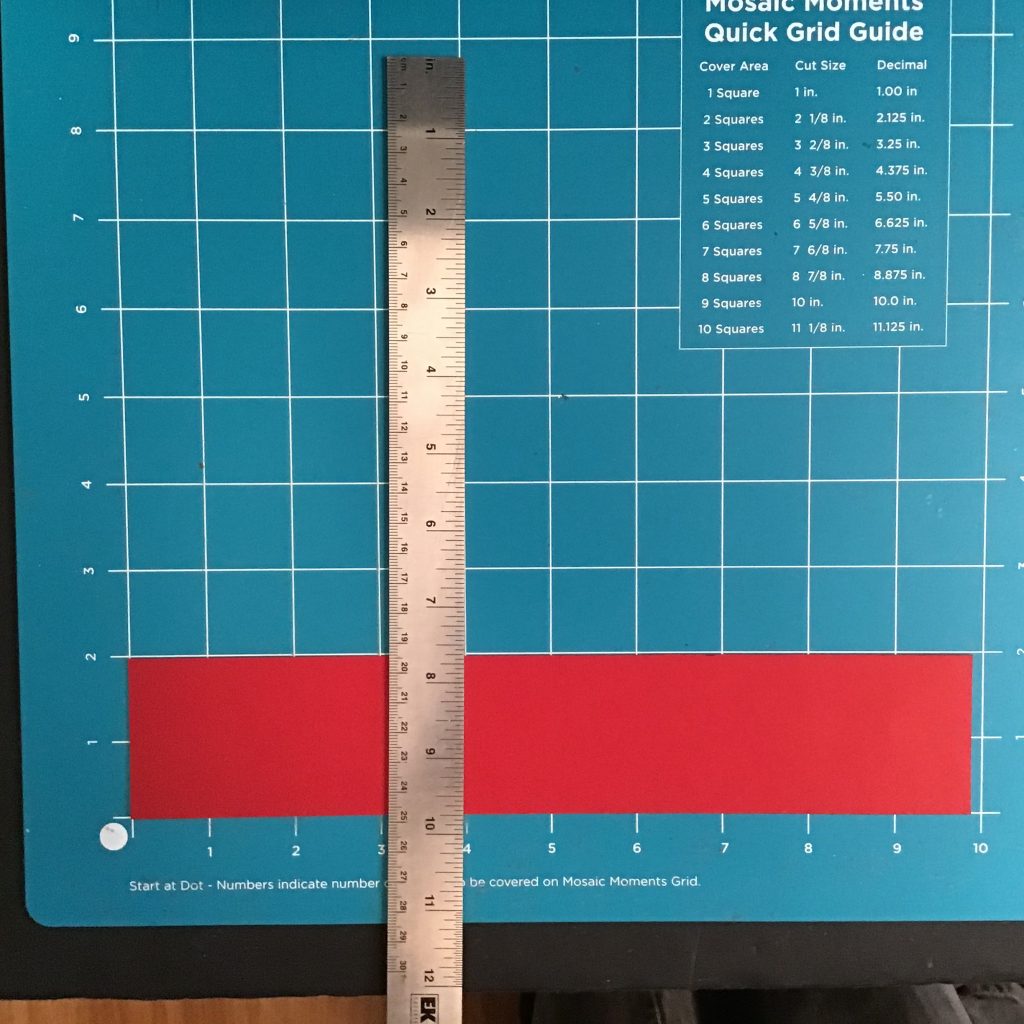
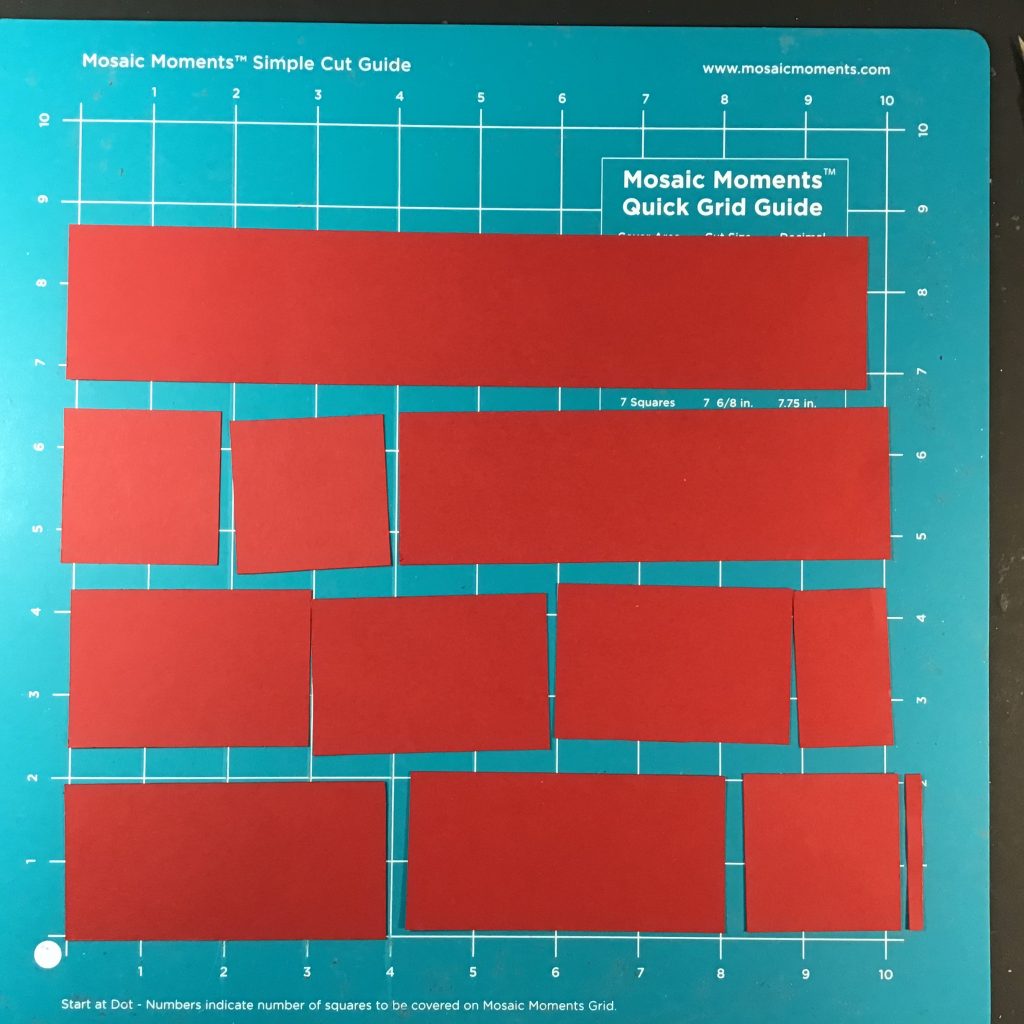
Use the layering dies to cut your photos and journal blocks. Even quicker to cut 1” squares if you have a 1” punch. Easy peasy!
TIP: Now if you are really picky about having a straight heart shape without all the steps. Use your Corner Die (12) and cut triangles to cover your steps and smooth things out. Or switch to the 4×4 Corner Set to accomplish the same thing.
Now go find one of those dies you have that you haven’t used too much and cut a few pieces and get playing around! Who knows, you may turn a “decidedly unimpressed” die into one of your favorites!
Andrea Fisher