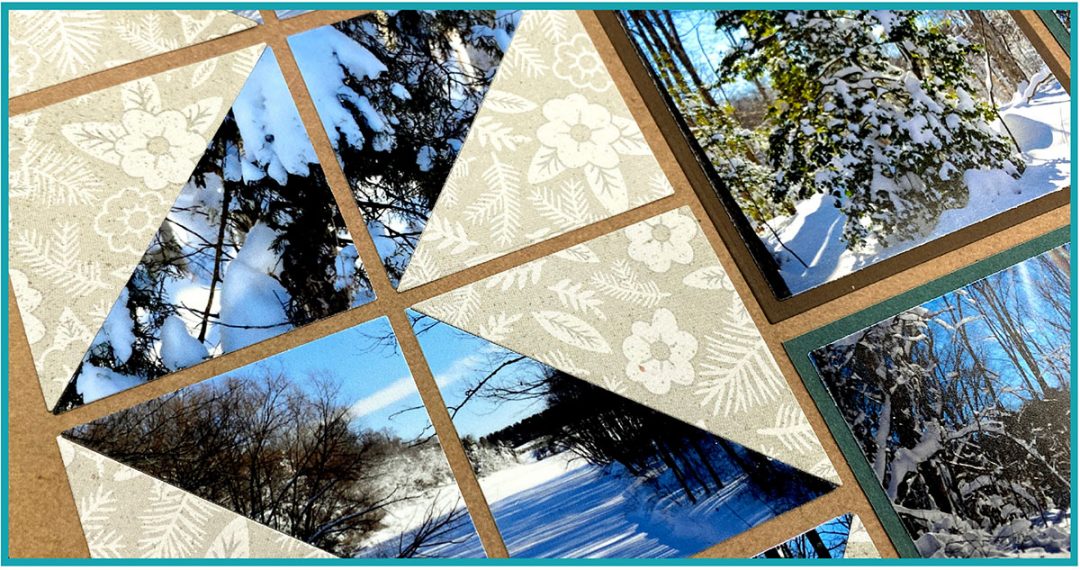
Corner Tiles can, of course, be used to make photo corners or triangles on your layout. But you can also use them to create some pretty nifty graphical designs.
Check out some of the possibilities below.
Create Photo Corners
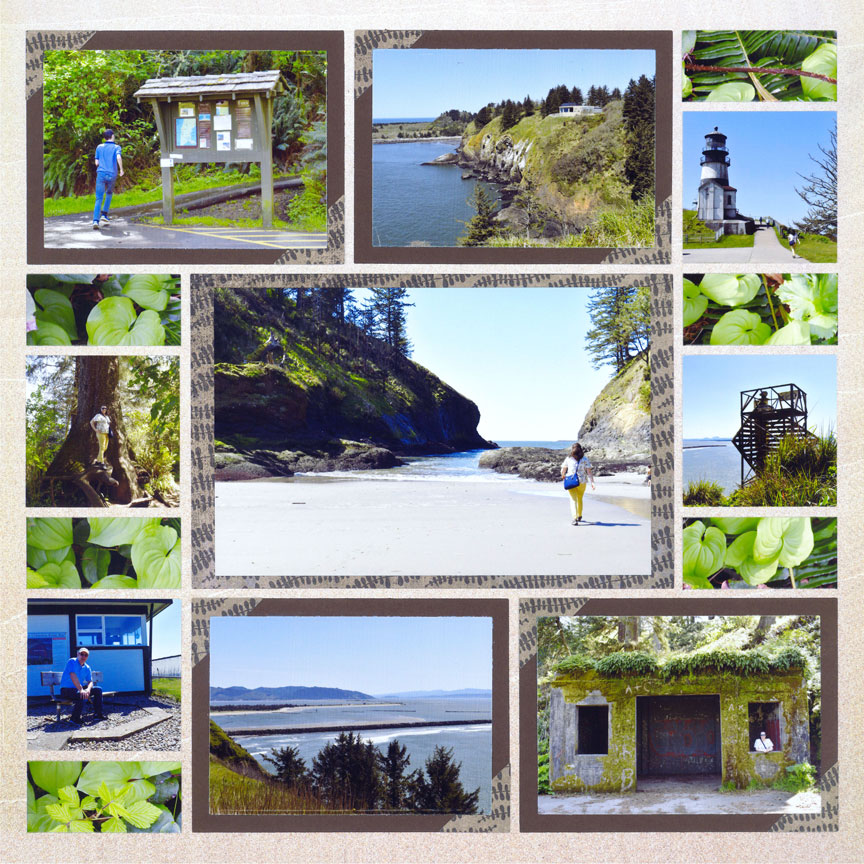
"Pacific Coast" by Paije - Pattern #394
By adding small corners to a mat, you can give your photos an added touch reminiscent of the Victorian corners used to adhere pictures into an album.
Here, Paije used them on just two corners of her photos, but you could use them on all four, if desired.
Make a Zig Zag
Corner Tiles can also be used to create zig-zag and chevron patterns.
On this one, Paije used the Jumbo Corner Tiles Die to make a zig zag down the side of her layout.
You could do a similar design across your layout, as well.
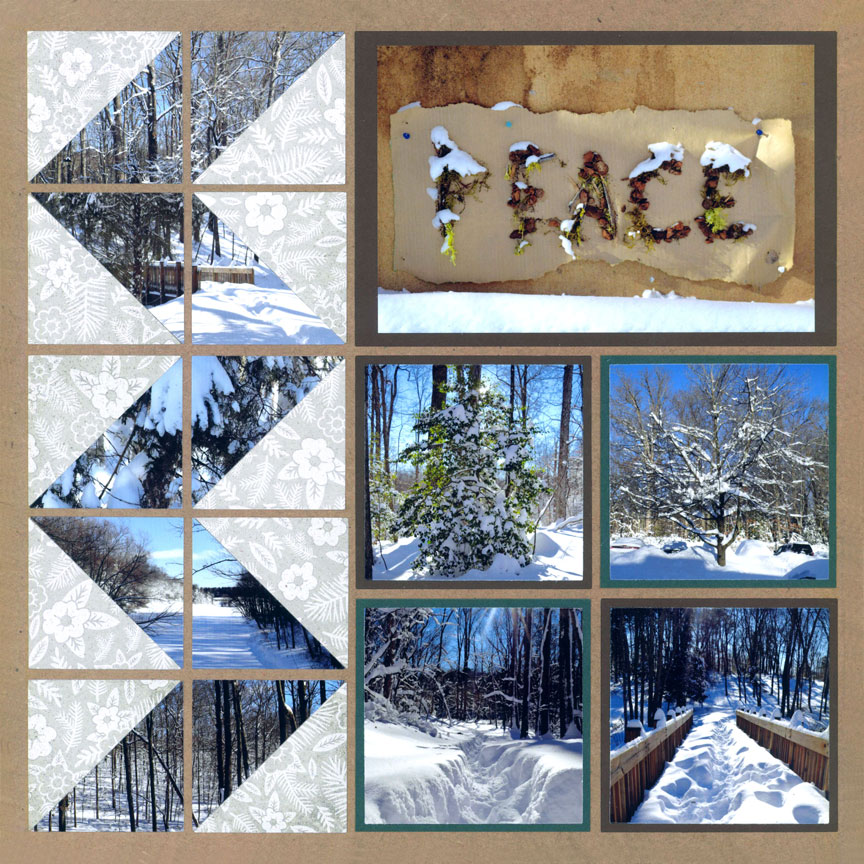
"Peaceful Winter" by Paije - Pattern #417
Copy a Quilt
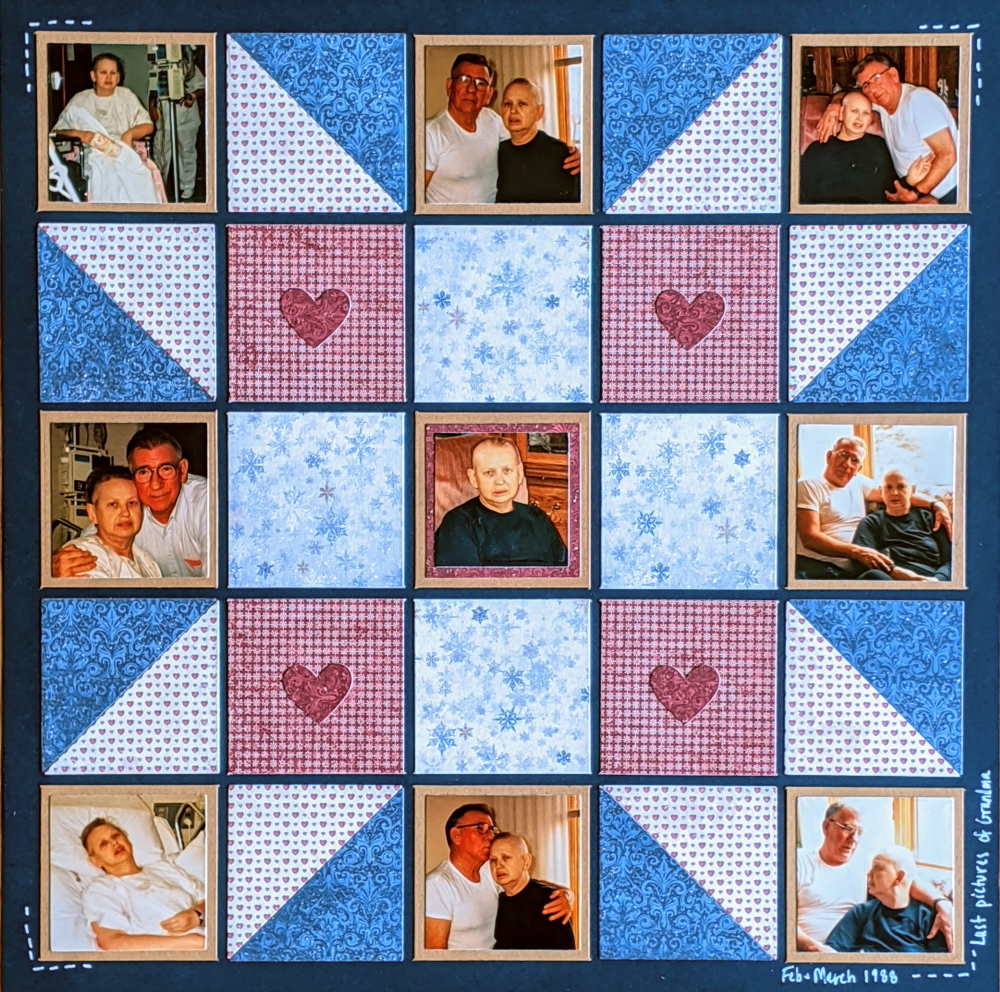
"Last Pictures of Grandma" by Candy Spiegel - Pattern #101
Quilt designs are easy to transfer into paper patterns using the Mosaic Moments System. This one is an 1890's pattern called "Sister's Choice".
Candy used the Jumbo Corner Tiles Die to help create the pattern.
Design Multi-Colored Mats
On this sample, Paije used the Corners 3x3 Die to create her photo mats. She used one tile cut from navy cardstock and one cut from a patterned paper under each photo. The end result is quite stunning.
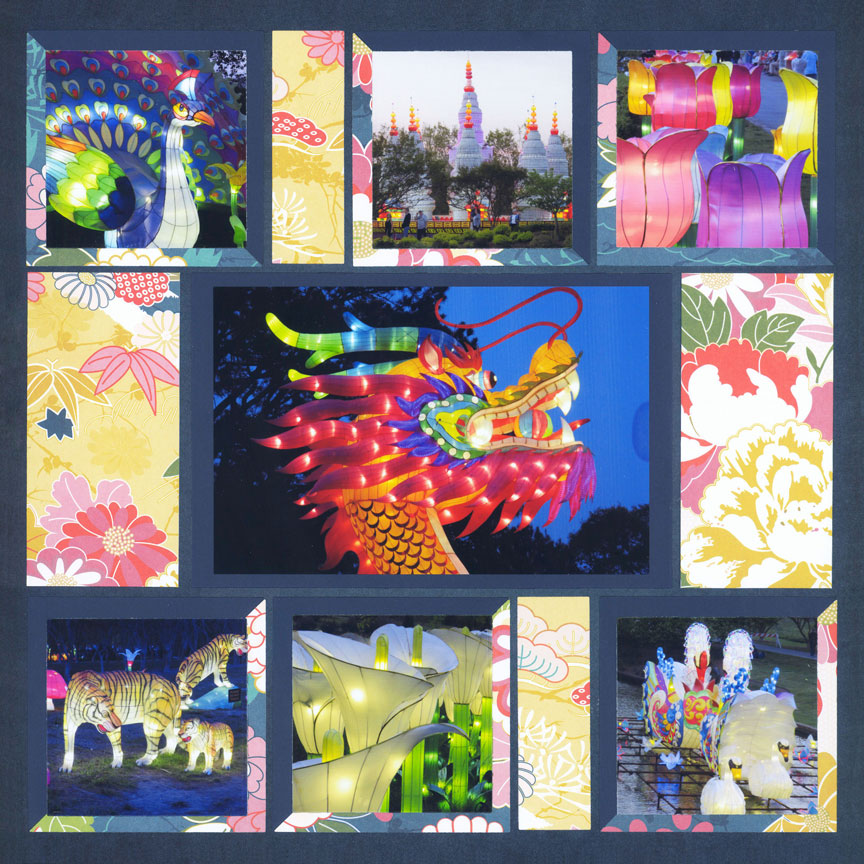
"Norfolk Lantern Festival" by Paije - Pattern #385
Try an Hourglass Design
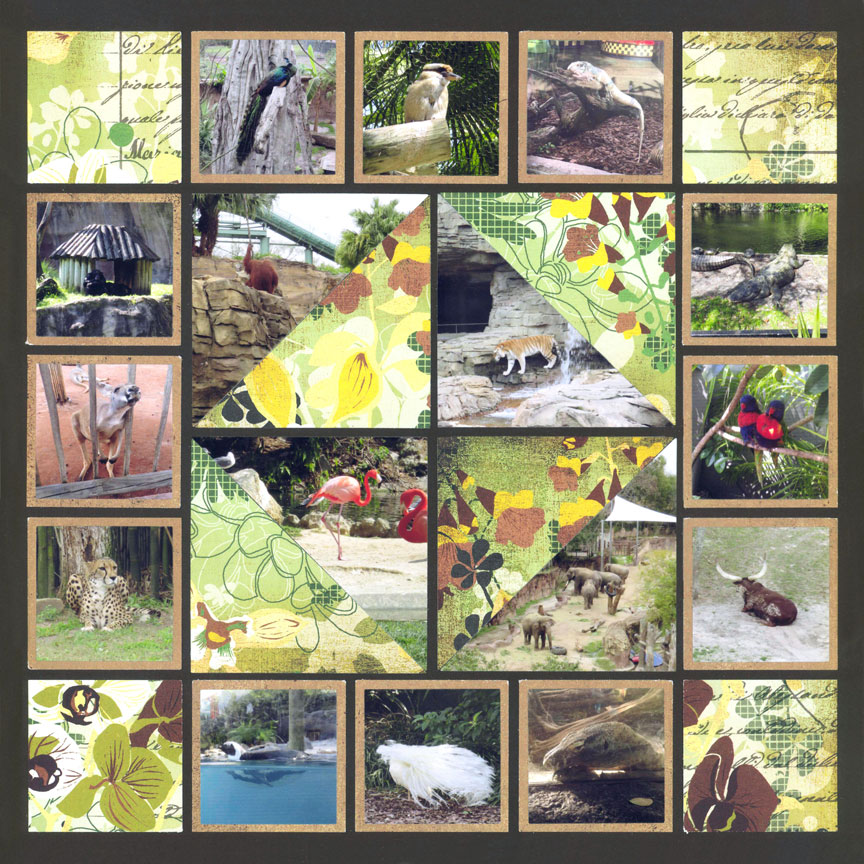
"Tampa Busch Gardens 2017" by Paije - Pattern #392
For something a bit different, Paije used a mix of photos and patterned paper, cut with the Corners 3x3 Die, to make an hourglass shape in the center of her layout.
You may wish to try this design with photos of things that seem to take forever, like court cases, being pregnant, counting down to a vacation, or buying a car.
Likewise, this layout would be fun with subjects that seem to fly by, like a growing child, or summer vacation.
Build a Giant Diamond
A large diamond in the center of a layout draws the viewer right into your page.
For this one, Paije used the 4x4 Corners Set to make the diamond. First, she cut both cardstock and patterned paper with the corner dies and adhered them to her layout. Then, she used the layering die that comes with the set to cut her photos. It makes quite an impact!
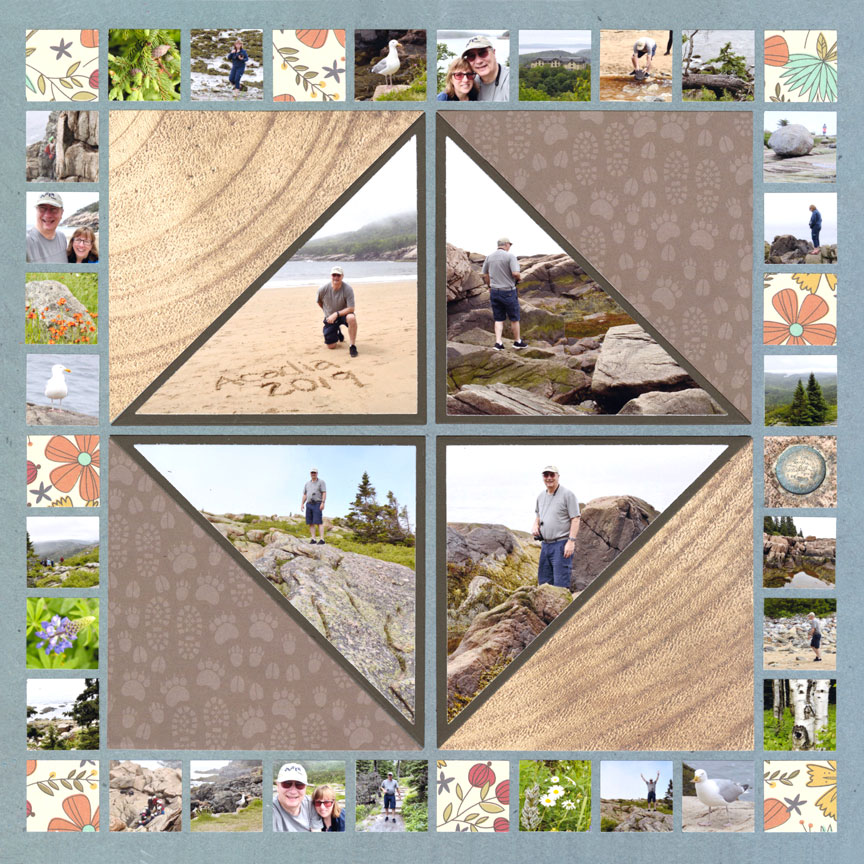
"Acadia" by Paije - Pattern #133
Create Stripes
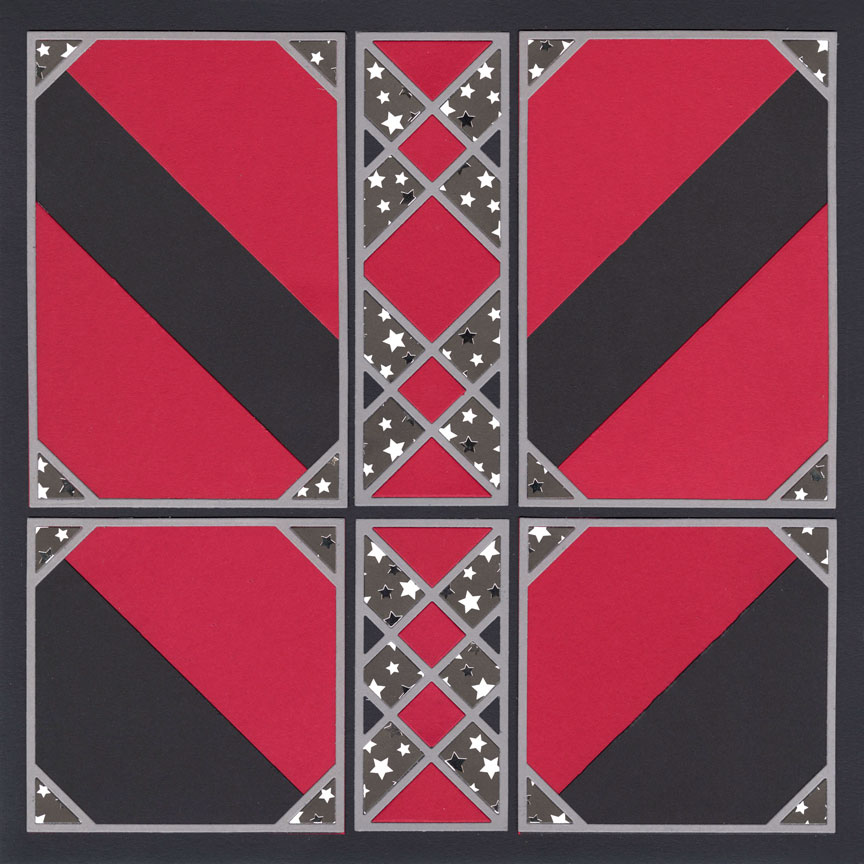
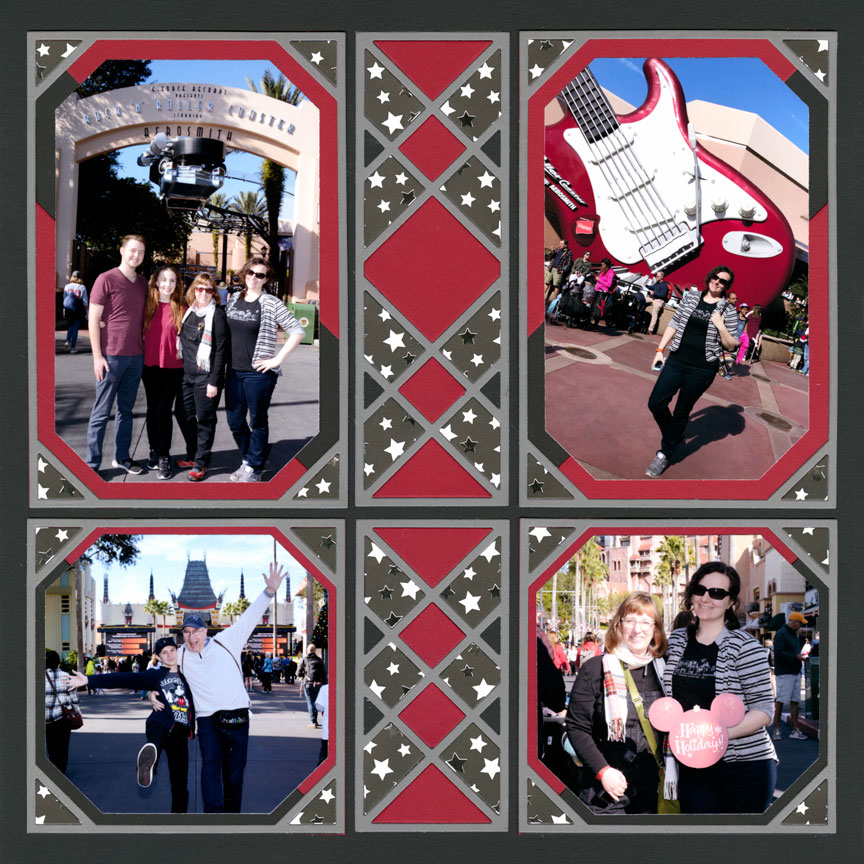
"Rockin' Day!" by Paije - Pattern #462
Corner dies may also be used to create large stripes, like Paije did for this design.
For the stripes on the top of her layout, she cut black photo mats and then used the 4x4 Corners Die Set to cut red corners, which she placed in both the top and bottom corners of the the black photo mats.
For the pictures on the bottom, she used the die set to cut a black corner and a red corner and placed them next to each other the layout.
Then, she used the X-Factor Dies to cut thin gray frames, patterned corners and her photos and layered them on top of the giant corners.
The end result is this clever set of red and black stripes peeking out behind each of the pictures. Brilliant!

