

Design principle, alignment is important because it allows us to create order and organization on a scrapbook layout. Aligning elements allows them to create a visual connection with each other.
When you look at the grid, think of it as a platform to organize all of your elements such as photos and paper mats. It's important to align each element either horizontally or vertically so your scrapbook page has an organized feel - which is pleasing to the eye.
The Grid Keeps the Elements Aligned
The best part about the grid paper is it was designed to align all of your elements such as photos and paper mats. This is the reason why so many find the Mosaic Moments® system appealing. All the elements are always straight, neat, and organized.
The grid paper is the foundation for all Mosaic Moments® layouts - and yes we use it for every single page we create. No matter where you place your elements, there is a line to keep them neat and straight on your layout.
Align Your Page Designs
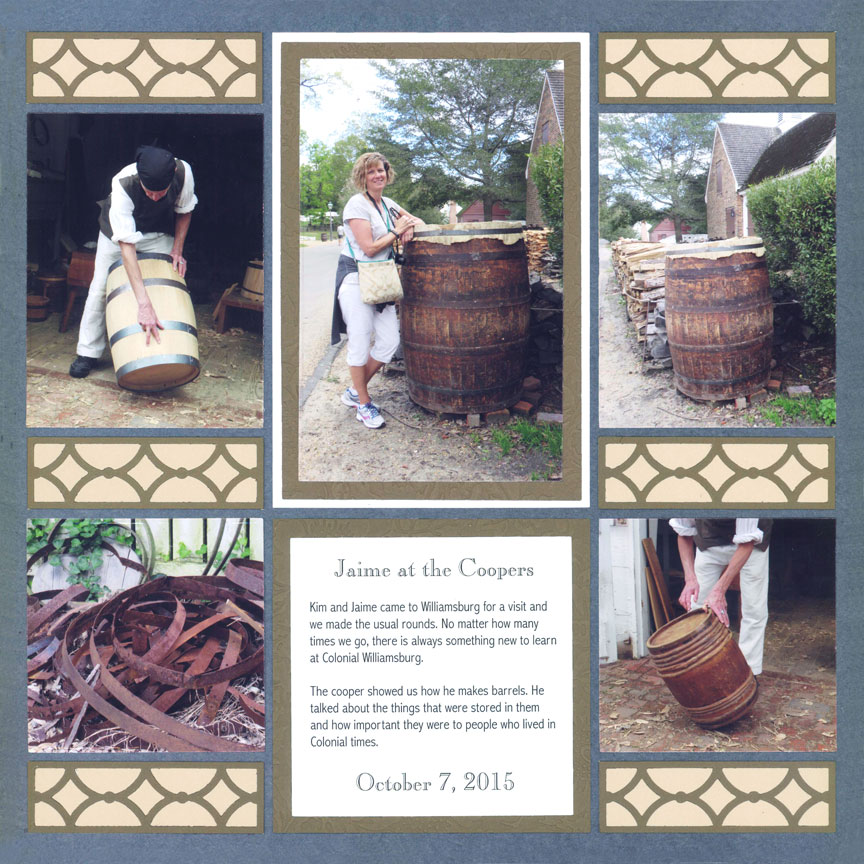
"Jaime at the Coopers" by Tami Potter - Pattern #471
Many of the page patterns are already aligned, but even if you are free-styling be sure to keep alignment in mind.
On this layout, all the elements are aligned in columns. Also notice how the 1x3 decorative dies and the 4x3 SQ photos are right across from each other vertically on both sides of the page.
Keeping your photos, paper mats, and embellishing dies aligned with each other organizes your layout.
You can also align your elements in rows. On this layout, the bottom three rows are also lined up horizontally.
Do you see the lines from the grid paper in between each row? Next time you are creating a layout, pay attention to these lines. Look and see if you have straight and organized lines or if the lines seem all over the place. If there is a lack of organization, it's time to realign and adjust the layout.

"Stop on the Parkway" by Paije Potter - Pattern #379
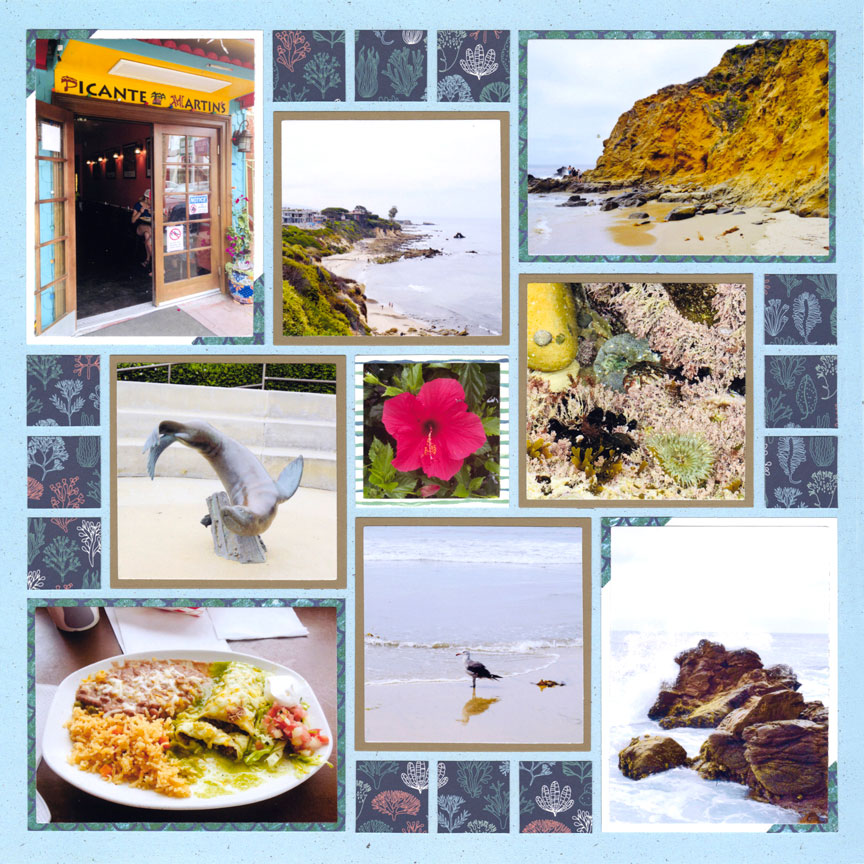
"Day in Southern California" by Paije Potter - Pattern #576
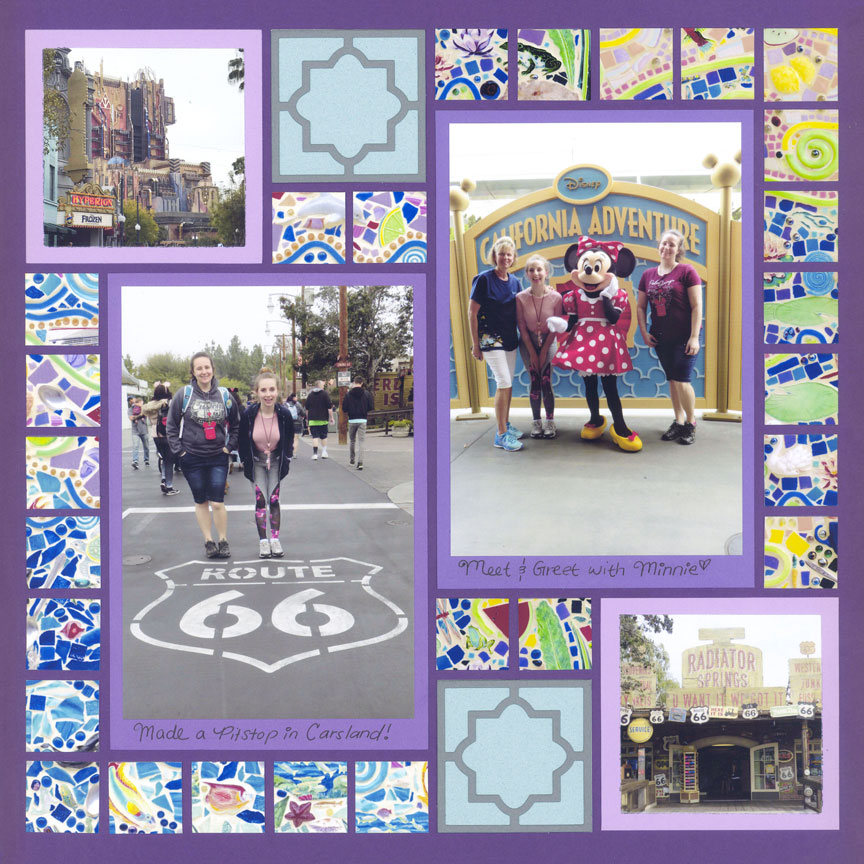
In the case of a rotational balanced layout, there is an equal mix of horizontally and vertically aligned elements.
Alignment is part of what balances the design. On this page you will not find one vertical or horizontal line going entirely from one side to the other like in the layouts above. Instead, the lines radiate, from the center of the layout, to maintain an organized look.
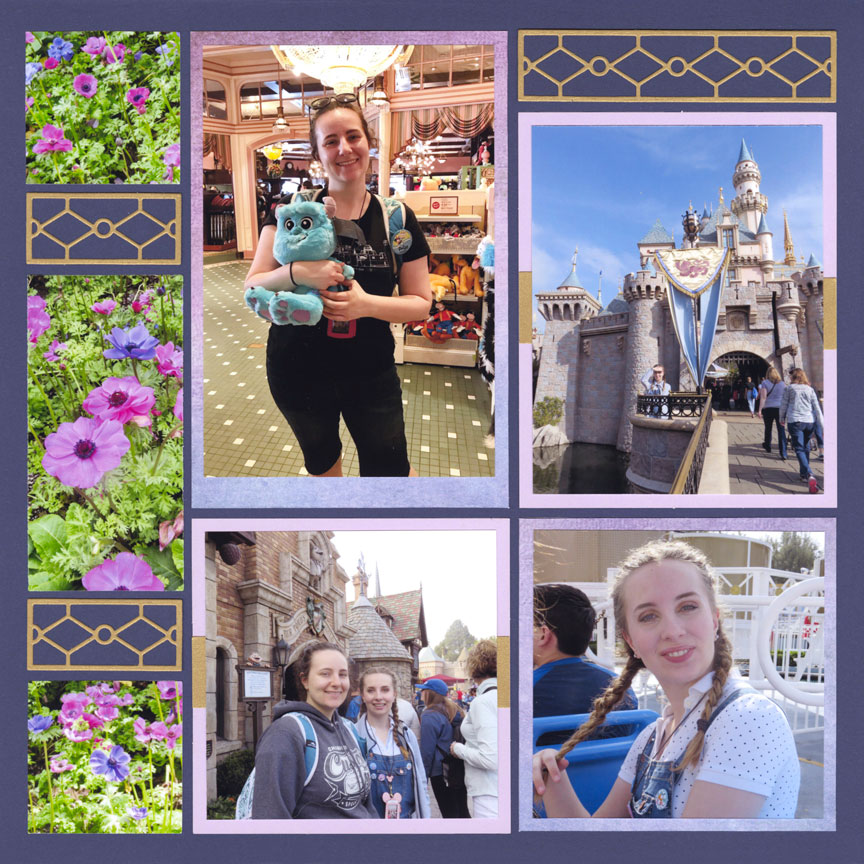
"Disneyland Trip 2018" by Paije Potter - Pattern #494

"Safari Park" by Danielle Lawson - Pattern #455
Even if you create an asymmetrical layout, alignment is still important to apply to keep the page looking organized and balanced. On first look, you might think these pages are not aligned. But, look again - the left layout is lined up in three different columns. The right layout has a puzzle look, but is actually designed in rows. You can see two lines of the grid (gaps) in between the sections.
Without alignment these pages would seem very chaotic and unorganized.
Align Your Layers
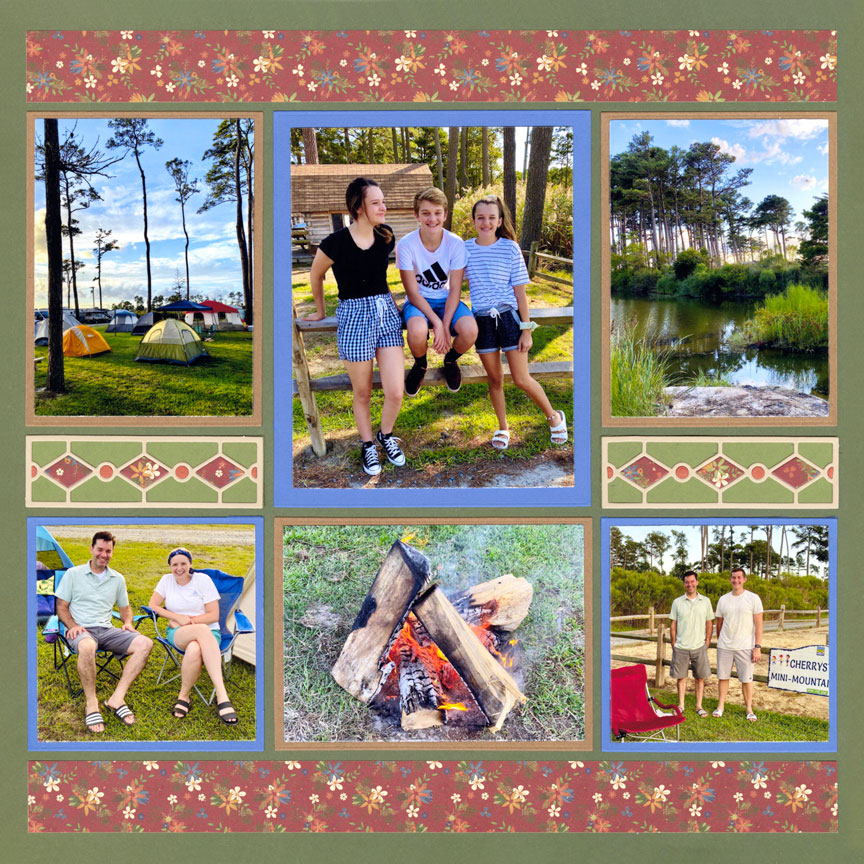
"Cherrystone" by Jodi Benson - Pattern #510
Alignment does not only apply to your overall page design, but also within the elements themselves.
One item to align is your layers created with paper mats and photos. Generally, it is good design to have an even mat all the way around your photo.
This is easy to accomplish by using the layering sizes in the basic die bundle or by using the dies from the layering die bundle.
There is a slight exception for matting, such as when you place a 4x6 photograph over a 4x6 SQ mat on the grid.
On this layout, you can see the two 4x6 vertical photos and there is extra space on the bottom of the mat. The key in this case is to make sure the mat is even around the rest of the photo (look at the sides and top).
You can double mat your photograph if you want your 4x6 photo to be entirely even, but having the extra space at the bottom offers a great spot for journaling or an embellishment.
"California Trip" by Paije Potter - Similar to Pattern #301
Keep Your Journaling Aligned
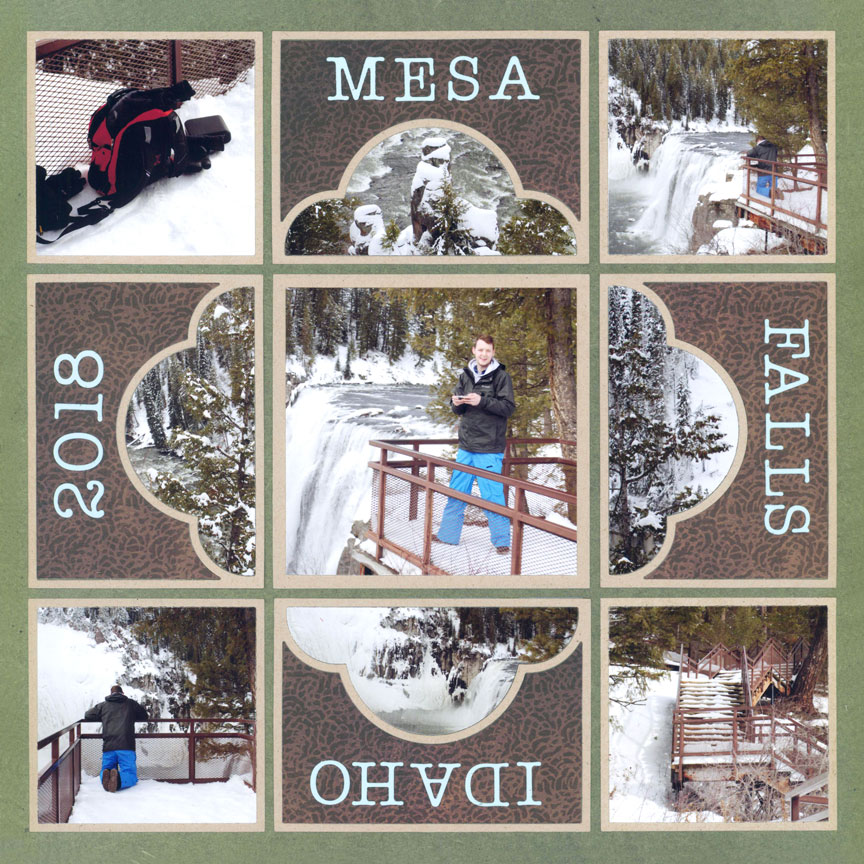
"Mesa Falls" by Paije Potter - Pattern #344
Whenever you use any kind of letters or numbers for your layout, alignment is very important. It is easier to read the words when they are aligned and keeping them in straight lines helps them to be organized on your layout.
On this layout, the words are going horizontally and vertically to go with the flow of the Puff N Stuff design. If the words were place diagonally, the layout would lose its rhythm and balance.

"Year 2017" by Paije Potter - Pattern #431
Align Embellishments within Your Design
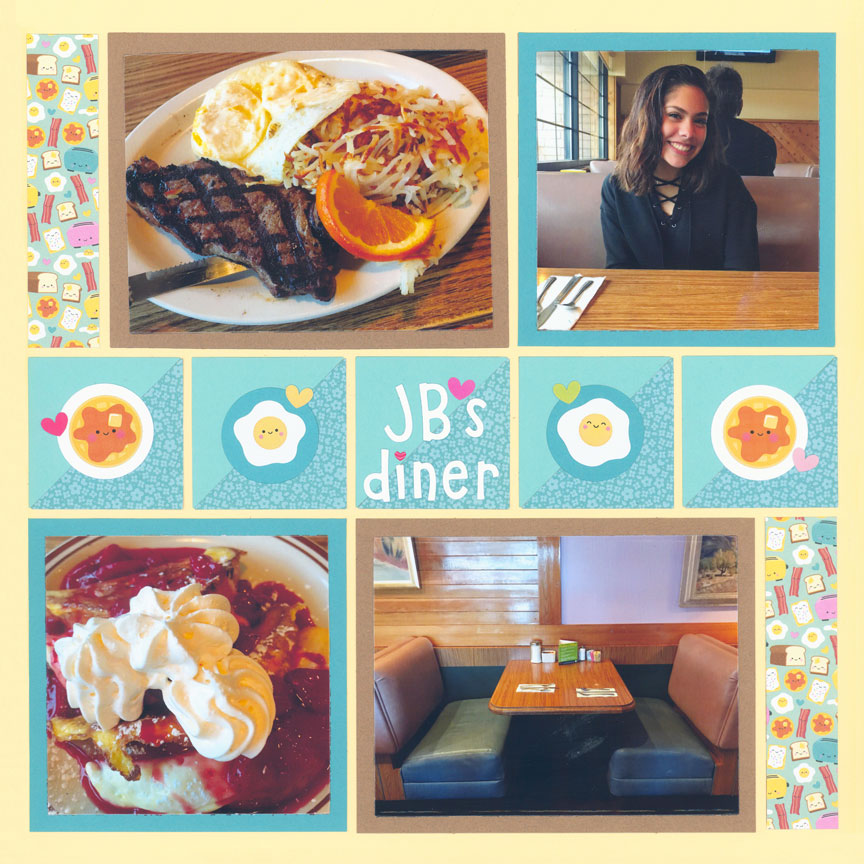
"JB's Diner" by Paije Potter - Pattern #248
There are many different ways to place your embellishments on a scrapbook page. It's very important to apply all the design principles when you use them.
Take a look at the pancake and egg stickers. All of them are aligned vertically on this page and they were placed in the center of each 2x2 SQ Squares.
These stickers could have been placed randomly on the layout, but here they are part of a border and look more appealing when placed in a straight line.
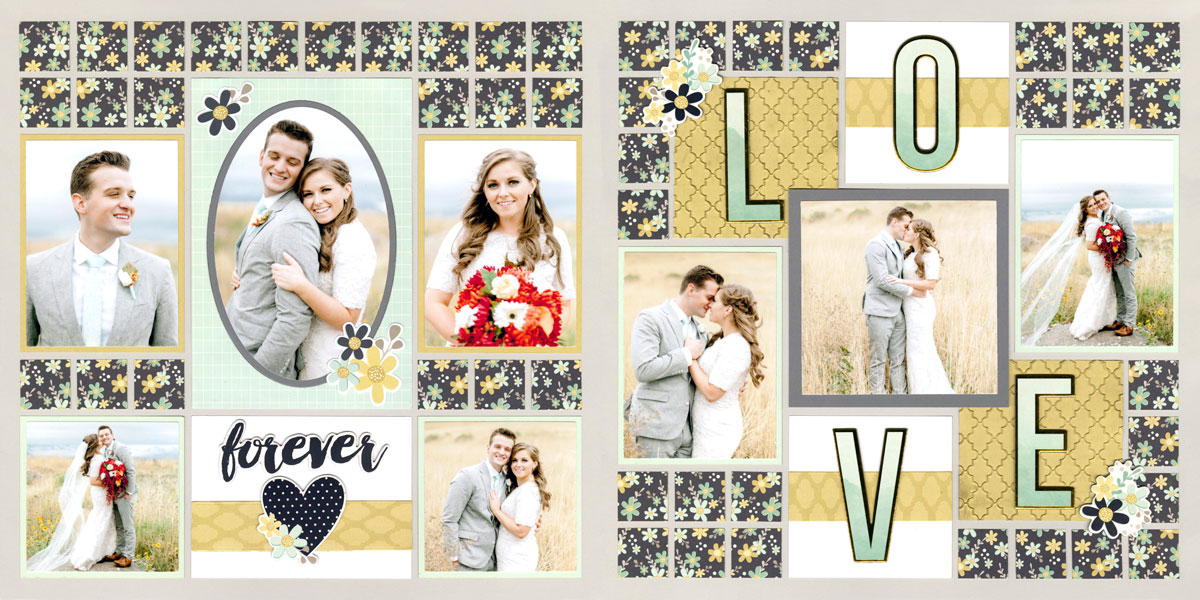
"Forever Love" by Jodi Benson
There are many embellishments on this layout, but there is still an organized and balanced feel.
On the bottom of the left layout, there is the "forever" and heart embellishments. Notice that they are aligned in the center of the rectangle block. Just like you align the page design, you would also align your embellishments with it. The heart and forever line up with that center column of the layout design.
On the right page, there are the LOVE letters. No, the letters are not in a straight line in this case since they are more of a decoration for this spread. But notice every letter sits right on the center of the 3x3 SQ squares, which helps them feel balanced with this rotational design.