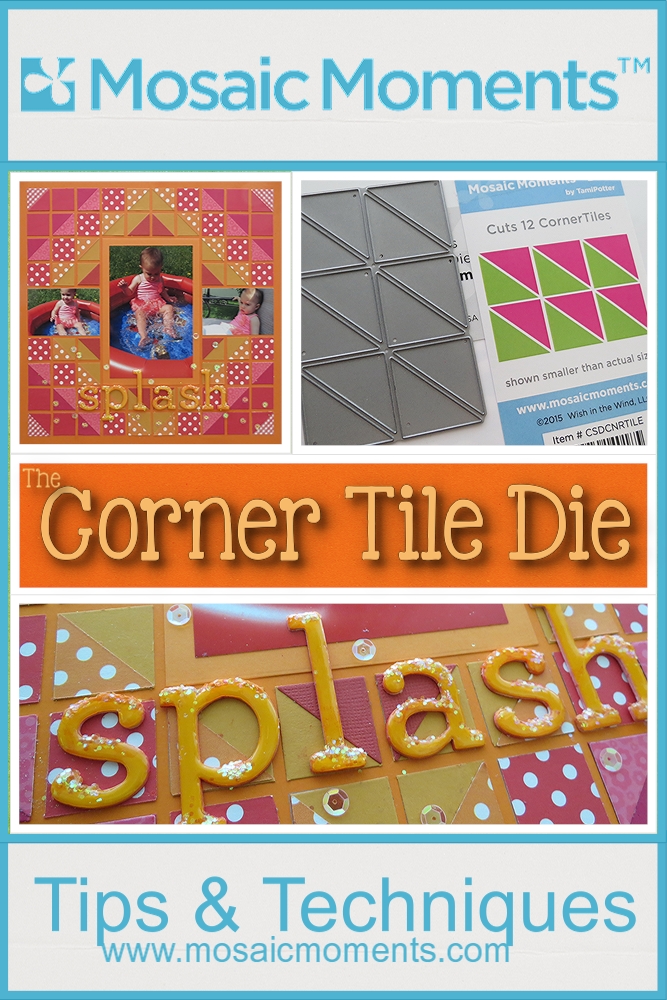
SPLASH! Featuring Pattern #227 Mosaic Style
Splash Corner Tile Die Pattern #227
Splash! Summer is here and the water fun has begun! To show off these photos of my youngest granddaughter’s first time in the pool I have chosen Pattern #227 which is a mosaic style. She loved splashing!! I had several different ideas on how I wanted to use our featured die, the Corner Tile Die, I just had to play around a bit with the pieces to arrive at my final layout. Hopefully this layout will spark your own imagination with ideas to try out with the new corner tile die.
Splash Corner Tile Die Supplies

Pattern #227
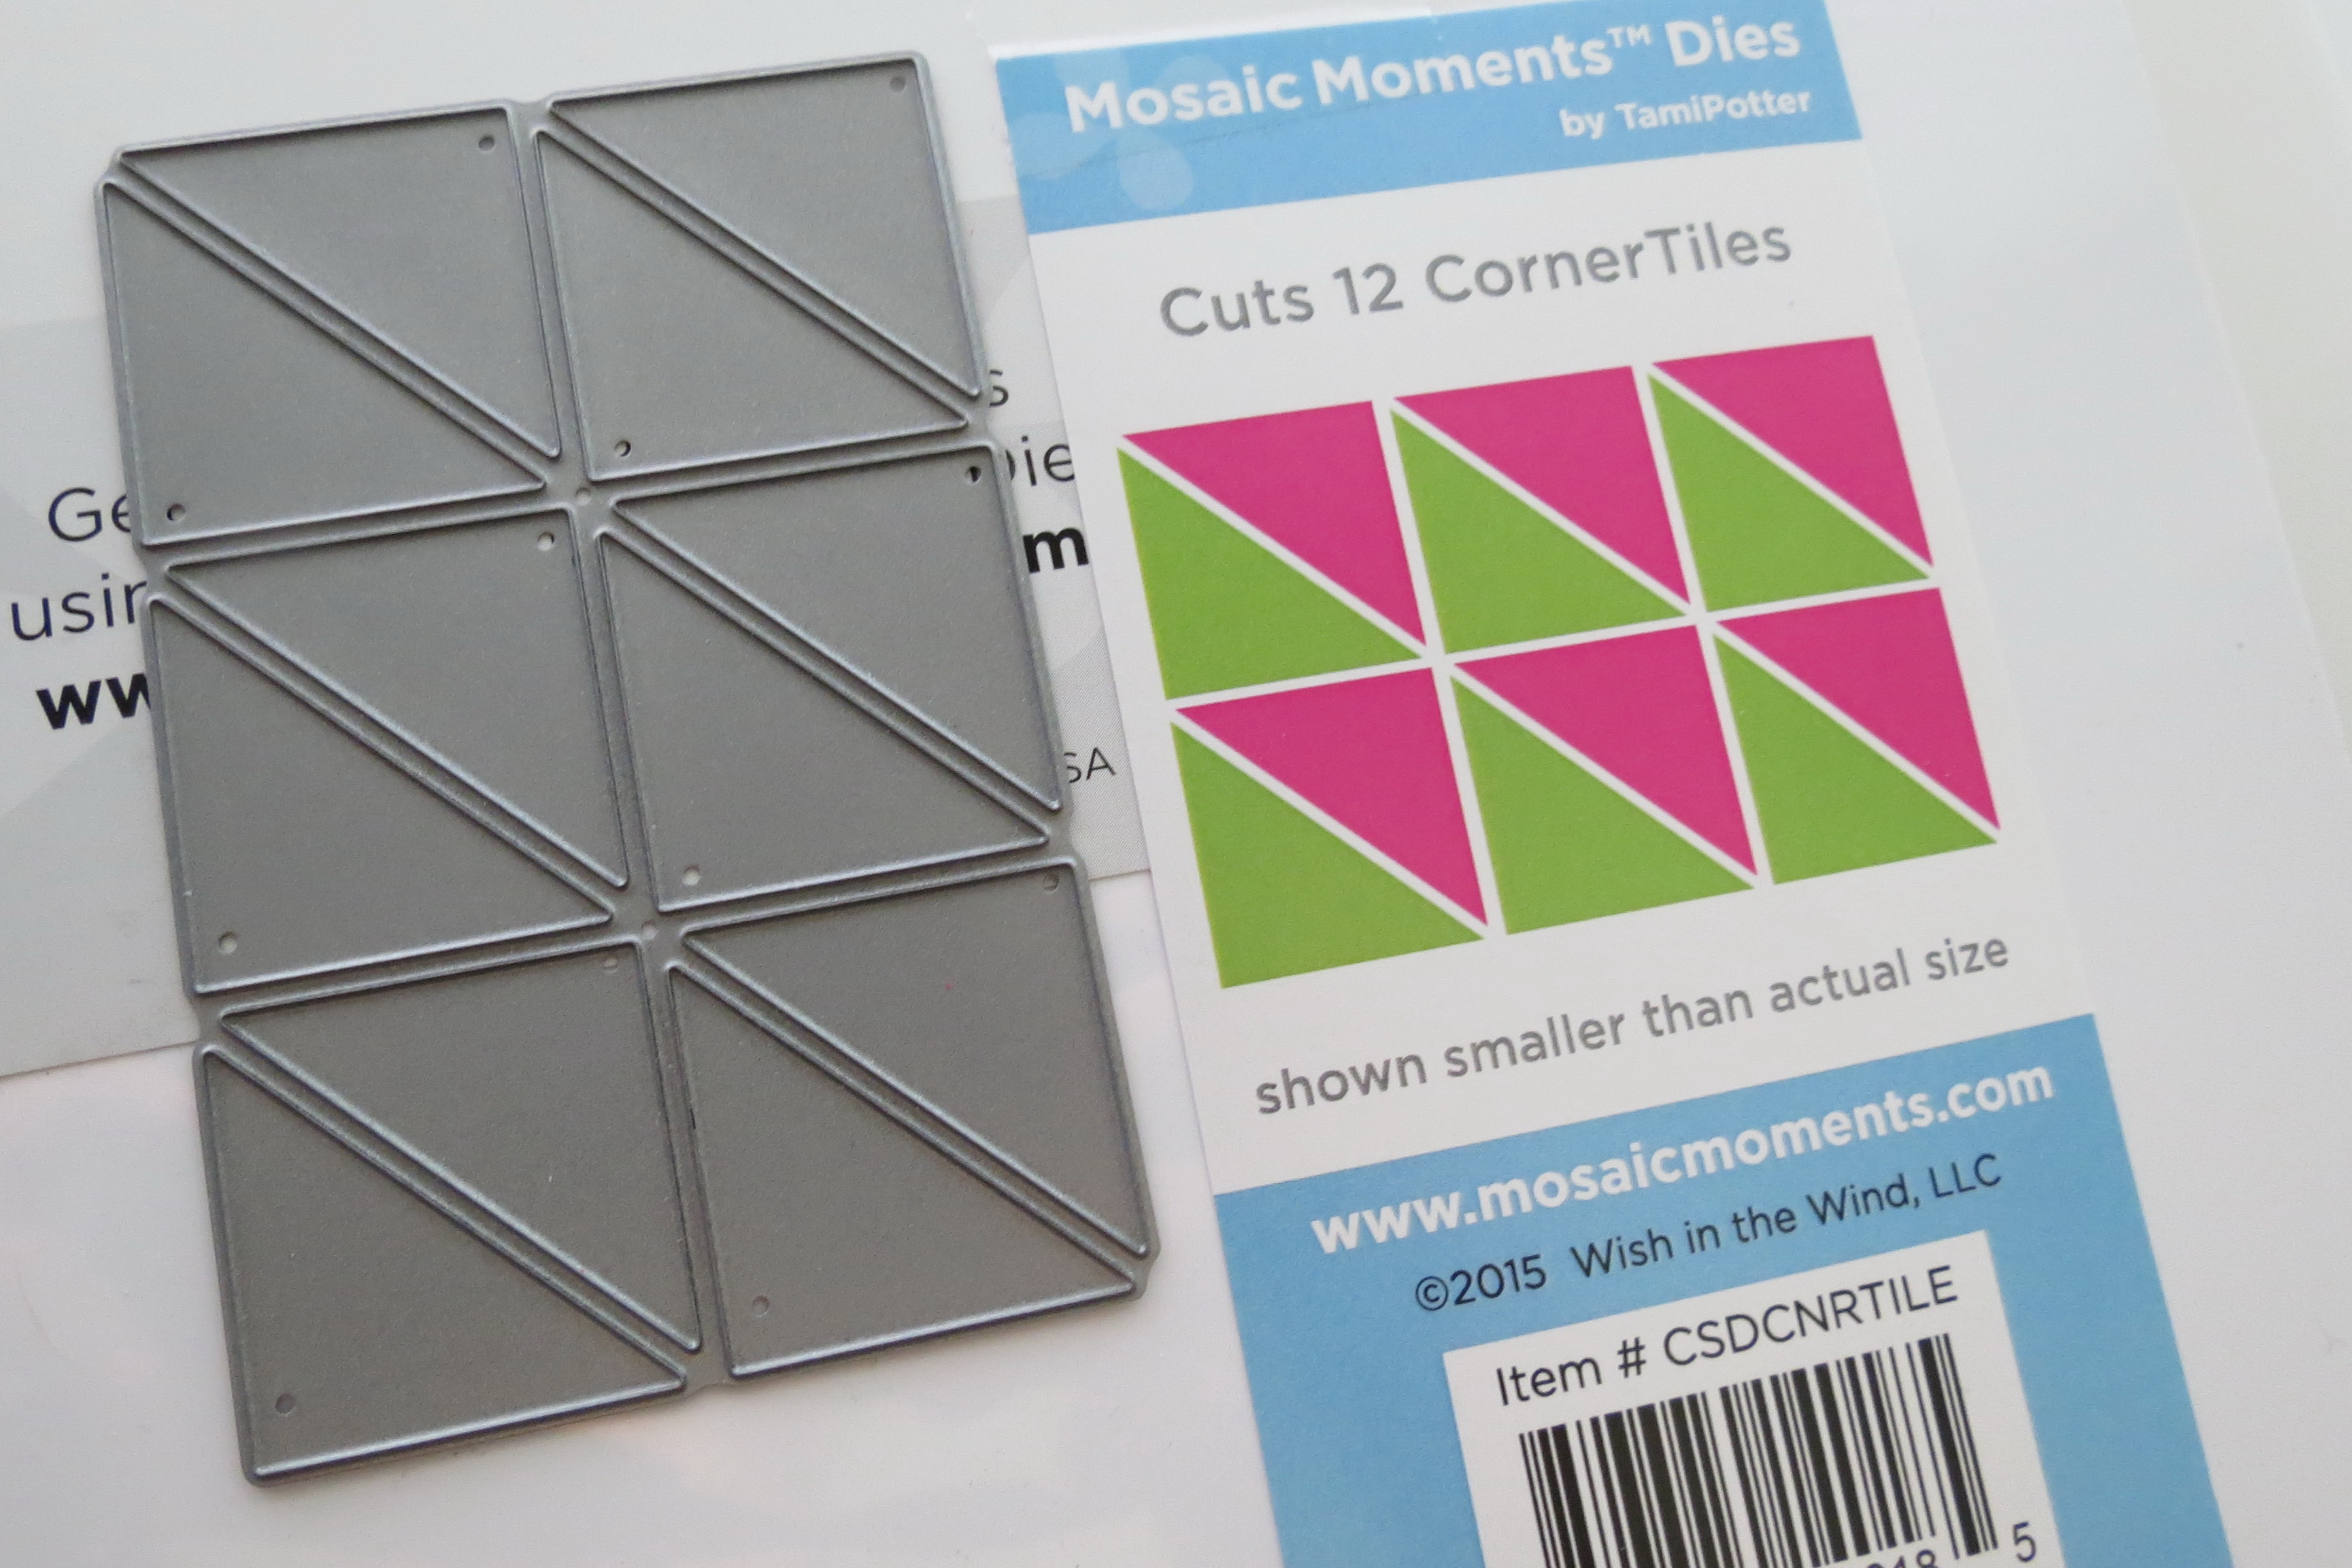
Splash Corner Tie Die
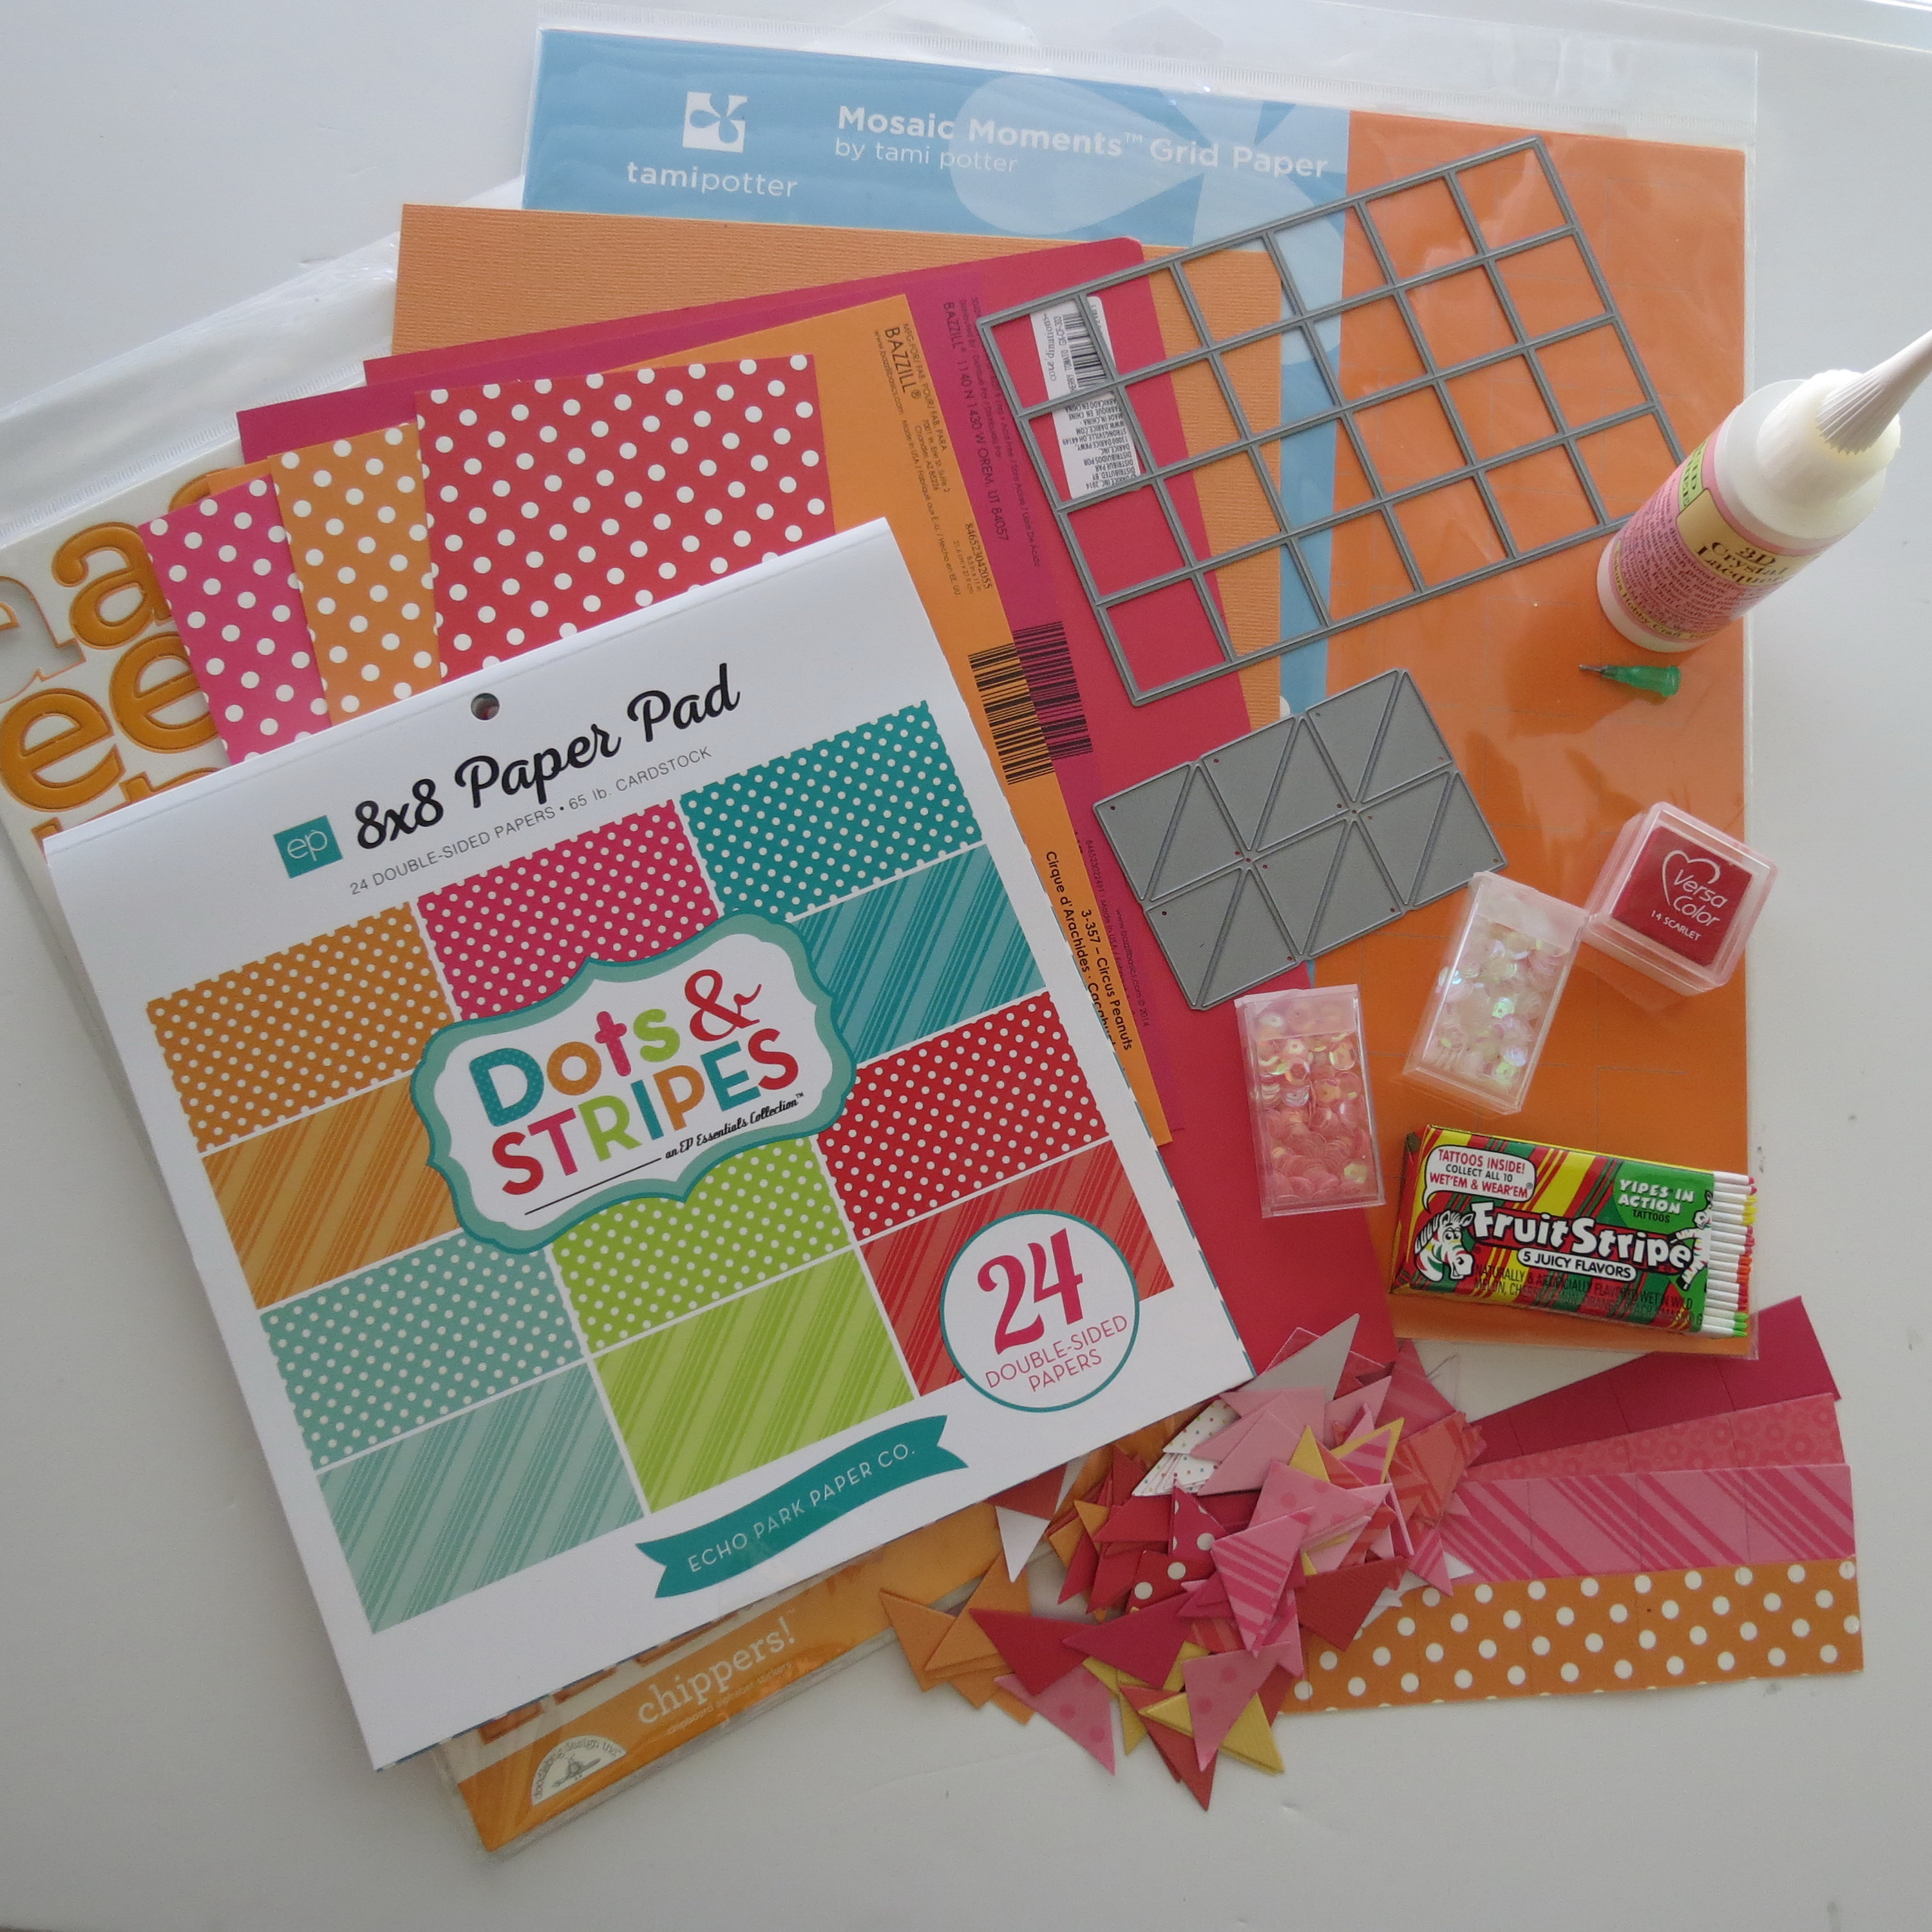
Here’s what I began with:
• Mosaic Moments 12×12 Orange Grid Paper
• Mosaic Moments Die: Set 1” squares for 4”x 6”
• Mosaic Moments Die: Corner Tile Die
• Echo Park 8×8 Dots & Stripes paper pad
• Coordinating colors of cardstock
• Doodlebug Designs Chippers!: tangerine
• Doodlebug Designs Sugar Coating Glitter
• Versa Color ink: scarlet
• Craft Medley Sequins: clear and pink
• Clear Liquid Acrylic
My color palette for this layout:
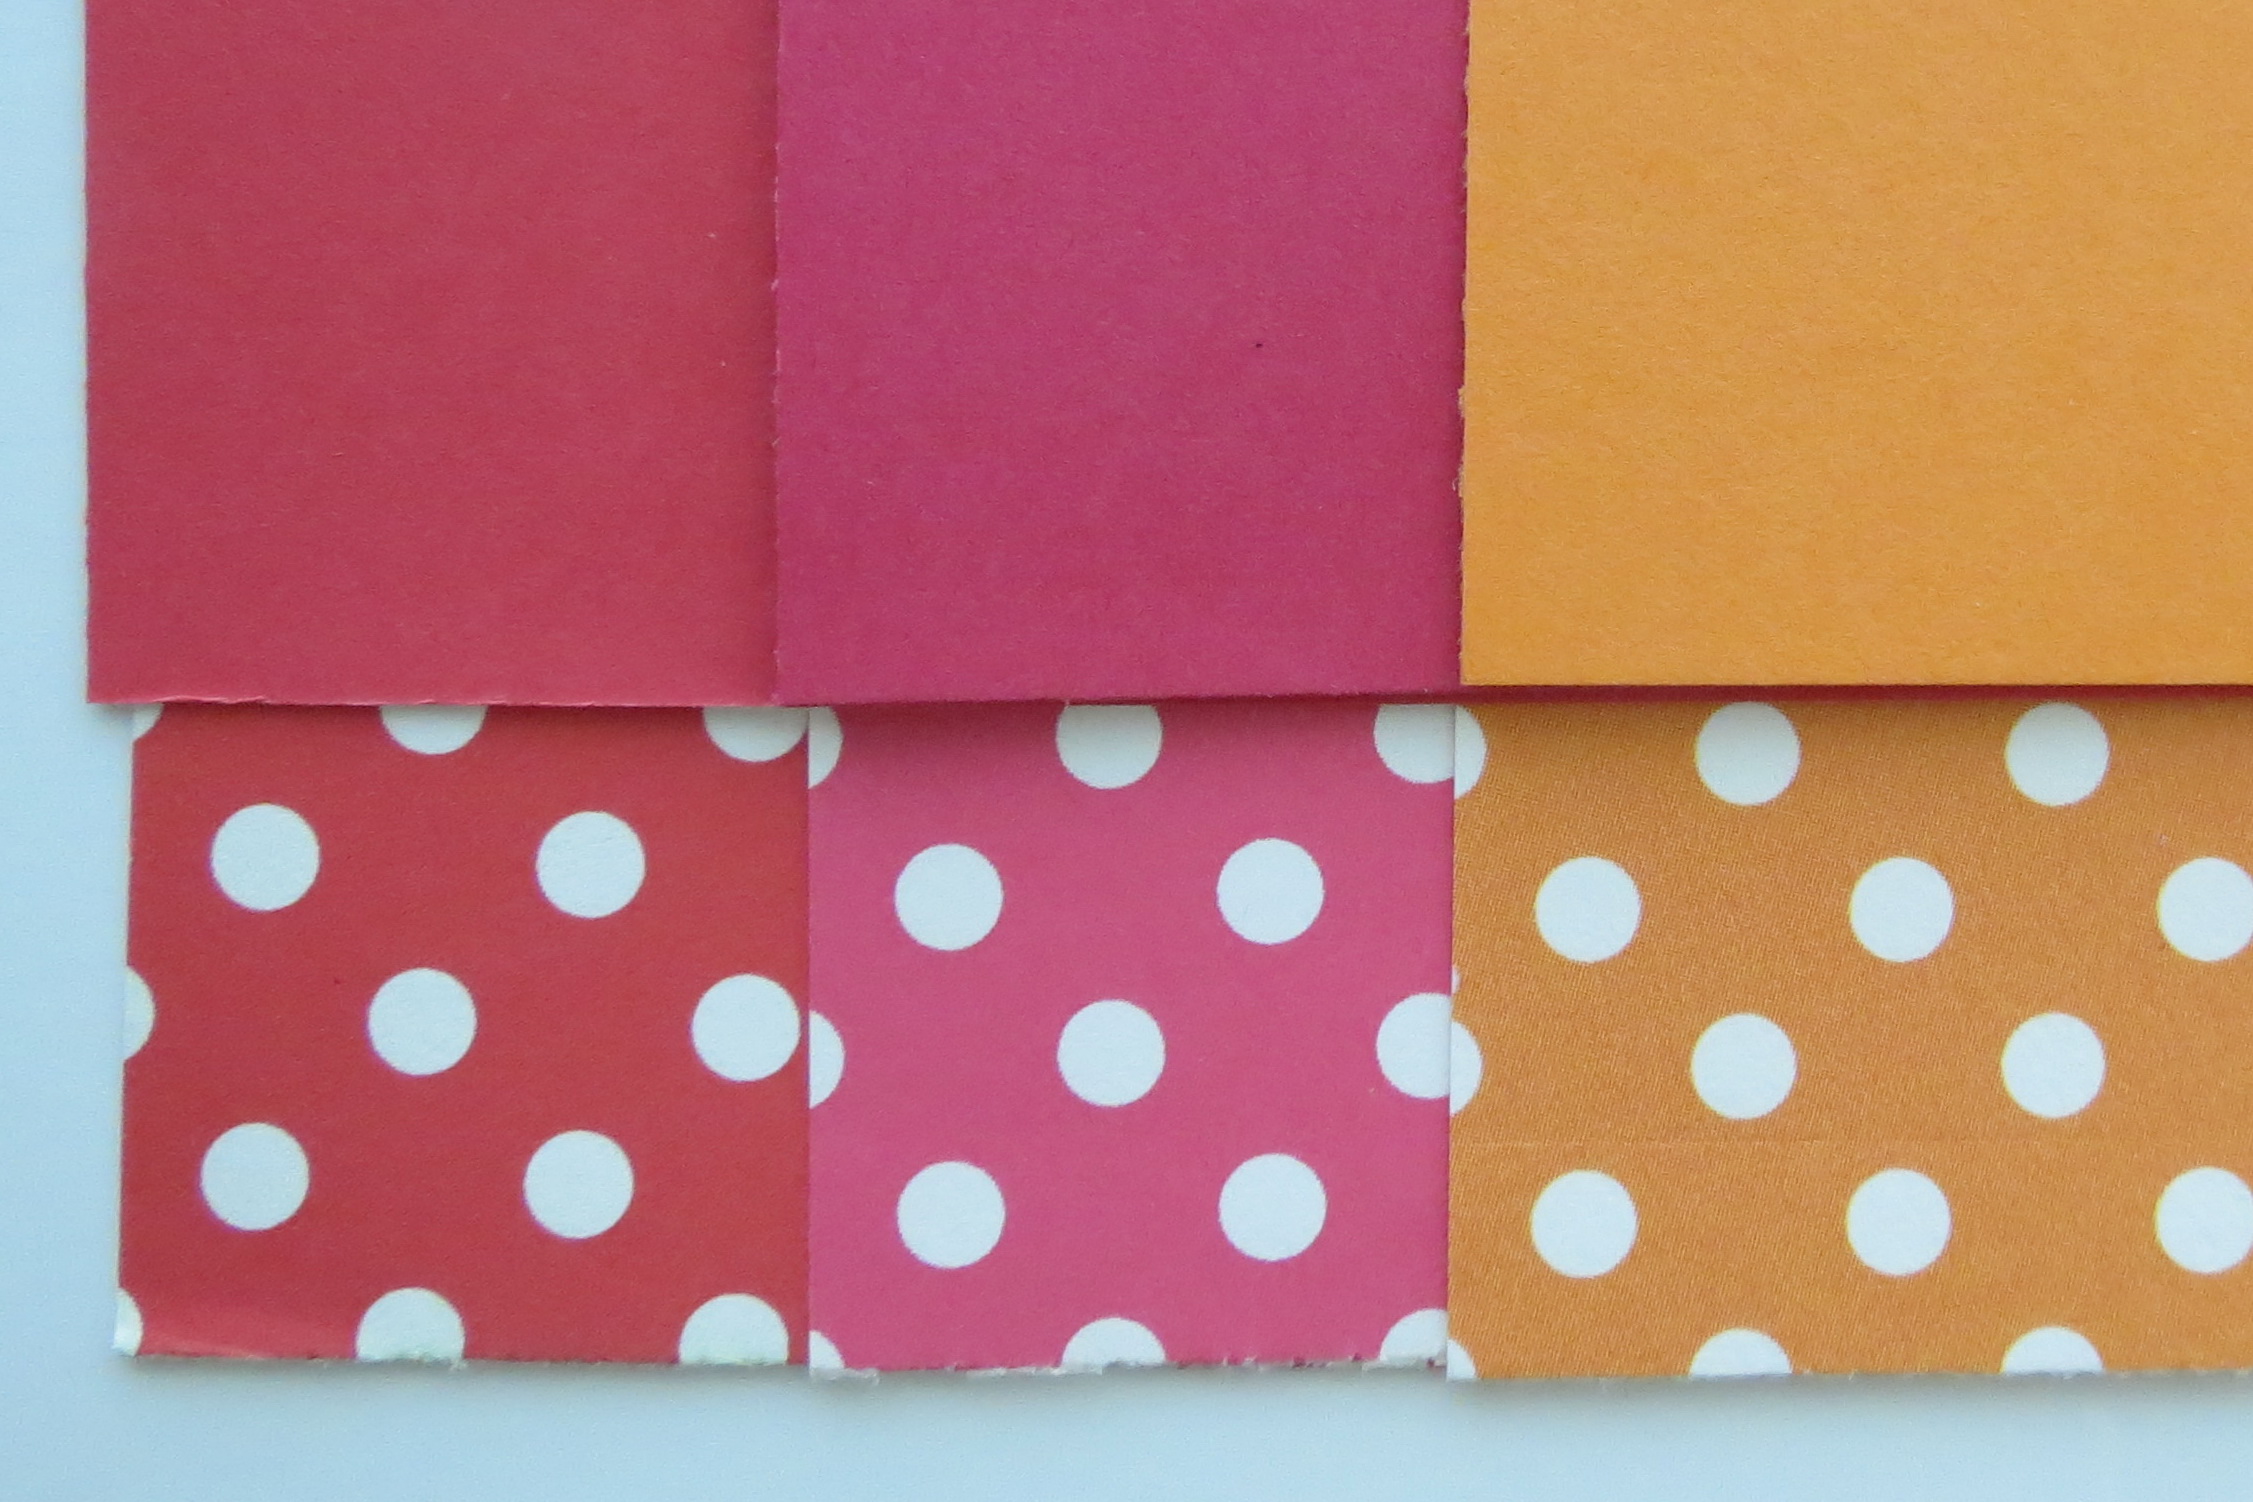
Splash Corner Tile Die Color Palette
The Dot & Stripes paper from Echo Park reminded me of a chewing gum from my childhood. It got me to thinking about a layout with the stripes in a chevron pattern. It didn’t take long to see how labor intensive that could prove to be, so on the flip side of each stripe was the dot pattern. These are the colors I began to build my page around.
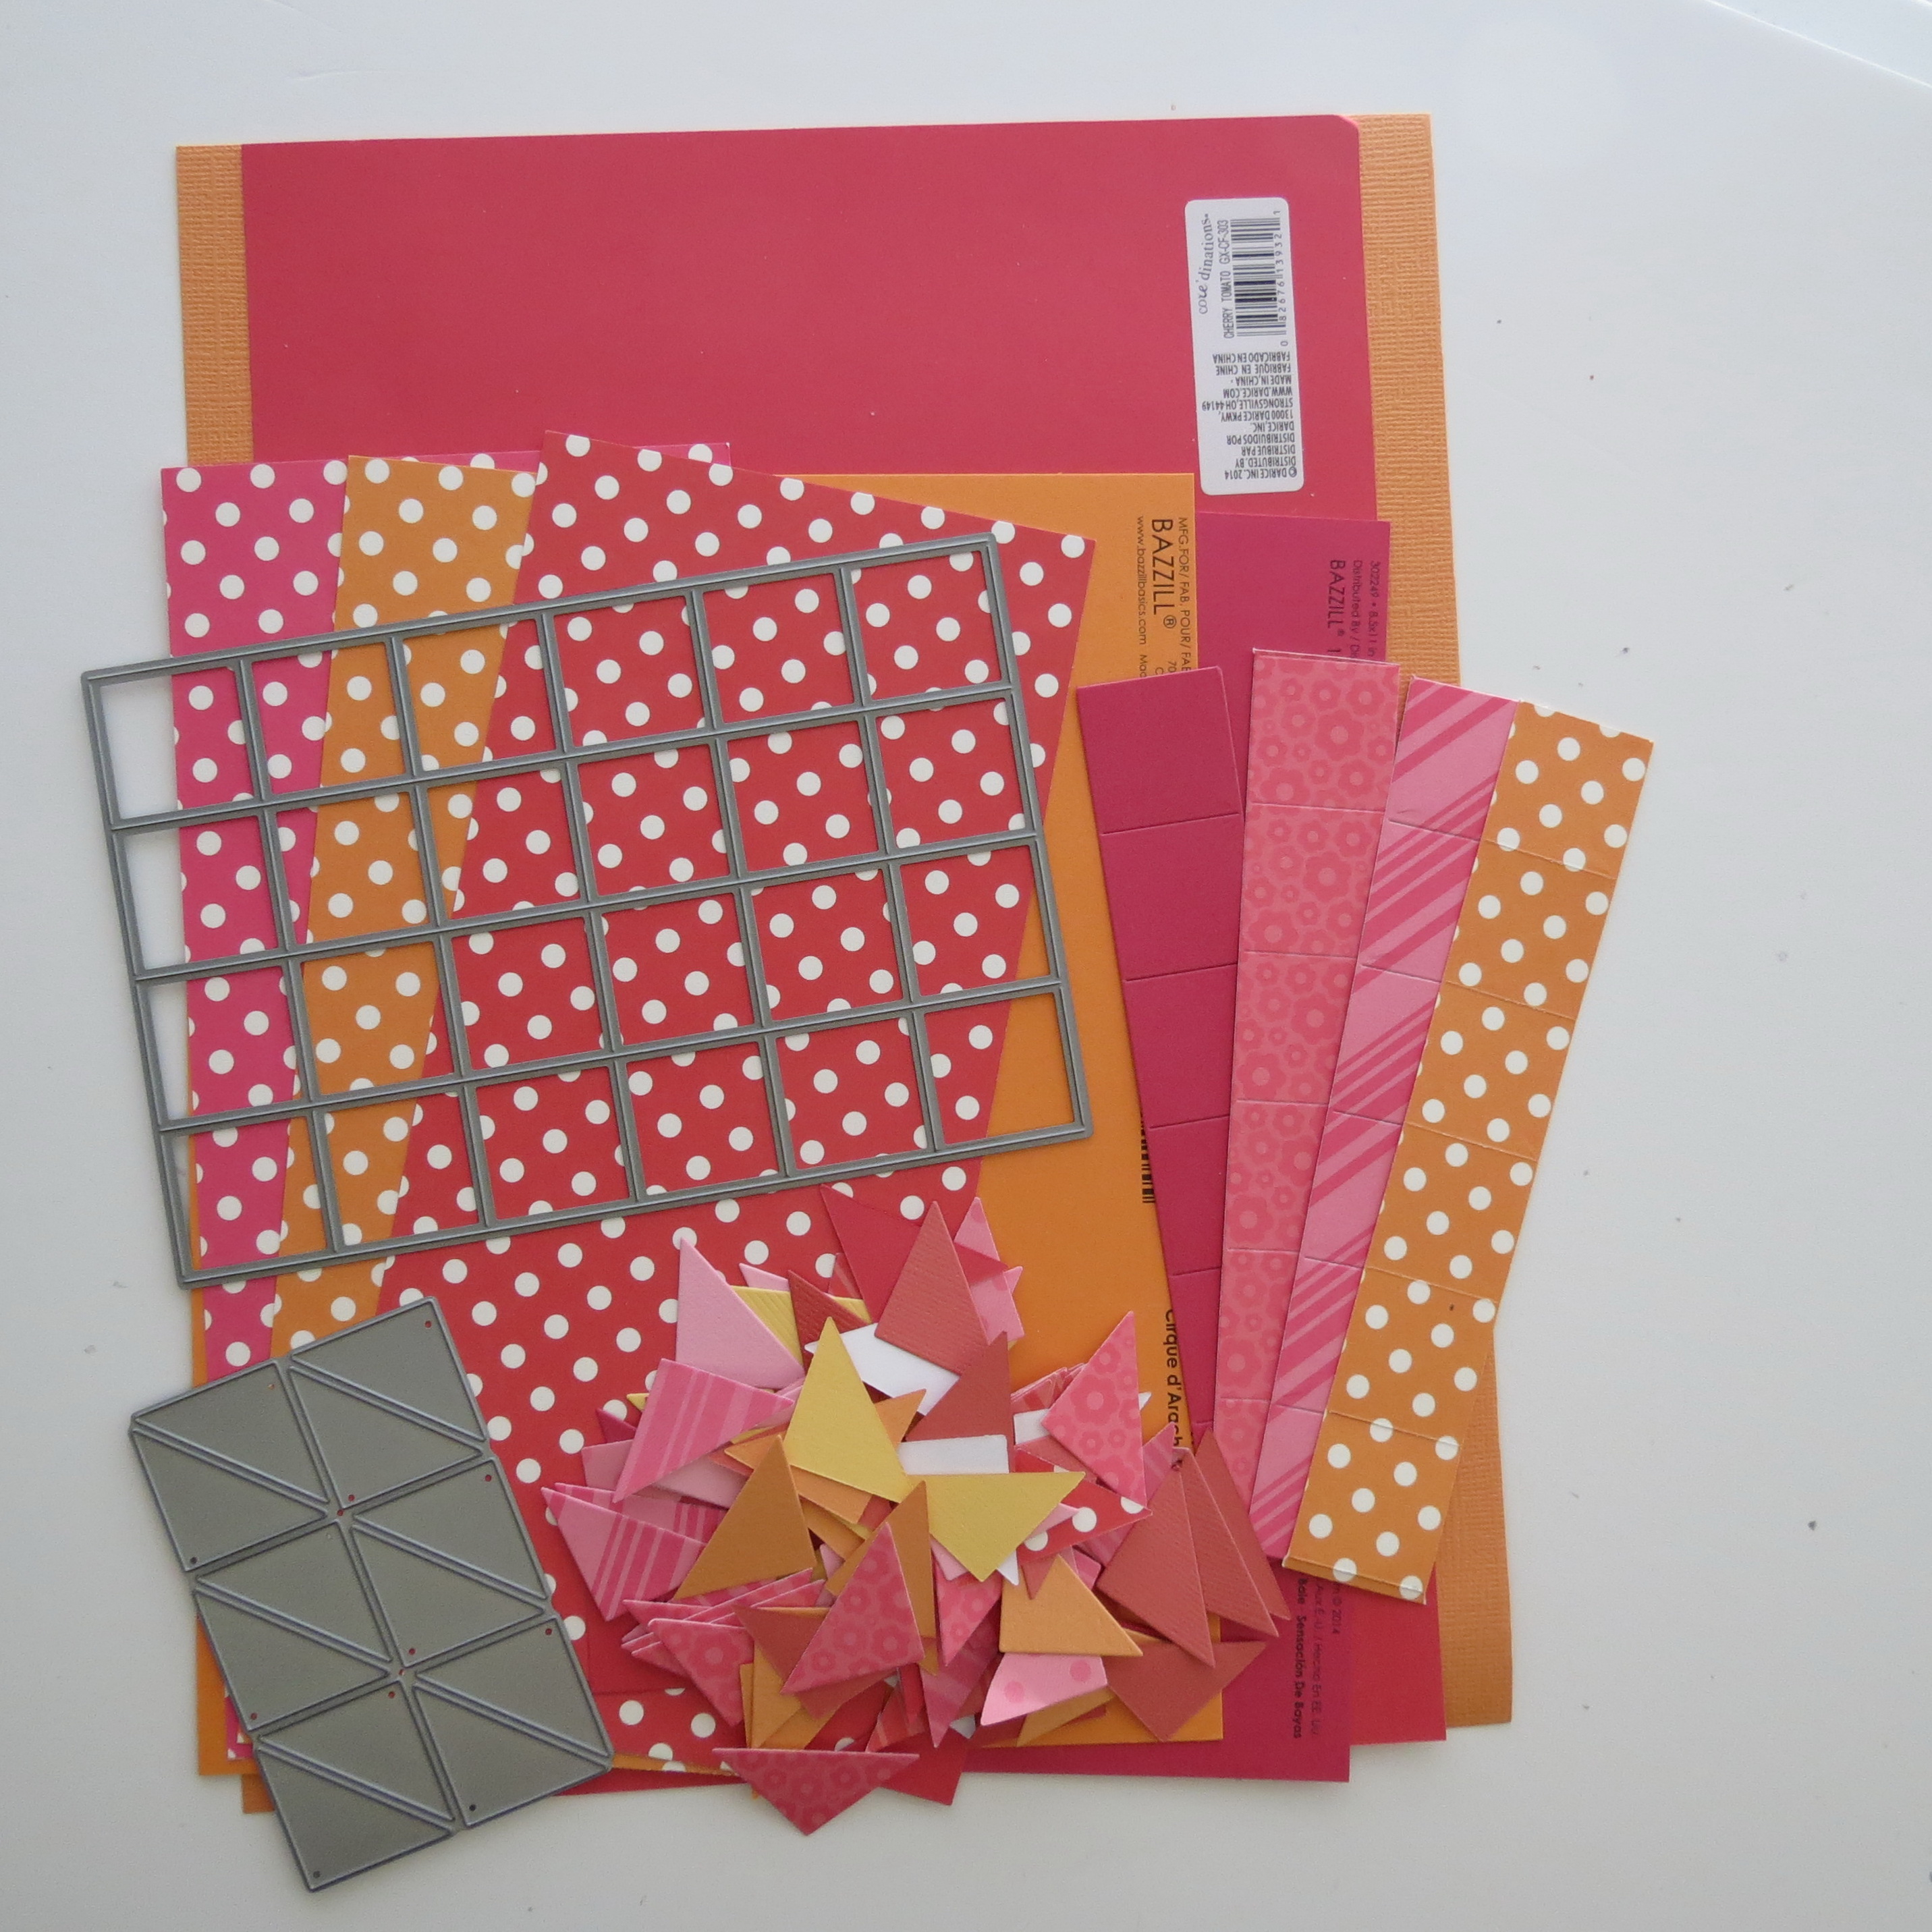
Splash Corner Tile Die
From each paper one section of 1” tiles using the 1” die, and another section of the Corner Tile Die. More were cut as needed; this was a good start for playing around while creating the design.
The photos were cut to fit the spaces and adhered to the 12×12 Orange Grid, being fixed in place allowed free arranging of all other pieces.
The first time I used corner tiles was before we had pre-made tiles or the new corner tile die was for a layout “Kidron” (click to see). I showed you my technique for doing several at a time. However for a layout like this, the Corner Tile Die will speed things up considerably and accuracy will be wonderful. It will allow you a variety of colors and patterns beyond what we stock, you will love the versatility! It’s a great investment.
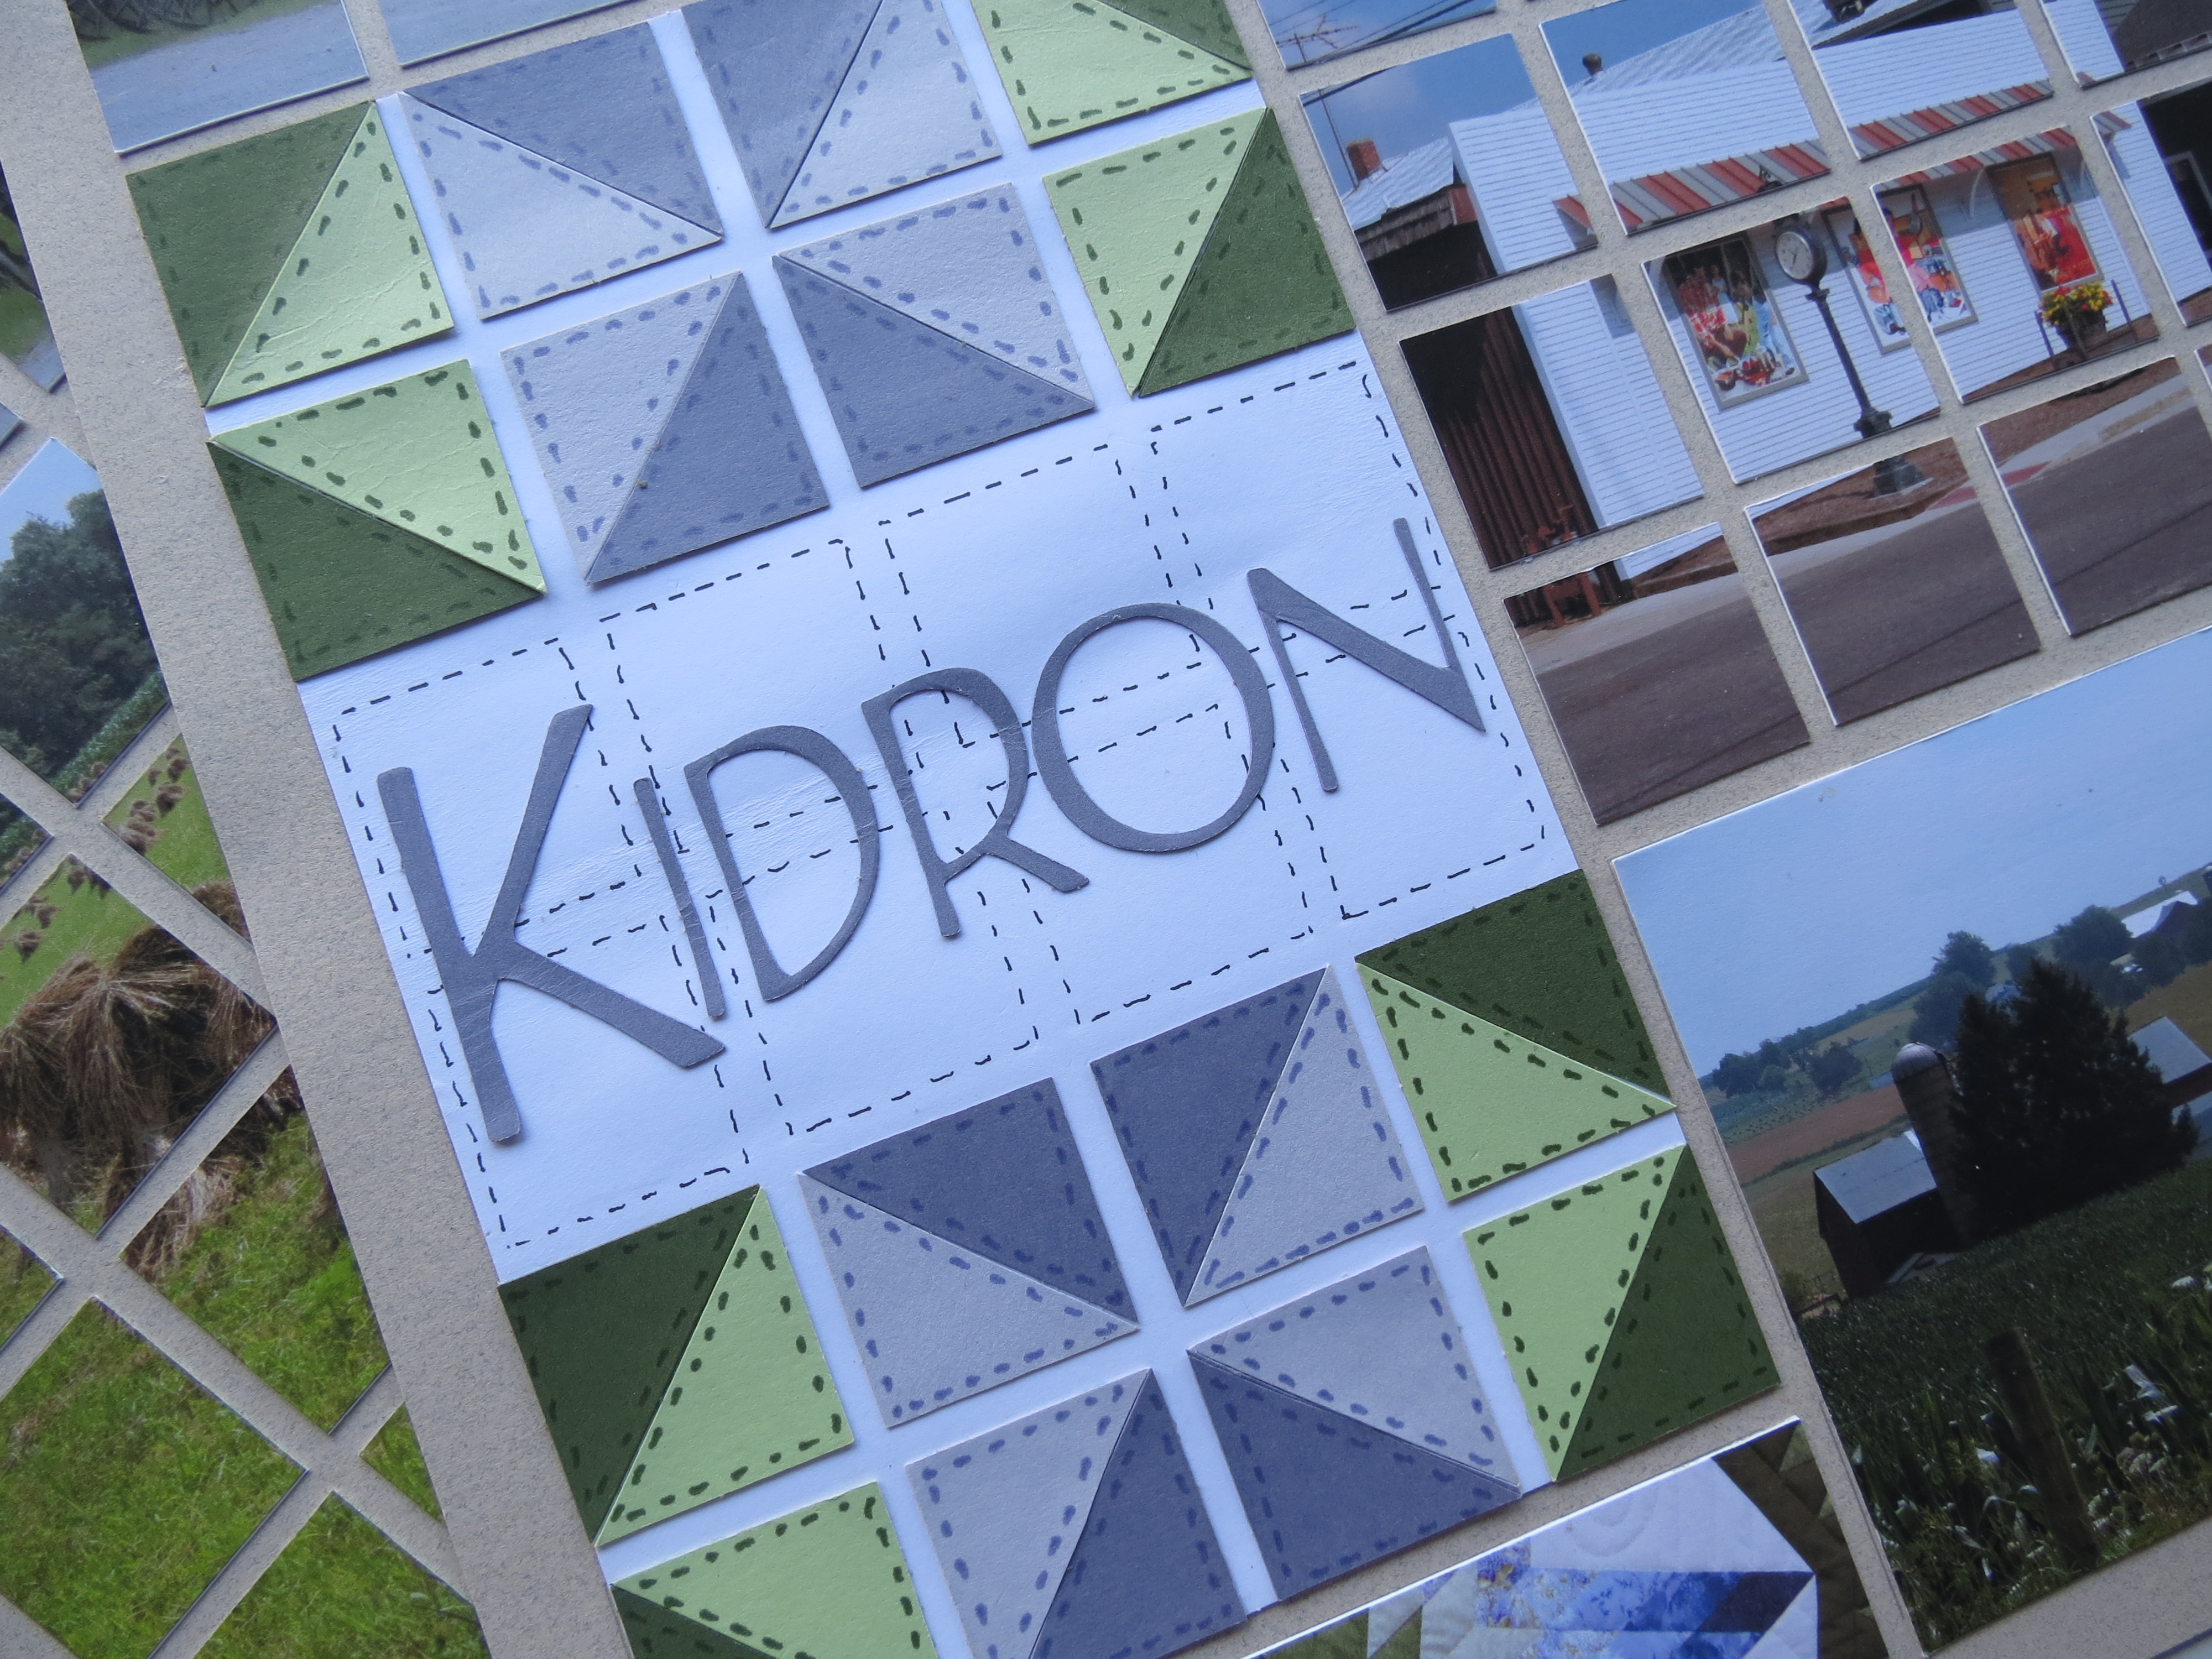
Kidron
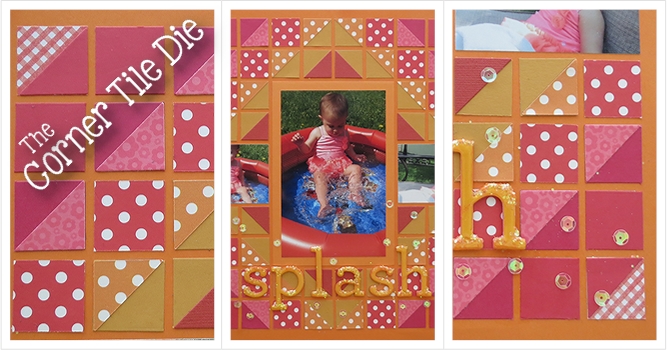
You might remember my love of quilts, so it might not be a surprise to see my final layout became another one! Instead of matching corner tiles to each other I used my one inch square tiles to be the base and applied the corner tile to the top.
This quarter section will show off the pattern and colors.
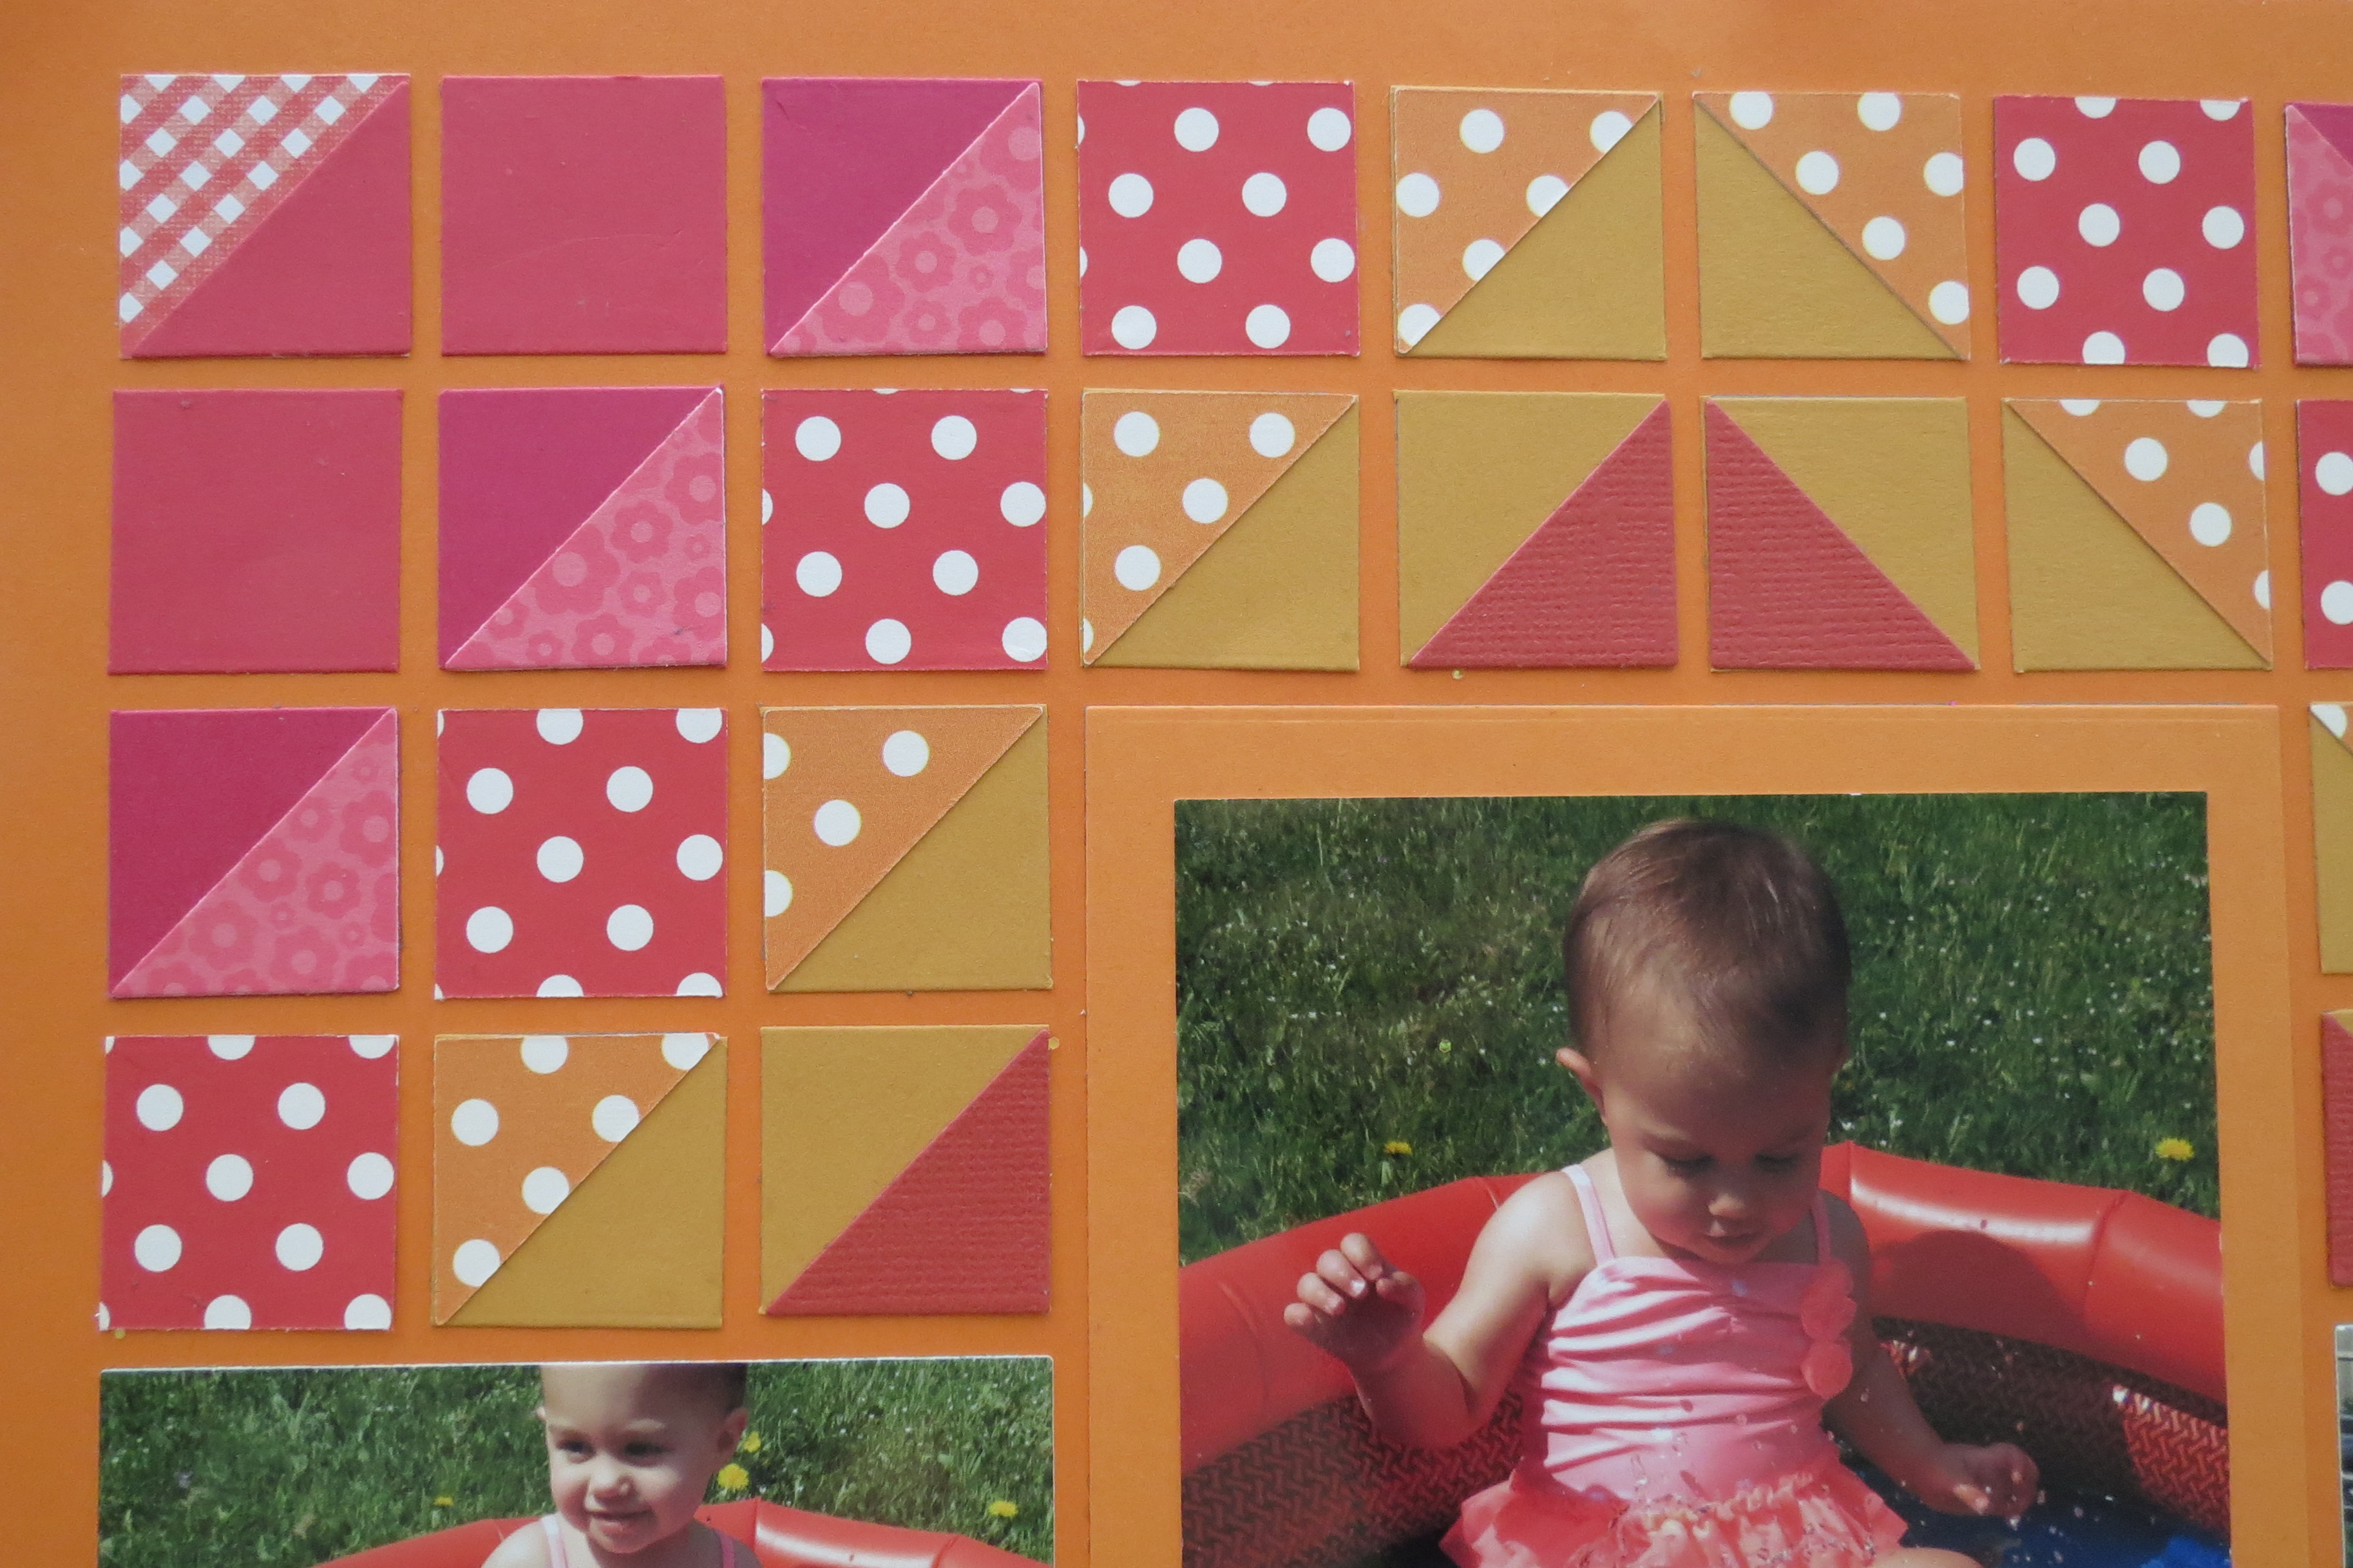
Splash Corner Tile Die Quarter page pattern repeated on each corner of layout
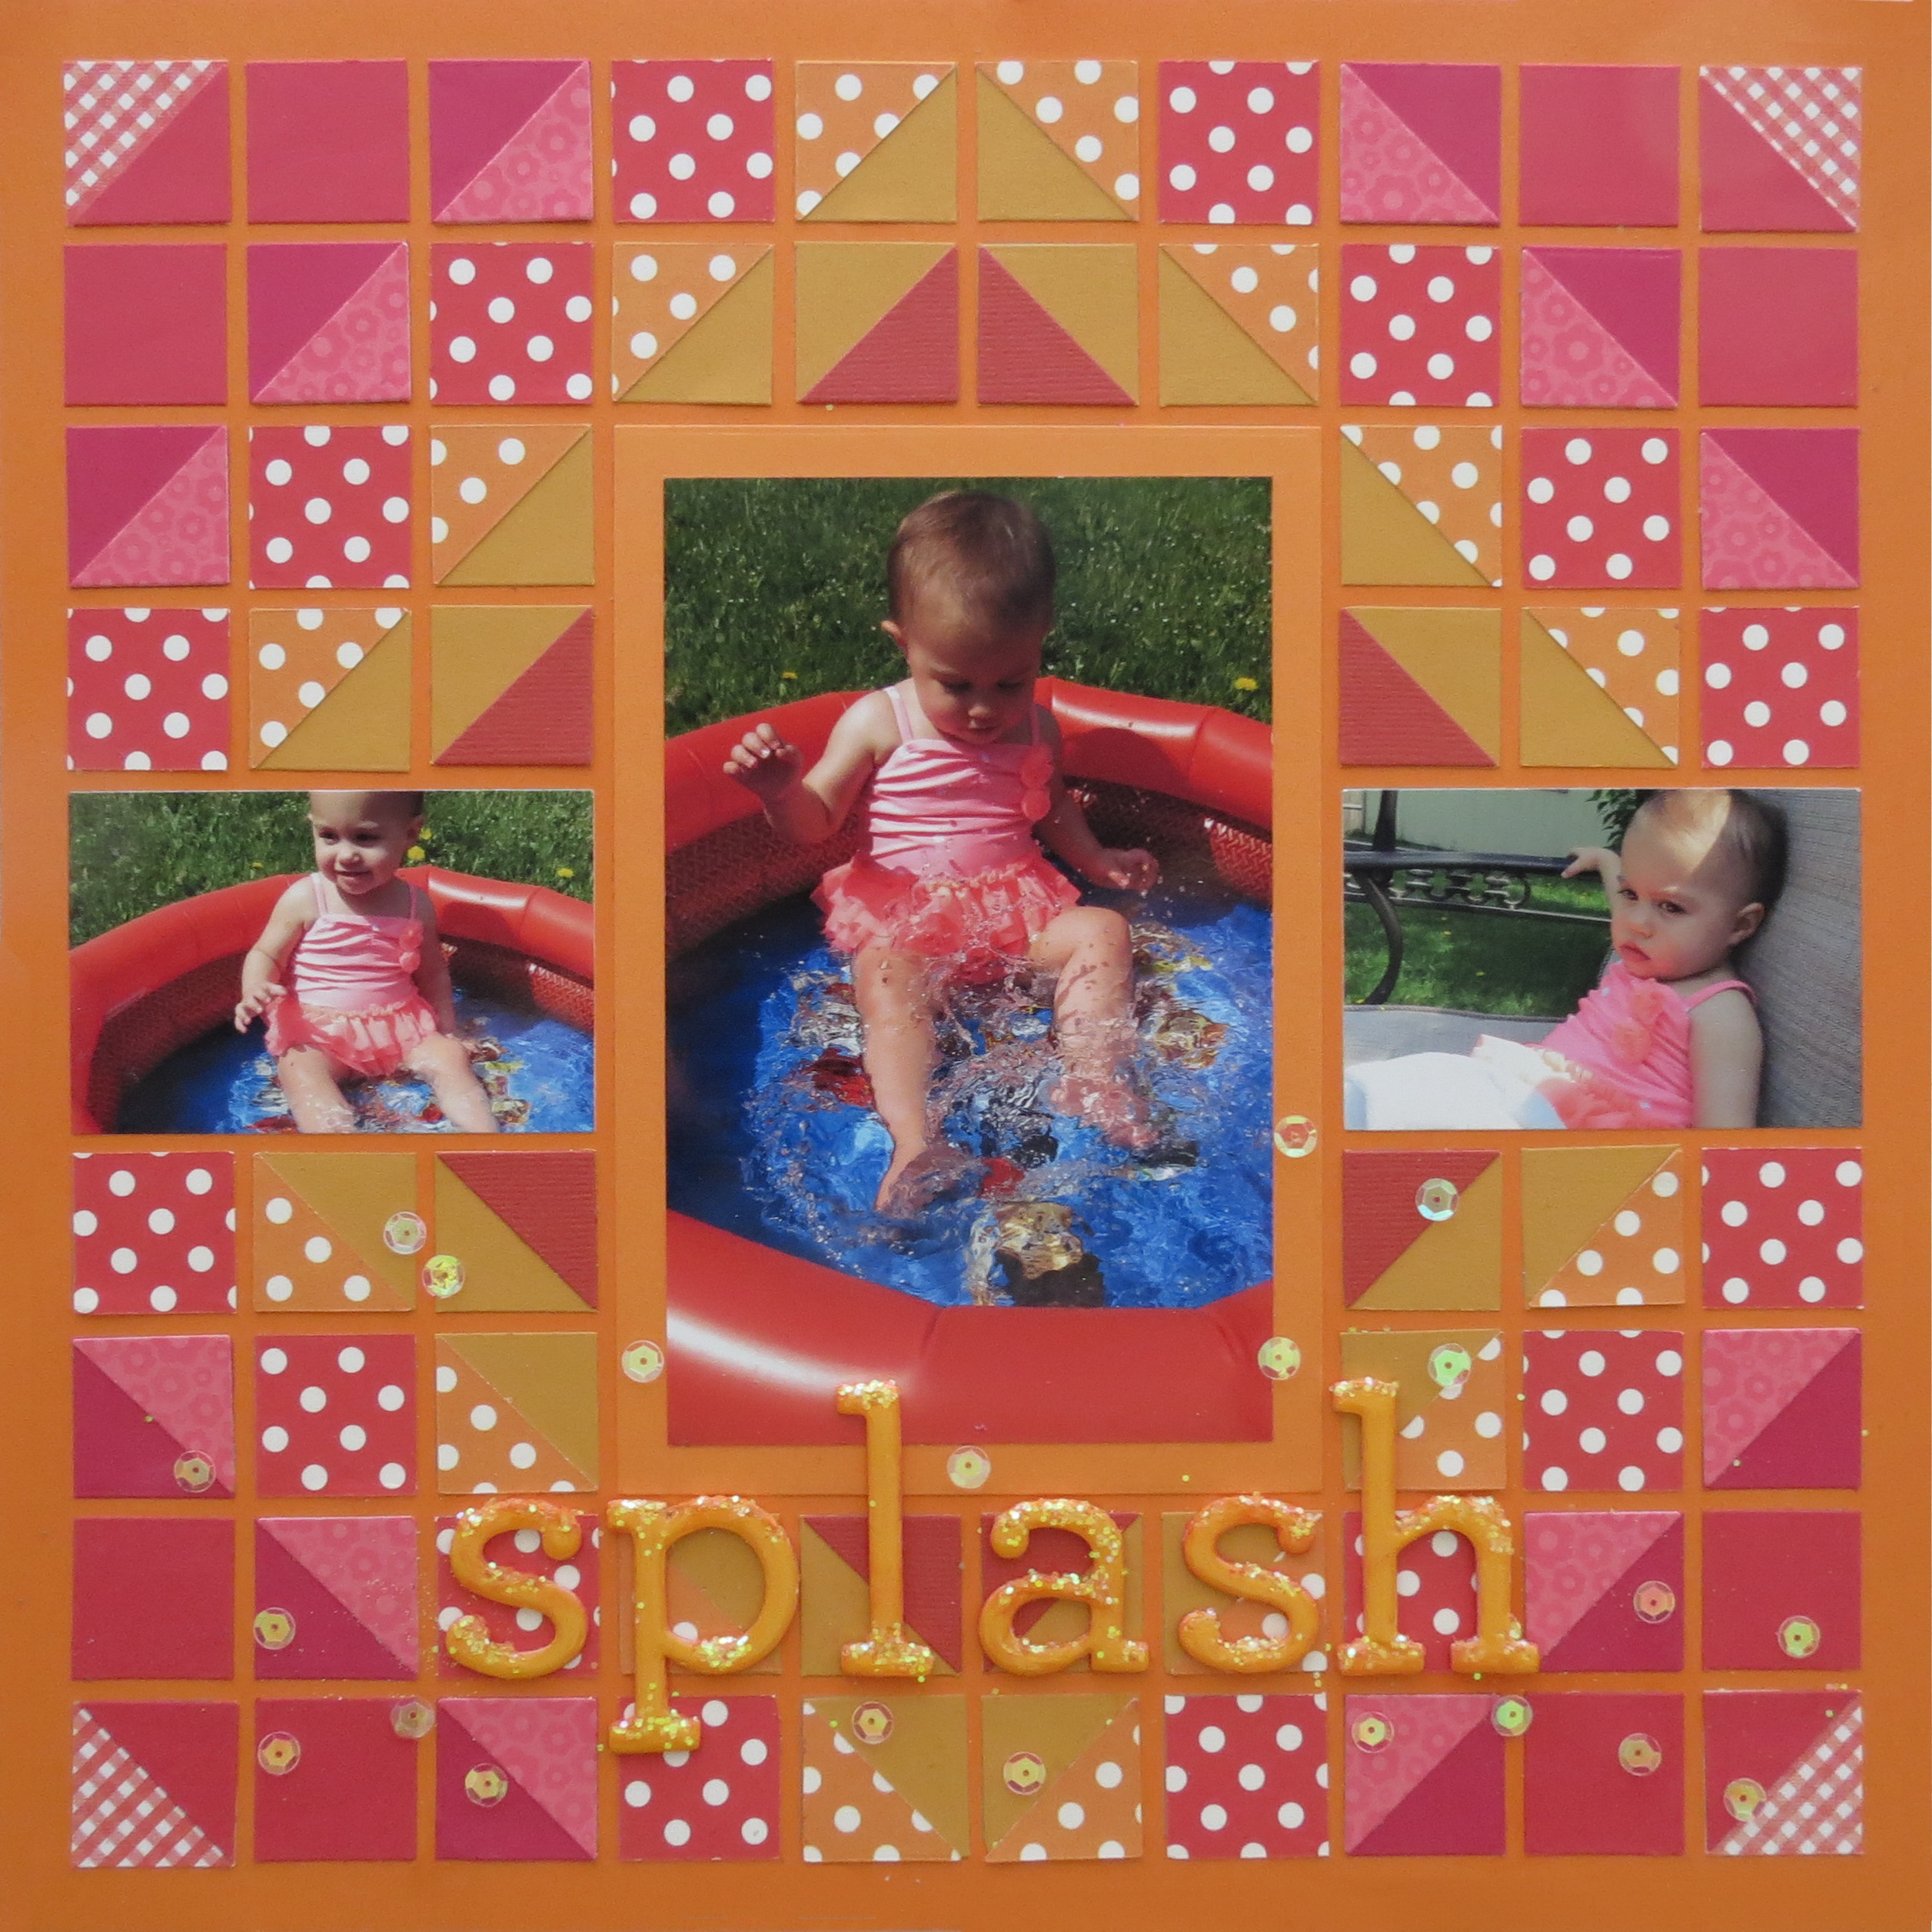
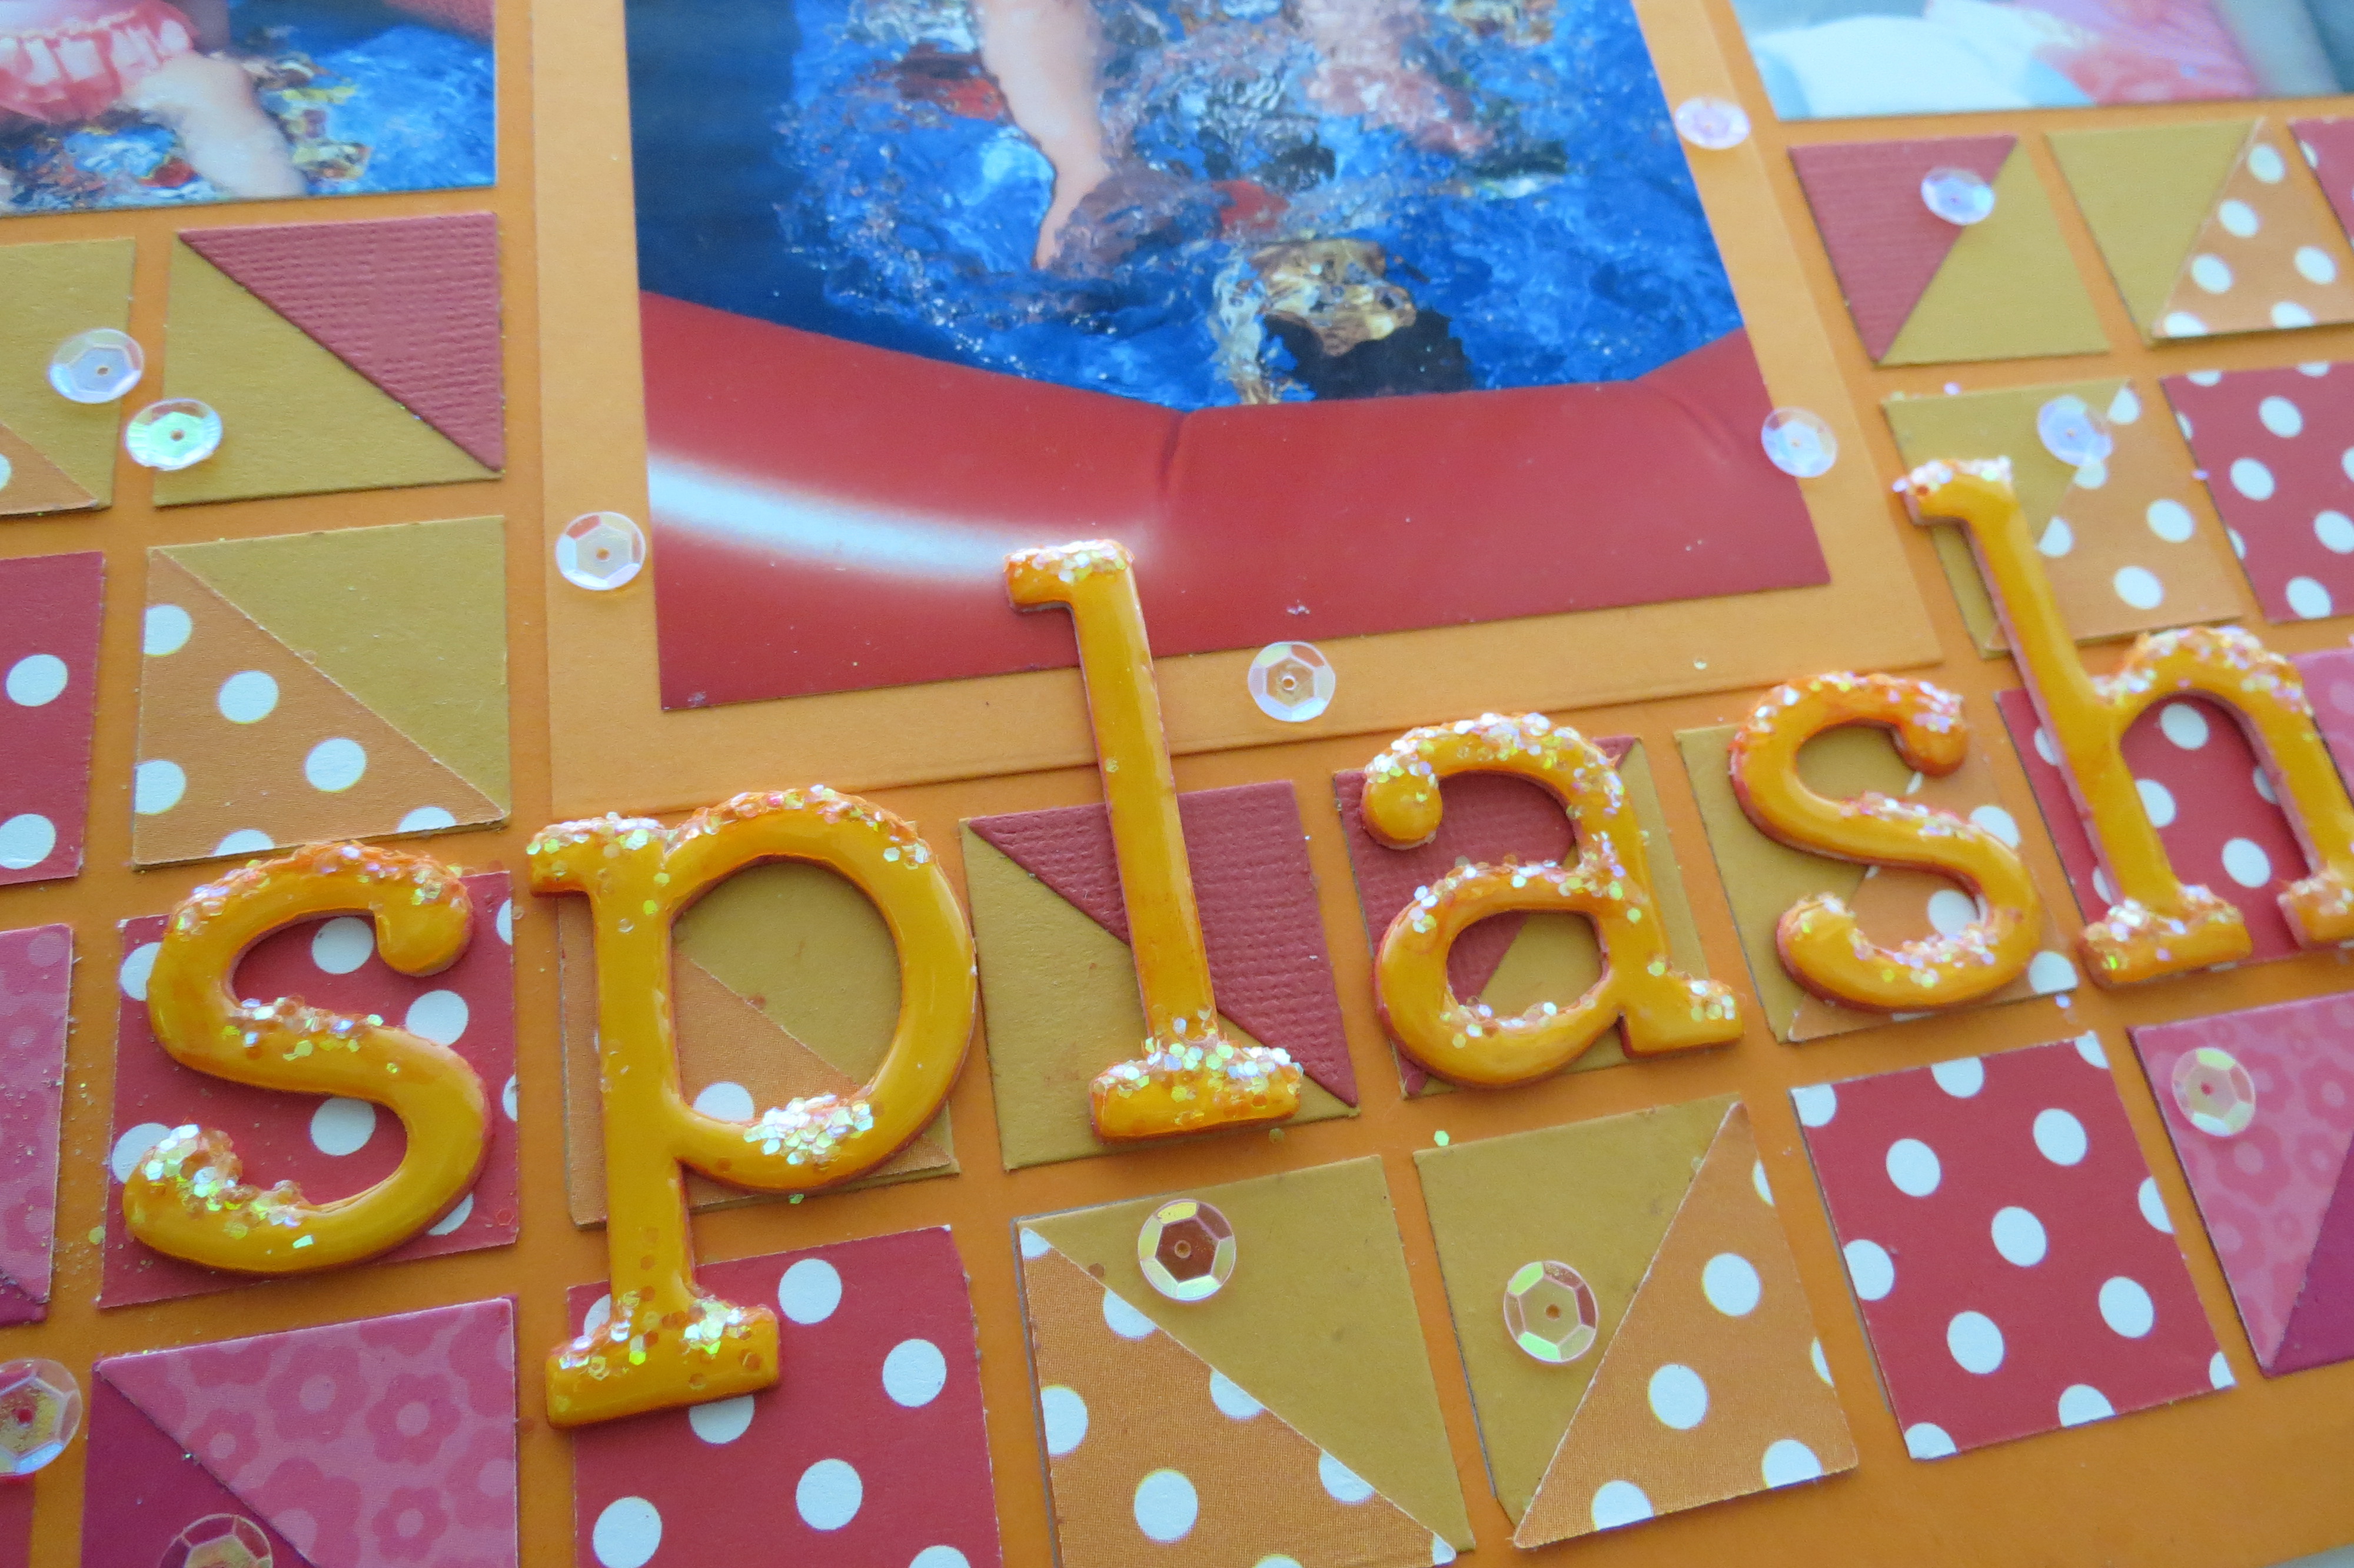
I love the photos as they catch the splashes midair. To mimic that on the page I used clear and clear pink sequins randomly scattered. They catch the light and add sparkle.

Splash Corner Tile Die sequins added for sparkle
The chipboard letters used for the title needed a little something added, so the edges were inked with scarlet ink and dusted with Sugar Coating orange glitter, this is a larger plastic circle, not a fine glitter. Once again the problem with glitter all over the place was plaguing me for the beauty of the glimmer it provided. The solution was to cover the glitter with a layer of liquid acrylic and show a bit of a drip, but the more I thought about it, I figured covering the entire letter would add a nice watery glisten to my title at the same time it enclosed the glitter. I think it even reflects more!
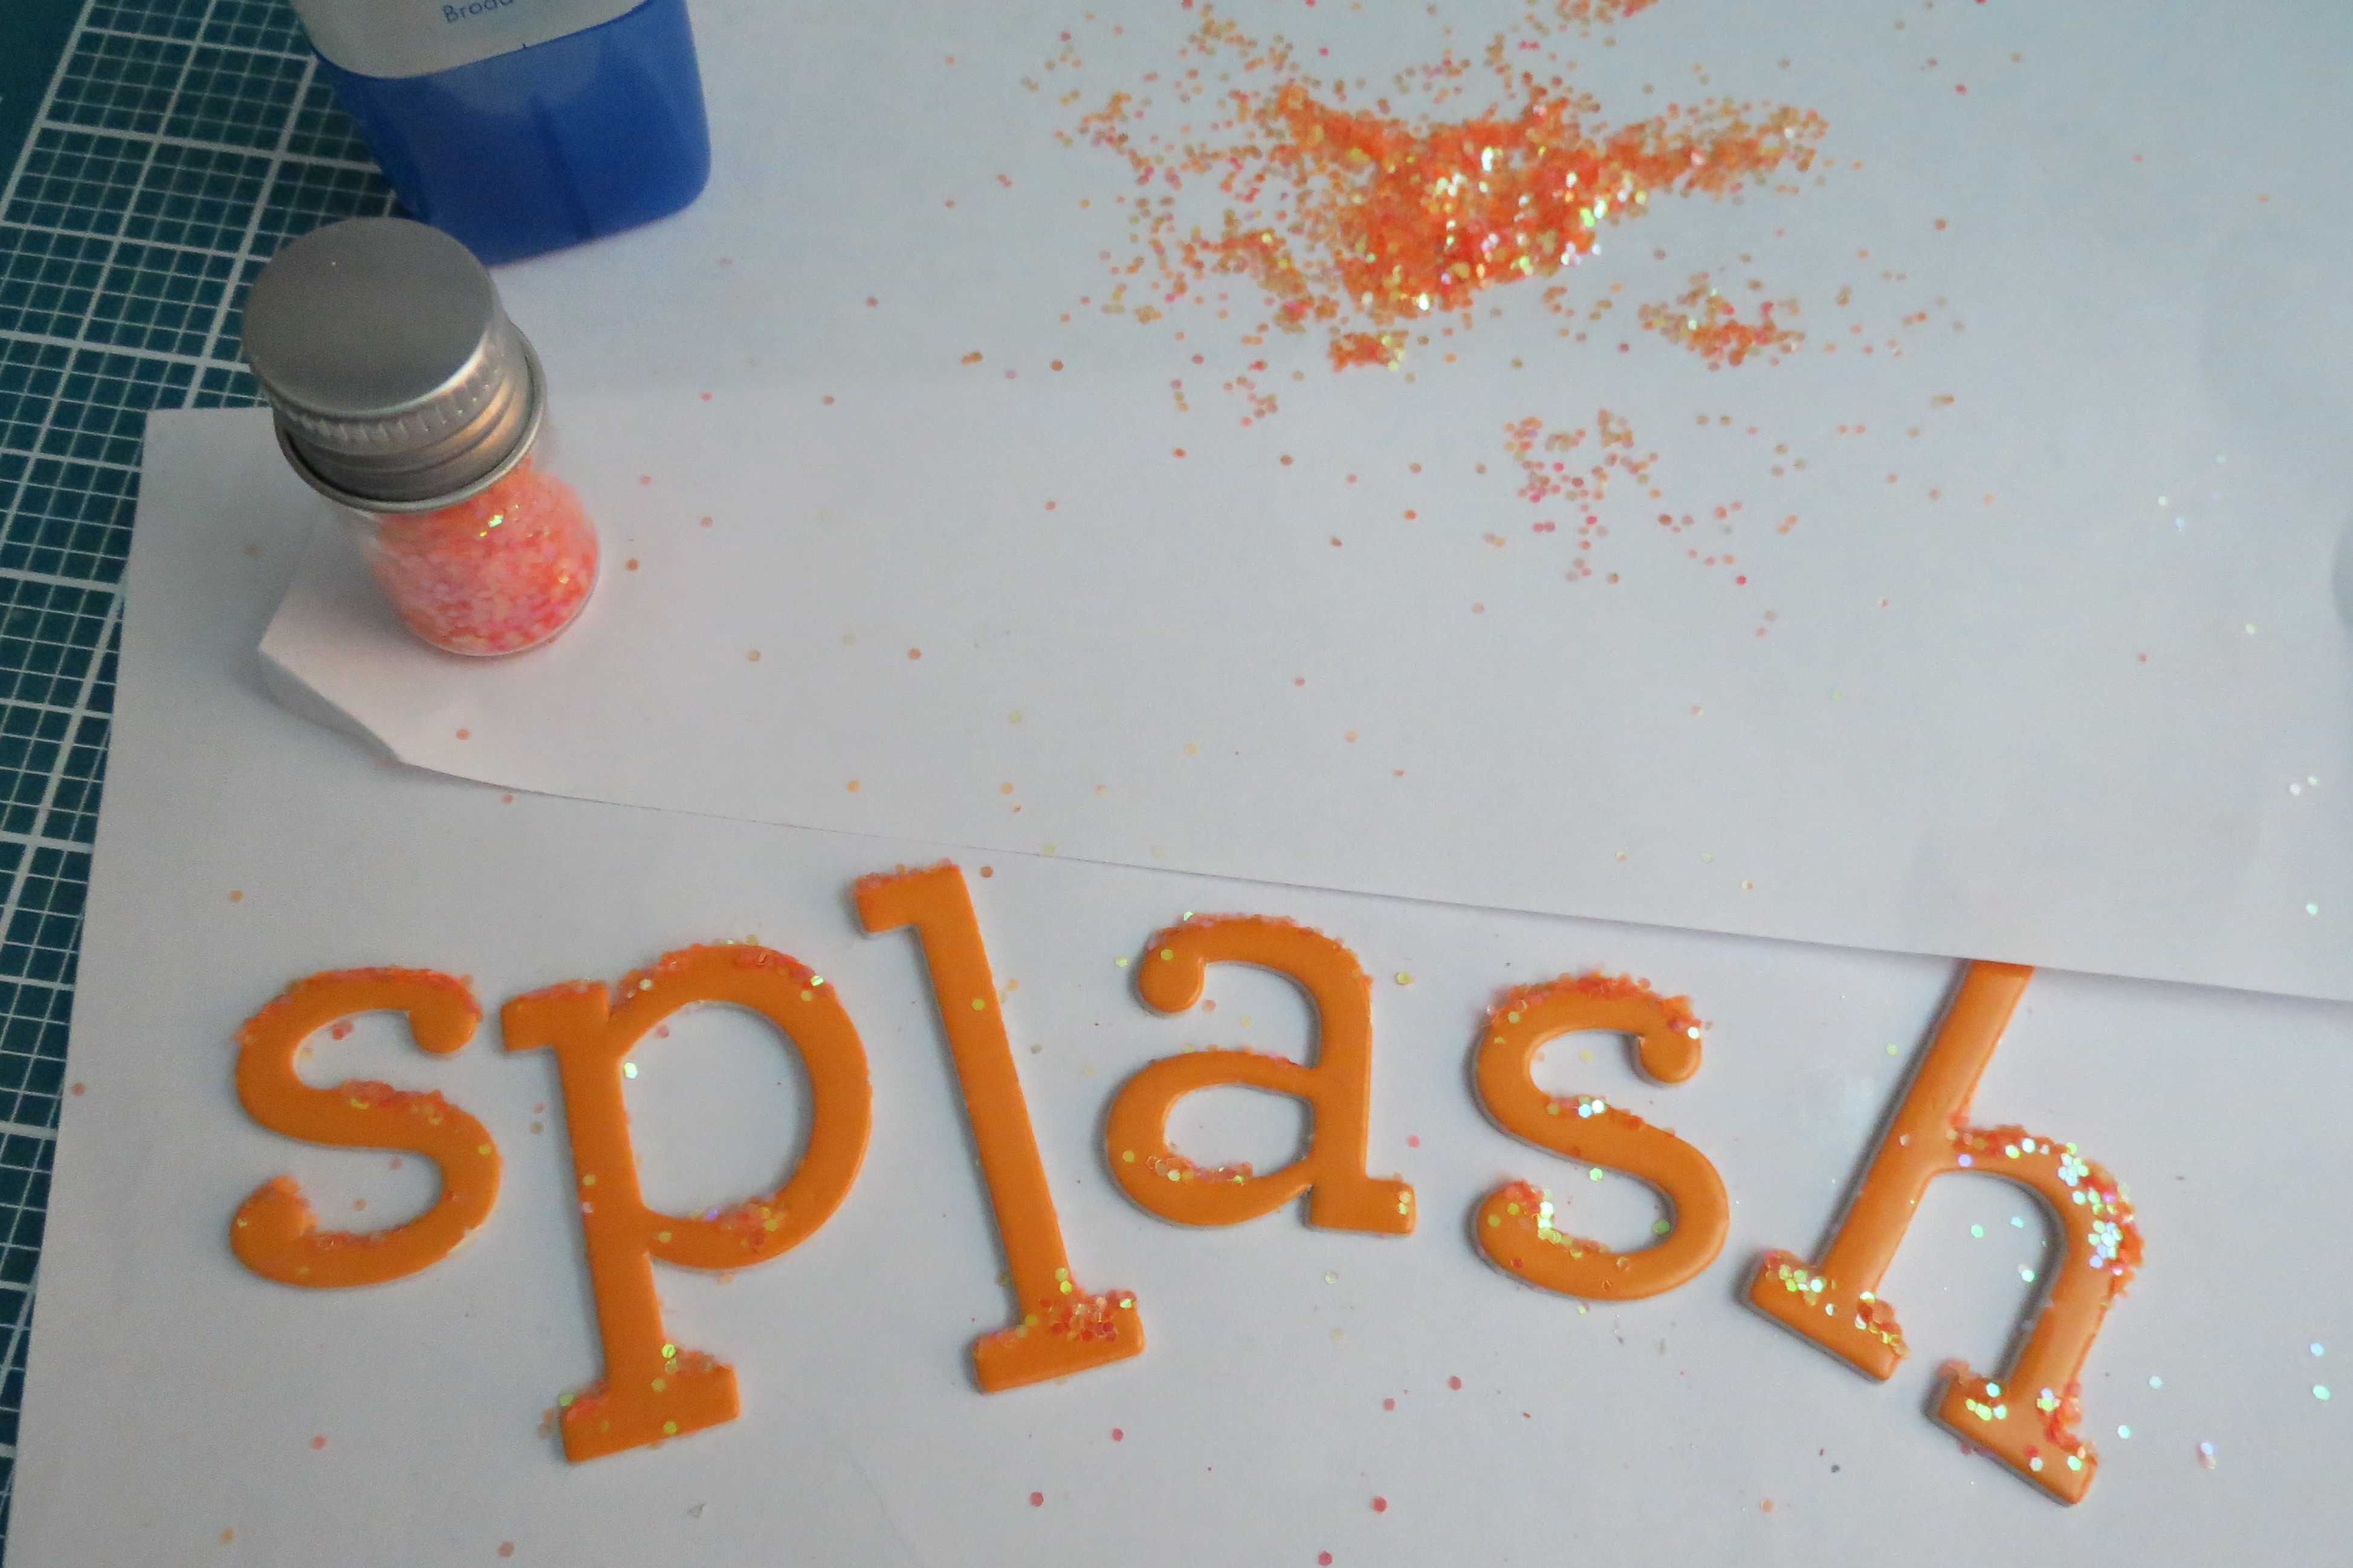
Splash Corner Tile Die add glitter to letters
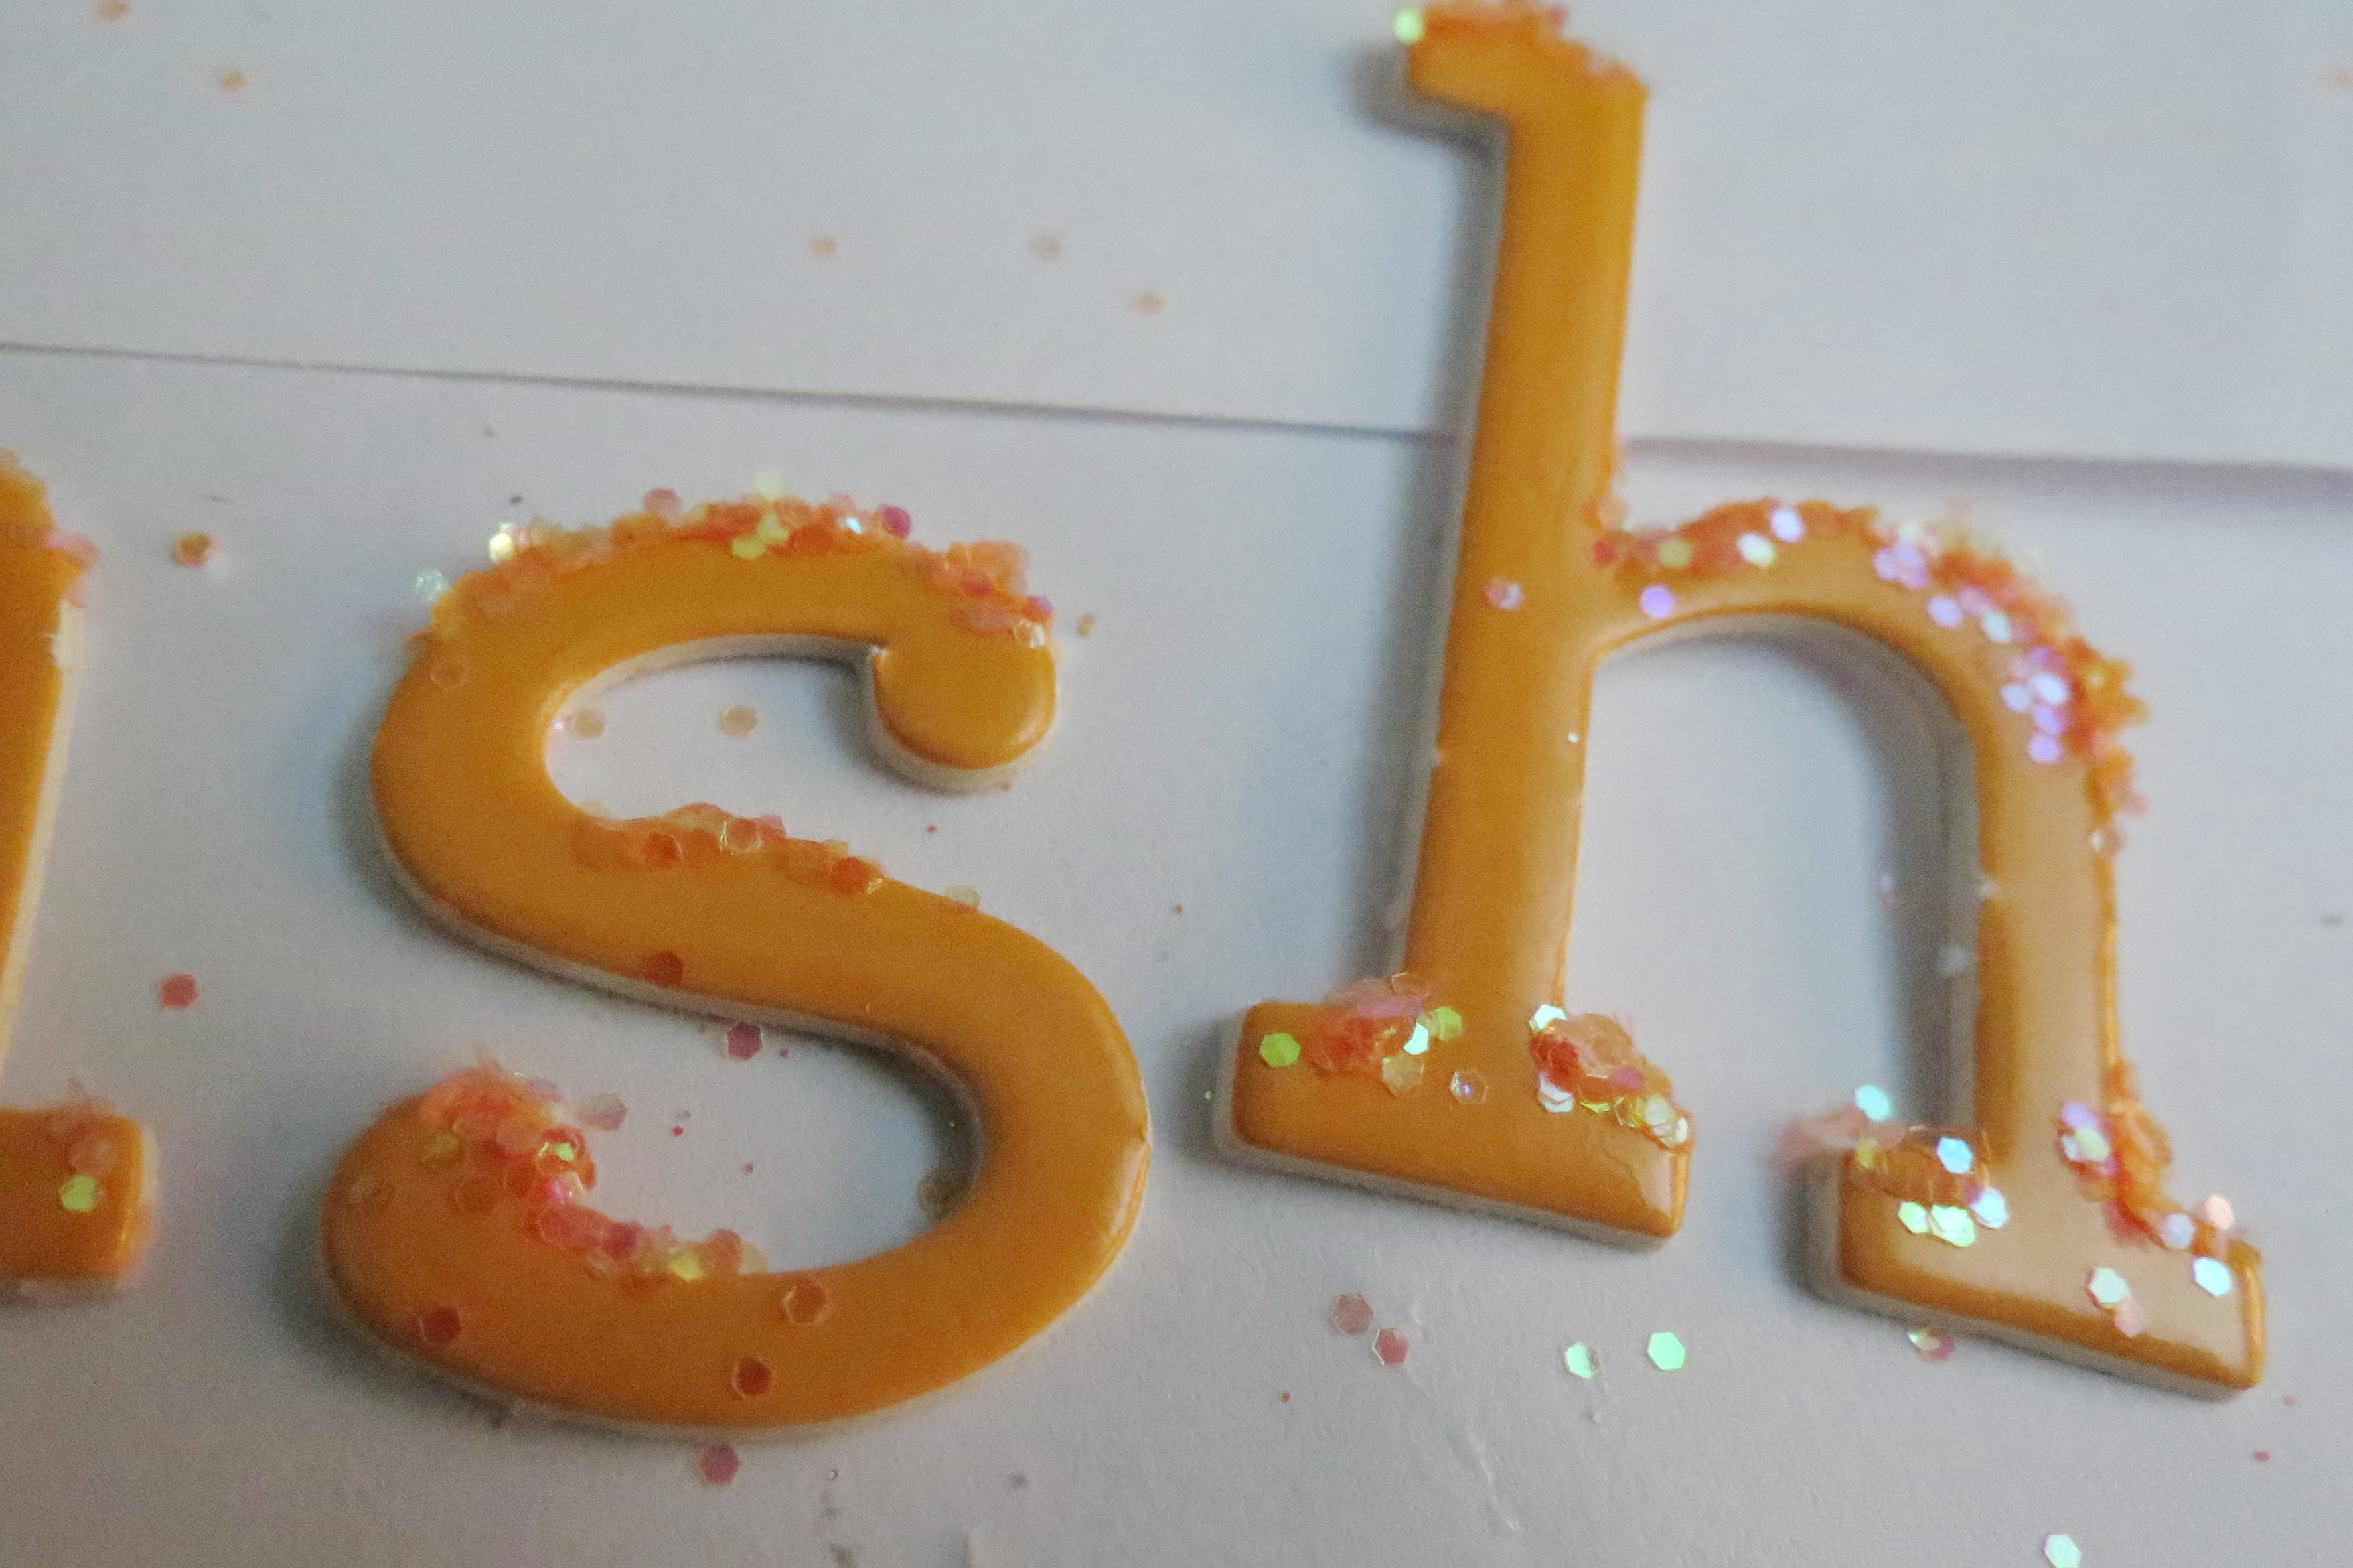
Splash Corner Tile Die
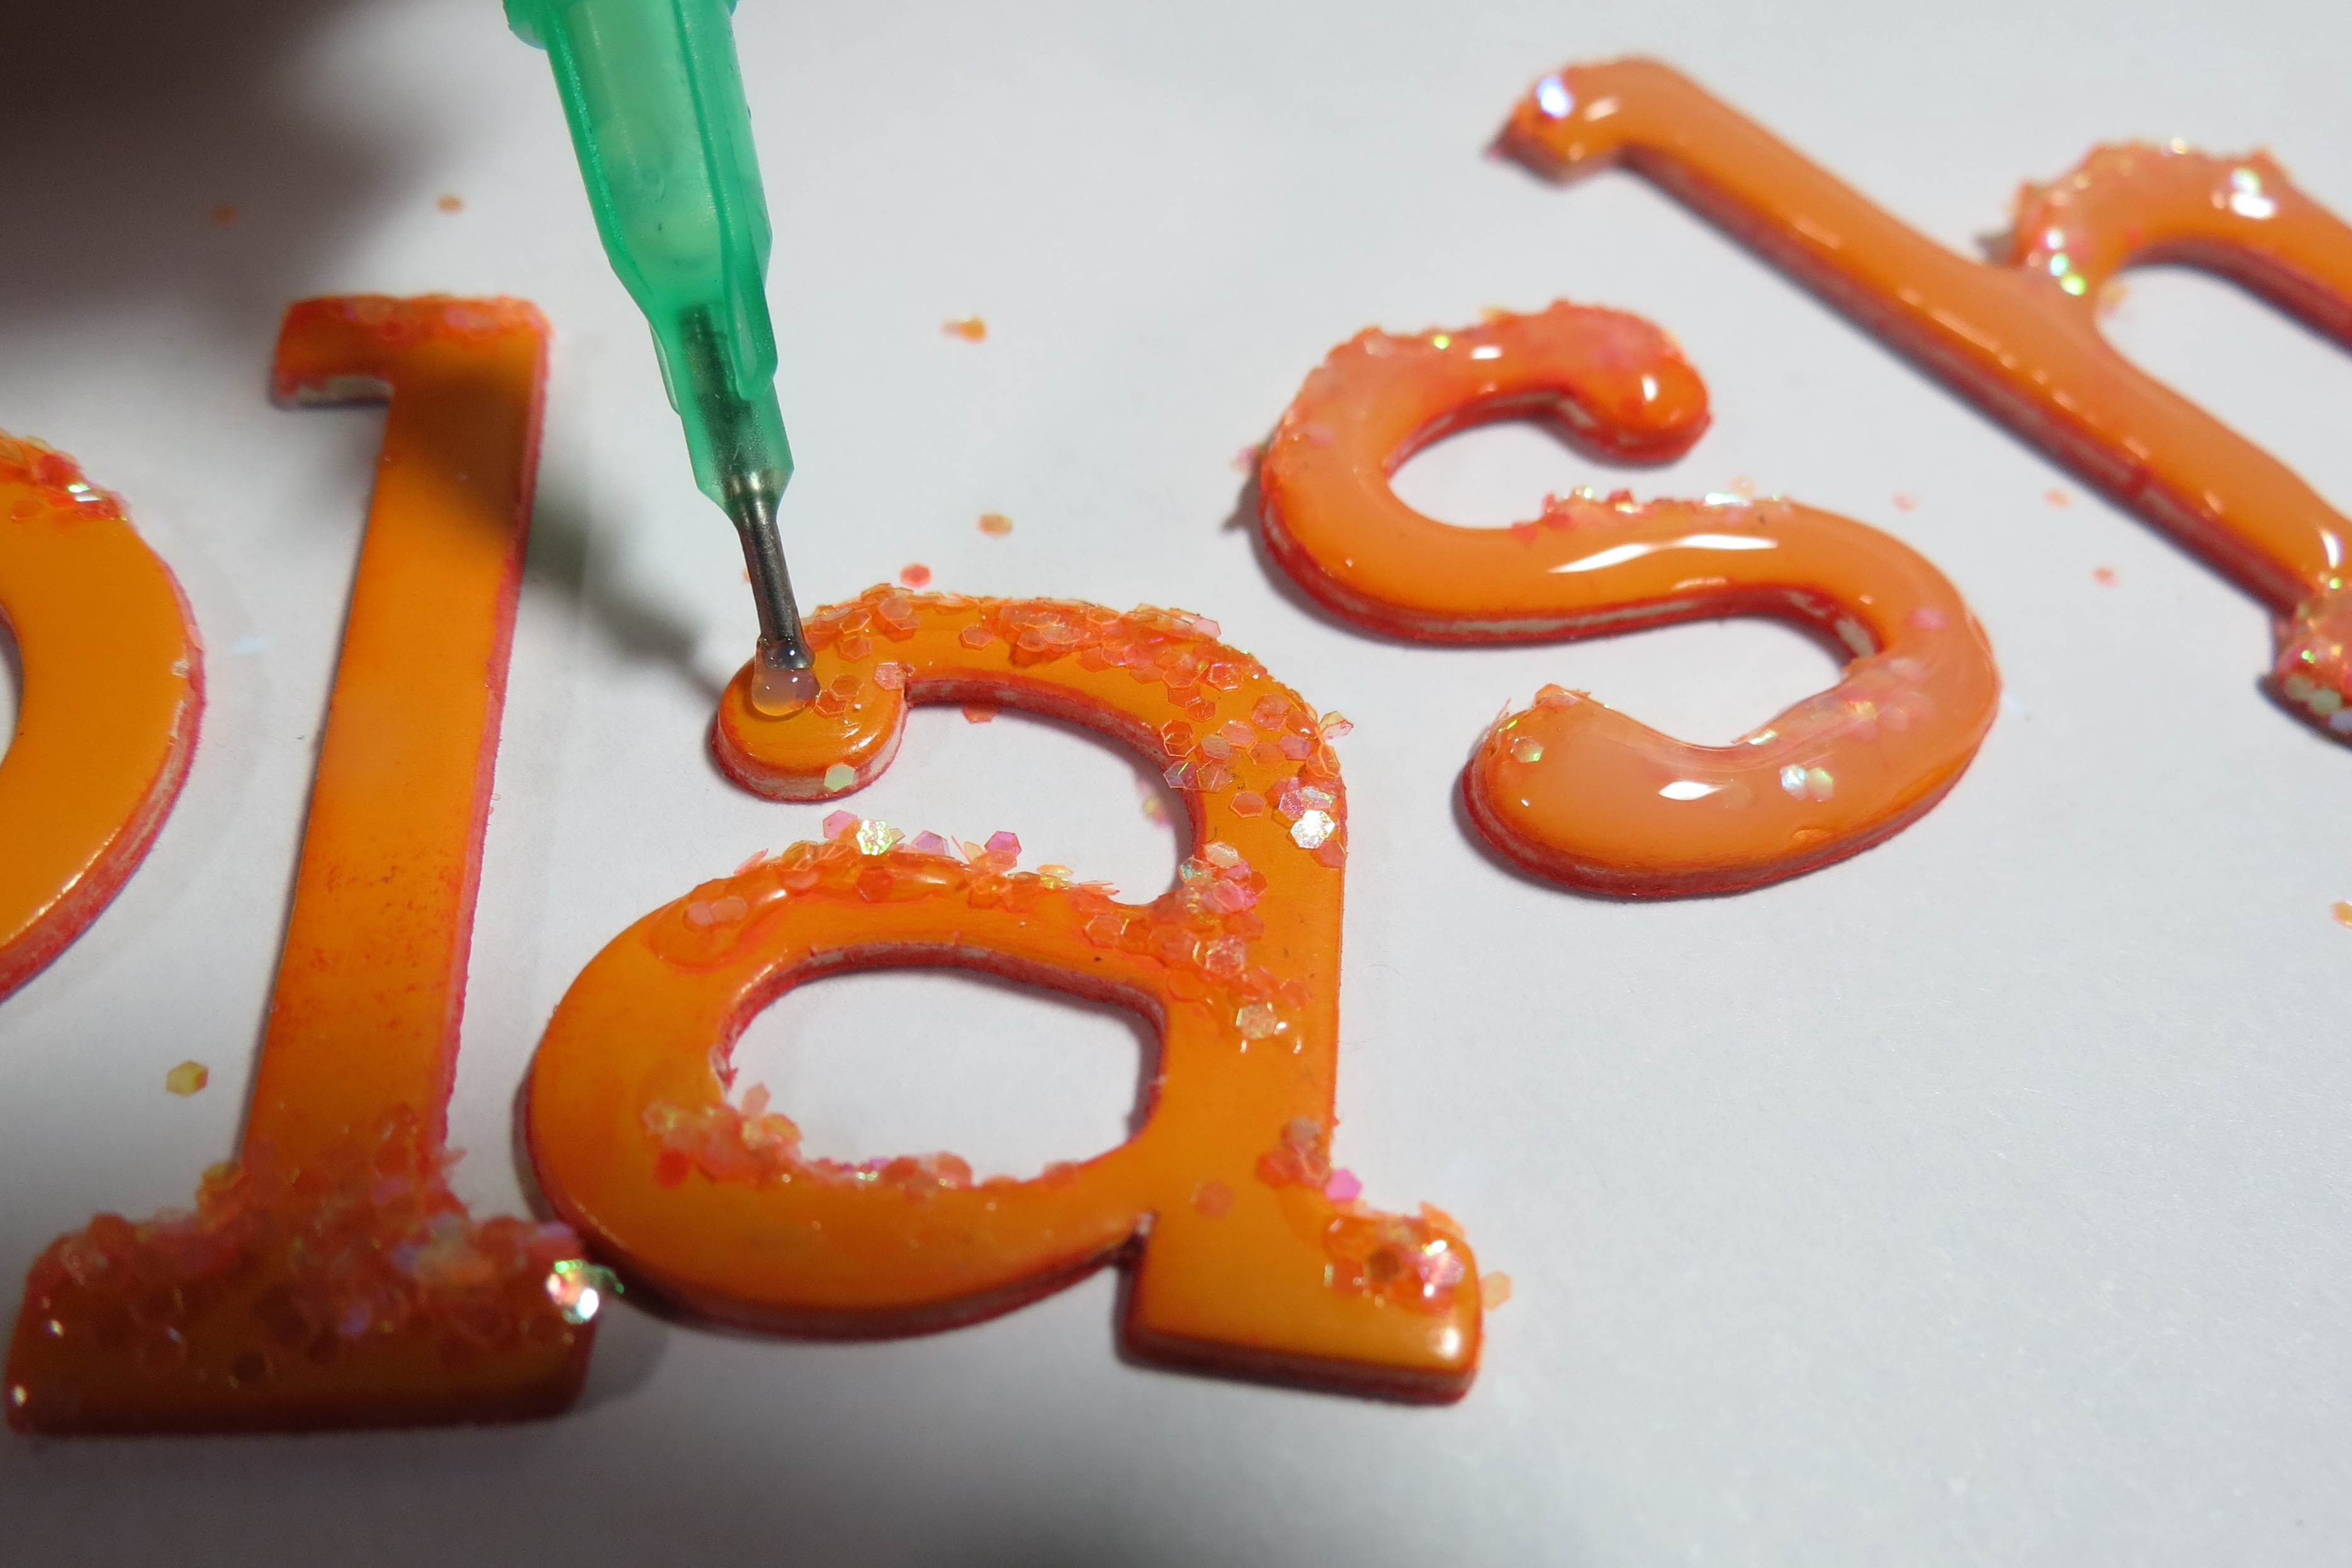
Splash Corner Tile Die adding liquid acrylic to topside of letter encasing the glitter
Splash Corner Tile Die
The stripes of patterns and color, eight in all, as laid out draws focus to each of the outside photos. Using a color close to the color of the pool for the corners placed near the center add a diagonal frame. With the center photo mounted on a shade of orange lighter than base grid orange helps to create an illusion of more separation further drawing focus to the center featured photo.
Splash Corner Tile Die Pattern #227
There is so much that you can do with the Corner Tile Die, it’s time to try something new for you!!
Andrea Fisher
…and all the news on Pinterest where you can pin this…