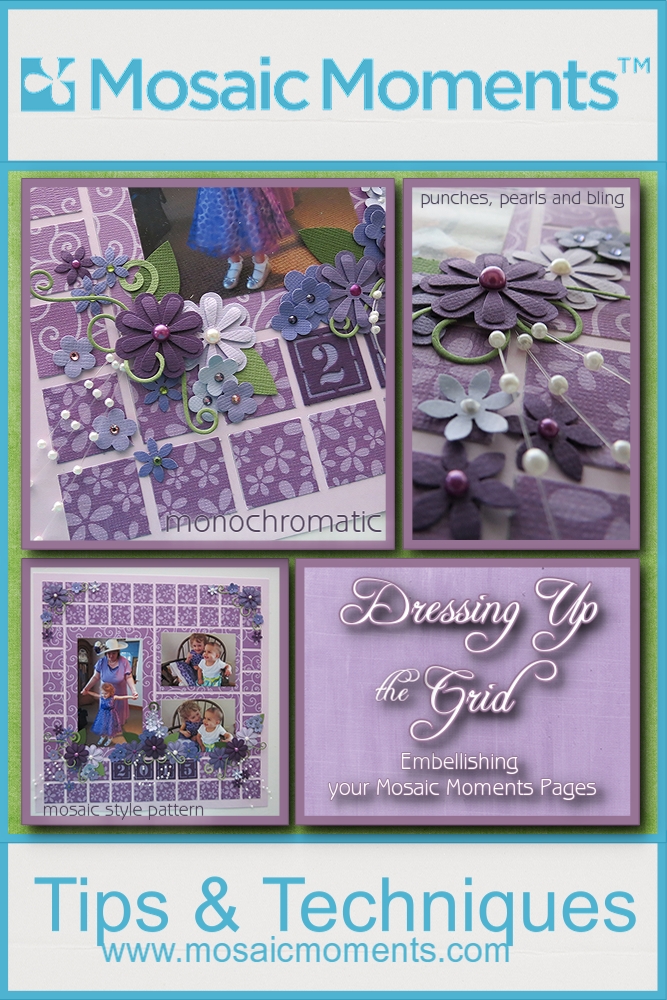
Embellishing Your Mosaic Moments Pages
Going from plain to stunning!
Are you a scrapbooker that likes to add embellishments to your scrapbook pages but somehow feels limited with a mosaic grid page? I hope to show you a few ways for Dressing up the Grid allowing you to be very creative and finishing with a beautifully crafted page.

Pattern #158 Mosaic Style
Let’s begin with Pattern #158 in our Pattern Gallery. This is a mosaic style pattern that features 3 main photos. The 1” mosaic square that complete the pattern could be additional photos or letter/word blocks, however, this time they will be filled with patterned paper. A 12×12 Lilac Grid page will be the foundation to build on. Patterned cardstock from Core’dinations, Purple Swirl and a slightly darker Purple Flower will serve as mats and 1” squares for the first layer. Cutting both mats and photos using Die Sets B&C then Die Set MM 1” squares will make it quick and easy.
Dressing Up the Grid: papers, punches and dies
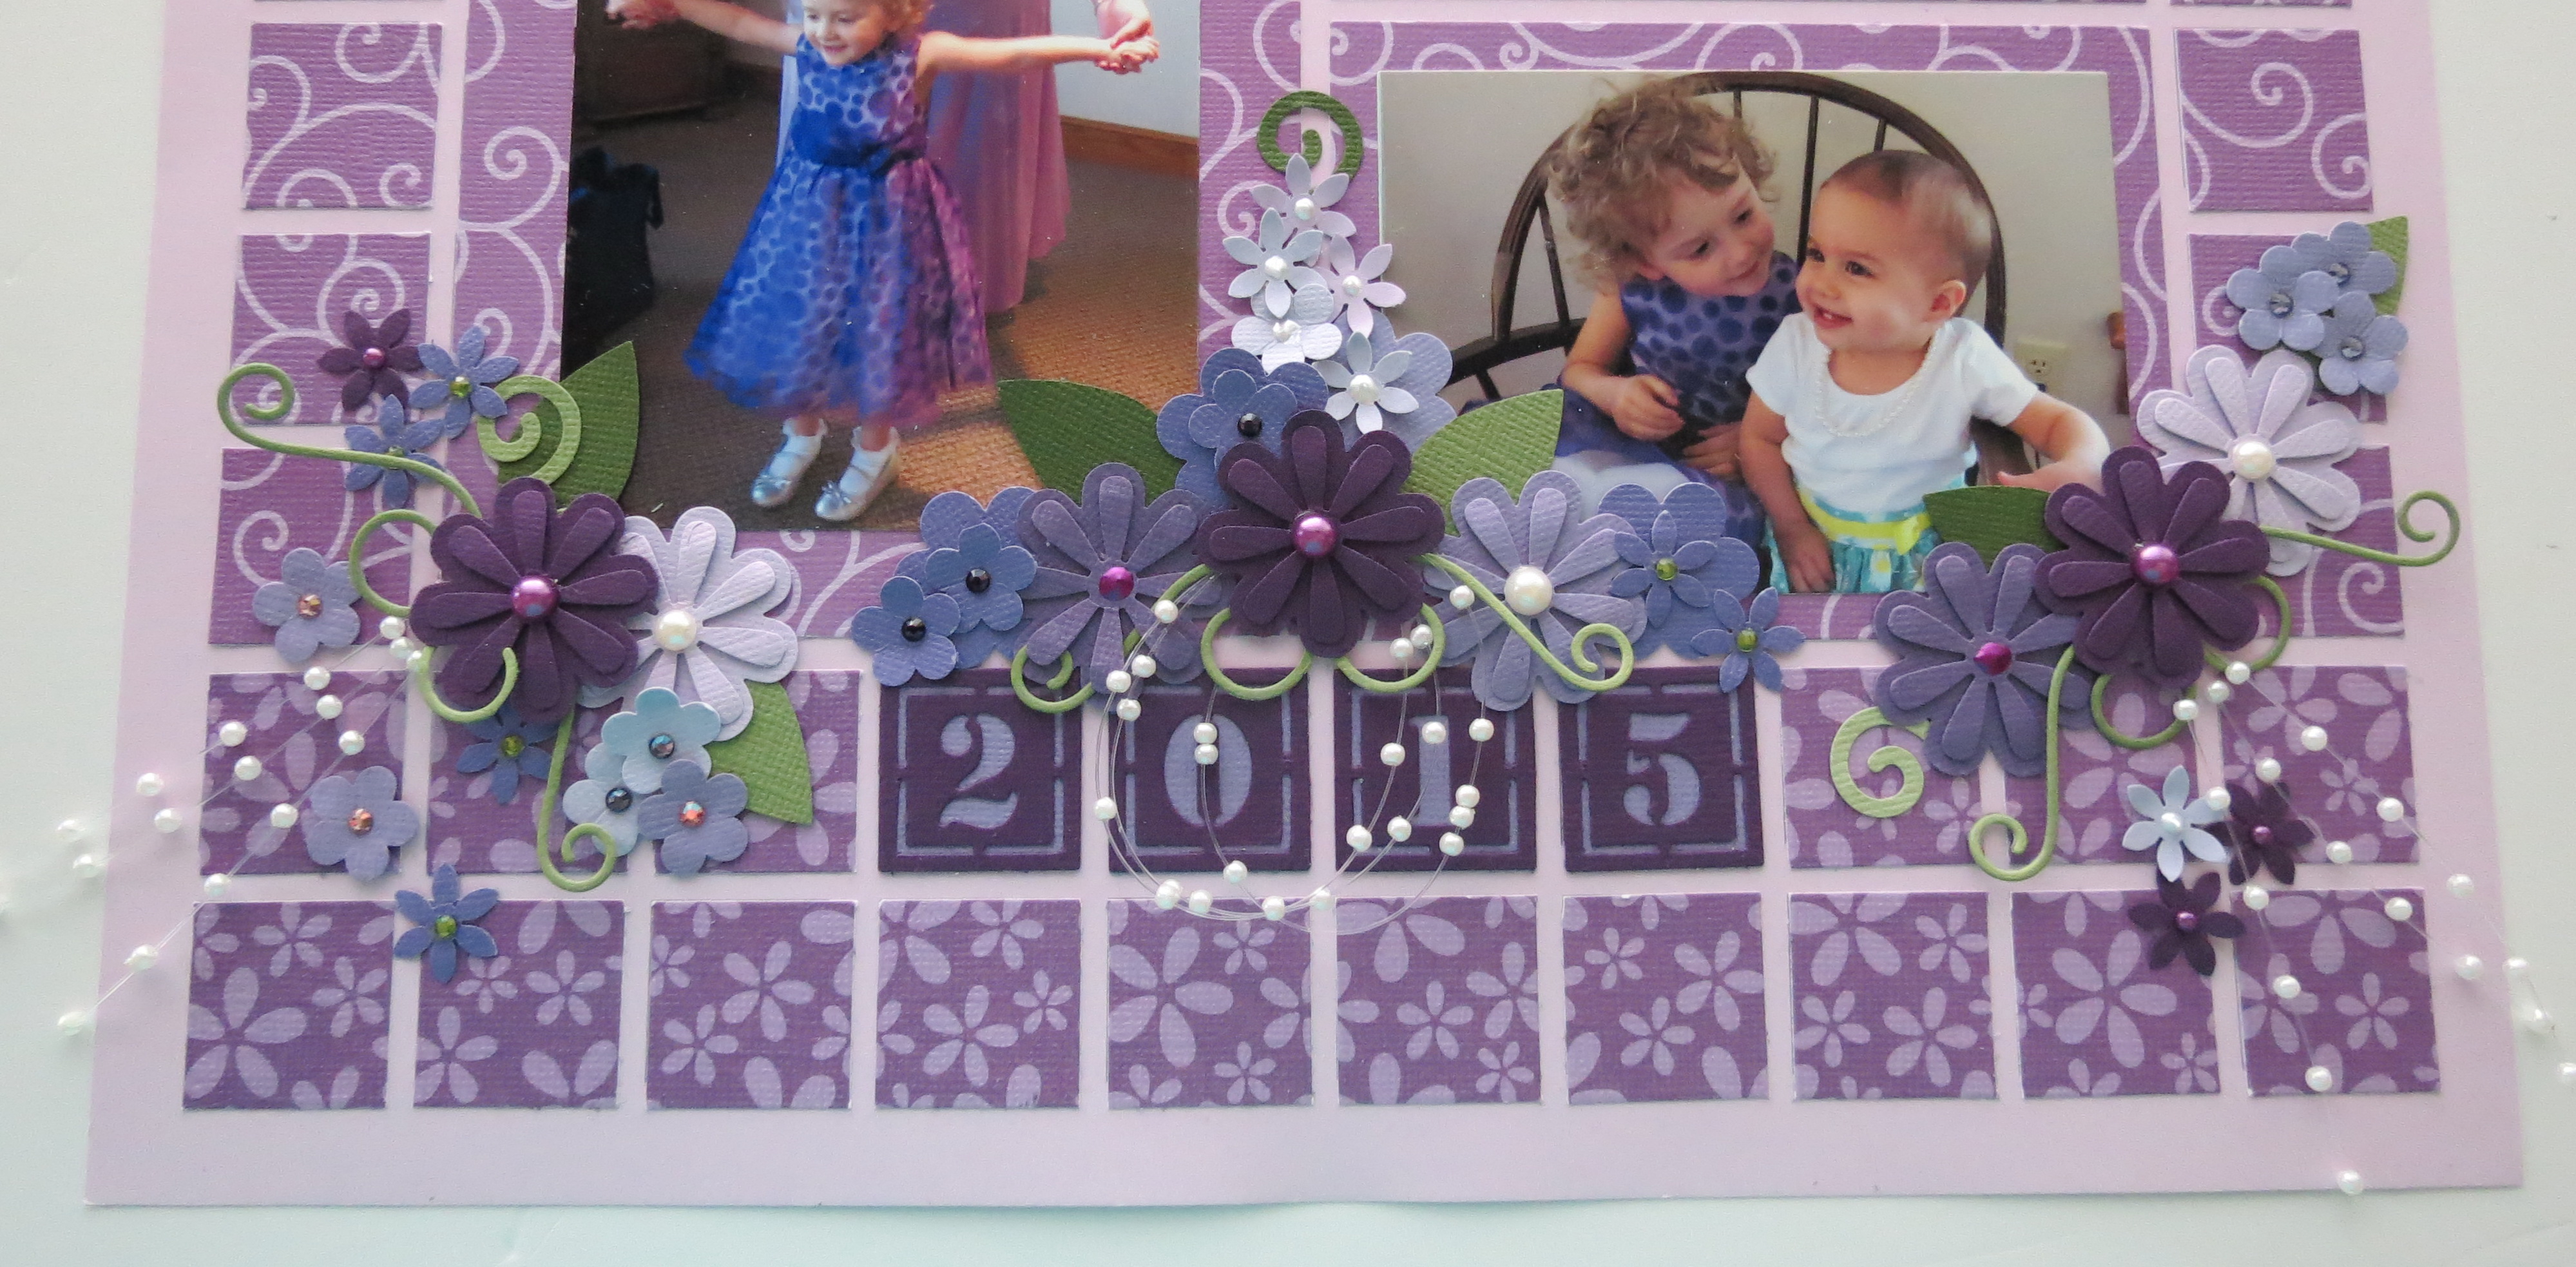
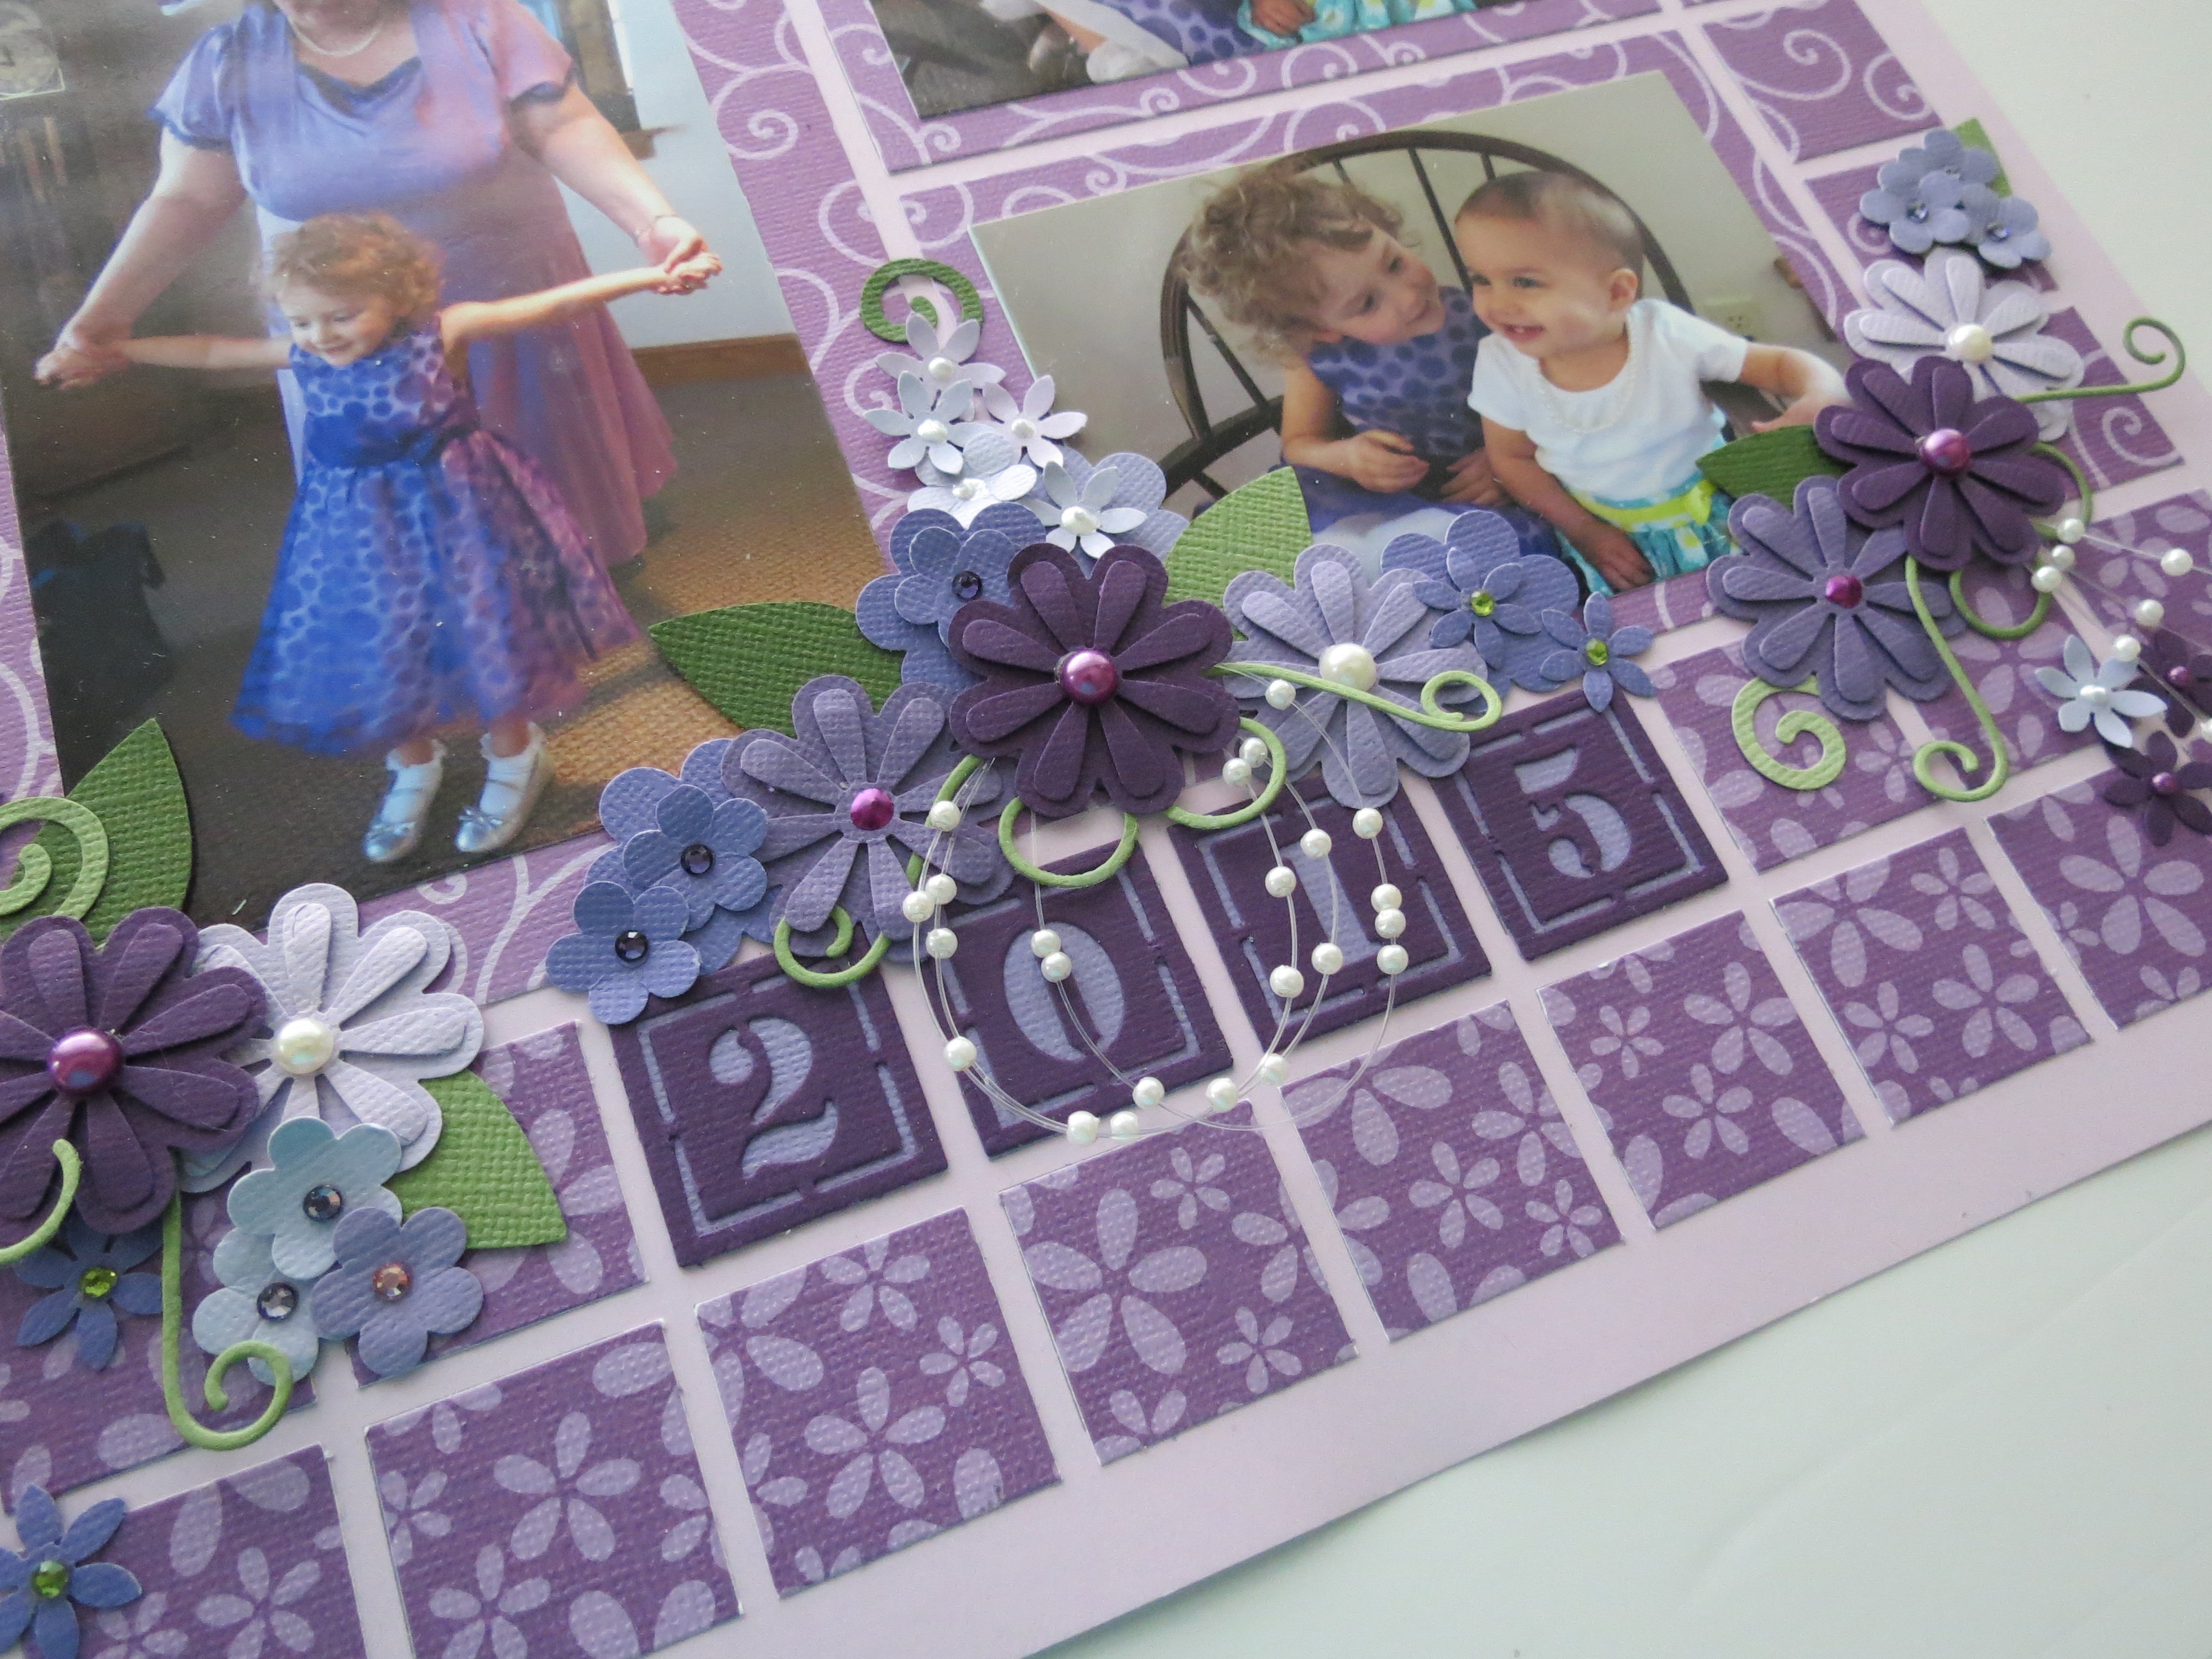
I wanted to include the date and used the Stencil Number Die in a darker shade of purple with another shade behind the numbers and placed it in the center below the photos. The top and bottom two rows are filled with the Purple Flower cardstock and the center section with the photo mats and side rows are in the Purple Swirl cardstock. The base is now ready for embellishing!
Go From This:
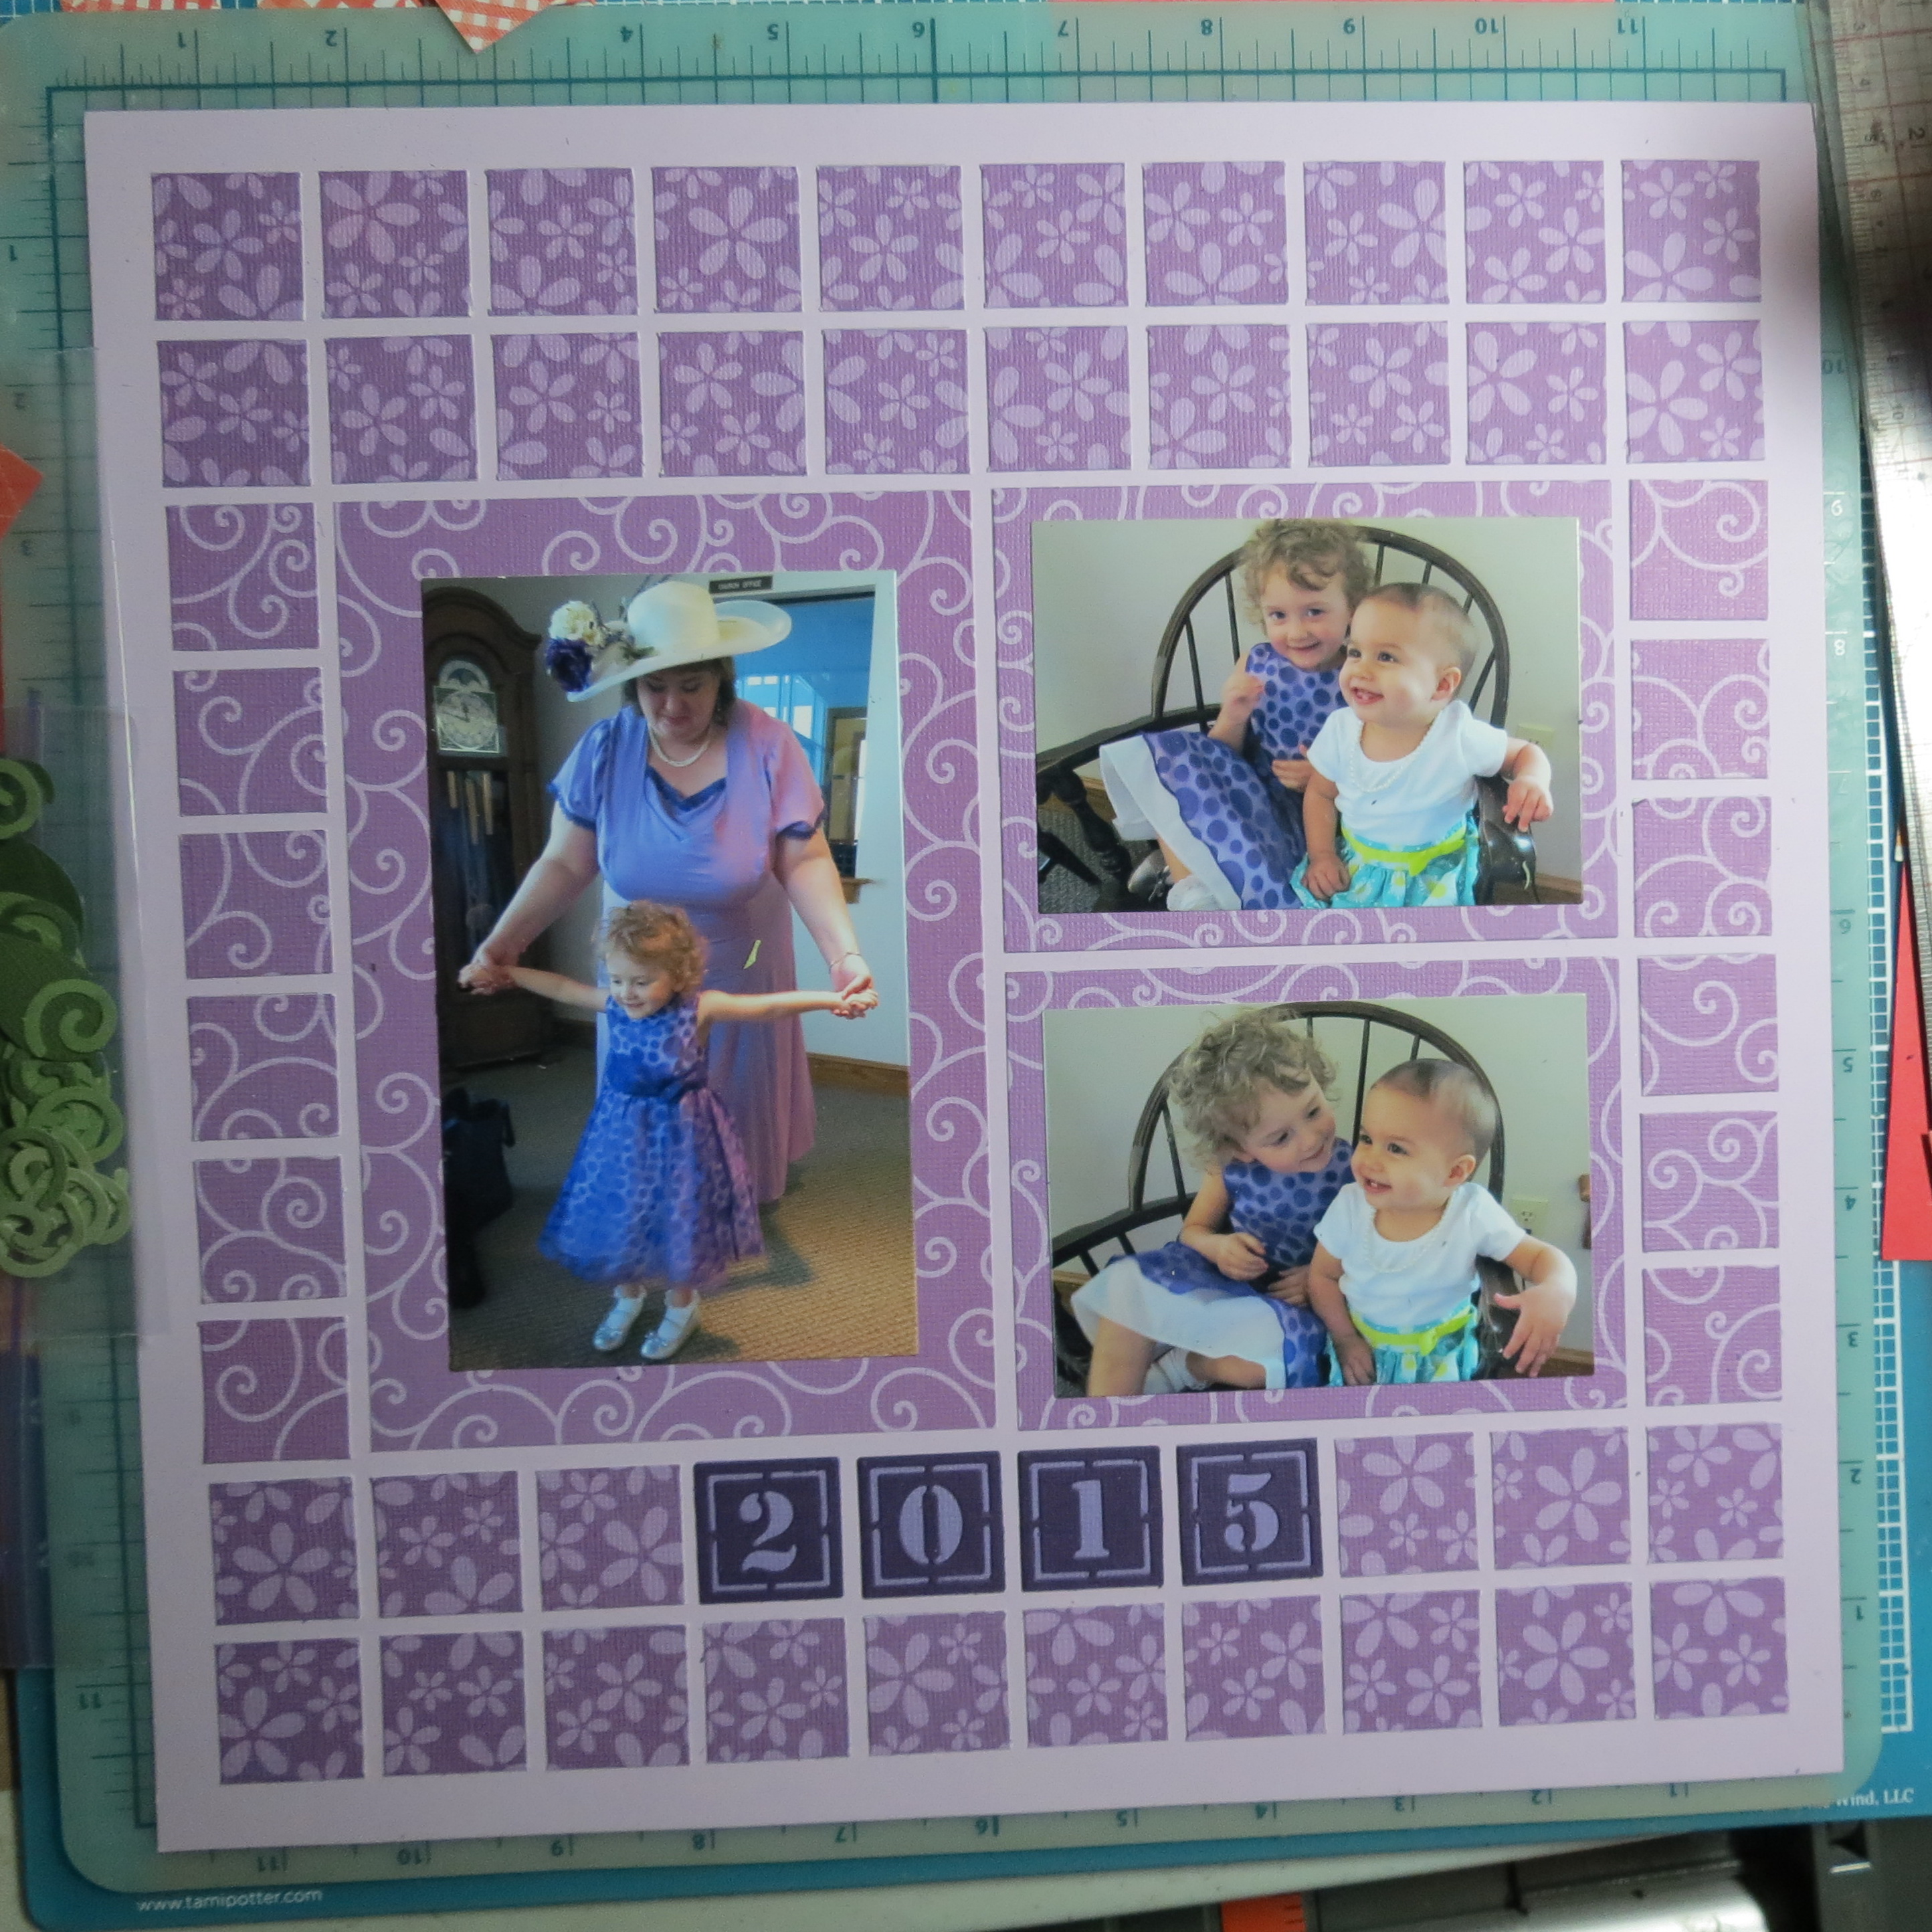
Dressing Up the Grid: the plain foundation.
To This:

Dressing Up the Grid: the finished layout.
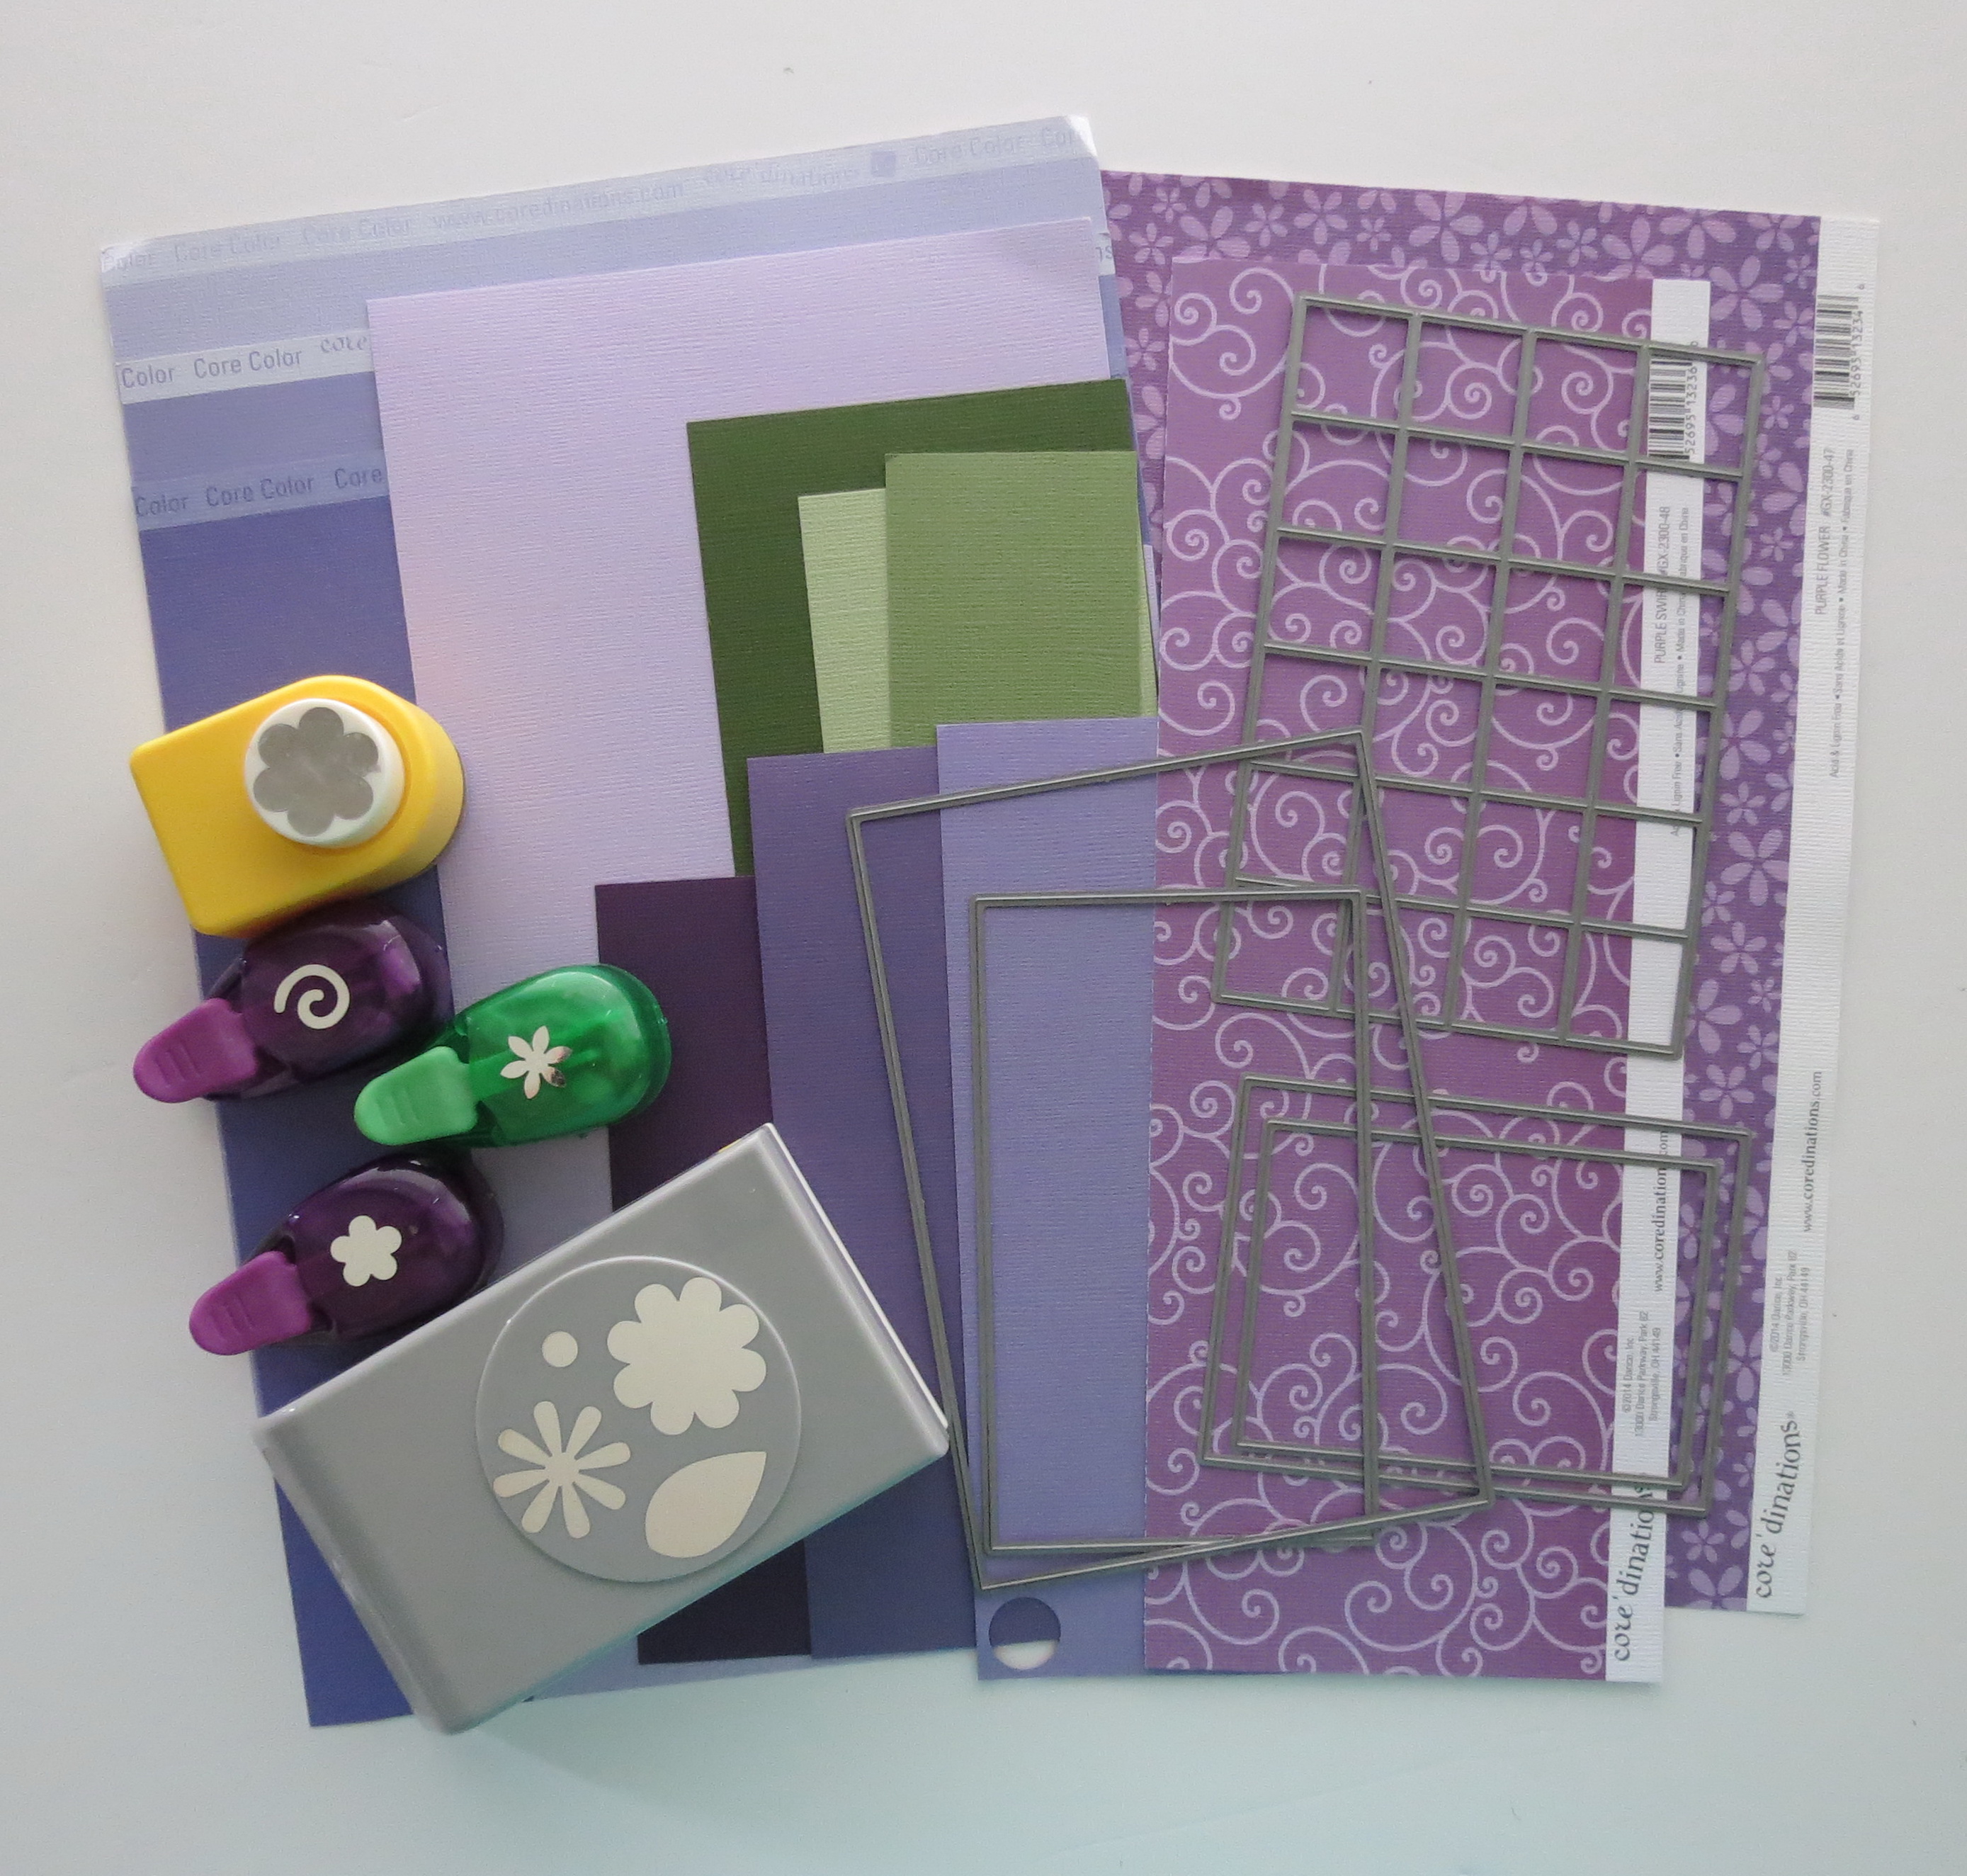
Supplies to begin the project:
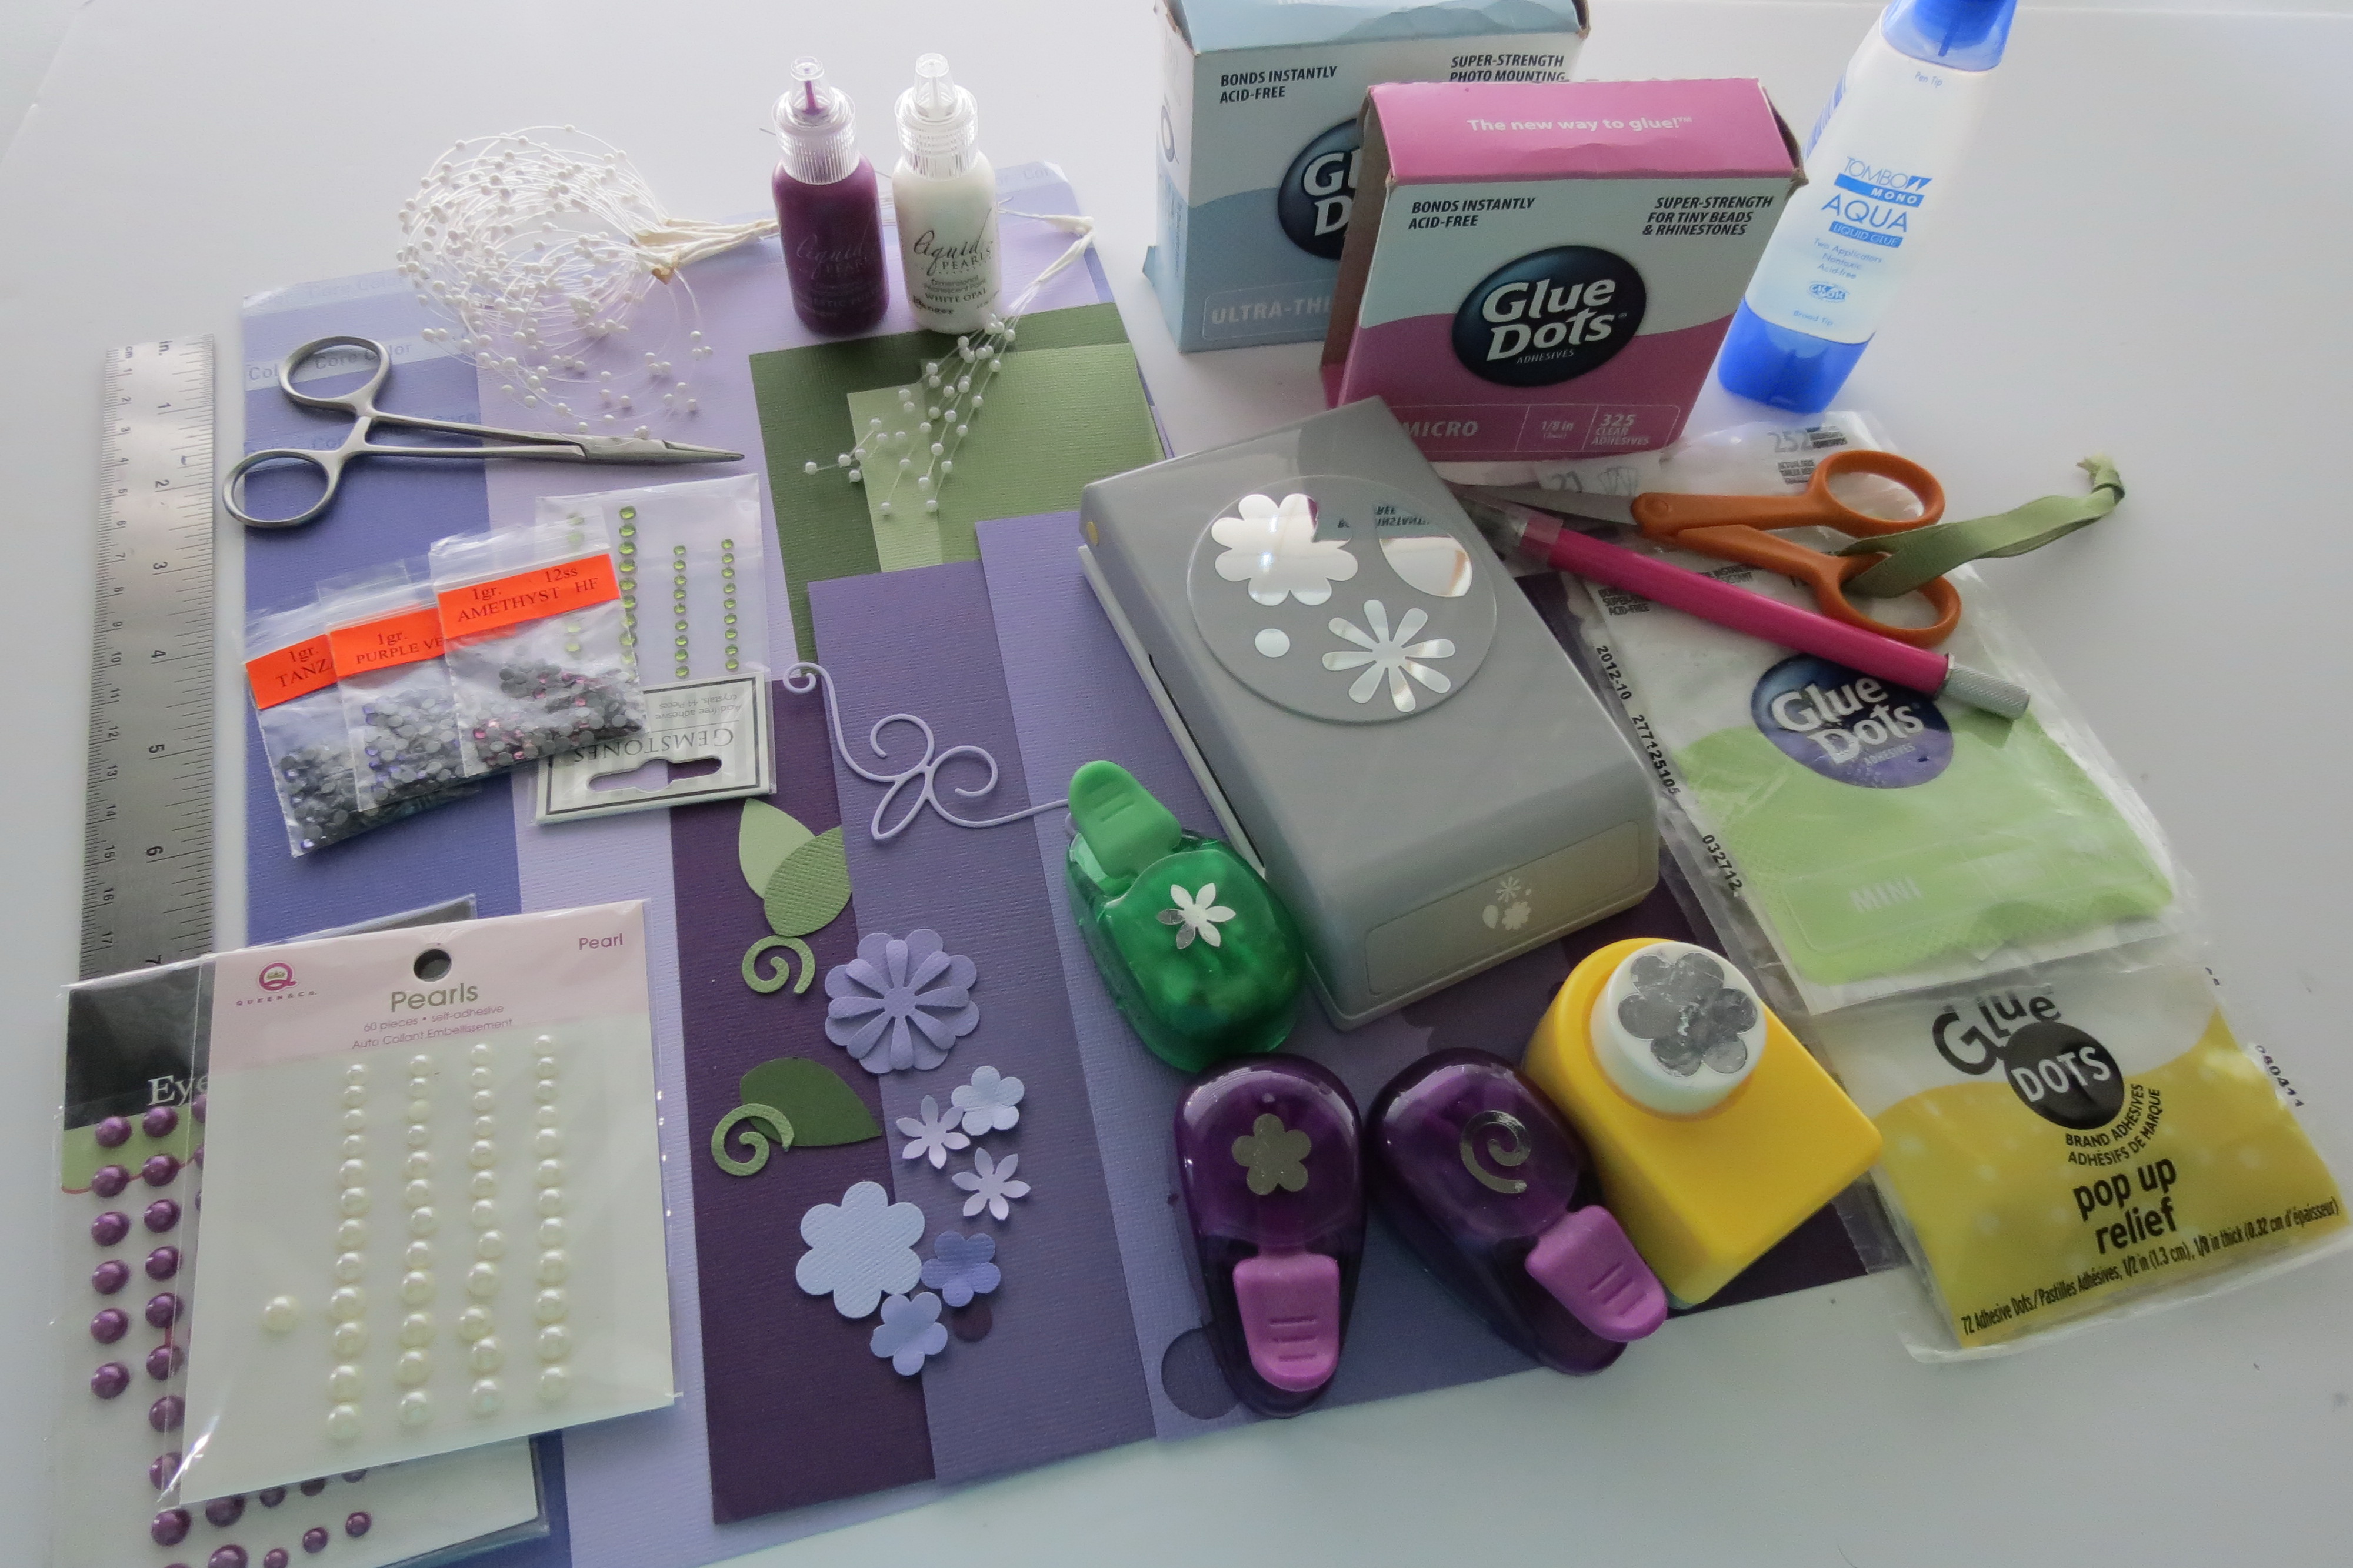
Dressing up the Grid: Supplies used to create.
Several shades of cardstock from monochromatic assortments from both Core’dinations and Bazzill were used to punch flowers in varying sizes and colors to be used for the floral sprays that will fill the page.
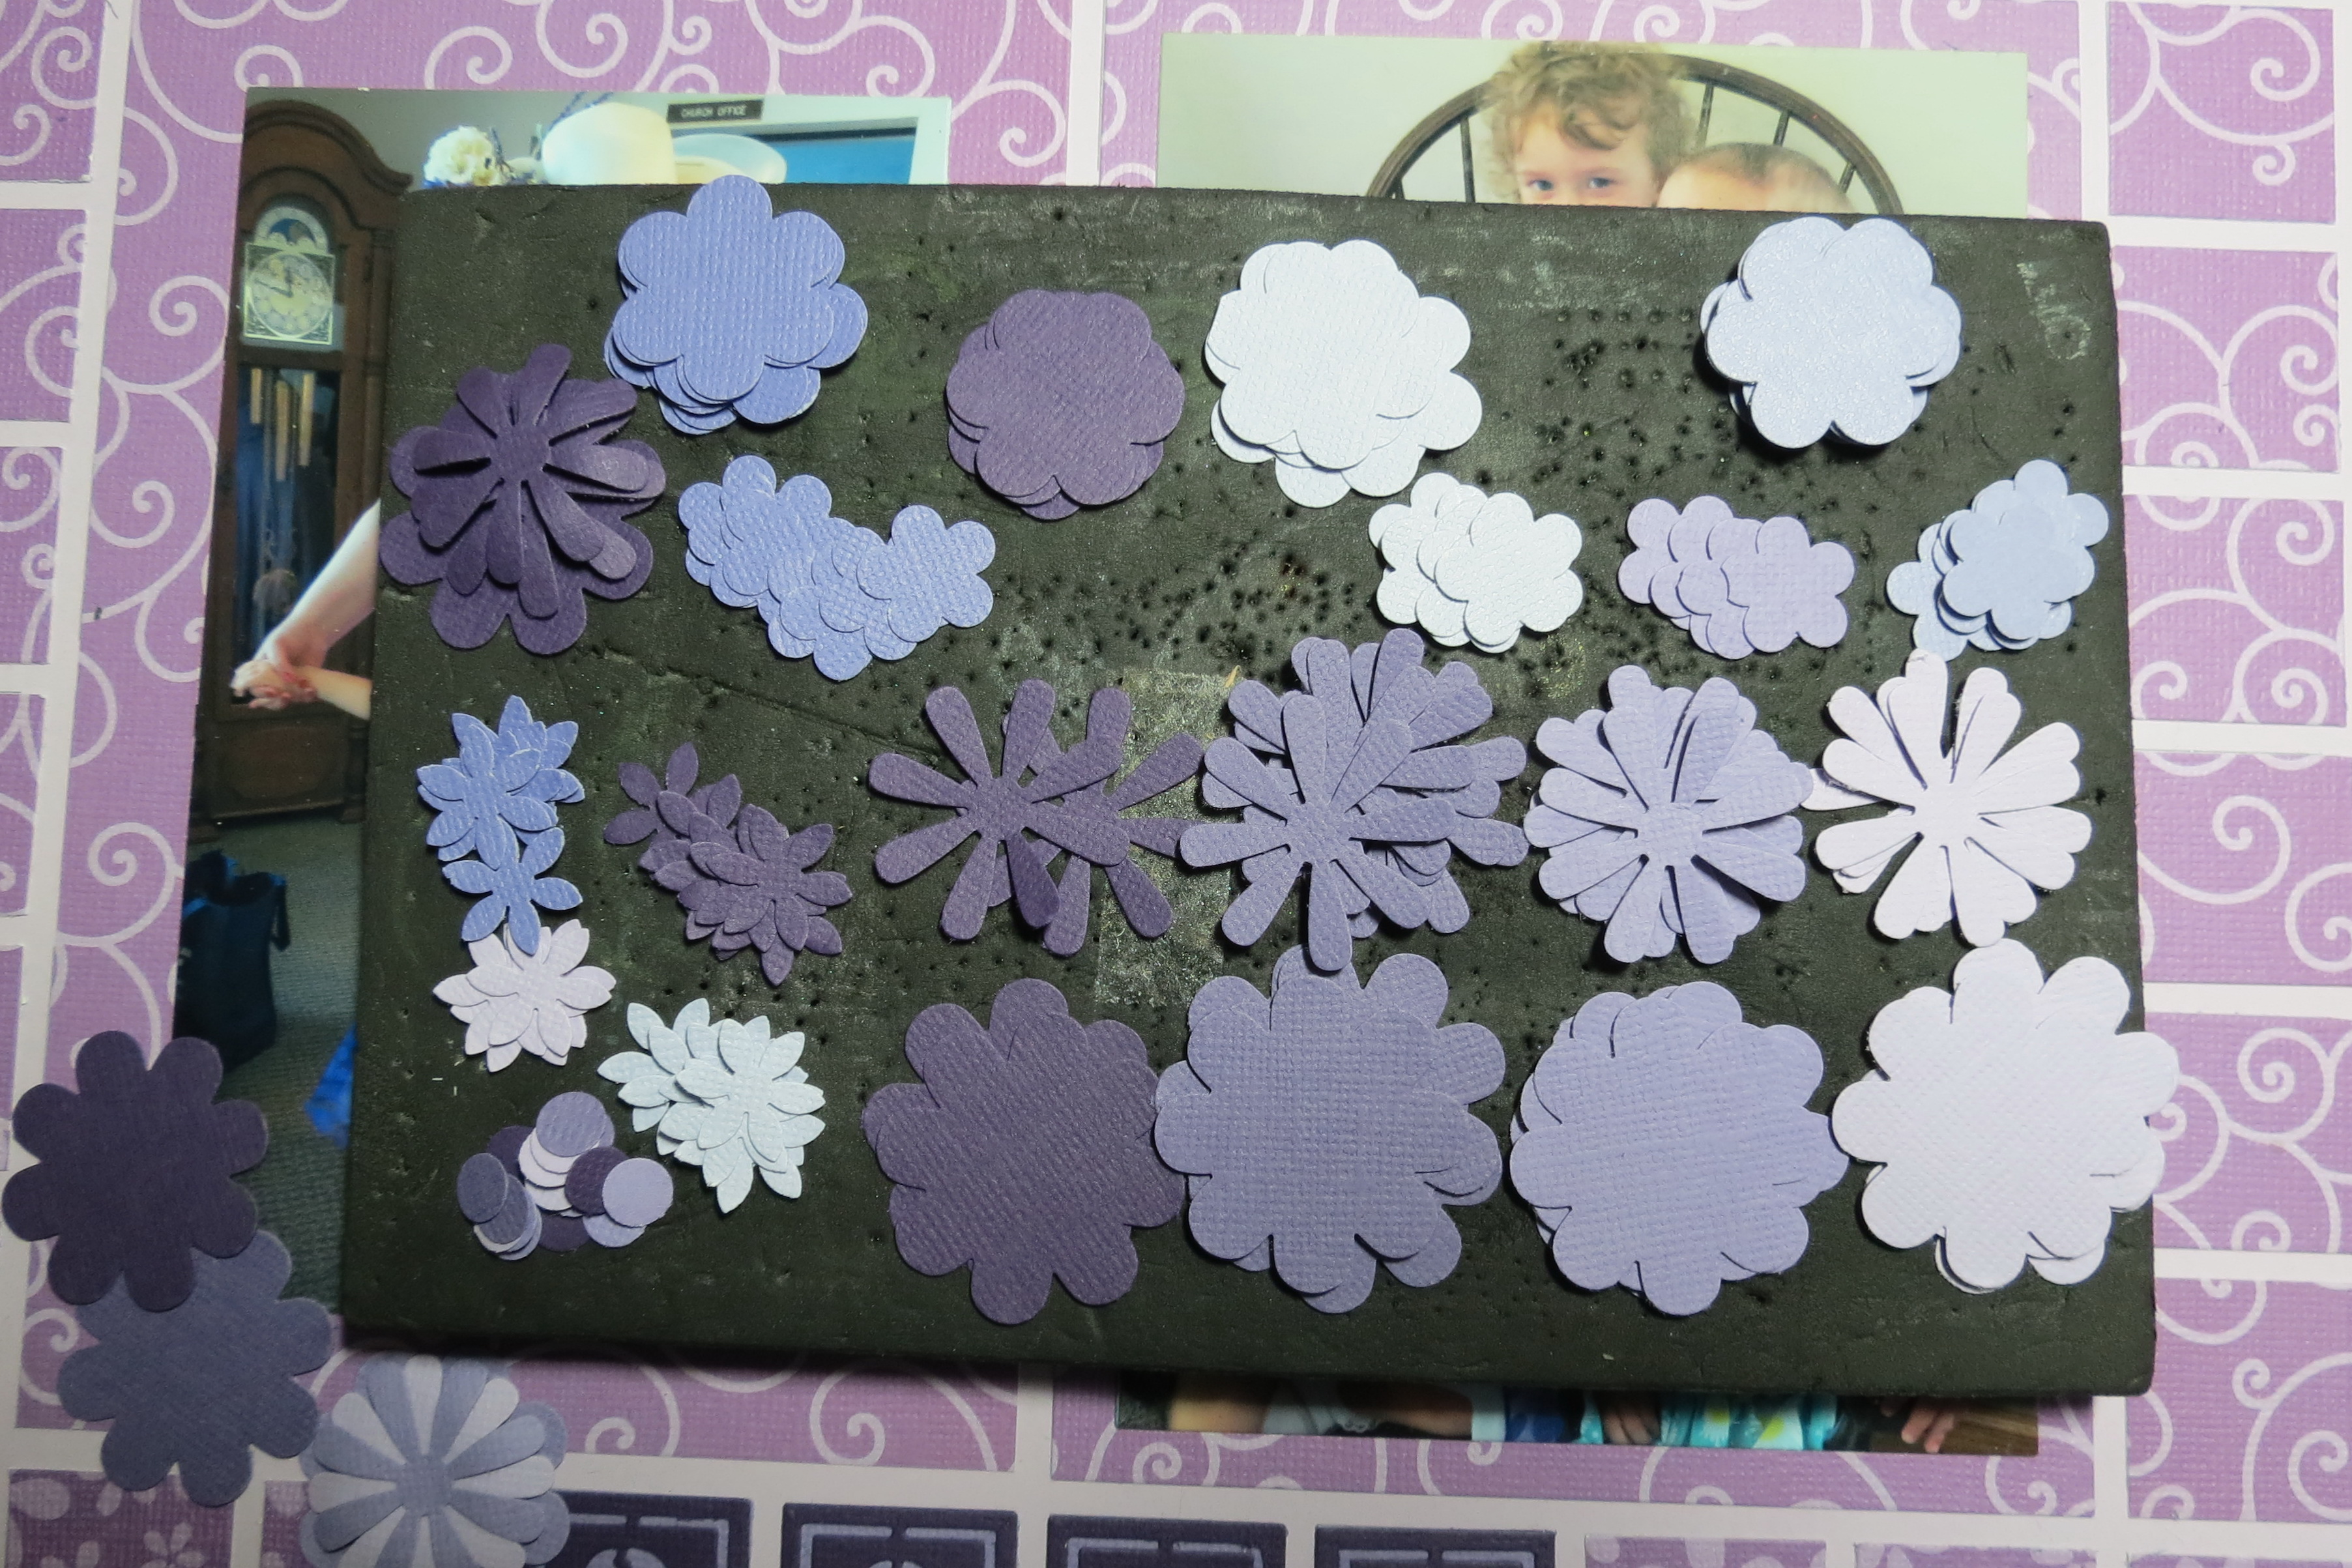
Dressing Up the Grid: Punched flowers
To relax the petals and give some dimension to the flowers an embossing tool was used on the backside of the flower for lift, then on the front sides of some to ‘cup’ and be able to cluster them to stand out.
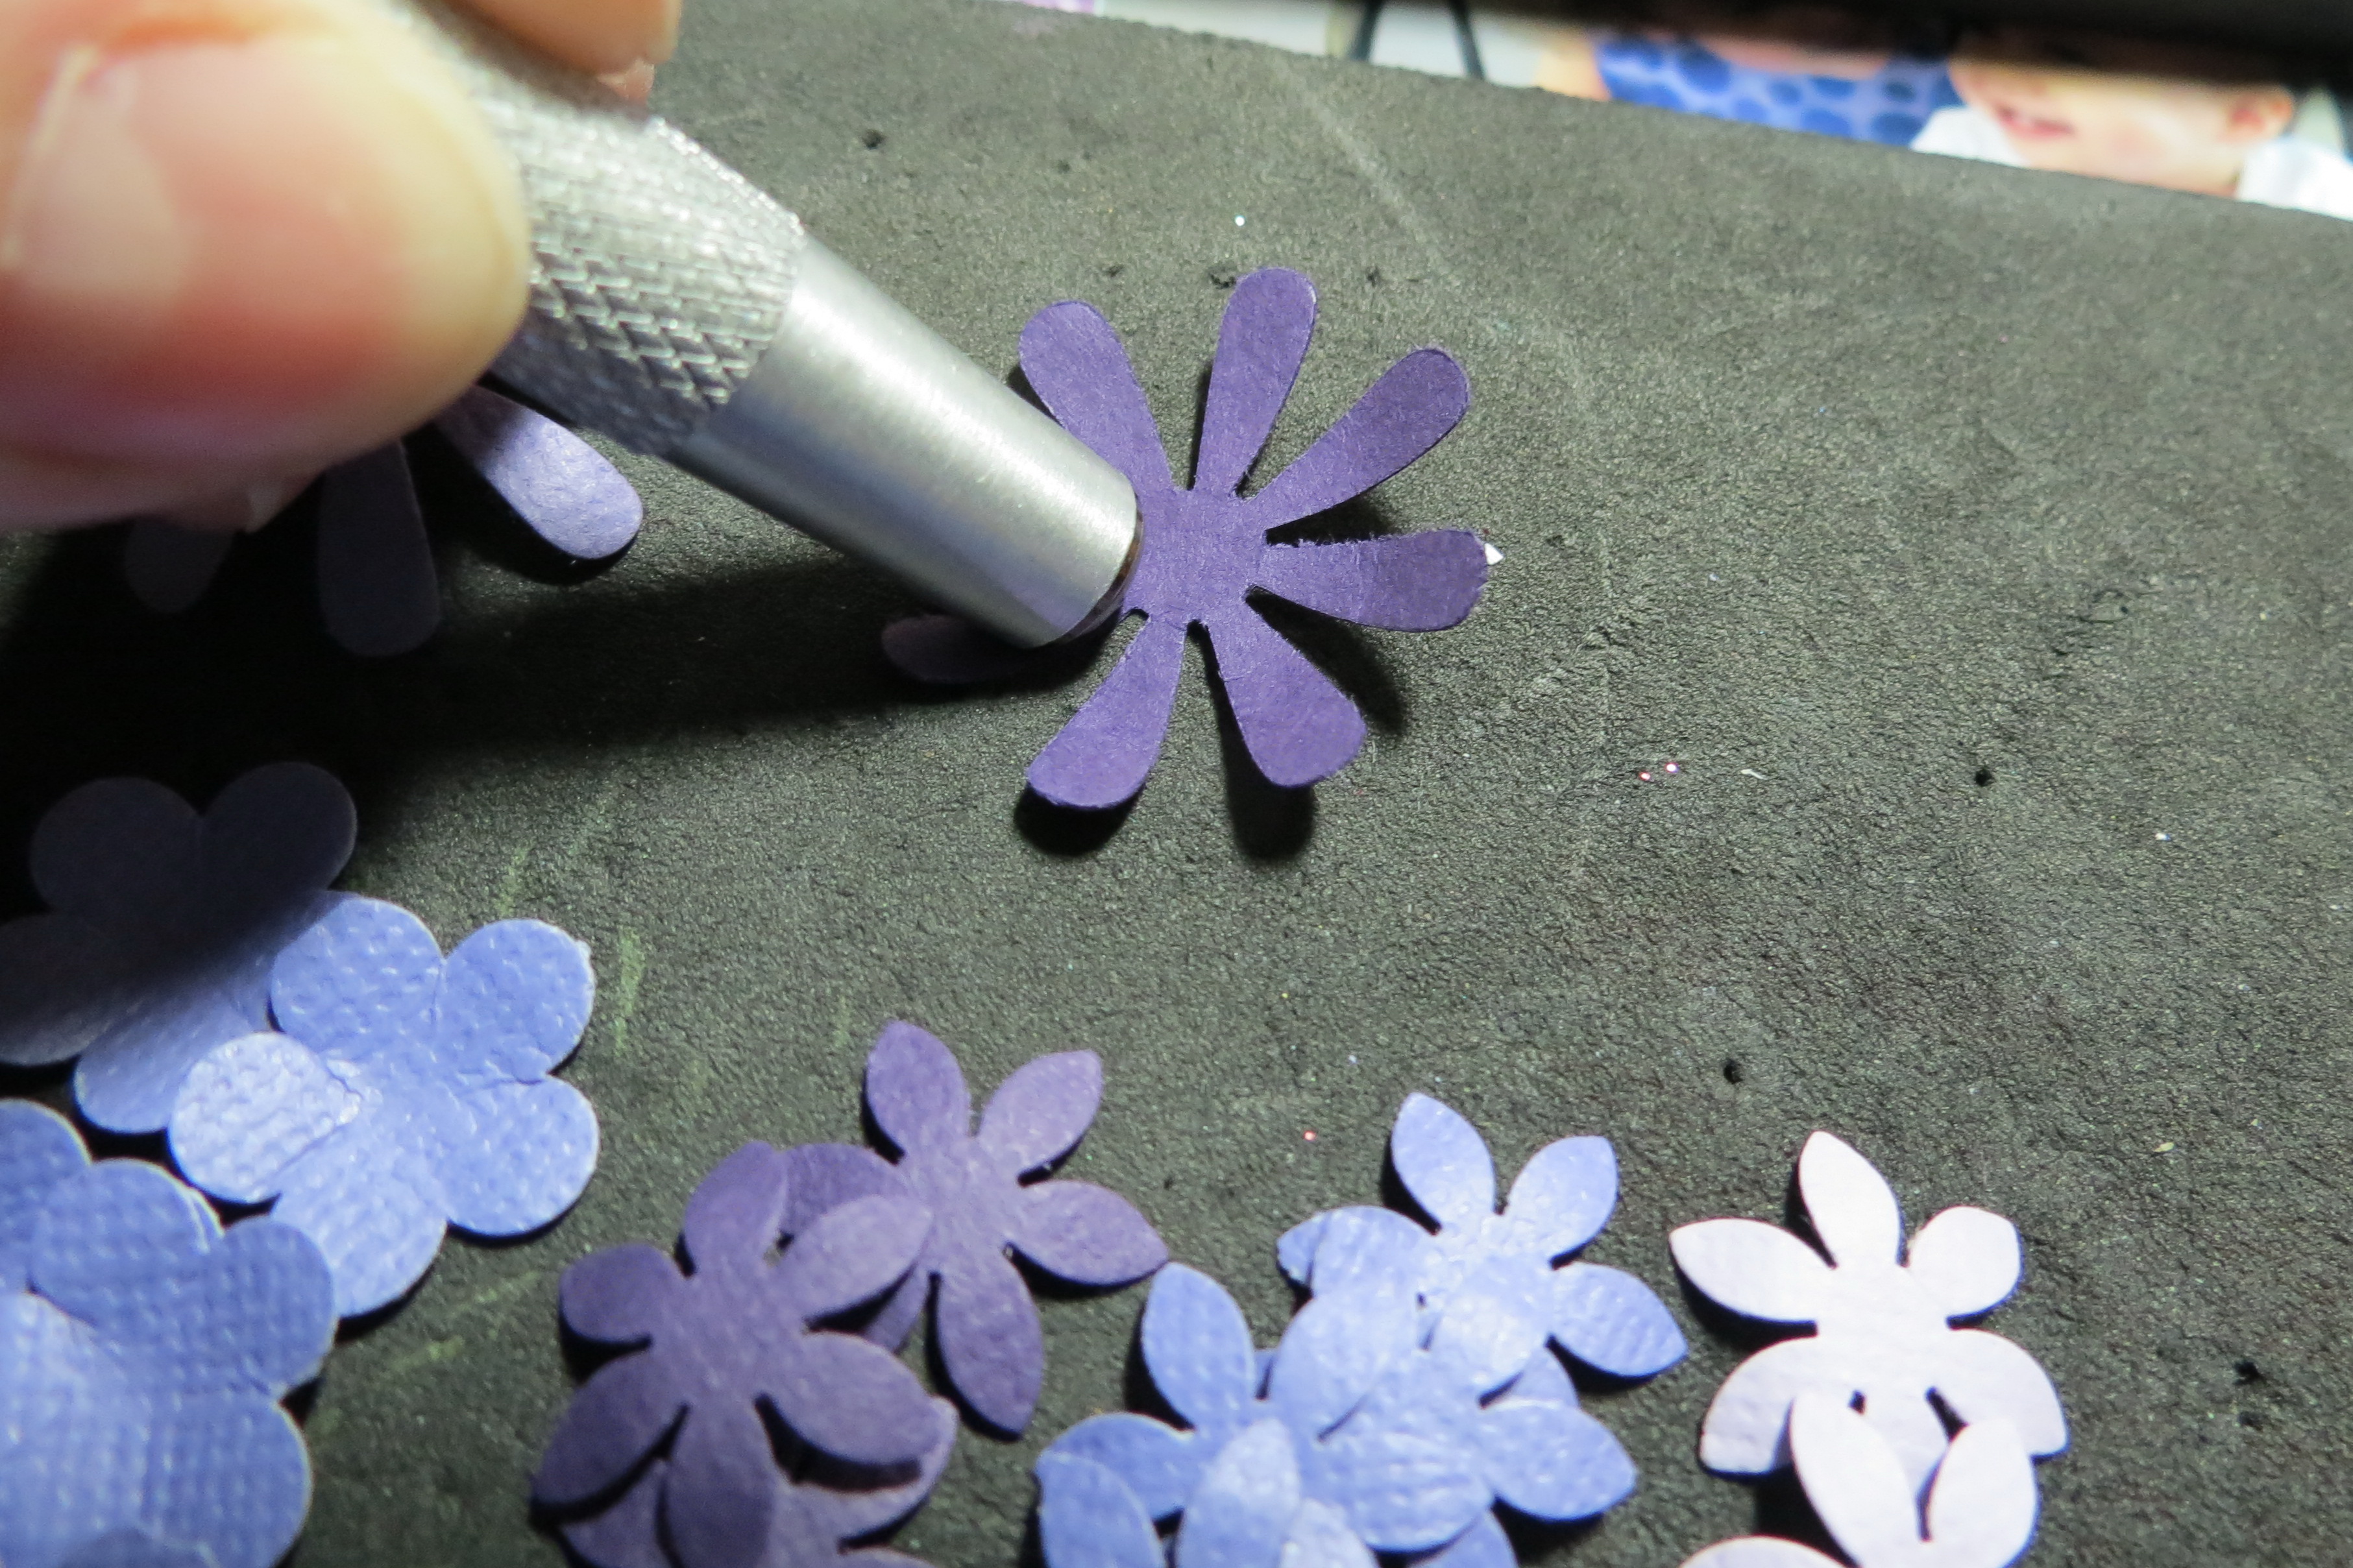
Dressing Up the Grid: preparing the flowers
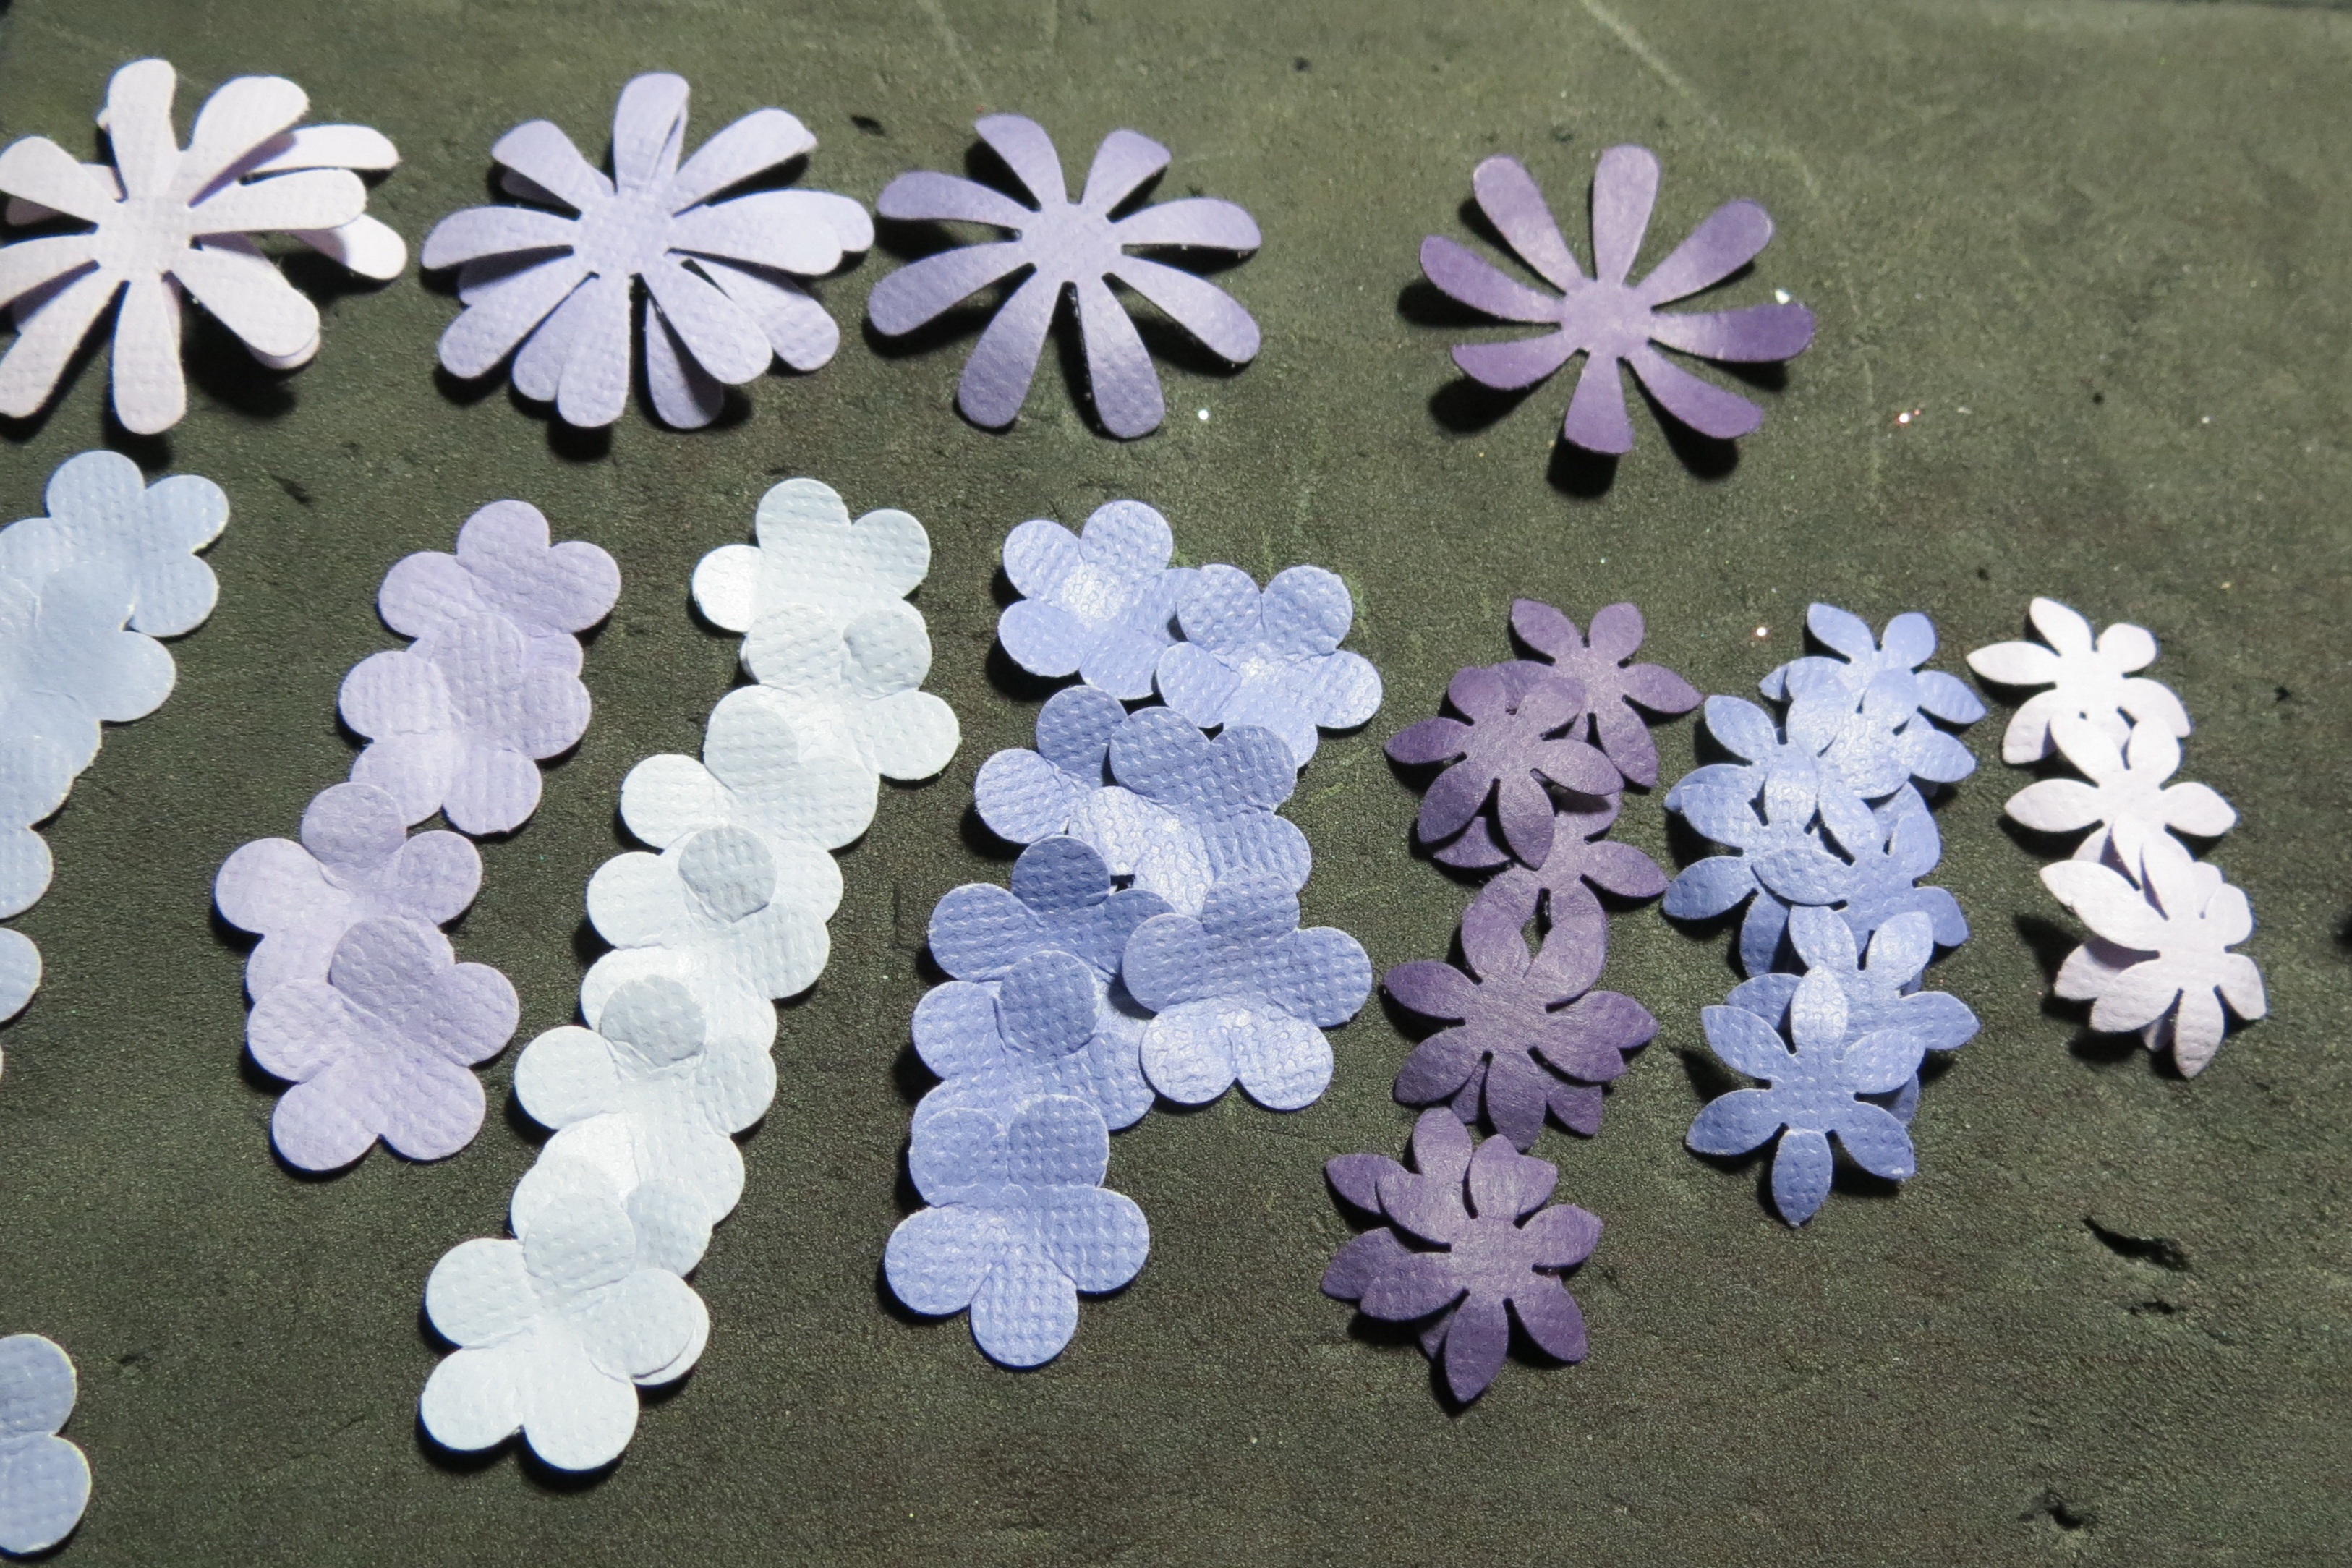
Dressing Up the Grid: petals with lift and cupped
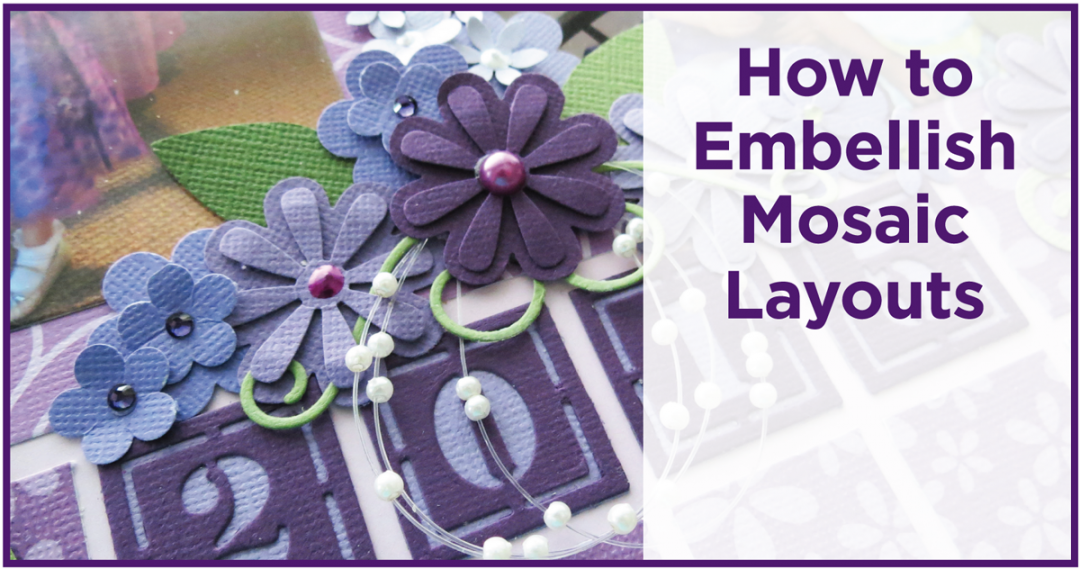
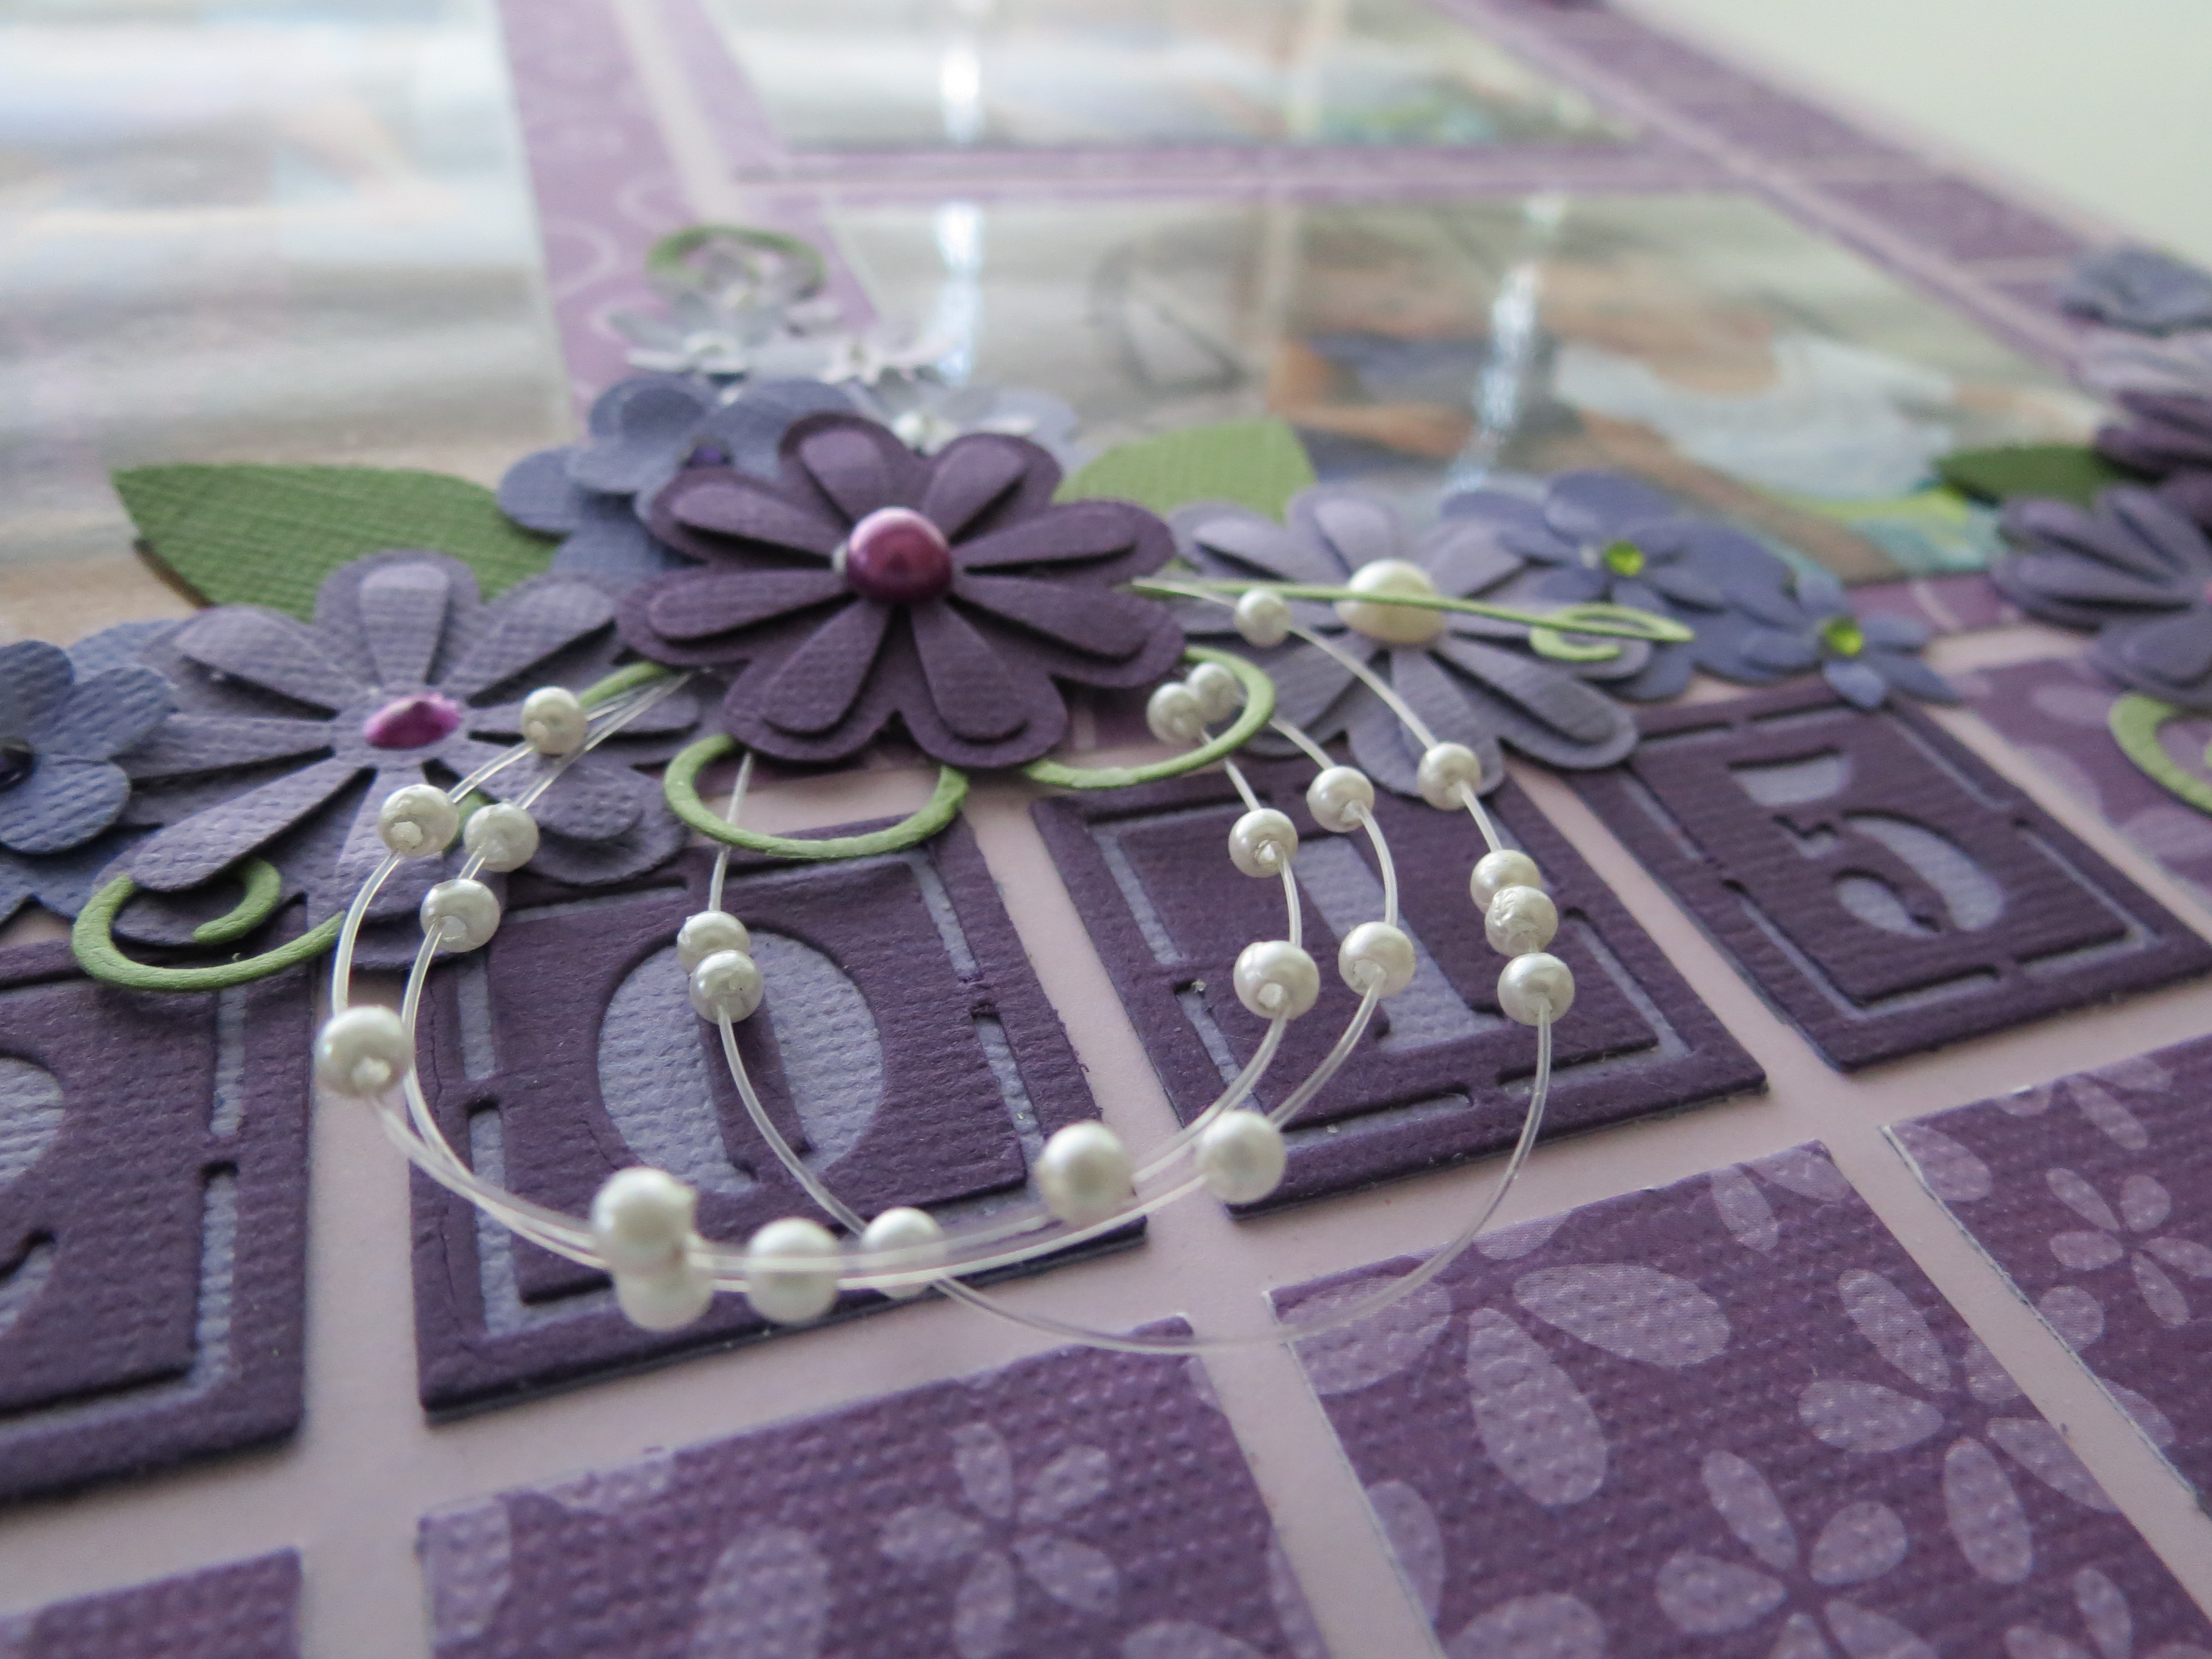
Pearls, liquid pearls and gems will serve as centers for the flowers. Pearl Sprays and pearl circlets will bring additional dimension and interest. To anchor them on the layout I used ½ of a pop dot and sunk the pearl sprays into the pop dot. This allowed the sprays to be set in a particular direction and not move.
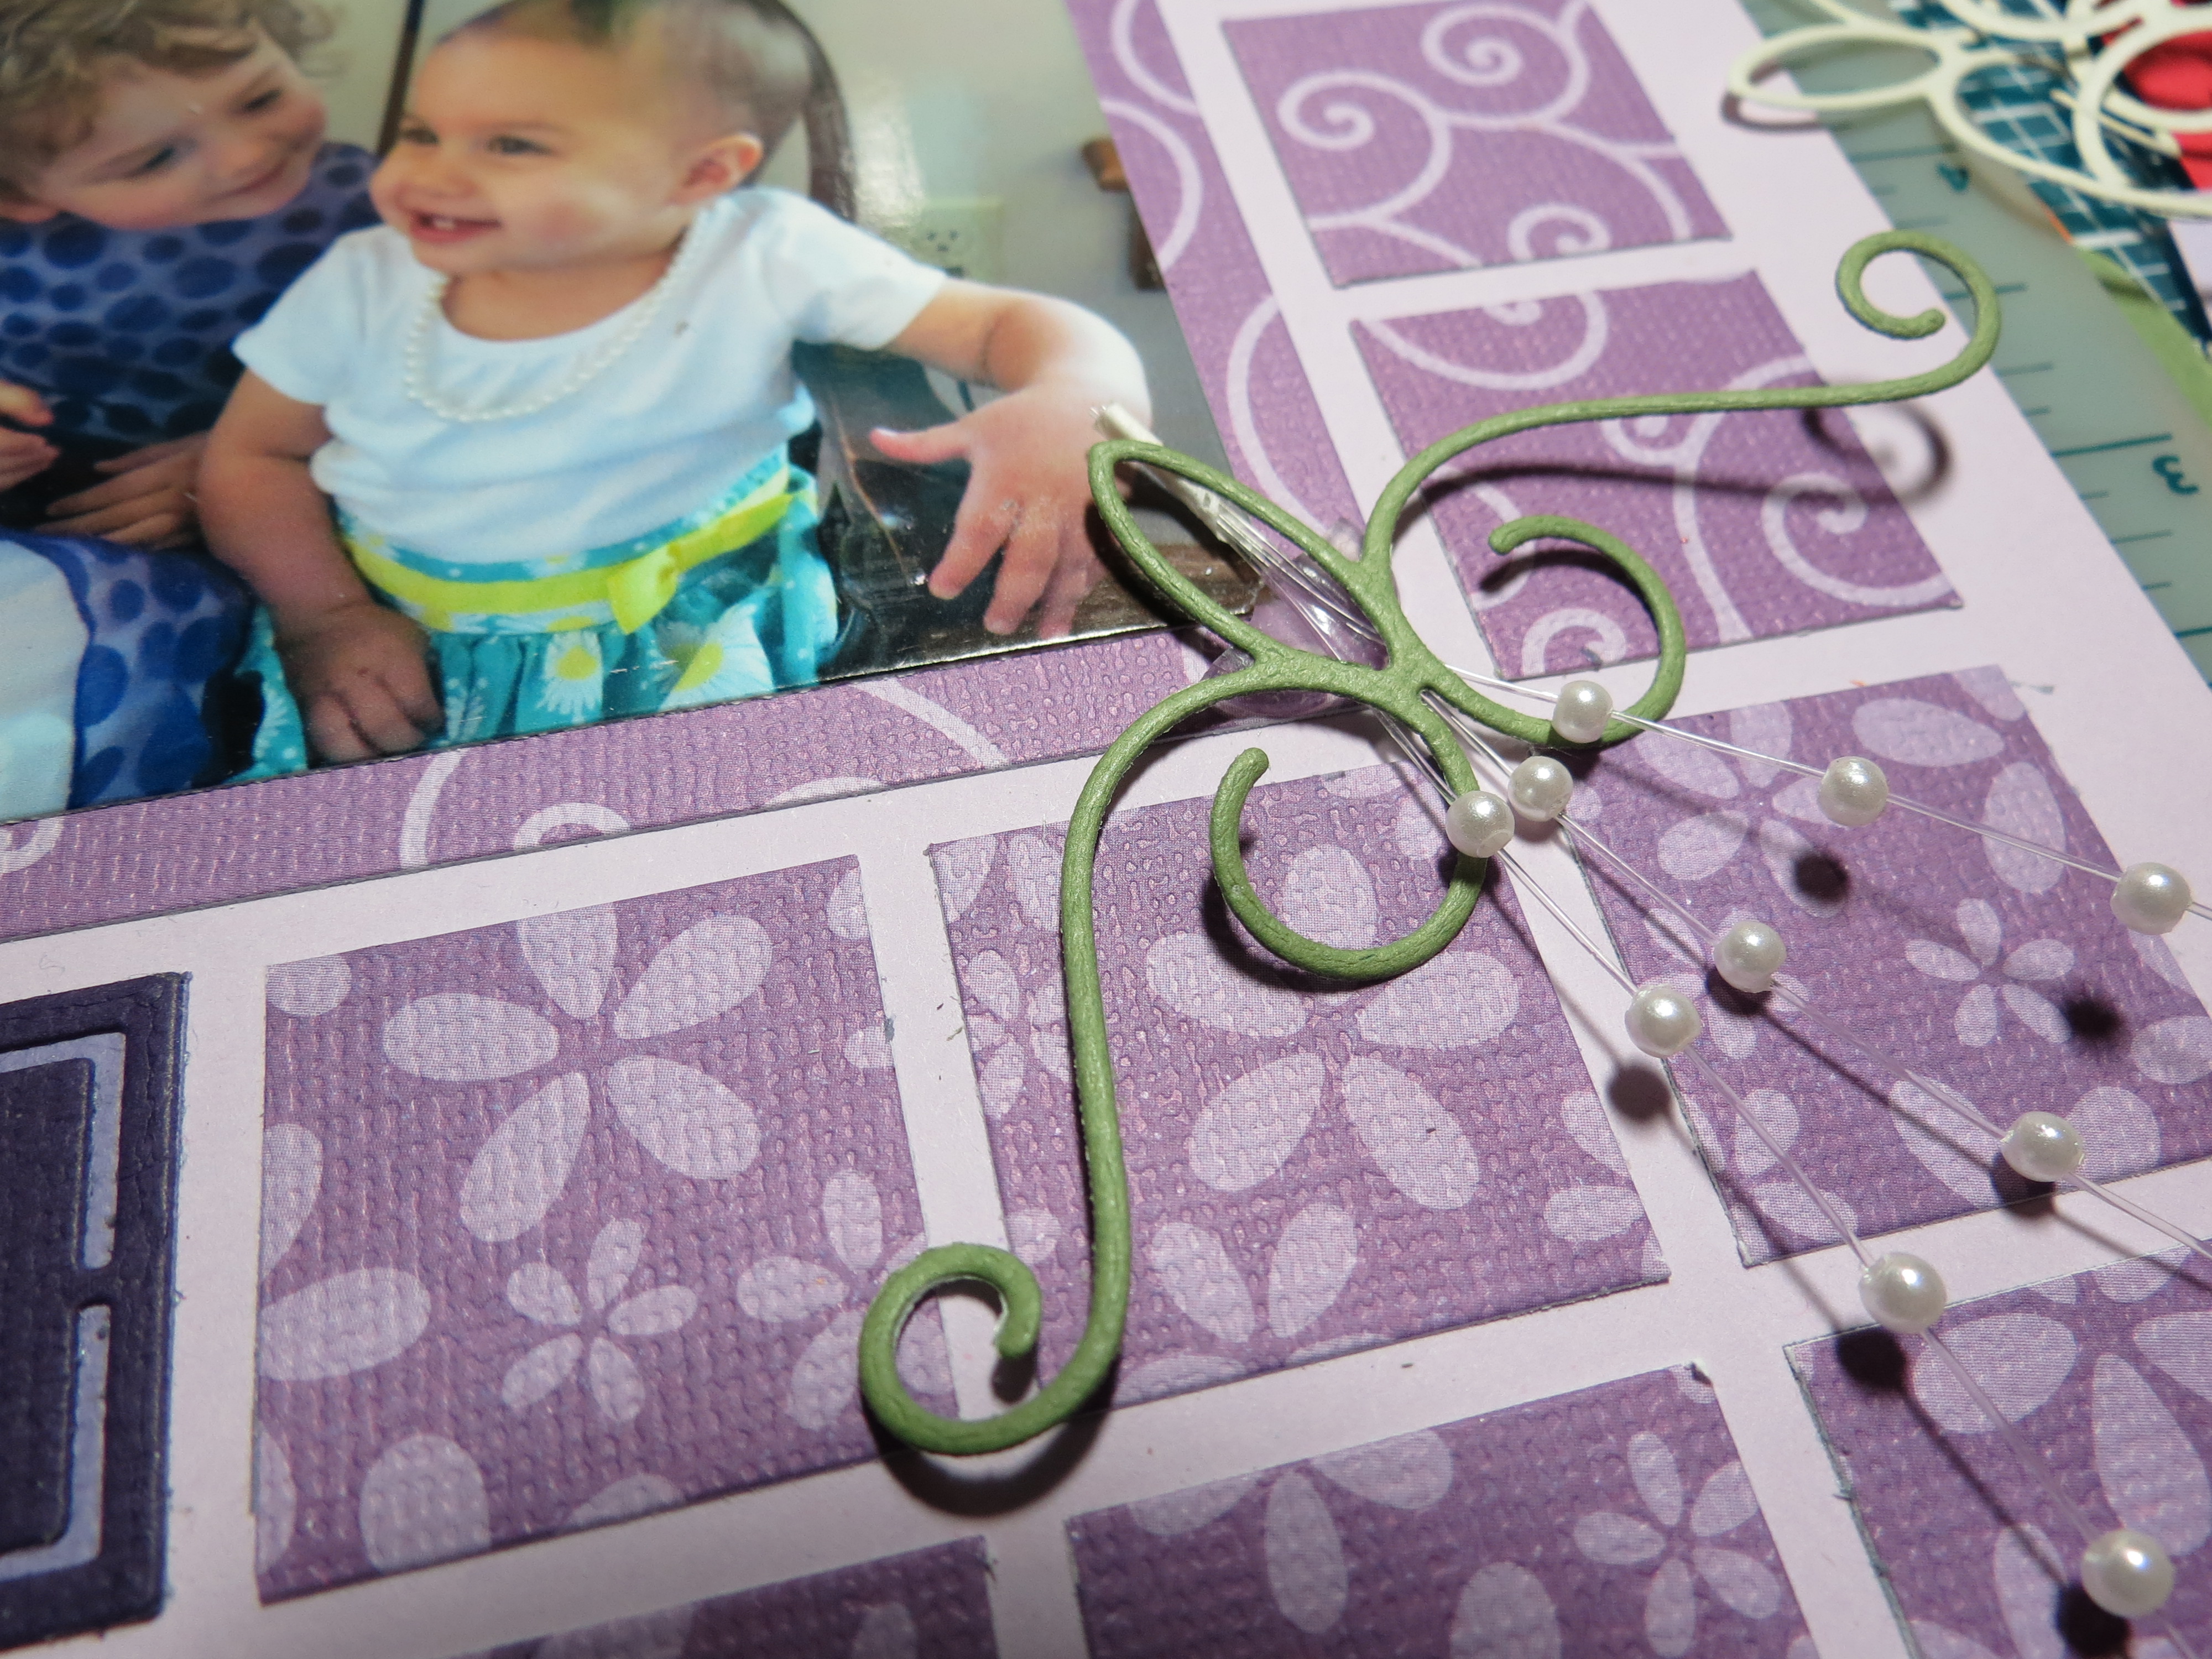
Dressing Up the Grid: using the Pop Dot to anchor the pearl spray
Next, add the die cut swirl by laying it on top of the pop dot. Additional glue dots were used to assemble the flowers and begin to layer them into place. Tuck small swirls and leaves into places for a bit of contrast to the monochromatic color scheme.

Dressing Up the Grid: begin to layer in your flowers
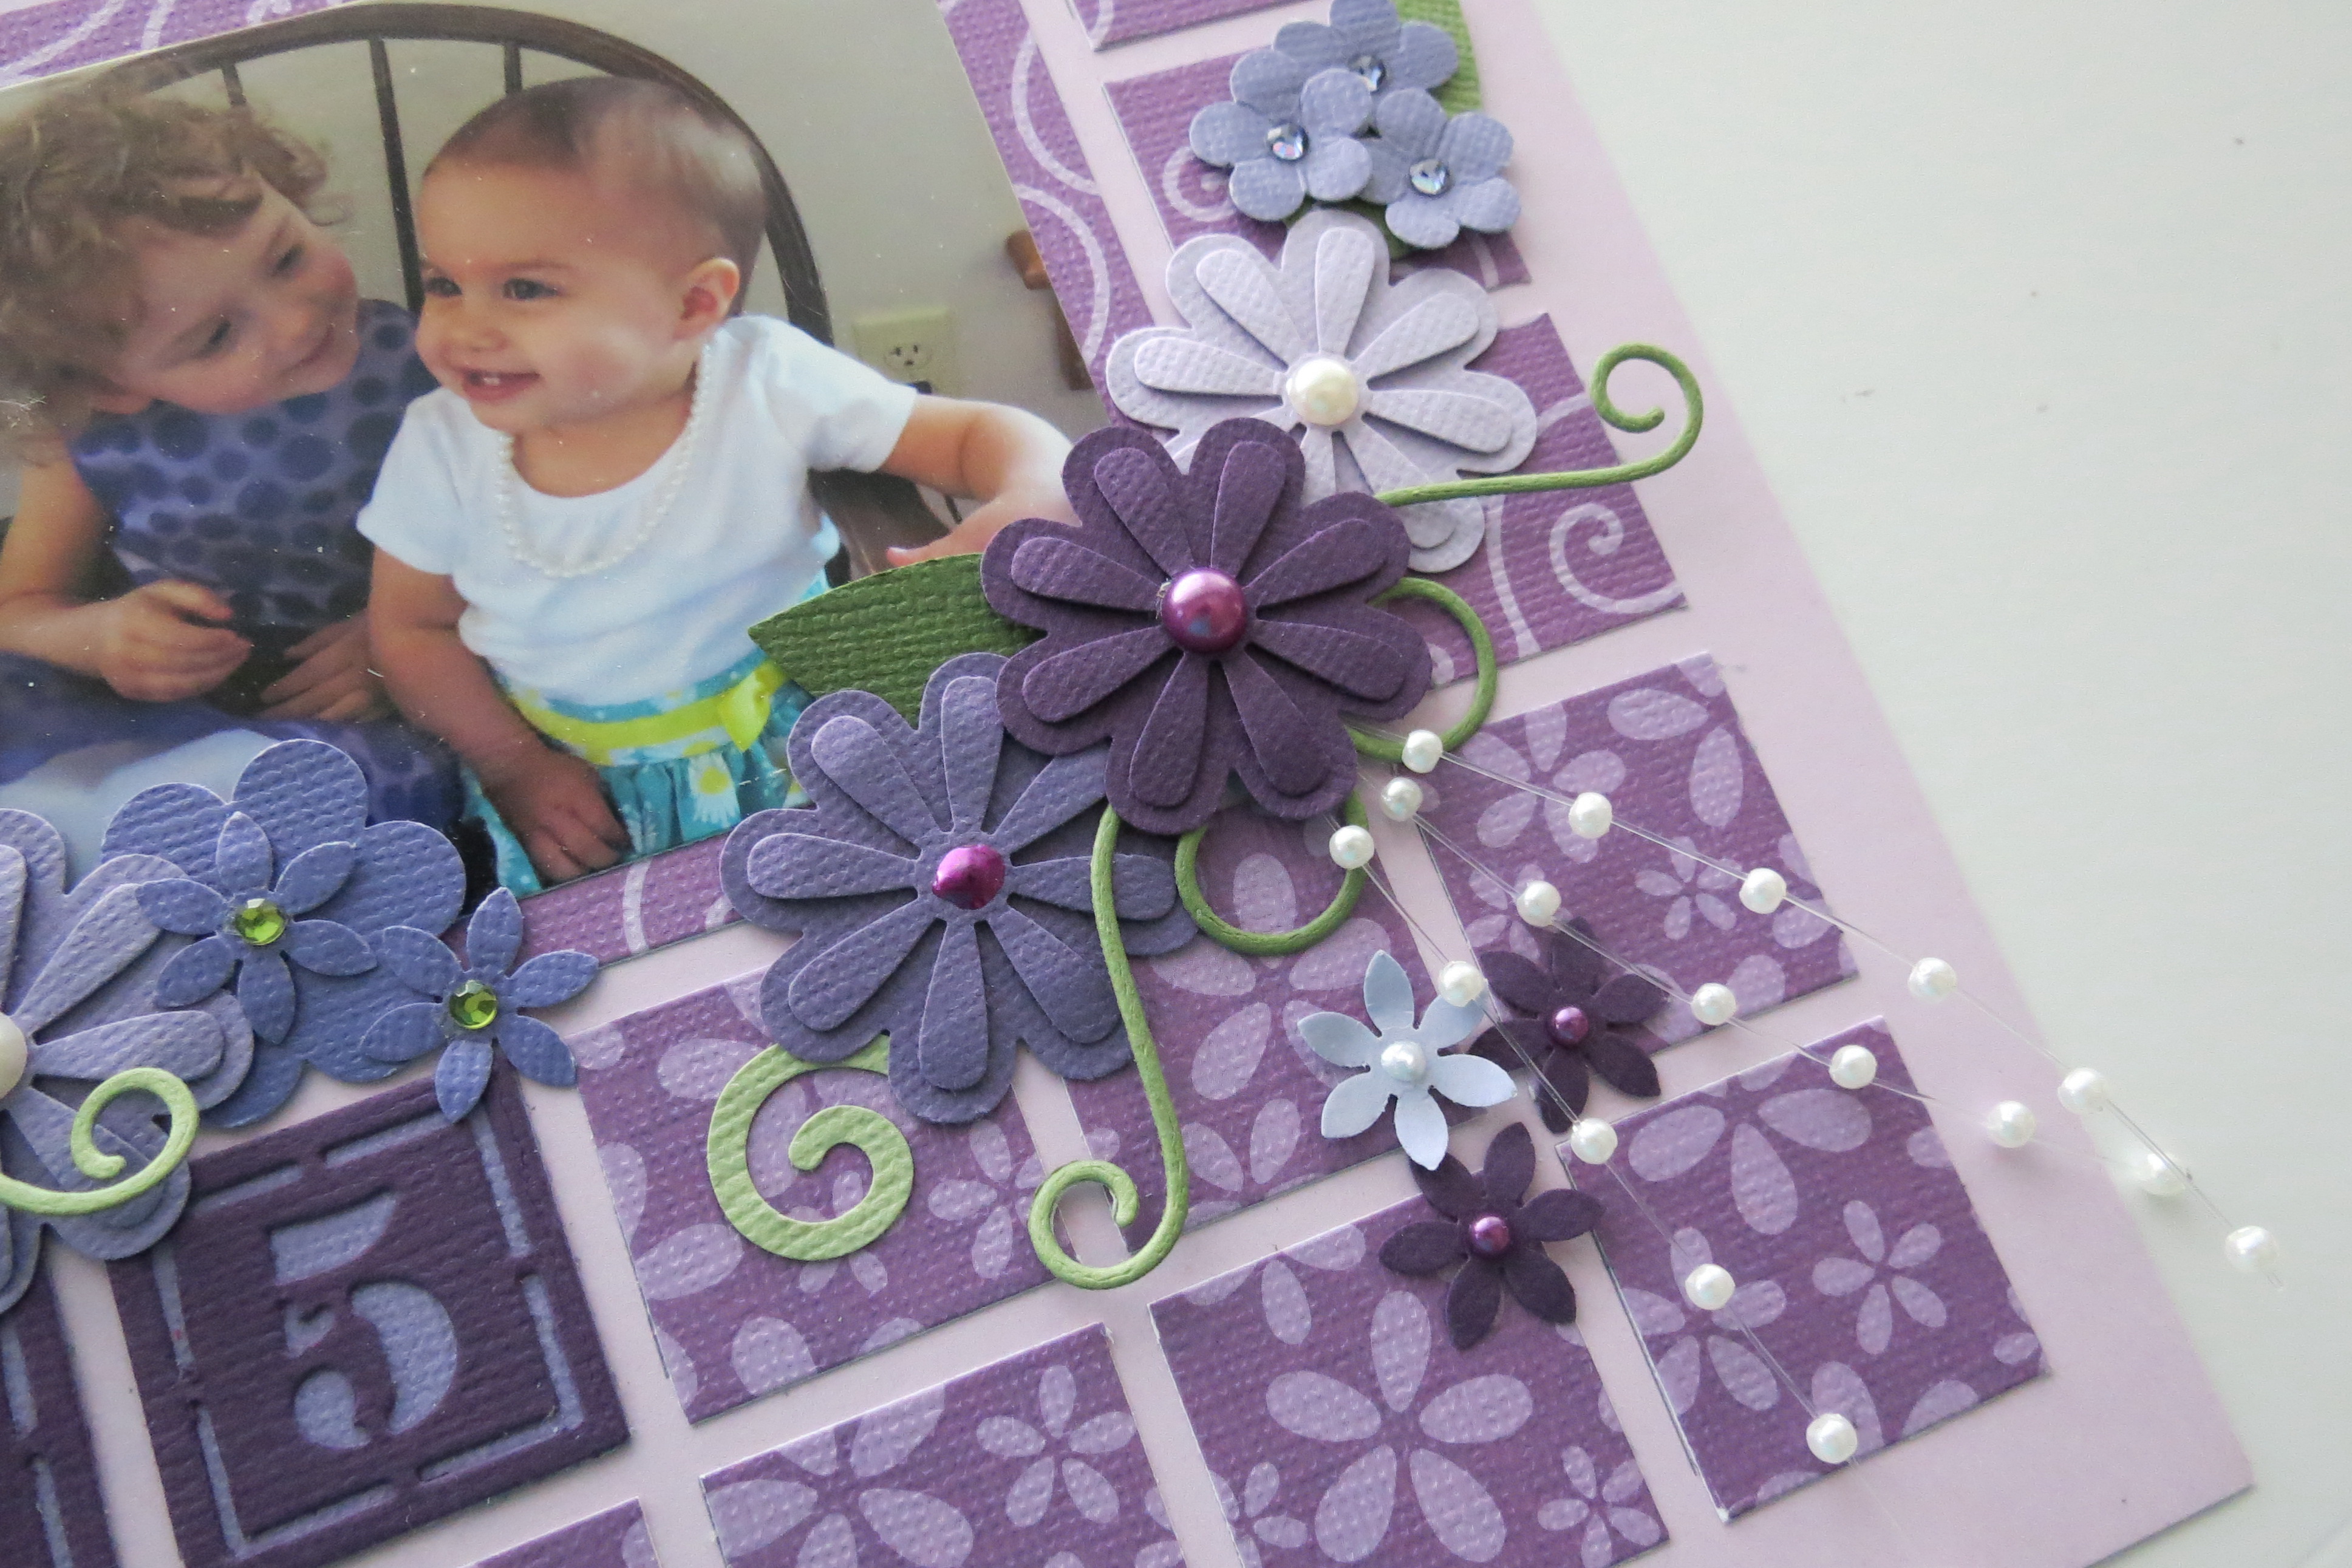
Dressing Up the Grid: Finished spray
Dressing Up the Grid: Flourish details-dimension
Dressing Up the Grid: Embellished bottom
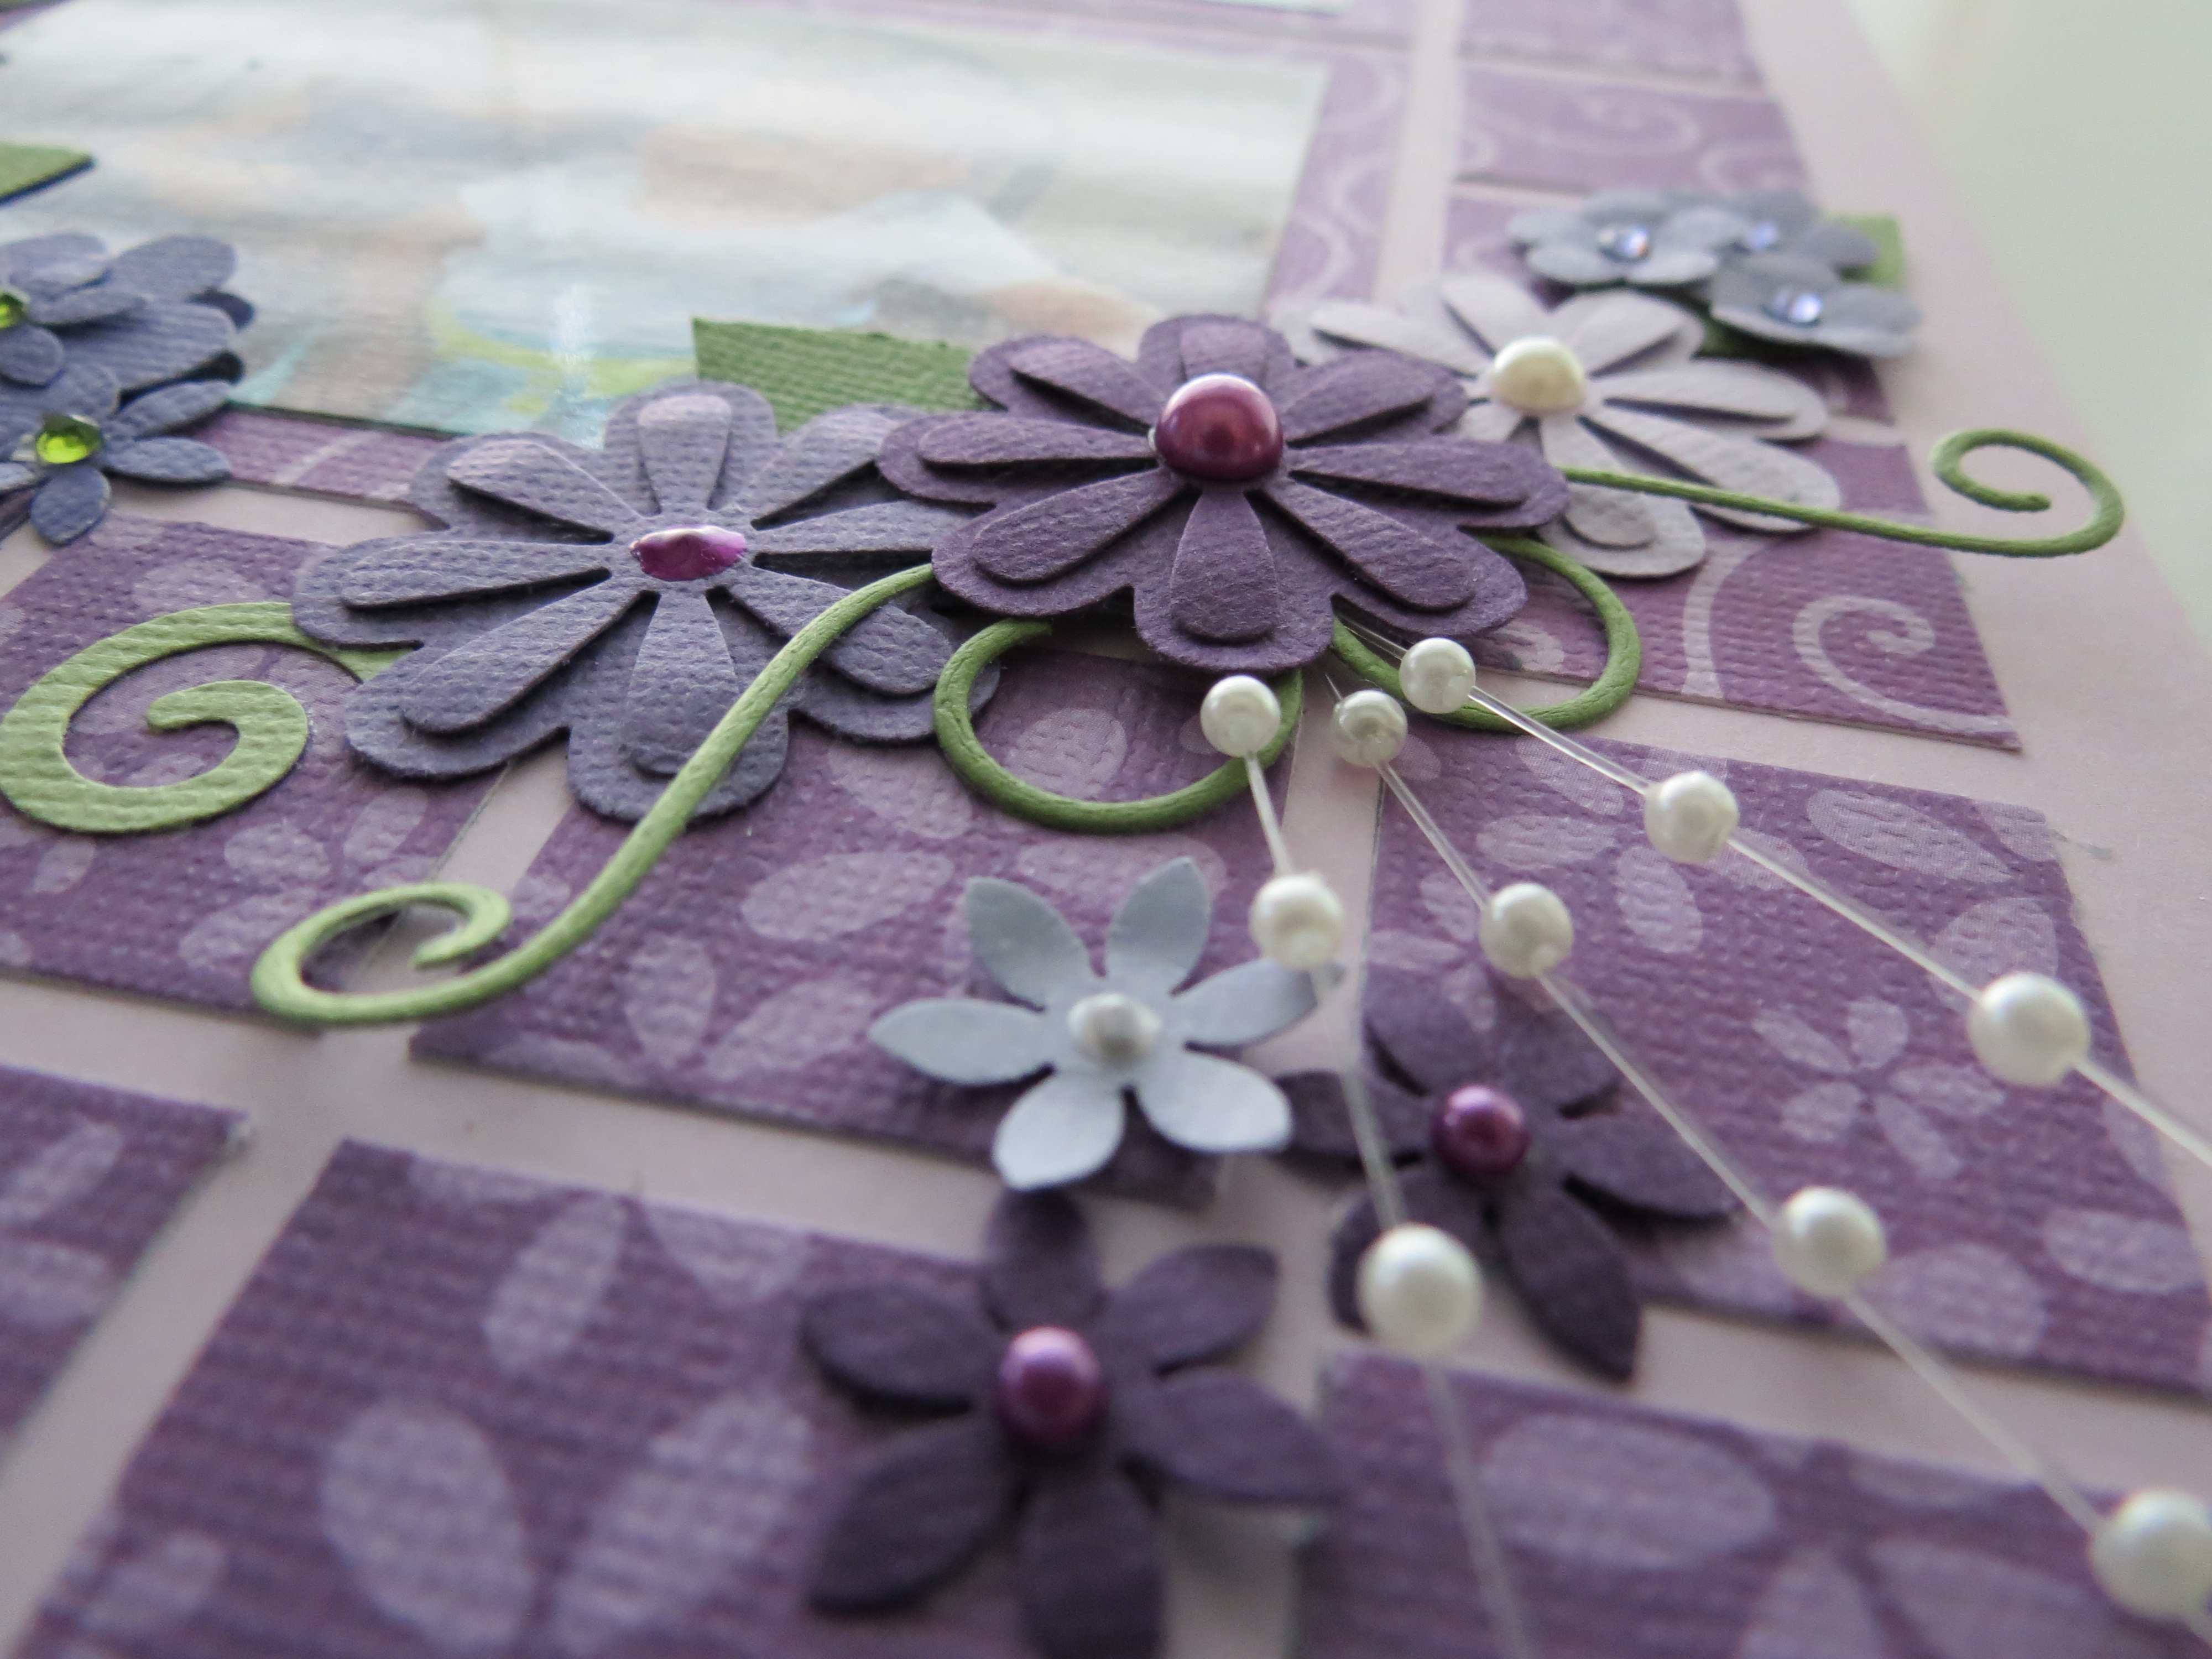
Dressing Up the Grid: Center Flourish detail
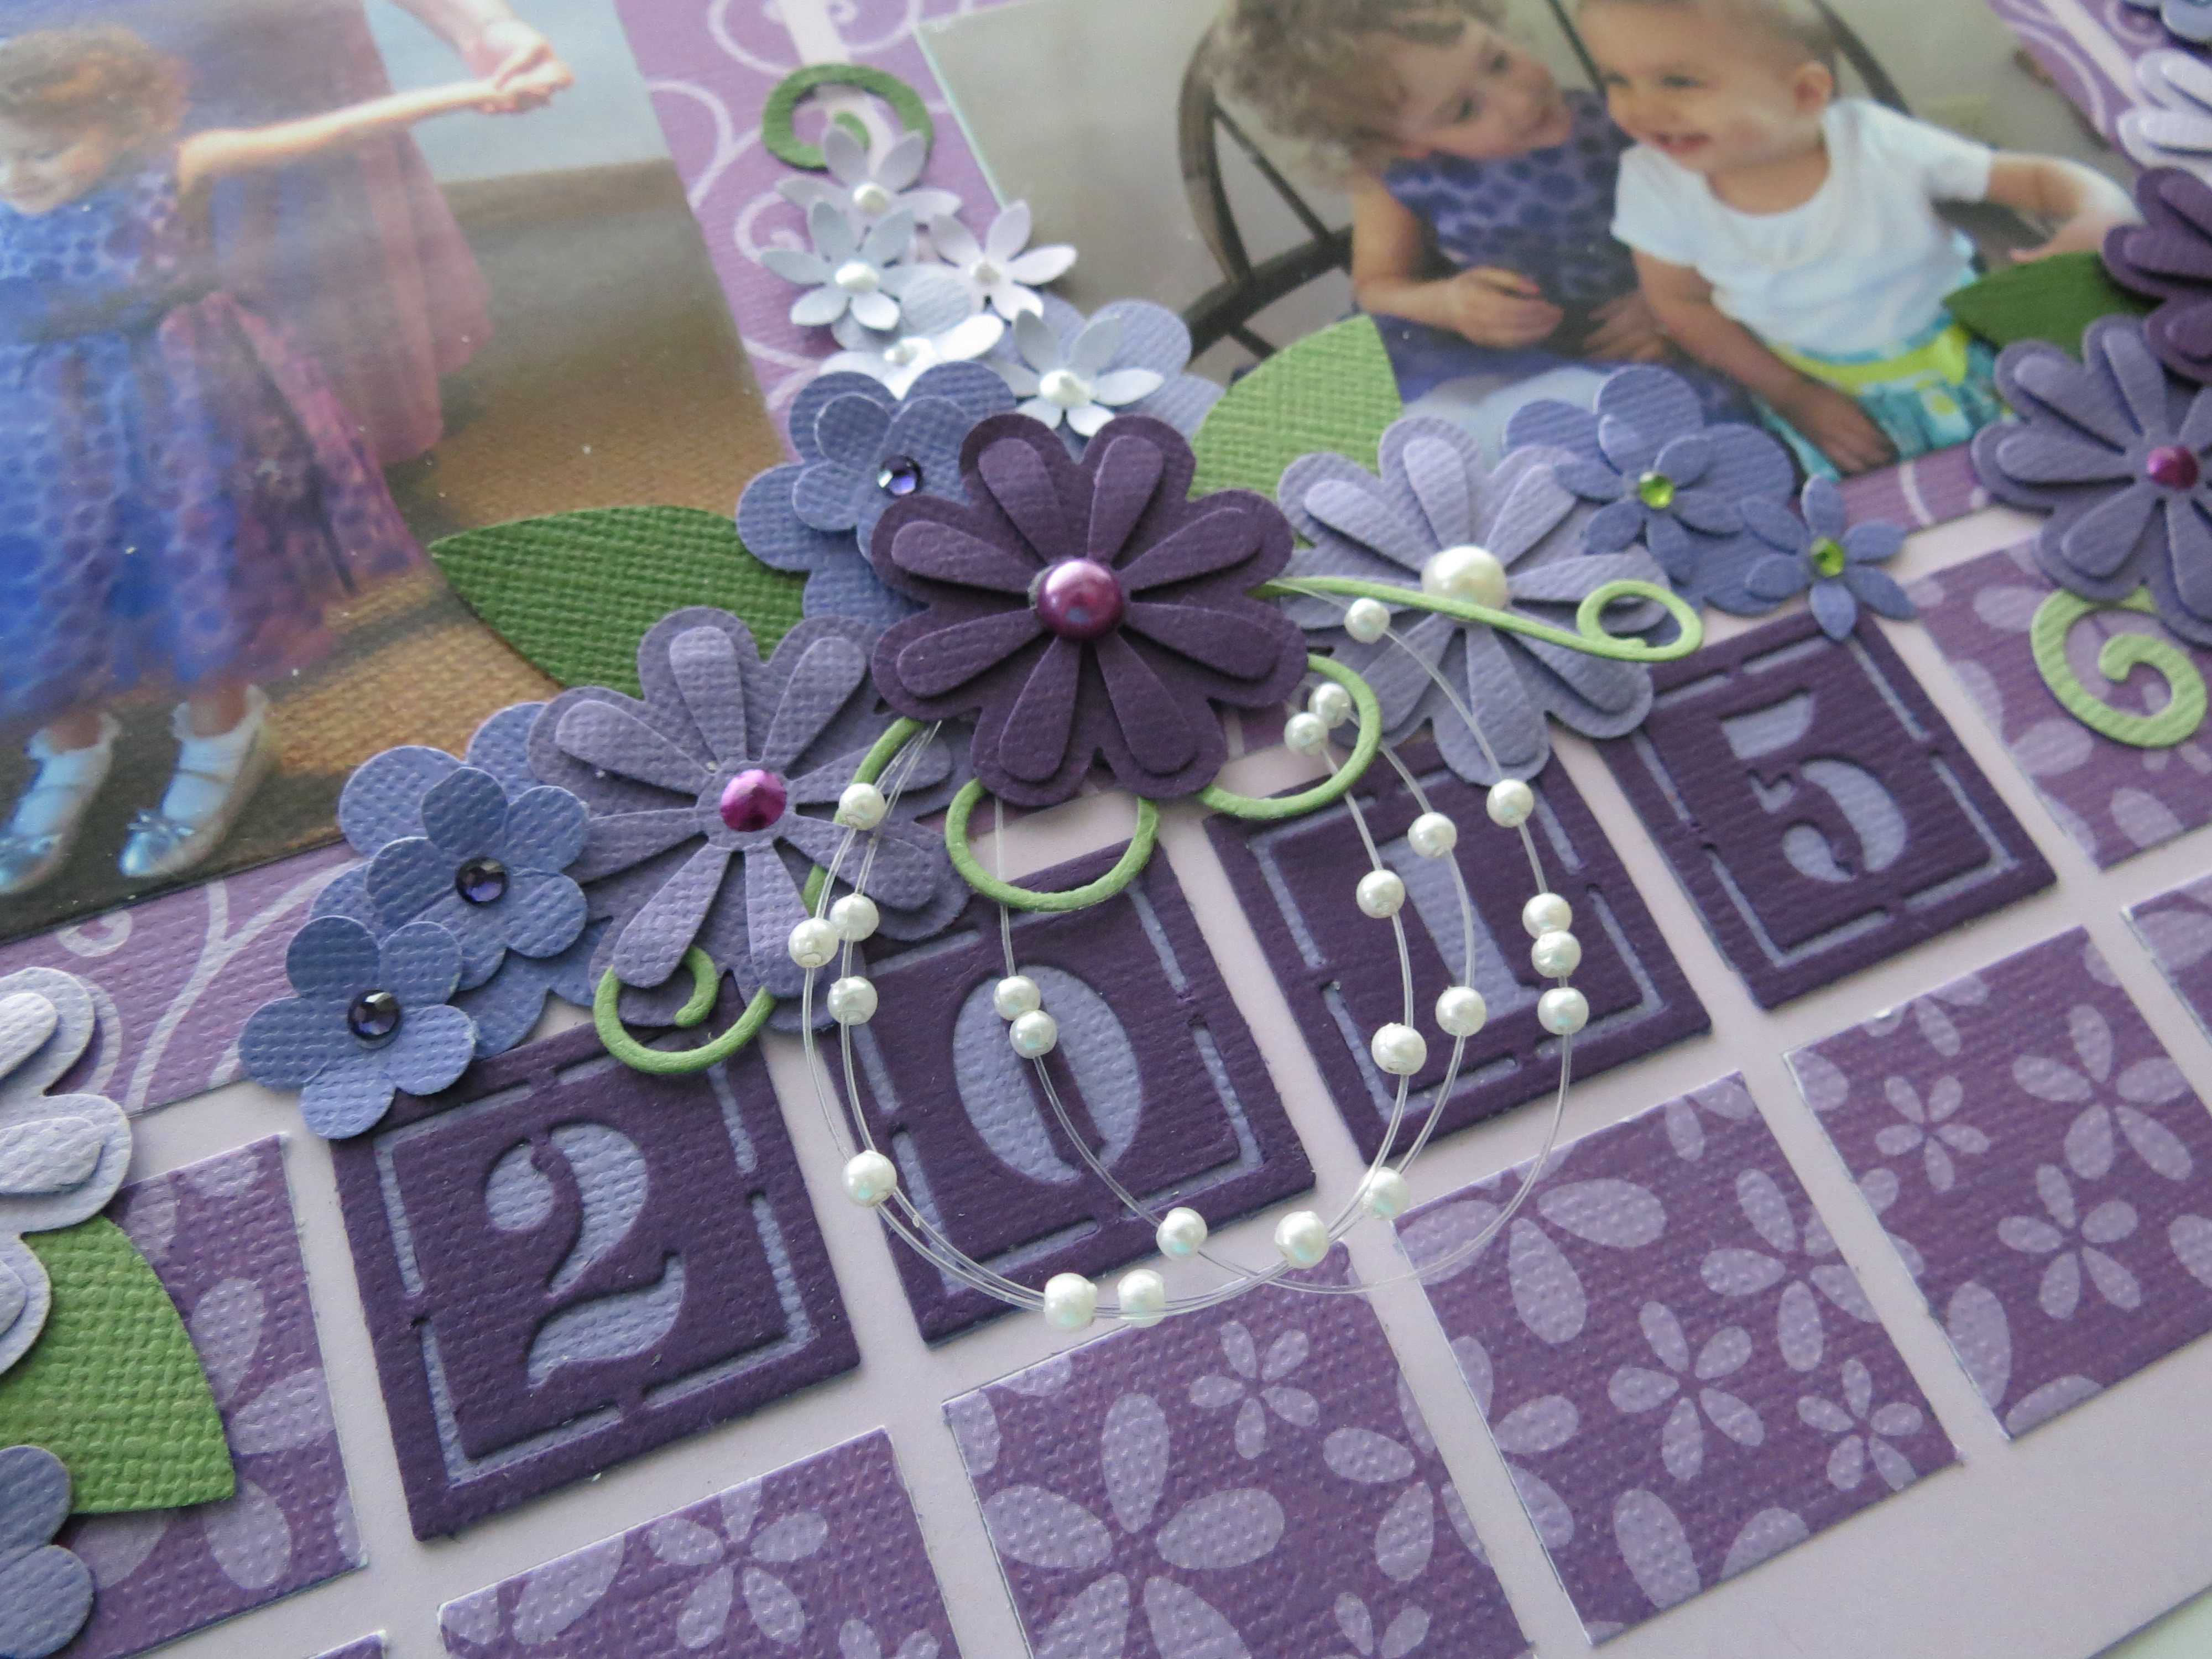
Dressing Up the Grid: Center detail
Dressing Up the Grid: Center details-dimension
Once the bottom was completed a way to complete the page top was to choose to add a bit of embellishment to the corners.
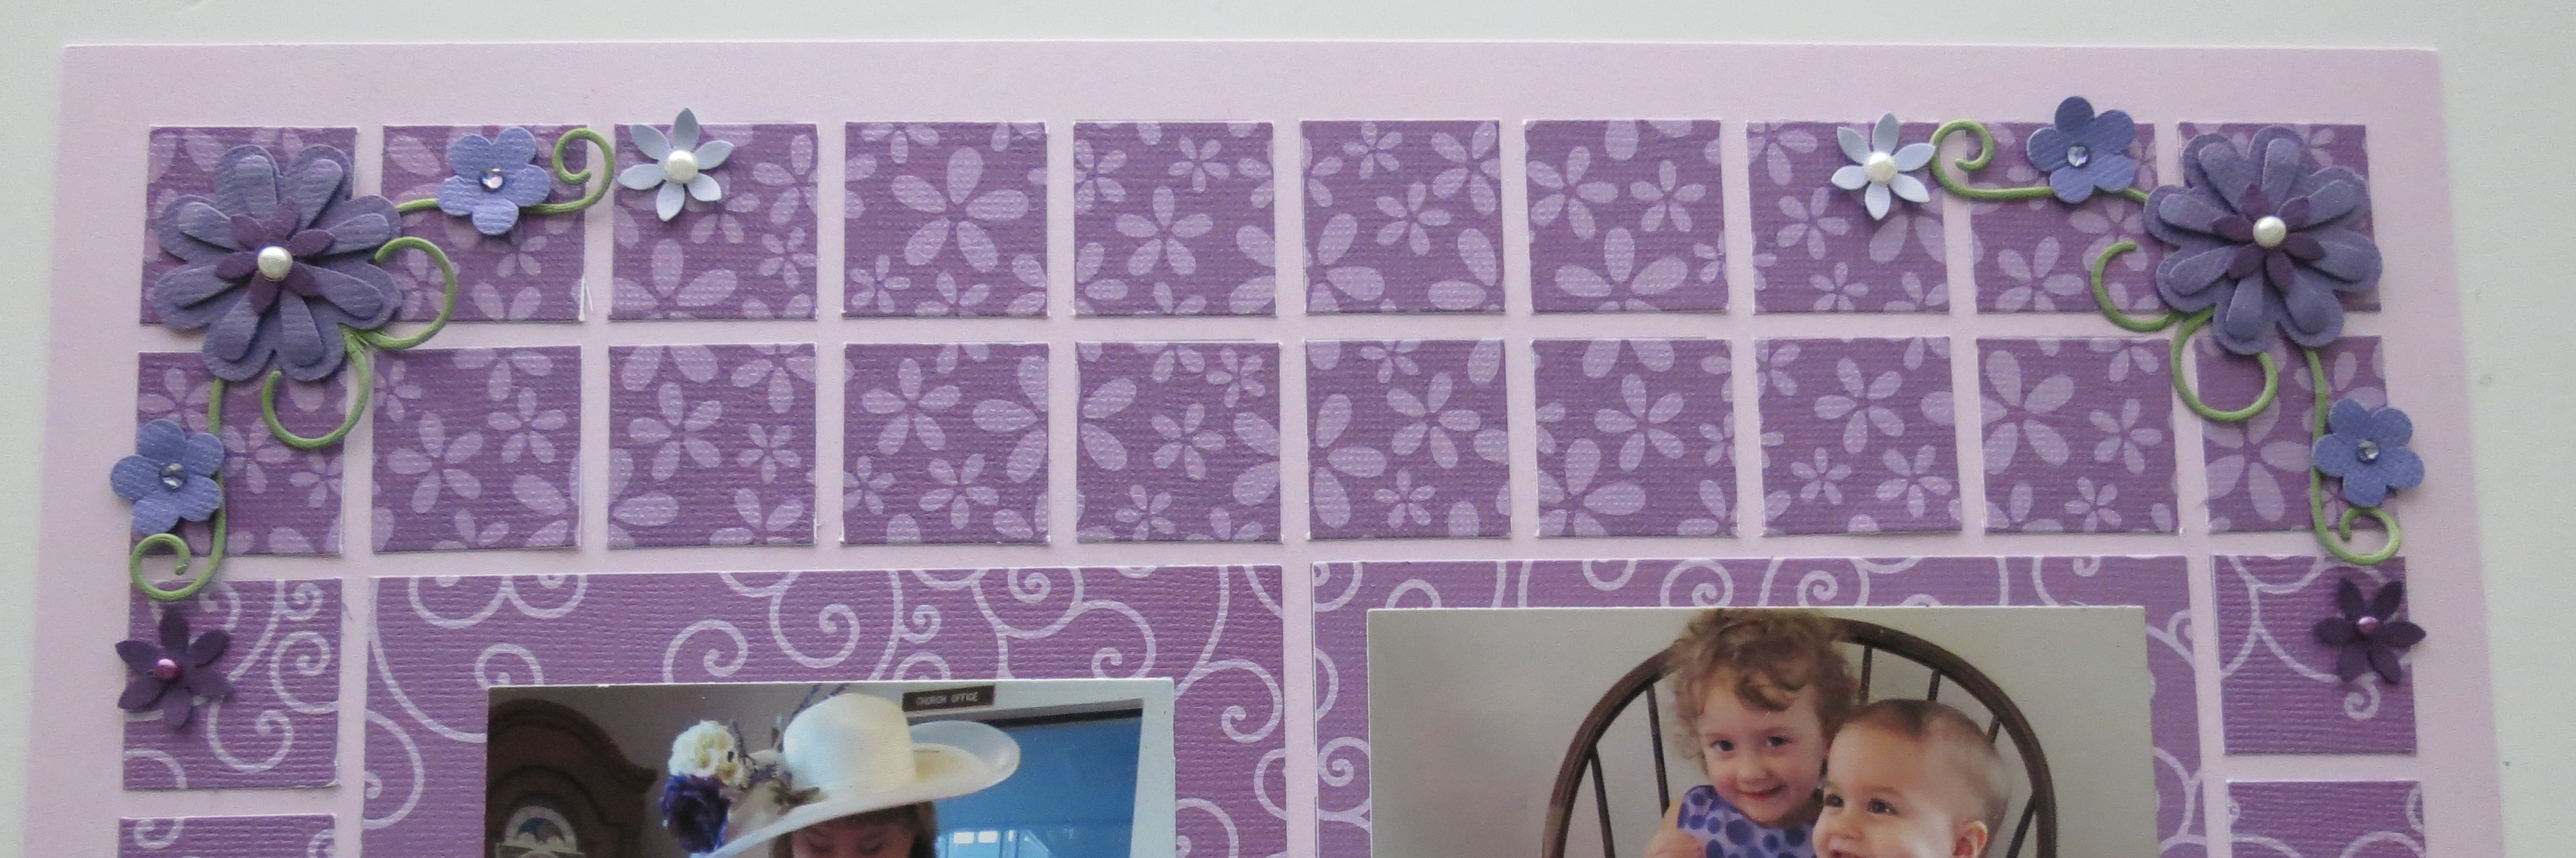
Dressing Up the Grid: Corner details for top edge
All the leftover flowers were bagged for another time or even to make cards. Nothing will be wasted! Because of the dimension on this page, I decided a scrapbook shadow box frame would serve best for display. Auntie Hannah with her nieces is displayed in Hannah’s room.
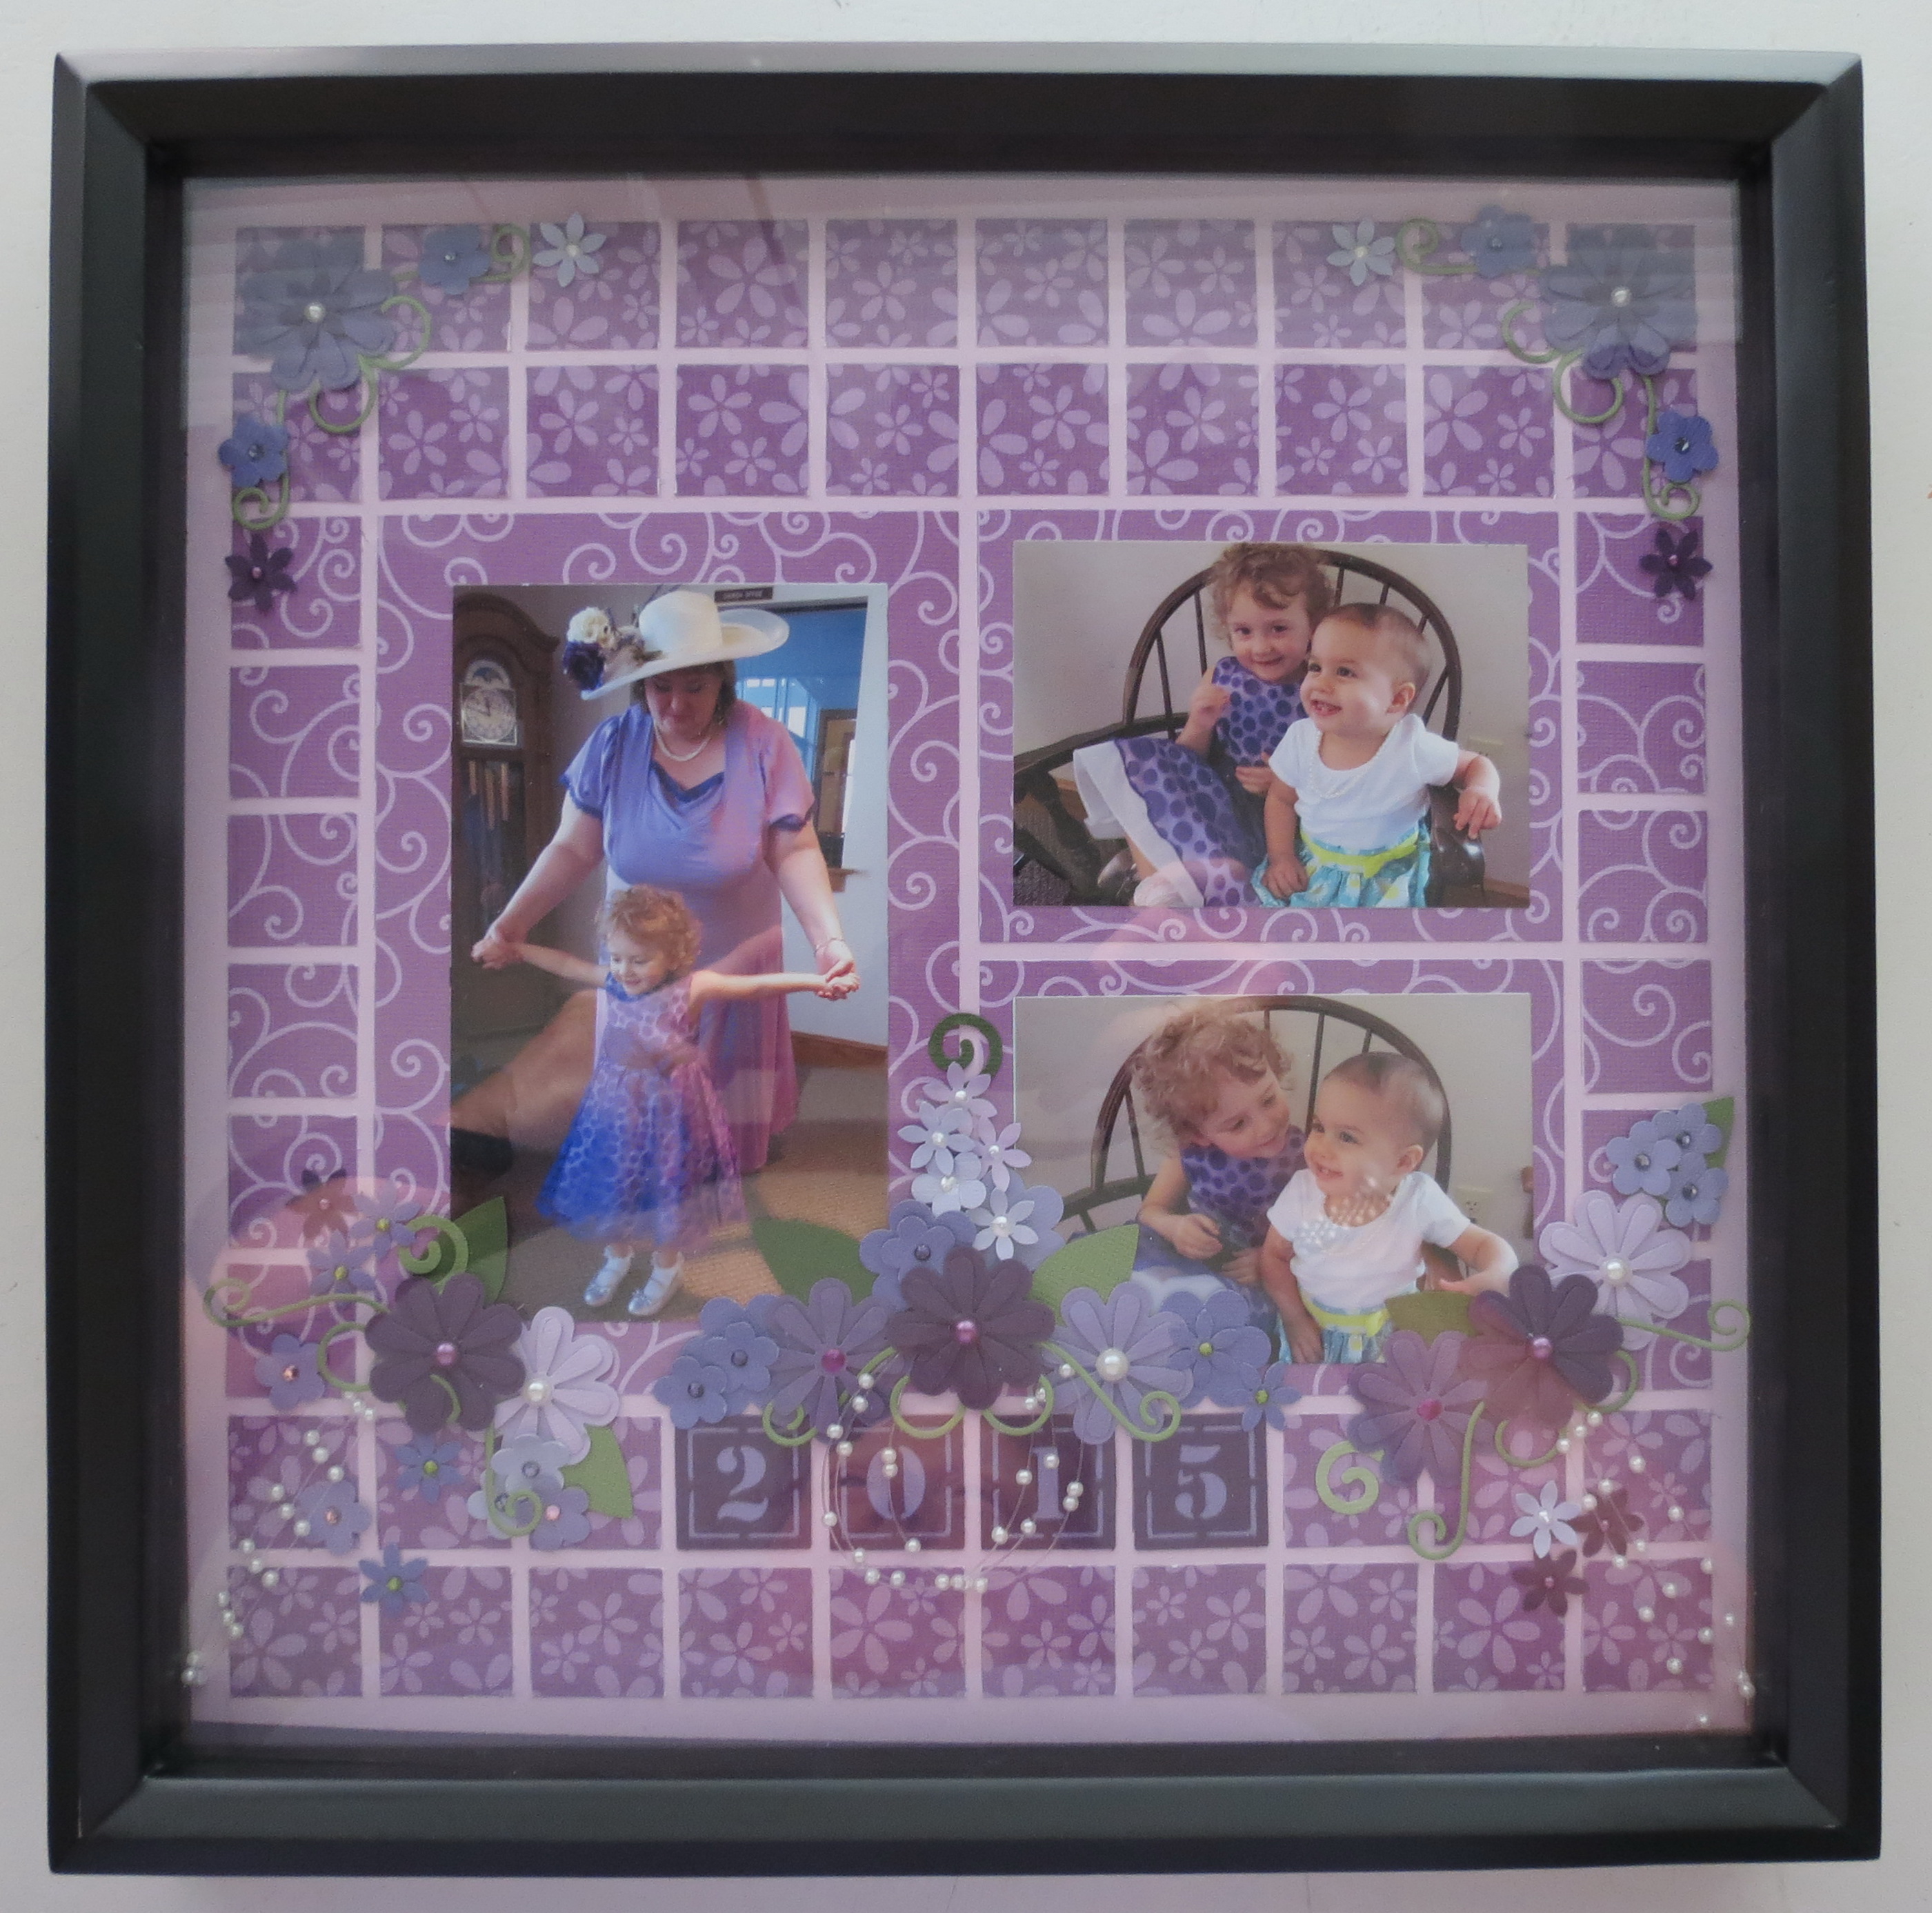
Dressing Up the Grid: Displaying page in a shadow box frame
With the page complete you’ll notice that all the squares are still visible and that the embellishments enhance the page nicely, giving you a beautiful layout. I hope you’ll enjoy Dressing Up the Grid with the next layout you create!
Andrea Fisher
find this pin on Pinterest…