
3×3 Layering Dies: 3×3 Diamond 3×3 Four Pane 3×3 Crossing Dies
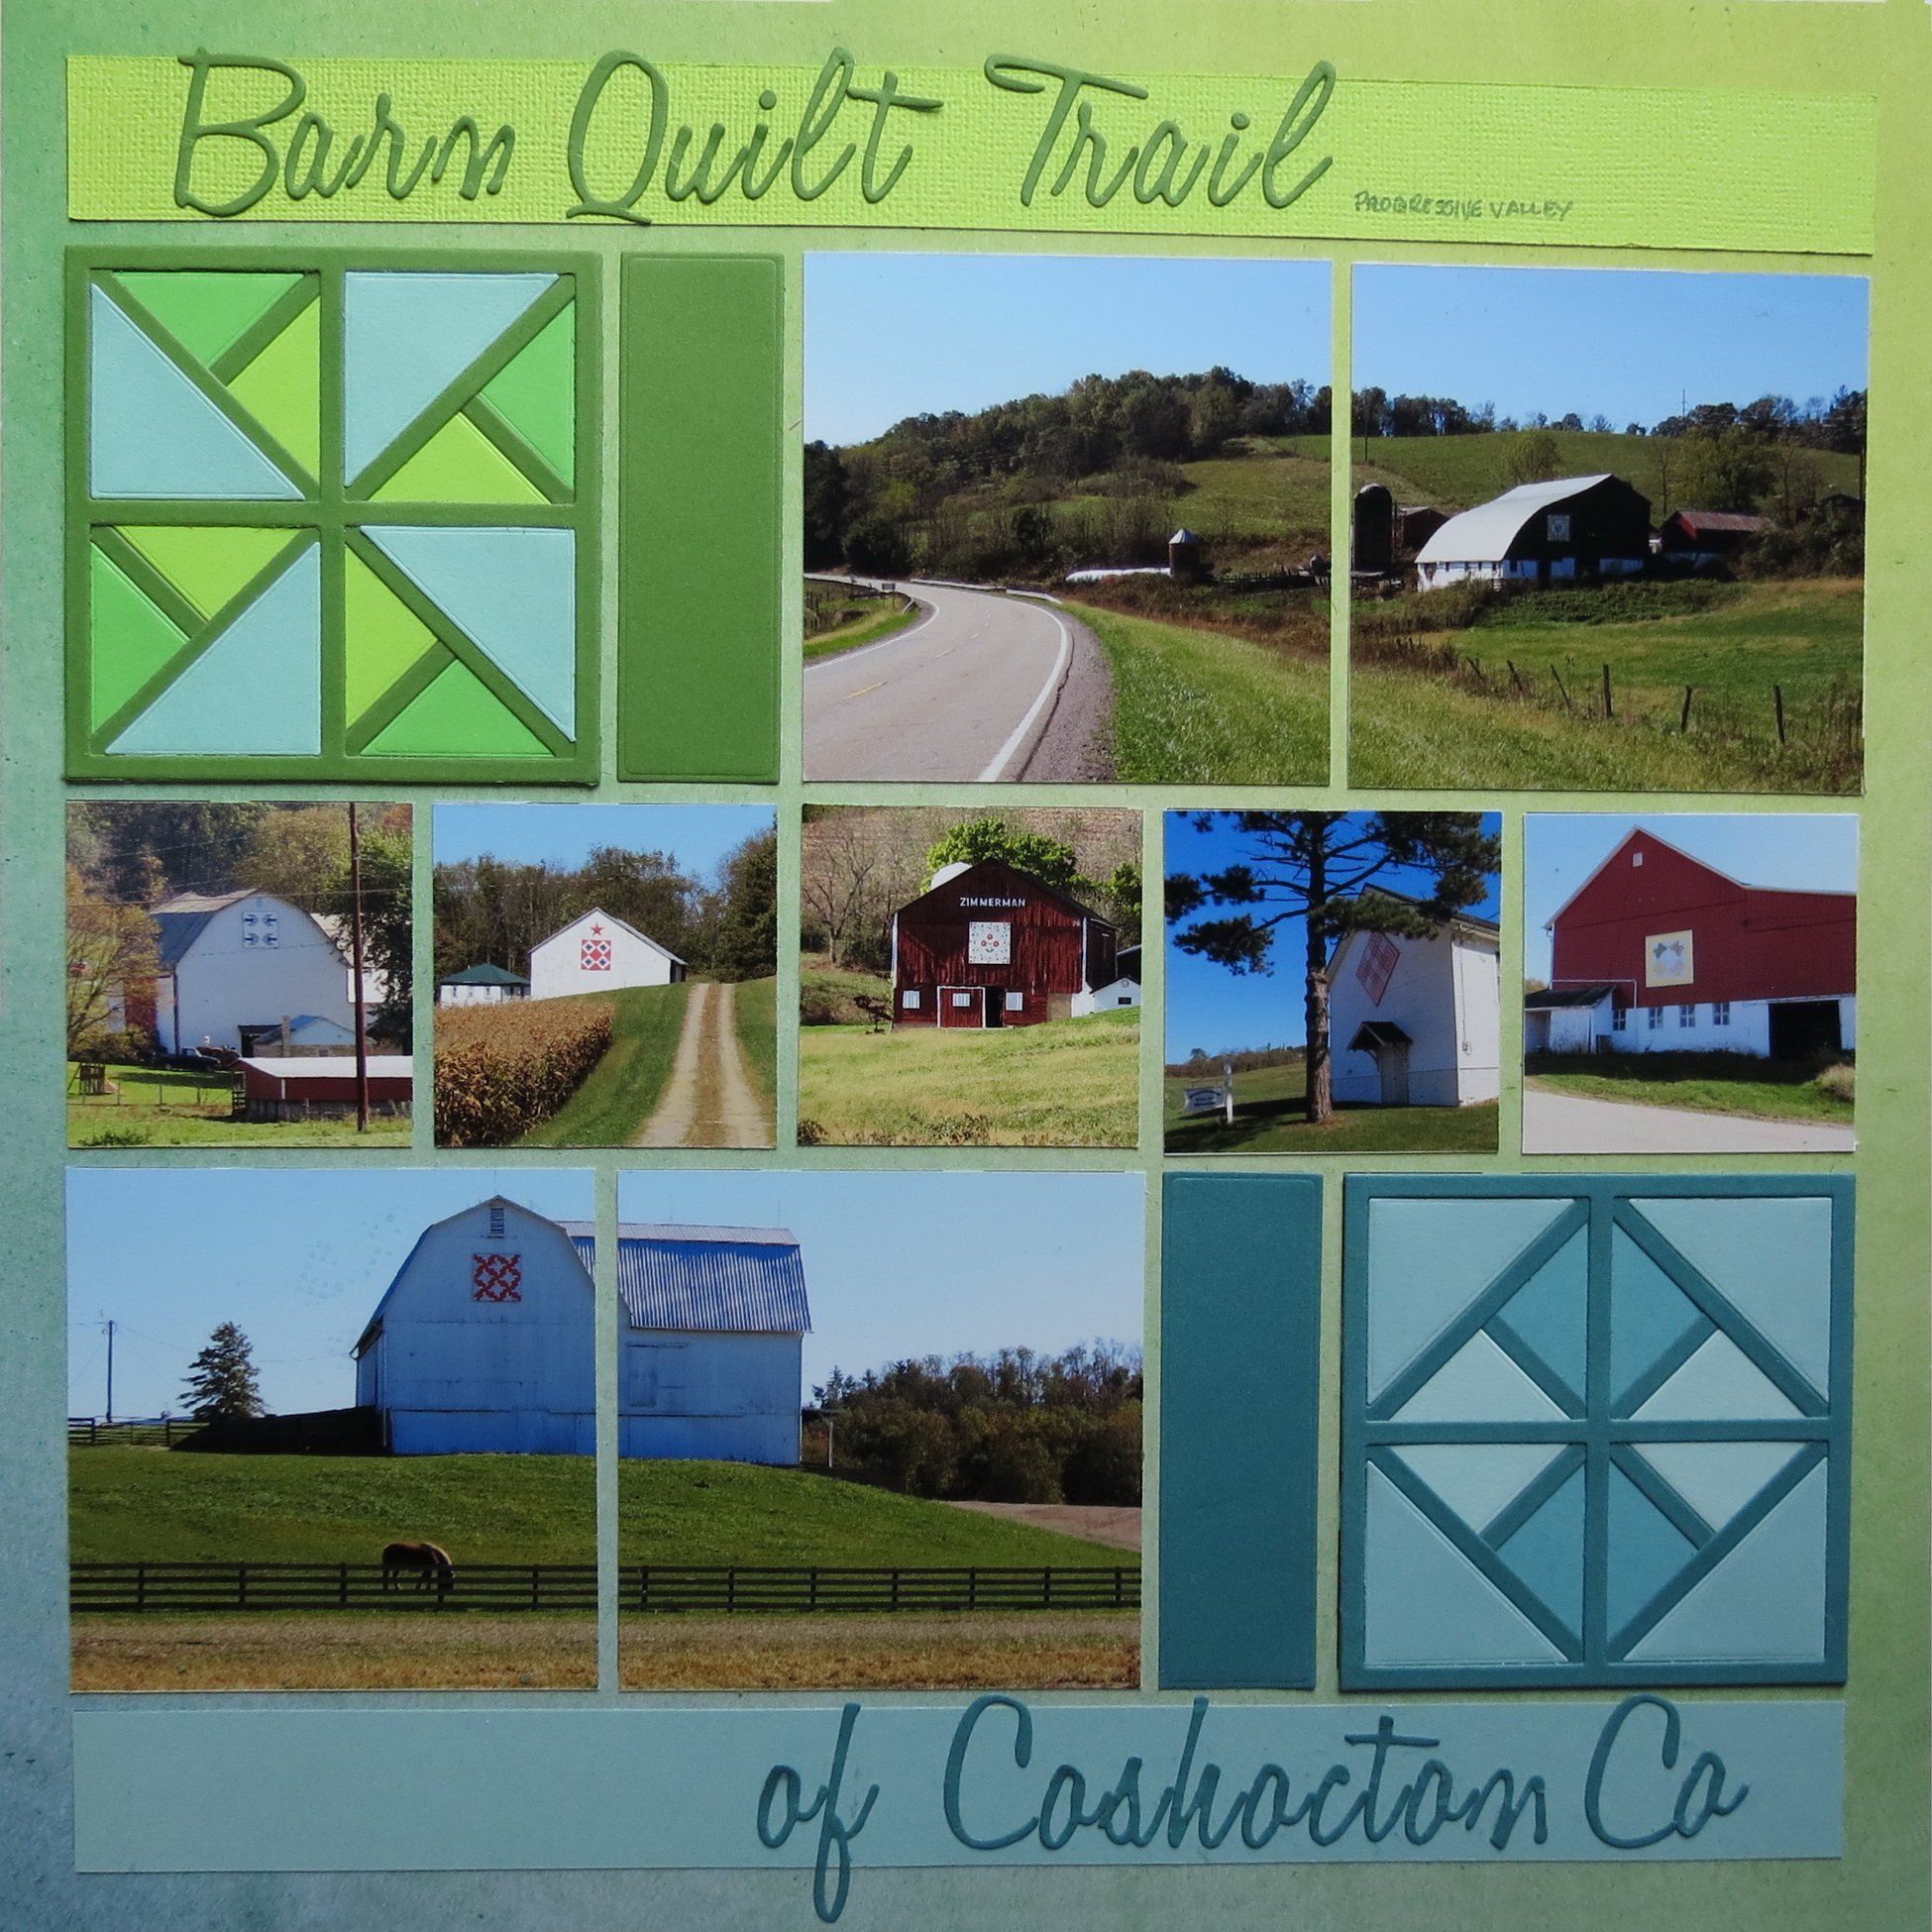
Barn Quilt Trail… Progressive Valley …of Coshocton Co
We have a new trio of 3×3 dies that we are featuring in this post that will allow you a variety of design options on your scrapbook layouts. By choosing colors and shapes and layering them together you will find endless possibilities for adding color and interest to your scrapbook pages.
Mosaic Moments New Die Trio – layering dies –
Ombre Grid Paper
This new die trio that is featured this week is made up of three individual 3×3 dies. They are larger versions of our 2×2 Graphic Shapes Set 1 Dies. You might just enjoy a larger size of dies to play around with and create more of an element on your pages.
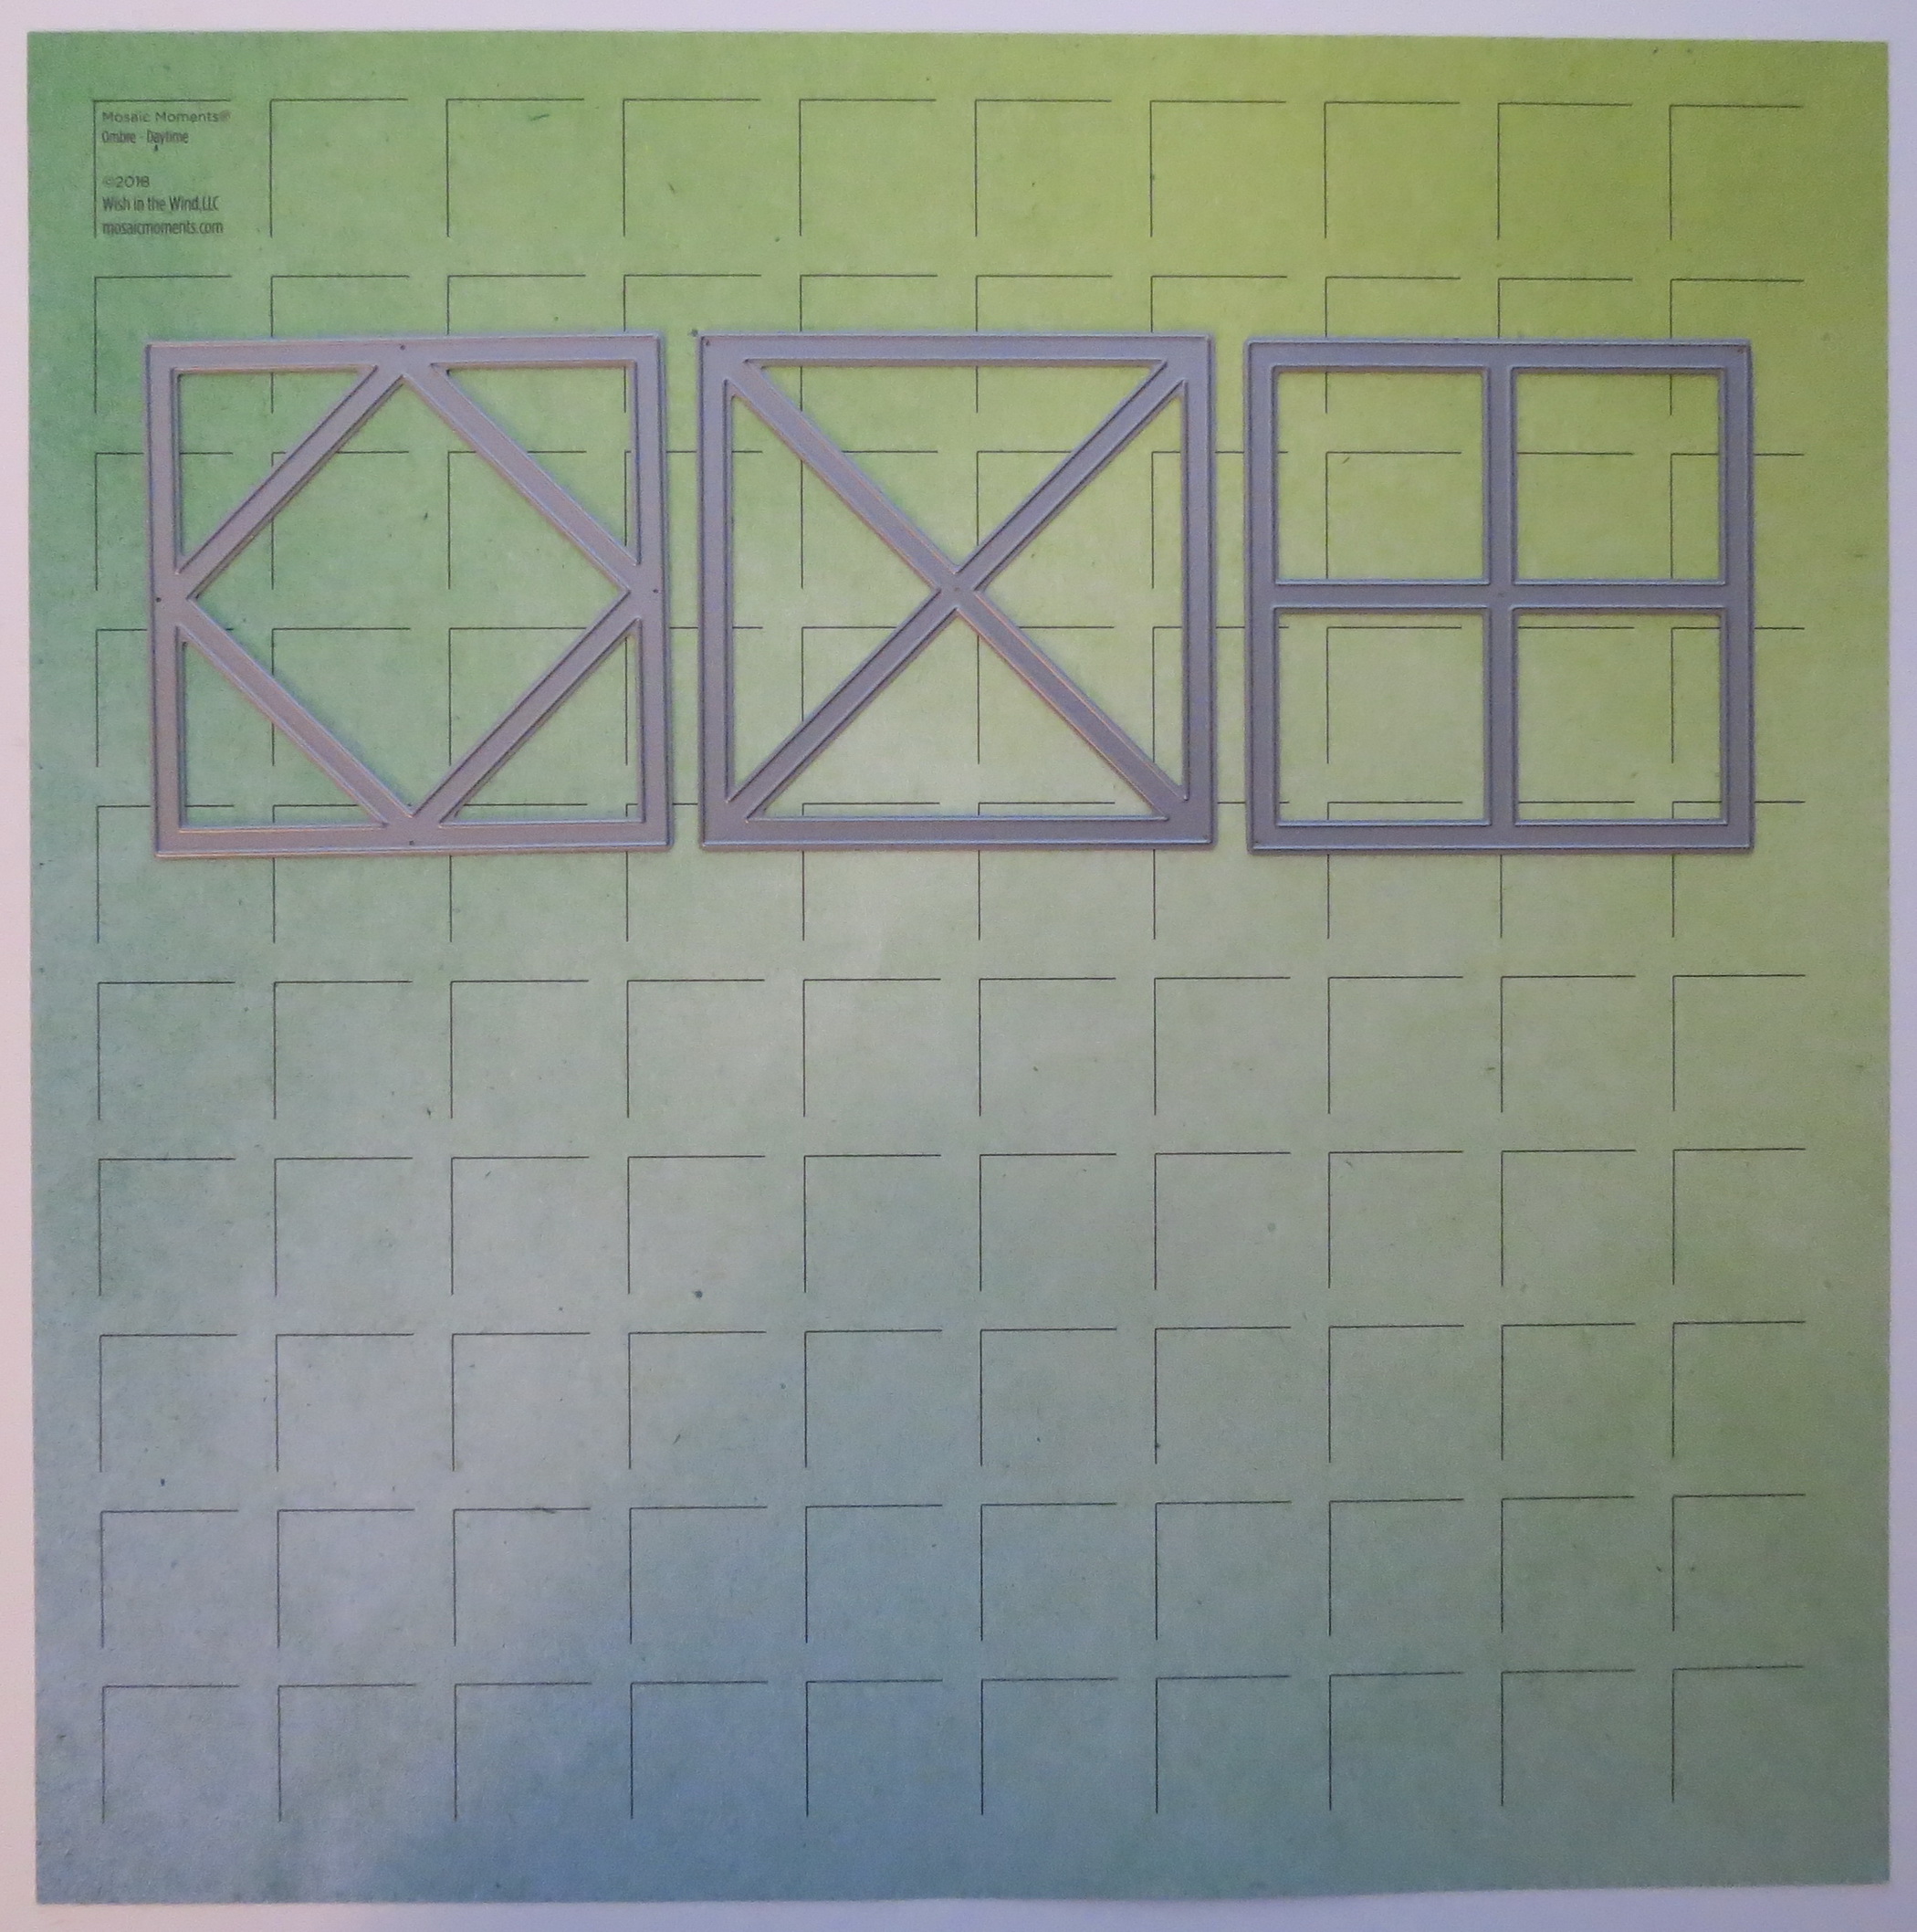
Mosaic Moments New Die Trio – supplies – layering dies Diamond, Crossing and Four Pane 3×3 Dies – Ombre Grid Paper Daytime
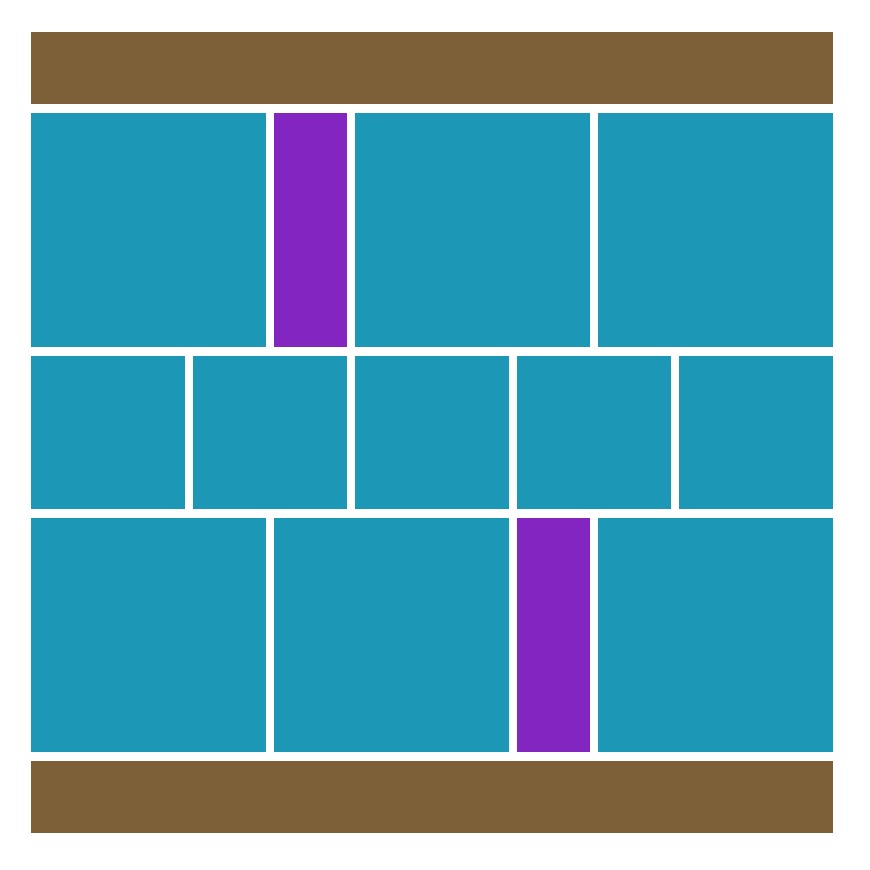
Mosaic Moments Pattern #337 mostly squares pattern
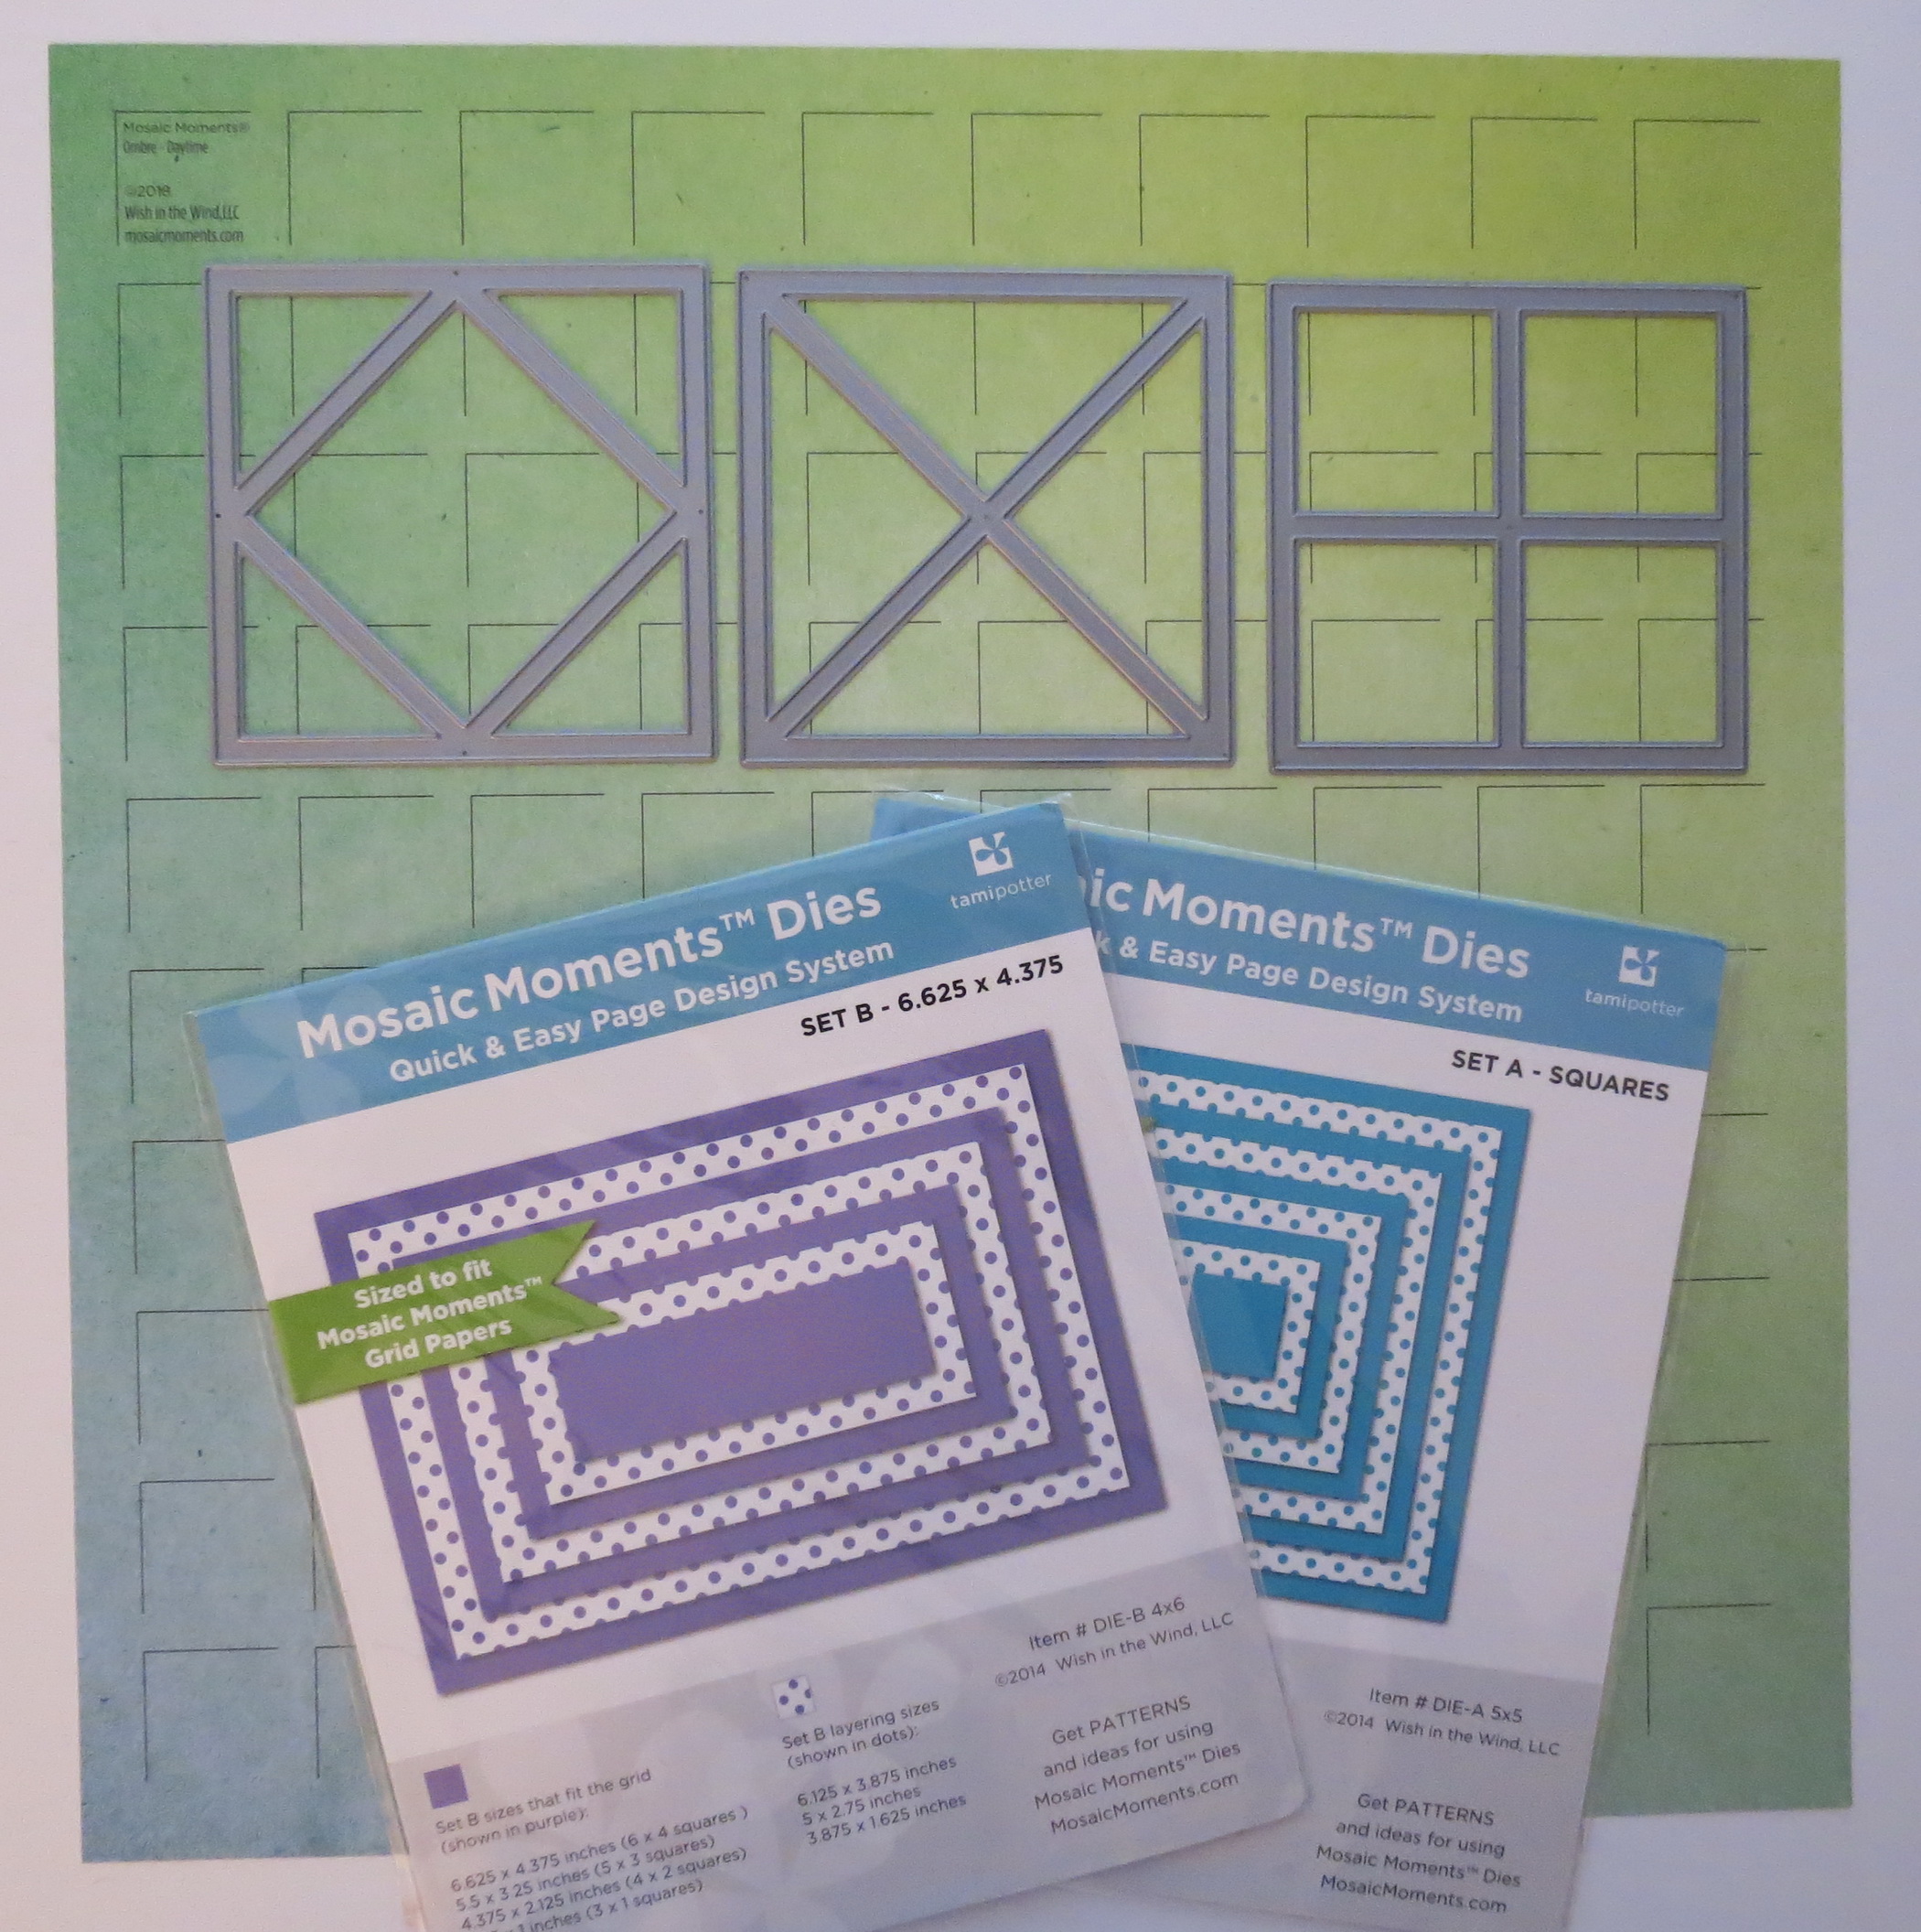
Mosaic Moments New Die Trio – Supplies – layering dies – Diamond – Crossing – Four Panes – Die Sets A & B – Ombre Grid Papers
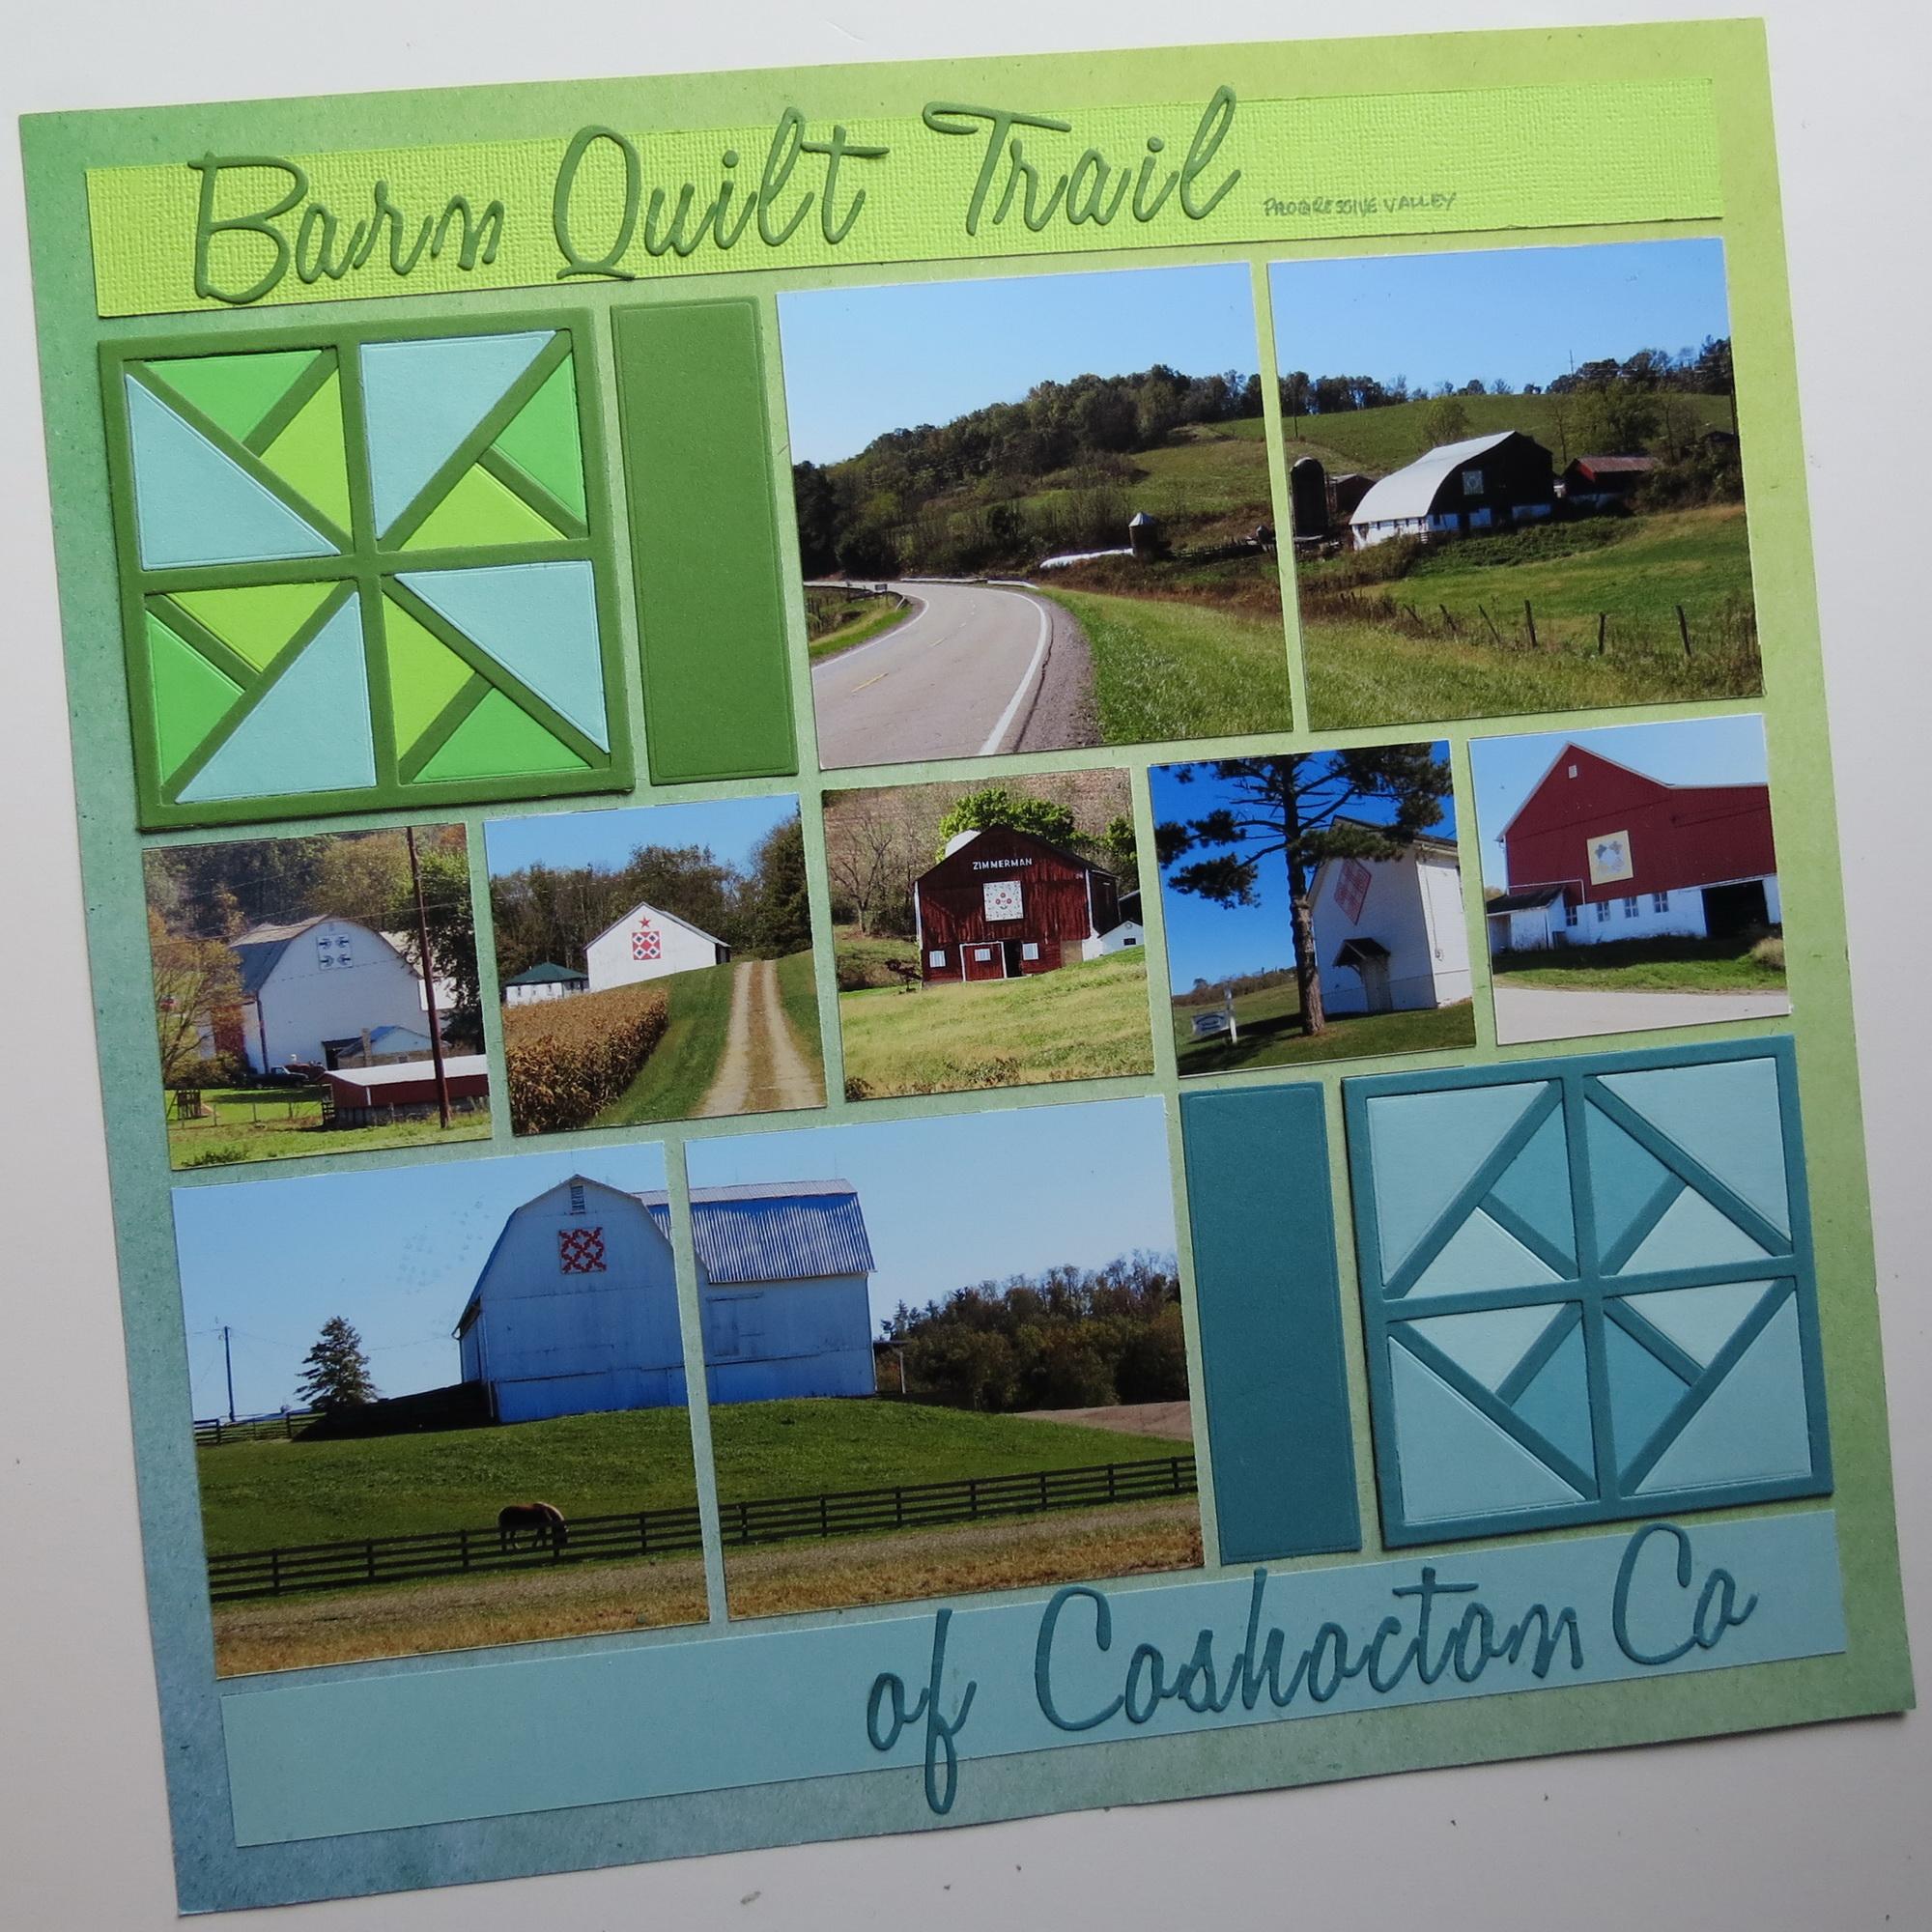
Our newest grid paper, the Ombre Collection, arrived and I couldn’t wait to play around with them! The colors are so vibrant! Pattern #337 mostly squares has been used on the grid named Daytime. My photos are from the first leg of a barn quilt trail in a nearby county.

Mosaic Moments New Die Trio – New Ombre Grid papers
For an idea of the color changes from left to right on the paper I thought I’d show you both edges.
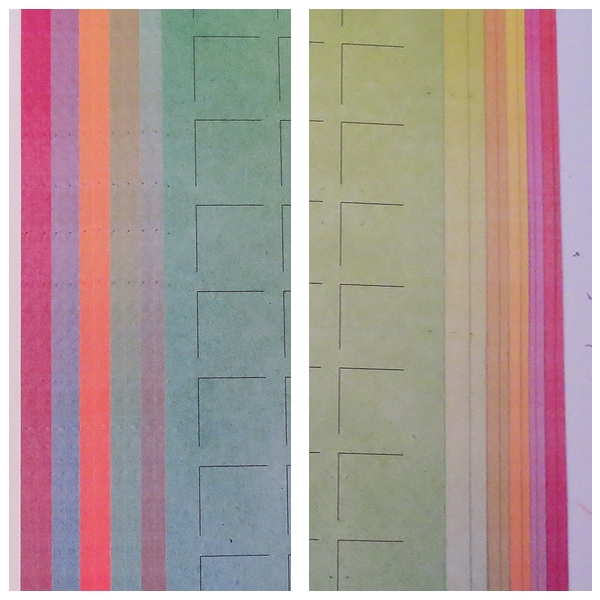
Mosaic Moments Ombre Grid Papers fanned left and right to see the color changes left to right
I’ve worked with the colors of the Daytime grid to choose cardstocks for the borders above and below the rows of photos. The center row of photos features several of the barns and their quilt blocks in 2×2 spots. The top and bottom rows have one spot for my quilt block and two 3×3 squares that I split one photo over both squares. For my title I used Tim Holtz Alterations Collection Script Alphabet dies.
Mosaic Moments New Die Trio – layering dies
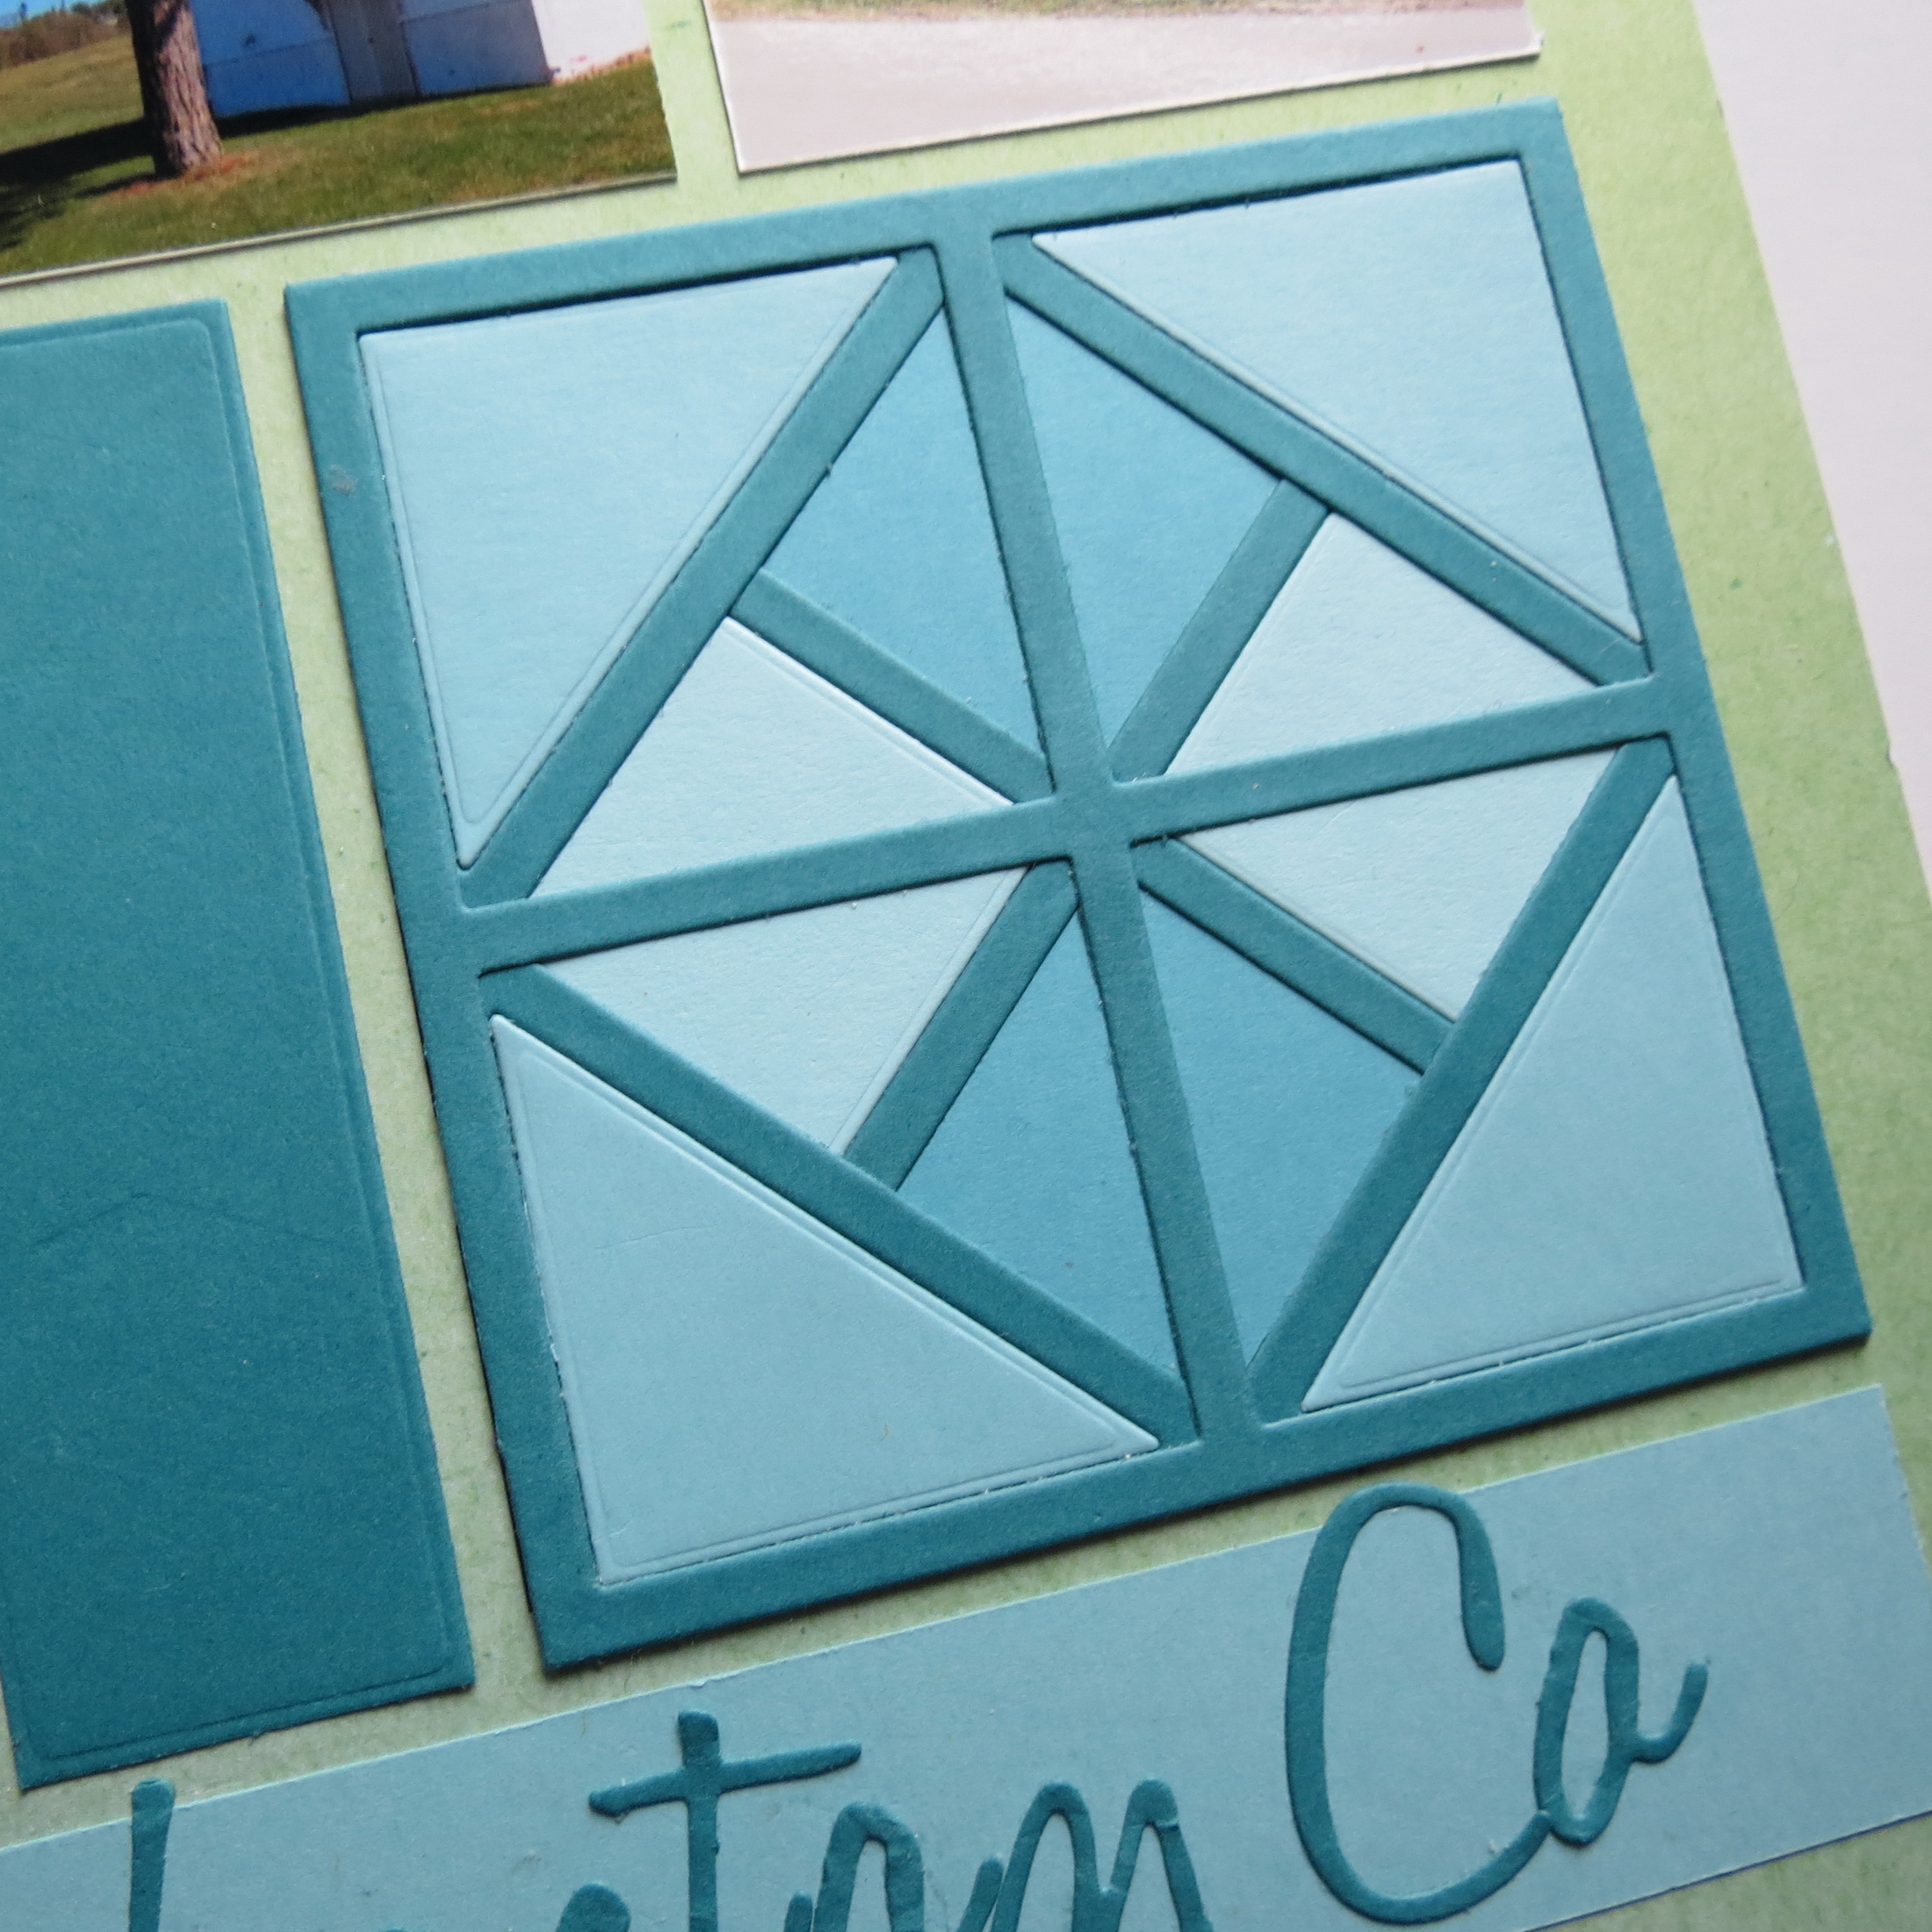
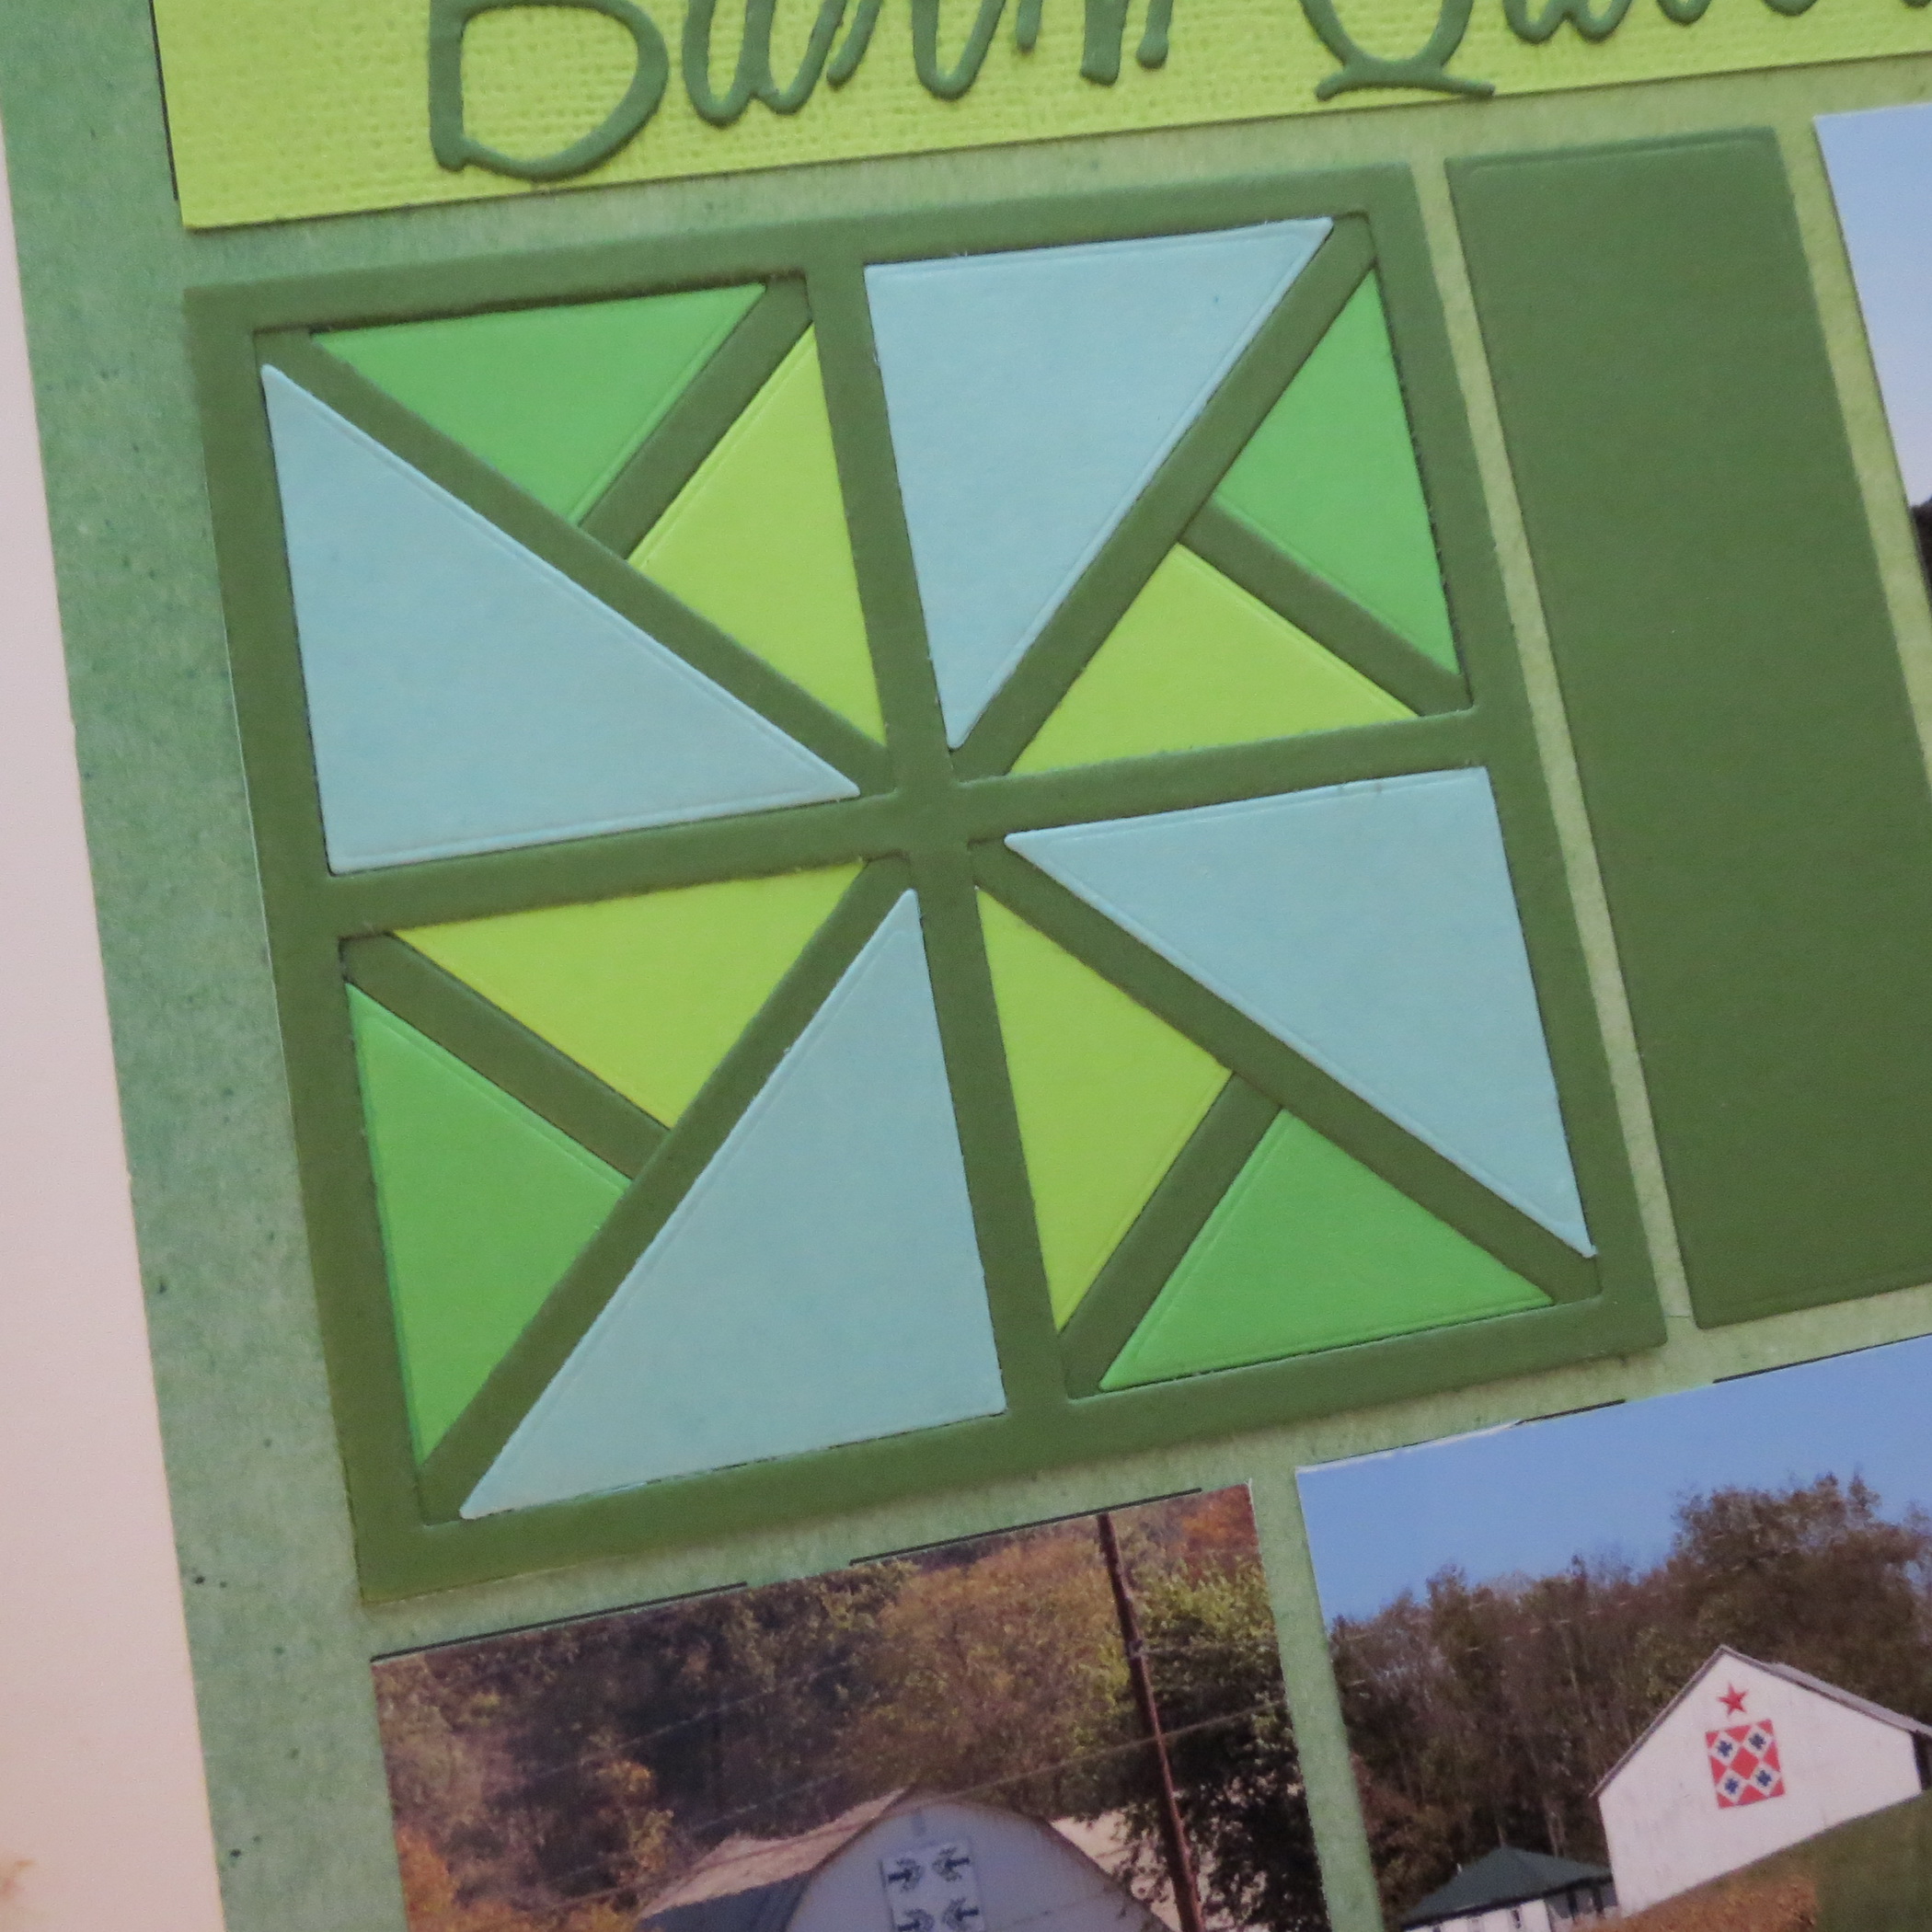
Mosaic Moments New Die Trio – layering dies detail
I chose to cut each of the die sections in the same color for a unified “sashing” color, but you could choose to use other color combos that will give you different looks. I also cut cardstock in three shades of green and aqua for each block. After playing around with colors layers and shapes I settled on two. Here’s the way they were assembled.

Mosaic Moments New Die Trio – layering dies

Mosaic Moments New Die Trio – layering dies steps 1-4
The possibilities are numerous! Here’s a few I was trying out, maybe they will inspire you to play with colors and layers as you try these new 3×3 dies.
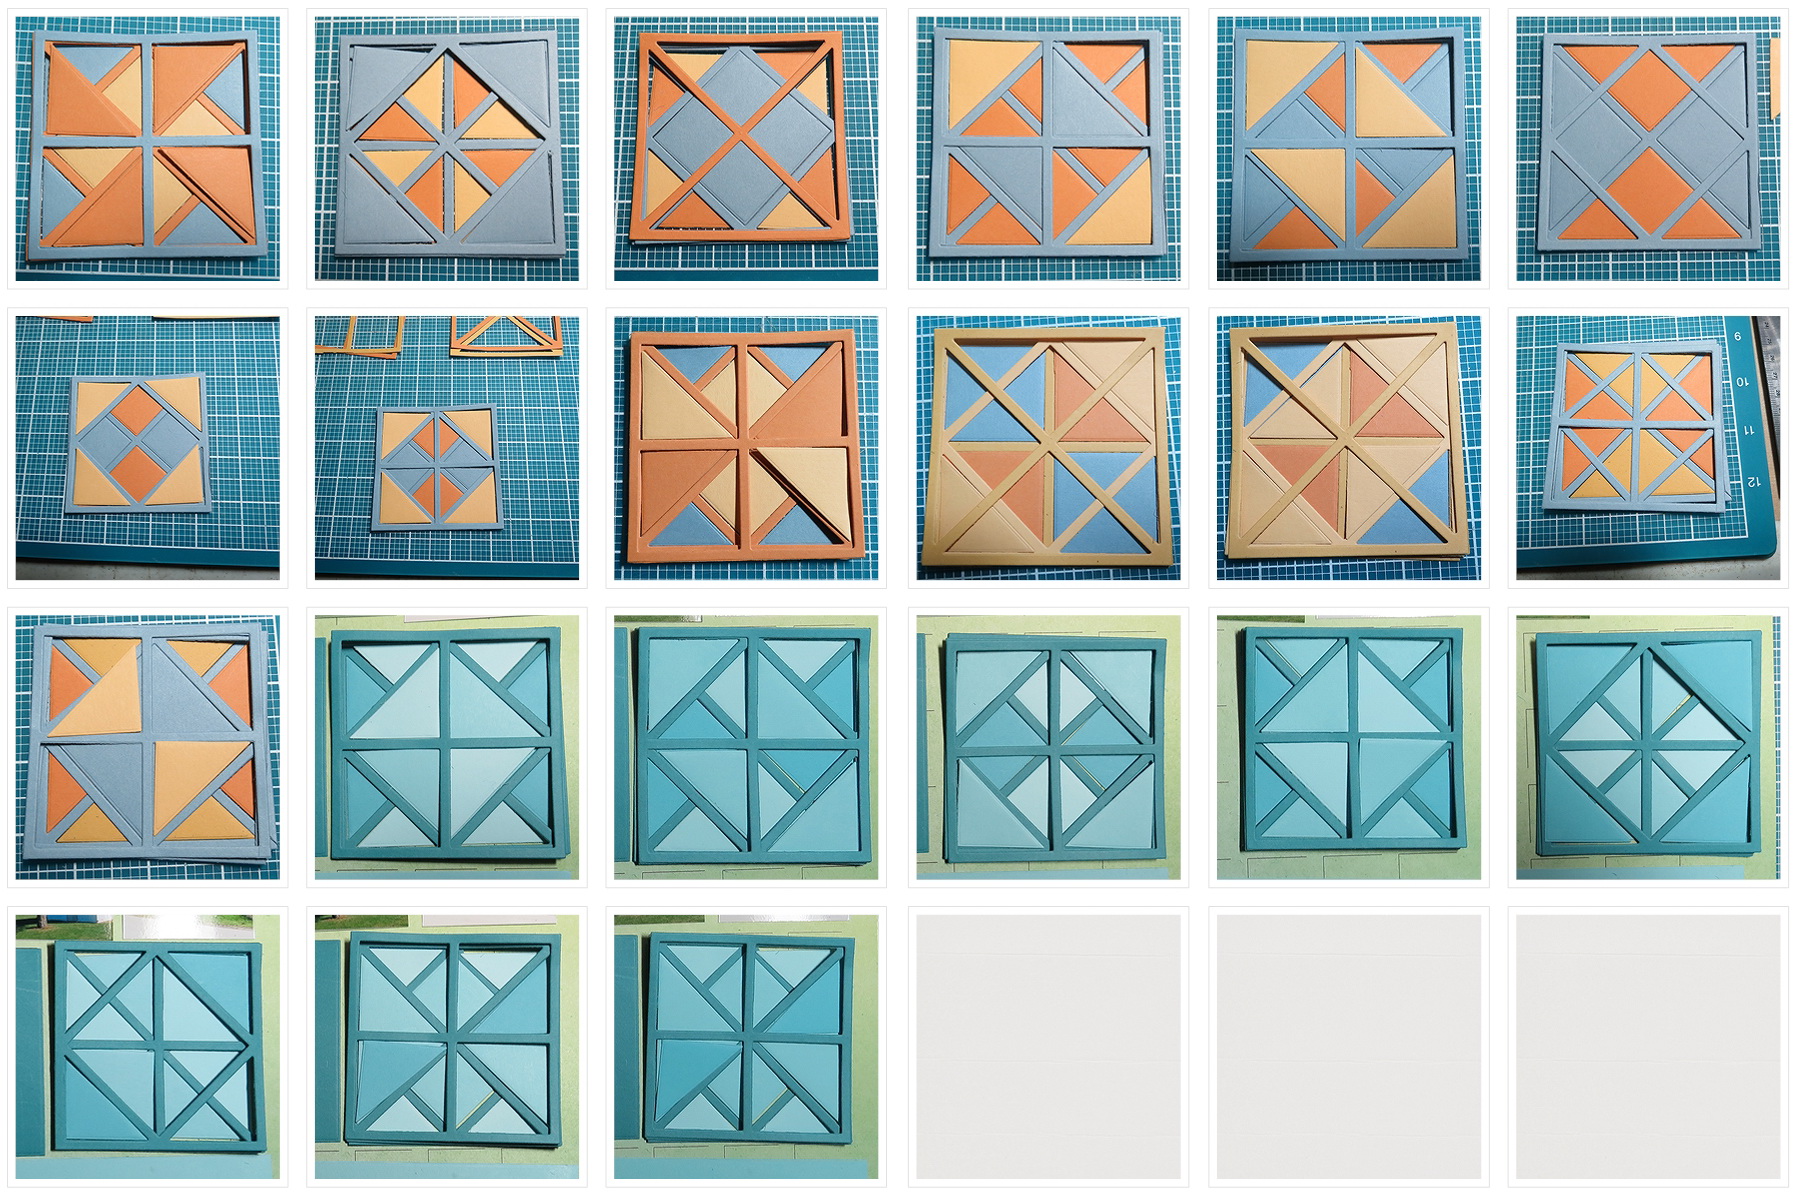
Mosaic Moments New Die Trio – layering dies samples of options
For examples of how I used the 2×2 dies that can be adapted with this die trio find them here:

Mosaic Moments Graphic Shapes Set 1
Now that you’ve seen some of the possibilities you must try some of them out for yourself! Don’t forget to order the Ombre Collection too! You are going to love the color combinations!!
Mosaic Moments New Die Trio – layout – layering dies
Andrea Fisher