
Dynamic Journaling
Some of our Level Three die designs do not easily lend themselves to adding much journaling. You are creating a design to primarily be filled with all your photos and sometimes all the space you have is to add a small tag identifying the person or place.
If you have more of a story or journaling you may want to choose the dies for your photos based on the space you need for it.
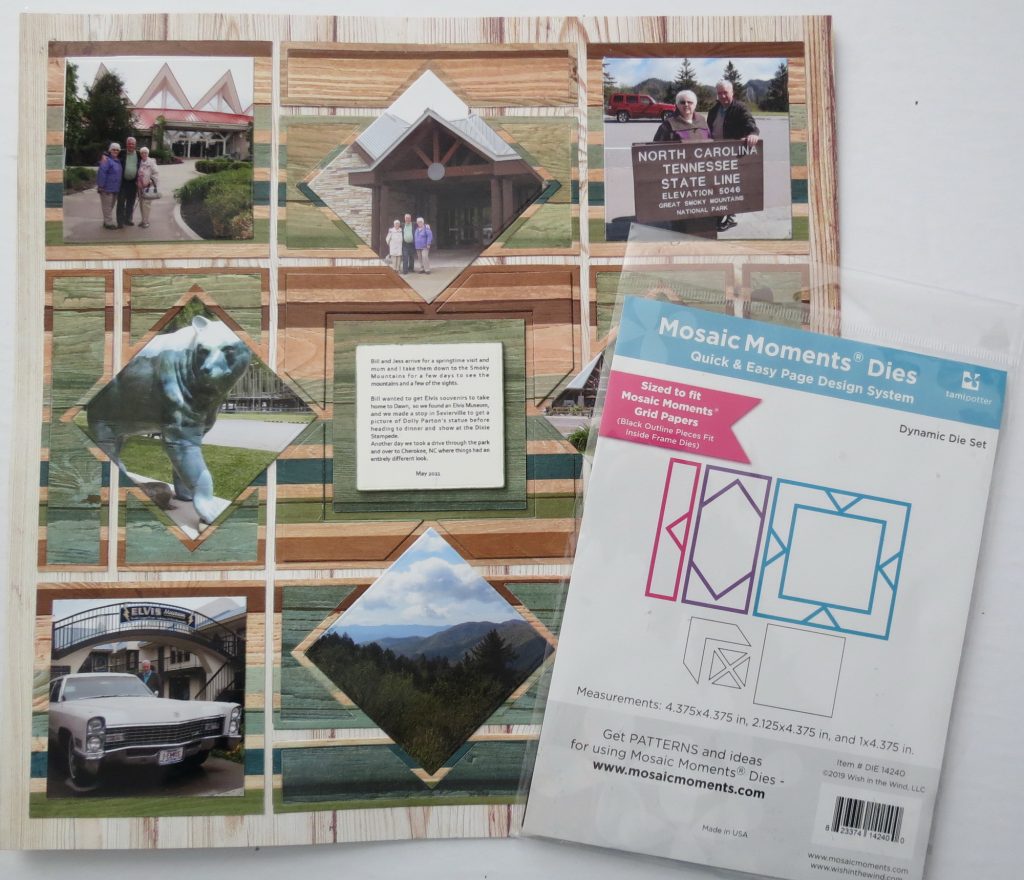
I have tried the dynamic die before but coming up with a pattern number for the layout I was currently creating wasn’t easy. I couldn’t find one! I figure it could be classified as a row pattern in a 3-4-3/1-2-4-2-1/3-4-3 arrangement. In fact, it’s how the dies are arranged on the cover of the product pack and I was good with that arrangement, so I just went ahead with that.
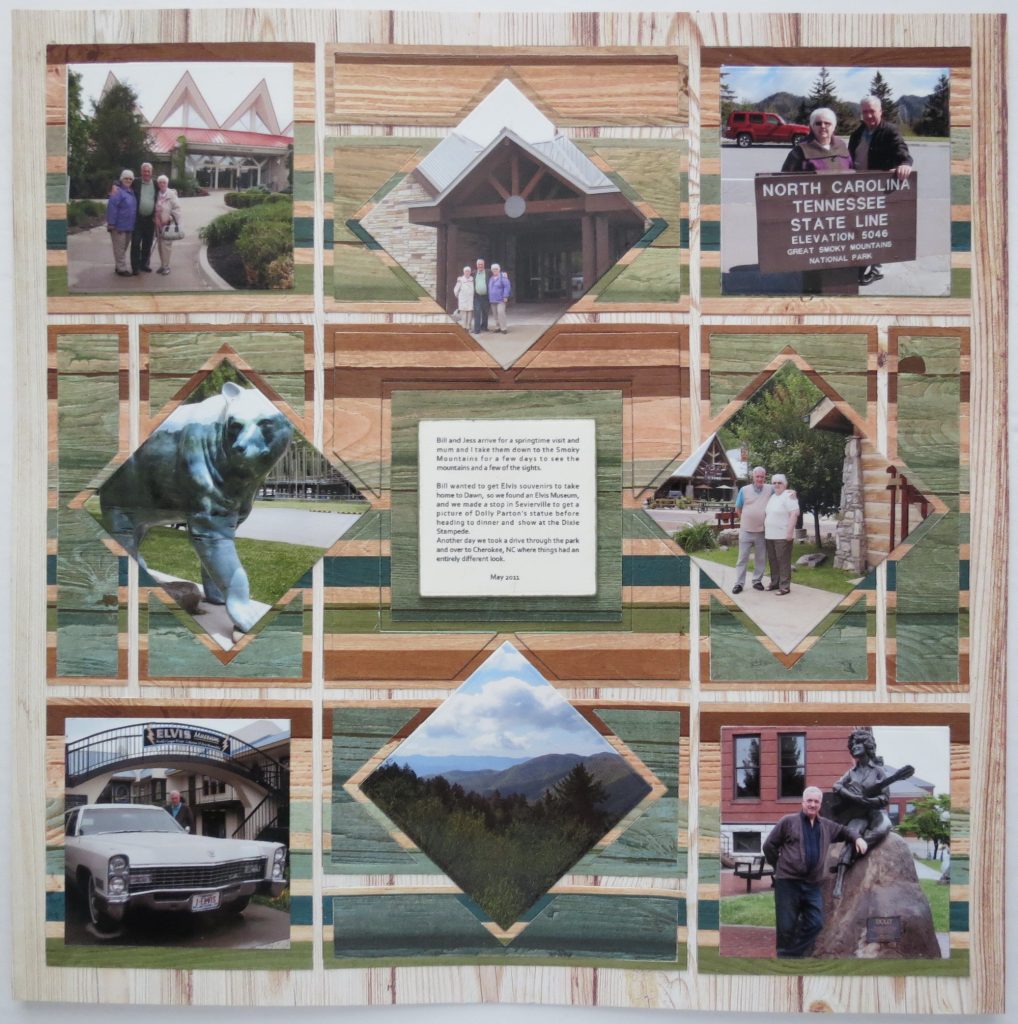
This time I decided I wanted my photos to lay on top and not be inset into the die frames. This way they match the basic corner tiles with the corner photos mounted on top of the paper all on the same level.
I wanted to save the patterned paper from four centers of the 2×4 dies for another project so I replaced them with cardstock I used with the rest of the page to fill them. Doing this gives support to the photo so it doesn’t sink into the die frame but remains raised and wrinkle-free.
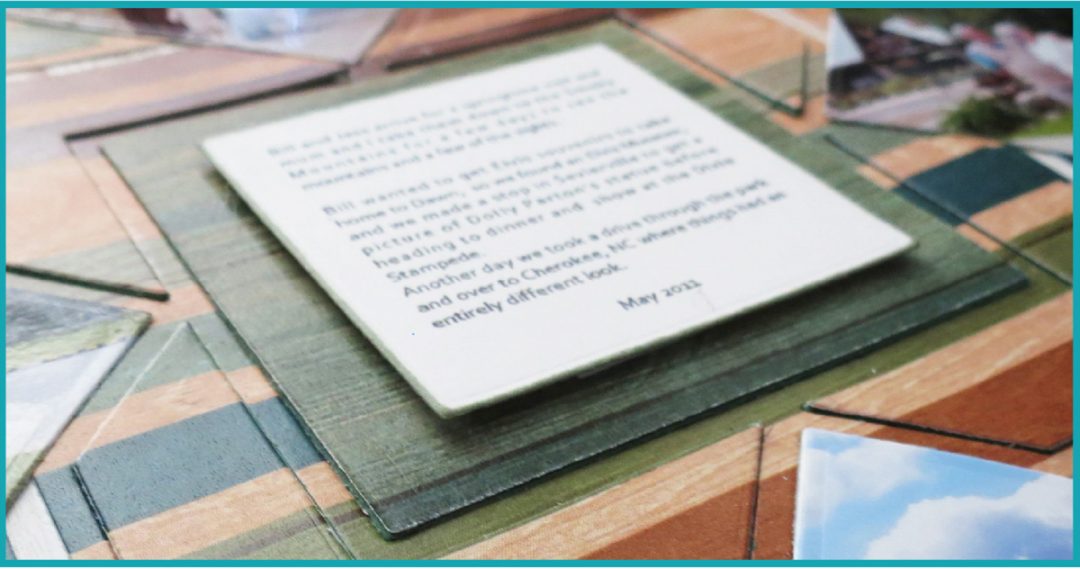
For me, I only needed a few words because most of the photos had a sign of one kind or another in the picture to help identify places. Names and dates and a few details were all I needed. I found a 2×2 square in the center of the layout with the 4×4 Dynamic Die as a frame is all I needed. It’s in the perfect spot and the pattern with all the points of the outside photos pointing inward draws your eye to that spot.

However, if all I needed was a 2×2 space, why bother to use the actual 4×4 die and all of its details? Let’s see how it all comes together and answer that question.
On the four side-center photos I have flipped the page using the B-side of the paper to fill and the striped side to carry the narrow frame shape.
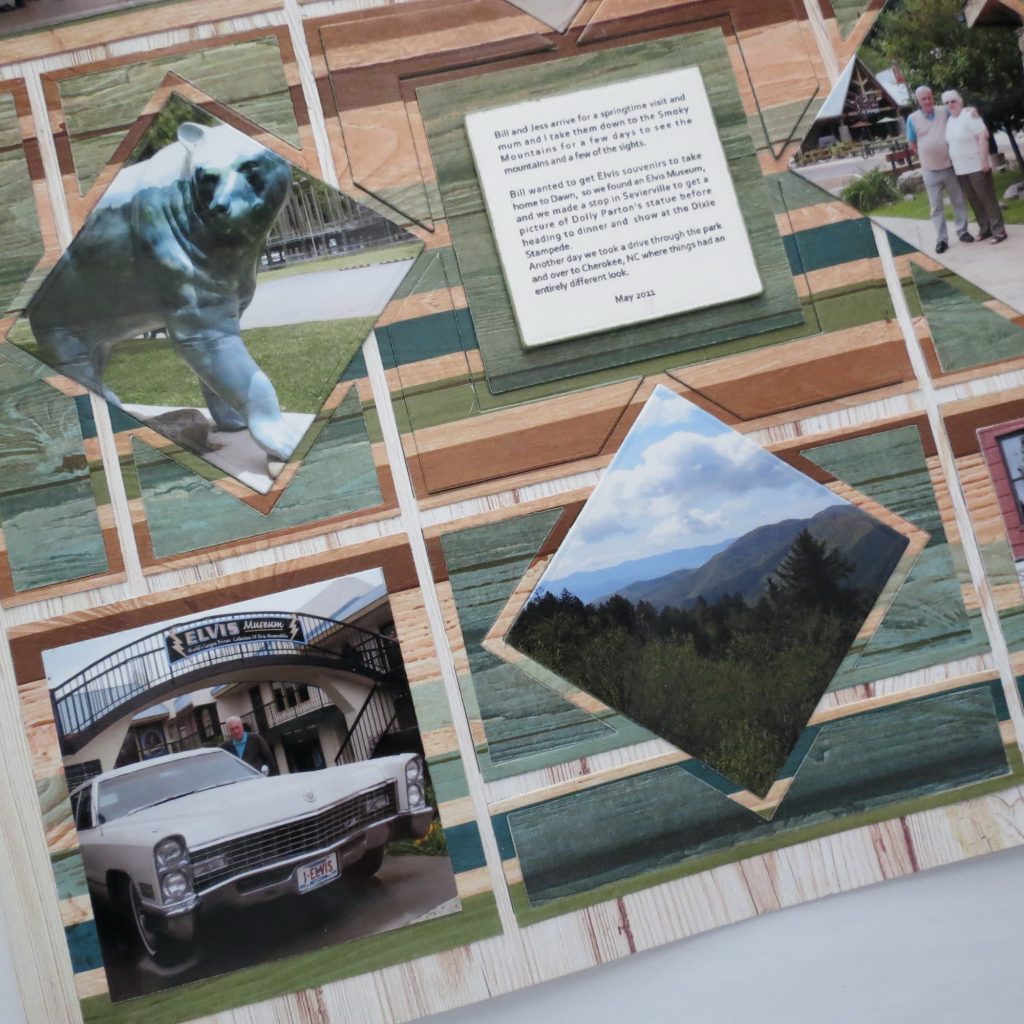
In the center section I thought it would be nice to repeat the solid striped sections of the four corners and yes, I cut the 4×4 die shape but laying it in flat would be a waste of time in my opinion, so I went for some additional dimension by cutting extra corners and extra centers so that I could stack a few layers. I love the look of the raised panel with the pattern of the stripes!
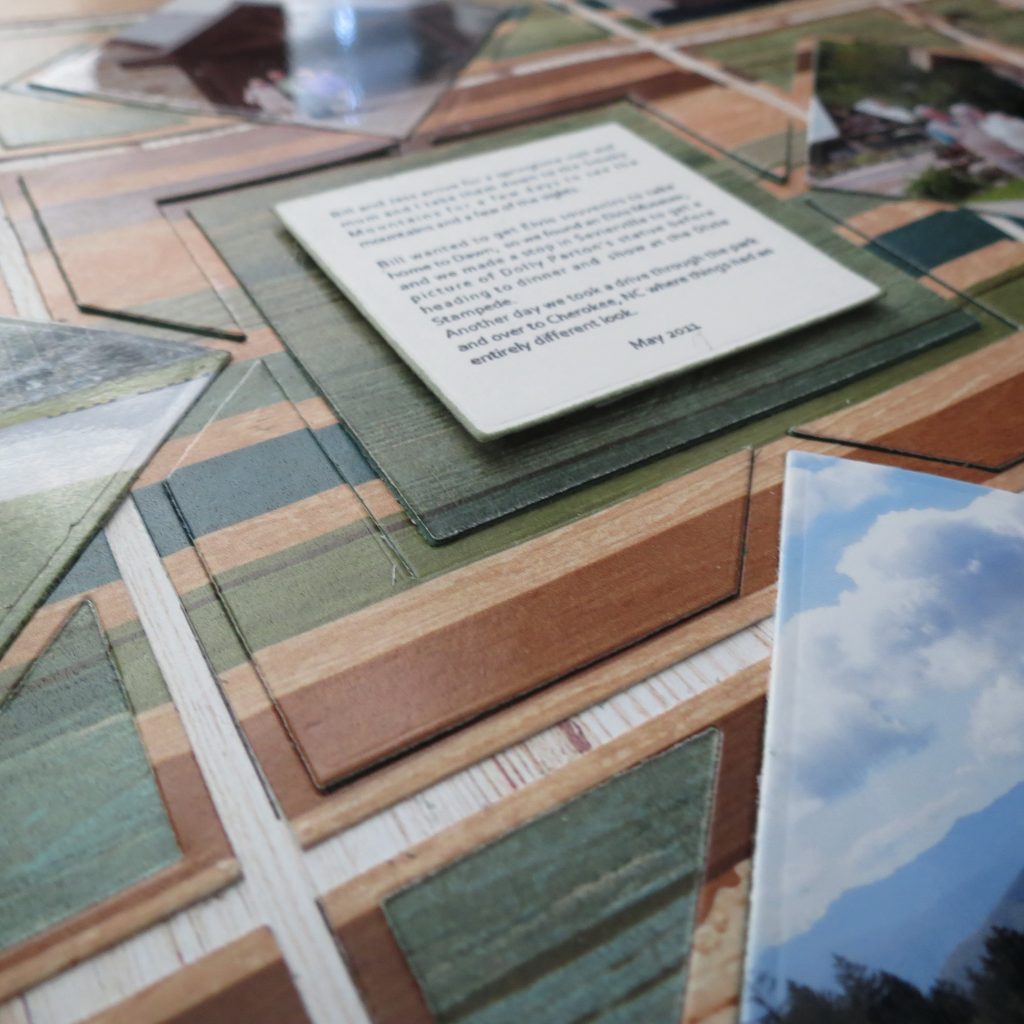
The center portion of the 4×4 die cut also gets stacked with a couple of extra layers and then the center top patterned paper I flipped from the stripes to the ombre wood side for a frame for my 2×2 journal square. Under this square I did add a layer of foam mounting tape for a little extra lift and inked the edges; it also created a bit of a shadow.
Going back to the question I raised, why bother with the 4×4 die in the center? Because I think it adds so much interest to the page with the dimensional layers that it was well worth the few simple, extra steps to create a stand out journal spot!
This week’s Supply List:
- Mosaic Moments Level Three Die is the Dynamic Die set.
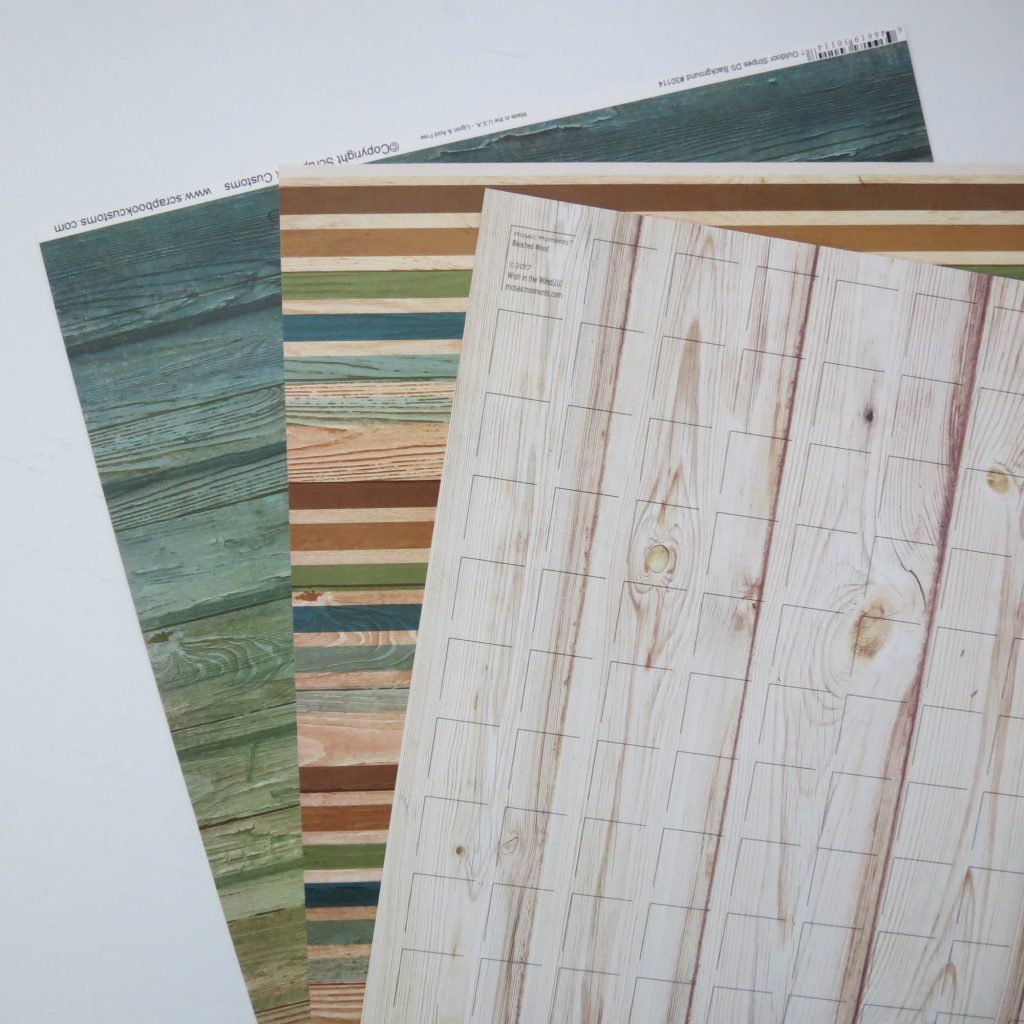
- Mosaic Moments Grid Paper is Bleached Wood
- Double-sided Patterned Paper is from Scrapbook Customs – “Outdoor Stripes DS Background”.
Looking for more ideas for journaling with the Level 3 Dies? Check out these past articles with Level 3 Dies journaling ideas:
Puff n Stuff https://www.mosaicmoments.com/creating-a-hidden-journal-pocket/
Clover Die https://www.mosaicmoments.com/a-recipe-for-hidden-journaling/
Sweetheart Die https://www.mosaicmoments.com/preserving-ancestral-stories/
X-Factor 4×4 https://www.mosaicmoments.com/the-x-factor-family-for-fun/
The Level 3 Dies will take you on an Adventure! Be sure to try out some new ideas and share what you create with us on Facebook.
Andrea Fisher