Creating a Hidden Journal Pocket: Featuring the Puff n Stuff die and the Quatrefoil Die Set Paw and Bone Die Set Pocket dies Die Set C
A Girl and Her Dog
Today I’ll explore using the Puff n Stuff die to create a hidden journal pocket. So many of our Mosaic Moments Dies can bring a little extra special look to your scrapbook pages with a little planning and thinking outside of the box. The right pattern and the right dies can create a special design feature for a focal point. The Quatrefoil Die Sets compliment the Puff n Stuff Die and we’ll use them together.
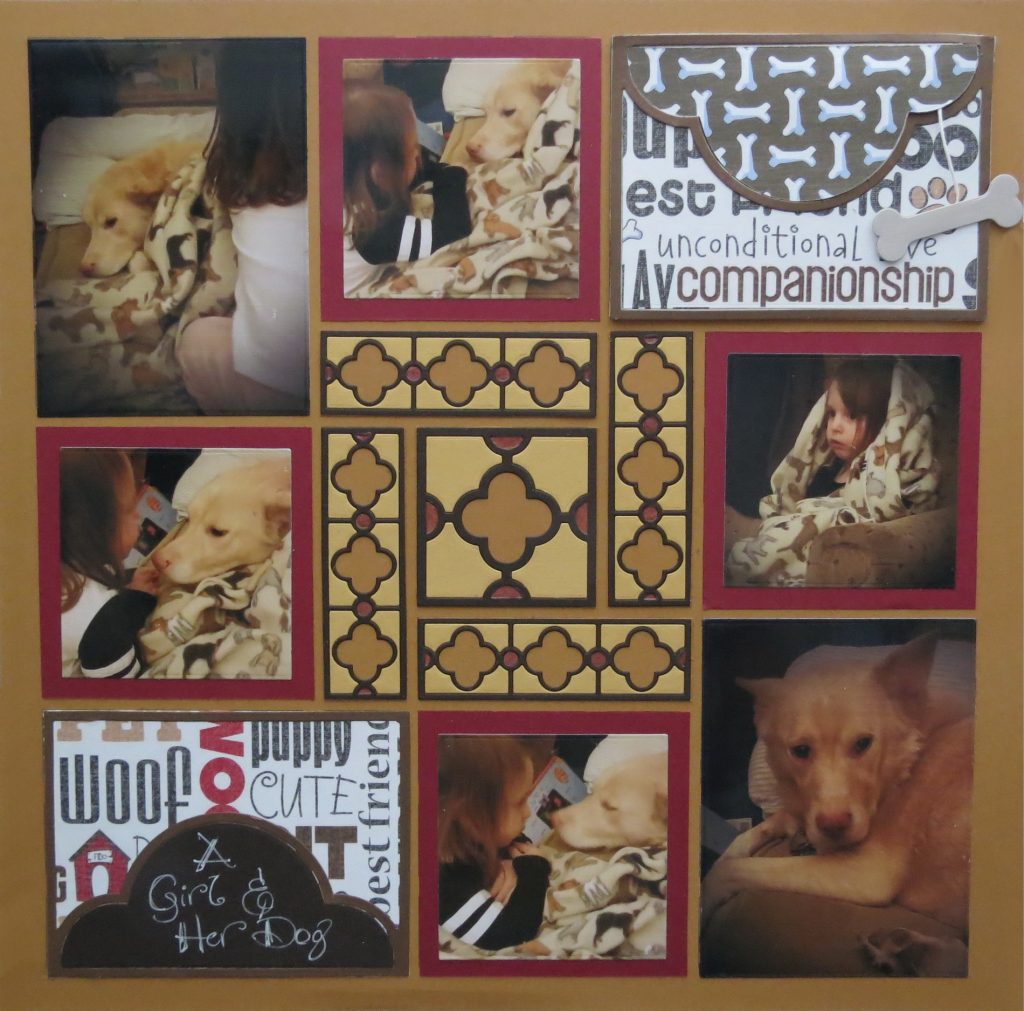
This pinwheel pattern #387, allows several options for showcasing our dies. Two spots can be used for the Puff n Stuff die and the center section’s 2×2 and surrounding 1×3’s in a pinwheel pattern will utilize our featured dies.
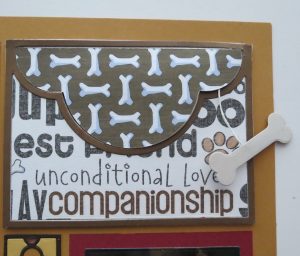
I’m using the Puff n Stuff die a bit differently. I see an envelope when I look at the die in a certain way, so I’ve been thinking about the possibility of using that way for a while. My photos and story that goes with it will take up a bit more room than I want on the front of my layout, so I’ve now got a perfect place to tuck it away.
I’m also doing something different for my photos. Four of the photos are taken from the video my daughter shot of her daughter, Cecily, taking care of “Bubba”. She was so cute I tried to pull a few that showed her intense conversation with her dog.
My hidden journaling will include most of the conversation, as she covered him with her blanket, made him comfy, talked sweetly to him, sought to bring him things to keep him happy and then, decided to make herself comfy with the blanket leaving him uncovered!
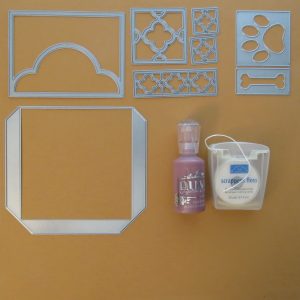
Mosaic Moments Pumpkin Grid paper, Puff n Stuff Die, Quatrefol die set, Pocket die, Paw and Bone Die set, Nuvo Crystal Drops, Scrapbooking Floss
I began with a Mosaic Moments 12×12 Pumpkin Grid, Pattern #387, and a patterned paper (by Reminisce) that I fussy cut to get the words “unconditional love” and “Companionship” to fit in the lower segment of the Puff n Stuff die. Also several MM cardstock tiles in Pumpkin, Caramel, Molasses and Cocoa (from my stash of now discontinued paper tiles) and cardstock in Deep Red for die cutting and mats.
All the photos were printed, cropped and matted (squares) and the verticals mounted directly to the grid. I chose a deep red for the mats as it was fairly close to the red in the patterned paper and coordinated nicely with the pumpkin grid.
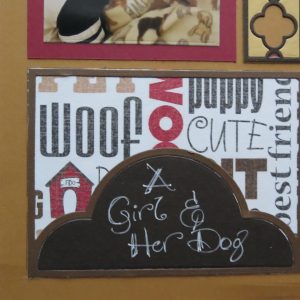
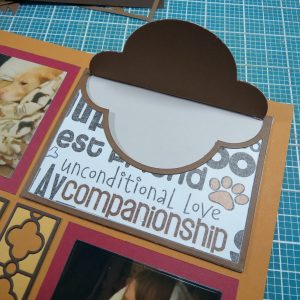
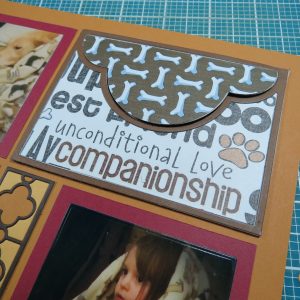
I placed the Puff n Stuff die cut in cocoa in opposite corners in patterned paper to balance things. The die in the top right is placed to look like an envelope and the other one is in the lower left and I’ve used it to write my title “A Girl and Her Dog” with a white gel pen.
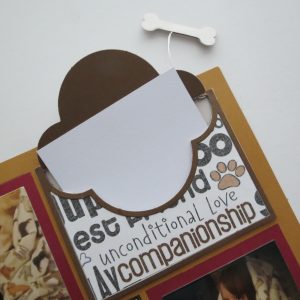
The top die section also includes a cutout bone from the Paw and Bone die set. I double cut it and sealed the end of the Scrapbook Floss (Karen Foster) to use as a ‘pull to open’ feature to expose the hidden journal pocket.
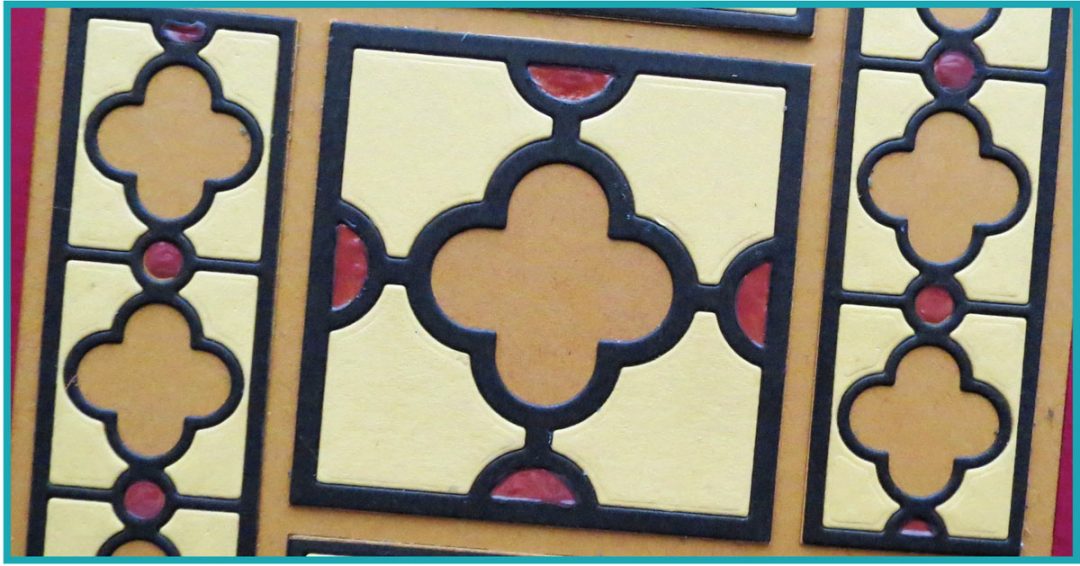
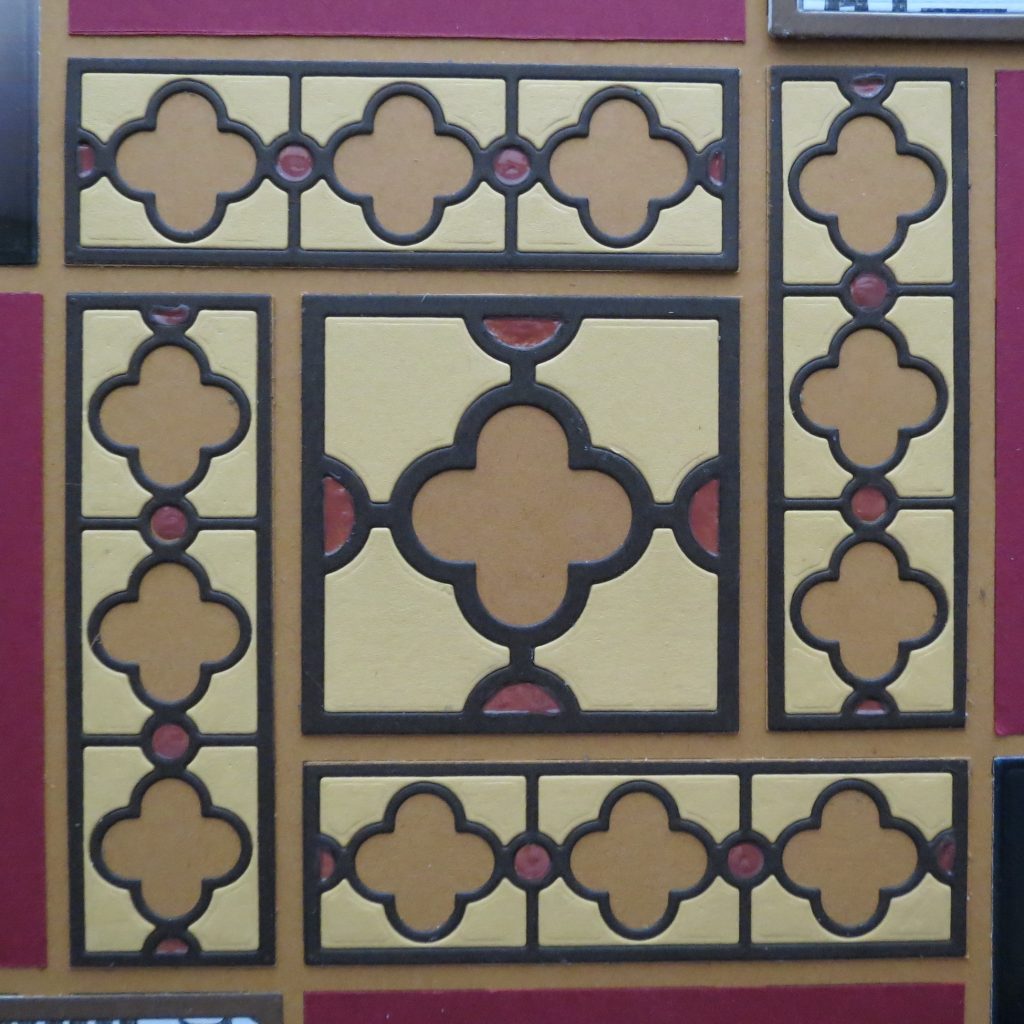
The center section of the pattern is where all the Quatrefoil 1×3’s and 2×2’s are and I’ve created one large tile. Pumpkin, caramel and cocoa tiles were cut and arranged. The circles on each of the die sections are filled with Nuvo Crystal Drops in Moroccan Red. It adds a bit of sparkle and the look of stained glass to the pattern.
HIDDEN JOURNAL POCKET
Let me take you back and show you how I created the hidden journal pocket with the Puff n Stuff Die. I also used the Pocket Die and the 3×4 die from Die Set C.
Cut all the pieces and begin assembly
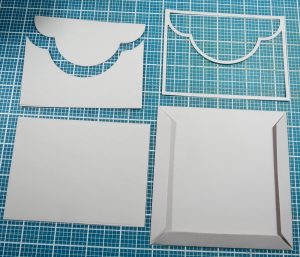
1. You will need one large pocket die cut, a 4×3 die cut and one Puff n Stuff die piece cut.
2. Additionally, you will need a patterned paper Puff n Stuff die cut and a scoring tool.
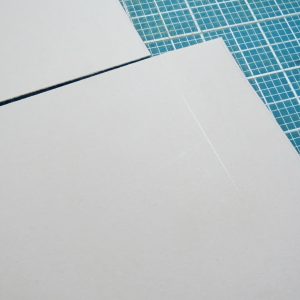
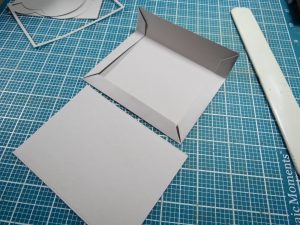
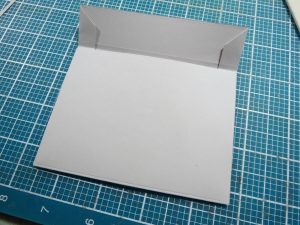
3. Fold and press the flaps of the pocket die cut until it is crisp. Score an additional line at the 3.25″ to create a flap to lift.
4. Score a second line 1/8” away (this will be below the upper edge of the Puff n Stuff Die, we want the opening fold to not interfere with the die cut.)
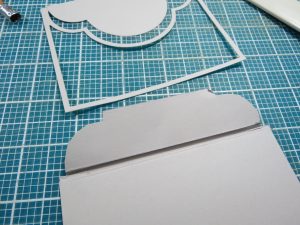
Mosaic Moments Hidden Journal Pocket score second line 1/8″ away from the first, trim the shape in the flap
5. Fill this area with a narrow tape or liquid glue for a secure hold. Allow to dry.
6. A portion of the flap from the pocket will be trimmed by hand to match the pattern of the scallop of the die.
7. From the 3×4 section use a pencil to mark where the scallop pattern will be and trim this away by hand. This allows a much easier access to my story.
8. Attach the cardstock die section to the flaps of the pocket, trim any excess bits away.
9. Fill the sections with the patterned paper pieces.
10. If you are attaching string or twine to any die cut or object to open the pocket flap, layer it and seal it between the layers.
That’s it! A few tips on using a family of design dies for fun elements and a creative alternative for storing your journaling! Thanks for joining in!
Andrea Fisher

