It’s All Hearts in the Spotlight: 2×2 Heart Set, Hearts & Flower Die Set, Row of Hearts Border Die
She’s Still the Queen of Hearts
Showcasing our heart dies for February proved to be an enjoyable challenge, once I knew what I was going to do!
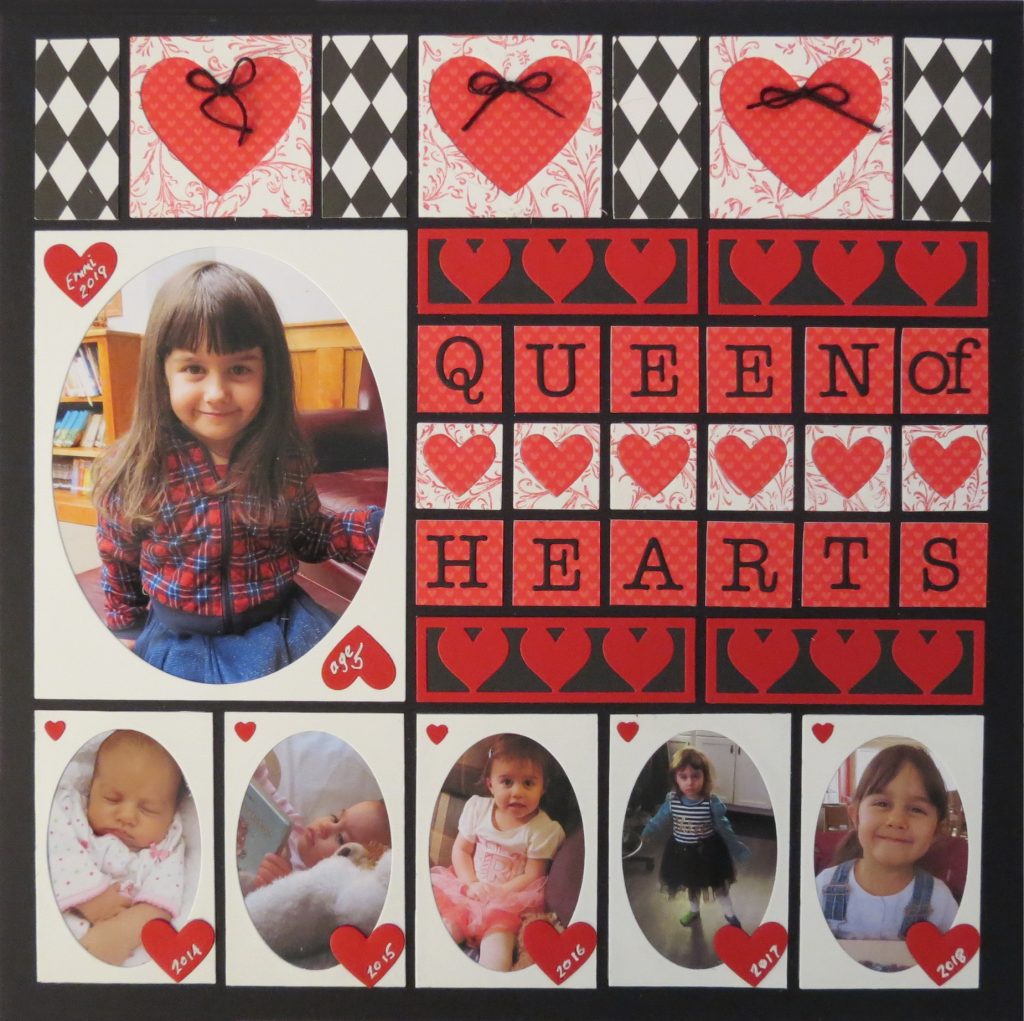
We’ve just celebrated Emmi’s fifth birthday this week and as I was looking back at all the photos we’ve taken over the years it was a surprise to see the changes as she grew as well as the things that have remained the same.
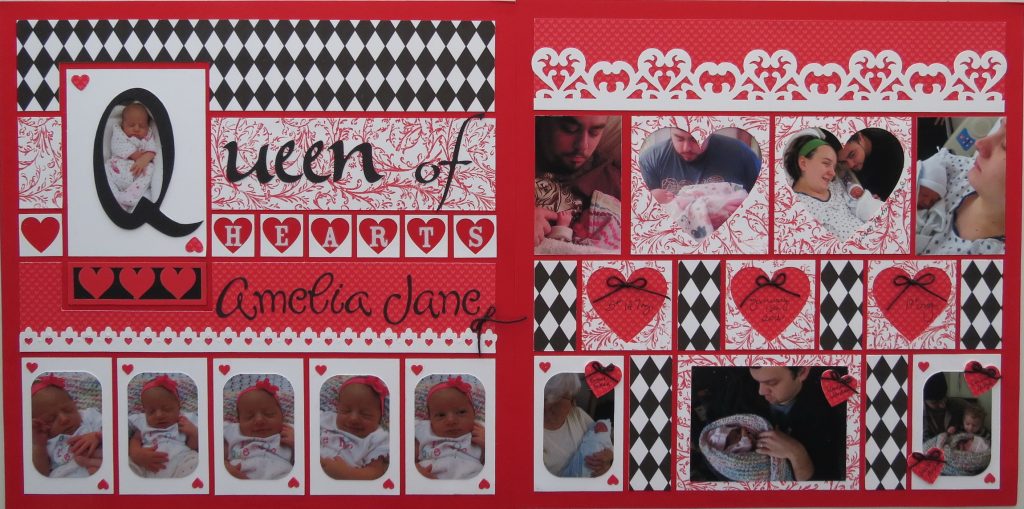
I came across one of the earliest layouts I did for the new family member and decided I’d like to use it as inspiration for a new page looking back over five birthdays.
I figured some of the same elements should remain the same while others could change and get an upgrade with some of our newer dies.
Originally, Queen of Hearts was done for a challenge for the Mosaic Moments Design Team.
The original layout was not a specific pattern, and I’m going to break from the usual pattern from the Pattern Gallery so I can include some of the original elements, again. Several of the traditional patterns include a row of repeated shapes, like 2×2’s or 2×3’s. This bottom row is one of the original elements where I made my tiles to resemble playing cards.
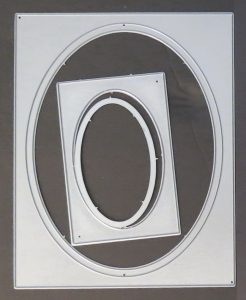
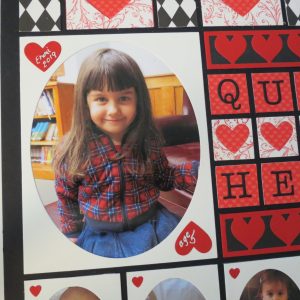
This time instead of cropping my photo and using a corner punch to obtain the rounded corners, I opted to use our 2×3 oval die from the Oval Frame Set (that includes a 4×6, 2×3 oval frames, silhouette and details mini flower dies.) A hand punch yielded the tiny hearts for the corners while the 1×6 Row of Hearts Border die provided tags for each photo where I’ve included the date.
The Oval Die set with a 4×5 oval frame was perfect for the enlarged area I created for a photo, replacing the 3×4 frame that I fussy cut an oval using the Letter Q from the title to tuck a photo behind. This prominent 4×5 allows for a clear current photo of our birthday girl.
Another row at the top of my page will use the same 2×2 hearts to repeat the same pattern of hearts and patterned paper. Fortunately, I still had some of both papers to use here again!
The 2×2’s and the 1” squares also got a stamped finish using Cardinal Red Ink with the Stampin’ Up filigree stamp. It’s a nice way to add a pattern or interest without using a patterned paper and it’s easily customizable.
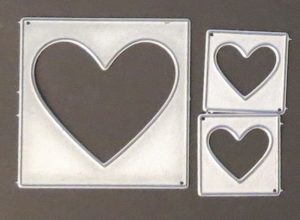
Mosaic Moments It’s All Hearts! This 1×3 Heart die comes with a 1″ square heart die can be found in the Heart and Flower Die Set
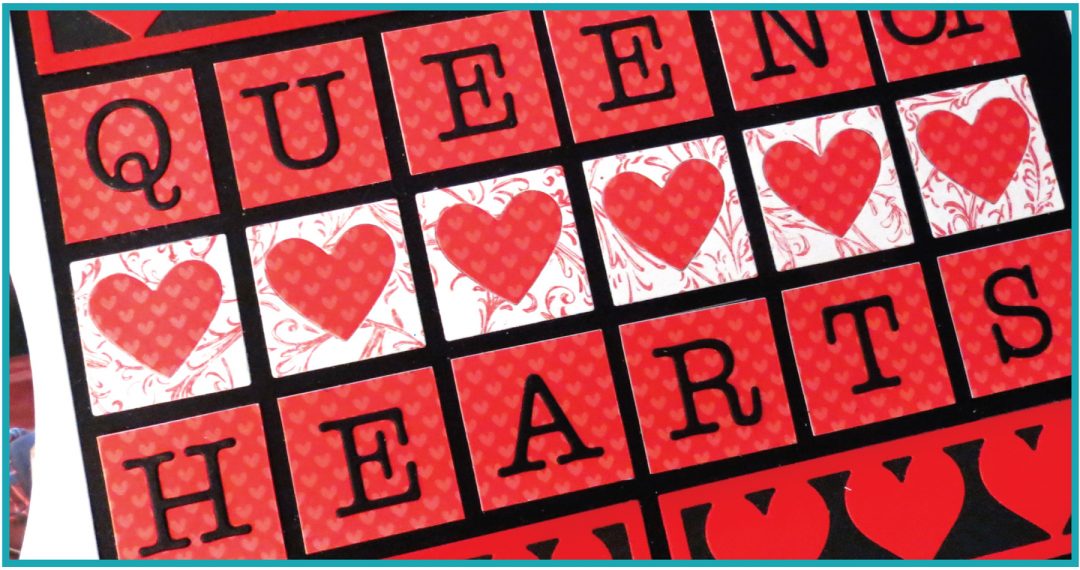
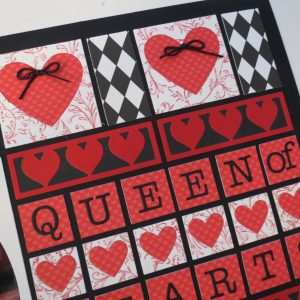
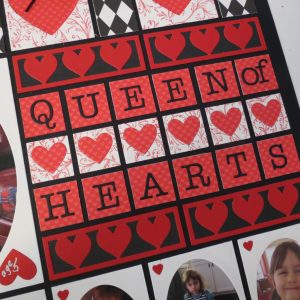
The trio of hearts from the Hearts & Flowers set frame my title, red on black making those hearts really pop.
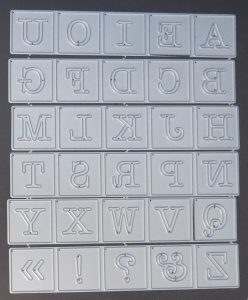
The title was created using the New Alphabet 4 die set.
TIP:
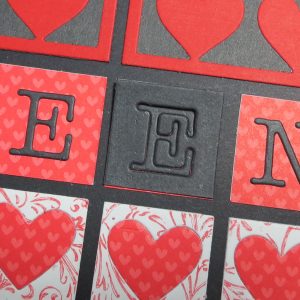
I used the square that the letter was cut from to lay on top of the patterned paper block and refit the letter into the space it came out of after adding a bit of adhesive. I like the Zig Two-Way Glue Pens for this task. It gives me enough time to get the pieces into place and then dries quickly with just a little wiggle time to make sure things are aligned. Lift to complete.
I also changed my Mosaic Moments Grid from the original Scarlett Grid paper to the Black Grid paper a little more dramatic and it still pulled all the papers and patterns together.
To recap a few things I’ve shared, here’s a list of what stayed the same and what changed.
Elements I’ve reused this time:
- Pattern Paper: Black & White Diamonds by Canvas Corp.
- Pattern Paper: Hugs & kisses (3182) Doodlebug Design from the Sweet Cakes Collection
- Black Bamboo Cord
- Stampin’ Up Filigree background stamp
Elements I’ve included this time:
- 12×12 Mosaic Moments Grid Paper in Black
- Mosaic Moments 4×5 Oval Frame, 2×3 Oval Frame
- Mosaic Moments Alphabet 4
- com Hybrid Ink in Cardinal Red
Maybe you have a few layouts to inspire you that you can repeat for a birthday or anniversary or maybe even a family reunion; and of course there’s always Valentine’s Day for trying out all the hearts! A few changes, maybe new dies, be adventurous and then tie it all together for a familiar but fresh look.
Andrea Fisher

