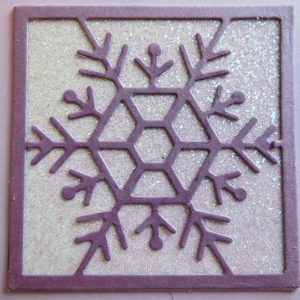
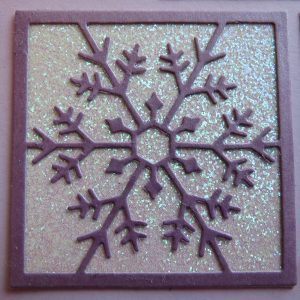
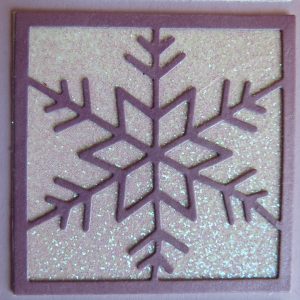
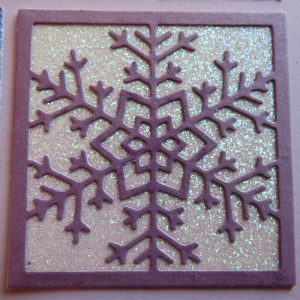
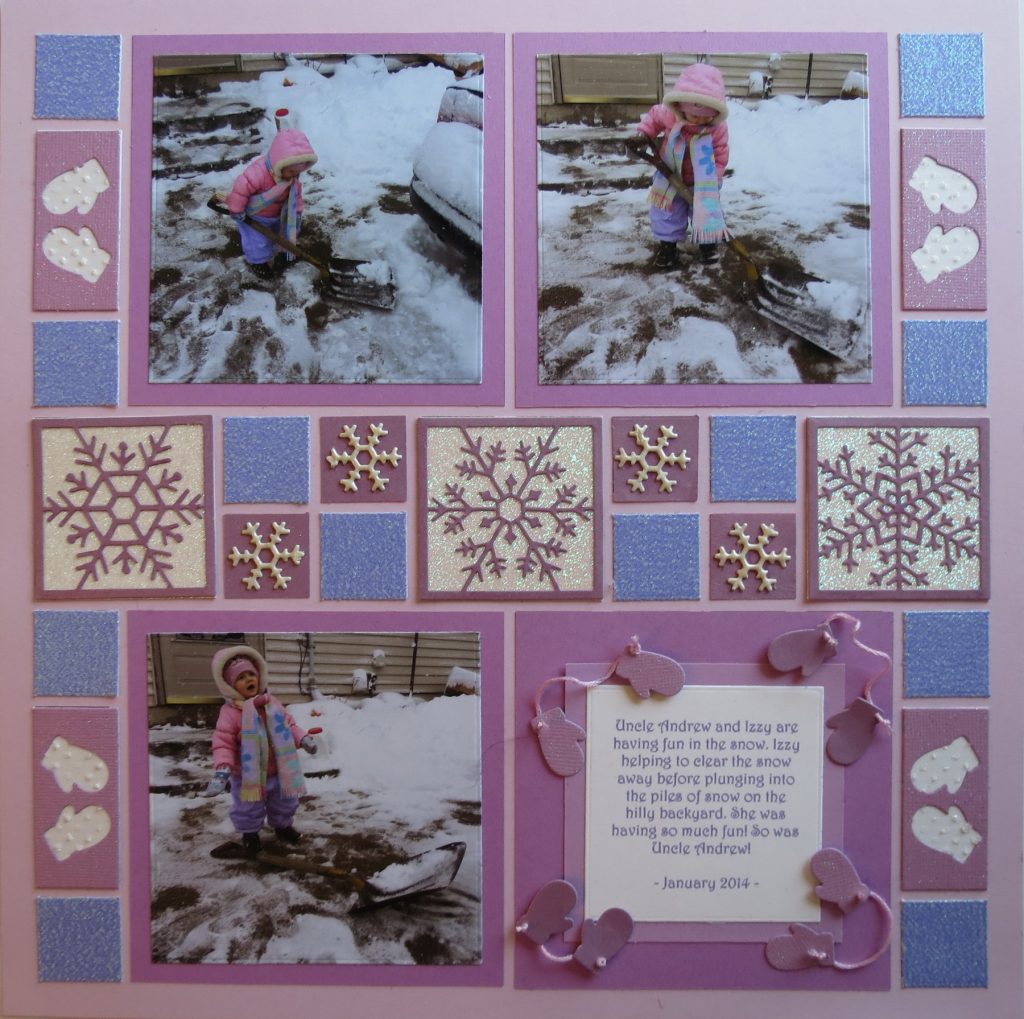
Featuring Mosaic Moments Winter Dies: Snowflakes Trio Die Set, snowflakes from the Mr. Snow and Flakes die set, Mitten Borders Die Set, Snowflake Set 1 Dies
Additional dies: the 1x 2.125” strip die and the 1” grid 4×6 grid dies
Finishing Tips for a Fresh Look in 2019
My finishing tips for today’s layout will help bring a fresh look for your scrapbook layout with only a few simple choices. What better way to start fresh in the new year?
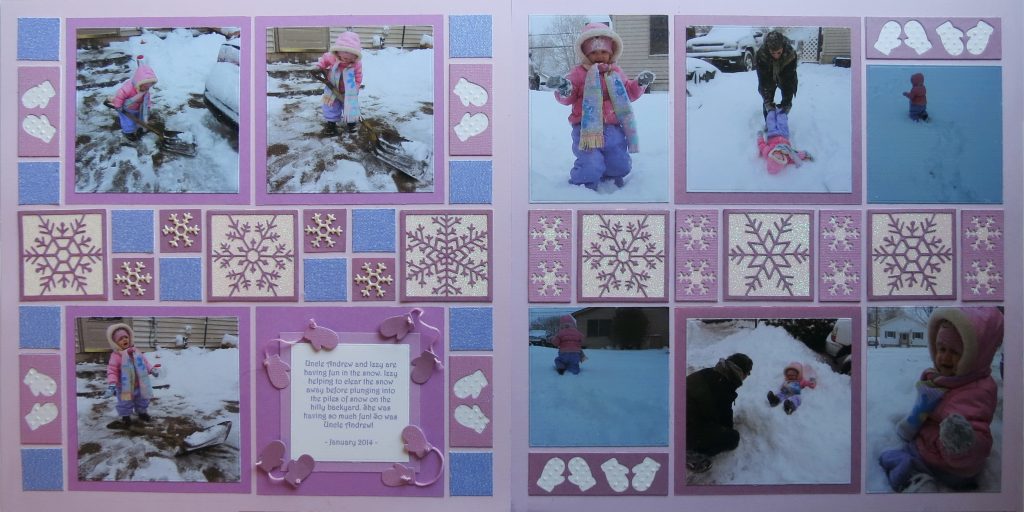
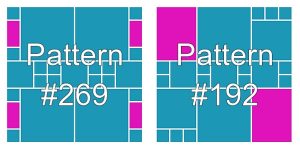
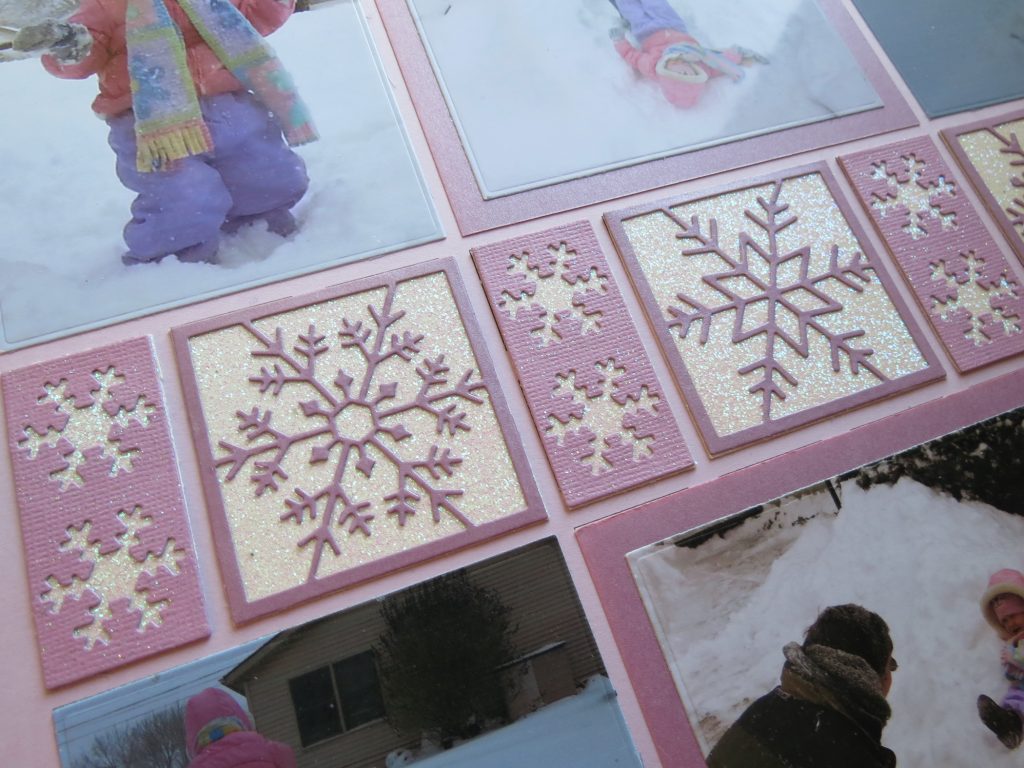
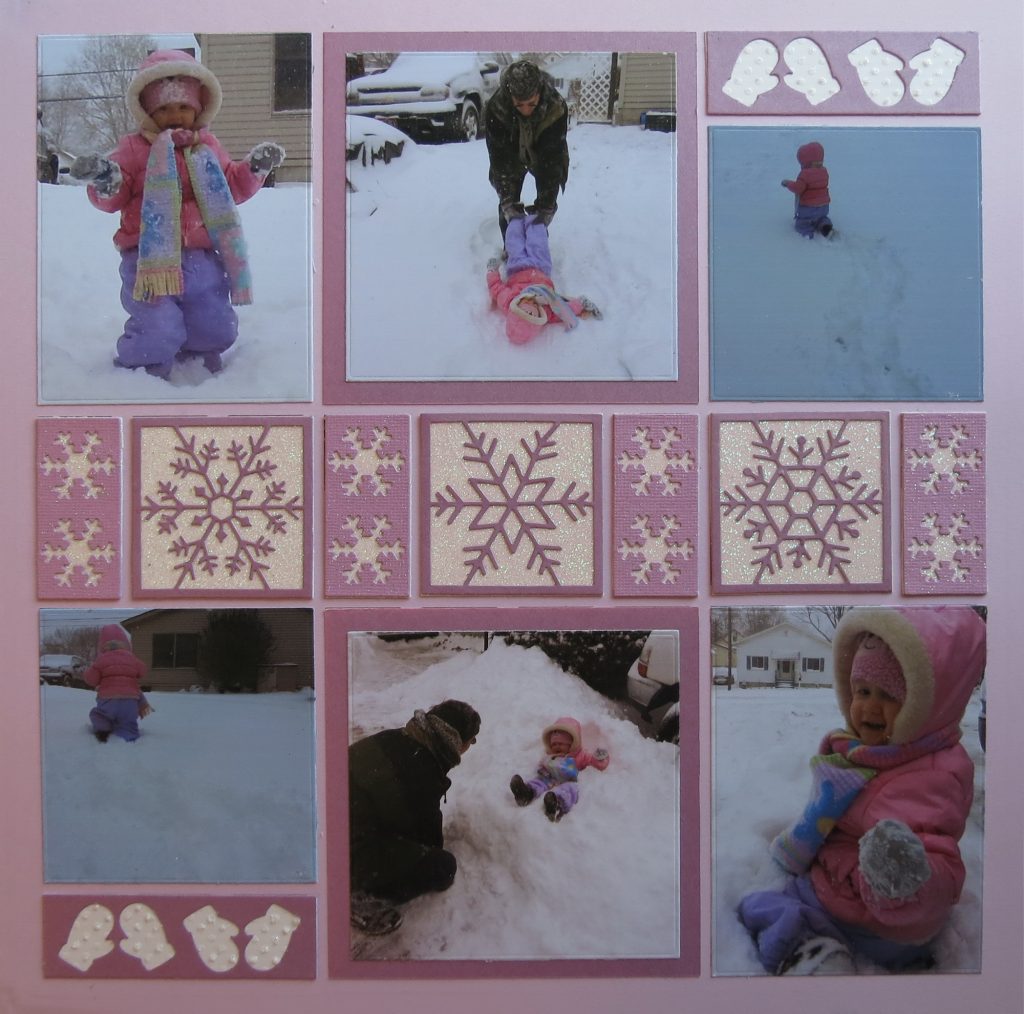
This winter layout is completed on Mosaic Moments 12×12 Lilac Grid paper with patterns #269 and #192. We have many winter dies to choose from and I’ve used many in this layout:
• Snowflakes Trio Die Set
• snowflakes from the Mr. Snow and Flakes Die Set
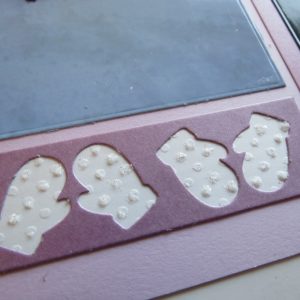
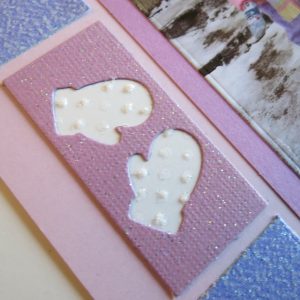
• Mitten Borders Die Set
• Snowflake Set 1 Dies
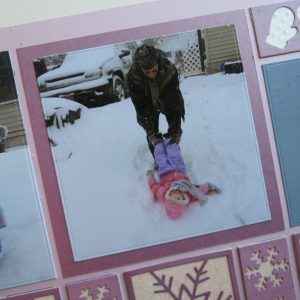
I’ve used regular cardstock mats for some of the photos, but I’ve also included a pearl version of cardstock for others. I’ve used glitter cardstock for the backgrounds of the snowflake dies and also glimmer cardstock for some of the die cuts.
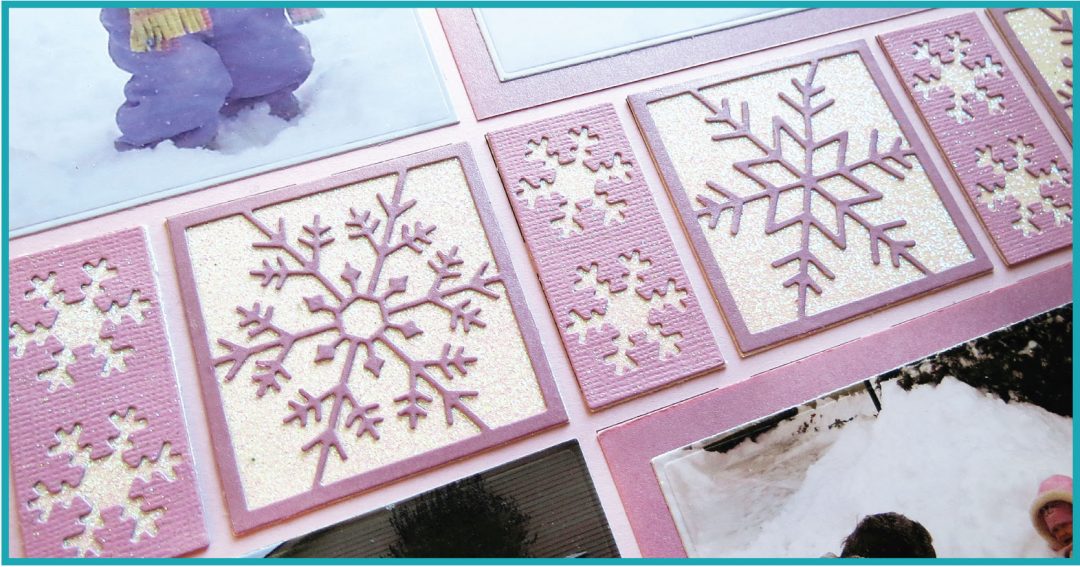
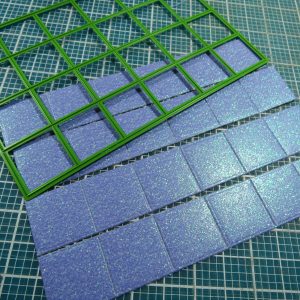
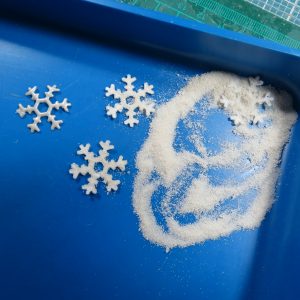
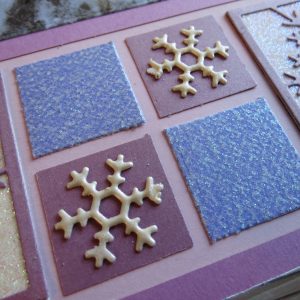
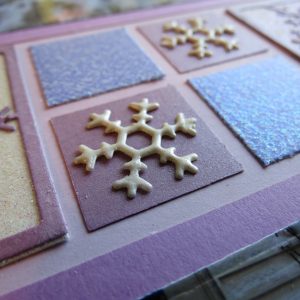
The snowflakes cut from white cardstock with the 1×2 die were heat embossed using clear opalescent embossing powder by Inkadinkadoo. I layered these several times, embossing ink and powder, heated, cooled, inked again and more powder, heated again and then a final time. I laid them out so they wouldn’t curl up and get the chance to flatten out. They have a smooth shiny surface no longer looks like paper. They are mounted on 1” purple glittered cardstock squares using the 1” 4×6 grid die to cut several at a time.
I’ve cut all the larger snowflakes from a Pearl finished paper to mount on the Glitter cardstock. We have a new set of snowflakes, the Snowflake Trio Set and an older set, Snowflakes Set 1 that fill the center spaces across the double page layout.
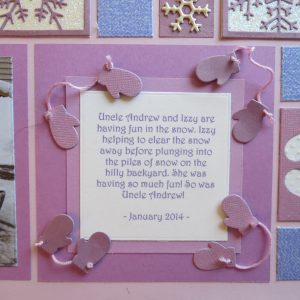
Page one of the layout contains 3 photos that are series of shots that tell a story on their own. The remaining spot serves as a good place for a journaling block with wide borders, a perfect spot for embellishments.
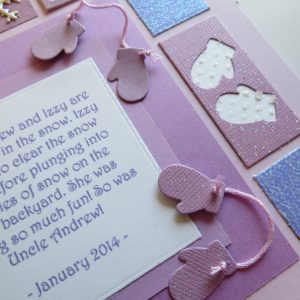
The mitten border dies cut allows using the mitten on their own, too. I’ve threaded a bit of floss to connect the pair and arranged them around the journal block with one mitten in each pair to be raised with a small foam mounting square.
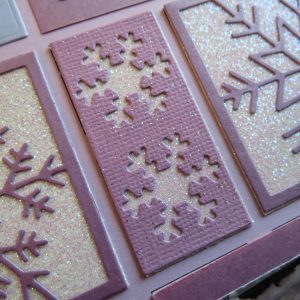
Bazzill Swiss Dot in white is placed behind the mitten borders sections, but as I used the 1x 2.125” Strip Die to cut the backgrounds it flattened some of the dots, I added Nuvo Glitter Accents Fresh Snowfall to dot each of the dots for some added sparkle and to restore a bit of that dimension. Next time I’ll hand-cut embossed paper!
The color scheme leans toward the monochromatic with lots of sparkle and it is a bit unusual for a snow page but compliments the outfit for my granddaughter. The heavy overcast of winter makes some of the photos a bit darker, but using a lighter color grid helps to balance things out a bit. The glitter and glimmer of the paper reminds me of the look of snow on a sunny day as it sparkles.
Have some fun with your winter layouts and try something new using a few of these finishing tips!
Andrea Fisher

