

Hidden Journaling. Our dies make great pages full of pictures but are not always journaling friendly. I thought I’d review a few ways to include journaling on those pages, a few more with hidden journaling and feature another way with one of the newer dies, too.
Tip 1: Getting it on the page
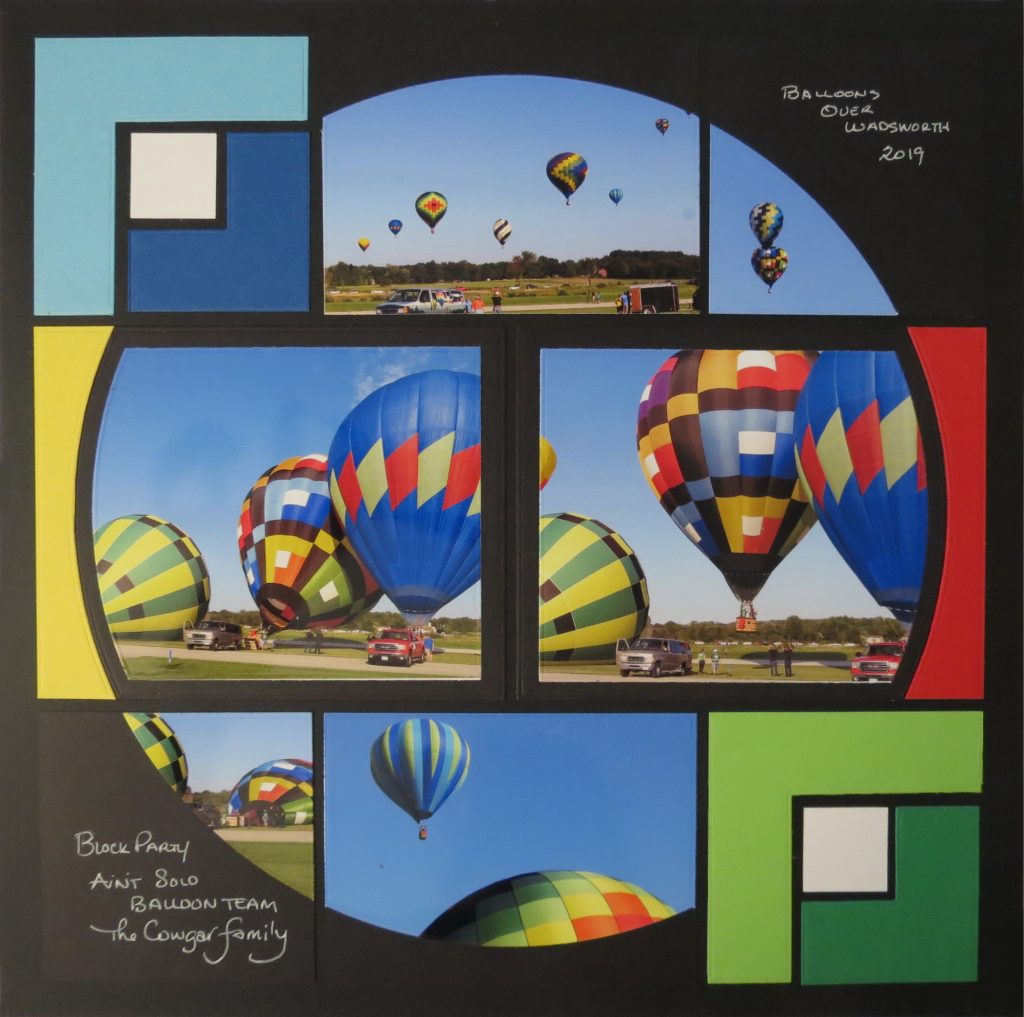
Balloons Over Wadsworth When using the 4×5, 3×4 and 3×3 Horizon Dies for this layout I opted to use the two outside corners for journaling. My Mosaic Moments Grid paper and die pieces were in black and a white gel pen did a nice job to get that journaling noticed.
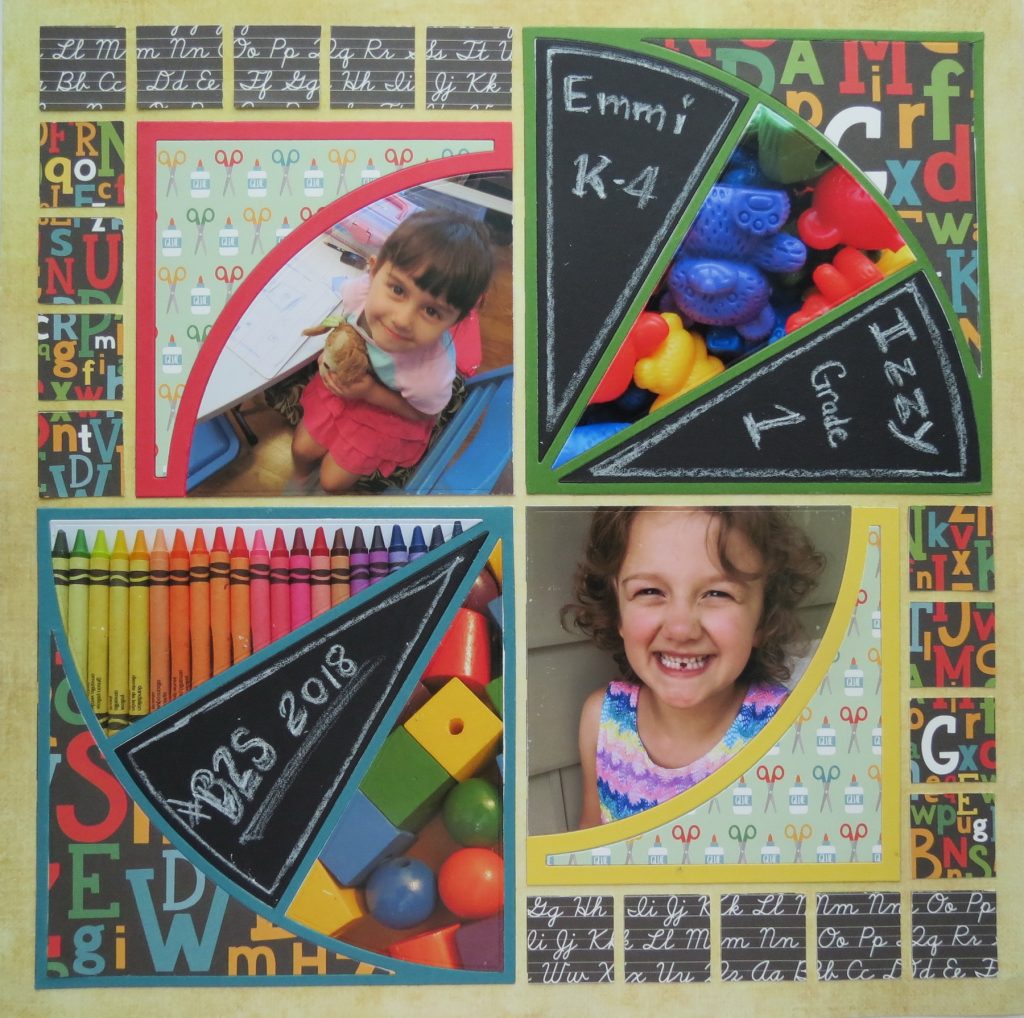
#B2S 2018 This layout featuring the now retired Circle Corner Die and the Quarter Pie Die, I’ve used several of the Piece of Pie sections to write my title, name the girls and their grades. There’s still lots of photos and patterned paper included.
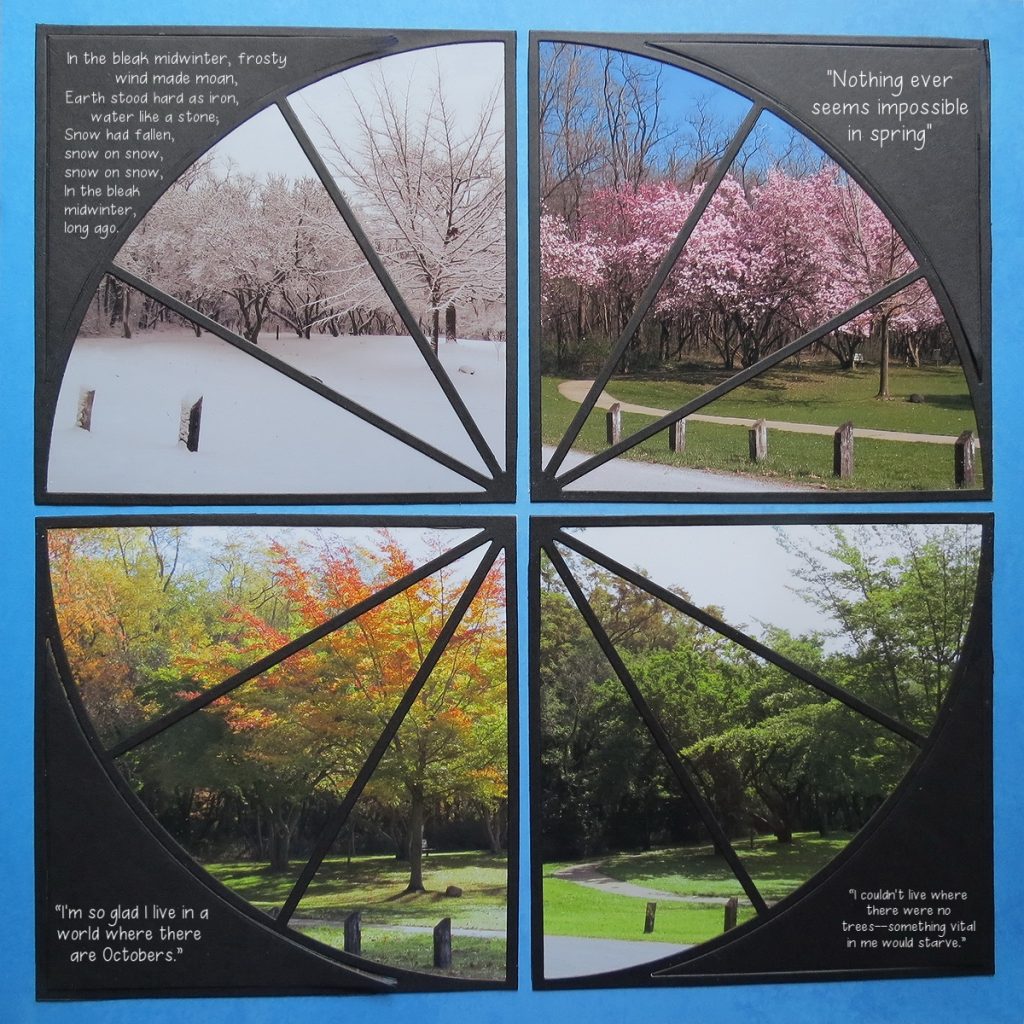
Photo Tips: A Seasonal Series This time while the Quarter Pie Die takes on a looking through the window point of view…the outer corners became a good place to add a few seasonal quotes as one of the options.
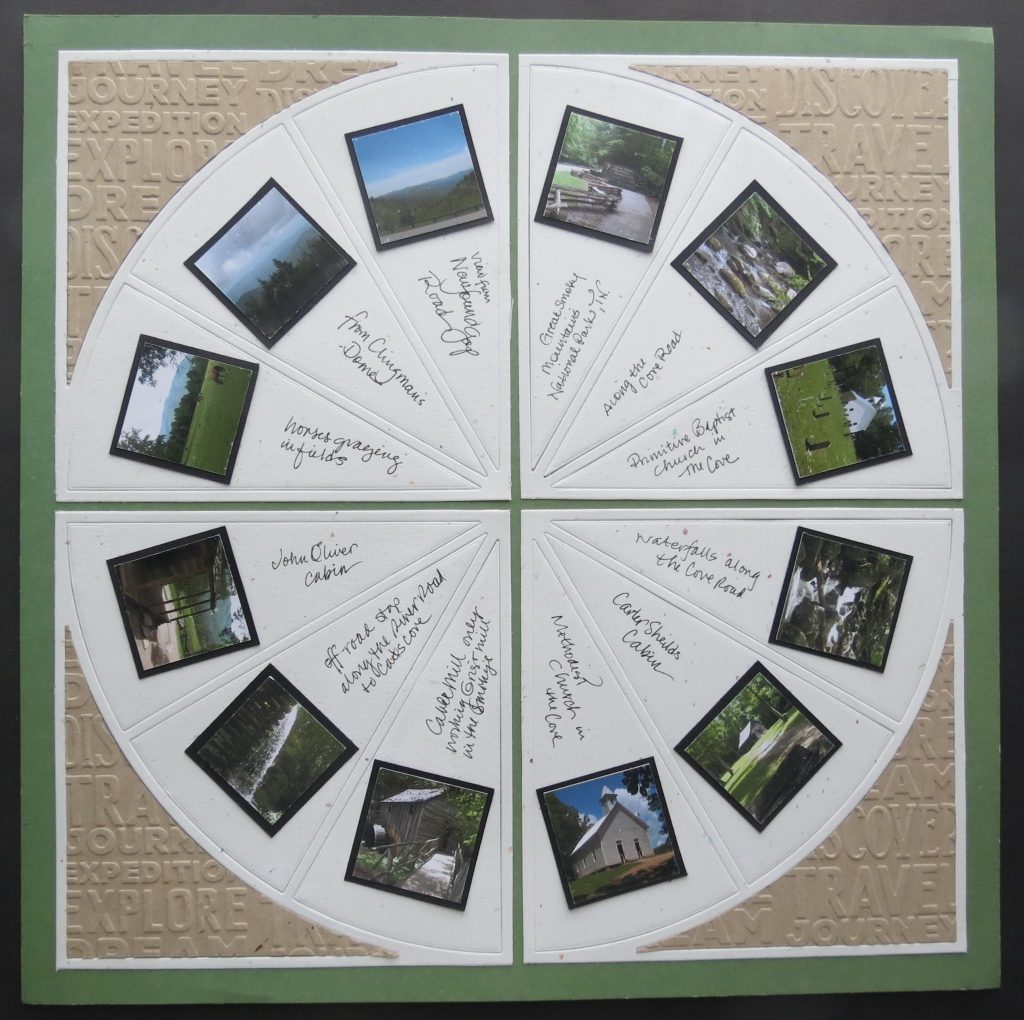
Viewmaster This retro image with the Quarter Pie Die Set still gets some journaling included on each strip of the pie. Using this idea as a title page for an album of layouts from one trip acts like an index with small pics of what is still to come.
Tip 2: Using the Pocket Dies: Hidden Journaling
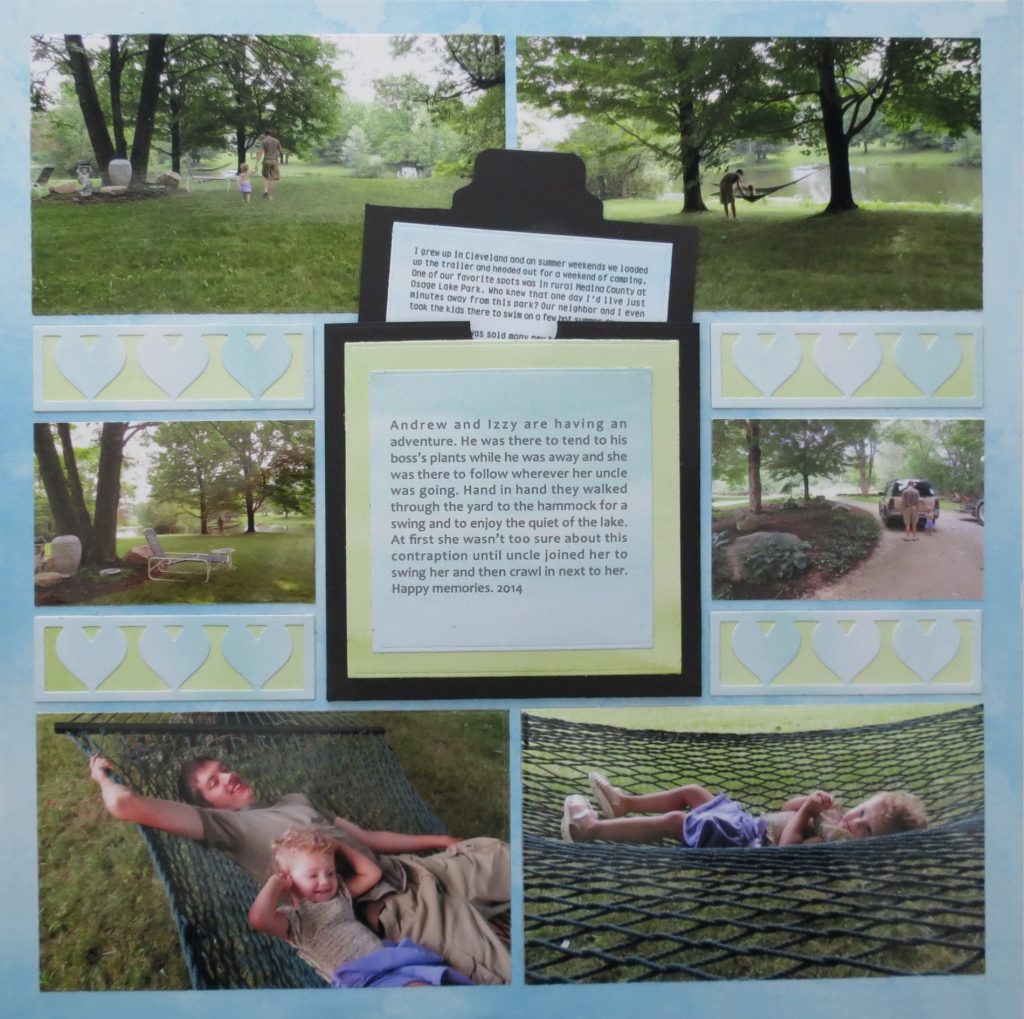
Take the Long Shot: How to Capture the Big Picture This layout features our Nested Pocket Die Set for the journaling. On the outside of the pocket the journaling for the page is mounted. However, the story on this location goes much further back in our family history and that is what is stored inside the pocket. “The Rest of the Story” as Paul Harvey used to say. It’s a message to all my children, but to Andrew most of all as this place was where he worked alongside a good man for many years, that he will never forget.

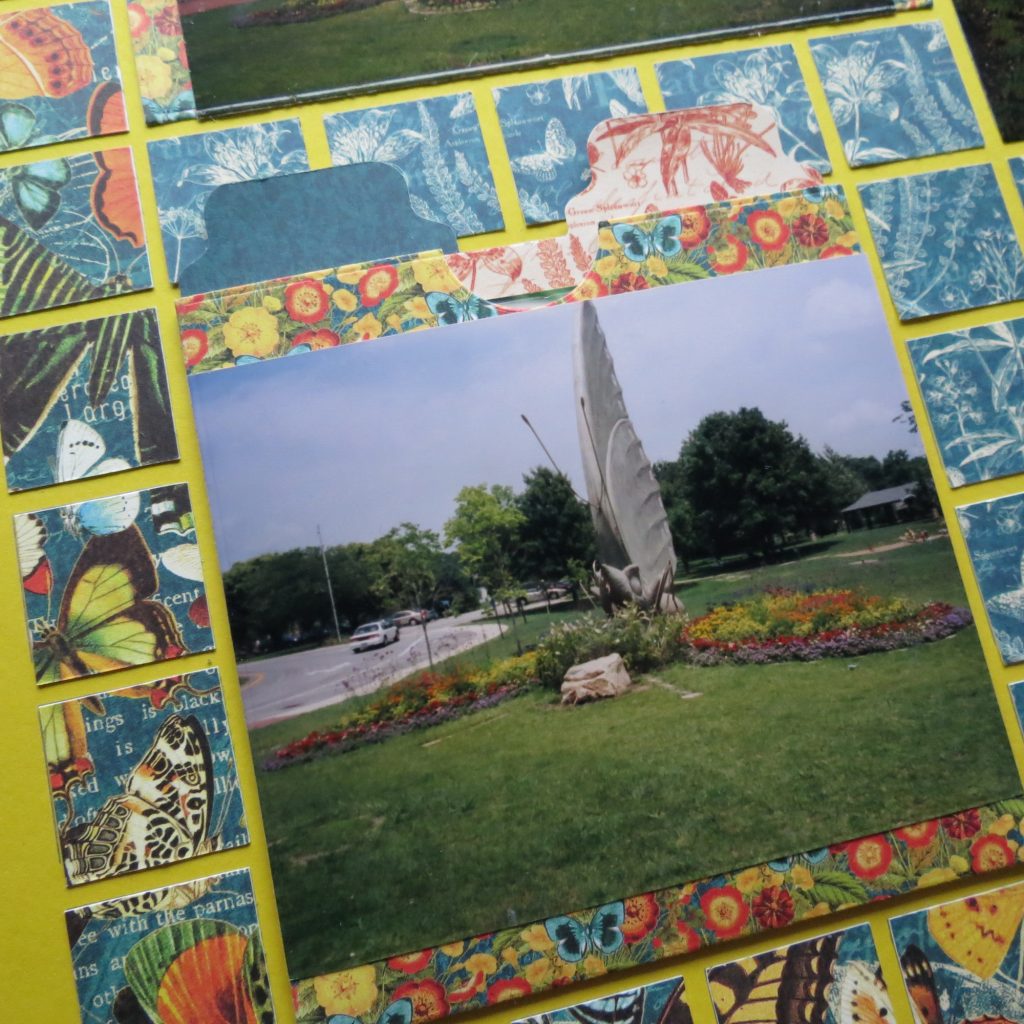
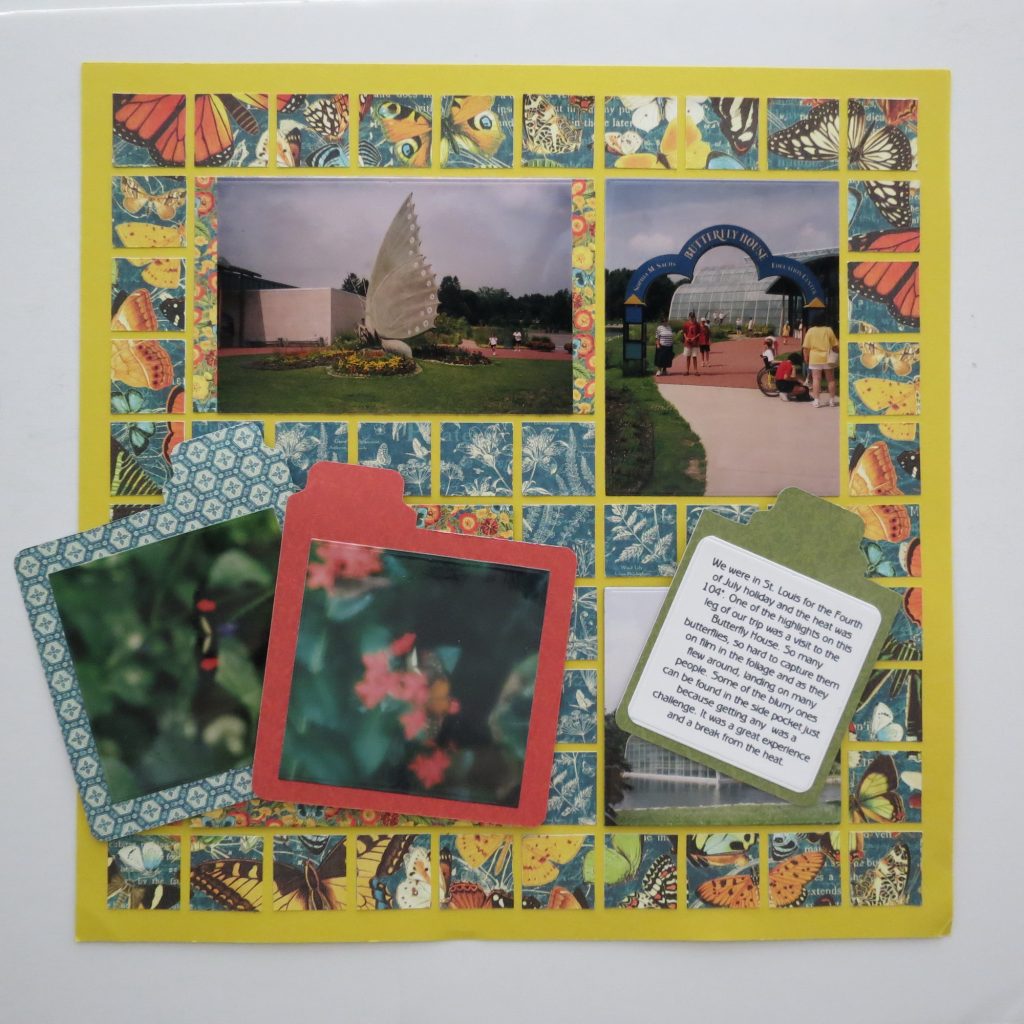
How to Add Pockets for More Fun!: The Butterfly House, St. Louis, Mo. This time I’ve used the pockets not just for journaling, but to add tabbed files with photos that were less than perfect, but still were significant to me. Not worthy of being featured, inside the pocket they are there to view whenever I choose. I have a few step-by-step instructions for constructing the pockets and using photos on the outside too!
Tip 3: Using Other Dies as Pockets
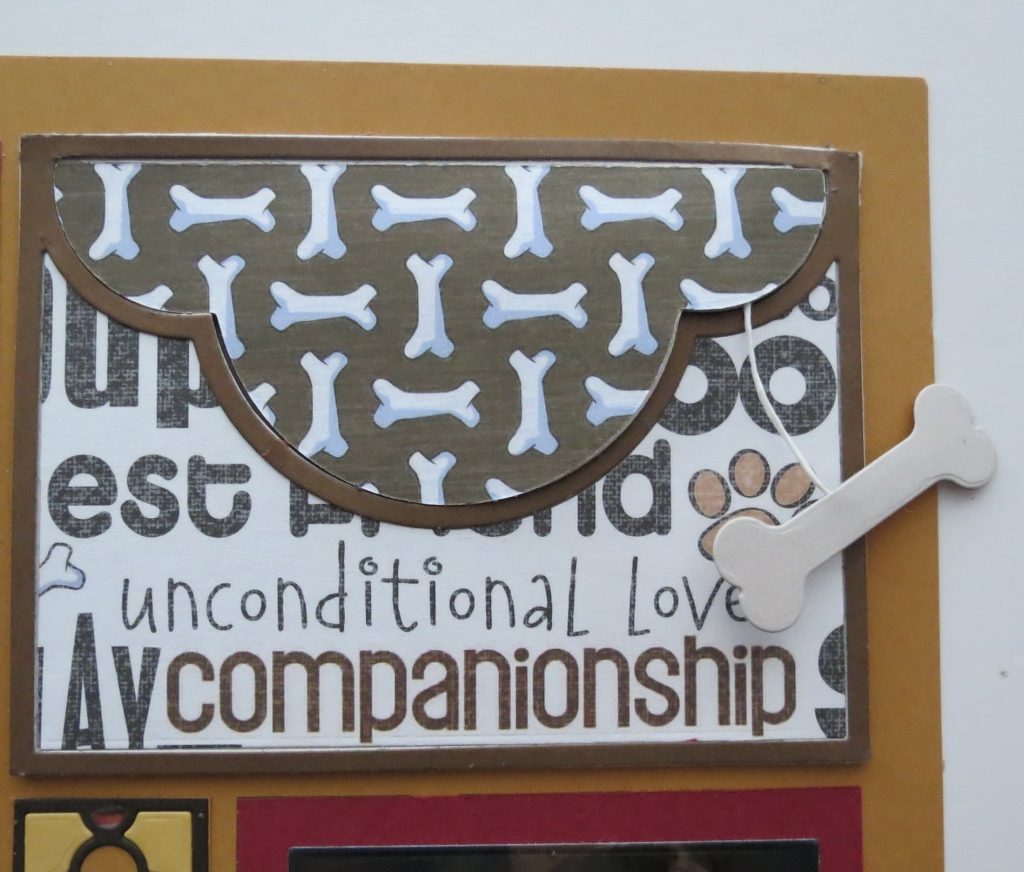
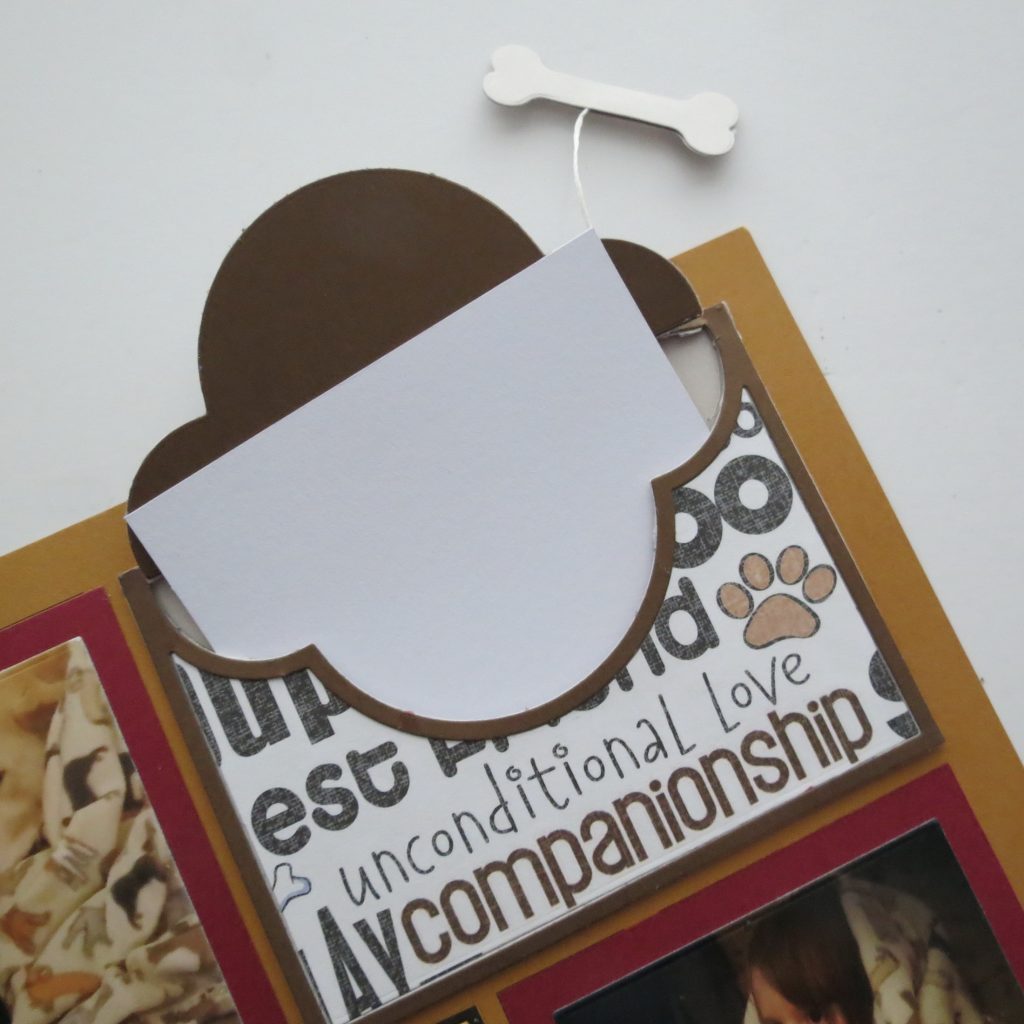
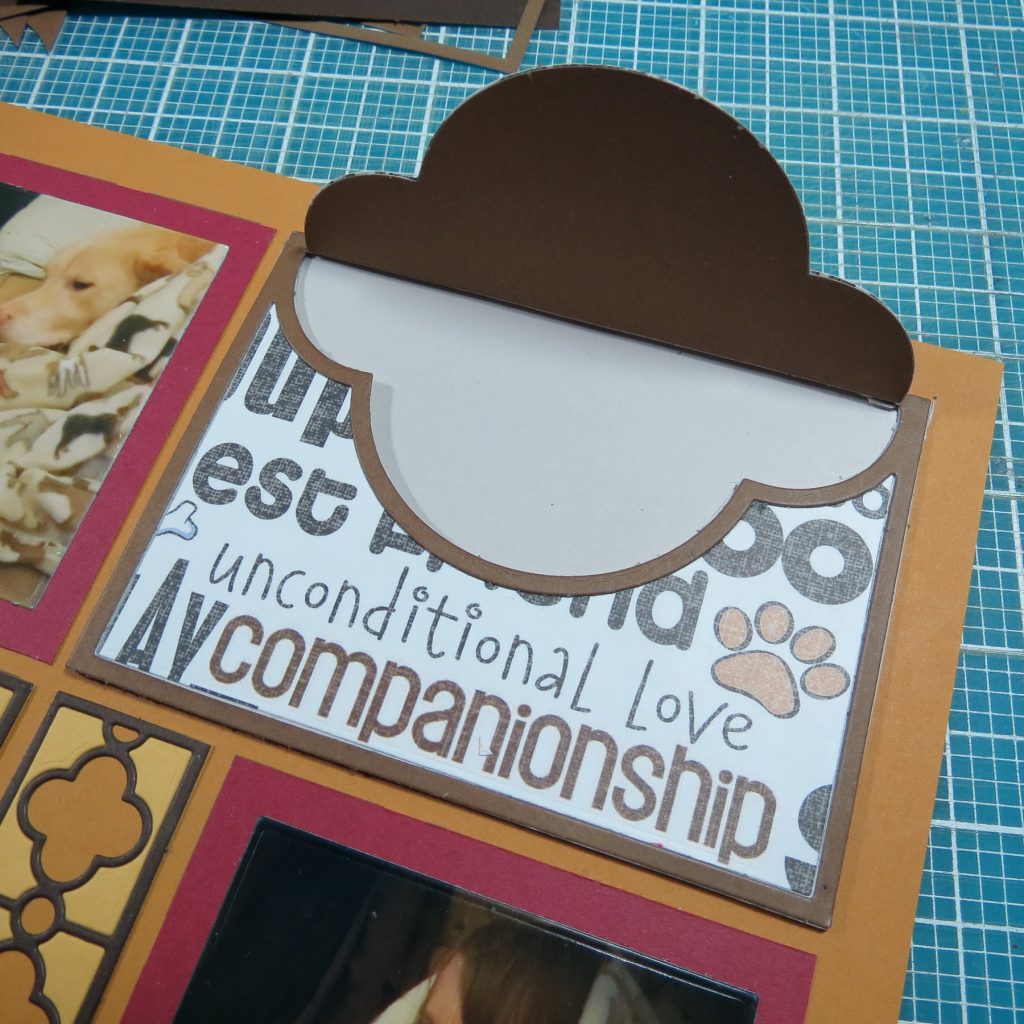
Creating a Hidden Journal Pocket This layout utilized the Puff n Stuff Die which to me resembled a quatrefoil cut in half, the die being featured in this post. This time also using the nested pocket dies I created a hinged element with the Puff n Stuff Die to form a pocket for hidden journaling. I used a dog bone tag to signal that there was more to be seen. When the pocket is open you can easily see the quatrefoil design. All the how-to steps are in the post.
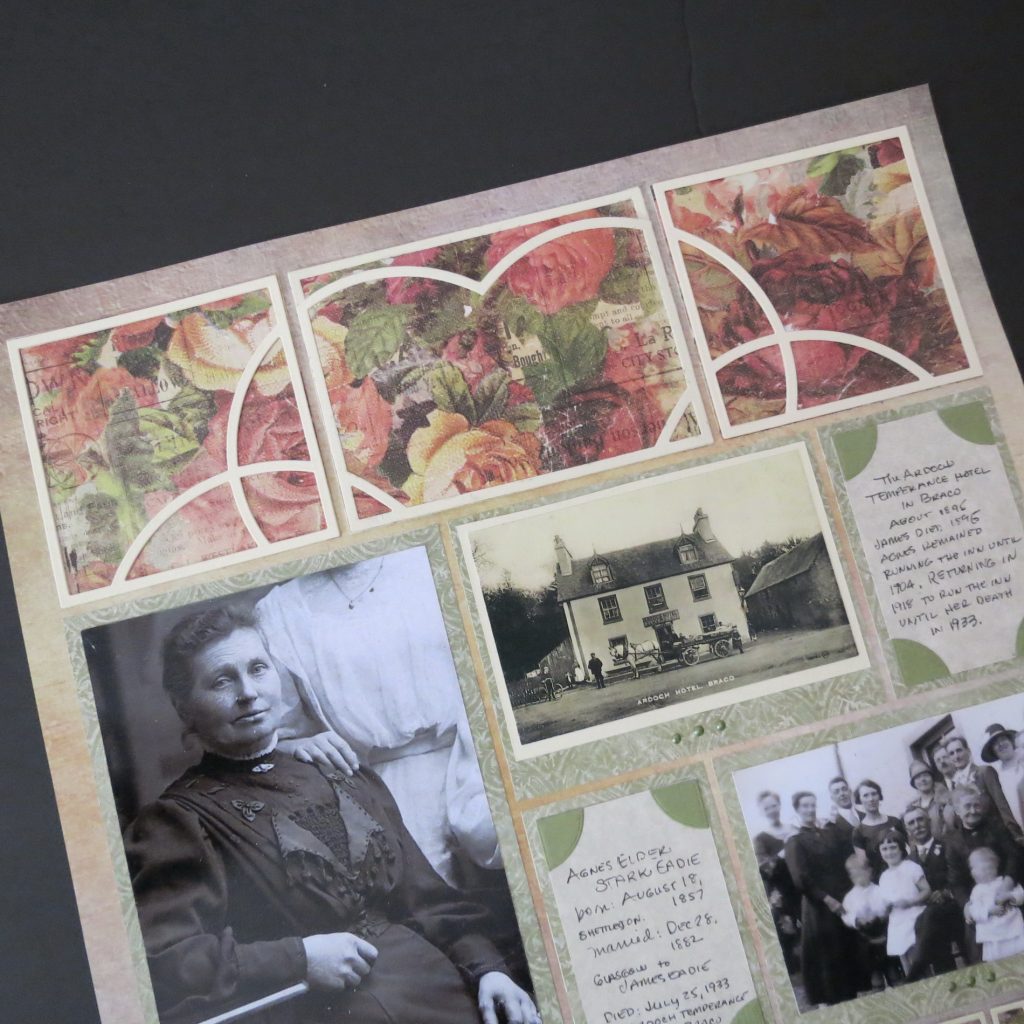
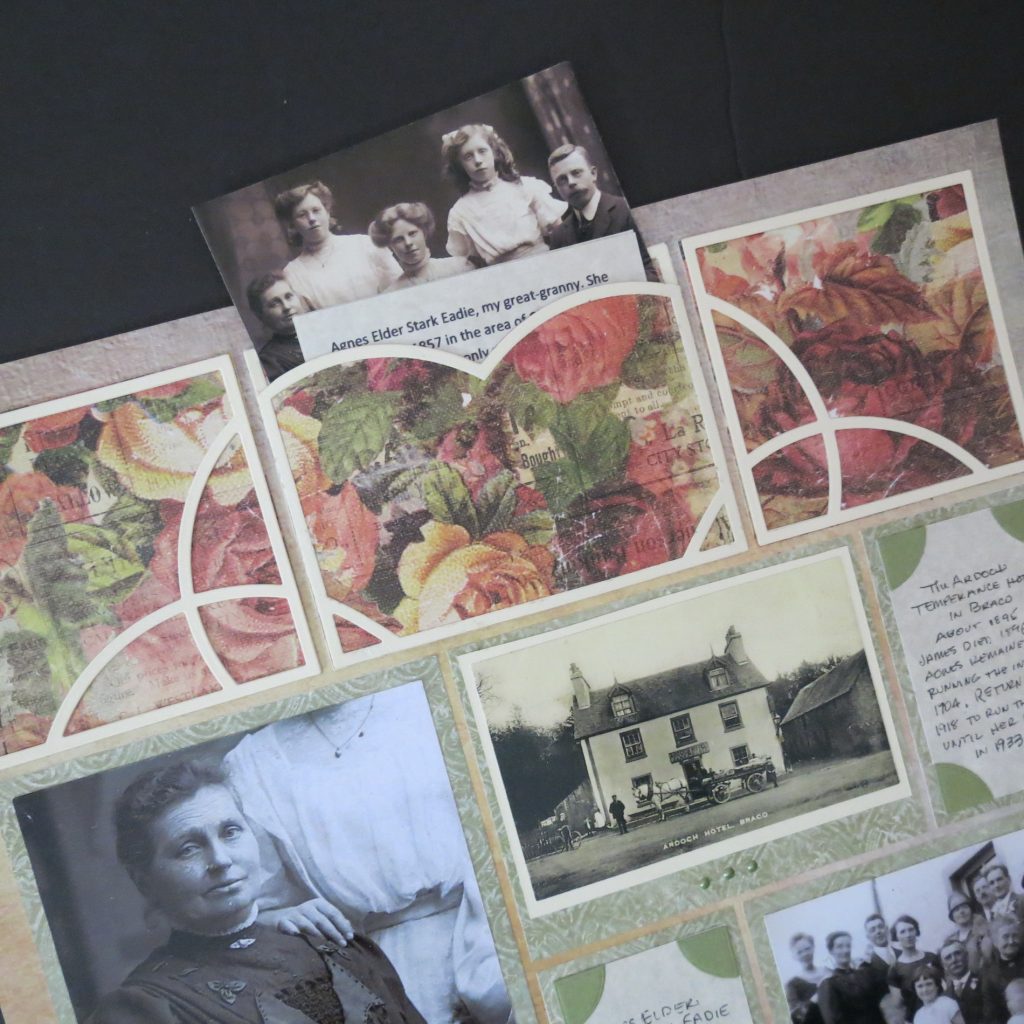
Preserving Ancestral Stories features the Sweetheart Die Set and the 3×4 section as the element for the hidden journaling. This is probably my favorite hidden in plain view pocket. Utilizing pattern paper and an overall top strip of design to let things blend in. In this pocket I included a smaller version of the full picture that I only use in part on the page along with a lengthy note telling more of the story than I wanted on the page, but didn’t want to exclude.
Tip #3: When the Pictures Speak but Words Count Too
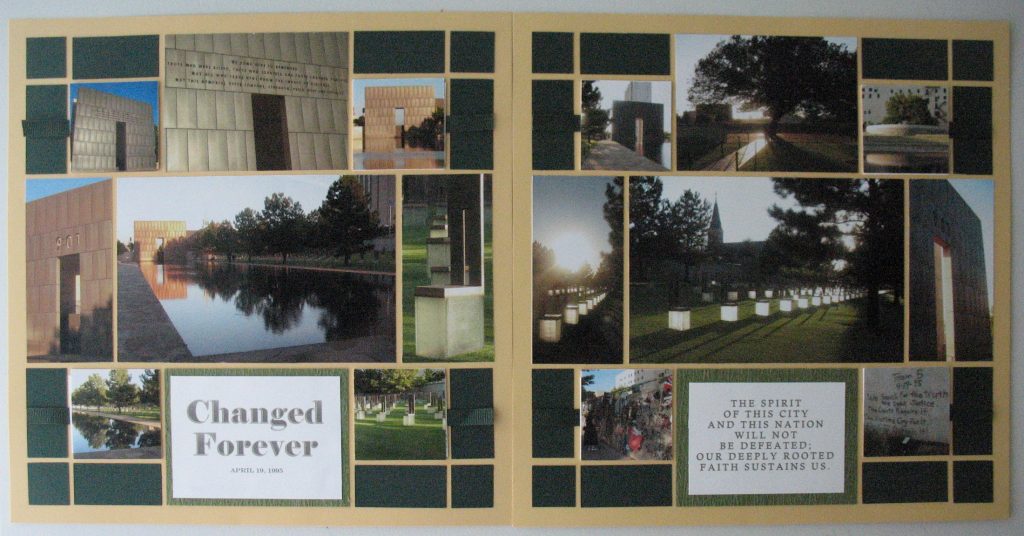
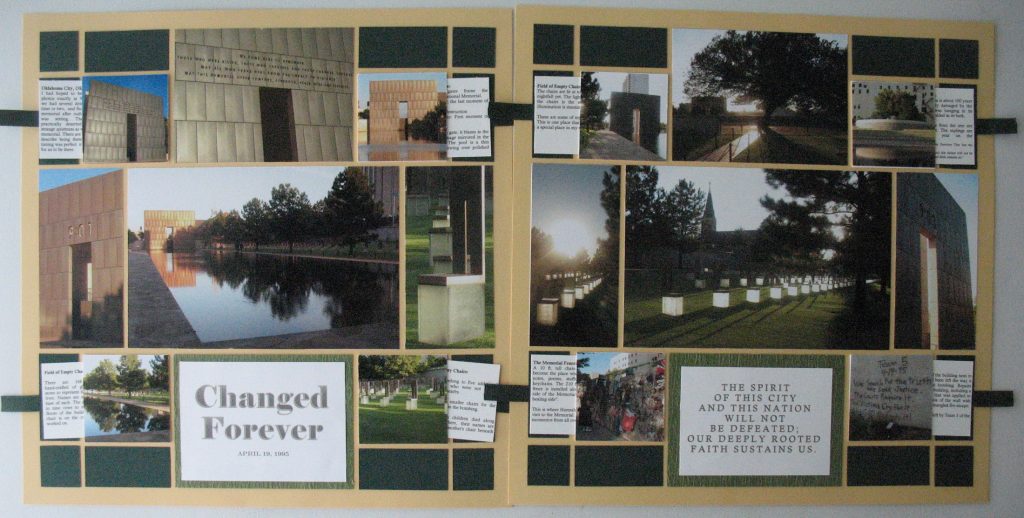
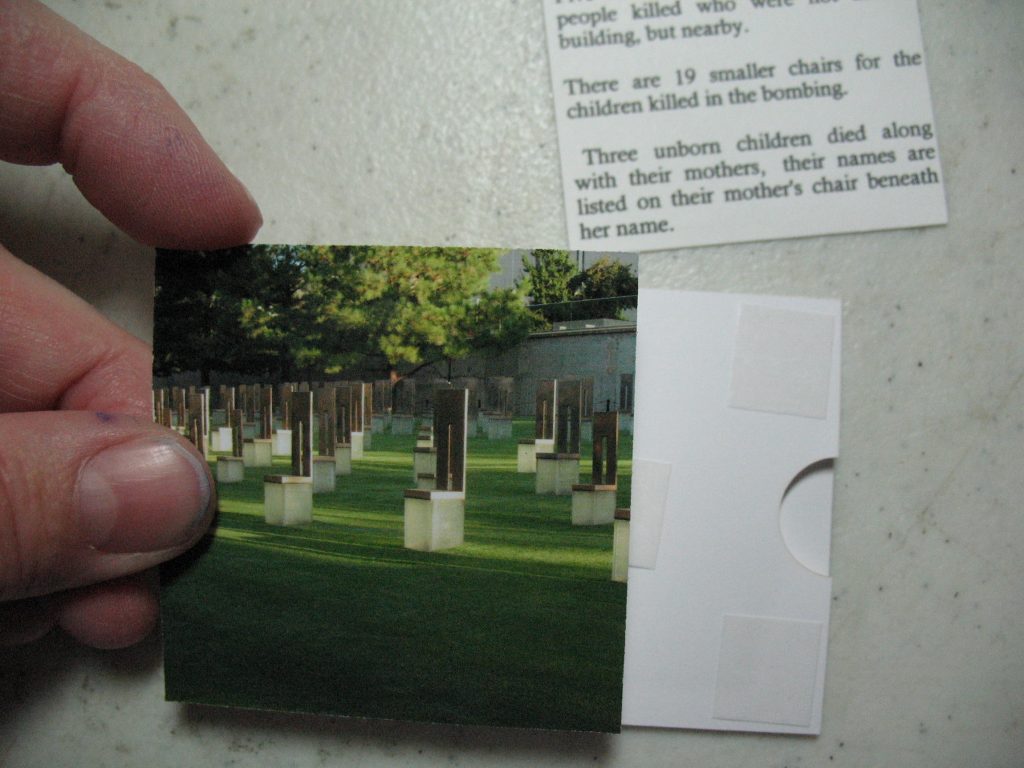
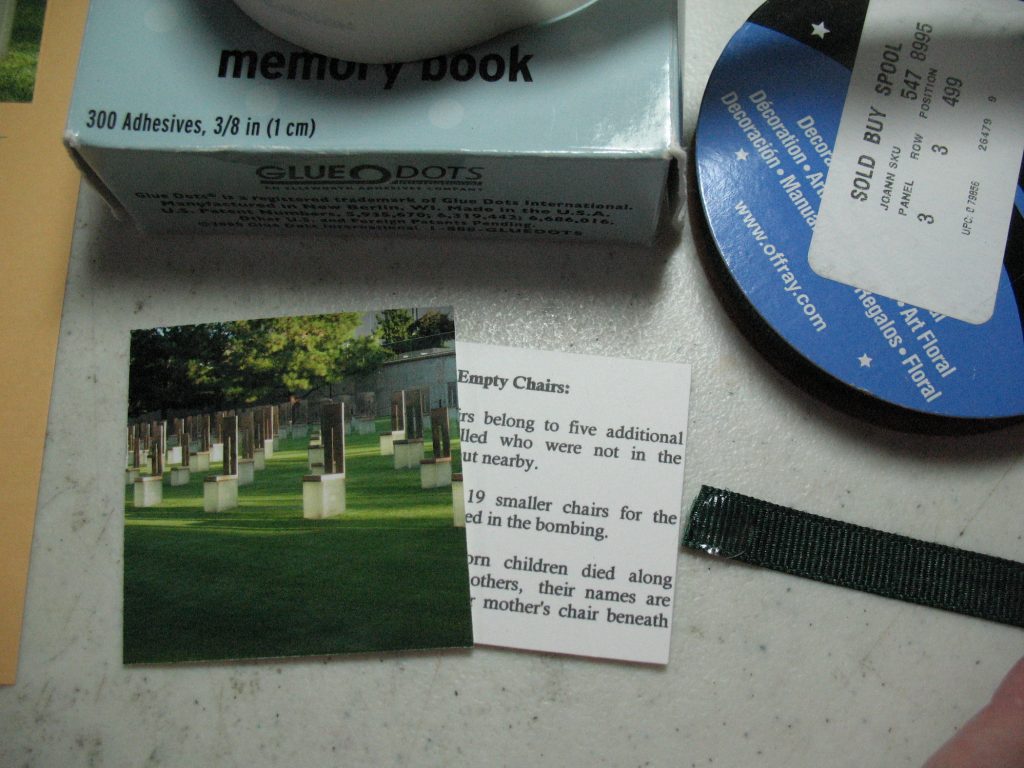
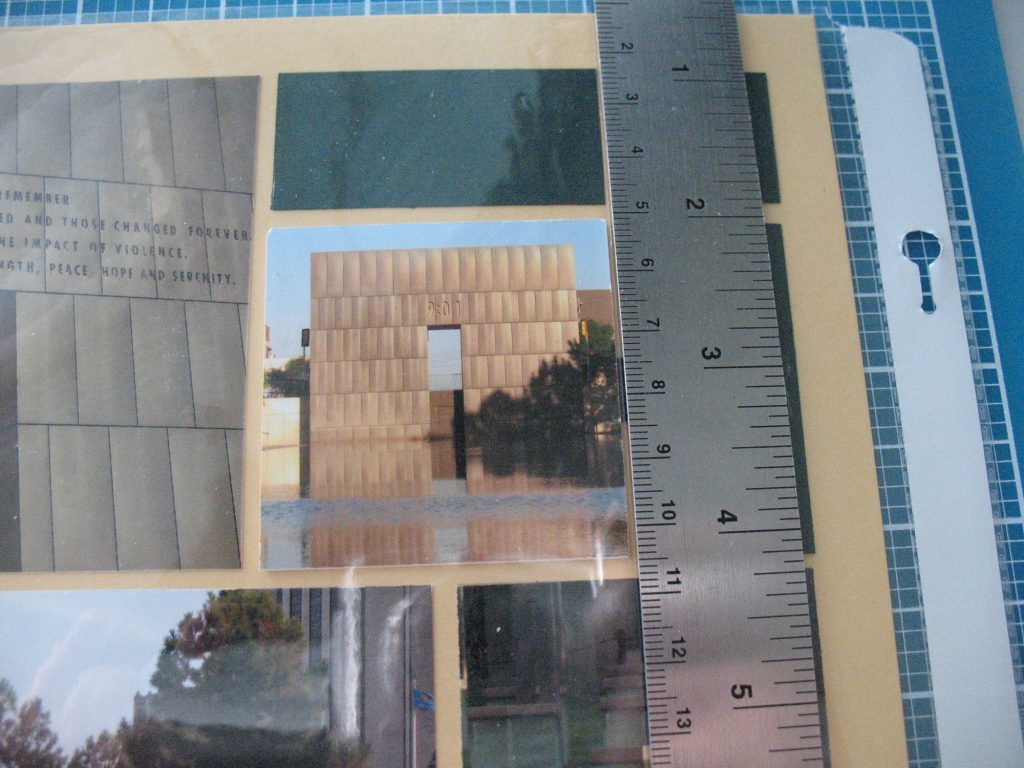
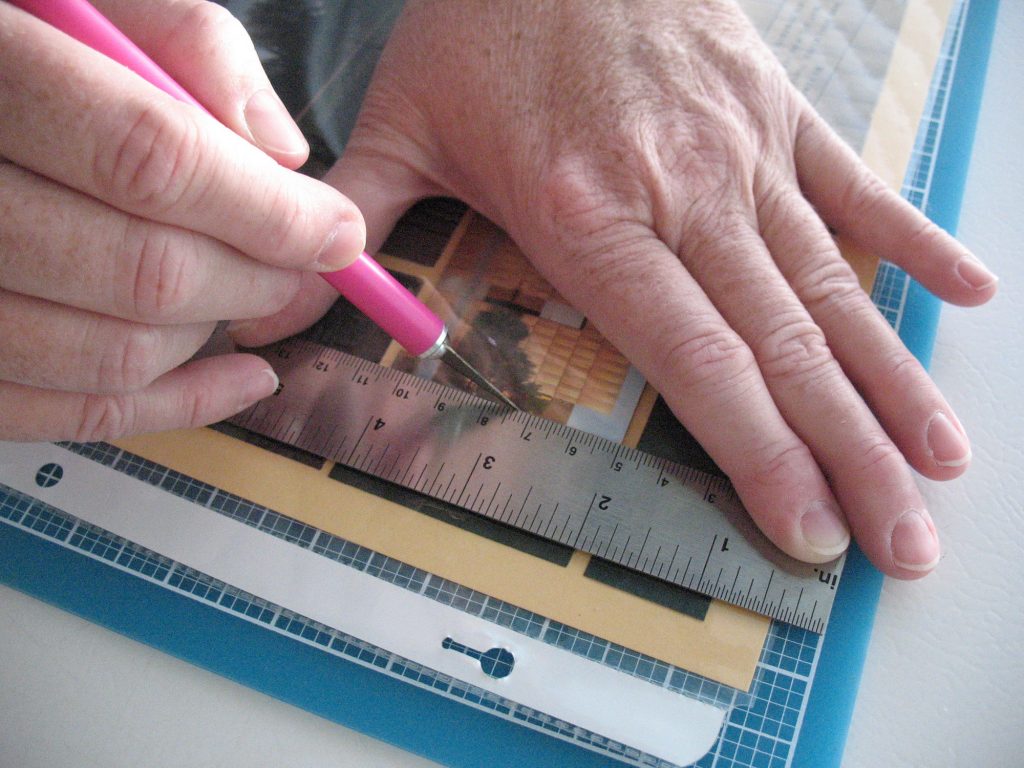
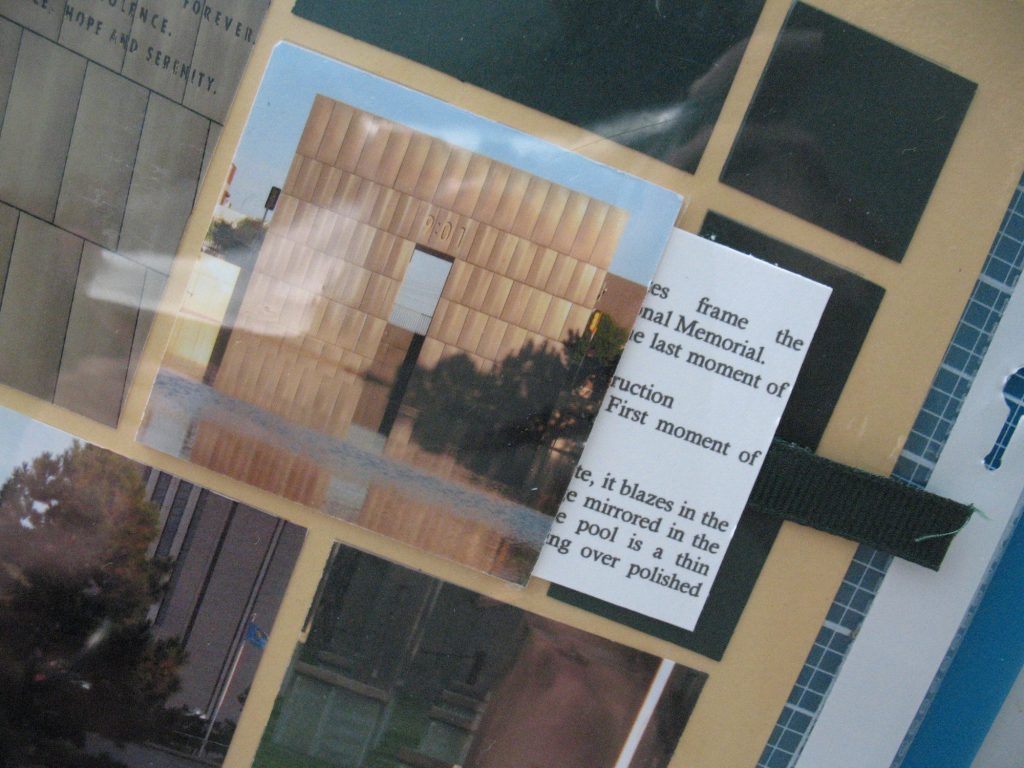
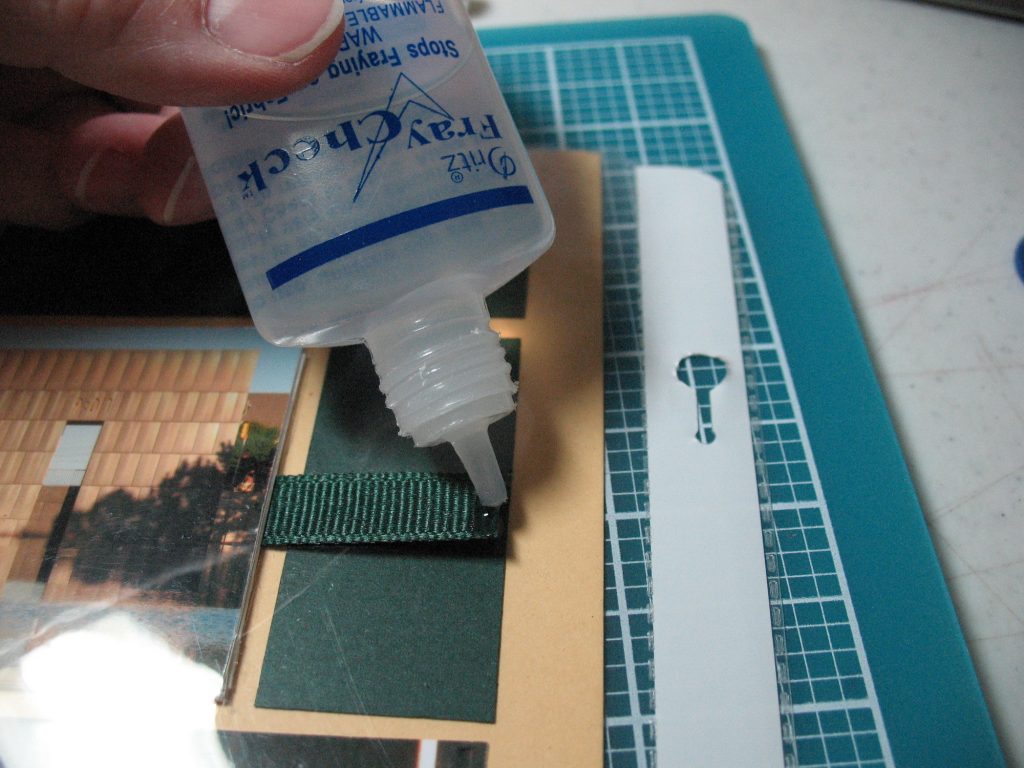
Changed Forever This page was created before we had the Nested Pocket die set and Tami offered a free download to make 2×2 pockets. Now with the nested dies, you can accomplish so much more! This page was a memorial page, about the memorial for the Alfred P. Murrah Building bombing in OKC in 1995. Our visit there was extremely moving, everything our eyes took in resonated within and governed our mood as we moved quietly through and around the area. I wanted my photos to preserve that solemnity, but, there was so much more to be said and that’s where the series of pockets with hidden journaling came in. Don’t worry about accessing all those tags, there is a simple technique for slitting your page protector with ease making that possible.
Tip #4: Clover Die Pocket
The Clover Die Set is one of our newer dies and it makes a pretty design on your page, but you might not want to sacrifice one of the spots to add your journaling, or you may not have enough to fill that quarter of a page die section! I’m going to show an easy way to add up to 4 hidden pockets if you need that much extra space.
A Recipe for Hidden Journaling

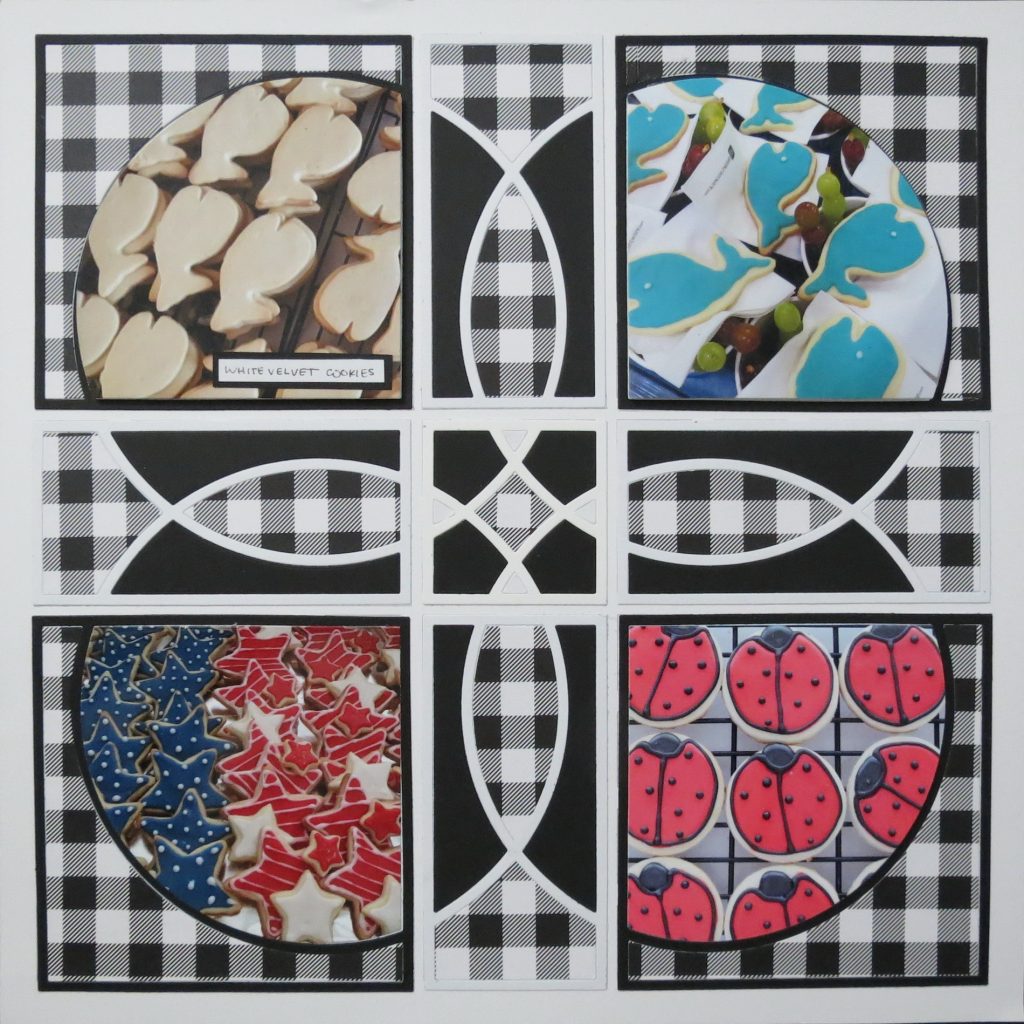
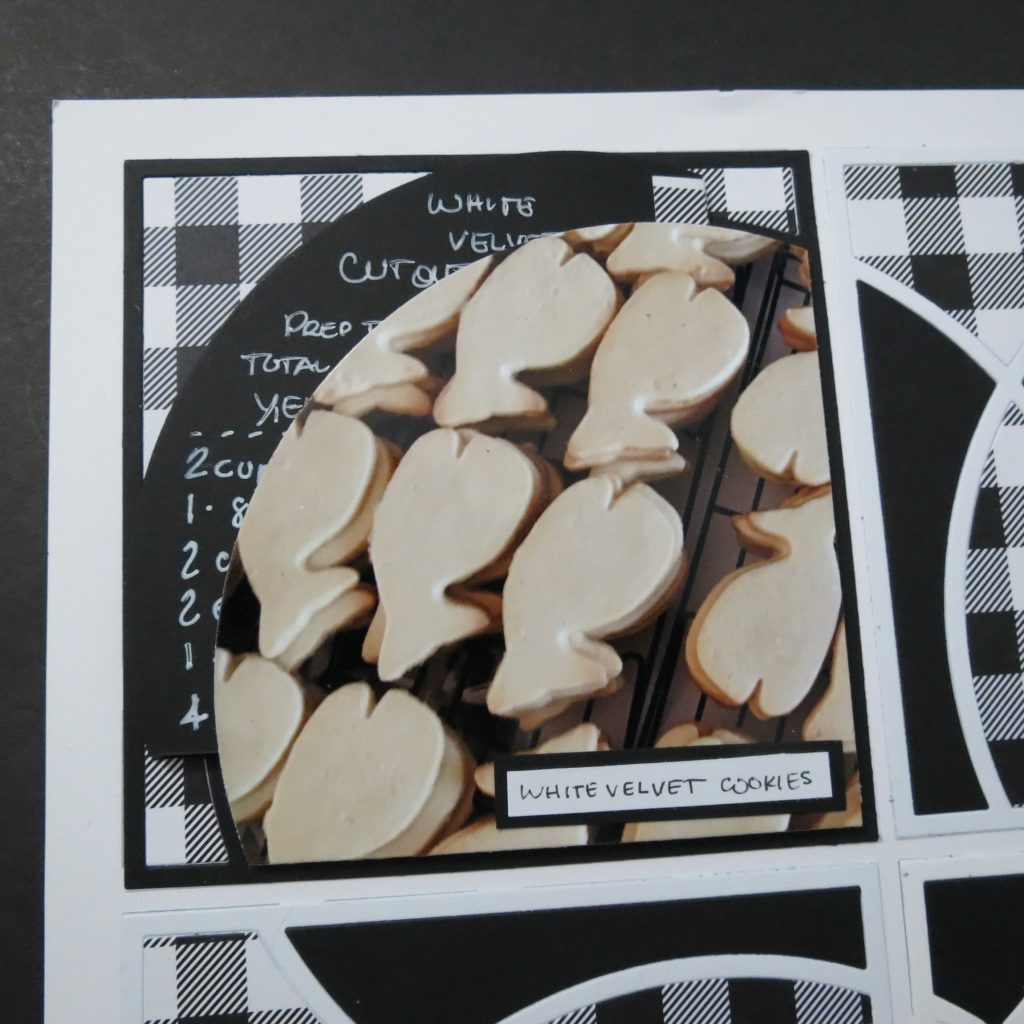
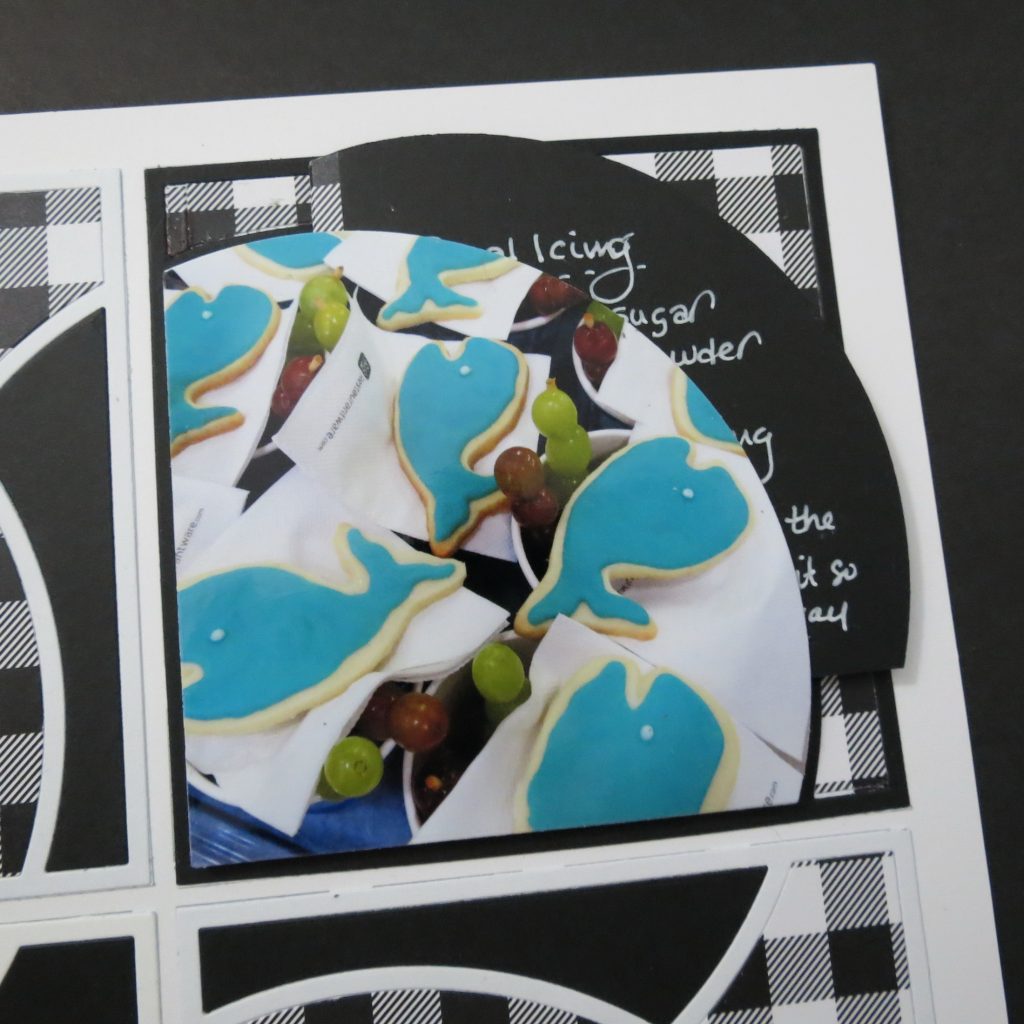
Pattern #368 a symmetrical pattern is built on white Grid Paper with both black and white Clover Die pieces. The 2×4’s are completed in white with black cardstock and patterned paper fillers, black cardstock 5×5’s of the Clover Dies are set in the corners with the patterned paper in the corners. I reserve the black cardstock centers for my pocket fillers later on.
The patterned paper, is the Paper Studio’s White & Black Buffalo Check Scrapbook Paper – 12″ x 12″, it’s a nice scale for the homestyle look that is perfect for this recipe page. I cut this into strips to work with and carefully kept the pattern in order. Once everything is set in place and secure, the assembly of the pockets can begin.
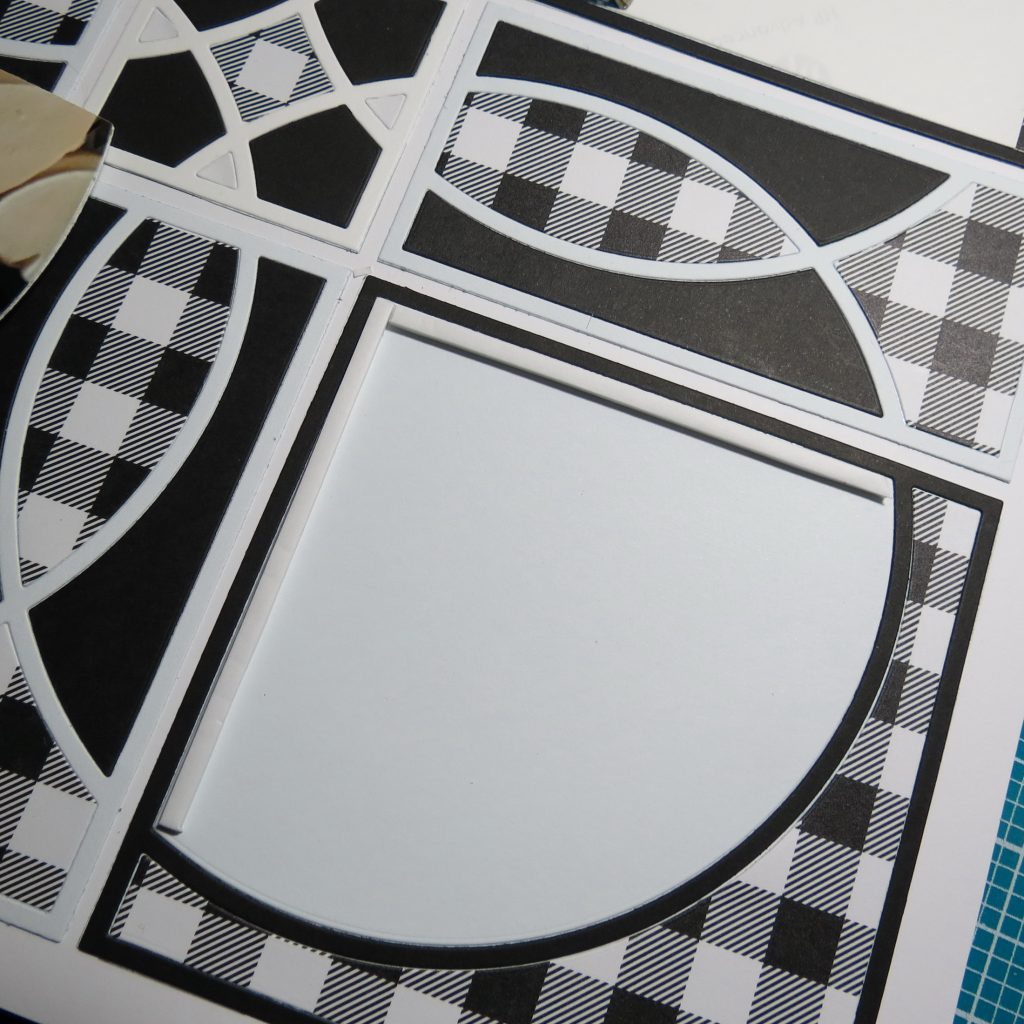
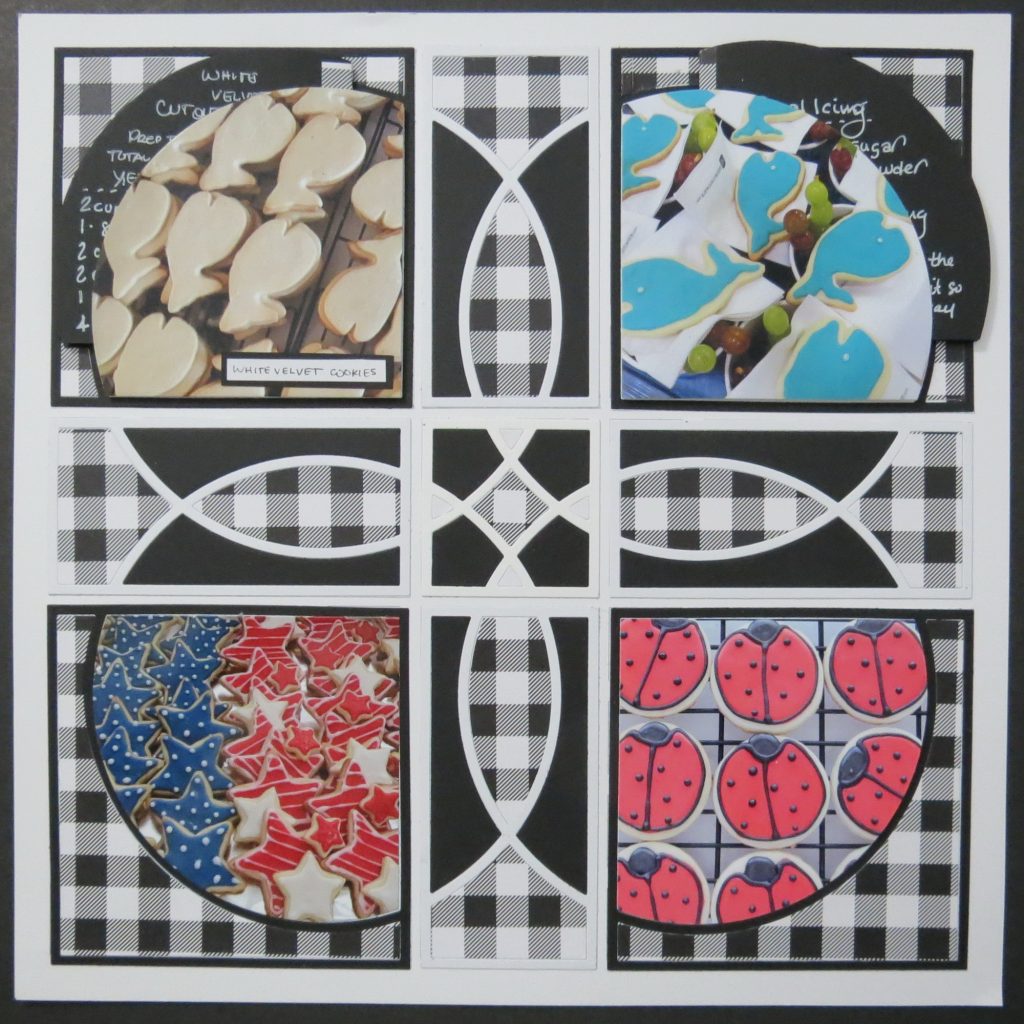
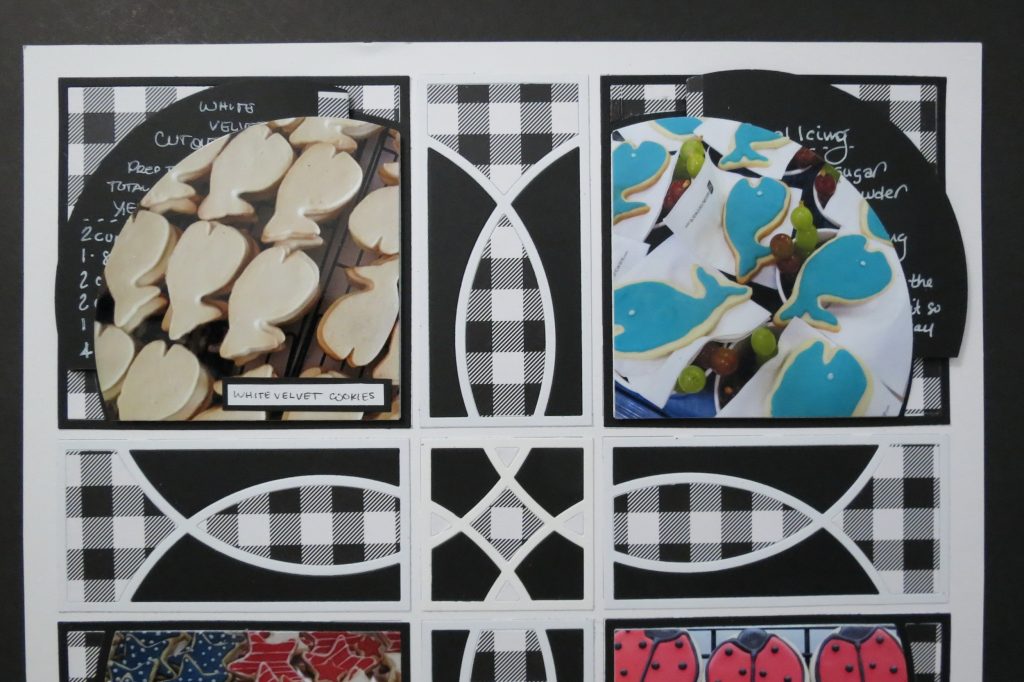
The lower two photos are adhered to their space as I’m only going to use the top two photos for pockets. I cut two extra large clover sections in white for each photo. One piece gets the photo attached to it for stability while the other fits back into the black Clover frame section. I cut narrow 1/8” foam mounting tape for each of the straight edges. The photo section now gets attached on top of the foam mounting tape. This creates the pocket easily.
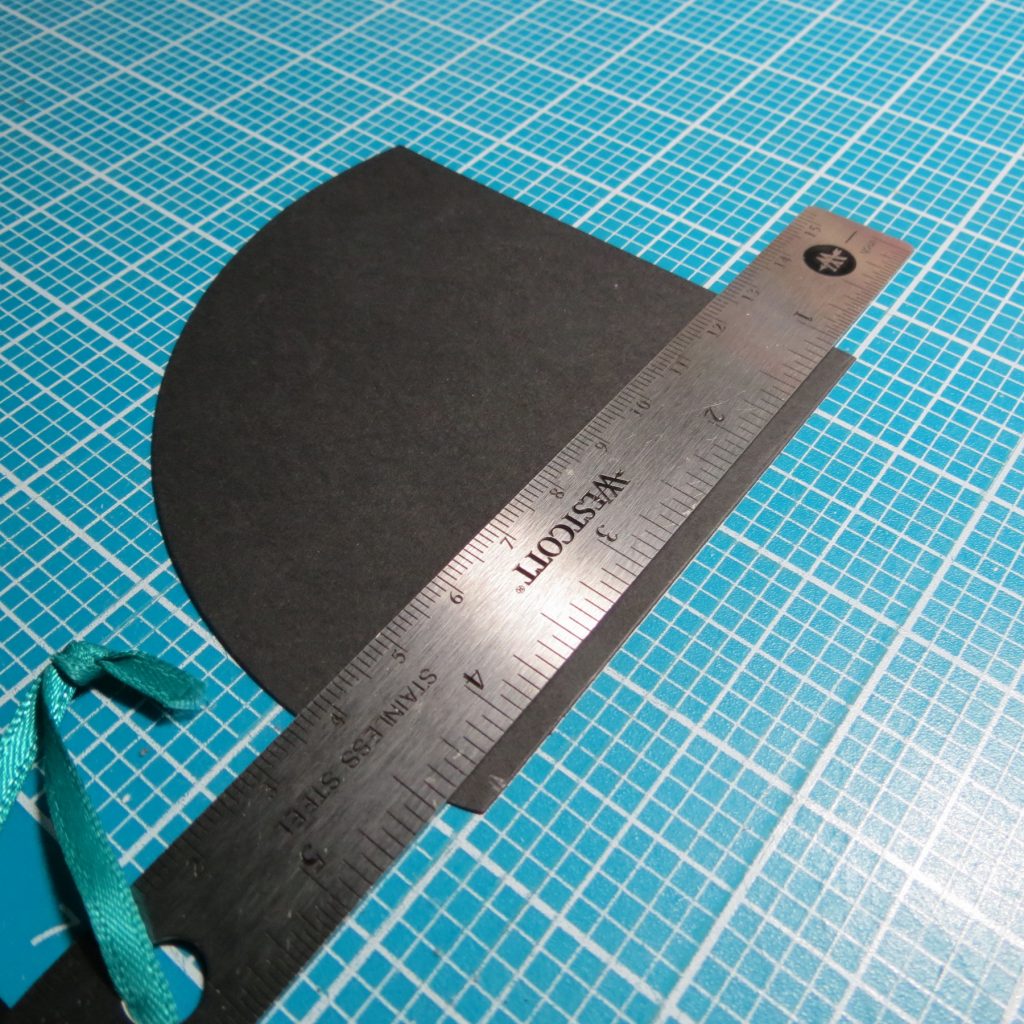
Now for the inserts. Taking two black sections and removing 1/8” from each of the straight edges of cardstock, be sure to check to see if the fit is correct and adjust as needed. Now, from the check scraps cut 4 strips to act as bindings on the two fillers. Begin with the pieces together and attach the binding, then open. There will be a bit of a gap, but with a scored and folded piece line up along the inner edge and lay it down. Fold it to make sure it closes properly.
Add your journaling however you like. This will pop into the pocket and stay giving a bit of a spring to the pocket. If you like you can add a tab, tag or ribbon to draw it out, but it is easily removed on its own.
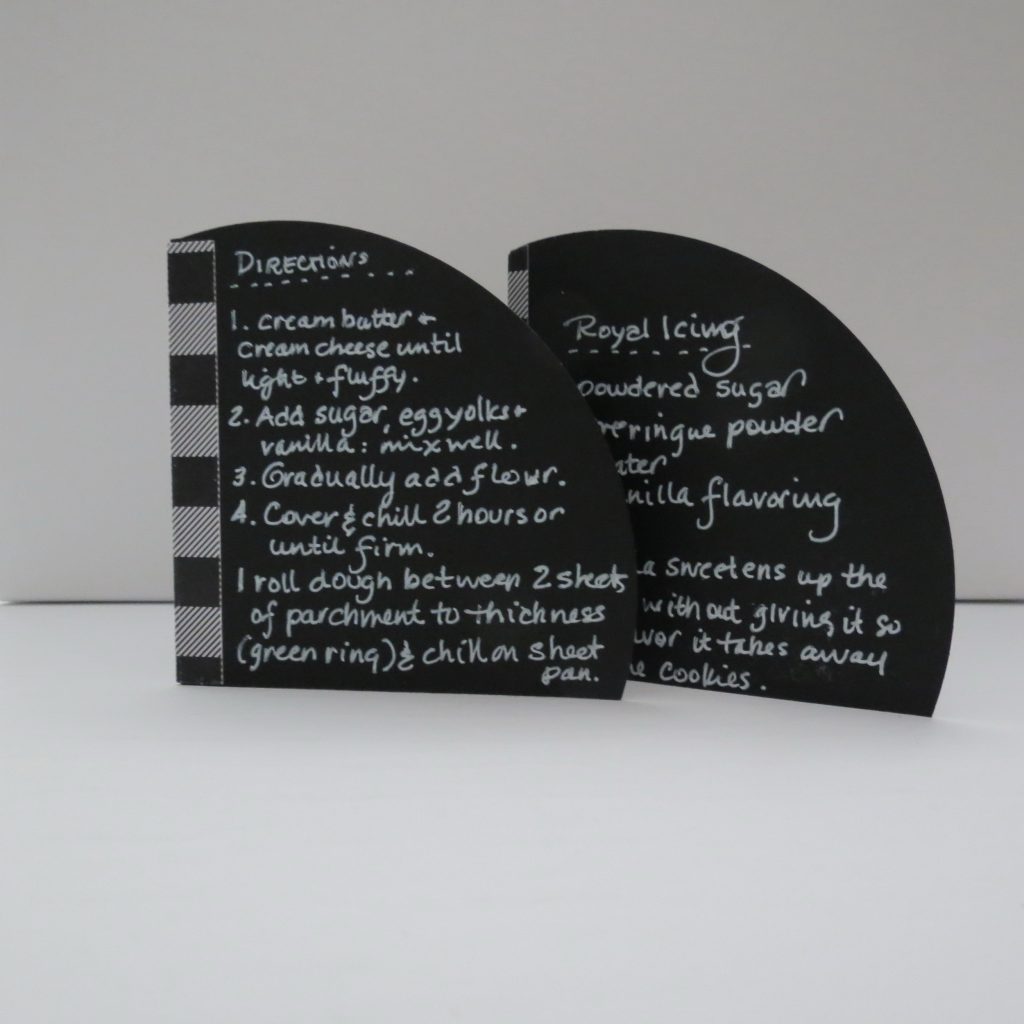
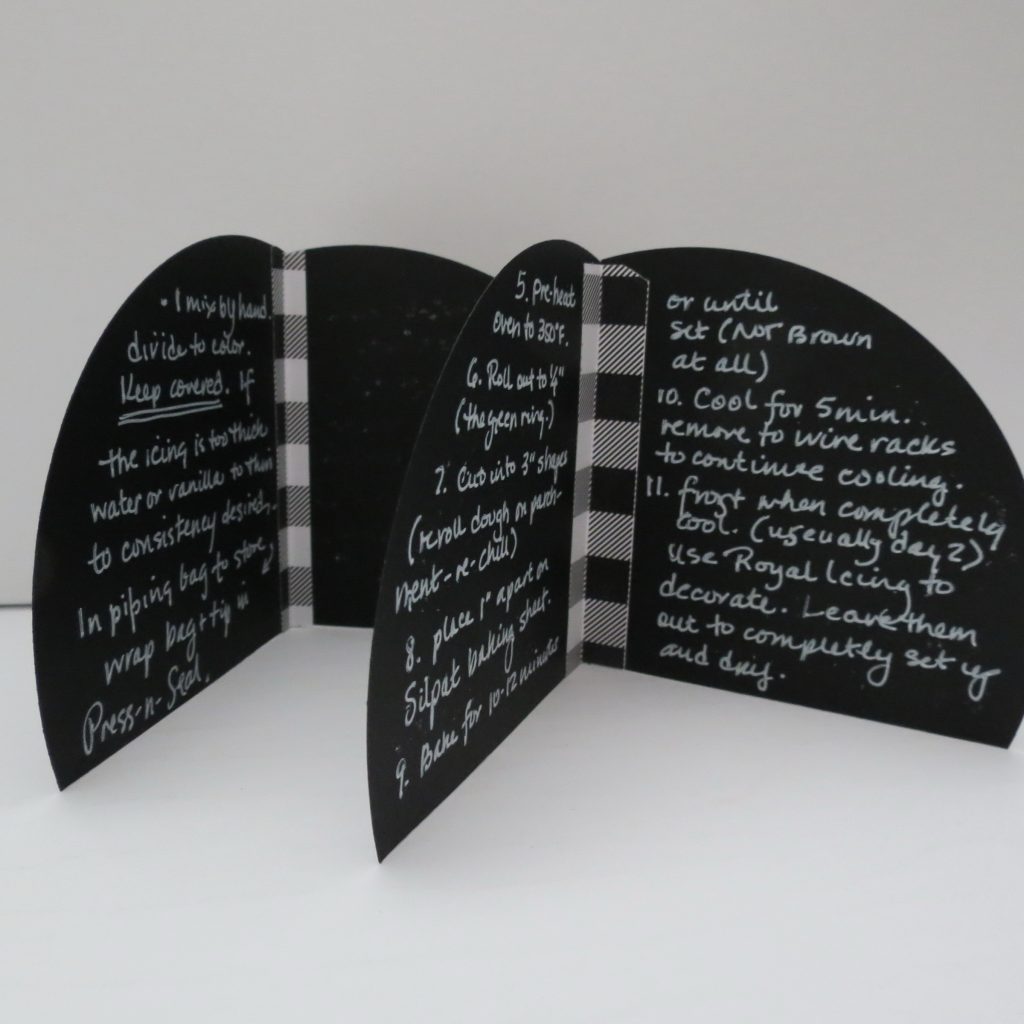
I added a tag with the recipe name to the pictures of some of the cookies made using the recipe for the main body of the page. Now one of my favorite recipes, one we use for our business, is saved for anyone in the future to look back and remember. I didn’t just include the recipe as it was, but as I make it with my notes added. It’s also in my handwriting, something that may be of value to family in the future, too.
If you desire to add journaling in your layouts you can look for areas that you can substitute a photo for journaling, but when those aren’t options, see if there isn’t a way that you can get something hidden and make it apart of your design.
Have fun exploring ways to make your pages full of treasures with your hidden journaling!
Andrea Fisher