
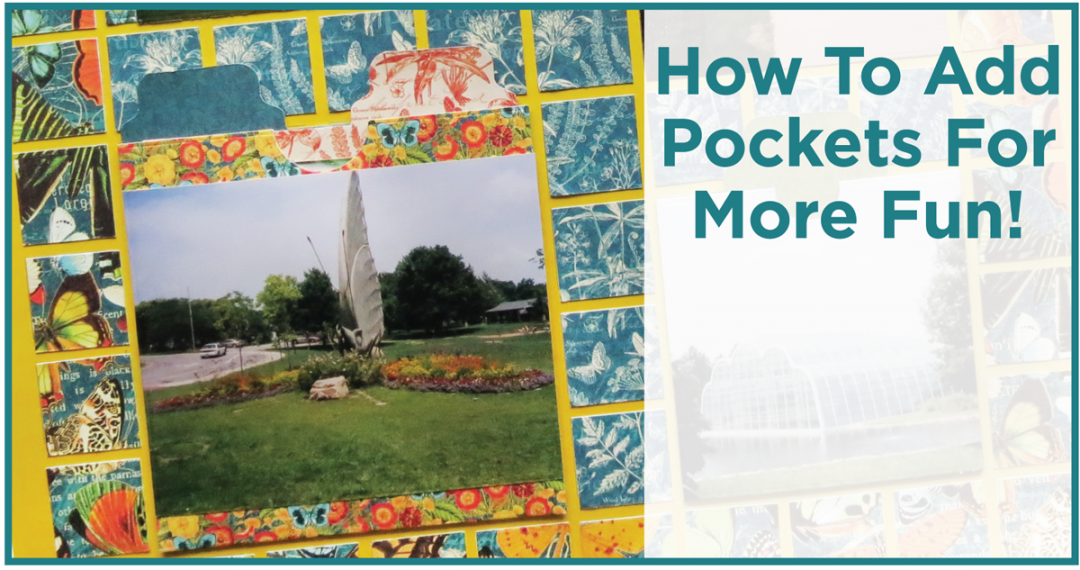
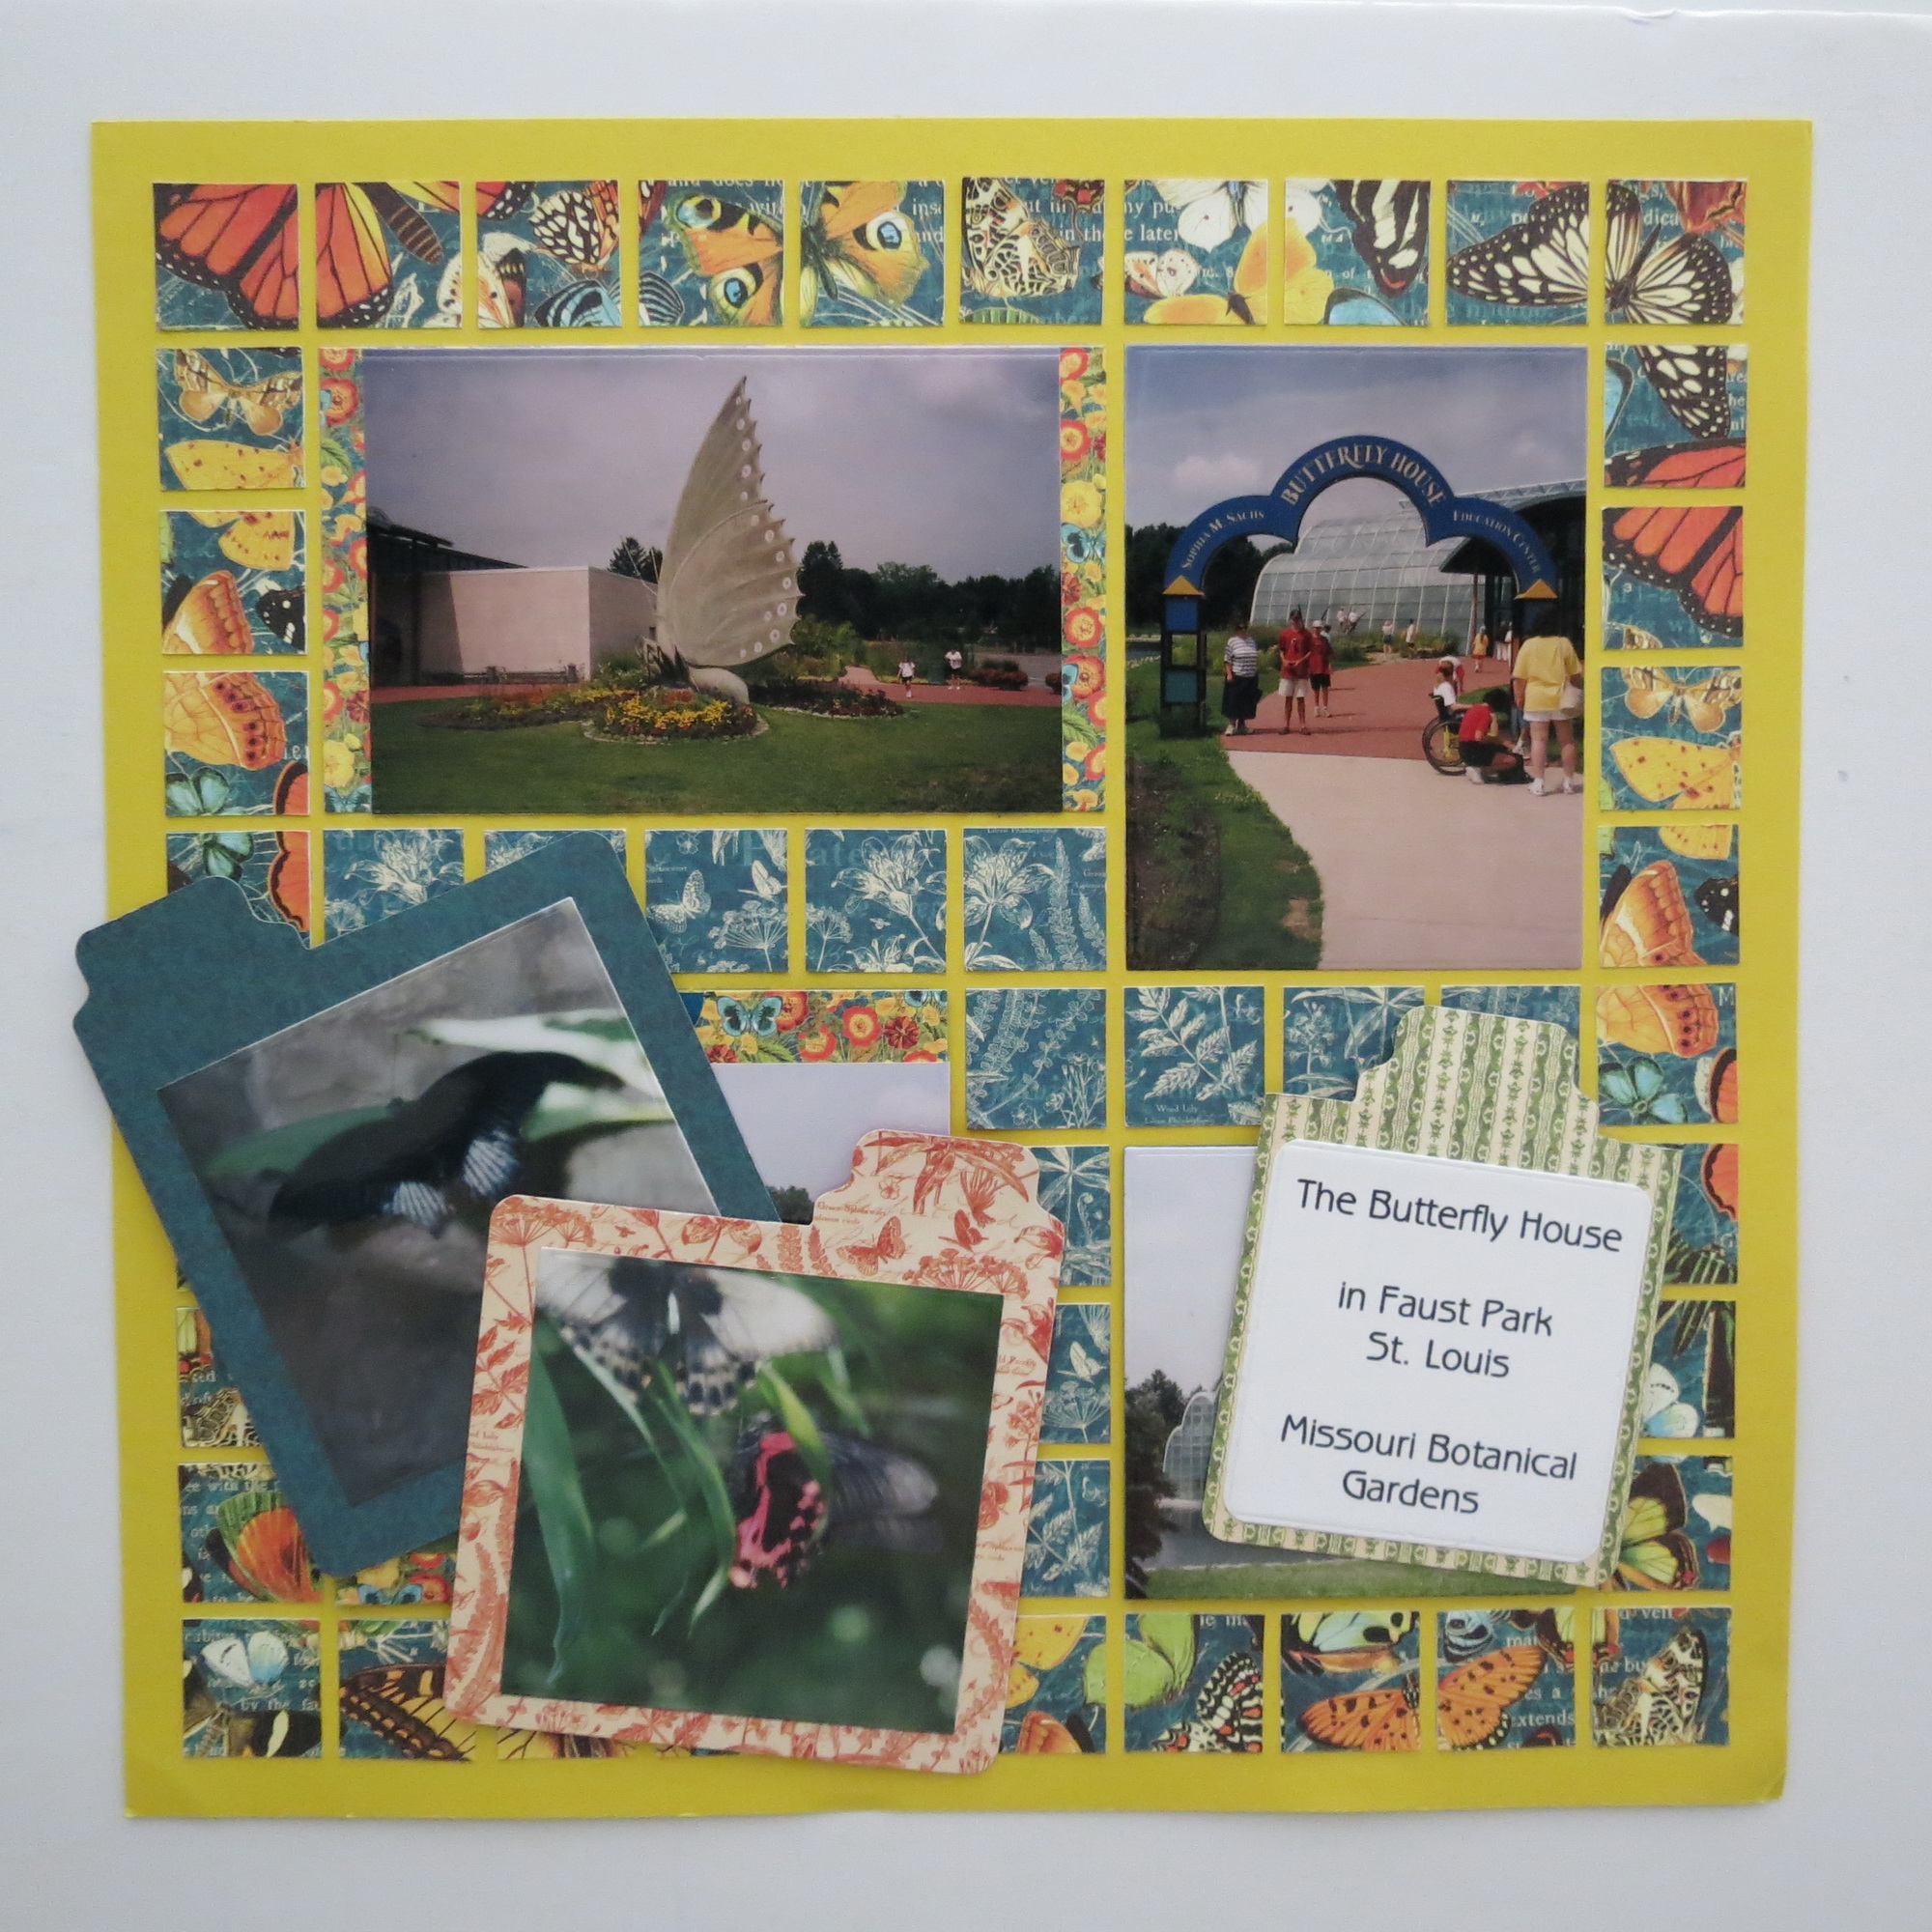
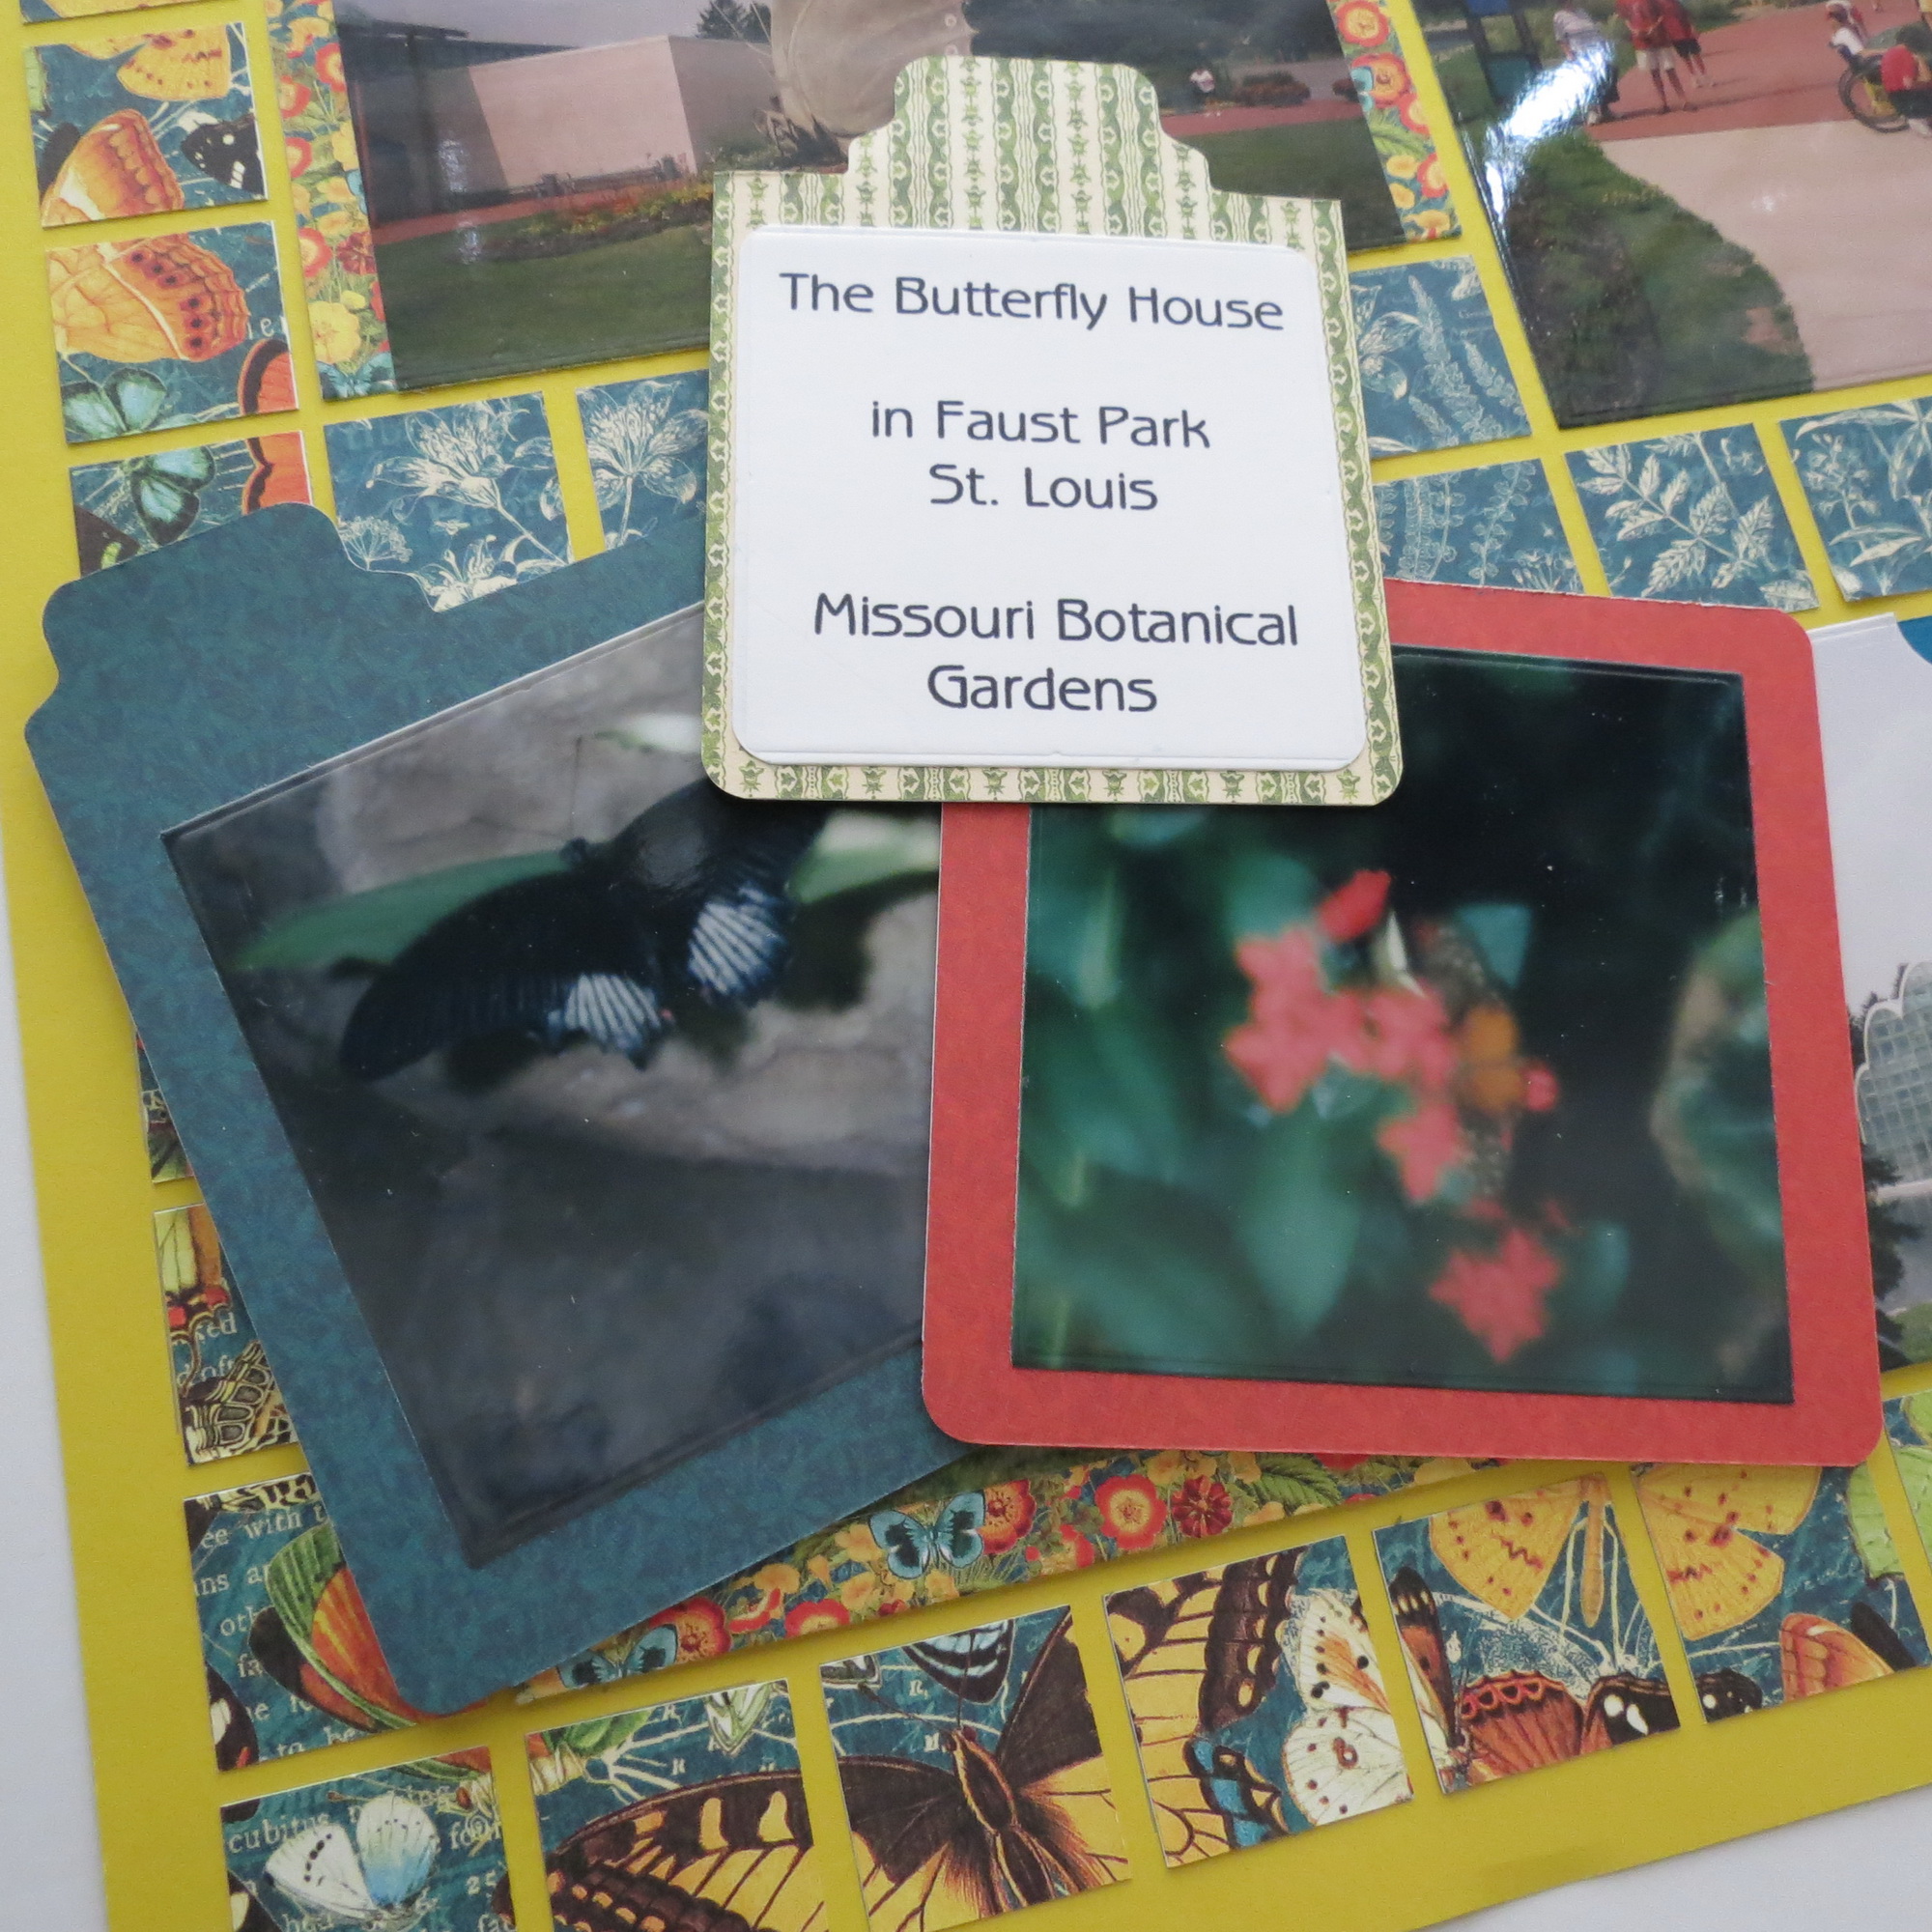
The Butterfly House, St. Louis, Missouri
How to Add Pockets for Added Fun!
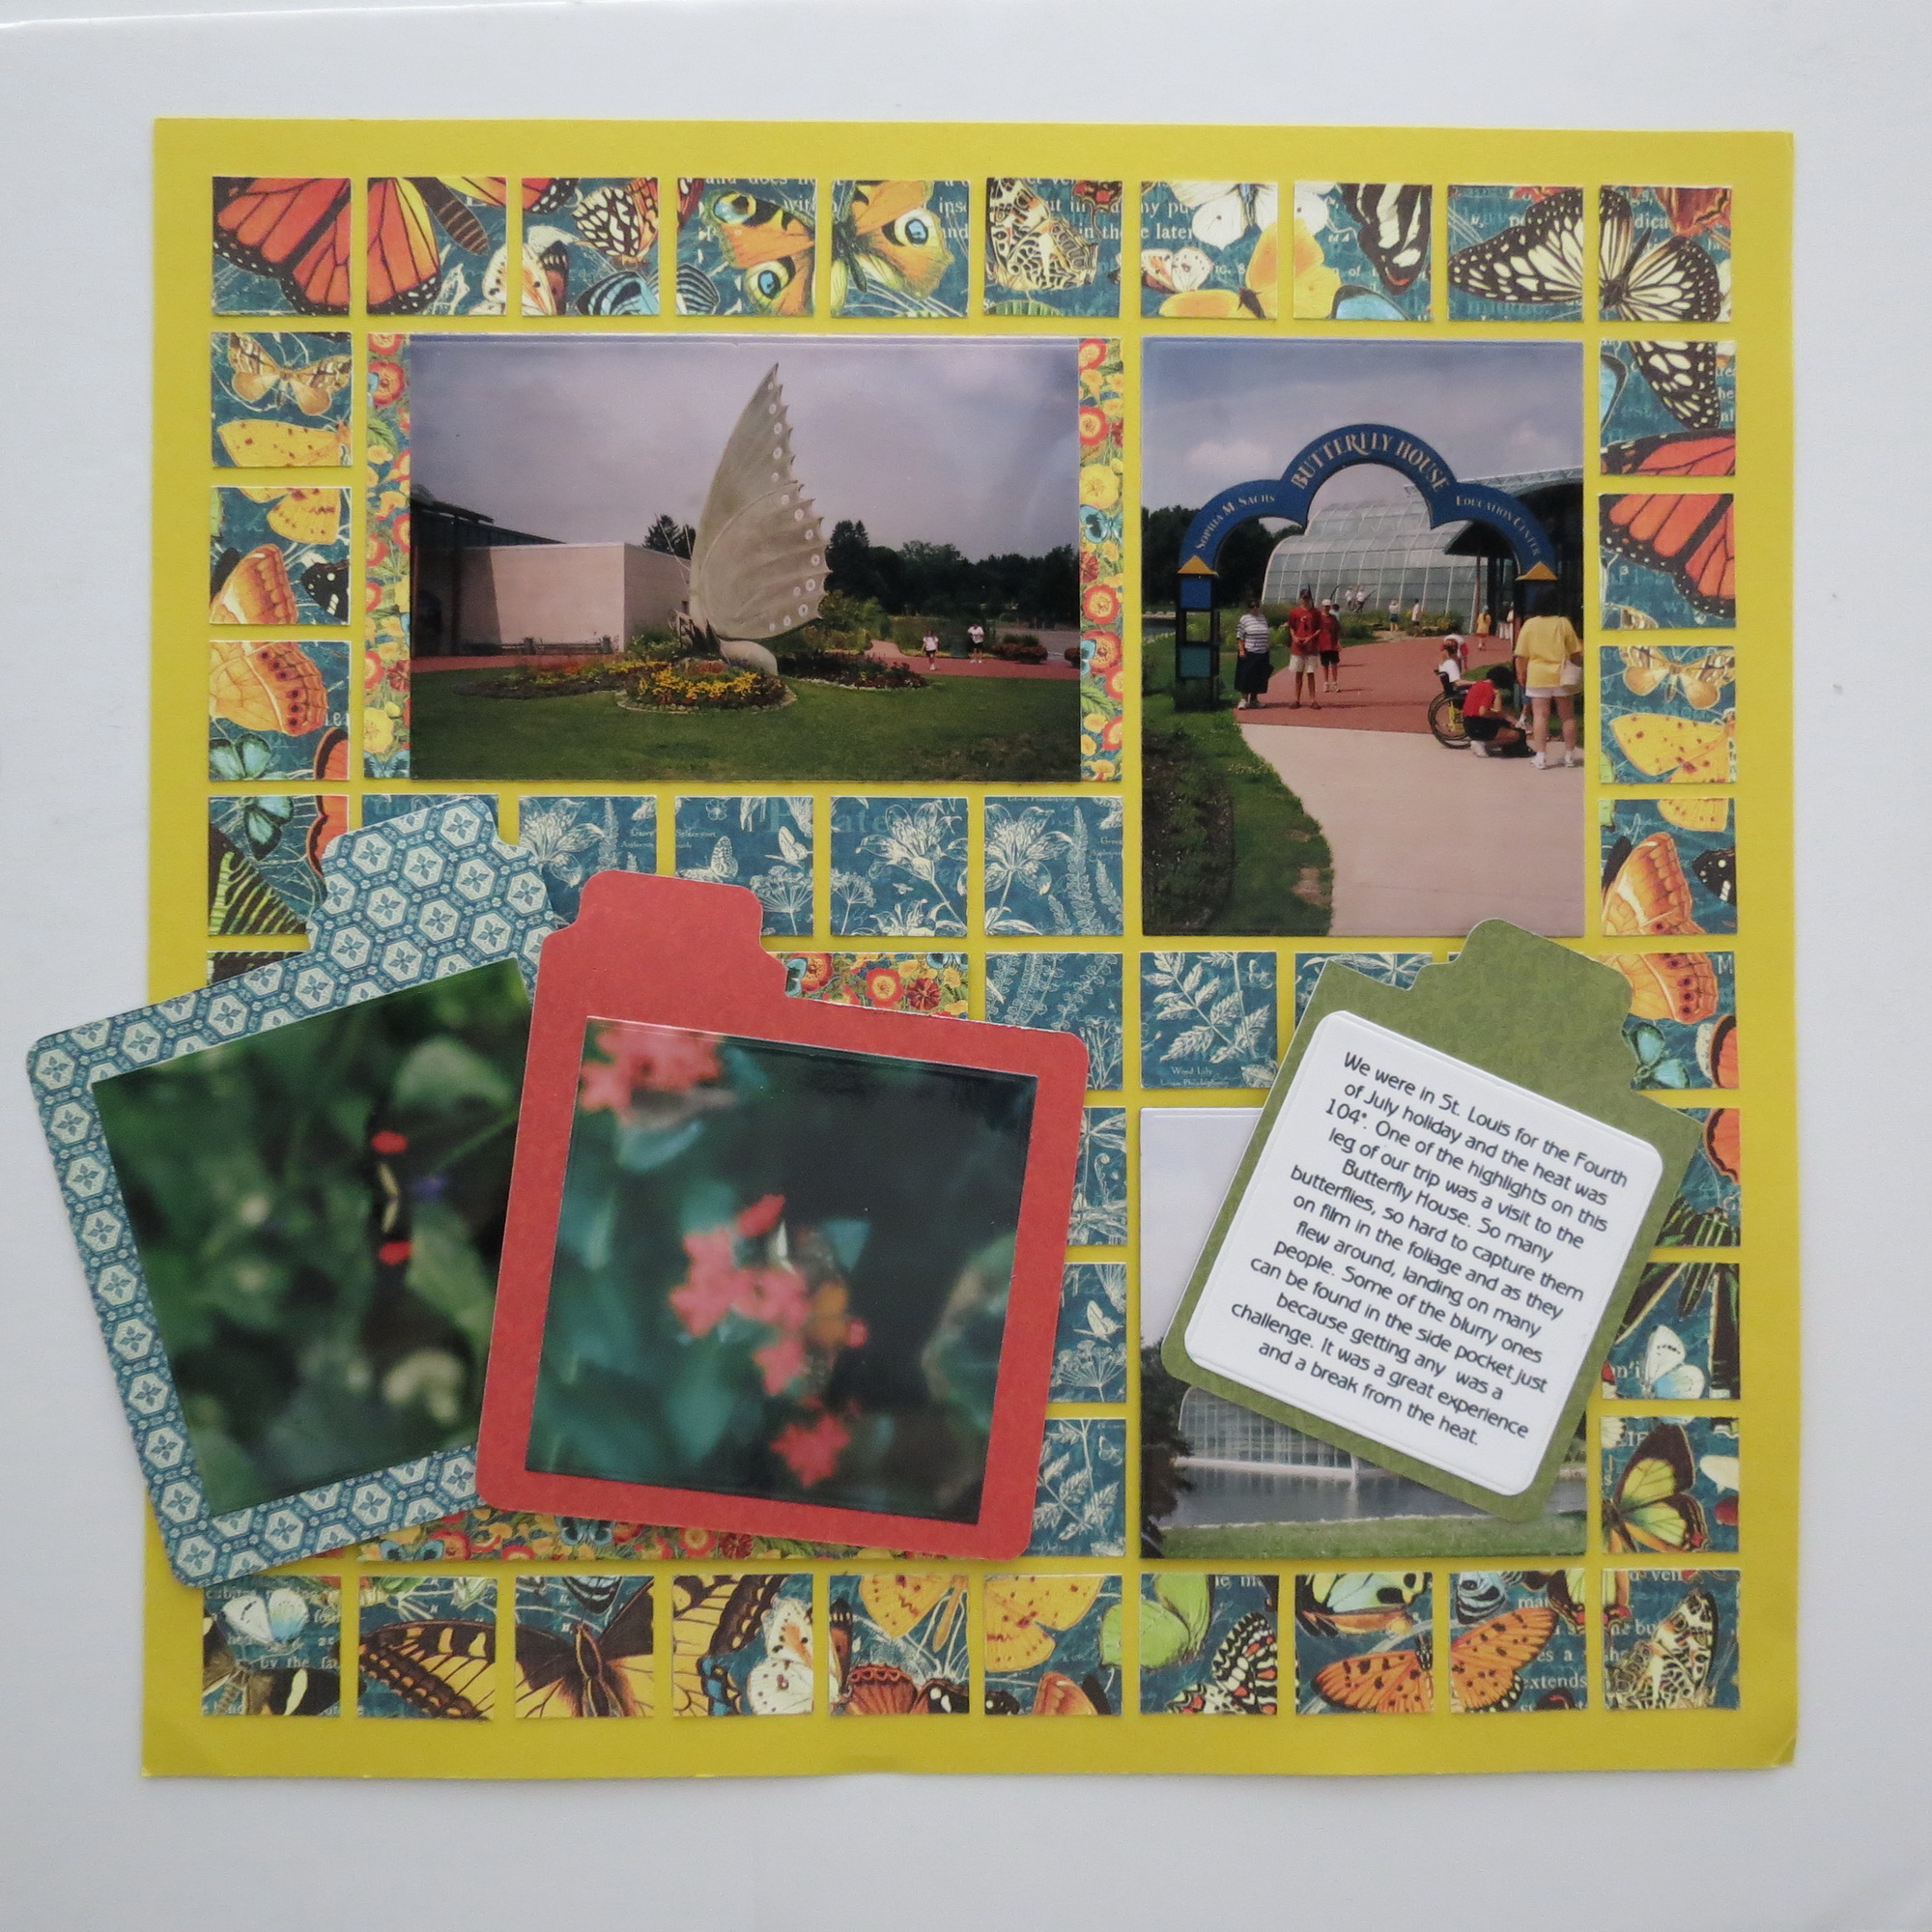
This week I’ll introduce you to the new Nested Pockets Die Set. This layout also features our Mosaic Moments Sunshine Grid Paper a bold and bright yellow shade for all those great spring and summer layouts. My photos this time are from the Butterfly House in St. Louis, Missouri. Patterned Papers are from the Natures Sketchbook papers from Graphic 45.
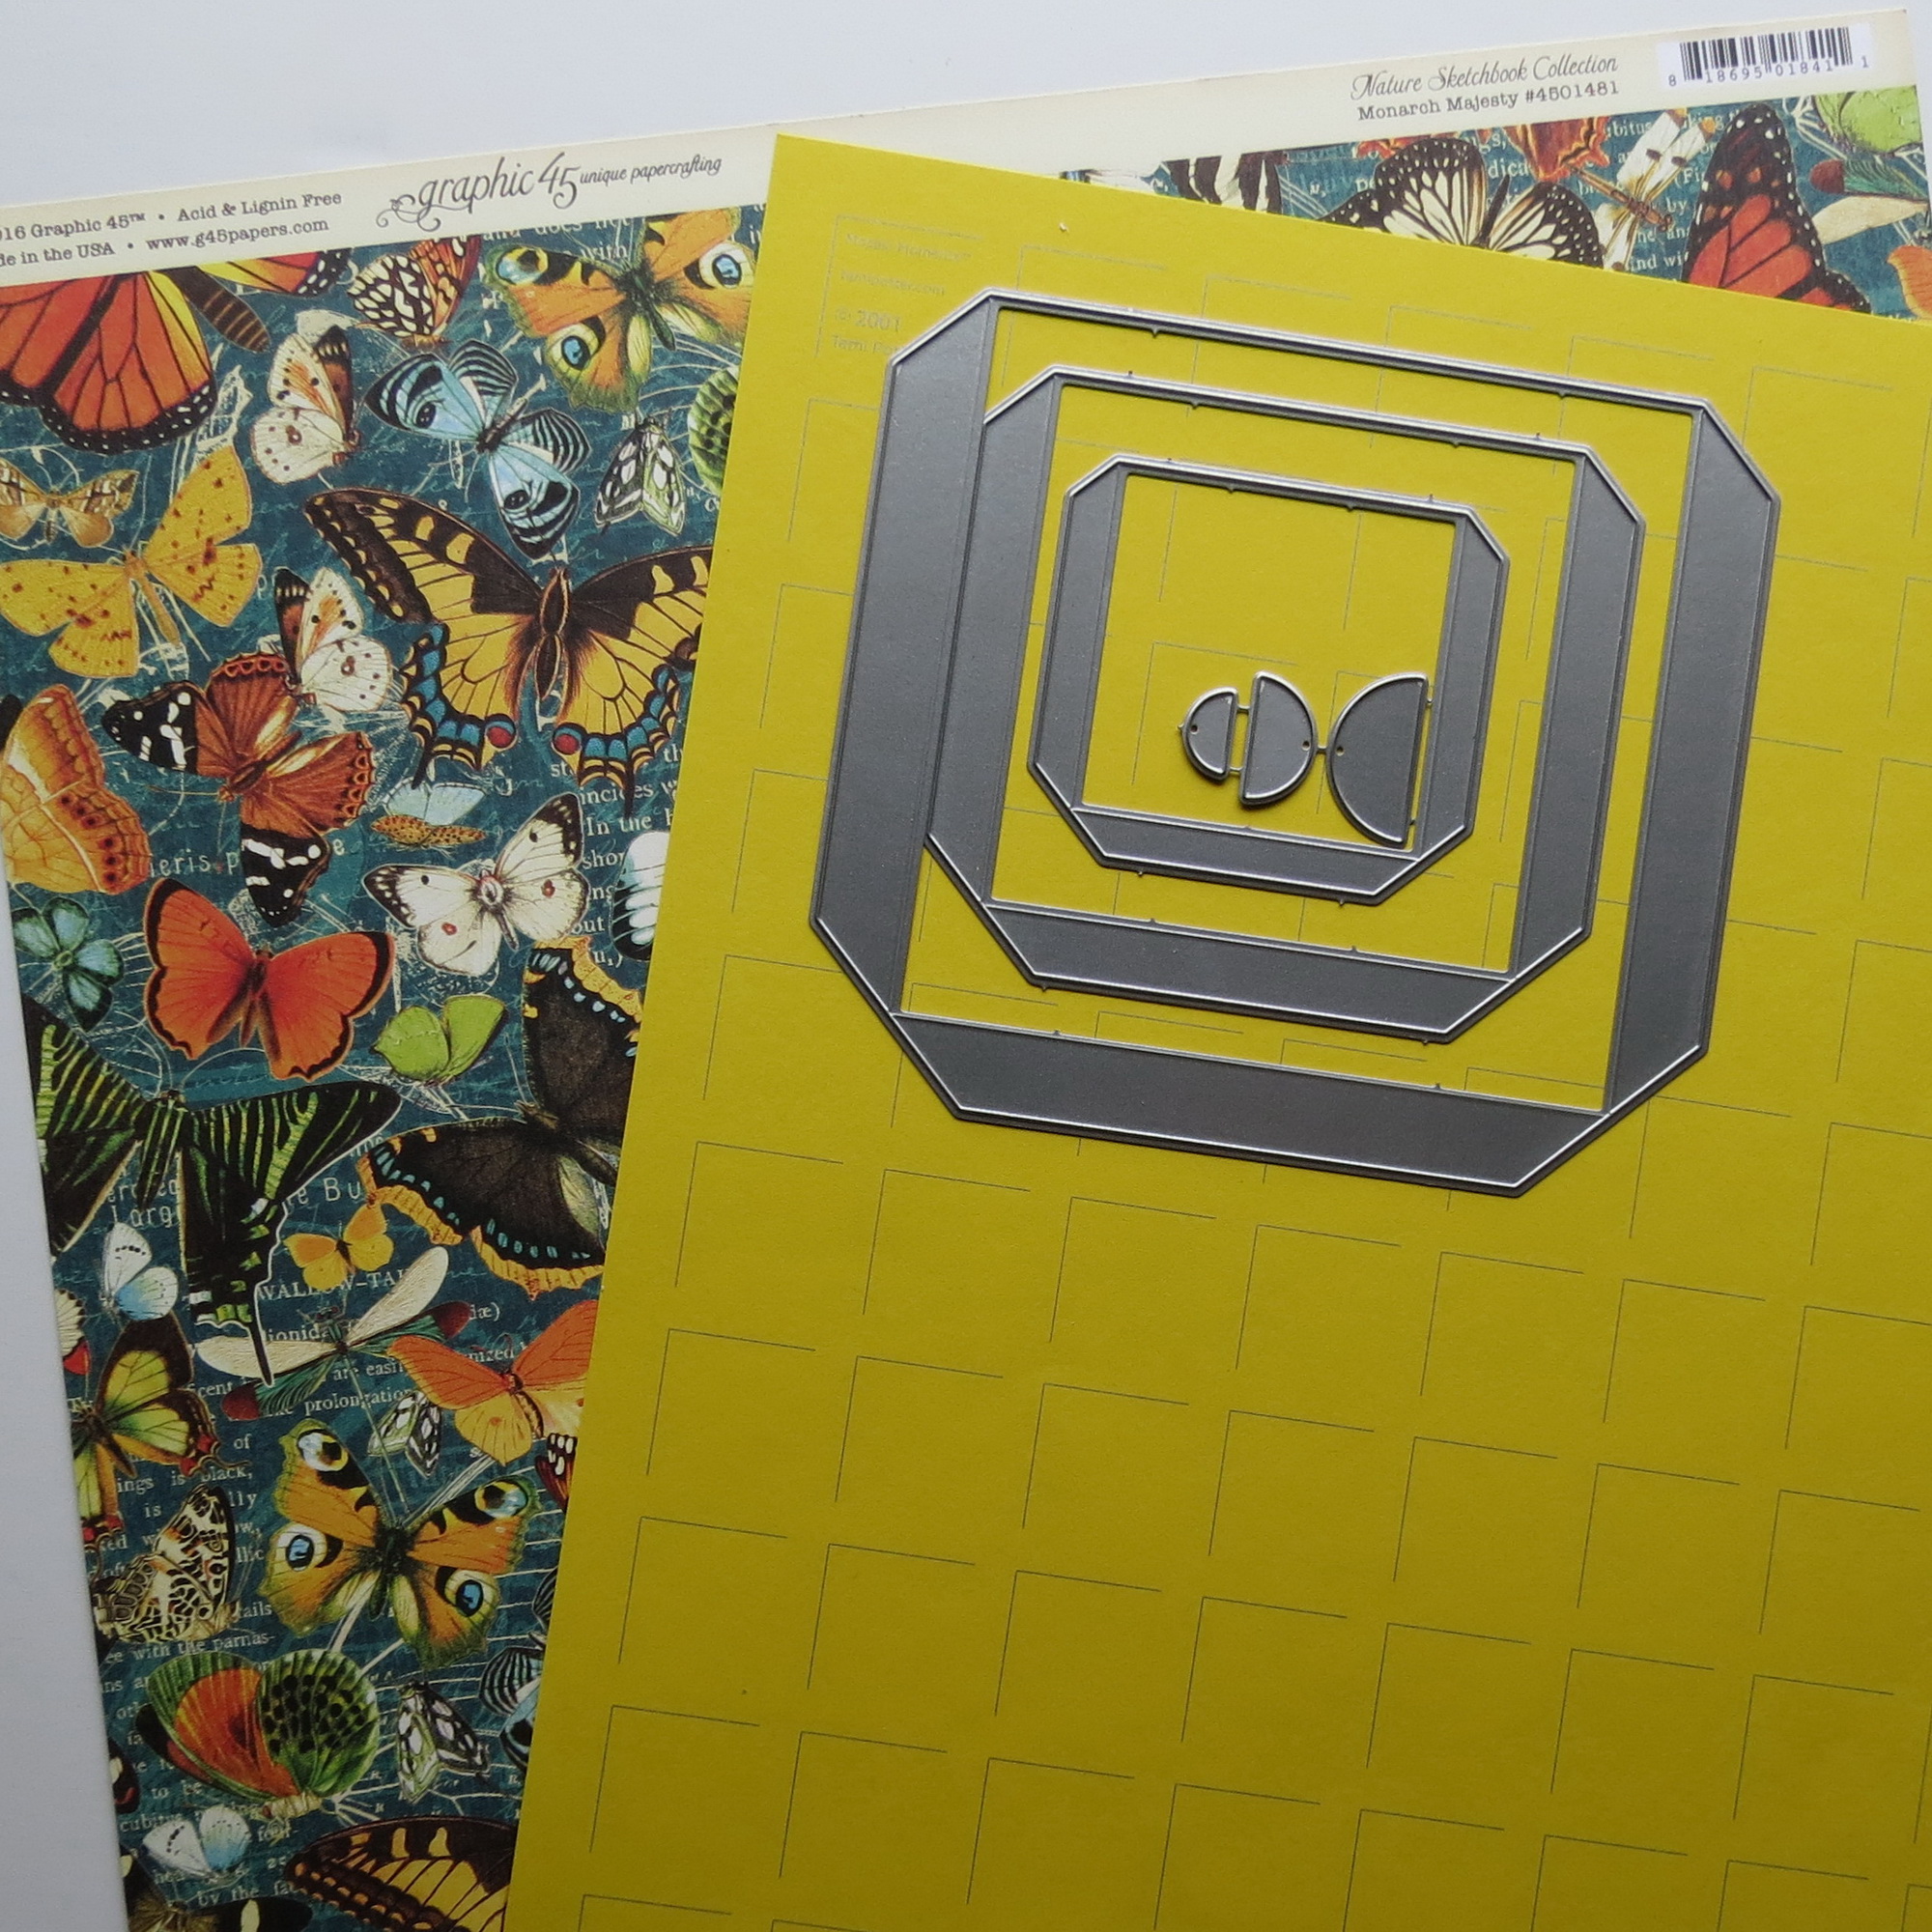
Mosaic Moments Nested Pockets Die Set and Sunshine Grid Paper
Here’s what we’ll cover:
• A Step-by-Step on How to Use the Nested Pocket Die
• Using the pockets in a layout
Let’s Begin with a Step-by-Step on:
How to Use the Nested Pocket Die Set
I’m going to show you a few quick tips for using the new Nested Pockets Die Set. I’ve previously used a pocket die (Papertrey Ink) on my layouts, but with that I had to use another paper tile to mount it on to fit to the grid. Now Tami has brought us a die that will fit right to the grid in three sizes to cover a 2×2, 3×3 and a 4×4 block area! Pattern #262 will allow me to use both the 3×3 and 4×4.
Mosaic Moments Nested Pockets Die Set and Sunshine Grid Paper Natures Sketchbook Graphic 45
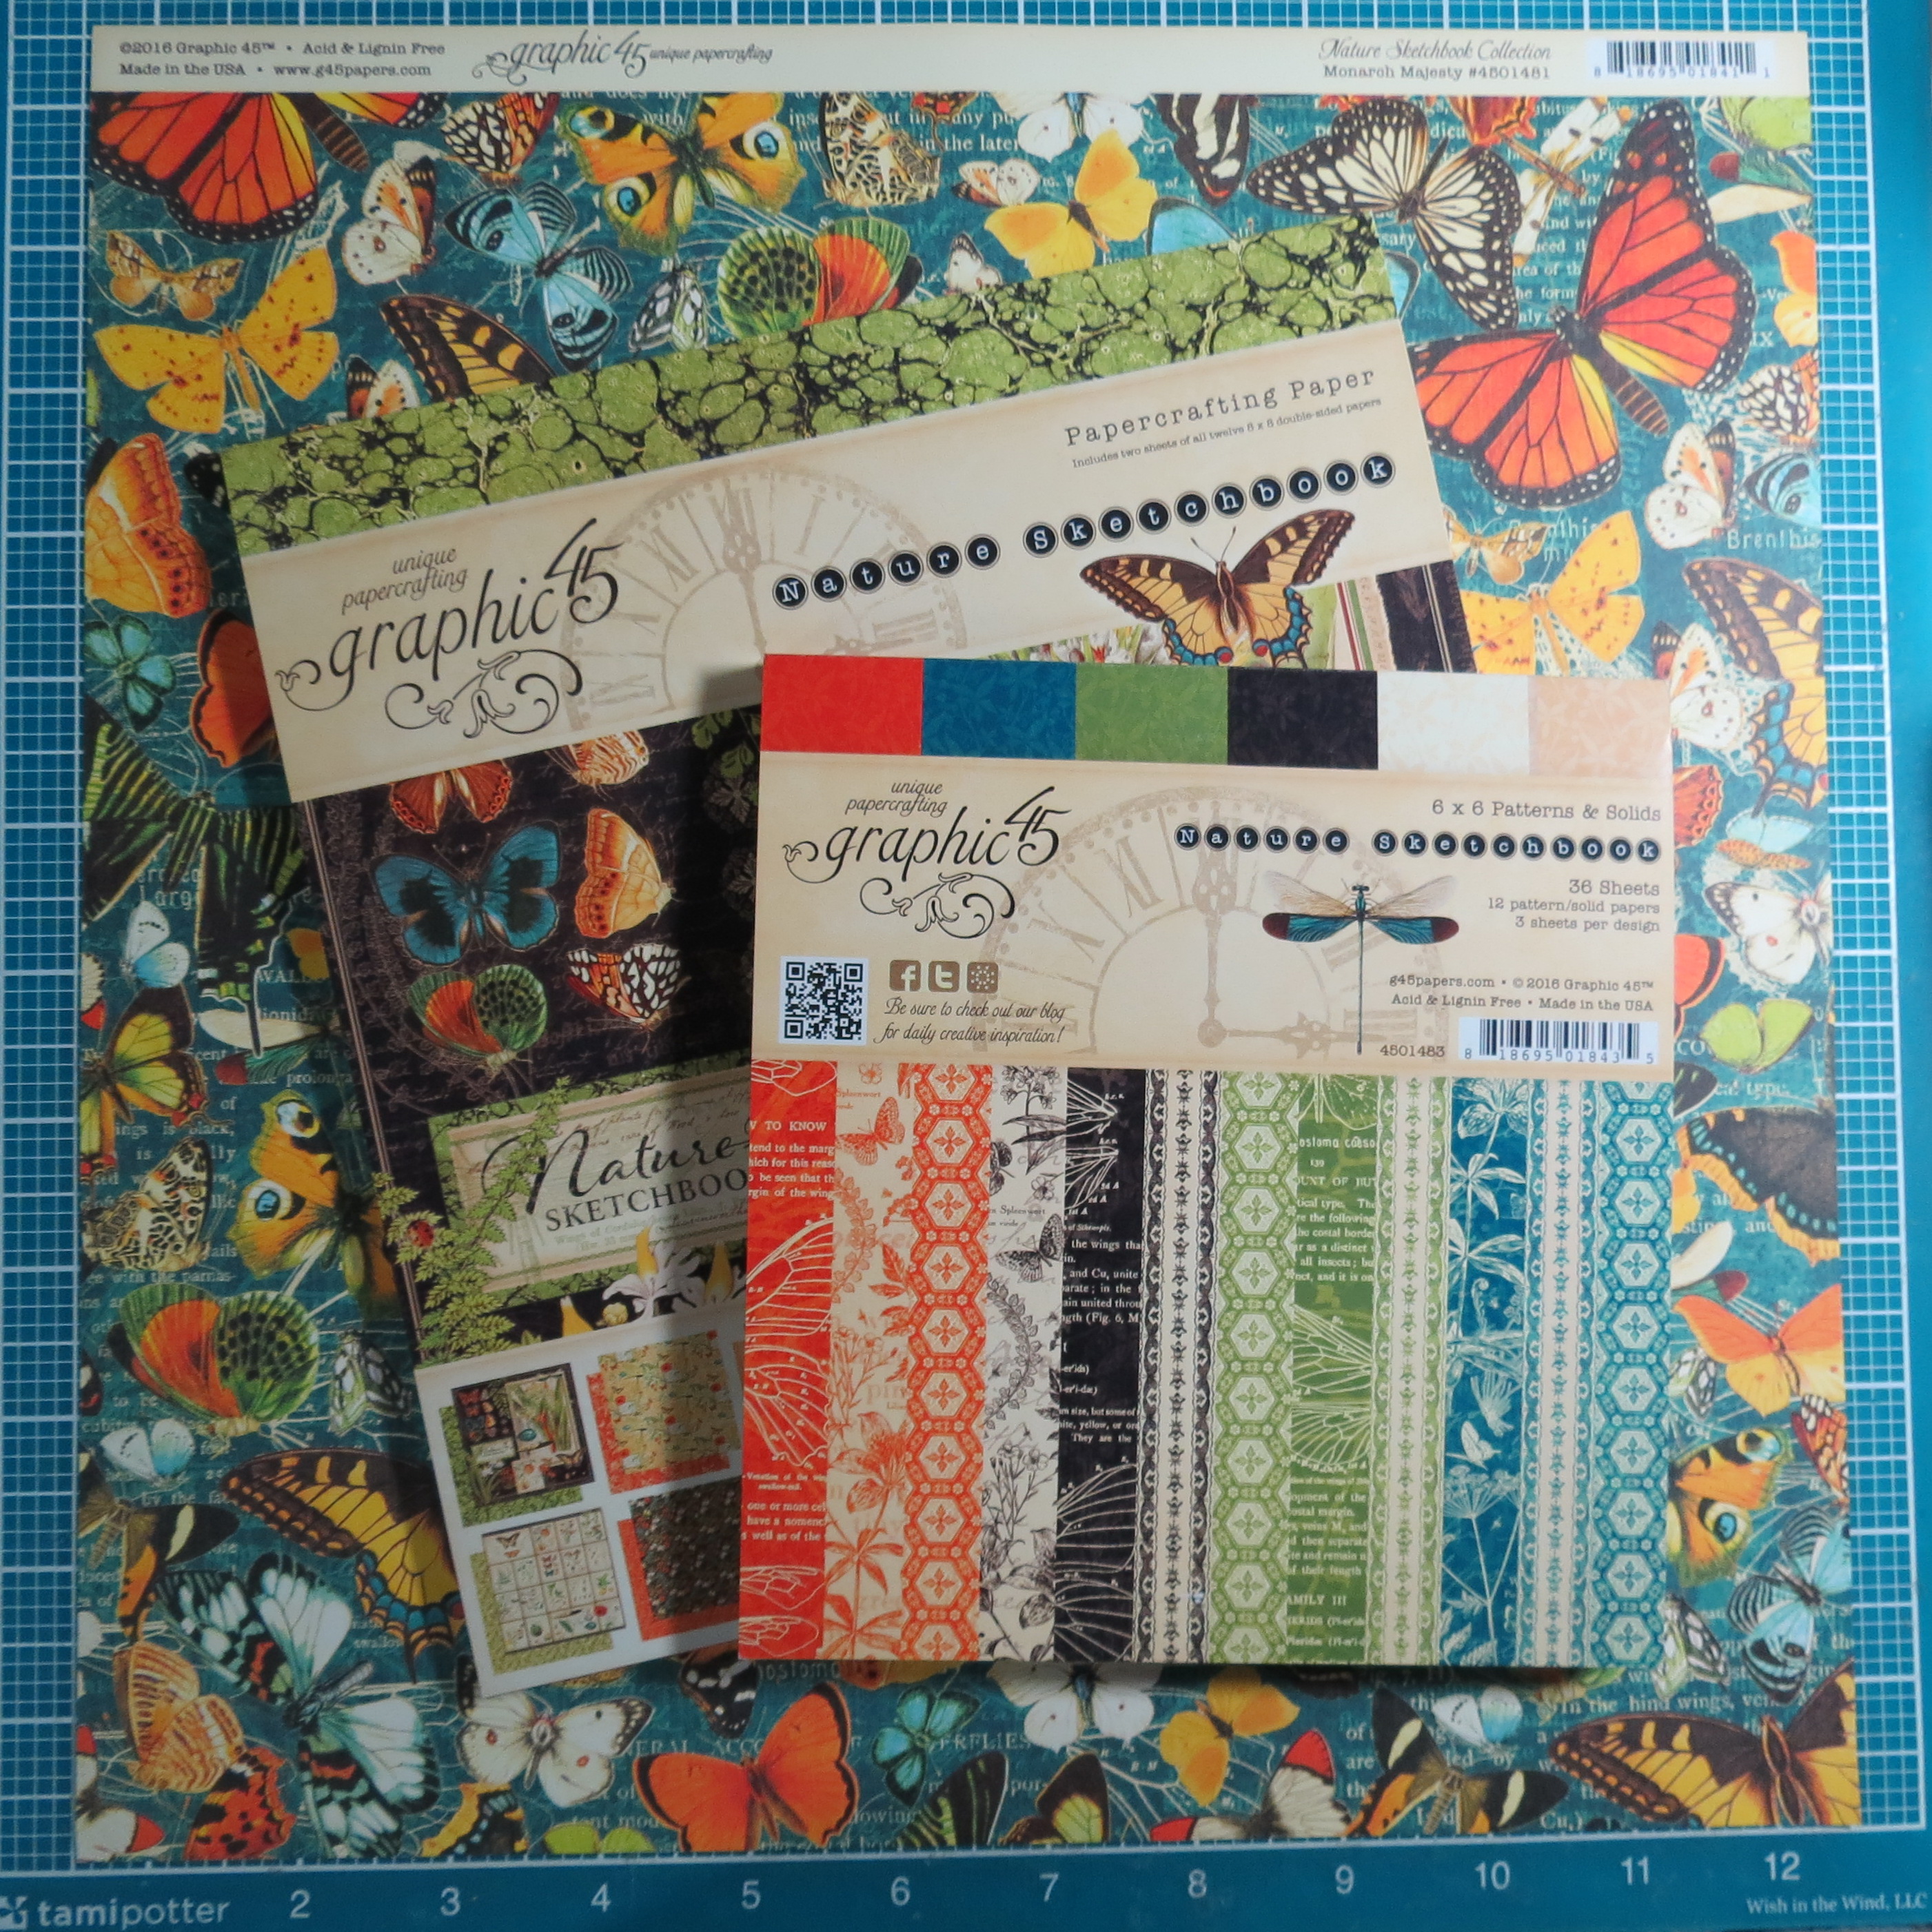
Graphic 45 Natures Sketchbook products used on this layout
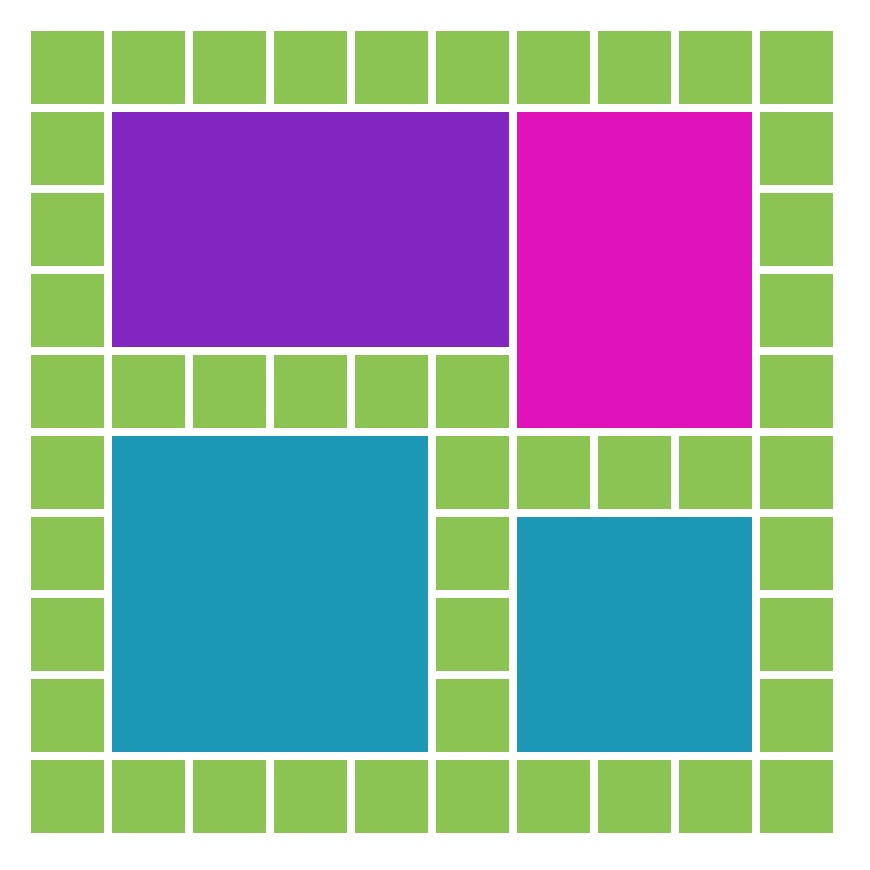
Mosaic Moments Pattern #262
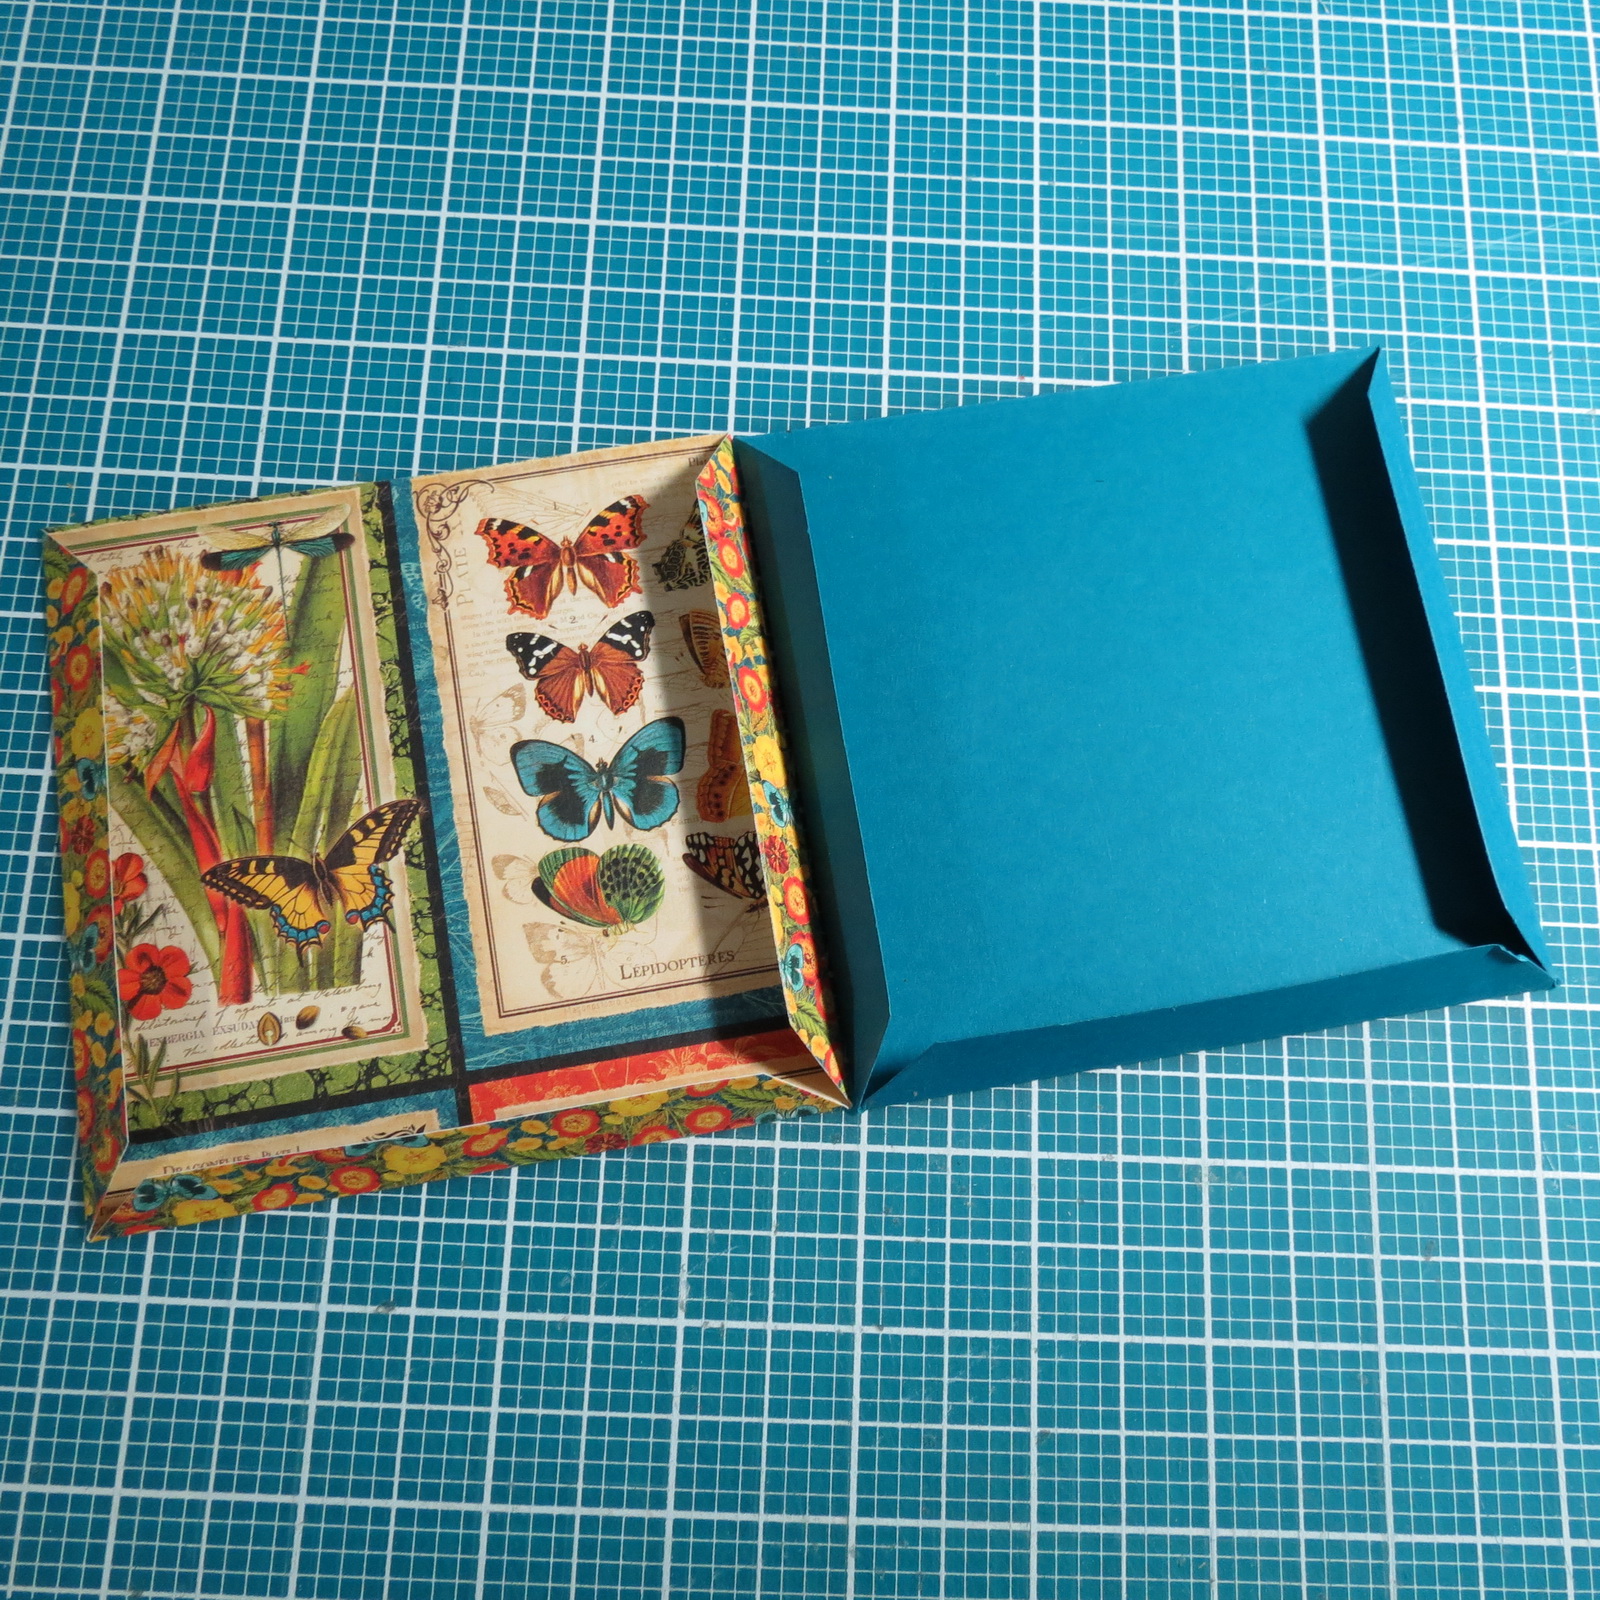
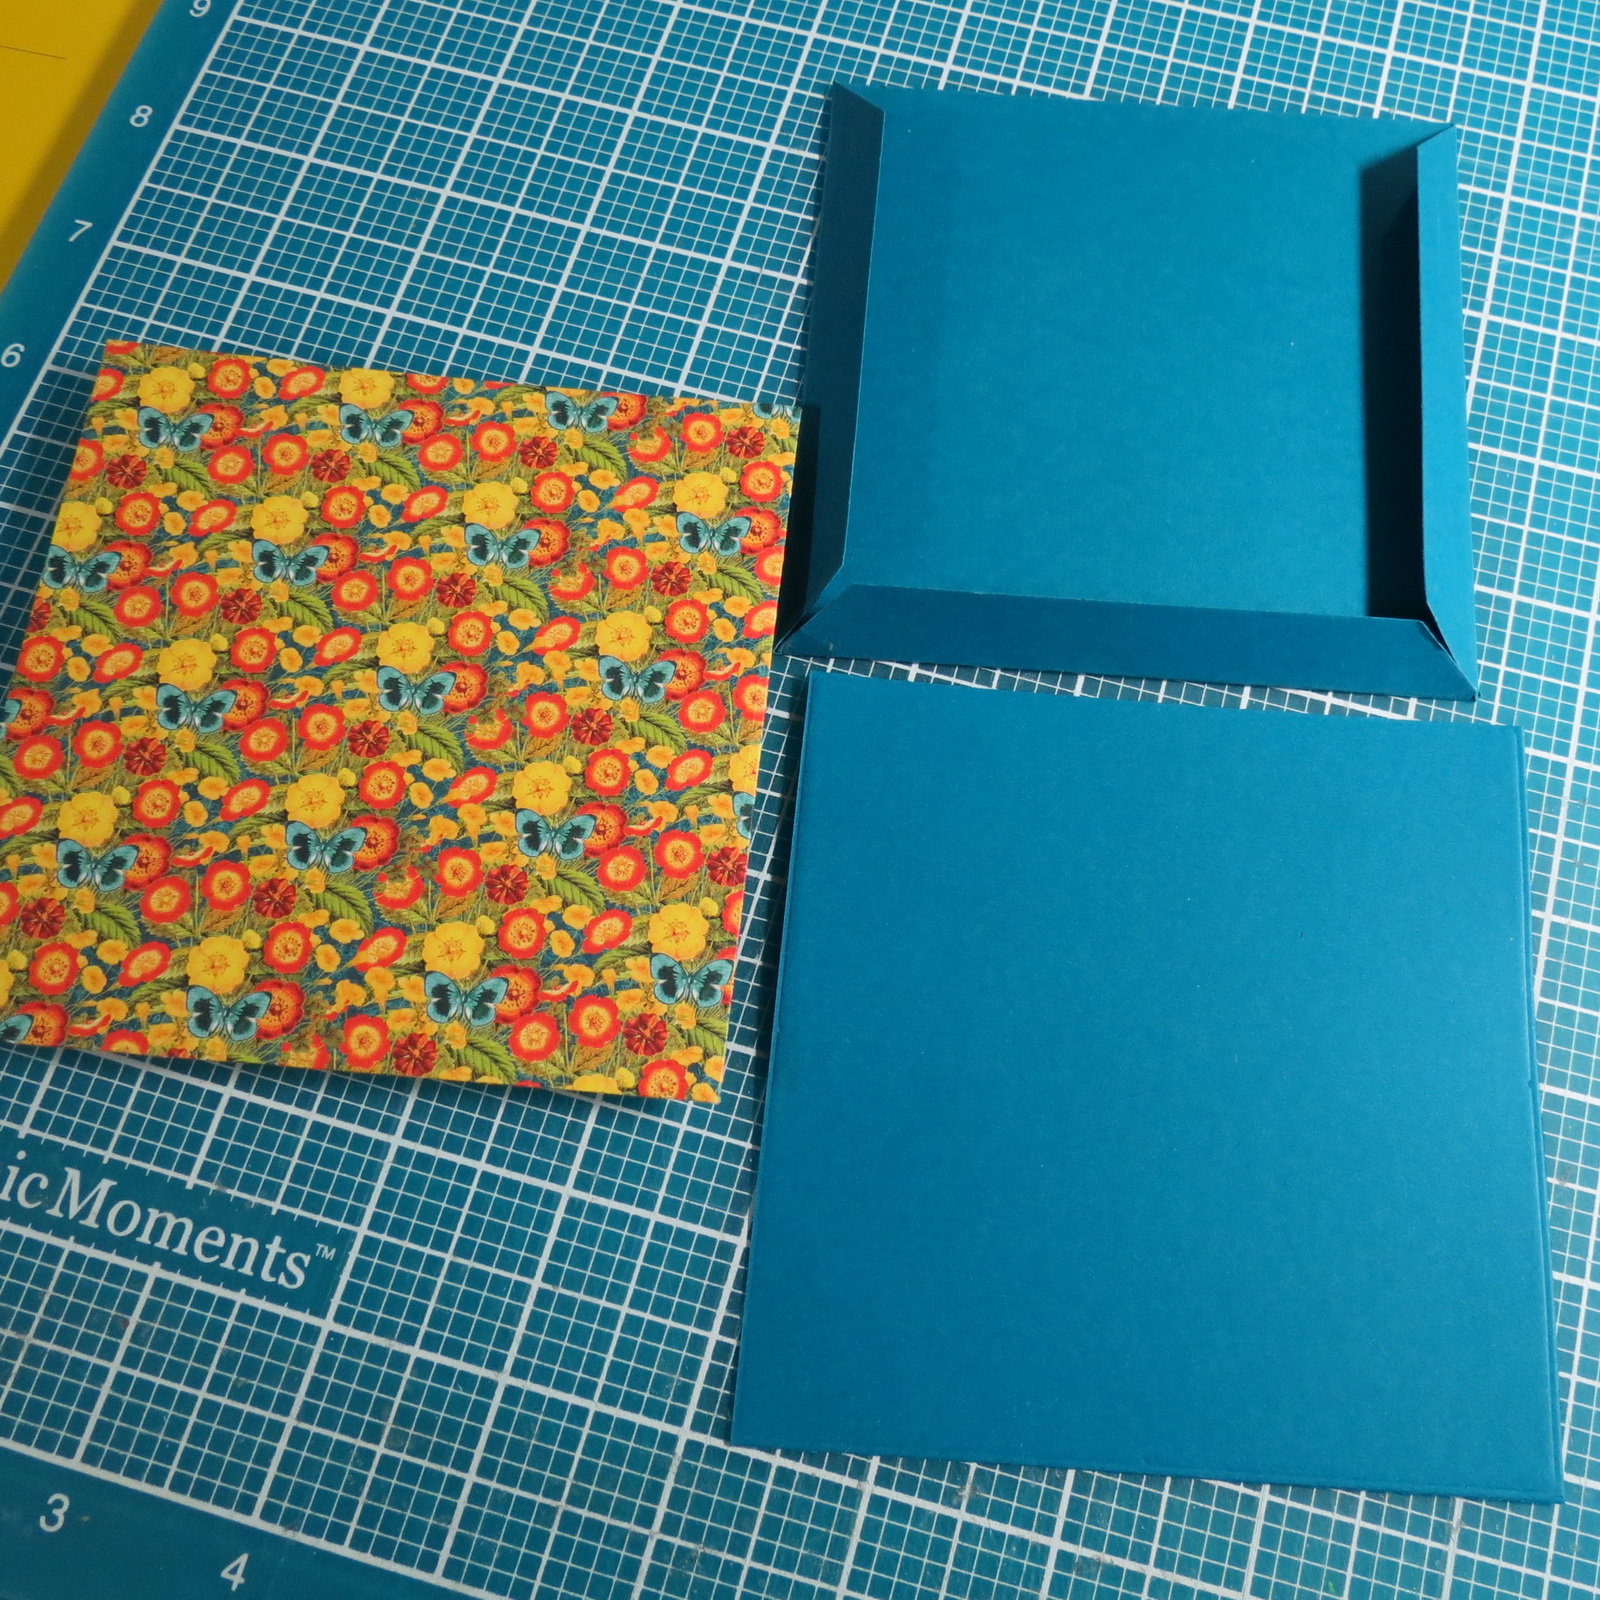
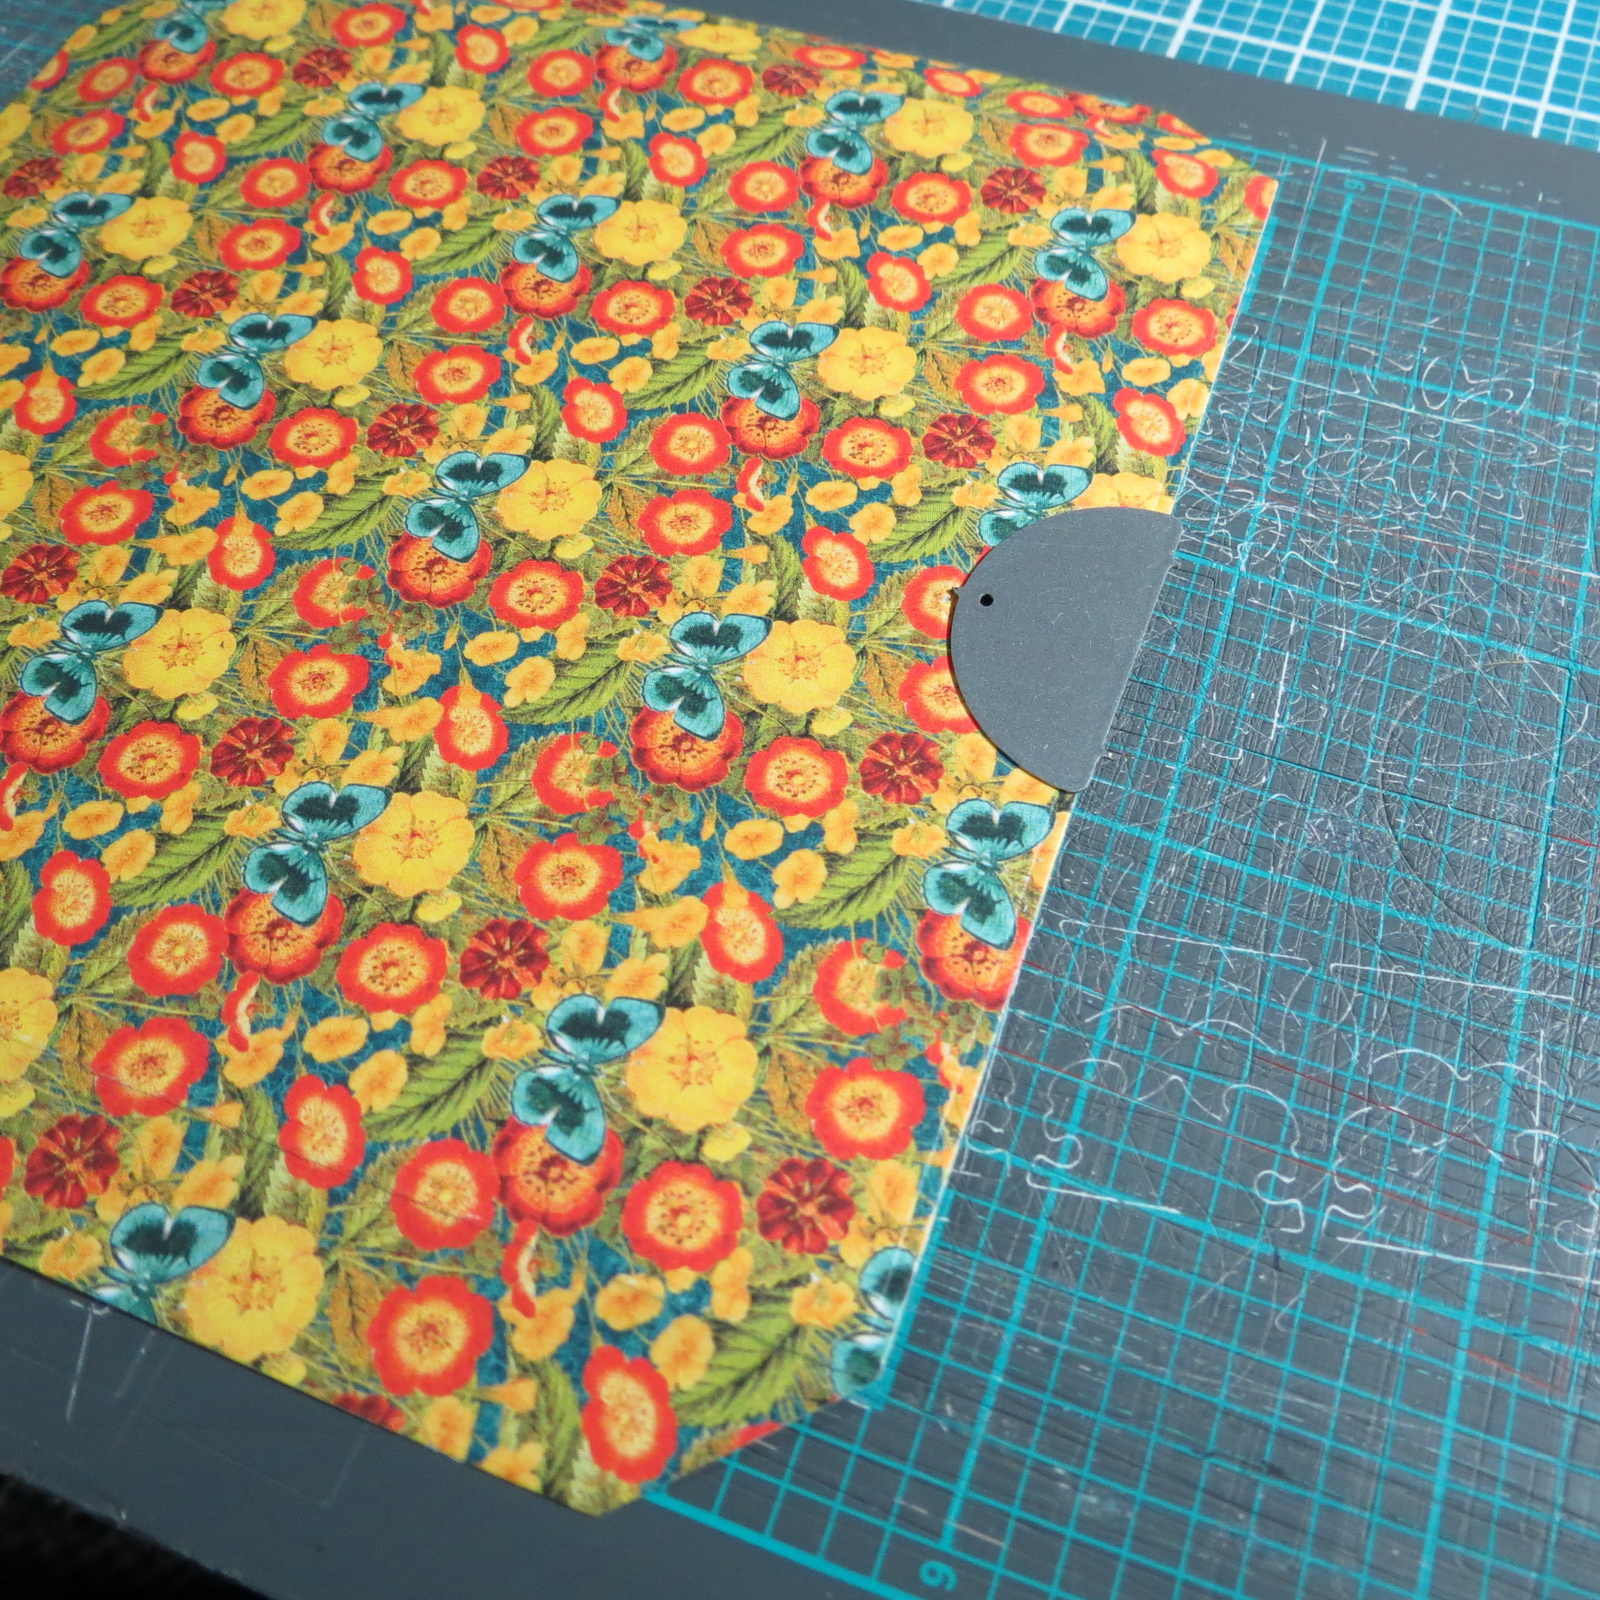
1. For my page I wanted to incorporate as many of the coordinating papers from the Graphic 45 Nature Sketchbook so I chose one of the patterns papers in the 8×8 size of double sided papers to cut my pocket out. I’ve also cut one in teal so that you can see the lines more easily. These lines are your score lines and you will fold along the score line and if you have a bone folder, use it to make a sharp flat edge. If not you will need run your nail along the edge several times for a nice crisp and flat surface.

Mosaic Moments Nested Pockets Die Set cut and scored ready to crease and attach
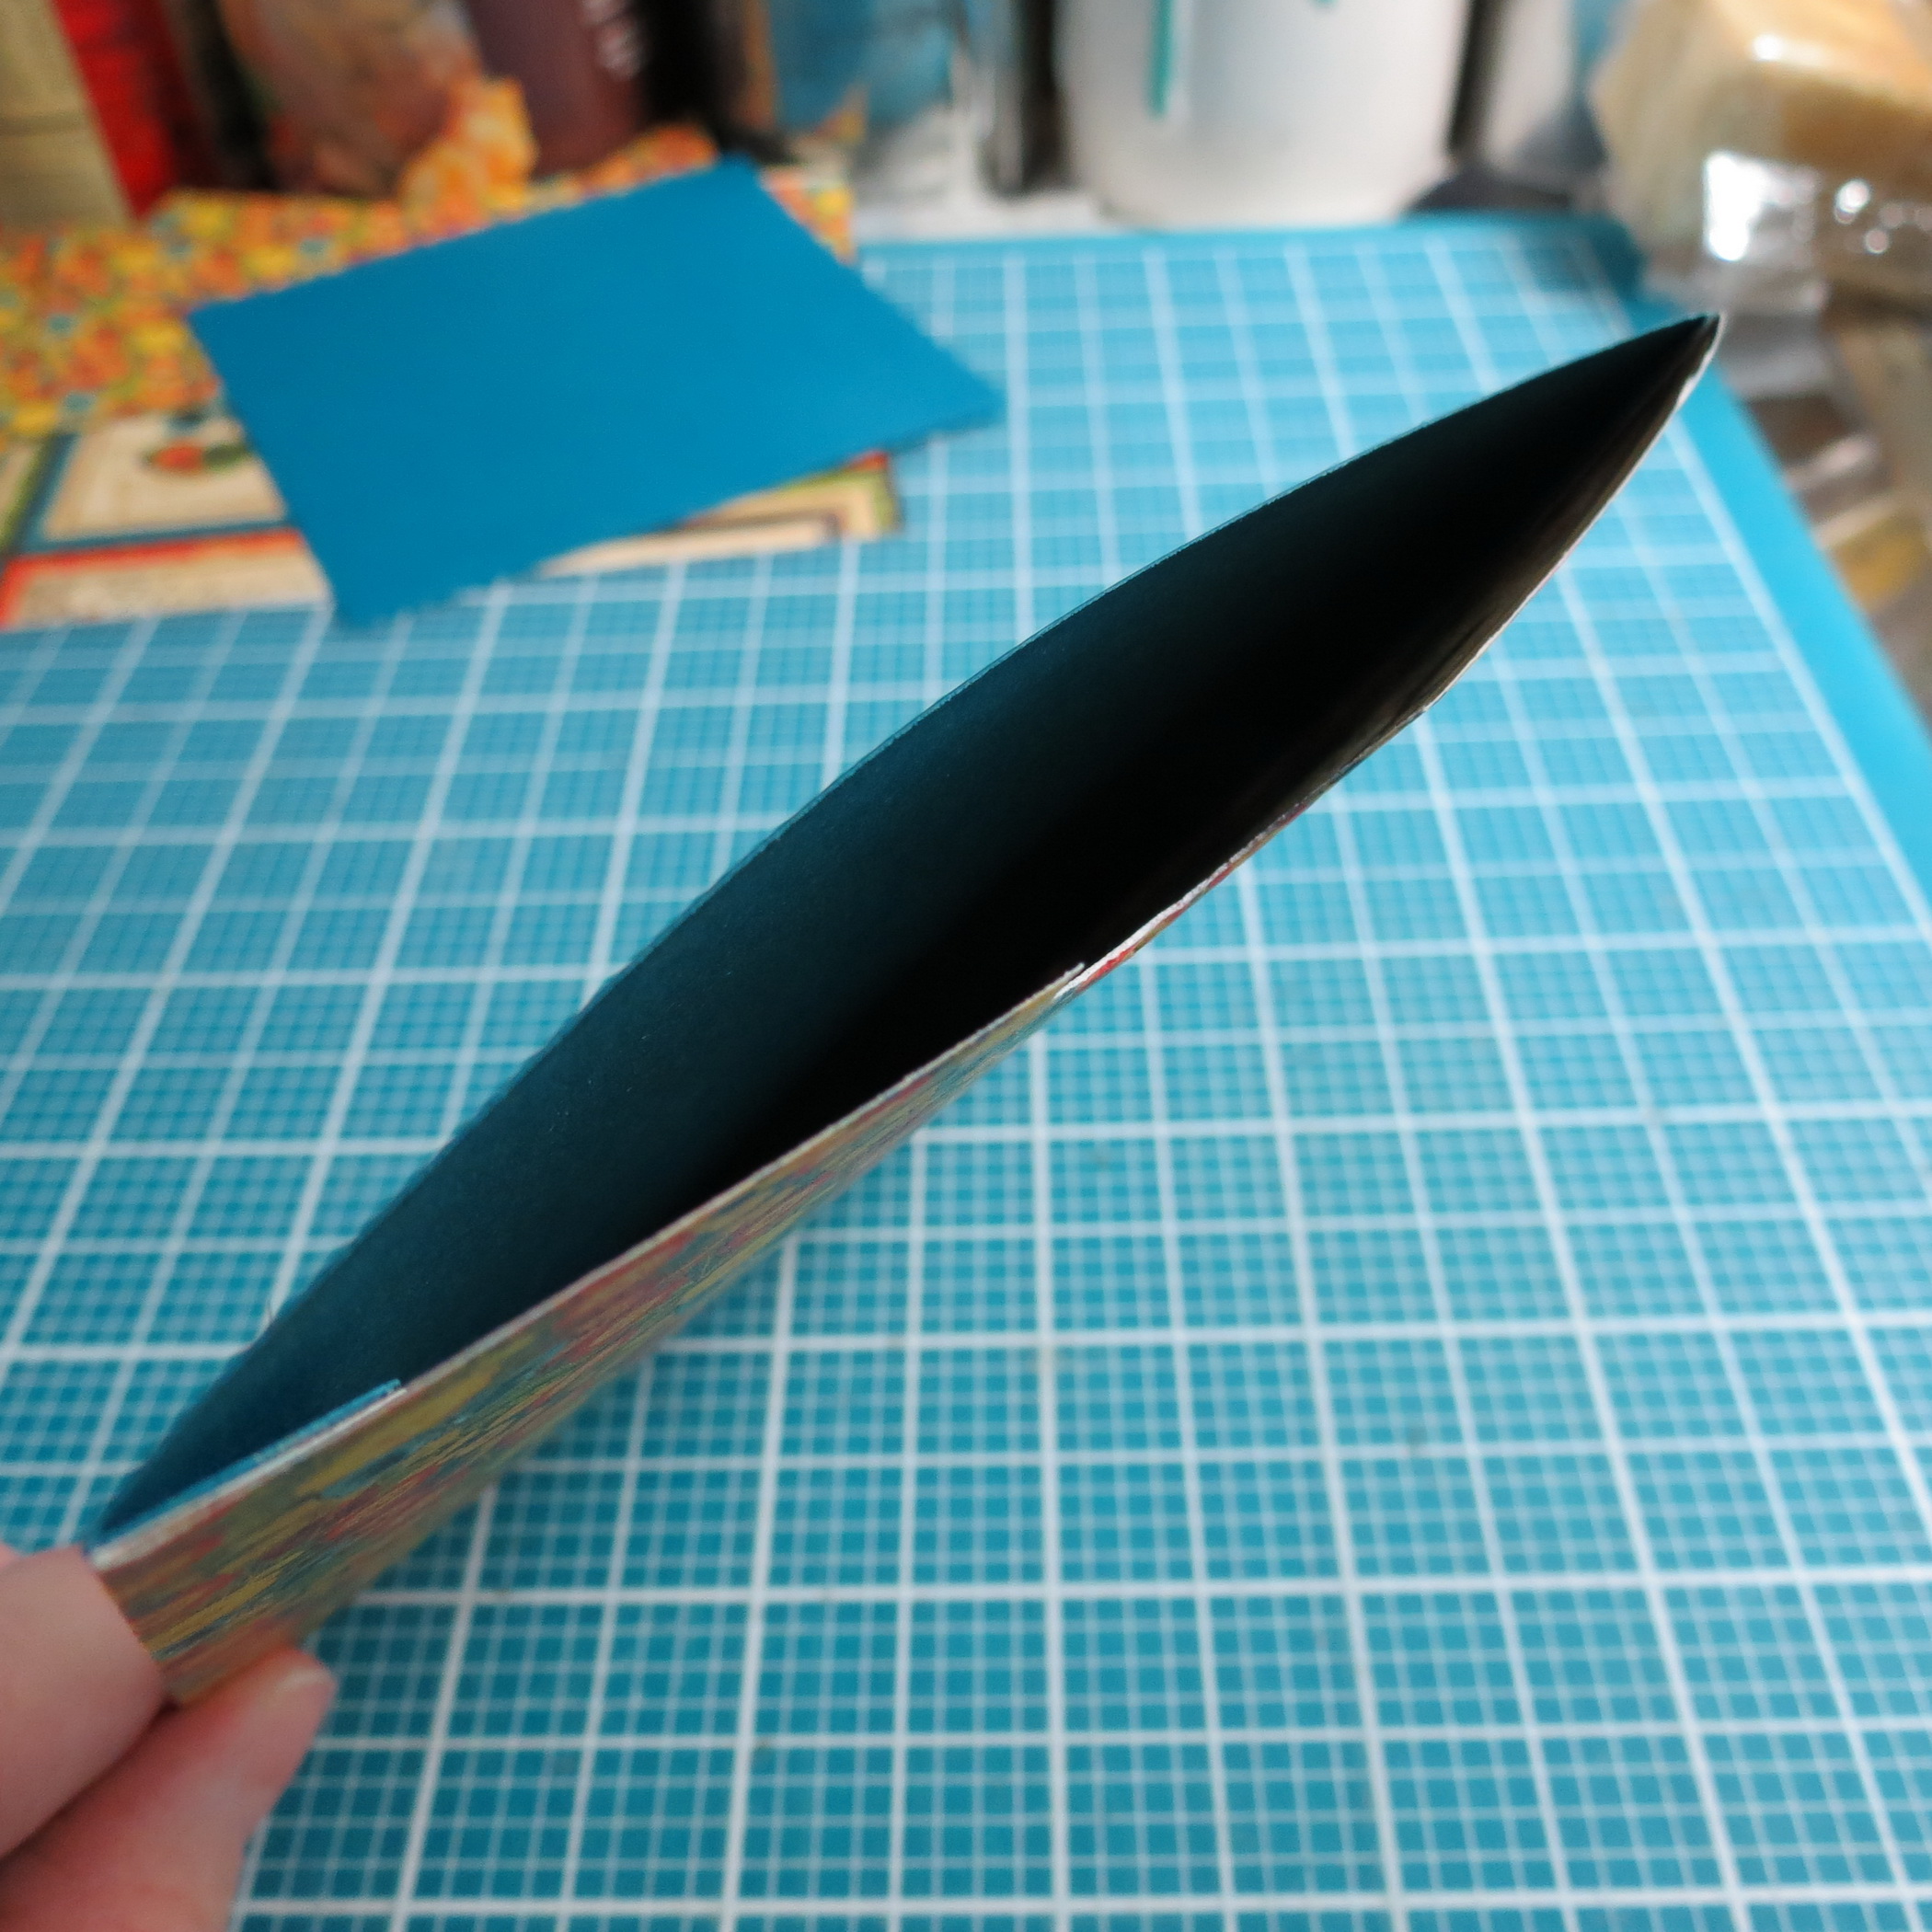
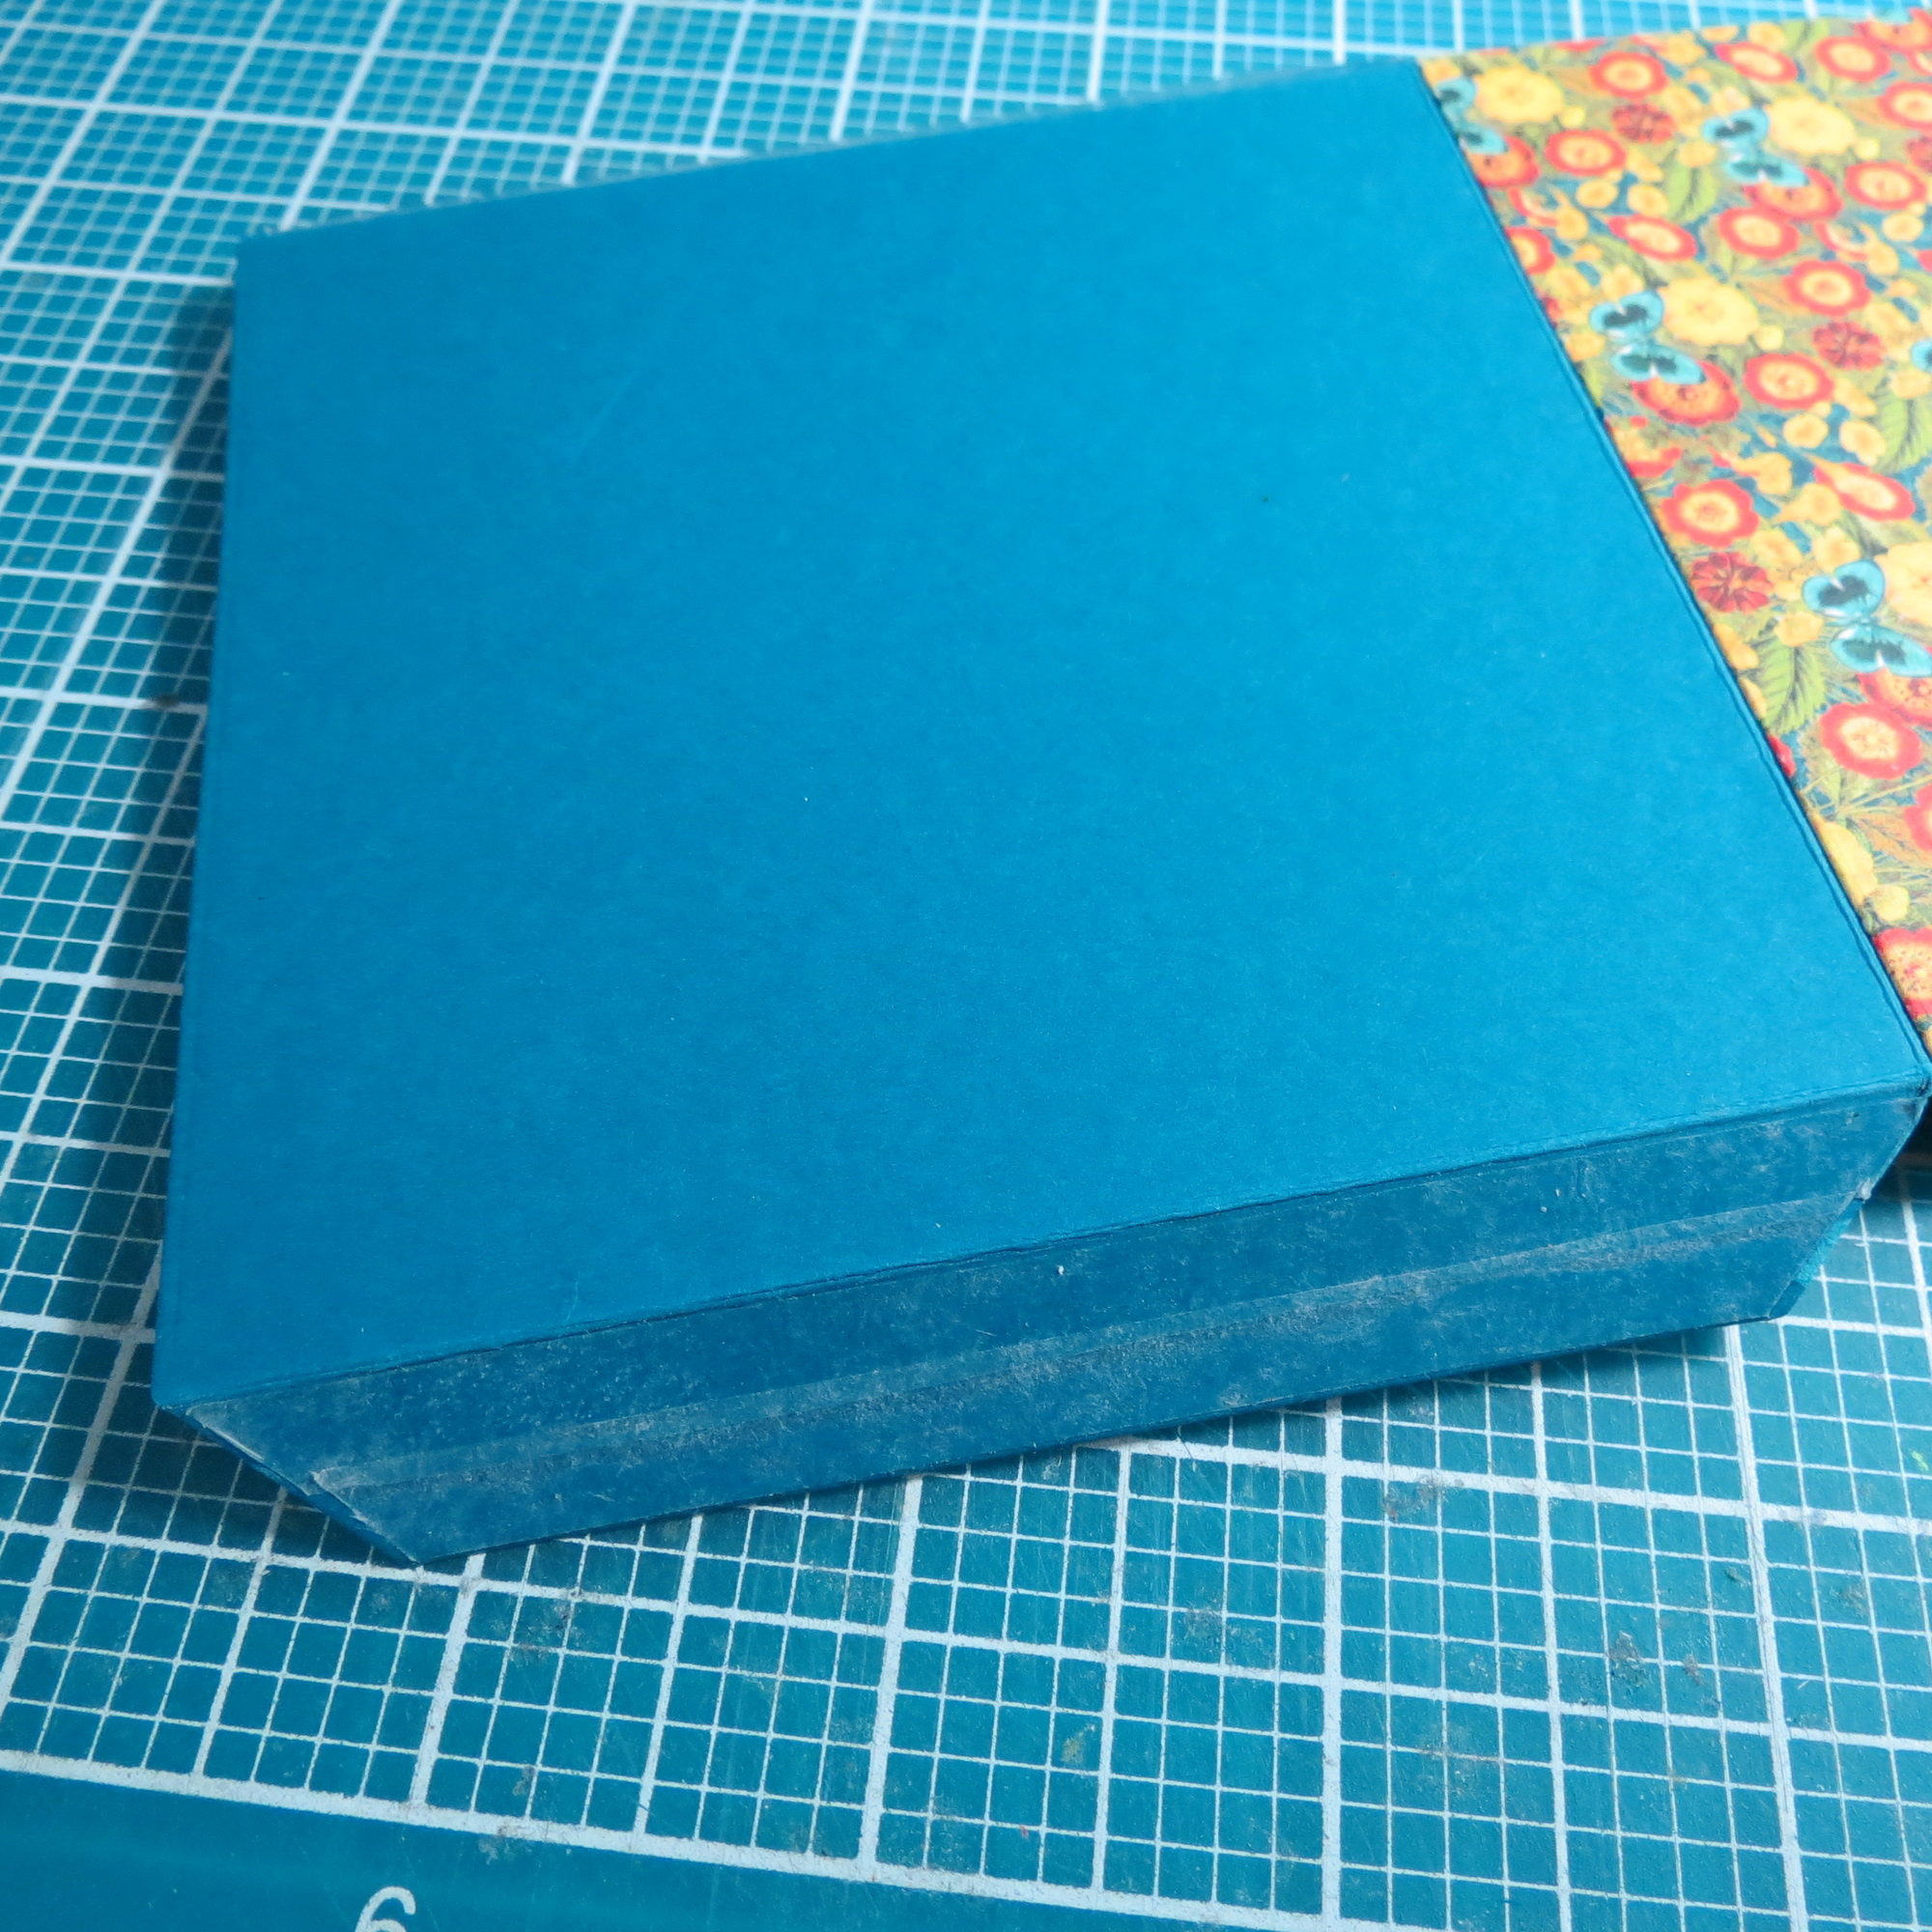
Mosaic Moments Nested Pocket dies creased and ready to attach
You now have three choices:
• Attach directly to the grid
• Attach a 2×2, 3×3 or 4×4 paper tile to the back of your pocket and then to the grid or
• Create a second pocket and attach them back to back
Add a second pocket or paper tile to back and then attach to grid
For the smaller 3×3 pocket I intended to use this as a spot for a single tag so a paper tile to the backside is enough room. For the larger 4×4 pocket I put two pockets back to back as this will hold two tags with a total of four photos, it gives it a bit more room.
The space you have when you attach two pockets

Space you have with a single pocket and paper tile backing
2. If you are going to cut a notch with the notch pieces the time to do it is before you begin to assemble your pocket.
Center the notch die and cut before assembling
3. Use a strong adhesive tape to hold the pocket together or potentially it will come apart or fall off the page.
use strong adhesive to assemble pocket
4. If you are attaching a second pocket to the backside of the first, begin at the bottom. Place the pockets face down, align the bottom tabs and apply pressure to join together. Repeat for the sides, one at a time, making sure they match.
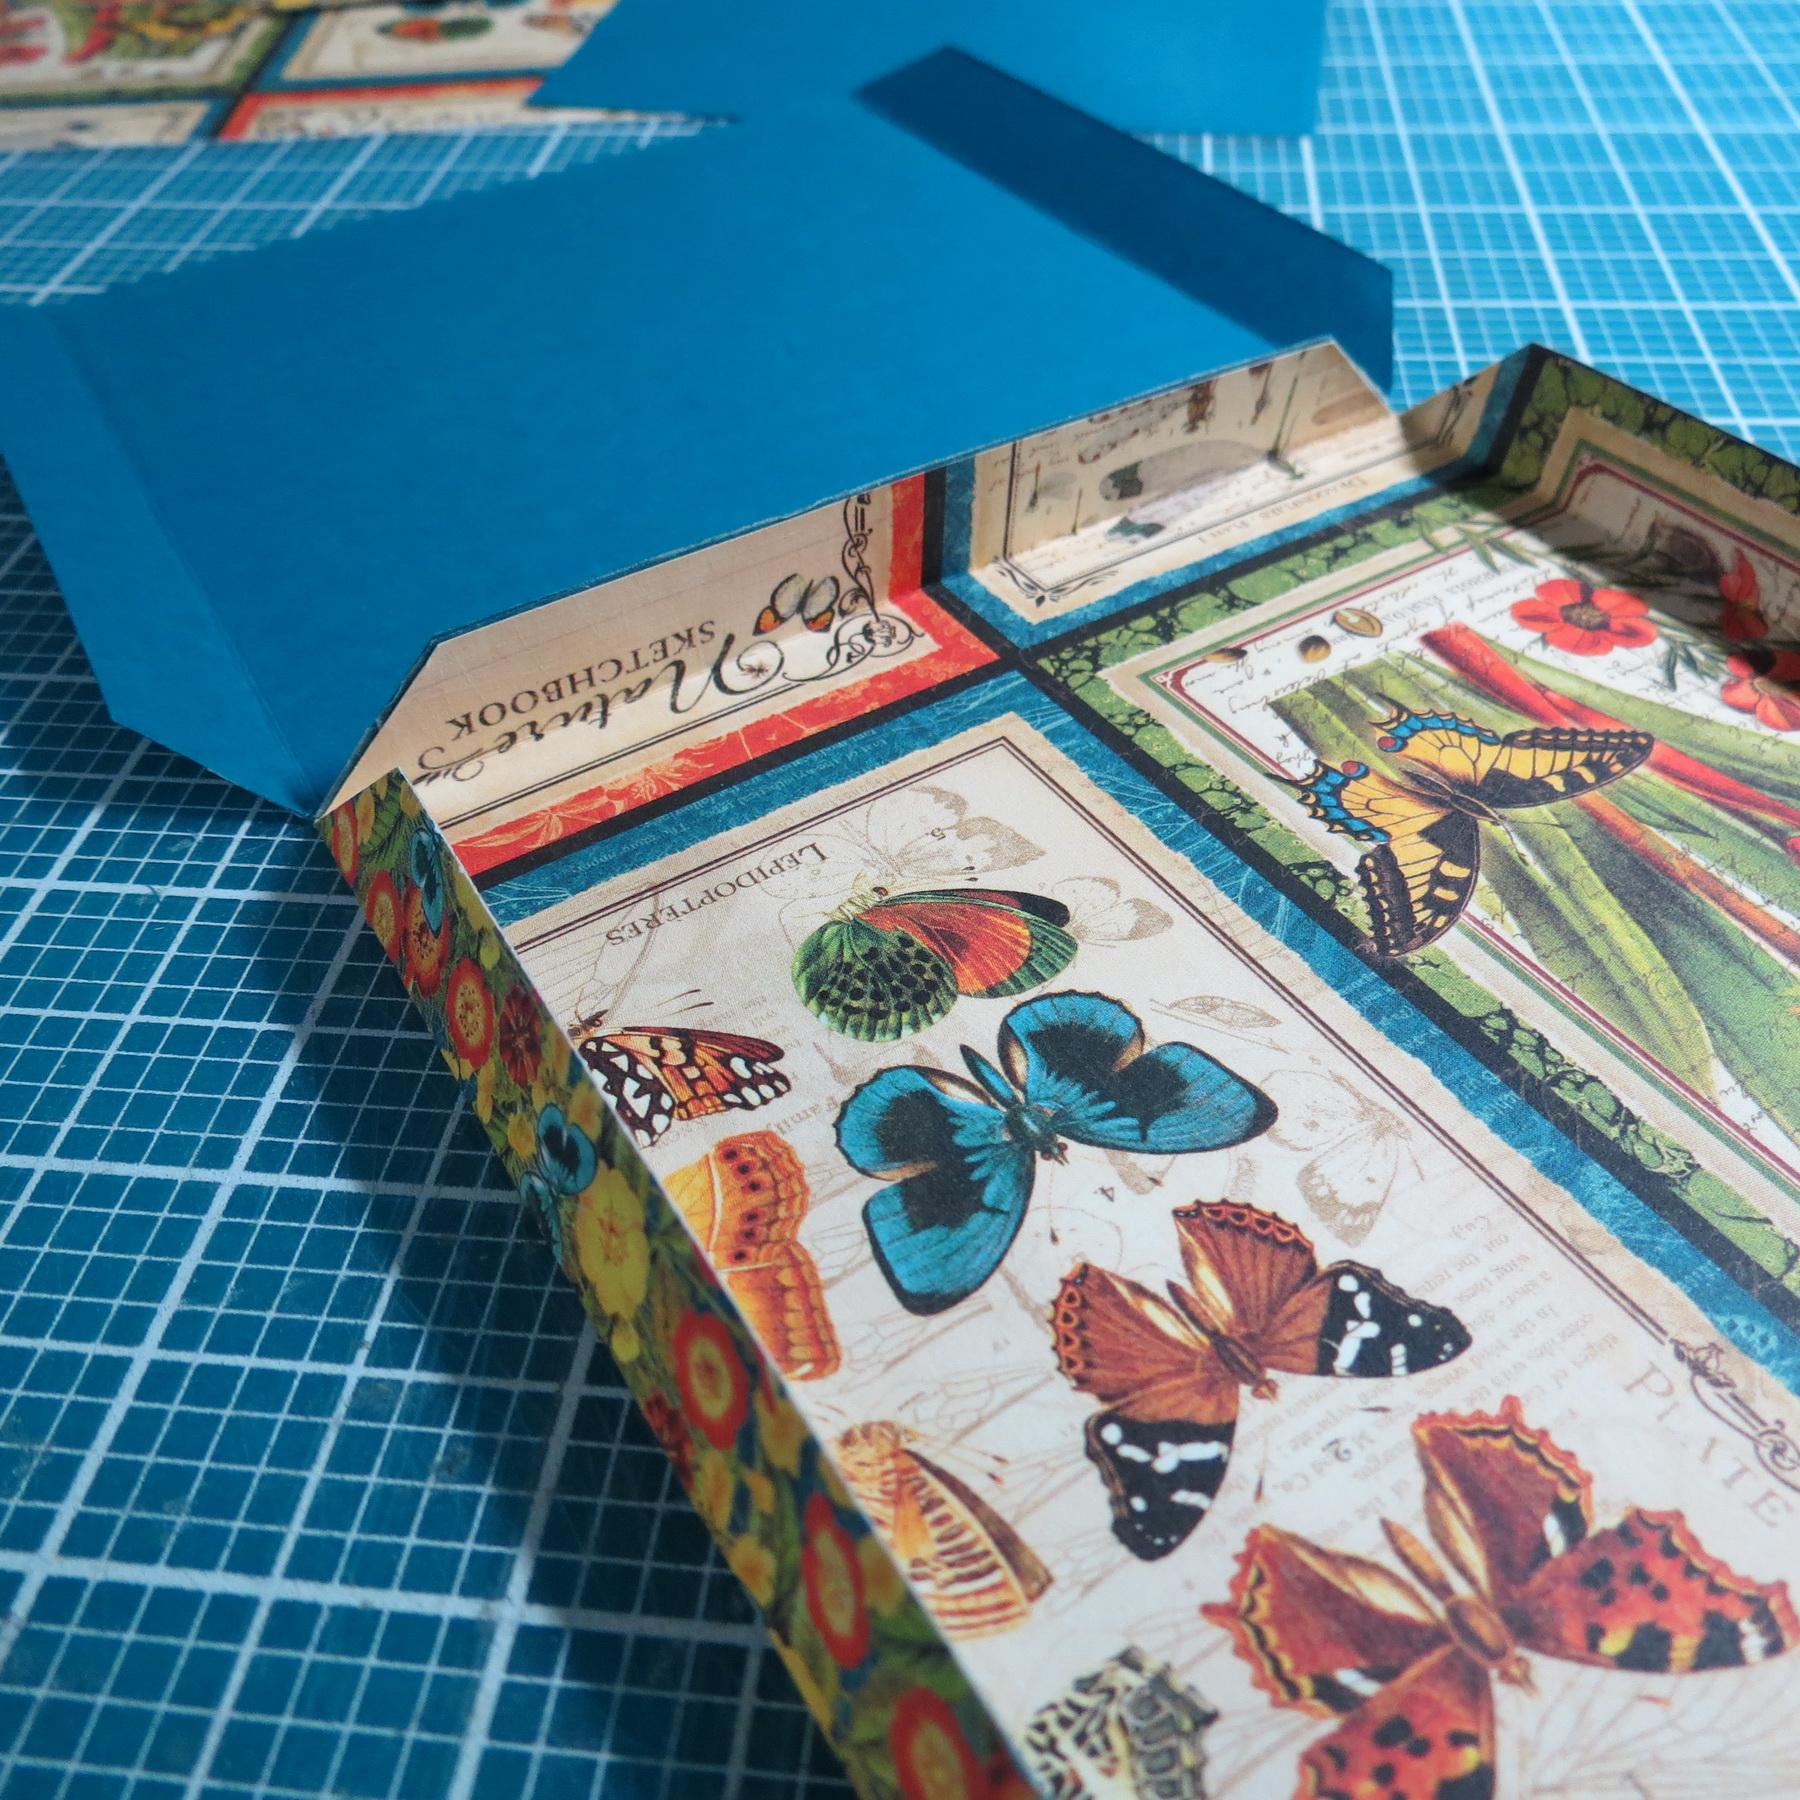
Face down, bottom tab to bottom tab
5. For attaching the pocket to a paper tile backing, all you really need to do is make sure you’ve scored the folds well, applied a good adhesive to the flaps and line them up carefully. Again when attaching to the grid, make sure you use a good adhesive that will hold up to the potentially frequent removal of whatever is in your pockets.
6. For attaching directly to the grid, your challenge will be getting it all lined up with the grid marks. A well scored edge will help immensely to get it to lie down smoothly.
Using the Pockets in a Layout
Even though I used Patterned paper for the large pocket, I have attached a photo to the front. I was using 3.5” x 5” photos so they don’t fit the space perfectly and the patterned paper adds a nice base that works with the main paper choices.
Mosaic Moments Nested Pockets Die Set and Sunshine Grid Paper
The smaller 3×3 pocket was made with cardstock and the photo cropped to attach to the top.

Mosaic Moments Nested Pockets Die Set and Sunshine Grid Paper
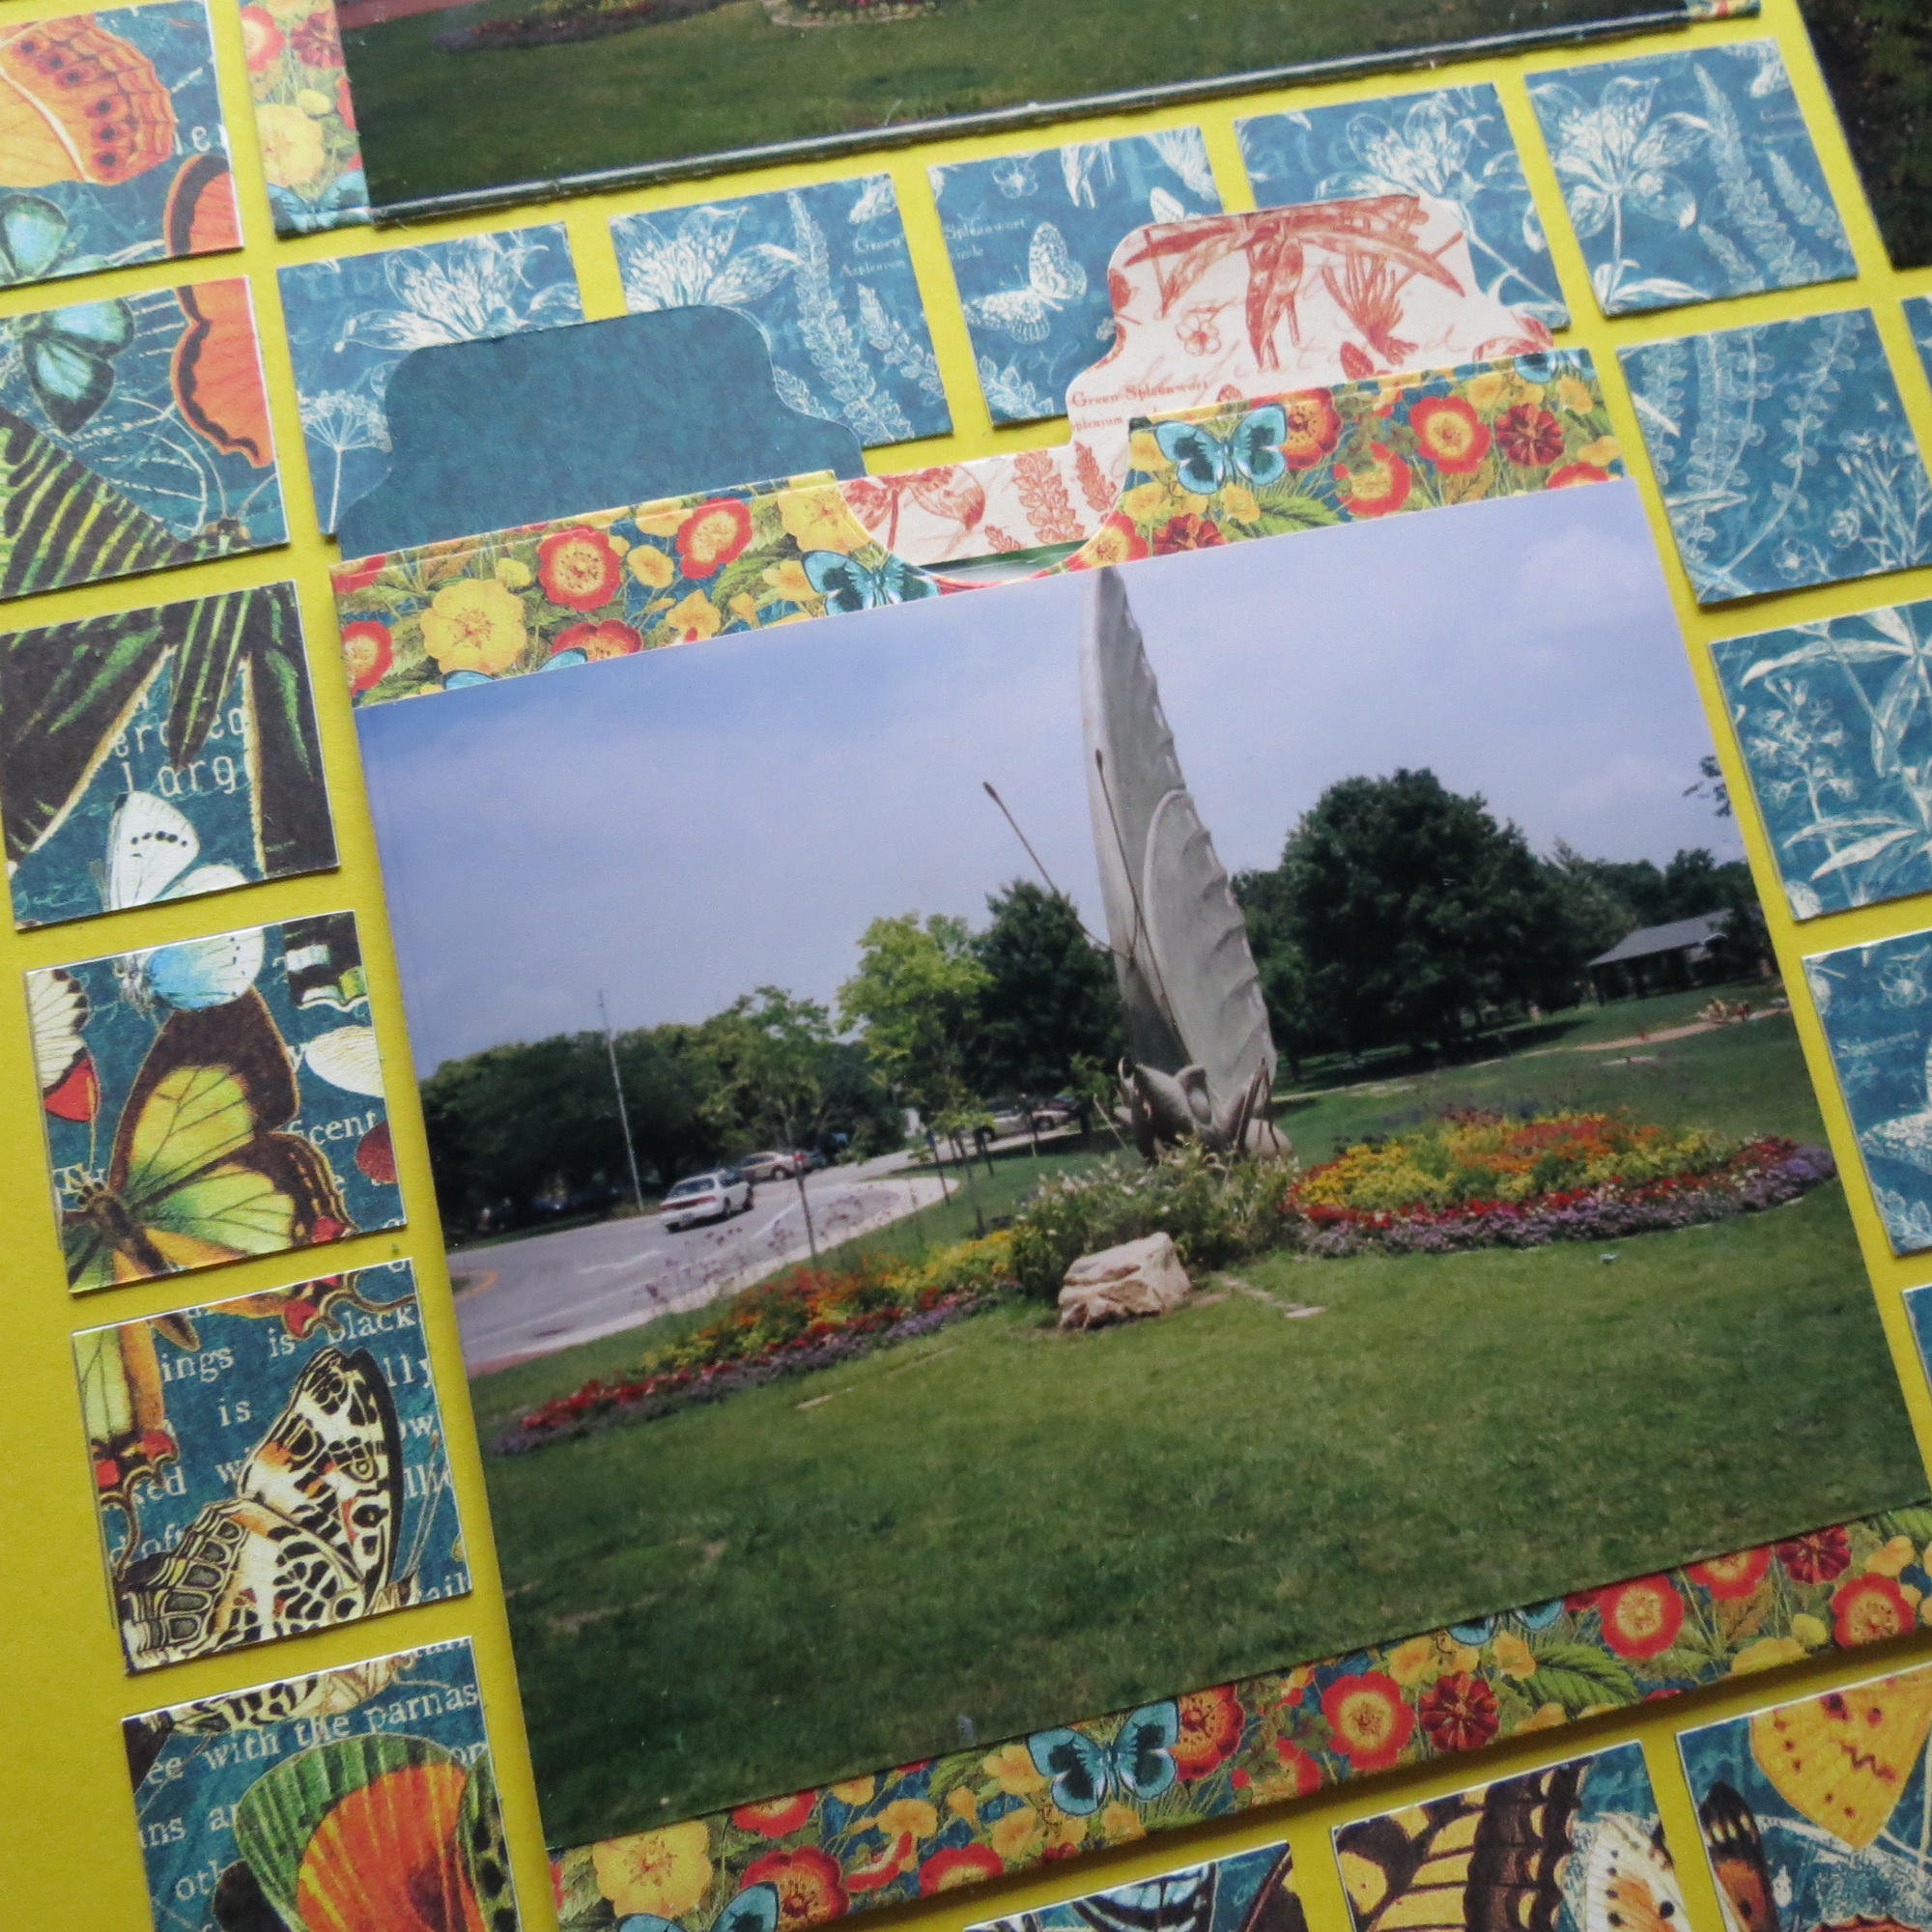
Additional coordinating papers from the Graphic 45 Natures Sketchbook are used for the file tabs. Purchasing the smaller 6×6 or 8×8 packs of patterned paper are a good value. You are able to mix and match and often they will be enough for anything you need for any and all tiles you cut for your layout or continuity for a series of pages with the same subject.
Mosaic Moments Nested Pockets Die Set and Sunshine Grid Paper Tabbed files with photos
Mosaic Moments Nested Pockets Die Set and Sunshine Grid Paper Tabbed files with photos
All the file tabs were created with the We R Memories Tab Punch Board that also rounded the corners of all the tags. Photos and journaling were cut to fit.
Mosaic Moments Nested Pockets Die Set and Sunshine Grid Paper
These are photos that are a bit blurry typical of trying to capture butterflies in flight. They just don’t make the cut for a spot on the grid. Maybe you have a few photos that are just not up to snuff, but you do want to save them, then this might be an idea for you.
Pockets are also great for adding journaling to your page that you don’t want to be “public” maybe it’s a hand written love letter from your Granny to your Granddad you want to keep for a family keepsake, or tickets to a concert, a brochure from a vacation or other ephemera you want to include without making it permanent with adhesive.
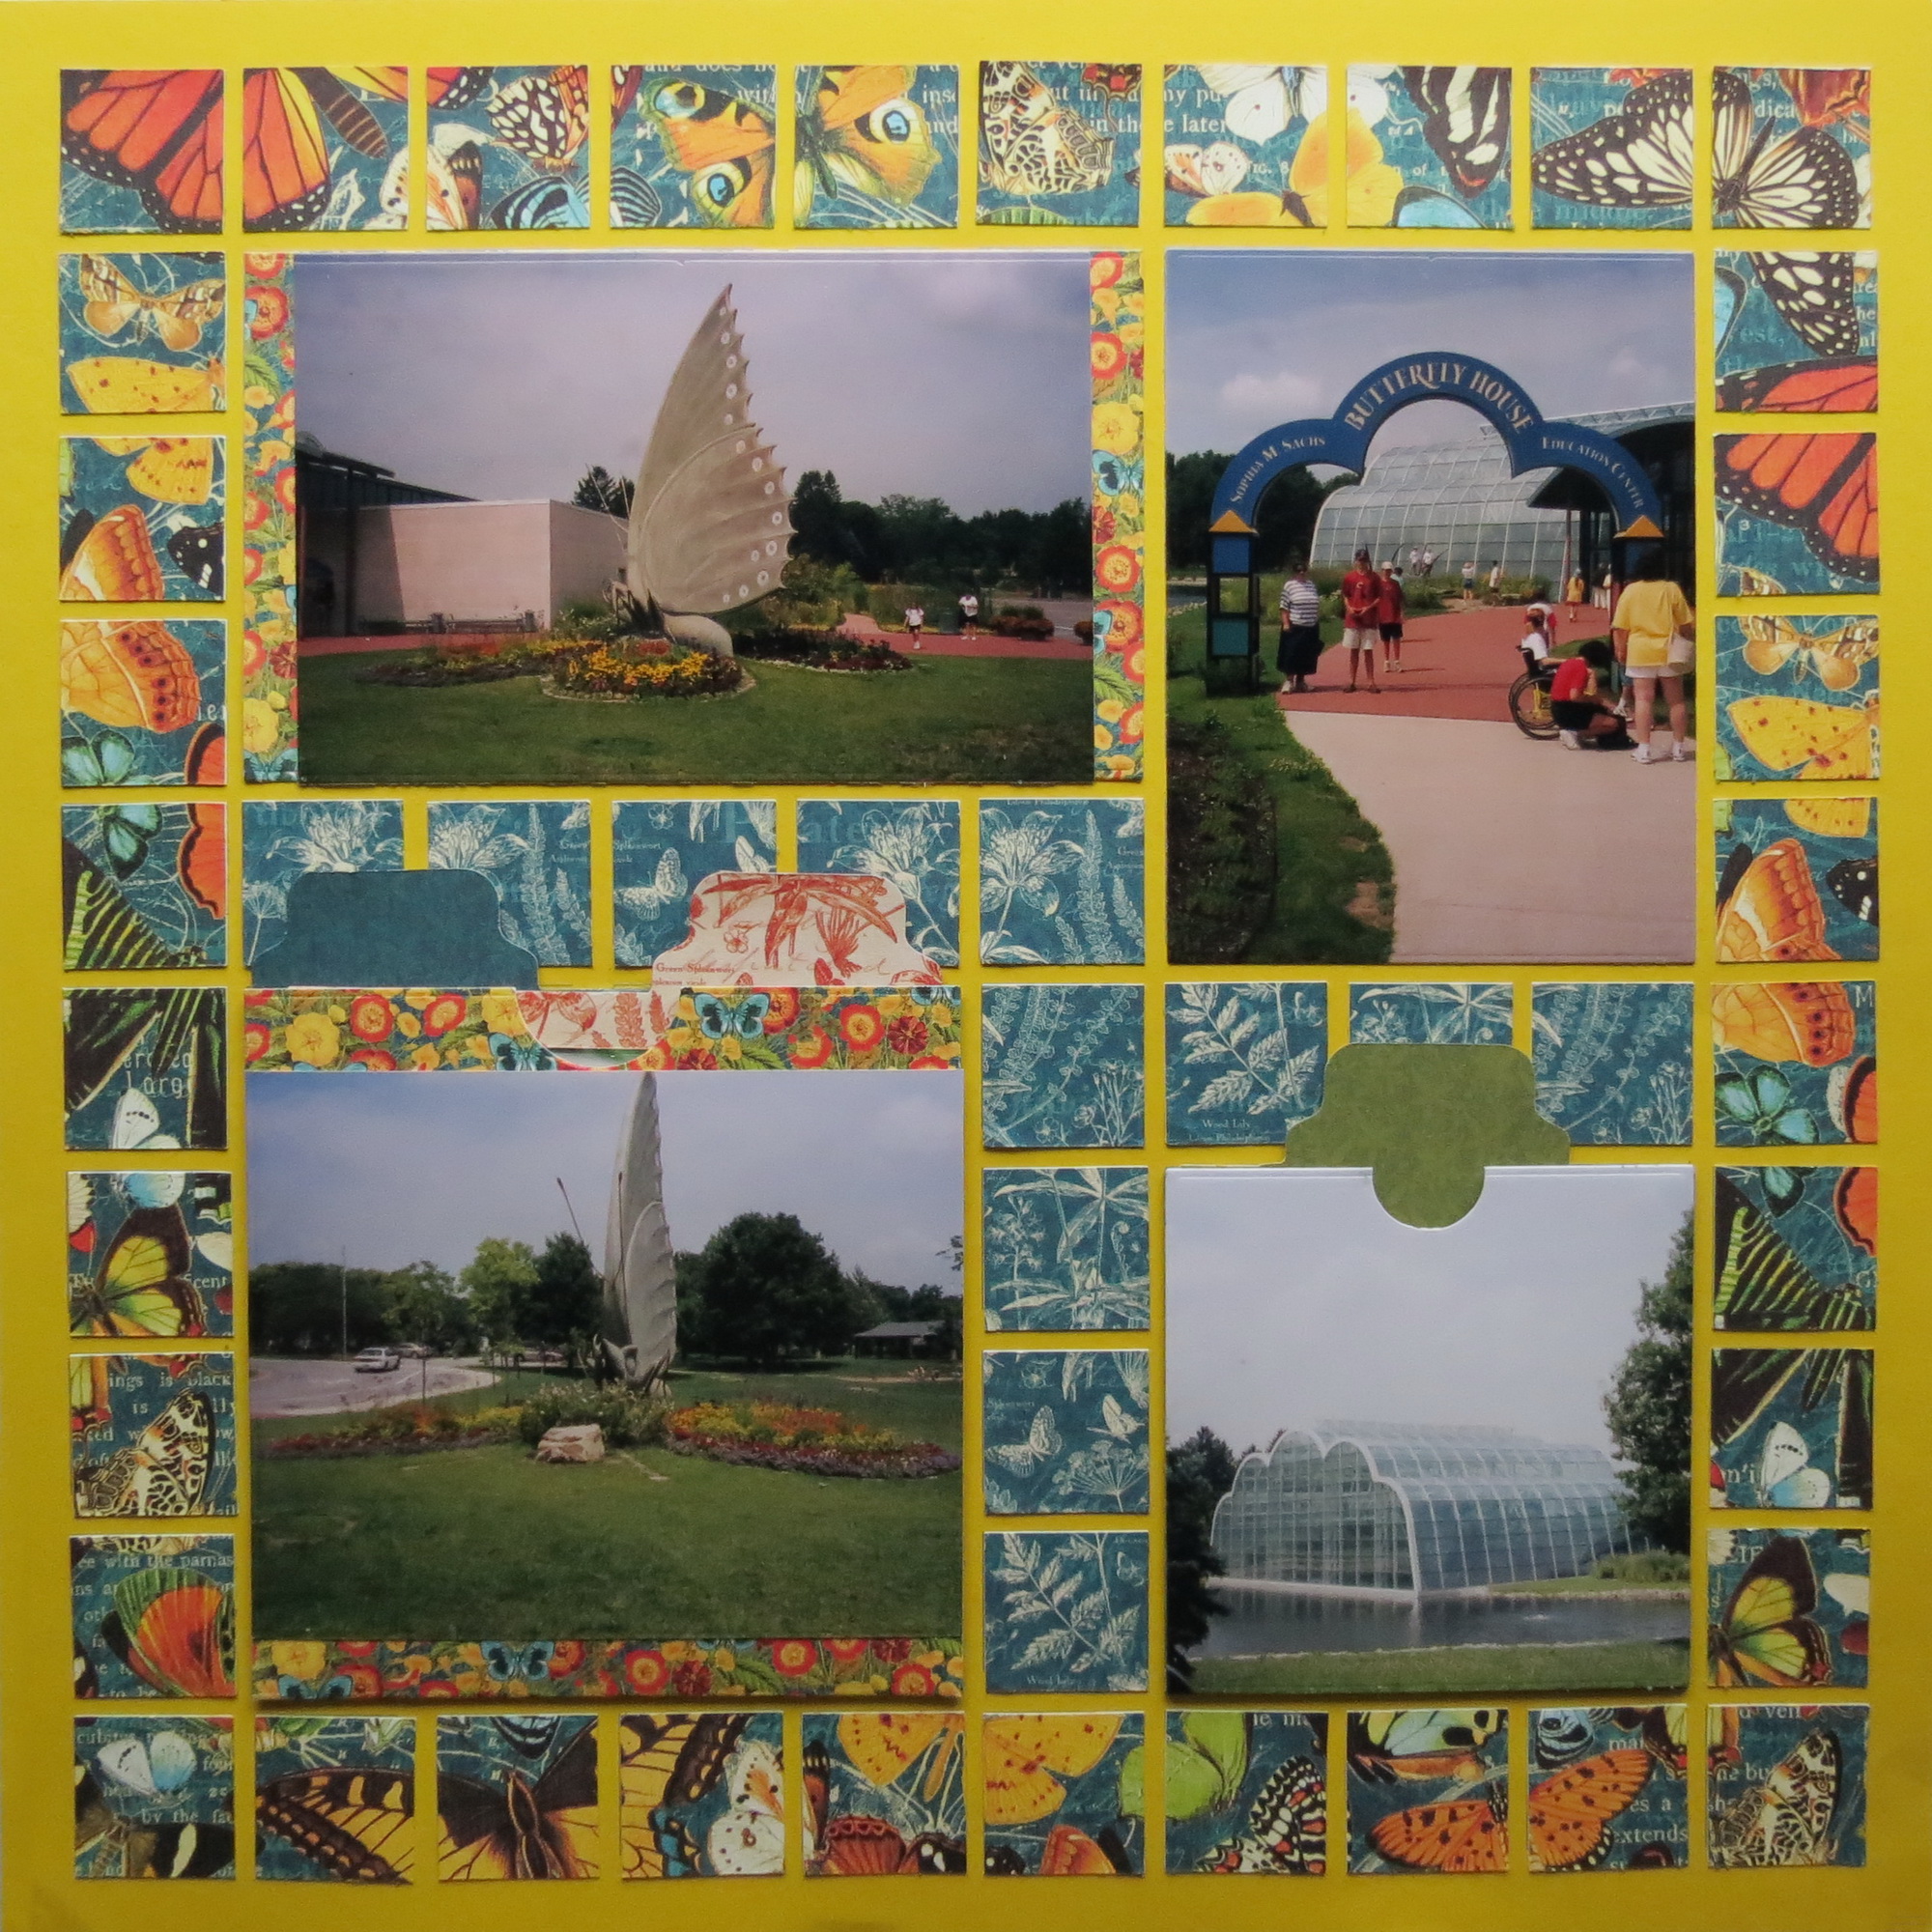
This pattern (#262) works well for using two pockets in the four spots. I have cut the Butterfly paper to fit to the outside edges and the inside 1” squares in another coordinating pattern paper. I trimmed 2” off the side and the bottom to give me a 10” square and then cut a 1” row from each side so I could have the pattern paper be all lined up so all the colorful butterflies show up nicely. The bold butterfly colors work so well with the bold Sunshine Grid.
This page will serve as an intro page for the remaining photos of family, butterflies and exhibits for the Butterfly House as it shows off the outside shots, holds the journaling and even a few of the less than perfect photos. The remaining photos will find a place on different grid colors and patterns, but the pattern papers from this series will help to keep it all tied together, there may even be room for more pockets along the way!
Hopefully, I’ve been able to enlighten curious scrappers as to how to use the new Nested Pocket Die Set and given you ideas you want to pursue. Be sure to check in with us on our new Facebook page and share your ideas with us!
Andrea Fisher

Mosaic Moments Nested Pockets Die Set and Sunshine Grid Paper