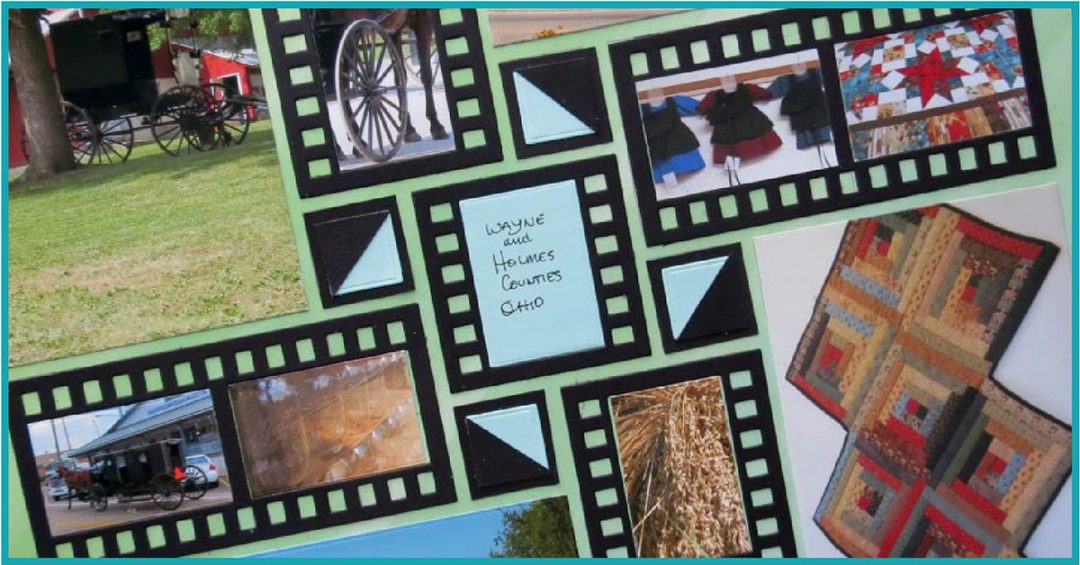
Ohio’s Amish Community
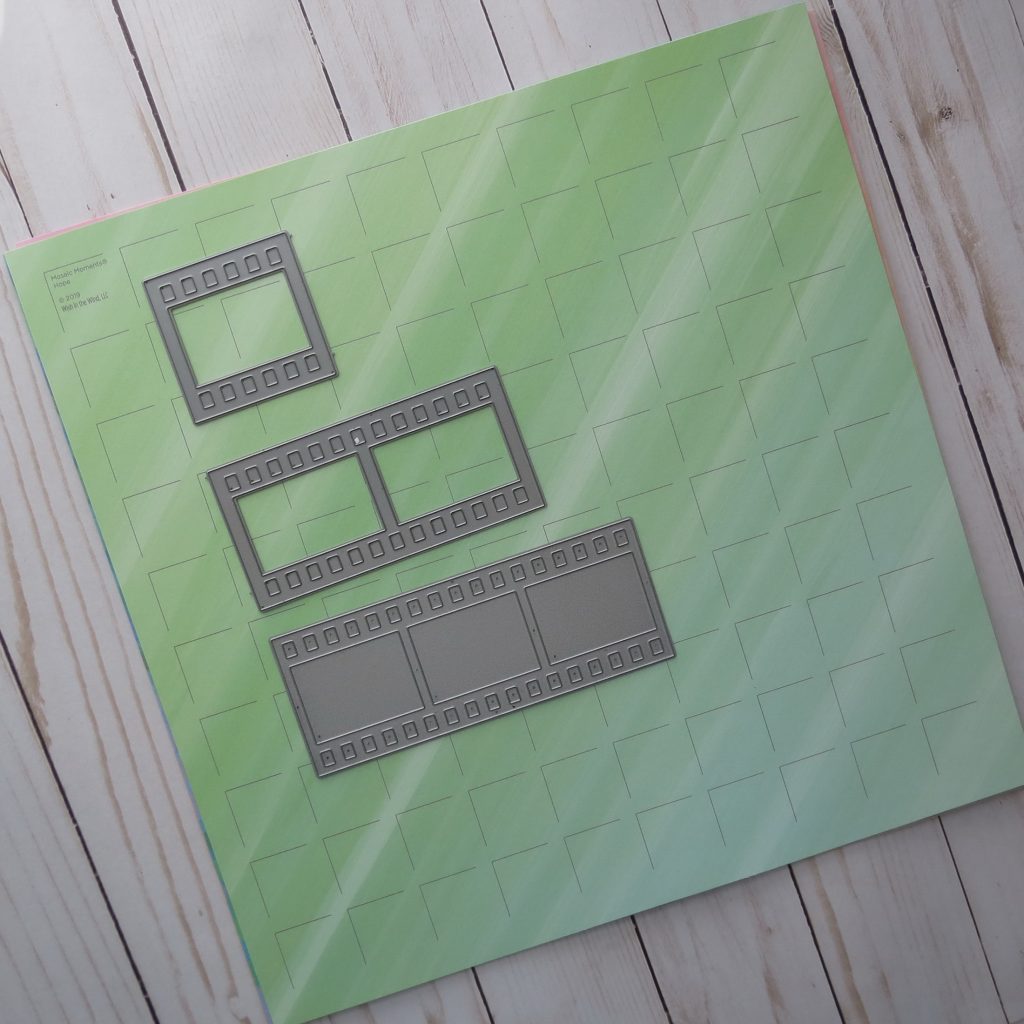
Summer travels are just around the corner and we are expanding our die collection with two new filmstrip dies that will now join our 2×5 filmstrip die that has always been a fun way to add lots of photos or a little bit of journaling. The new 2×4 and 2×2 filmstrips will allow lots of new applications and many more photos for each page.
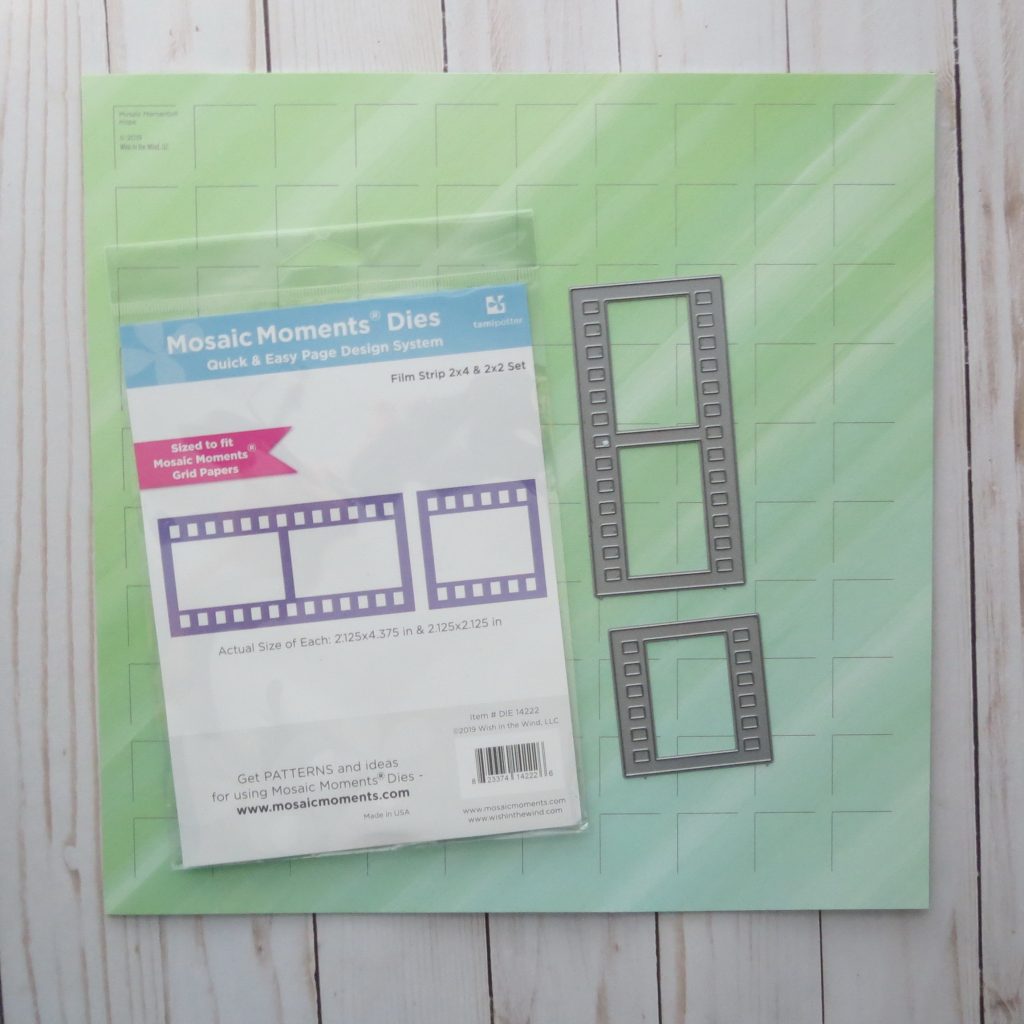
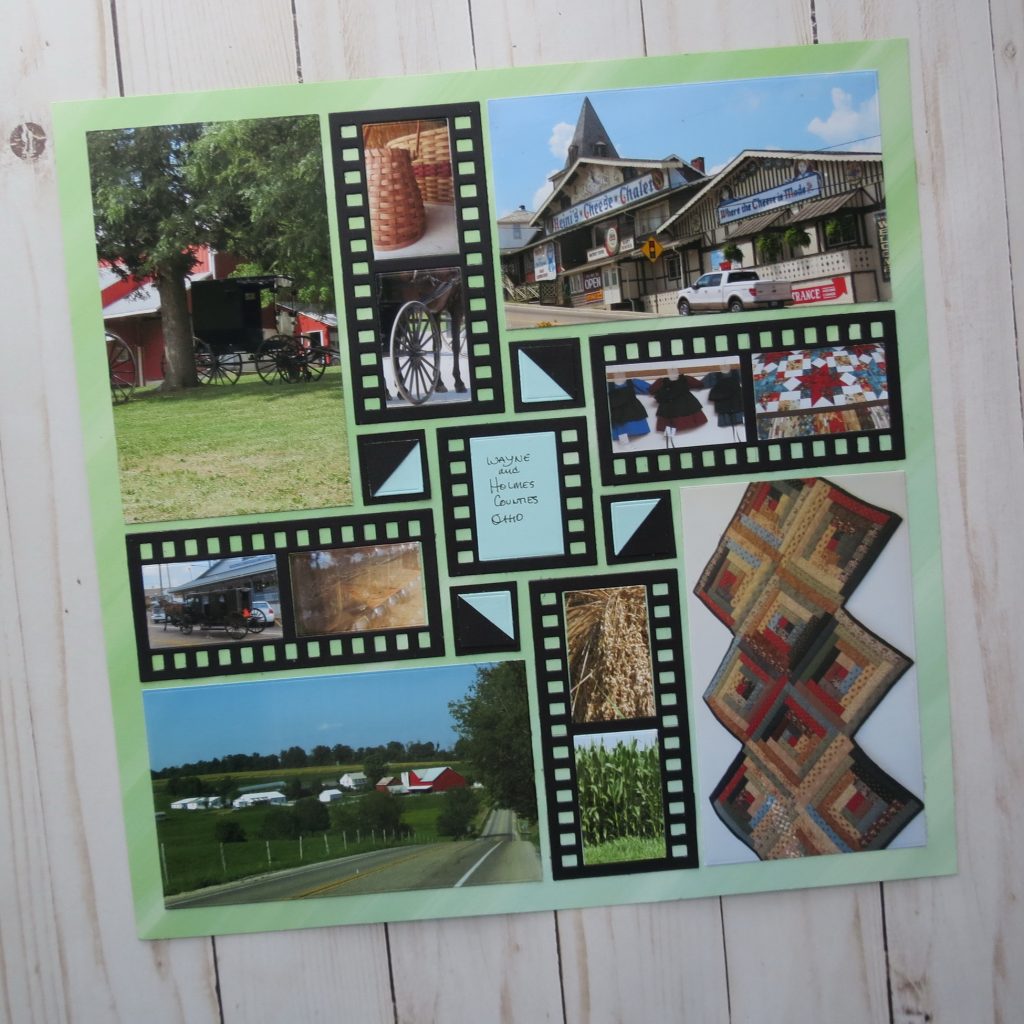
In this layout I’m going to share some photos from nearby Wayne and Holmes counties the heart of Ohio’s Amish Communities.
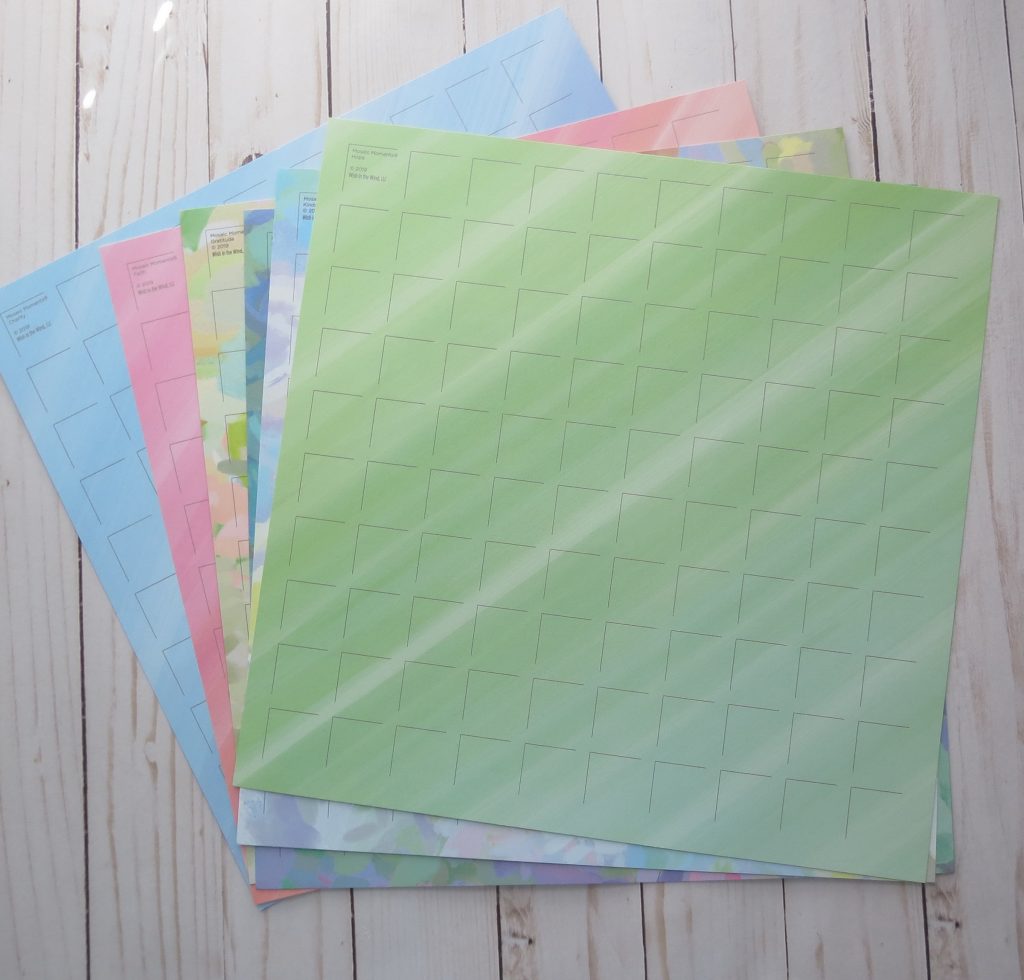
I thought the new Hope grid paper from the Happiness Collection would be a good choice. I liked the streaks of light across the page that reminds me of the sun shining across the fields. I like the subtle changes from yellow-green to green to blue-green.

I chose the pinwheel pattern #164 so I could include 3×5 photos along with four of the new 2×4 filmstrip sections in both a vertical and horizontal direction.
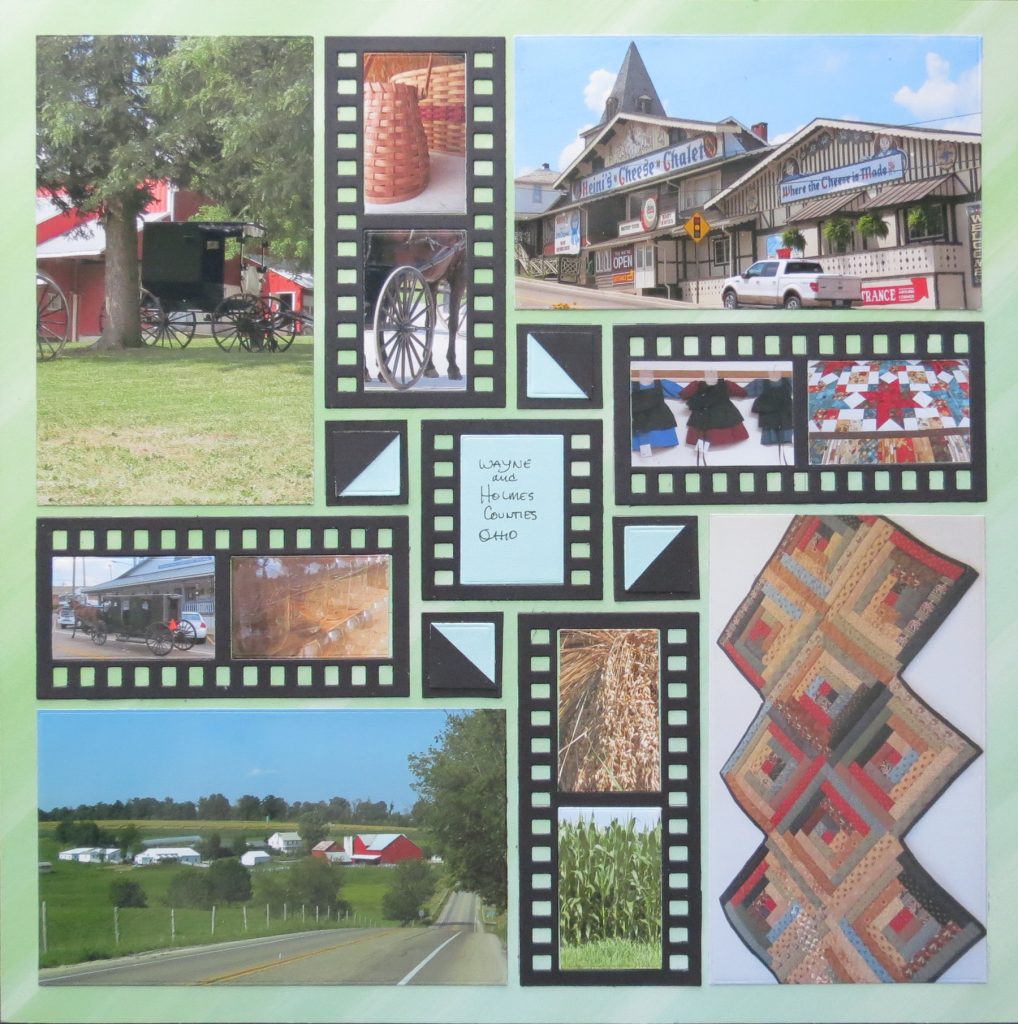
My larger photos captured bigger themes, while my smaller filmstrip photos allowed me to use a couple of close-ups and a few distance shots.
When you are traveling it’s good to remember to capture a few detail photos that represent life where you are visiting. This included horses and buggies, windmills, stacked pallets of canning jars and rows of handmade baskets for sale. It might also include quilts, fabric, spices, foods, should you be visiting here.
While the Amish Community may be a novelty to some in the way they live it’s good to remember and respect their way of life.
When you travel try to be aware of the customs of the people in the countries you visit and not assume that you can take pictures of everything you see. Many historical buildings do not allow you to take photos so plan on buying their postcards or books in the gift store and get lots of outdoor photos to fill your pages and journal about what you saw inside. (They were not happy with me at Jefferson’s Monticello when I snapped shots in the entryway!)
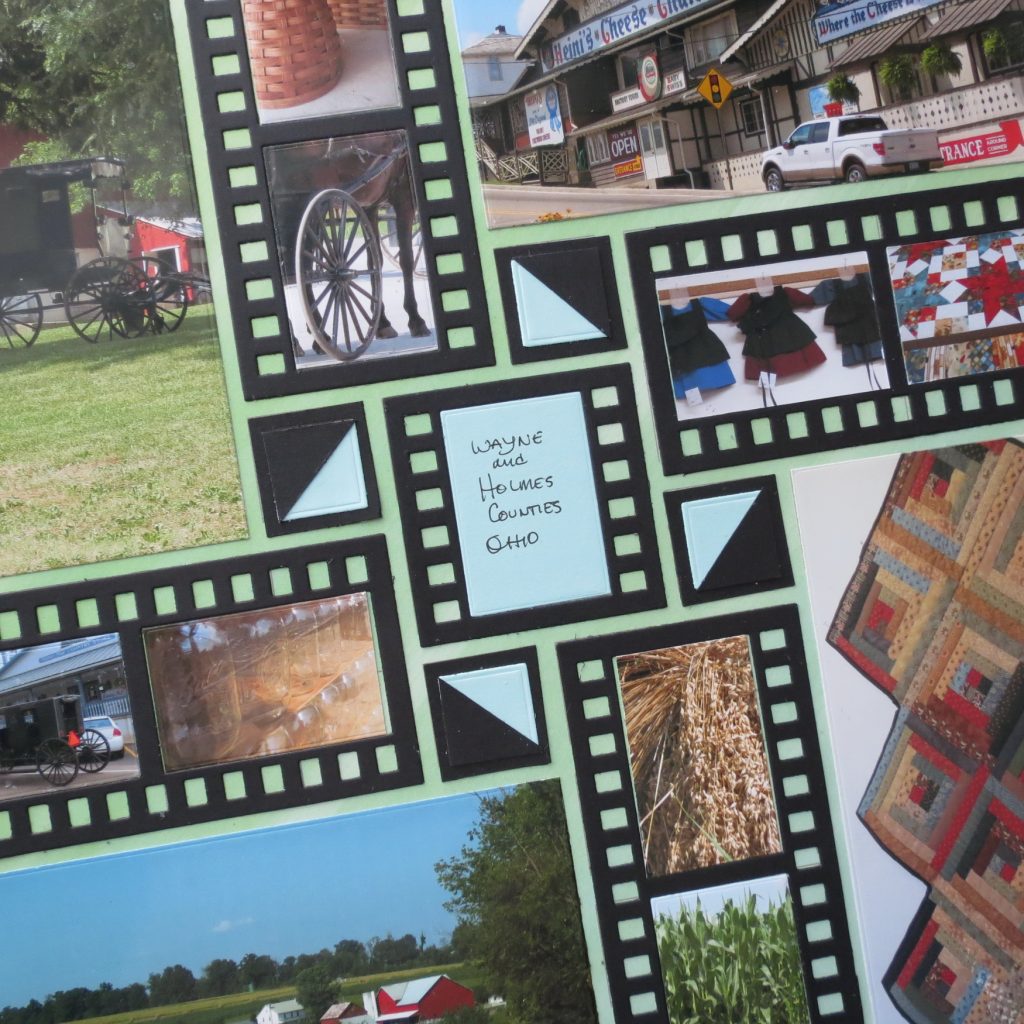
Using the new dies I was able to include many more photos on the completed page. The very center 2×2 naturally was filled with the 2×2 filmstrip die and serves to make note of the location of the photos.
I did not place a background layer under any of the filmstrip photos but allowed the grid paper to show through. In each section, the grid line only barely showed in one spot and I was willing to live with that to gain the lovely green shades to contrast with the black filmstrip pieces.
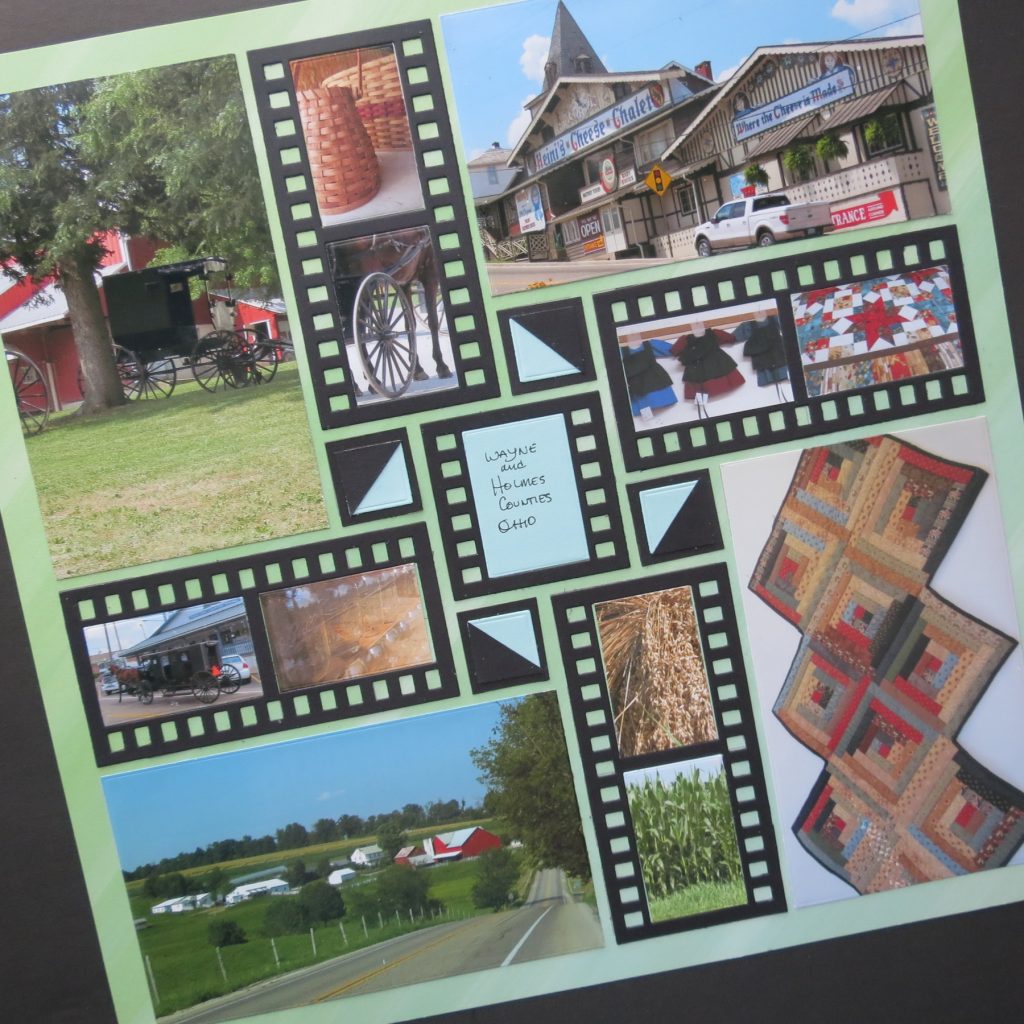
There are four 1” squares surrounding the center square I’ve used the smallest layering square (set AL) to cut out blue and black squares and then cut the black squares in half to form triangles to top the blue squares. I thought it created a little more movement and fit with the pattern.
For more ideas using the filmstrip die, you might like to check out these other posts.
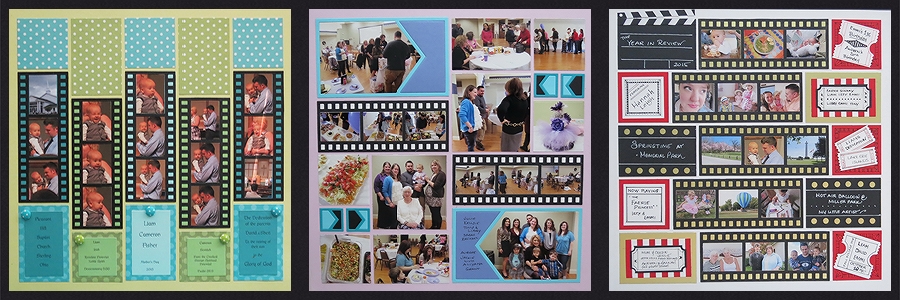
I think you’ll enjoy trying to find other ways to enjoy the new Filmstrip dies! In fact, be sure to try them all!!
Andrea Fisher

