
Page Kits Plus
Page Kit: May Flowers, Doodlebug Designs Papers
Page Kits Plus means I’m going to take one of our page kits and add a bit of “Plus” to the kit. A little customization.
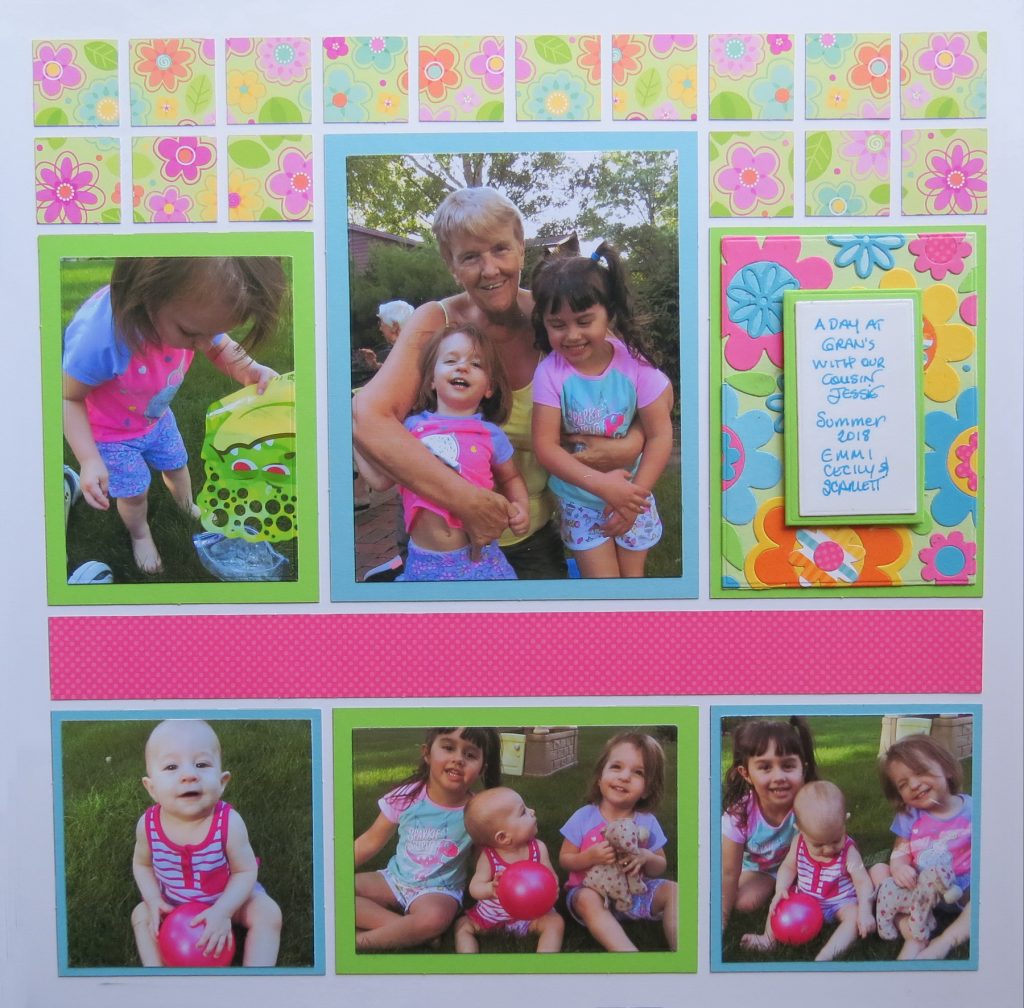
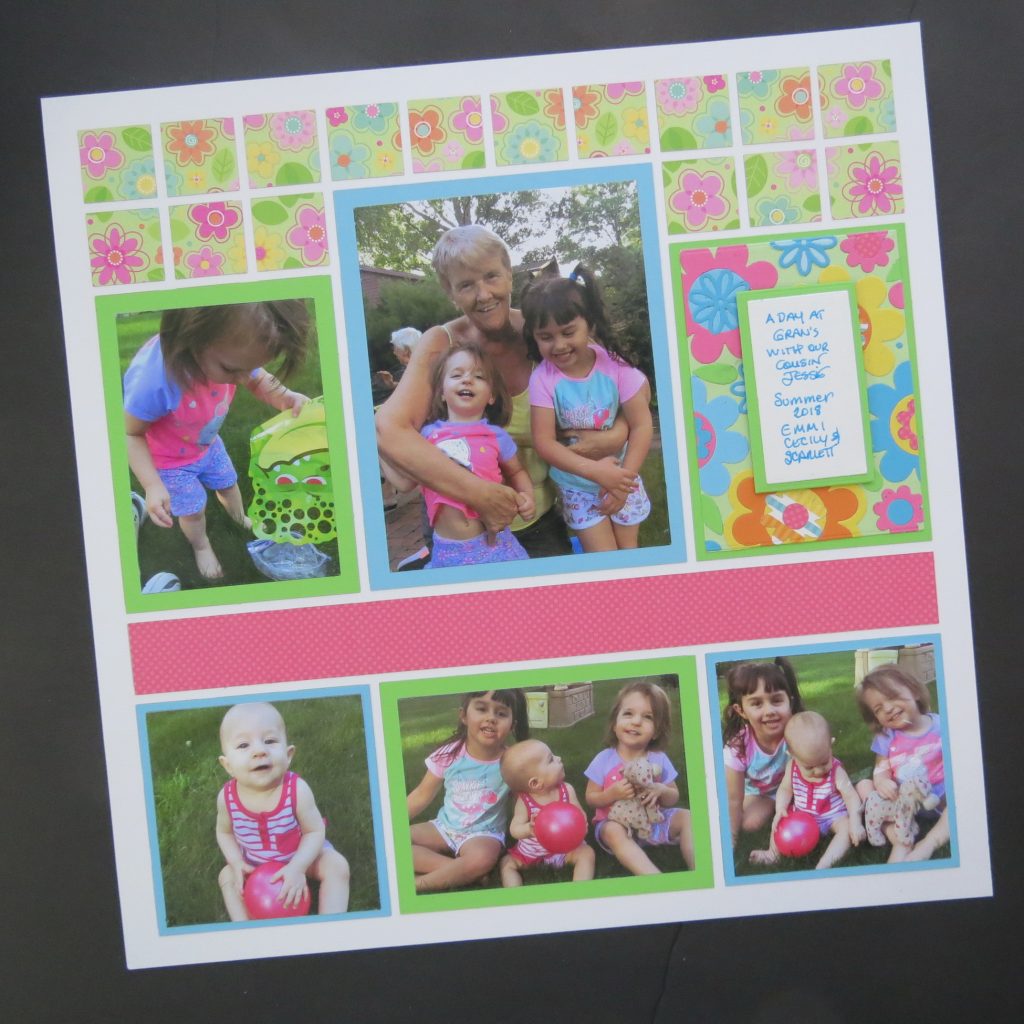
Each of the spots in the pattern where I’ve put photos, I’ve used either a 1/8” or a ¼” border achieved using the layering dies.
I’ve reduced the May Flowers kit to a one page layout, because that’s all I needed for the photos that I had to scrap.
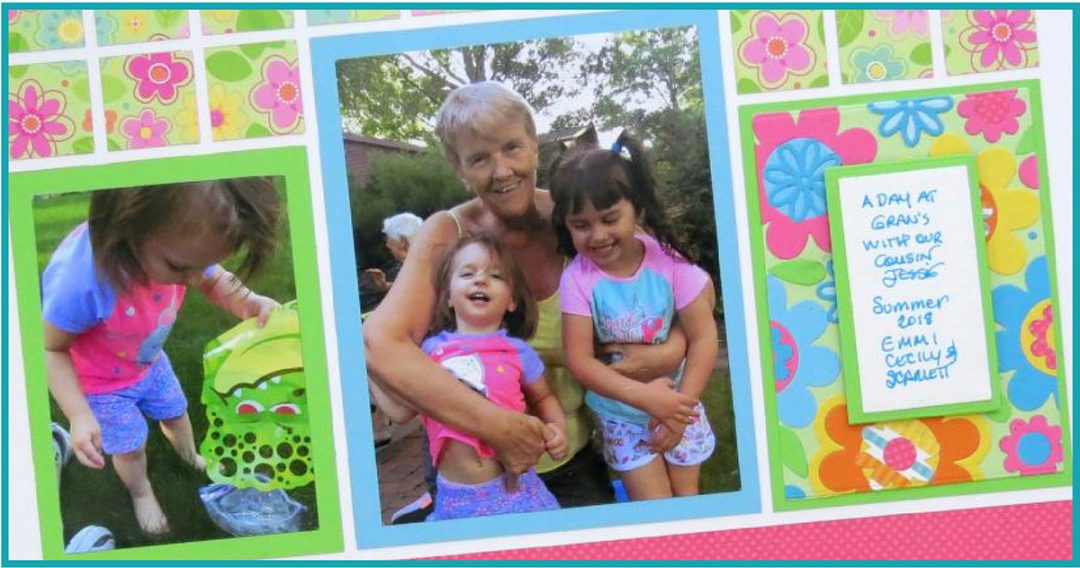
The bold, bright colors of the Doodlebug line of papers are something I love, but don’t always have something to go with it well. This time, I came across a few photos of the girls at my mum’s house when my cousin was visiting last year from Scotland. Jessie had a blast with the girls and they loved her attention too. The colors were perfect for this paper!
The first change I made was to flip the striped pattern paper to the dotted pink paper on the reverse side for the long 1”x 10 block strip. It was too busy and I thought clashed with the outfits the girls had on.
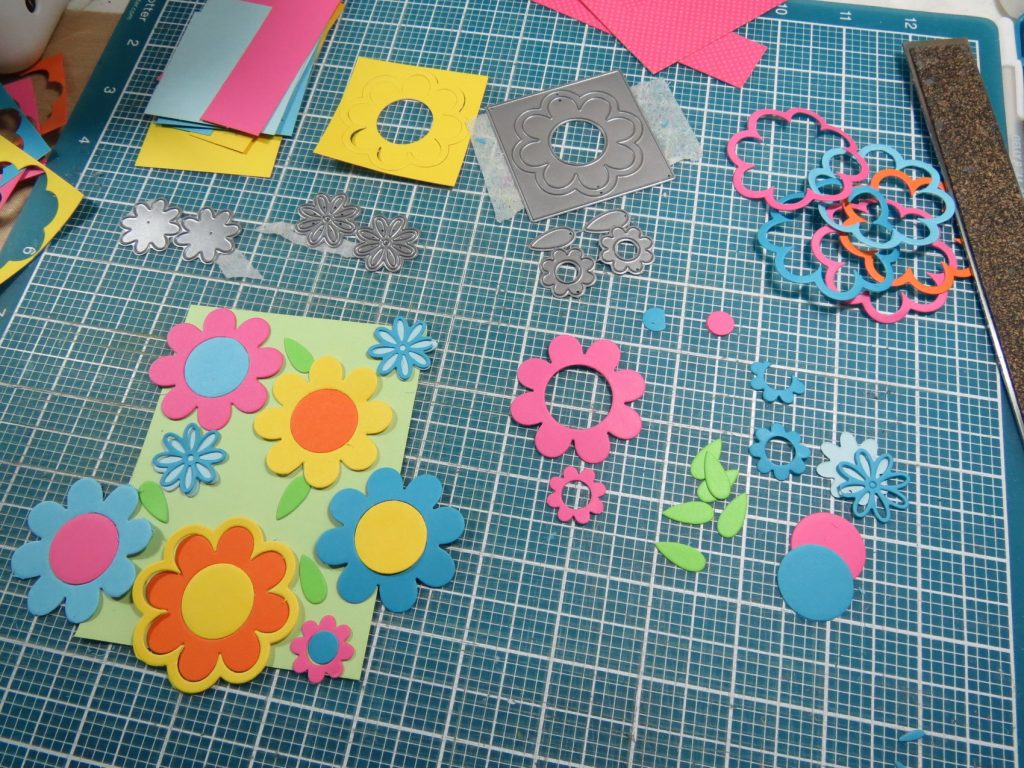
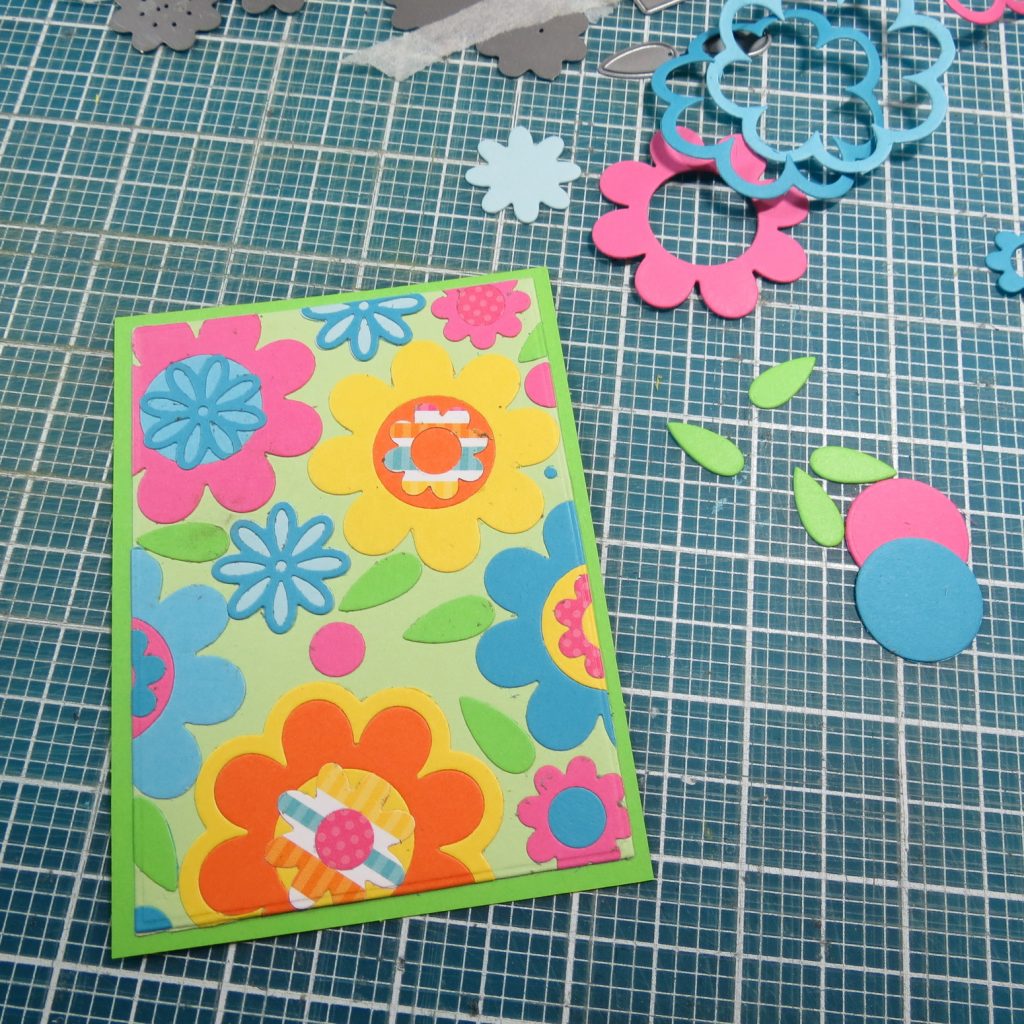
We are familiar in using layering dies on page kits, but this time I’m going to add a few layers using several of our flower dies. The plan was to make them very dimensional, but then I thought I would try something else.
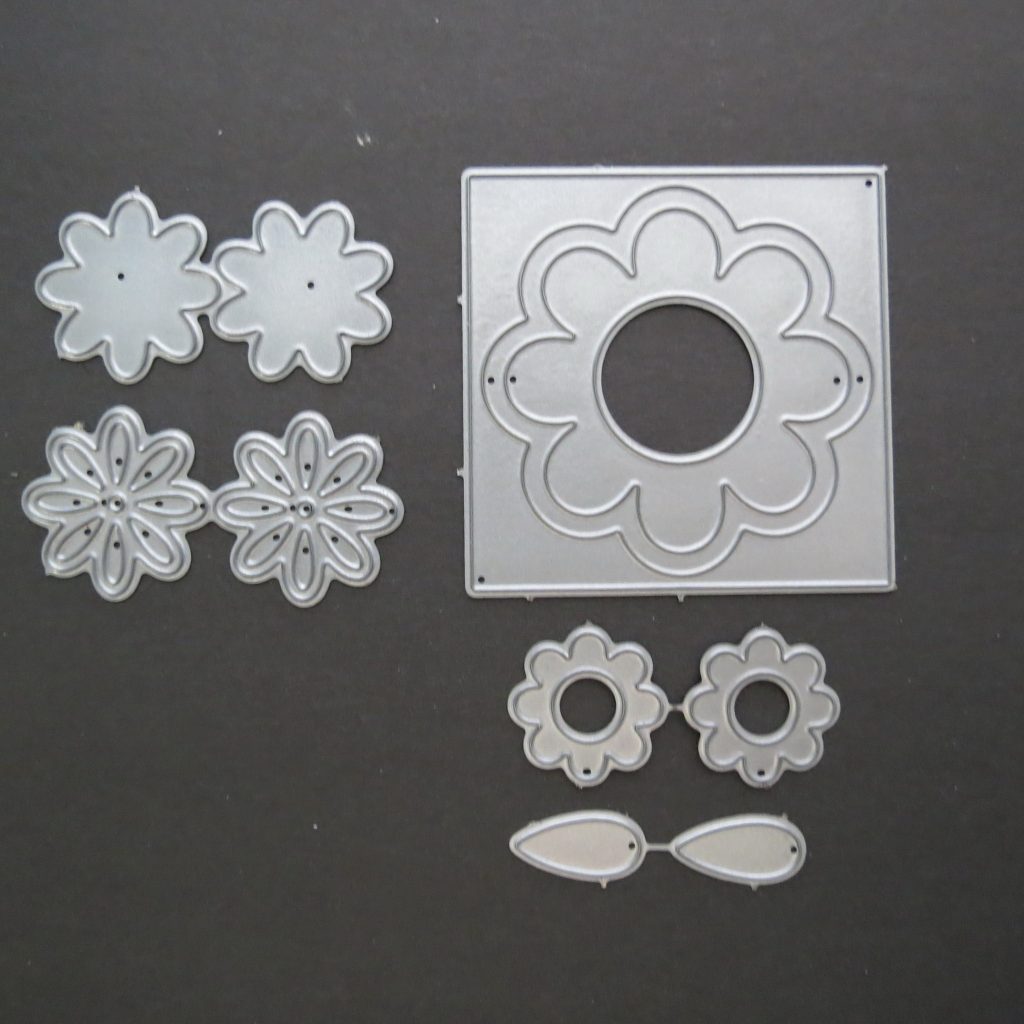
I wanted to use one of the pattern spots for a little bit of journaling, and I thought a small raised layer on a larger base would give me what I wanted to add layers of flowers below. However, once I had cut out all my flowers I took another route by attaching the flowers in a random pattern mimicking the patterned paper with a lighter green cardstock.
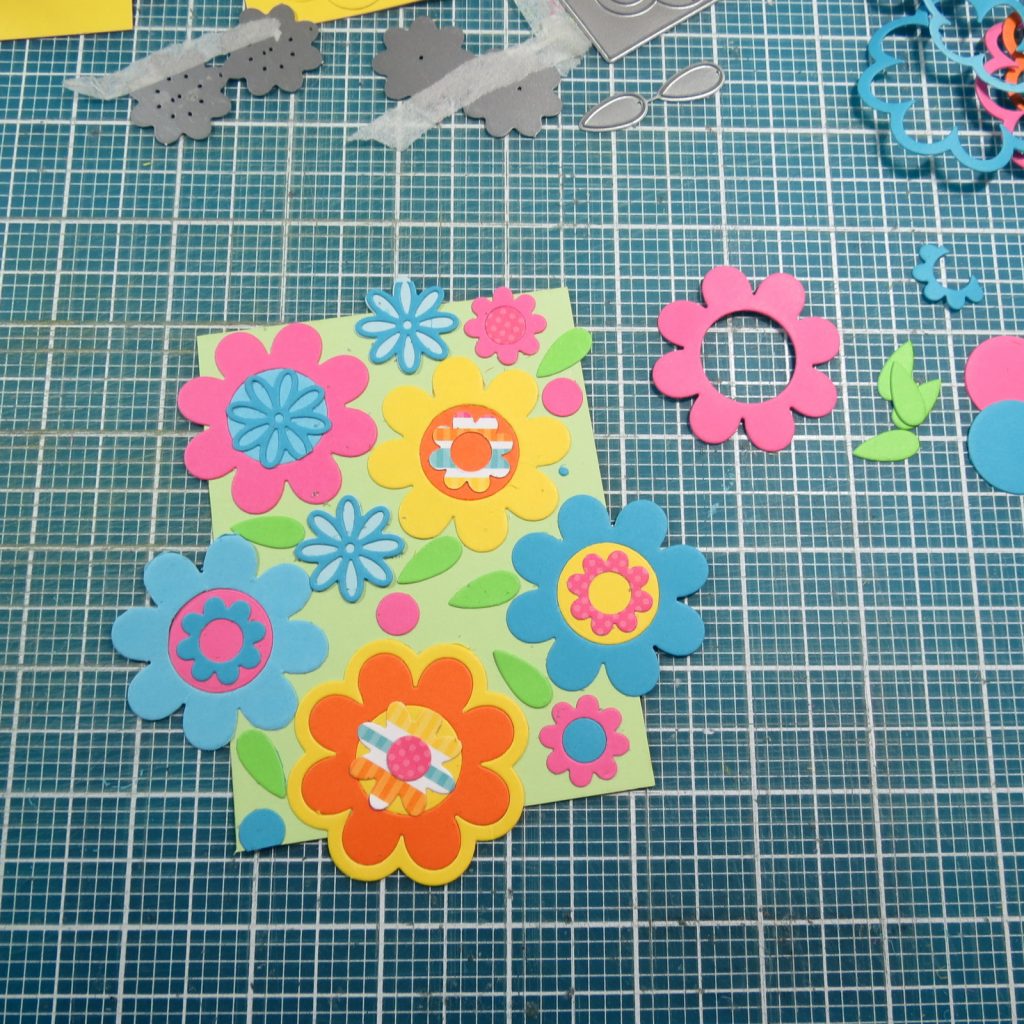
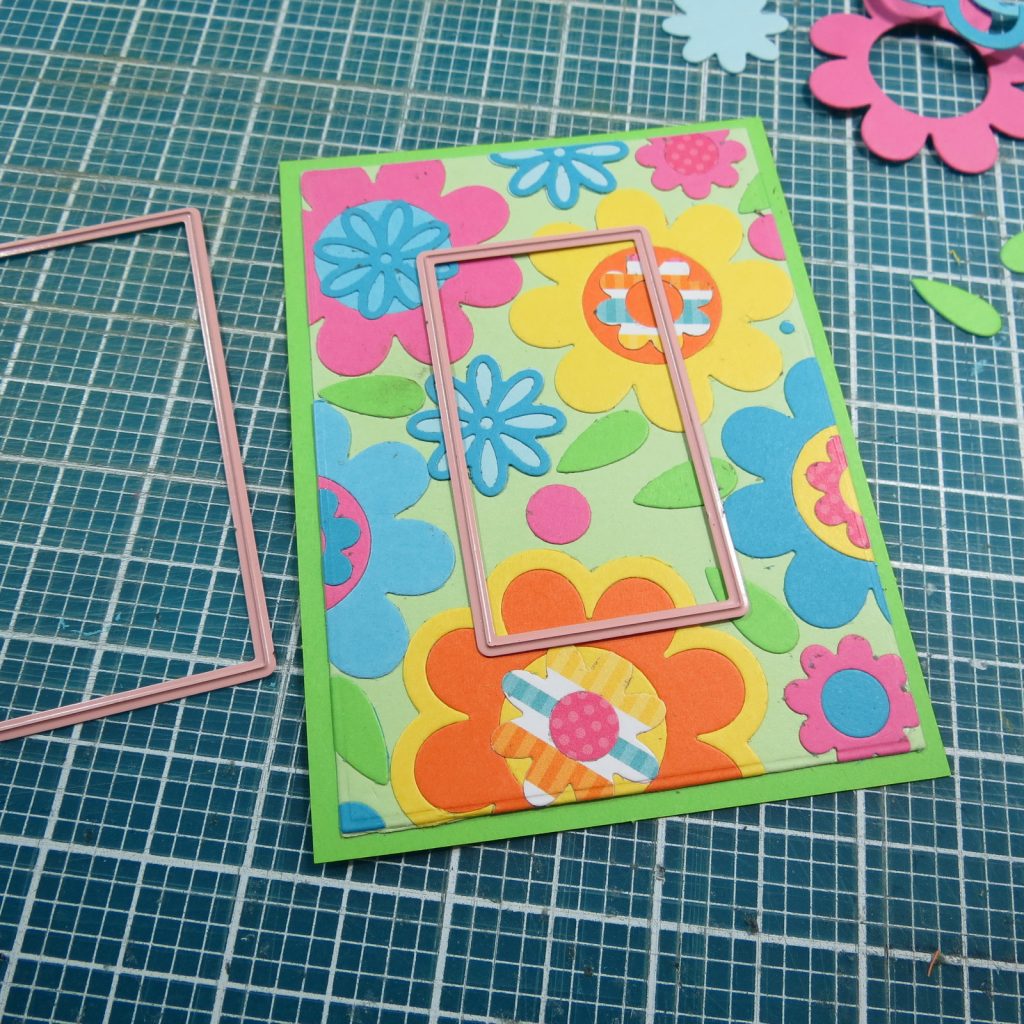
The 3×4 block of green became my new canvas. I attached flowers on and off of the paper because I was going to trim the paper to be able to have a 1/8” border and allow the darker green base to show a bit.
Using the layering die to cut through my layers was manageable with my Evolution Advanced die cutting machine, but if you try this do not force it through your machine. In places I made three or four layers, but just a single layer of flowers on top is enough to be able to trim to size. Adding extra layers can still be done after.
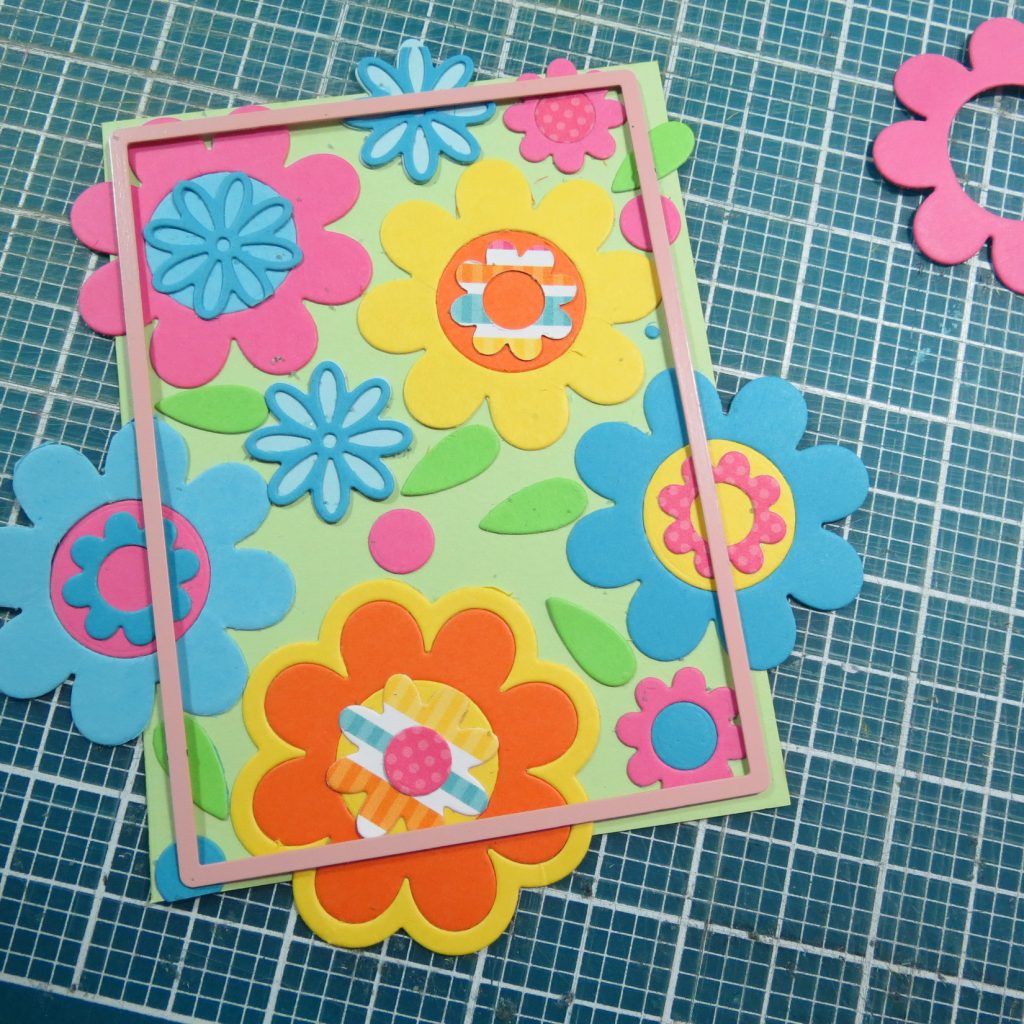
Then, to finish it off I needed to flatten things out a bit, I ran the trimmed section through the machine on its own between my plates without the die. This helps to even out the flowers and get a good hold.

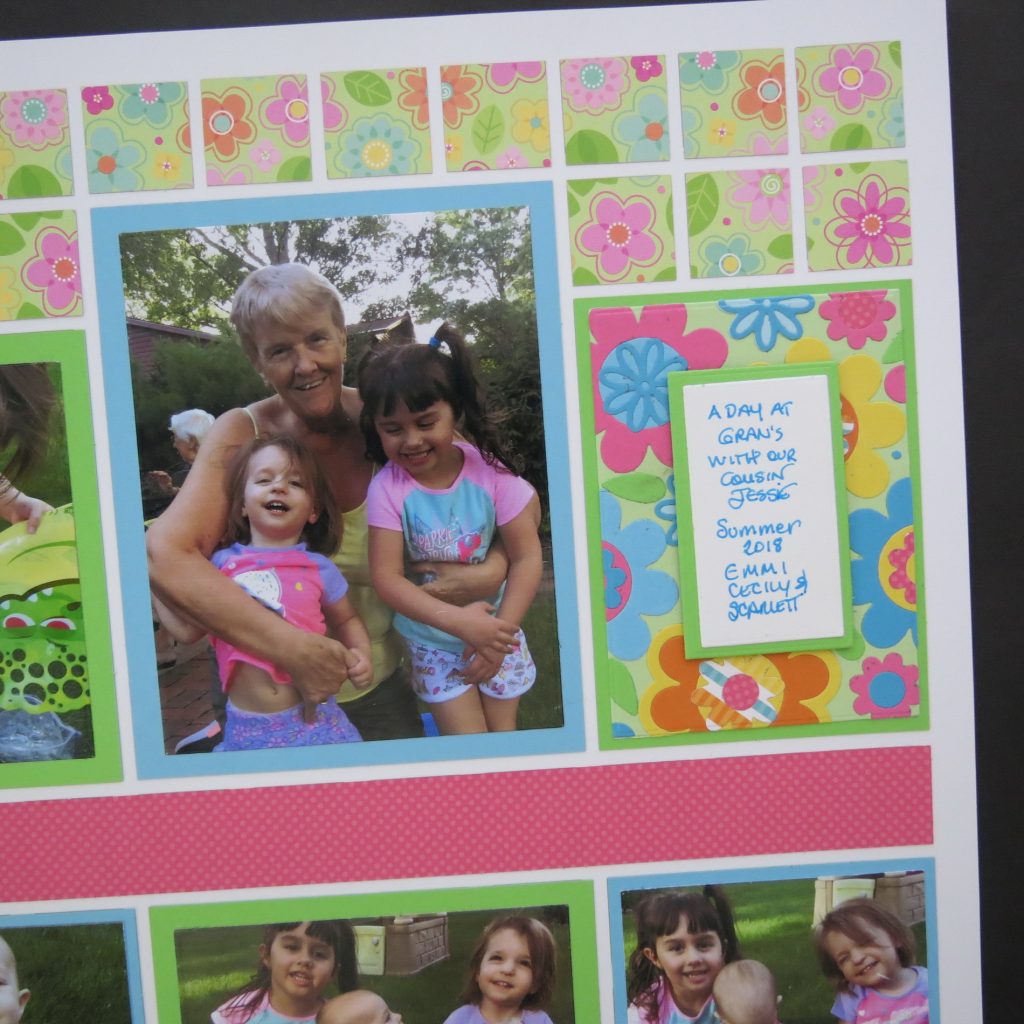
Next, this block gets finished with a narrow matted journal block that I attached with foam mounting tape for a slightly elevated finish.
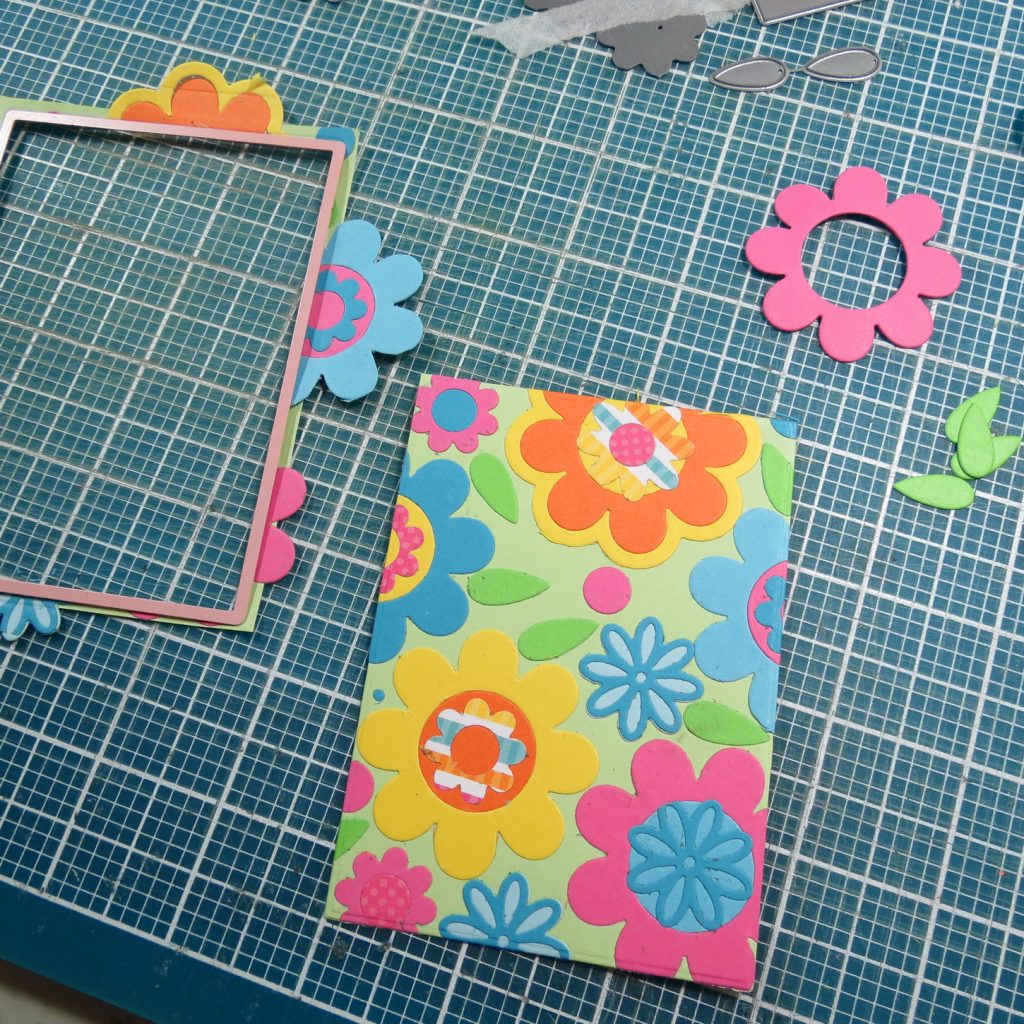
If I had more of the patterned paper I could have used it to make this layered block, but, this was one way to make a bigger, bolder piece utilizing the many Mosaic Moments flower dies that we have, for a very different look from patterned paper.
It’s a custom look I’m sure you just might like to try next time you want to add a little bit more to a page kit. You can look for ways to incorporate other dies you may own and use them in so many other ways. Explore!
Andrea Fisher