
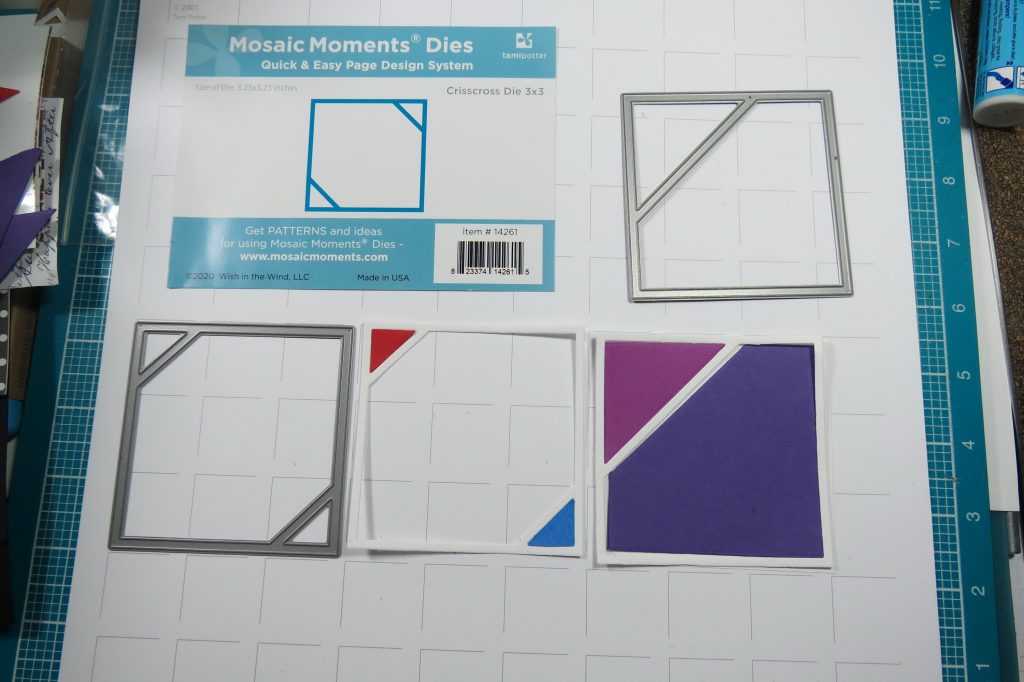
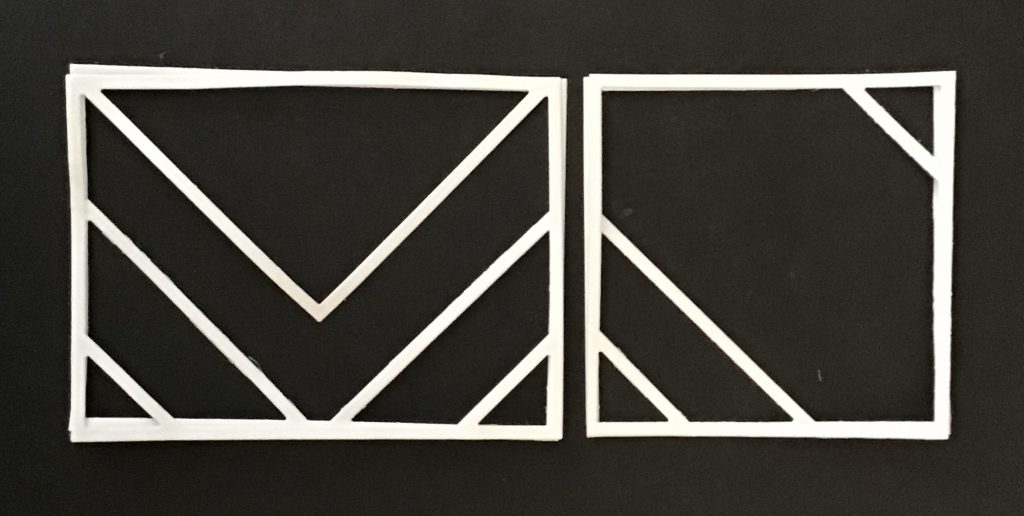
The Crisscross Die Set is a recent addition to our collections. There are several die sizes included a 4×6, 4×3, 3×3, 2-2×4’s and several smaller dies to cut corners. These dies might require a bit more thought for putting a page together, think of it as an Adventure!
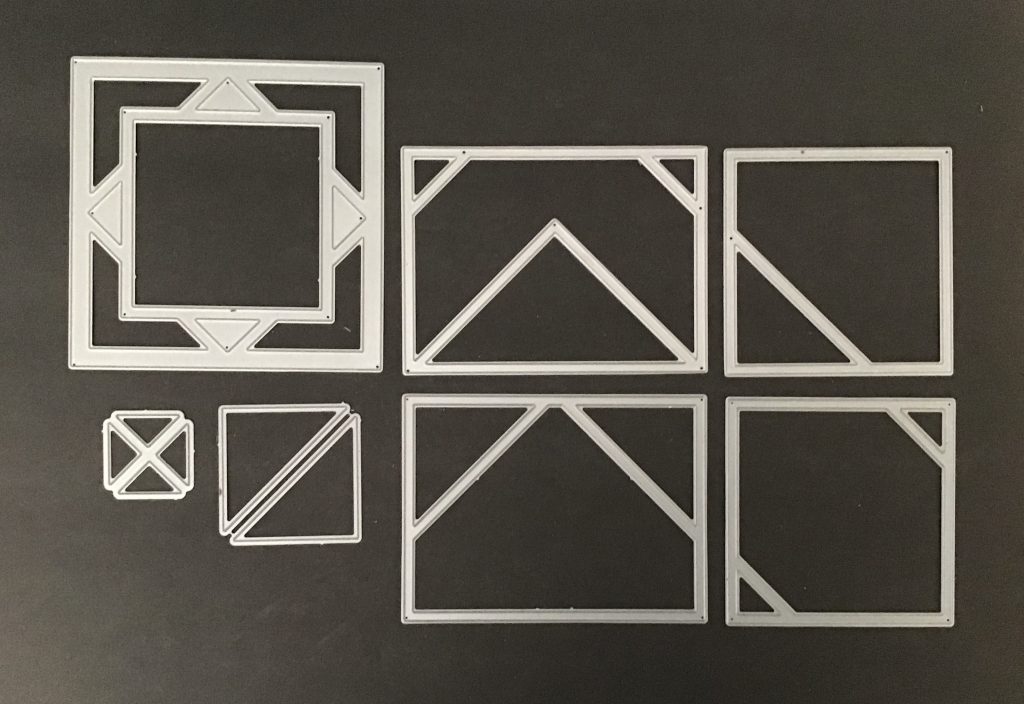
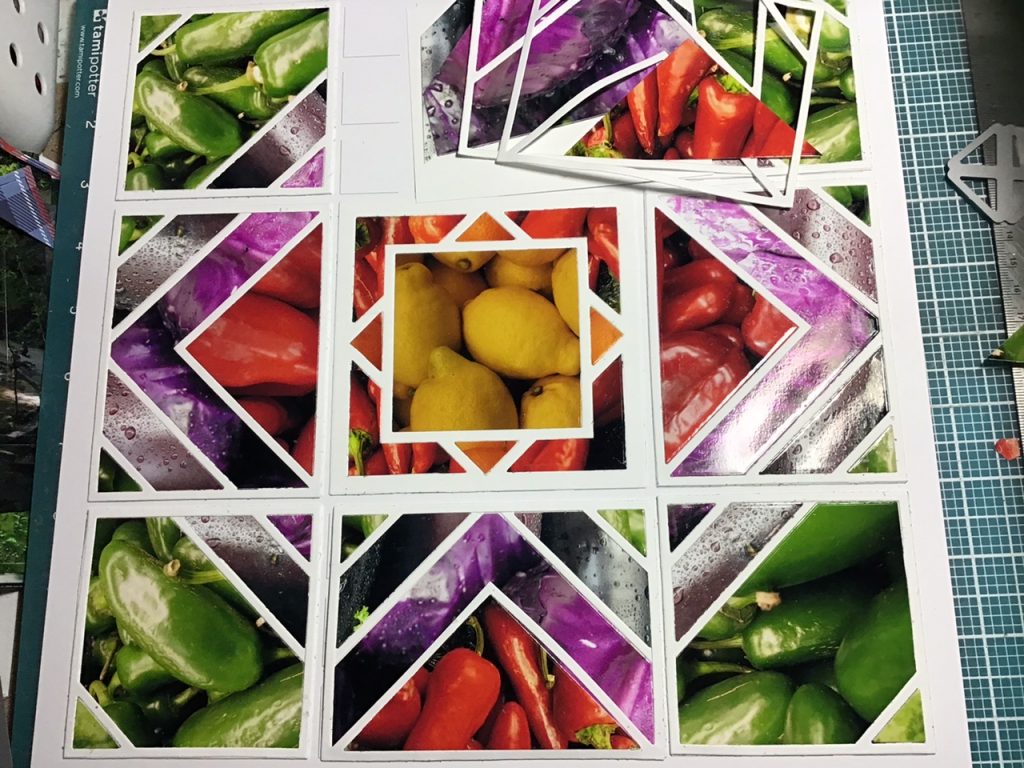
I’m going to show you two takes on using the dies in two different layouts. In both I’ll also use the Square Diamond Frame Die. On the first layout I was interested to see if I could combine them with an older set, the Diamond Mines Dies, the 3×3 and 3×4 layer nicely with the Crisscross Dies.
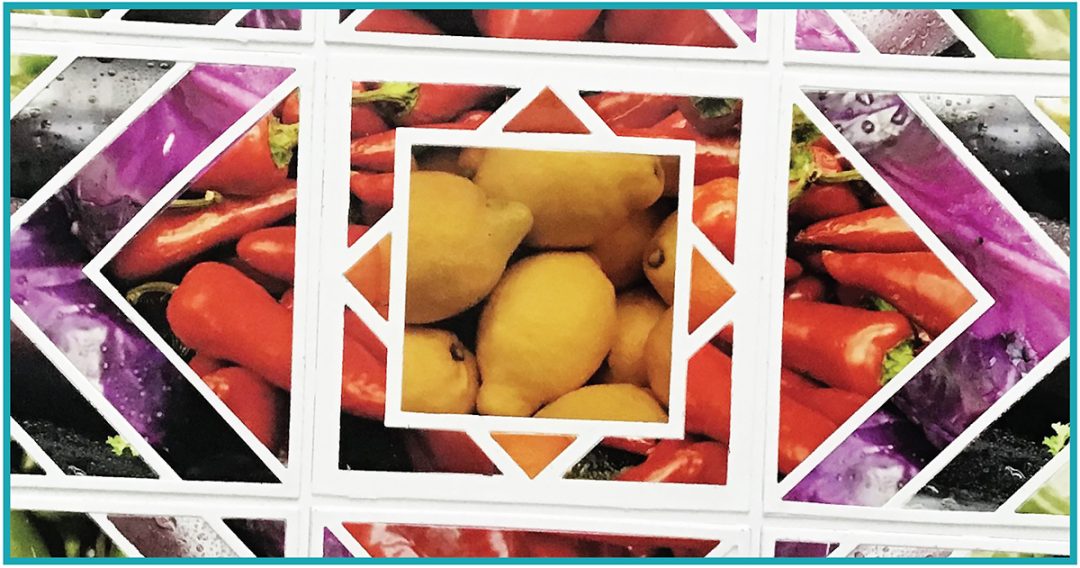
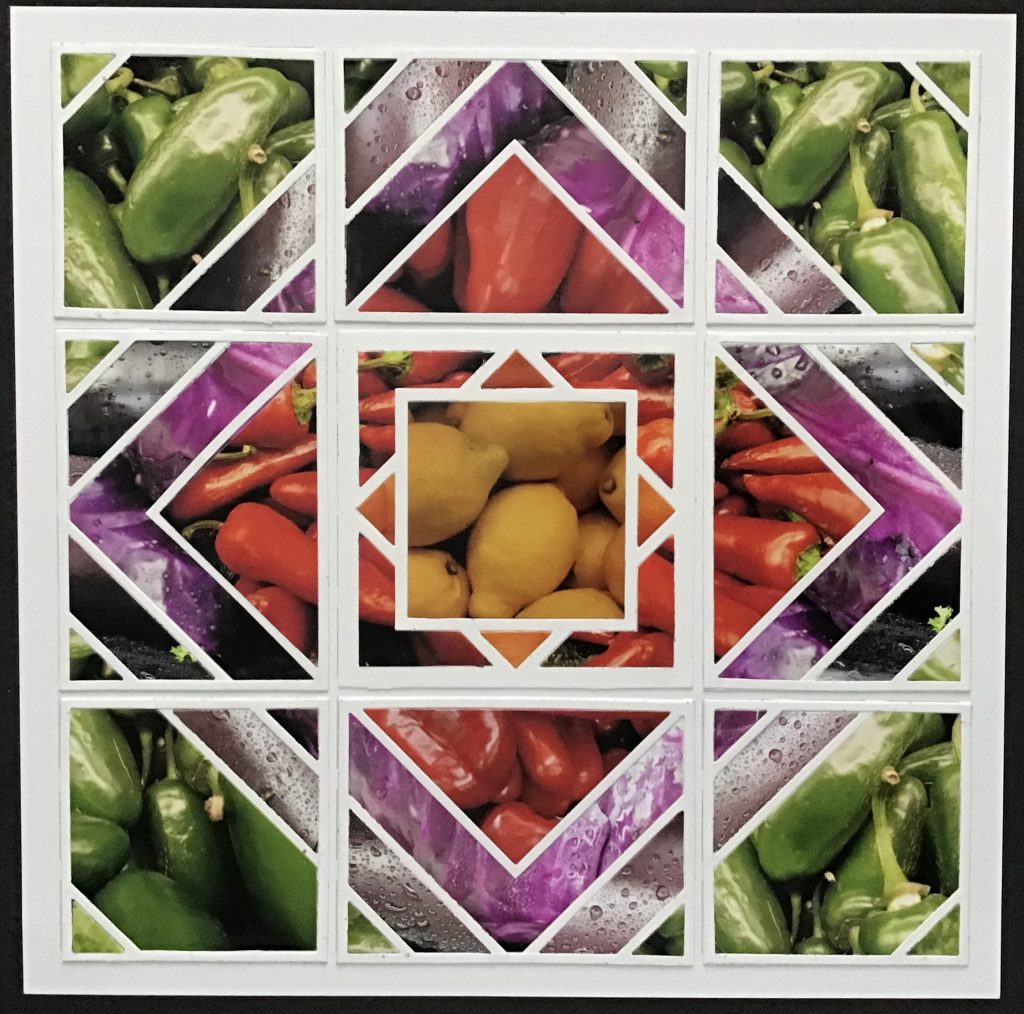
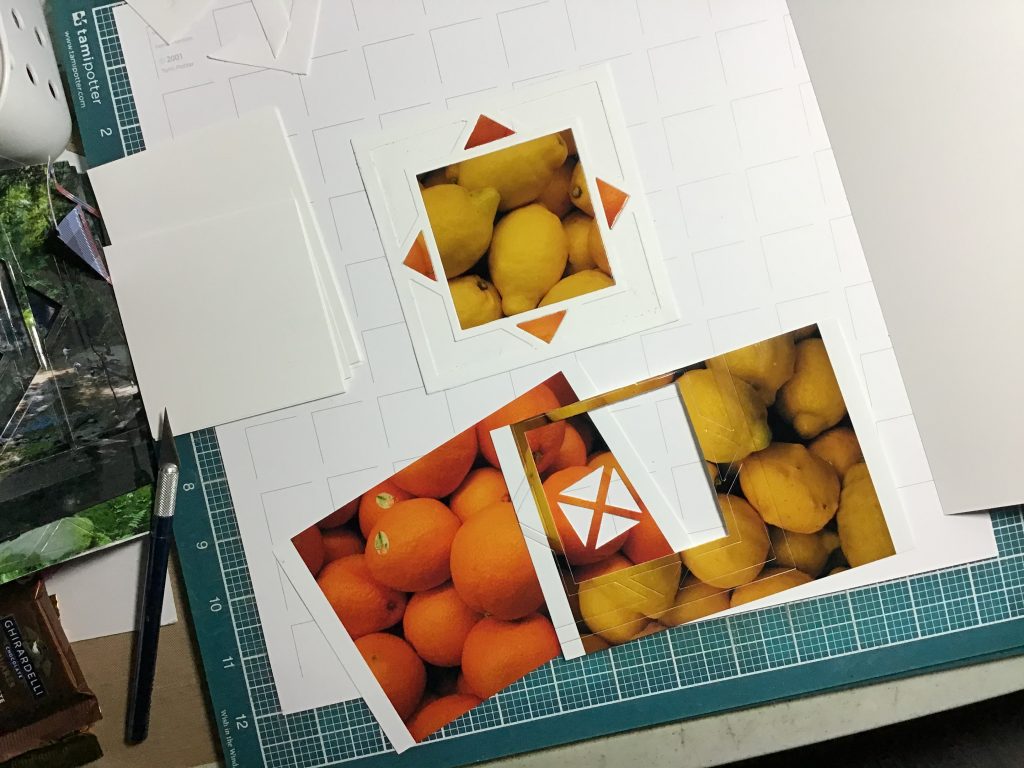
I began with Pattern #344 a mostly squares pattern and made a template to keep me straight on the color bands and photos I would need.

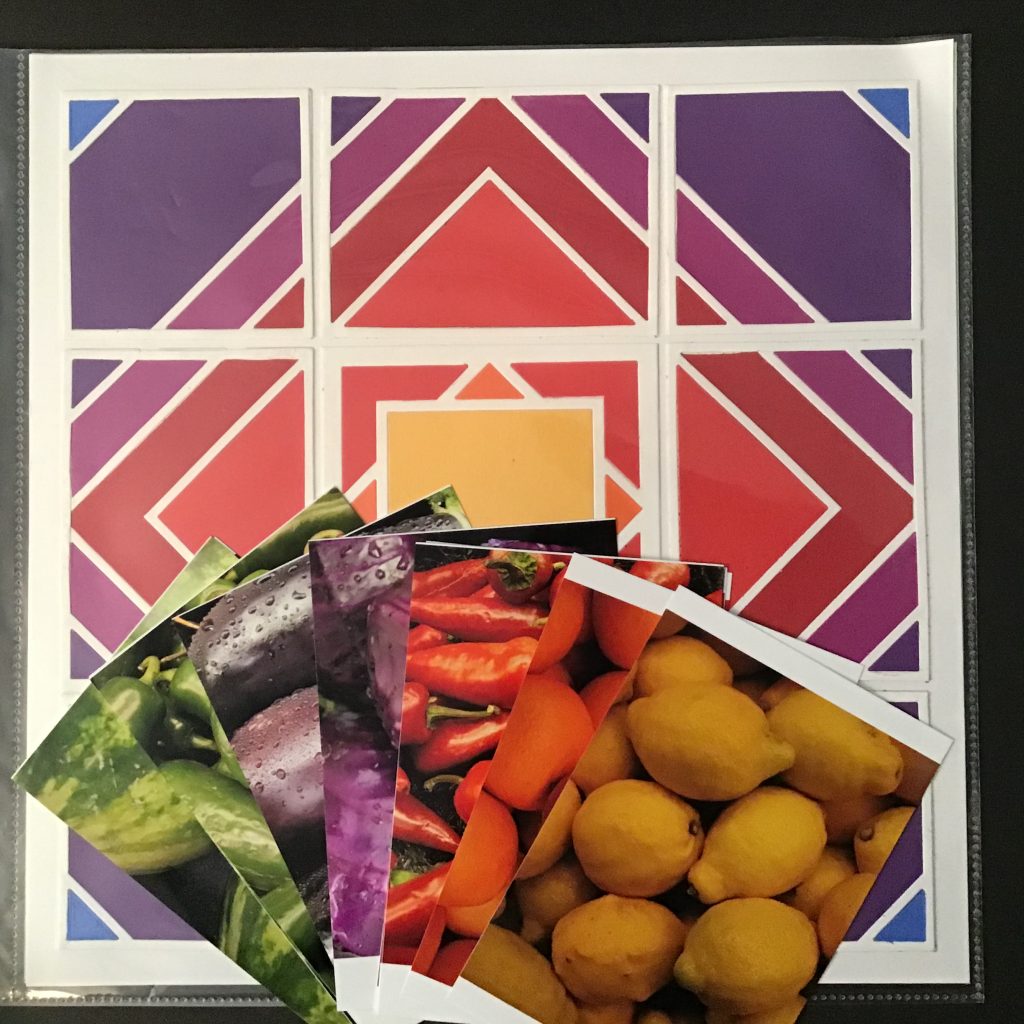
I had planned on using photos of flowers but spring here is also quarantined under a blanket of snow, again. I came across some of my older photos from another project that were bright and vibrant fruits and veggies and I knew they would pop off the white grid paper. I’ve included lemons, oranges, chili peppers, red cabbage, eggplants, jalapeños, and a watermelon.
TIP: Keep a file, I call it my Photo Morgue, it’s something I started long ago at the suggestion of an art teacher, to keep images that might come in handy as references for drawing. Today I keep photos of things, colors, images and more that I might use again at another time for other layouts. Many times I find great fillers for pages with close up images. You might find it helpful and doing it digitally it doesn’t take up as much room as my old system!
You may find this fun to layer your photos from gardens to seaside activities or other textural shots, or use patterned papers or card stocks for some of the layers.
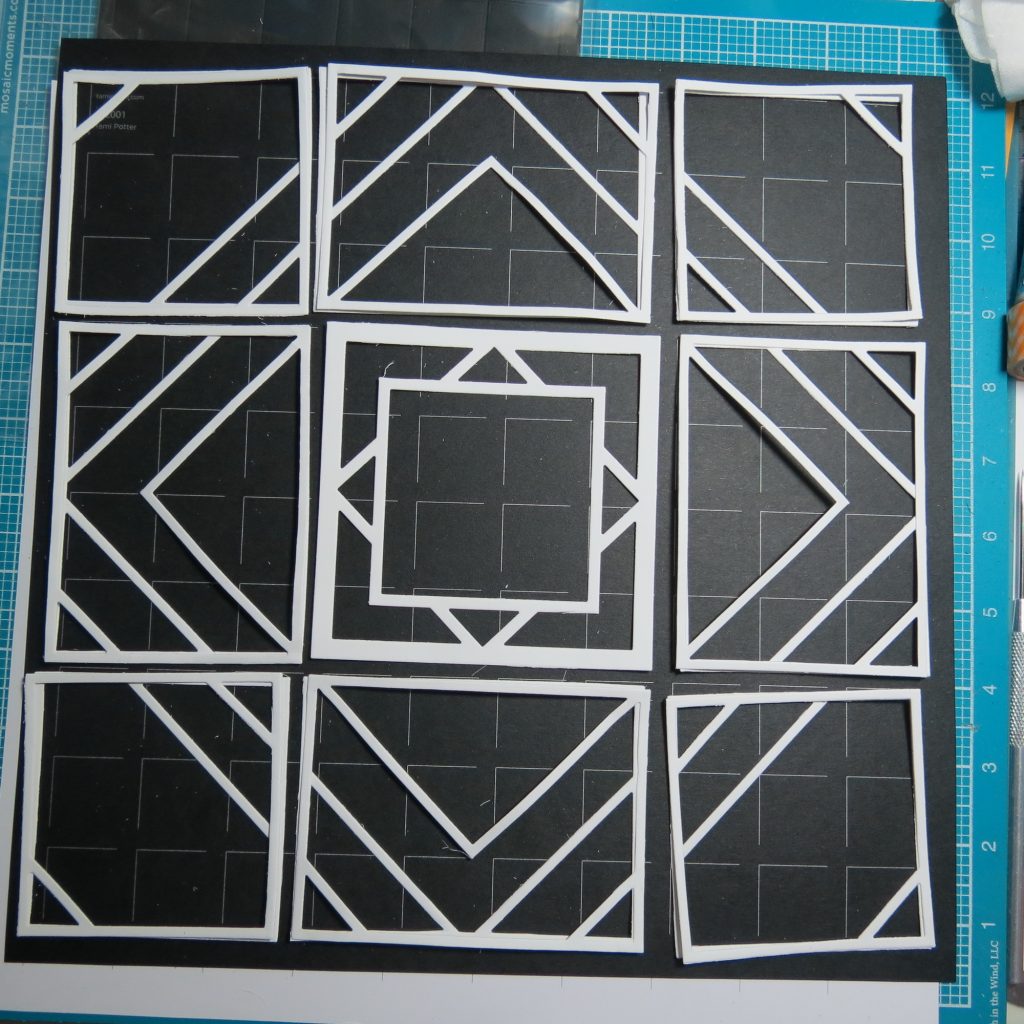
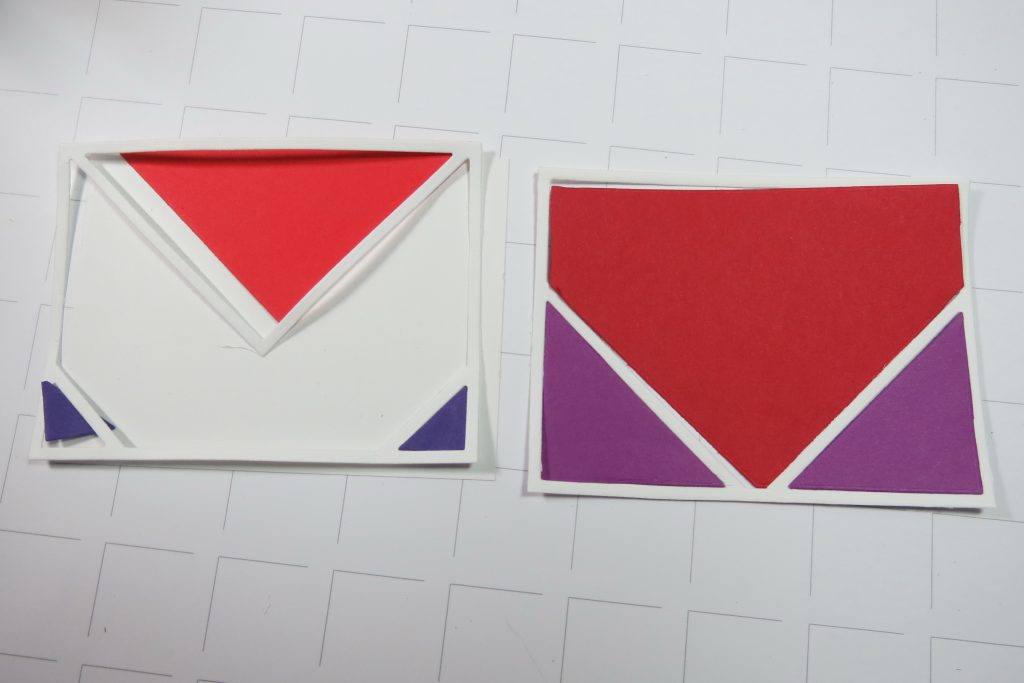
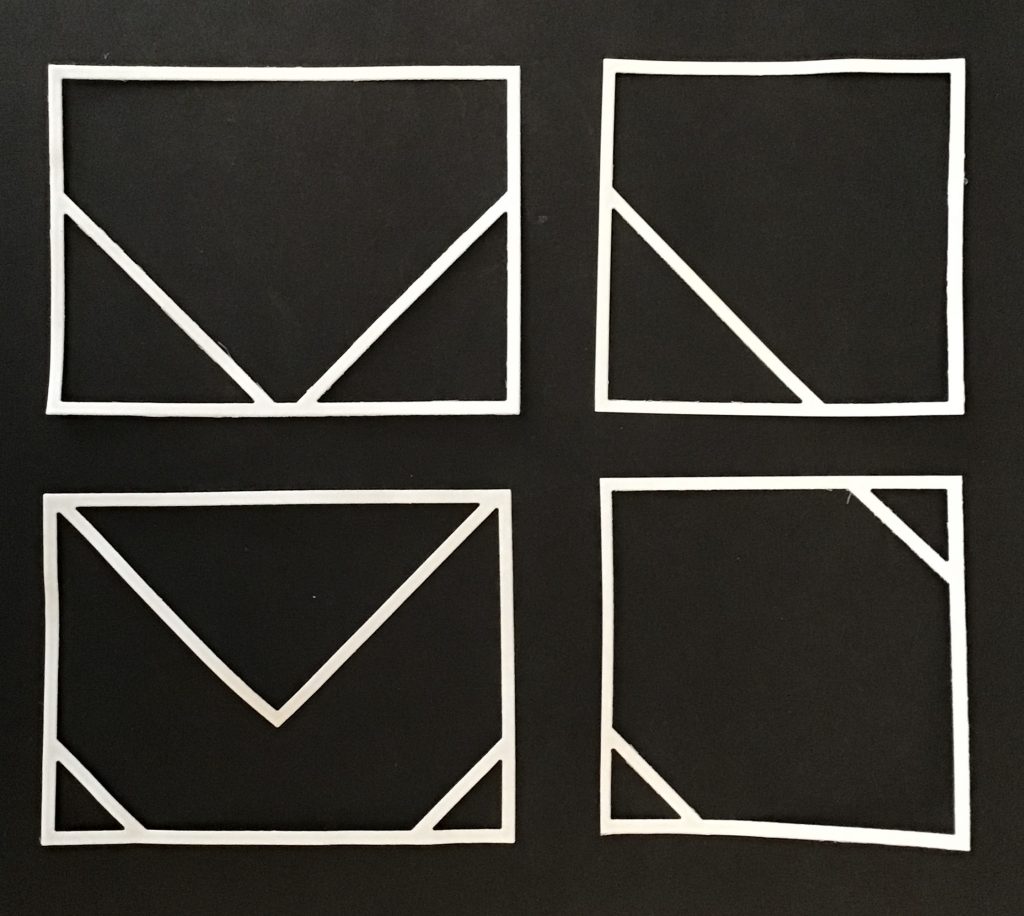
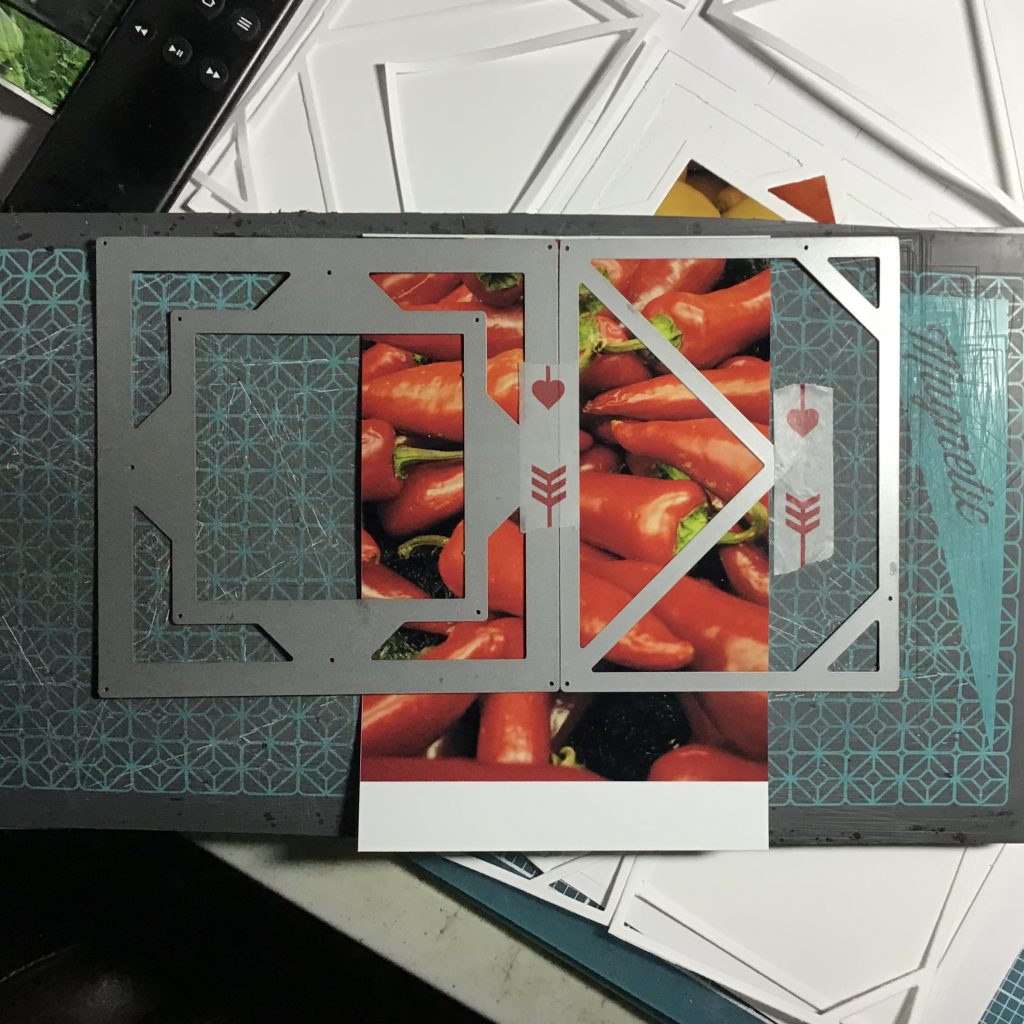
I cut the lower layer photos and then attached them to white tile bases. This gives stability to the delicate die cut and allows me to easily construct the layers and play around with the tiles in different combinations before securing to the grid.
TIP: to easily attach the die sections to the base tile, I run dot adhesive around the outside edges then carefully attach the die section one corner at a time easing it into place. This leaves a bit of adhesive for the photos I’ll be adding to it.
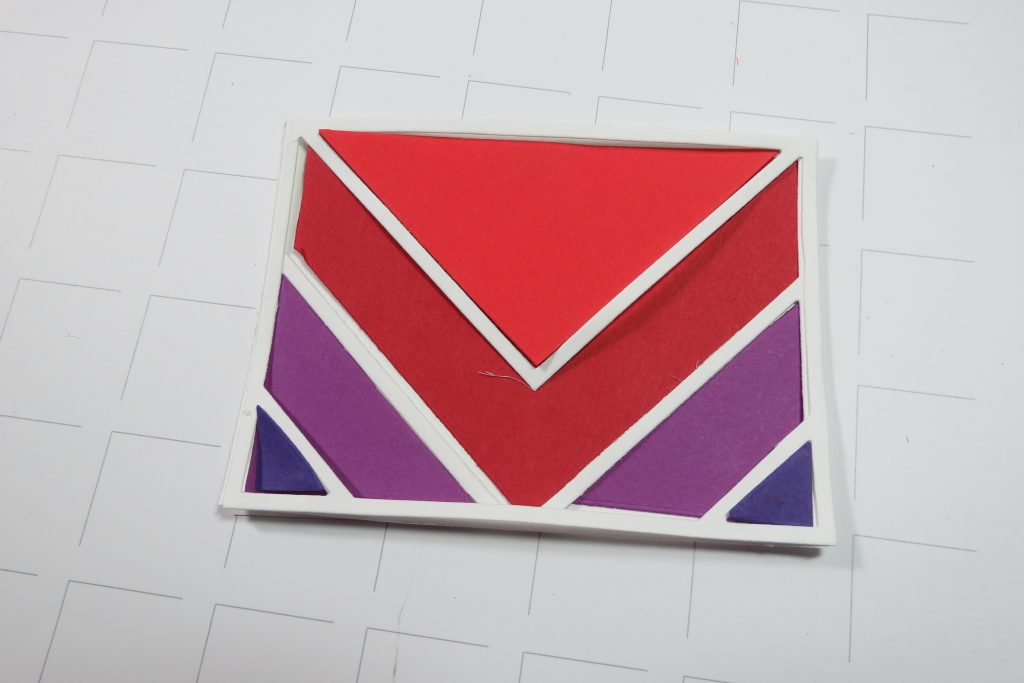
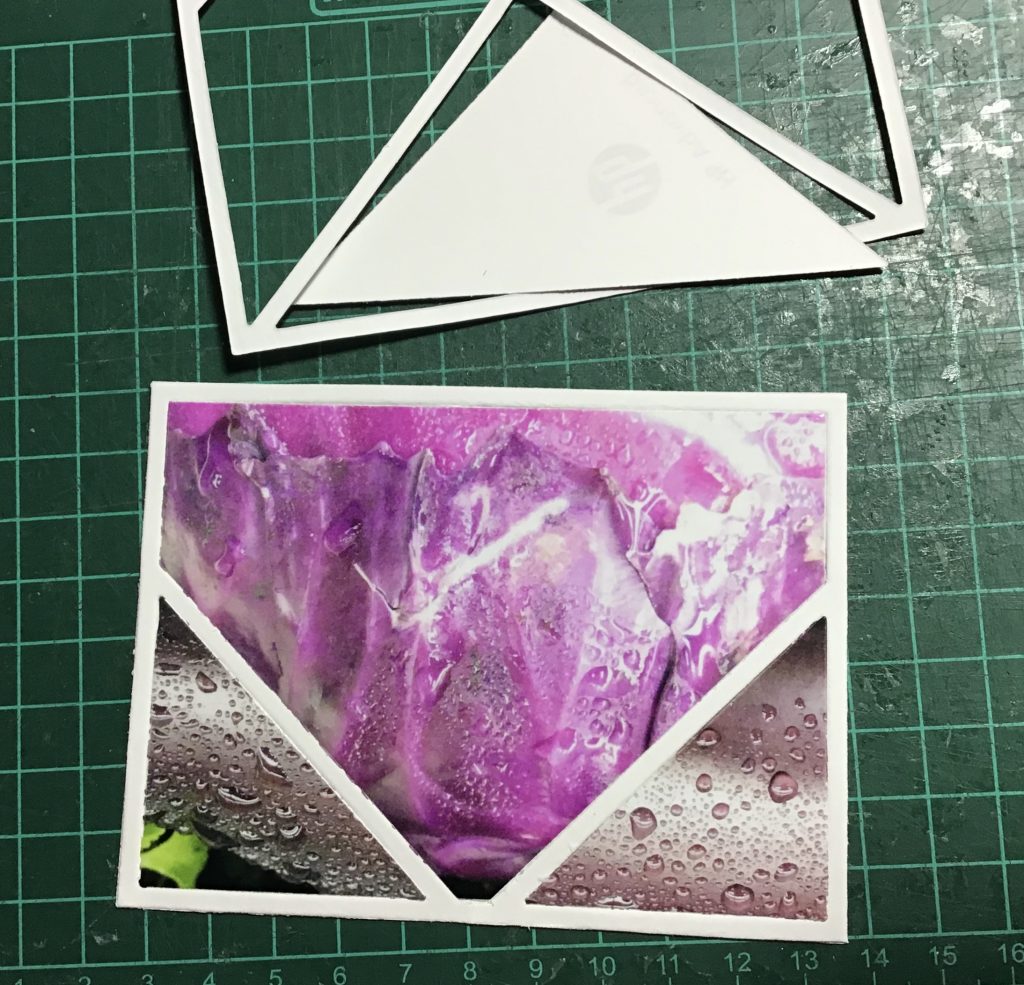
I begin with the bottom layer of the 3×4 Crisscross die and fill them. Then I layered the Diamond Mines 3×4 on top and fill those sections.
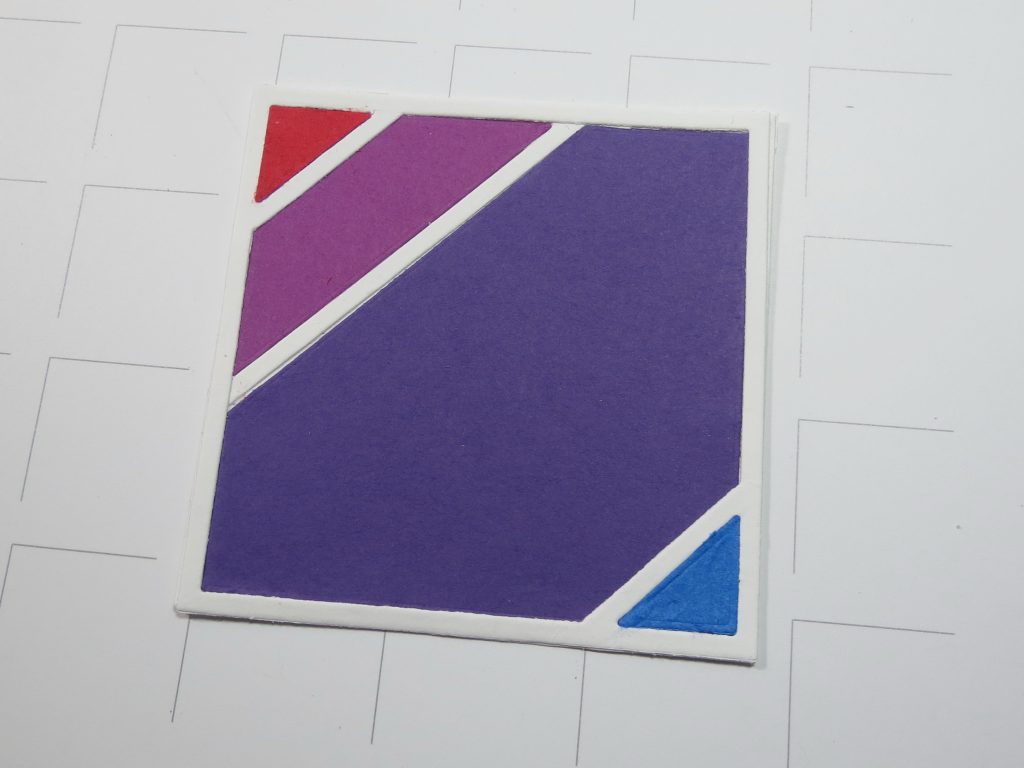
For the 3×3’s I began with the Diamond Mines on the bottom 3×3 filled and layered the Crisscross 3×3 on top and filled the two tiny triangles.
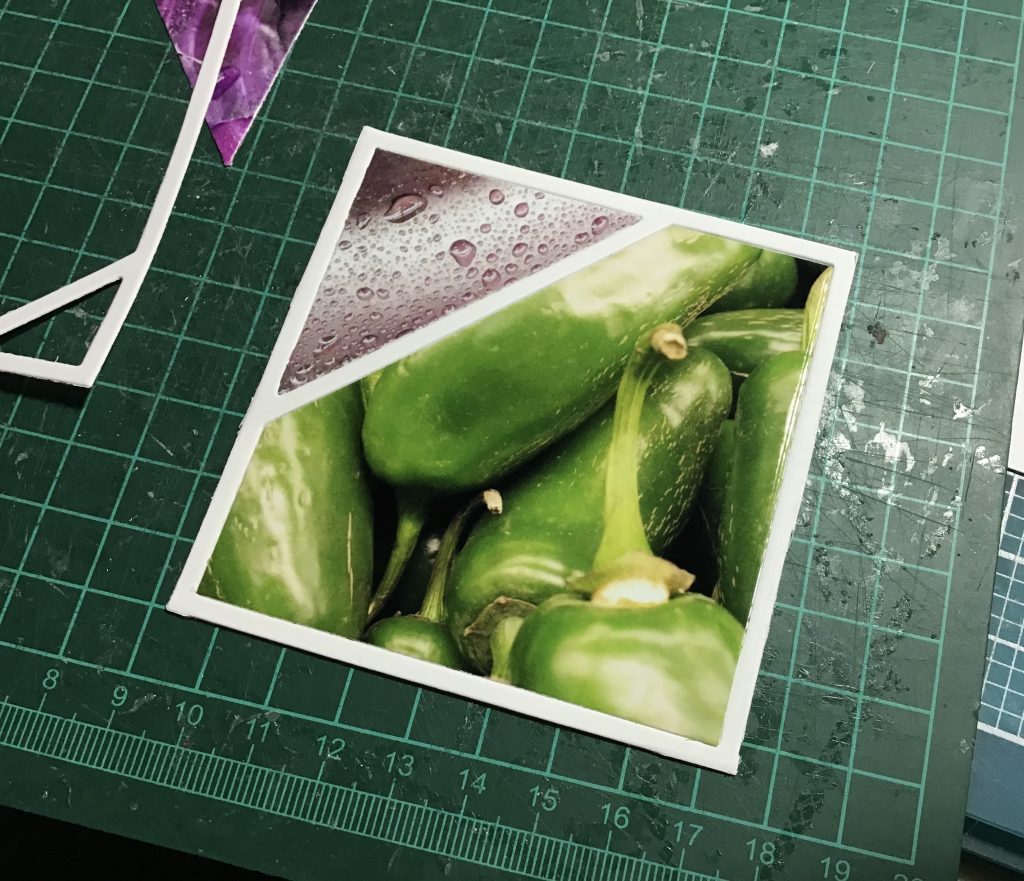
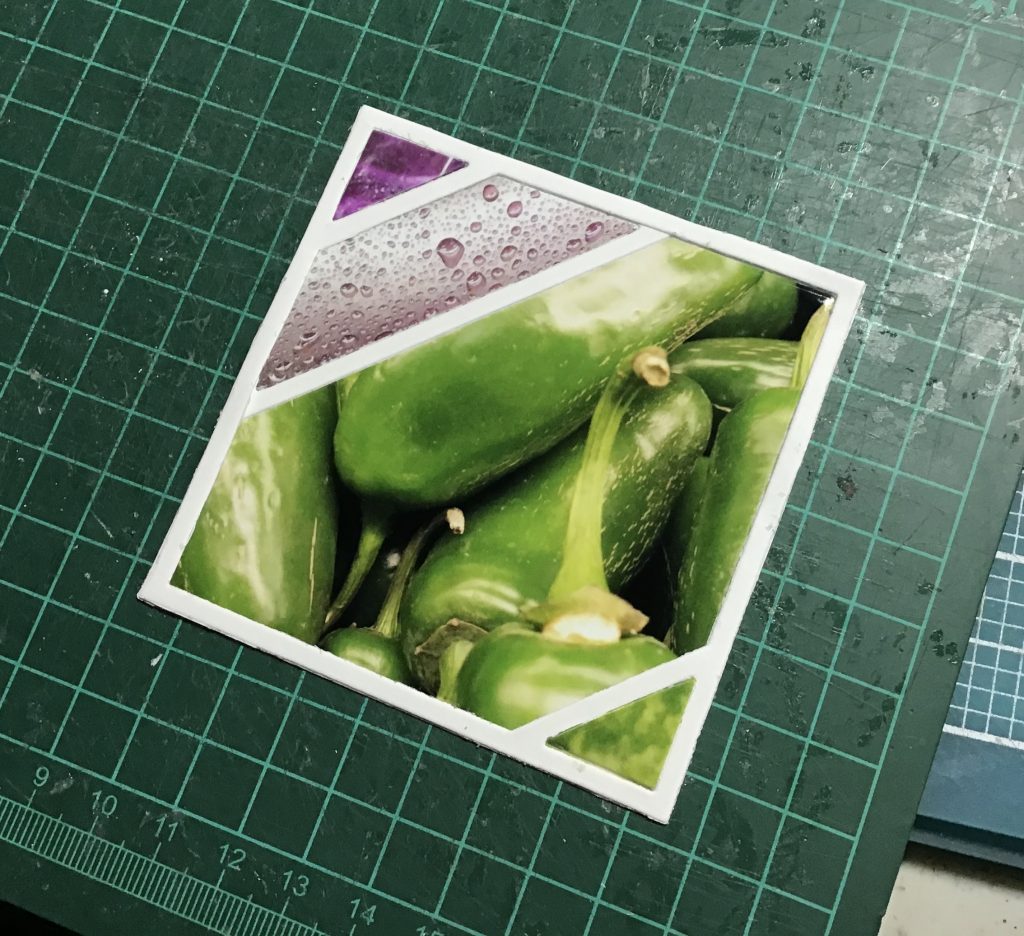
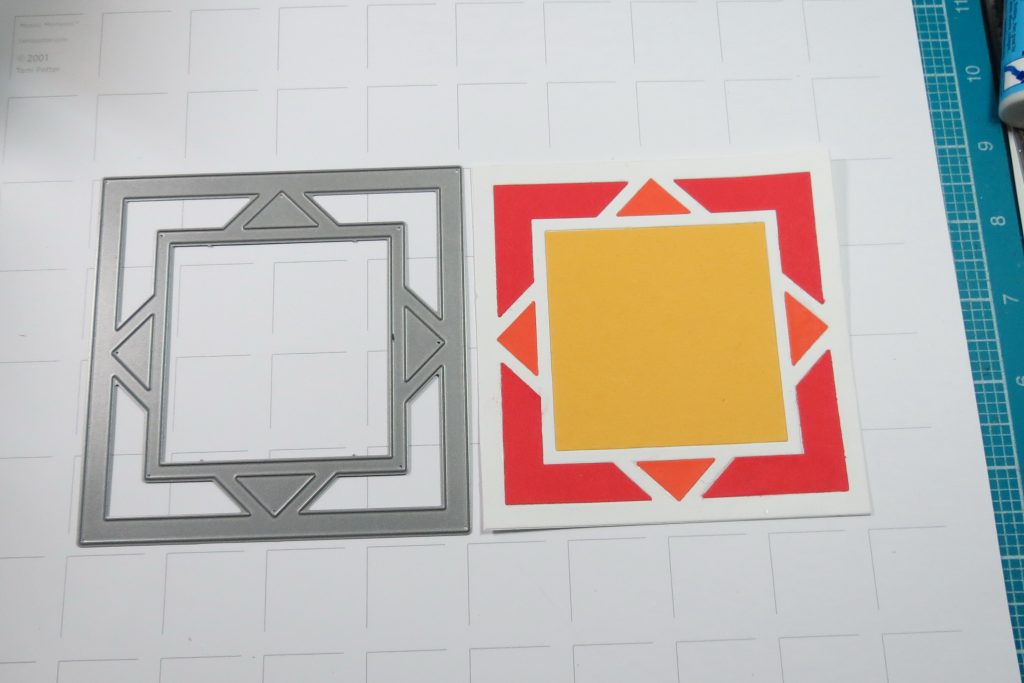
The center tile with the Square Diamond Frame Die that is a 4×4 has my first three colors. I used the small die with the Crisscross die that cuts four small triangles with the orange, leaving enough photo to use on another project.
Here are a few tips for the photos for this project.
- The yellow and orange layers one photo is sufficient to print.
- For the third layer (red) I need four. I’m going to cut the center sections at the same time that I cut the side sections. The remaining top and bottom from the remains two photos.
3. Four photos for the next layer (purple) and from the remaining portions use the small die to cut four triangle tiles.
4. The next round (deep purple) also needs four photos, and this time from the remainders using the larger two triangle dies cut the pieces you need for the 3×3 corner dies.
5. Four photos again (green) to fill the outer 3×3’s, and cut the small triangles on the 3×4’s.
6. For the final layer, (also green) the four small triangles can be cut from one photo, again with plenty remains for another application.
So, if you are looking for a little challenge, this is one to try and work through it. If not, this second layout is using the Crisscross dies alone (except for the center 4×4) and won’t take as long. And it will still leave you with something you’ll love.
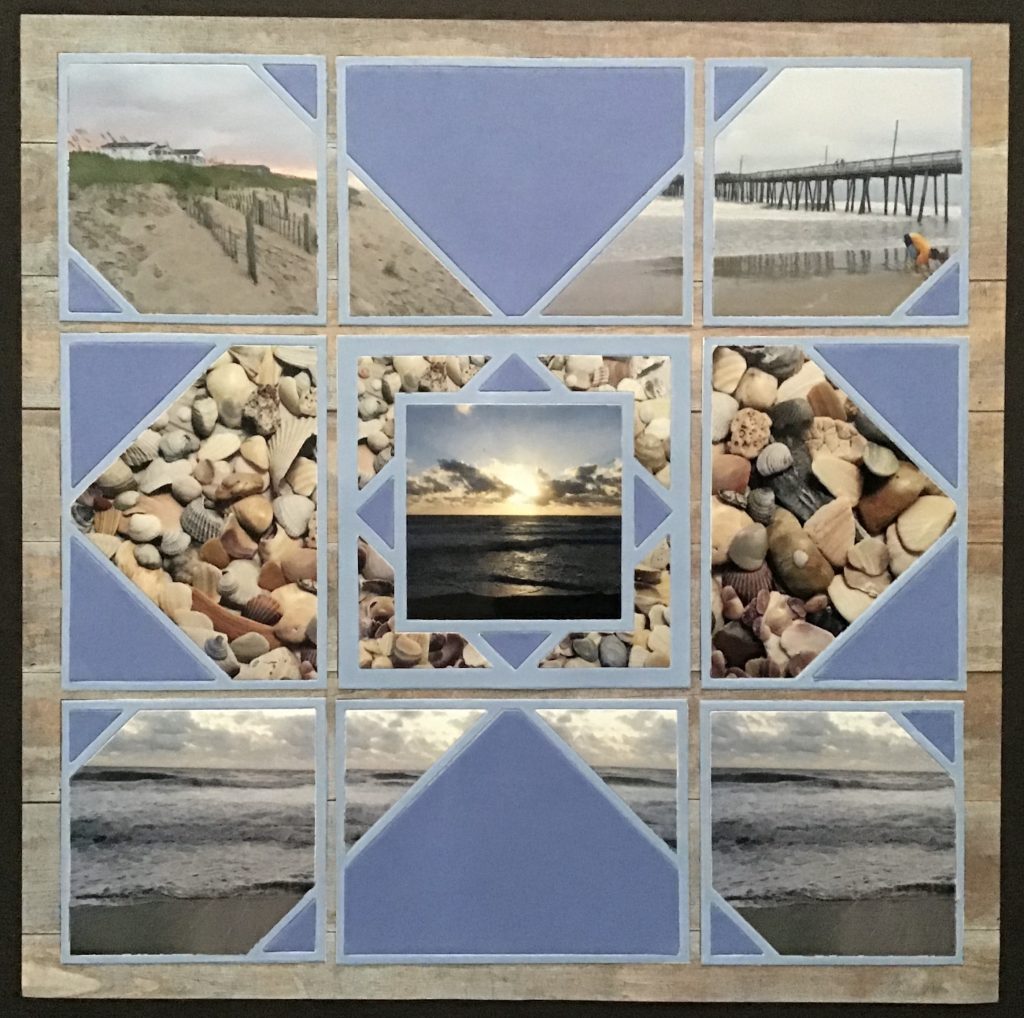
This time, my oceanfront layout is built on Wood Cabin Grid Paper. Because there are touches of blue in the wood grain I thought I’d try a bluish-purple for my die sections, and a darker shade to fill in some of the pattern pieces.
This time the top two and bottom two photos will fill the 3×3’s AND the triangle in the 3×4 section next to that corner. Just a little positioning of the dies on the photos will yield the portions of photos you need.
After some deliberation on how to place the center outside tiles, pointing in or out I cut my photos. For this I only had one photo of seashells to work with so I made some copies. The original horizontal was used in the center square corners.
Then, I edited the original image into two vertical photos, a left and a right. This will also change the size of shells and that adds a little interest to your layout.
My center photo adds a pretty sunset and the page is complete.
Have fun creating your layouts and trying new things with the Crisscross dies!
Andrea Fisher