
Level two dies can be time savers and they can be creative opportunities. Years ago, Tami gave the Design Team a Challenge to work with a circle theme in a layout. This was of course, some time before any of our circle dies had been created, but we did have Circle Tiles and I used them as a jump off for my layout.
In addition to the circle tiles the challenge also included the option of using stitching or patterned paper.
I did all three. It was a layout I enjoyed working on, but was also one I always wanted to redo once the various circle dies came out, so, today, I’m going to tackle that task by using many of the same elements and the Horizon die sets. Here’s how the original came together.
Level Two Dies – option 1 – Horizon Die Set
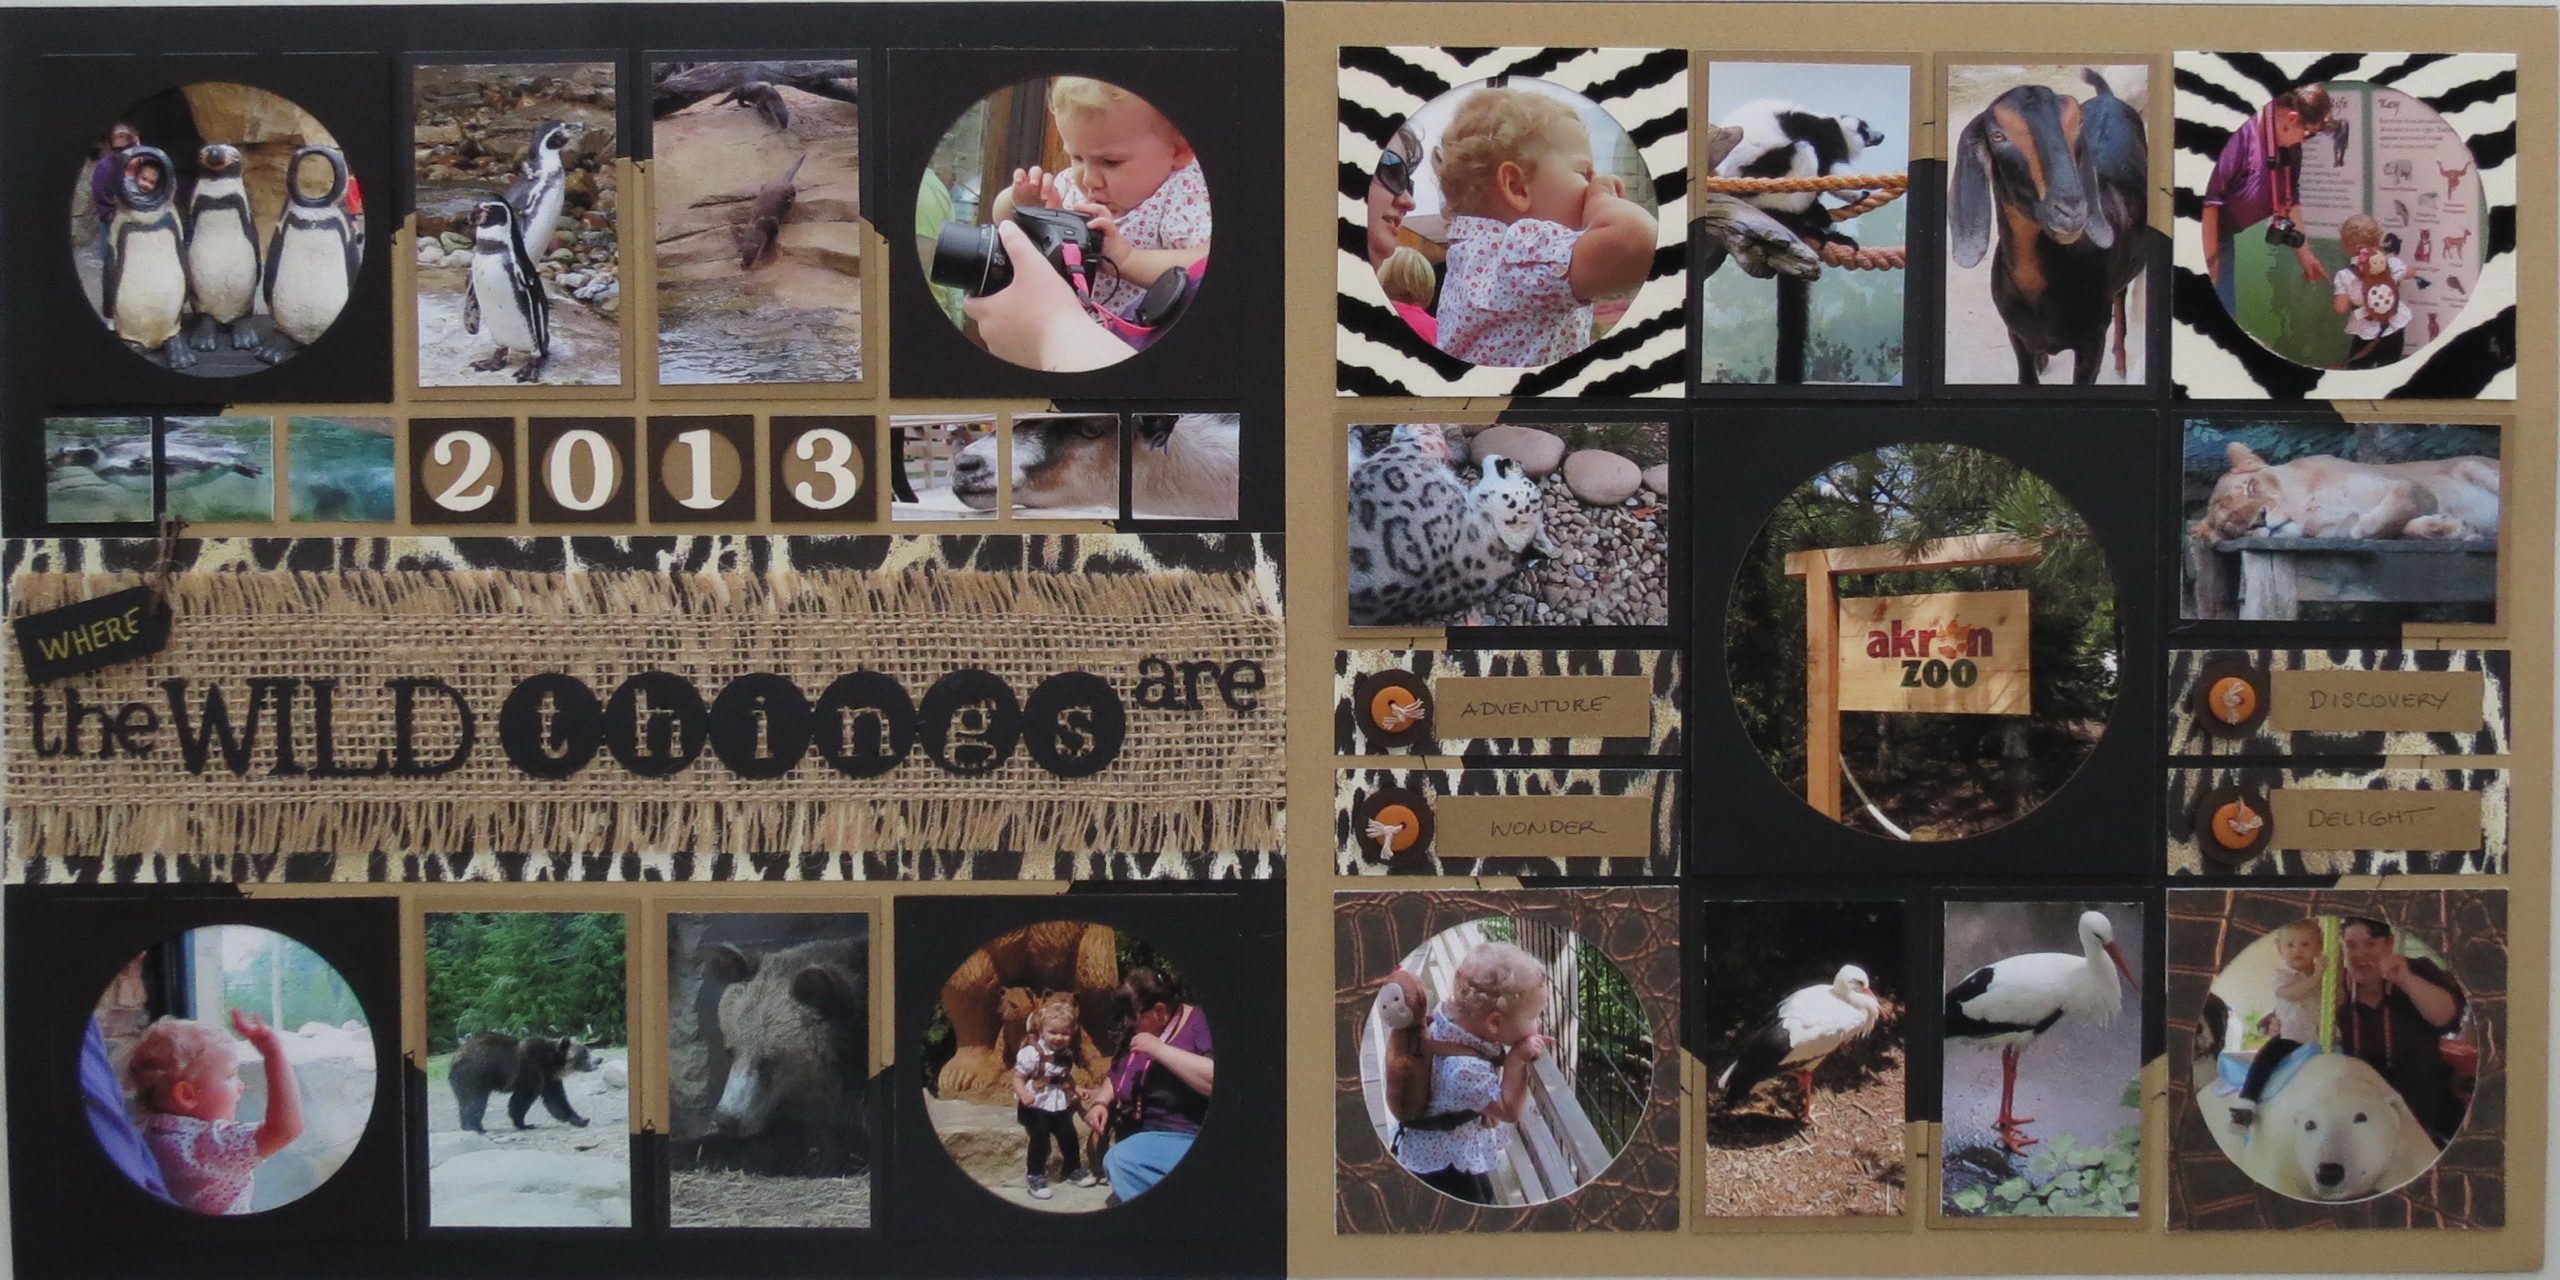
I began with black Mosaic Moments grid paper as my base and Kraft cardstock in place of the Ginger Grid paper in the original. I’m including a burlap sheet instead of the jute ribbon as well as adding canvas to the layout. Buttons will still act as bullet points for journal spots.
I have eliminated the stitching this time around and only show patterned paper as one of the options for finishing.
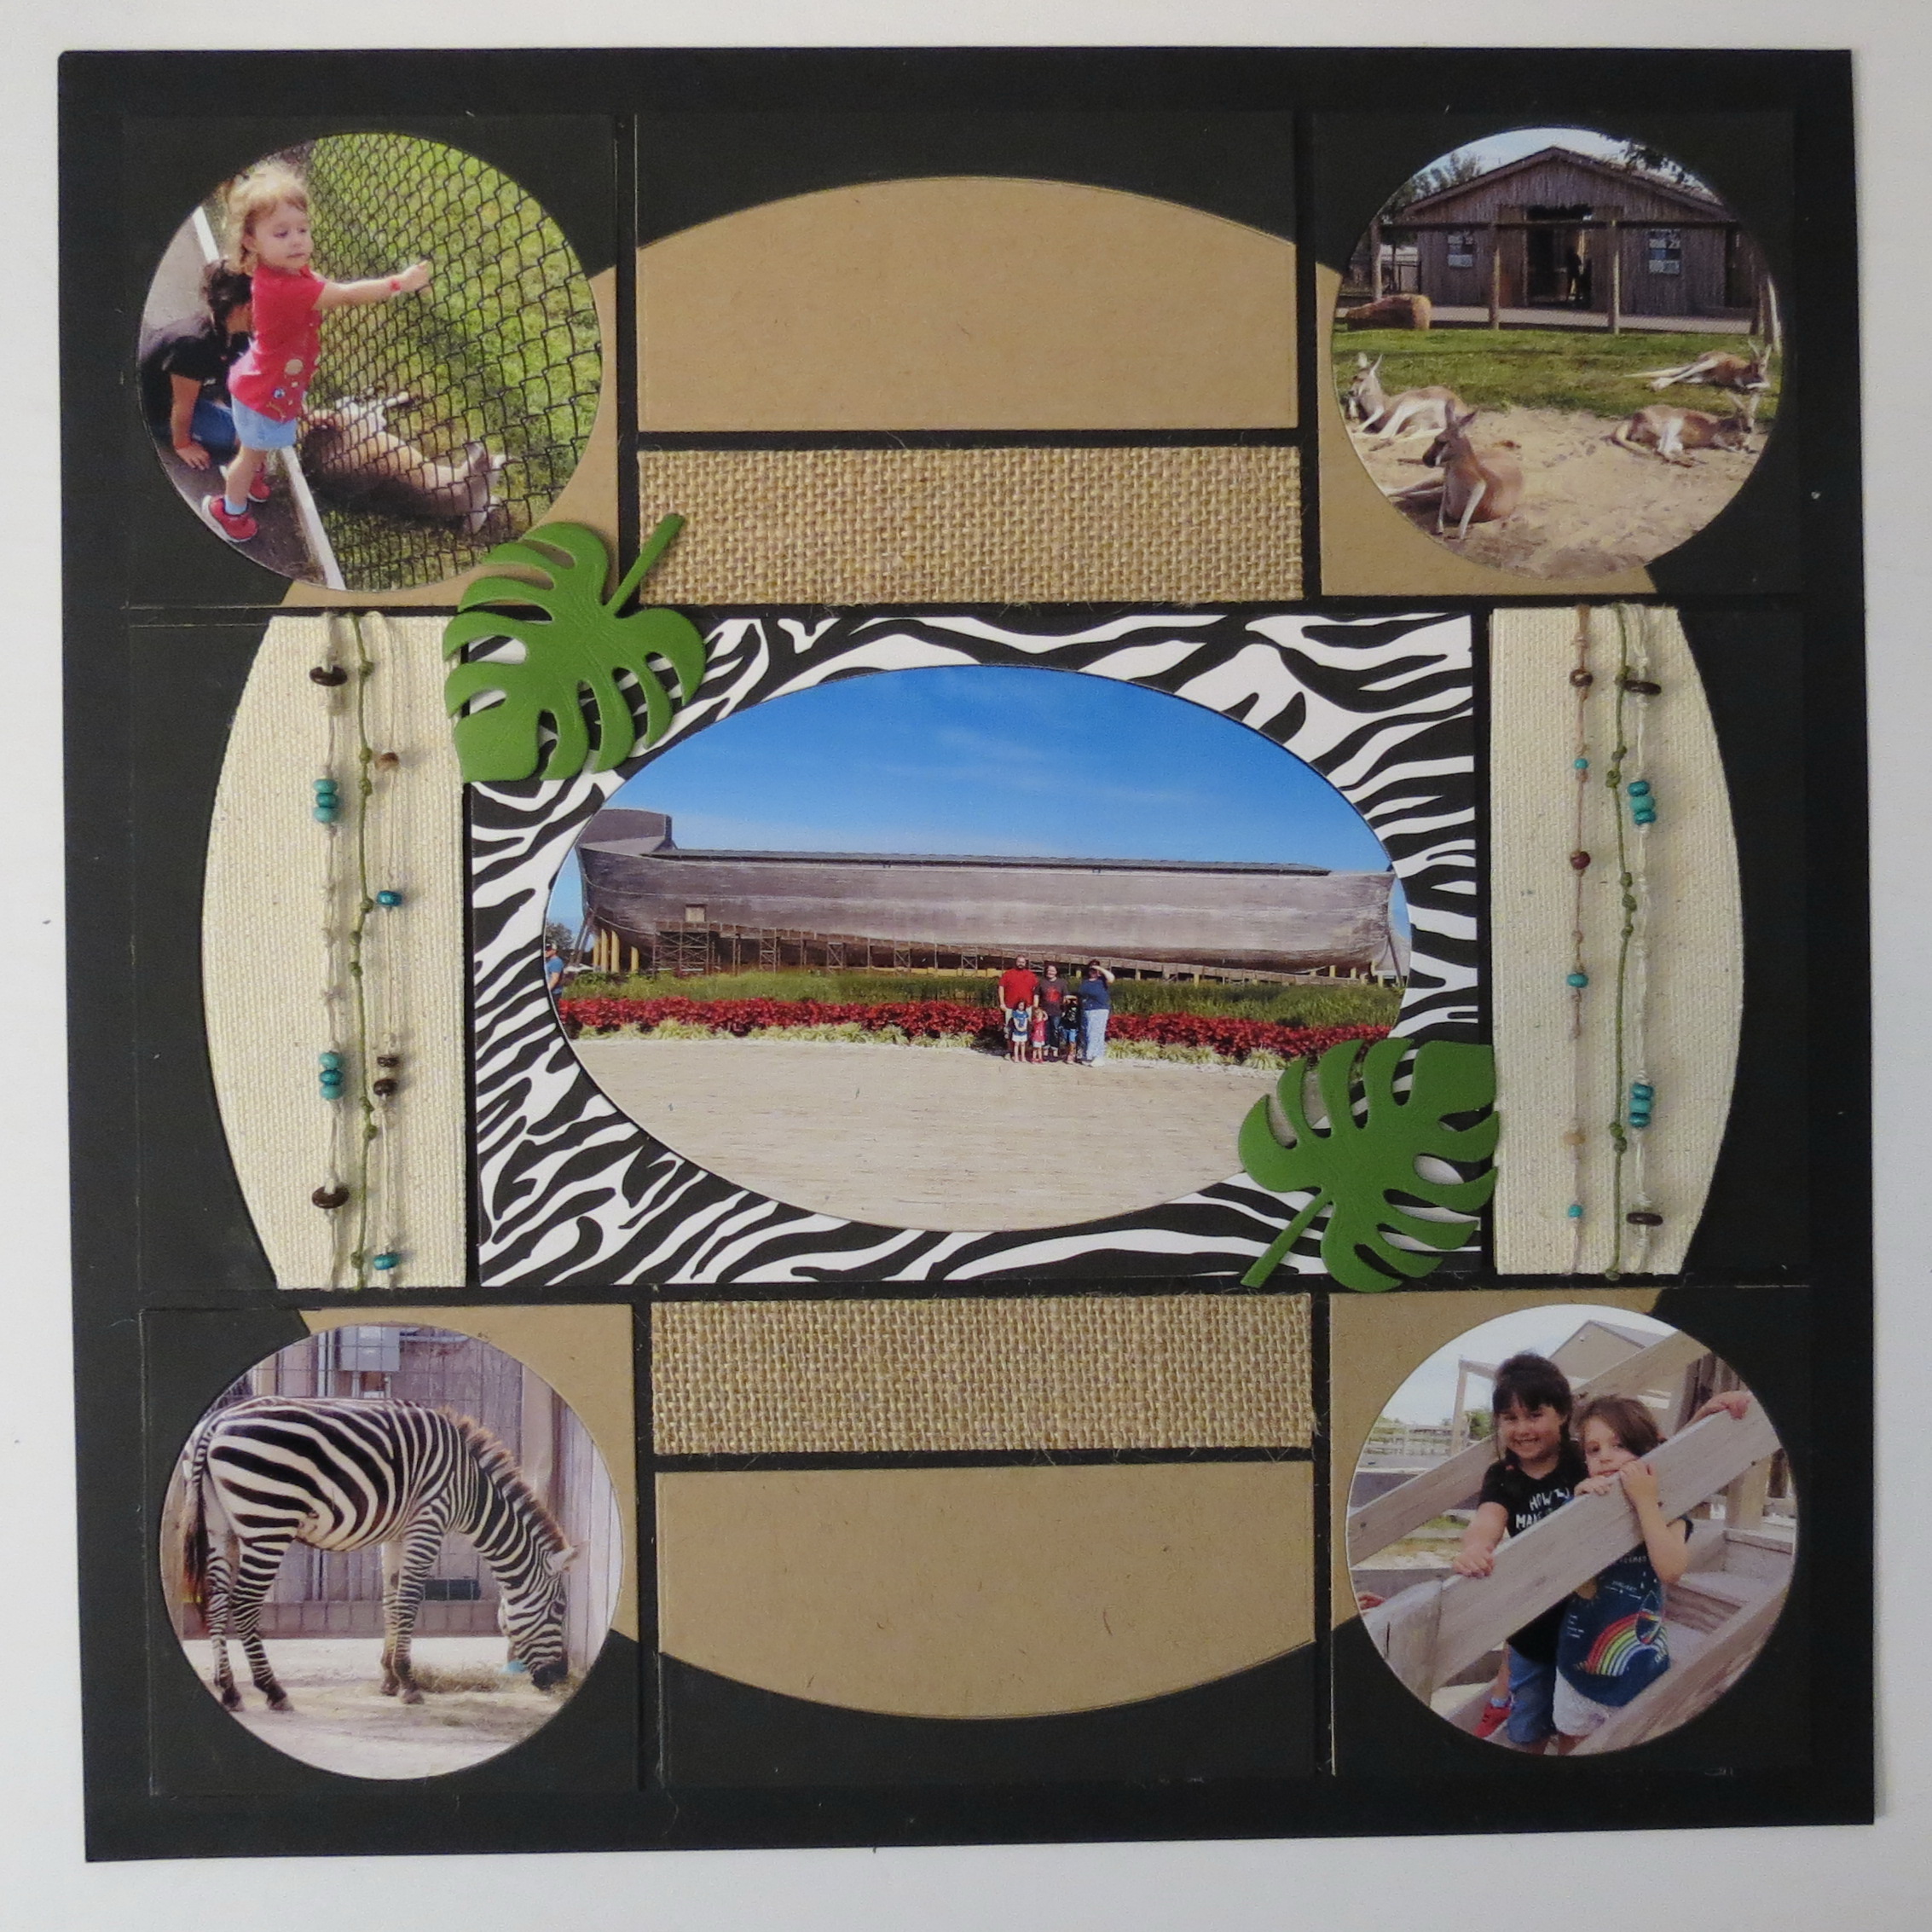
Page One
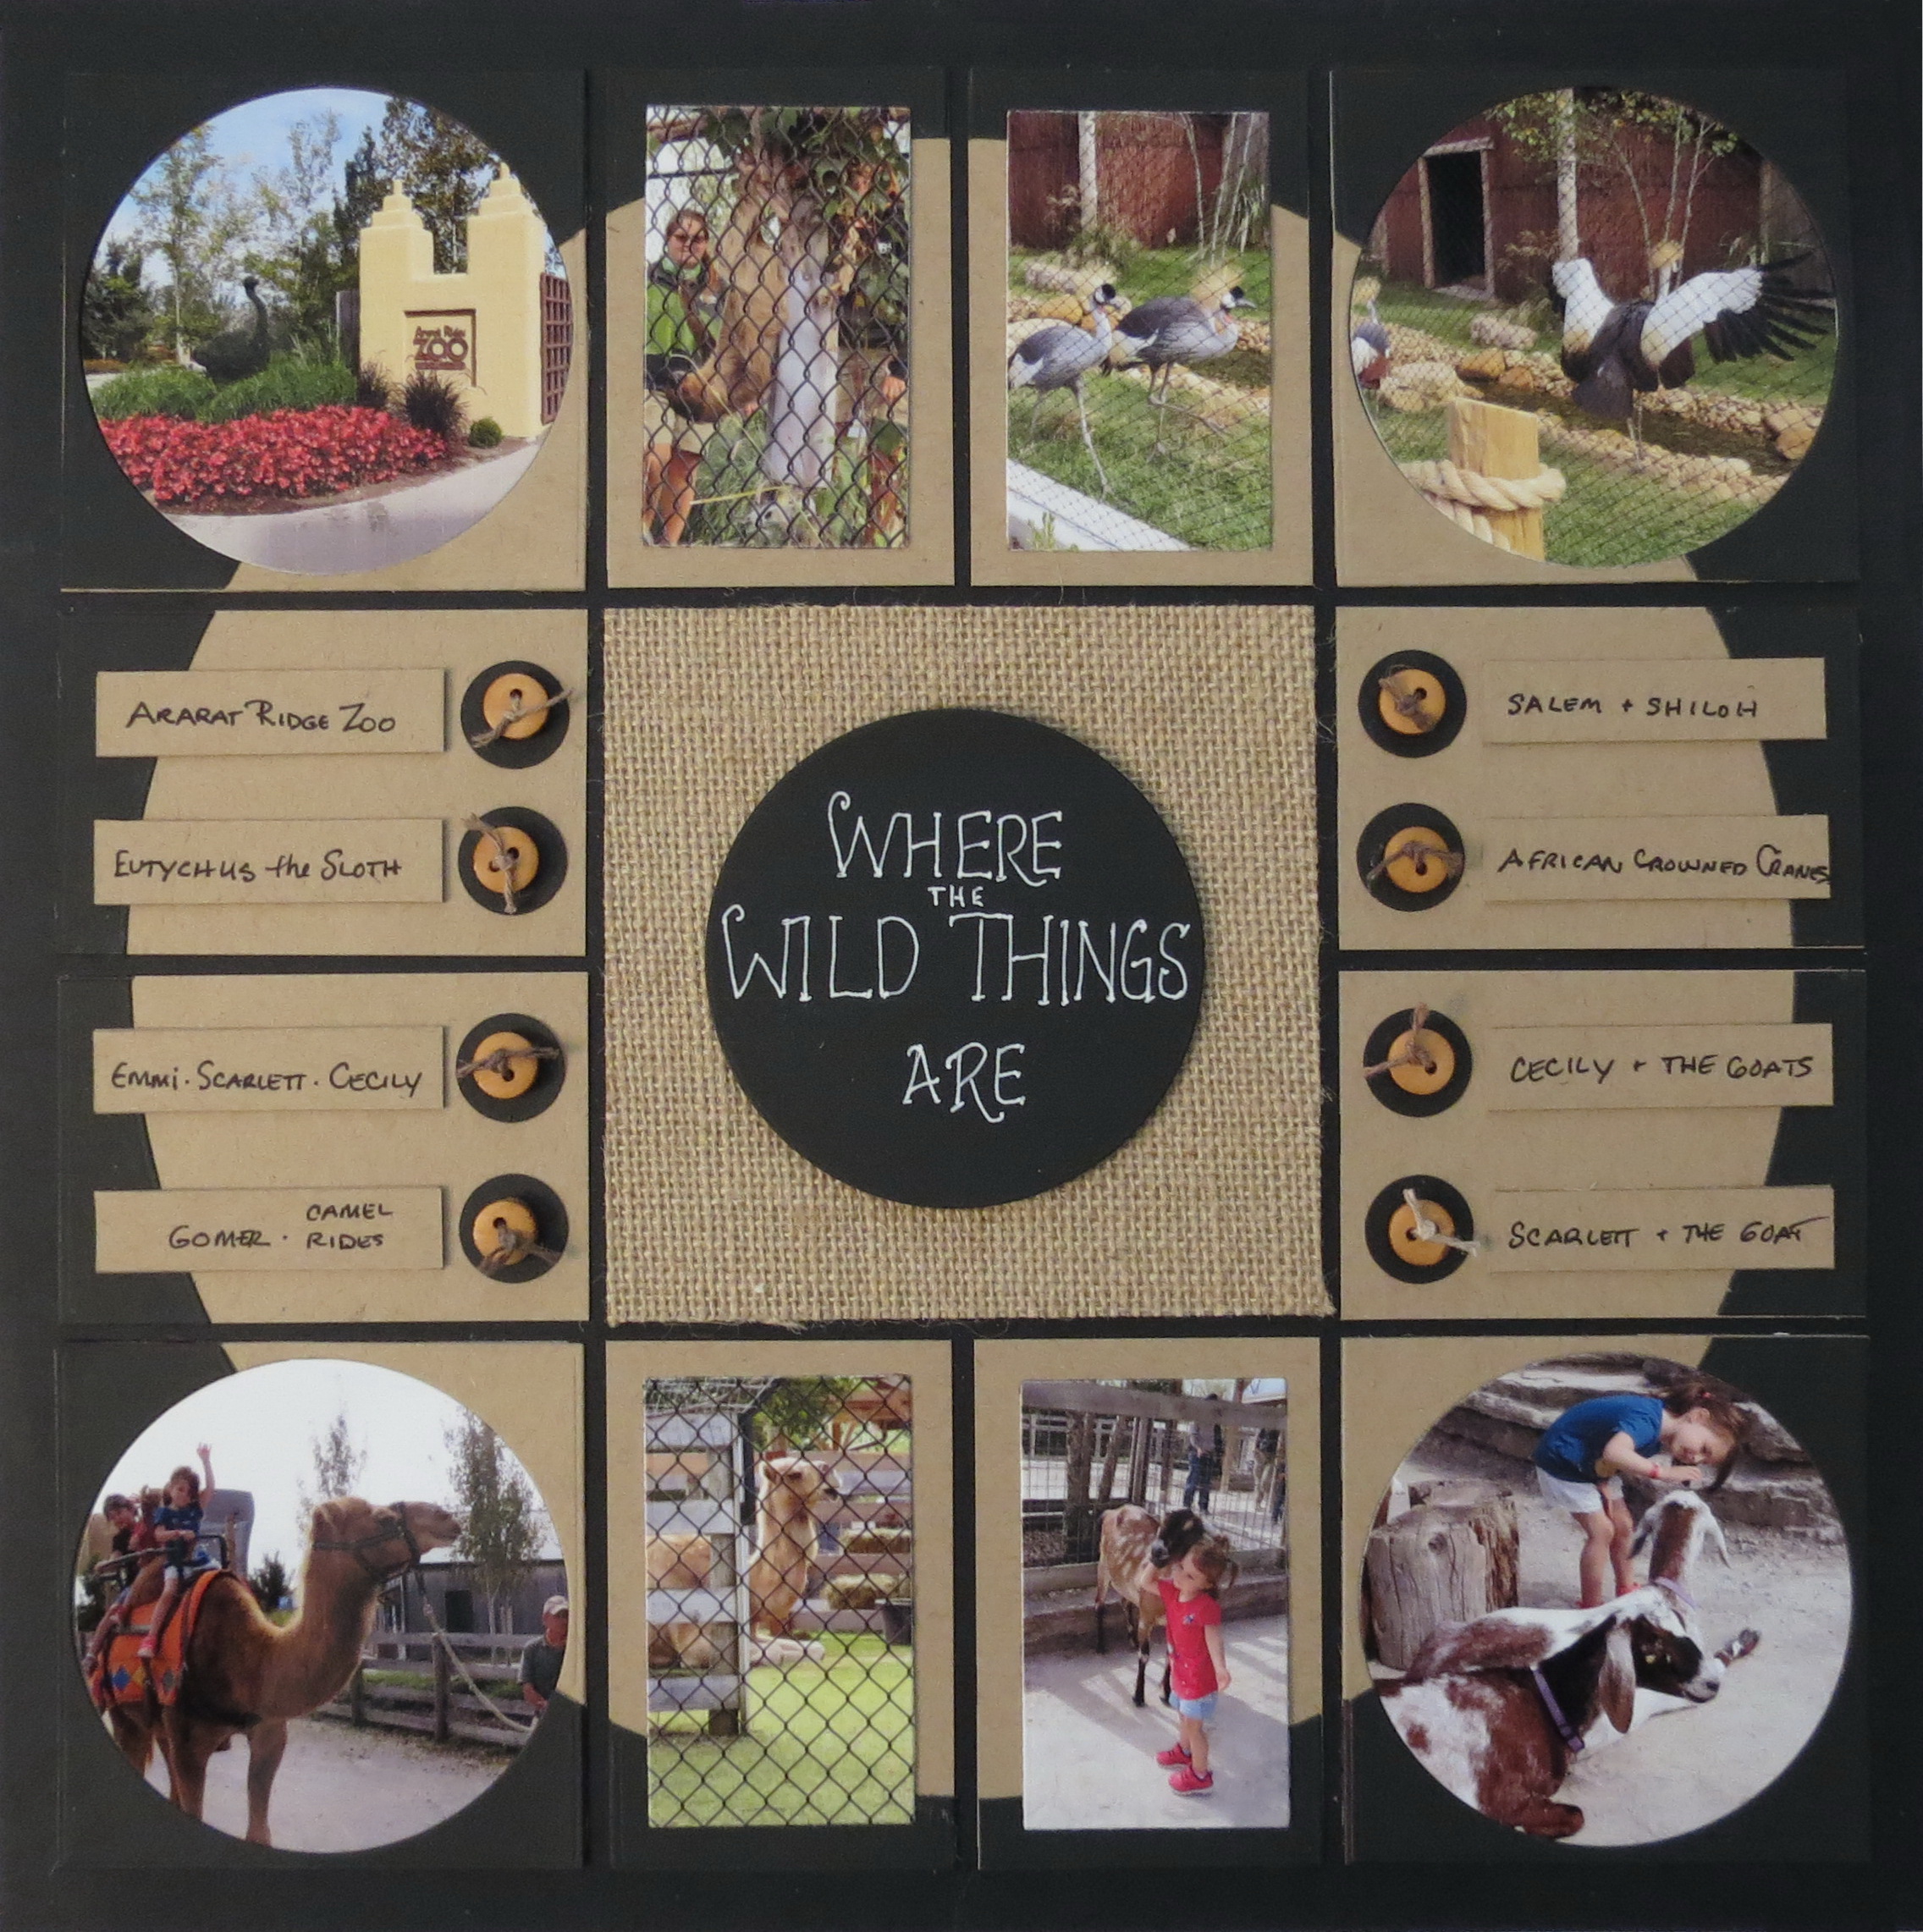
I’ve done two versions of this page. One is using the Die Set C layering die for the 2×3 to cut my photos and set on the spaces as I did in the original and then secondly to cut the photos to fit using the Horizon Die to cut to fit the space.
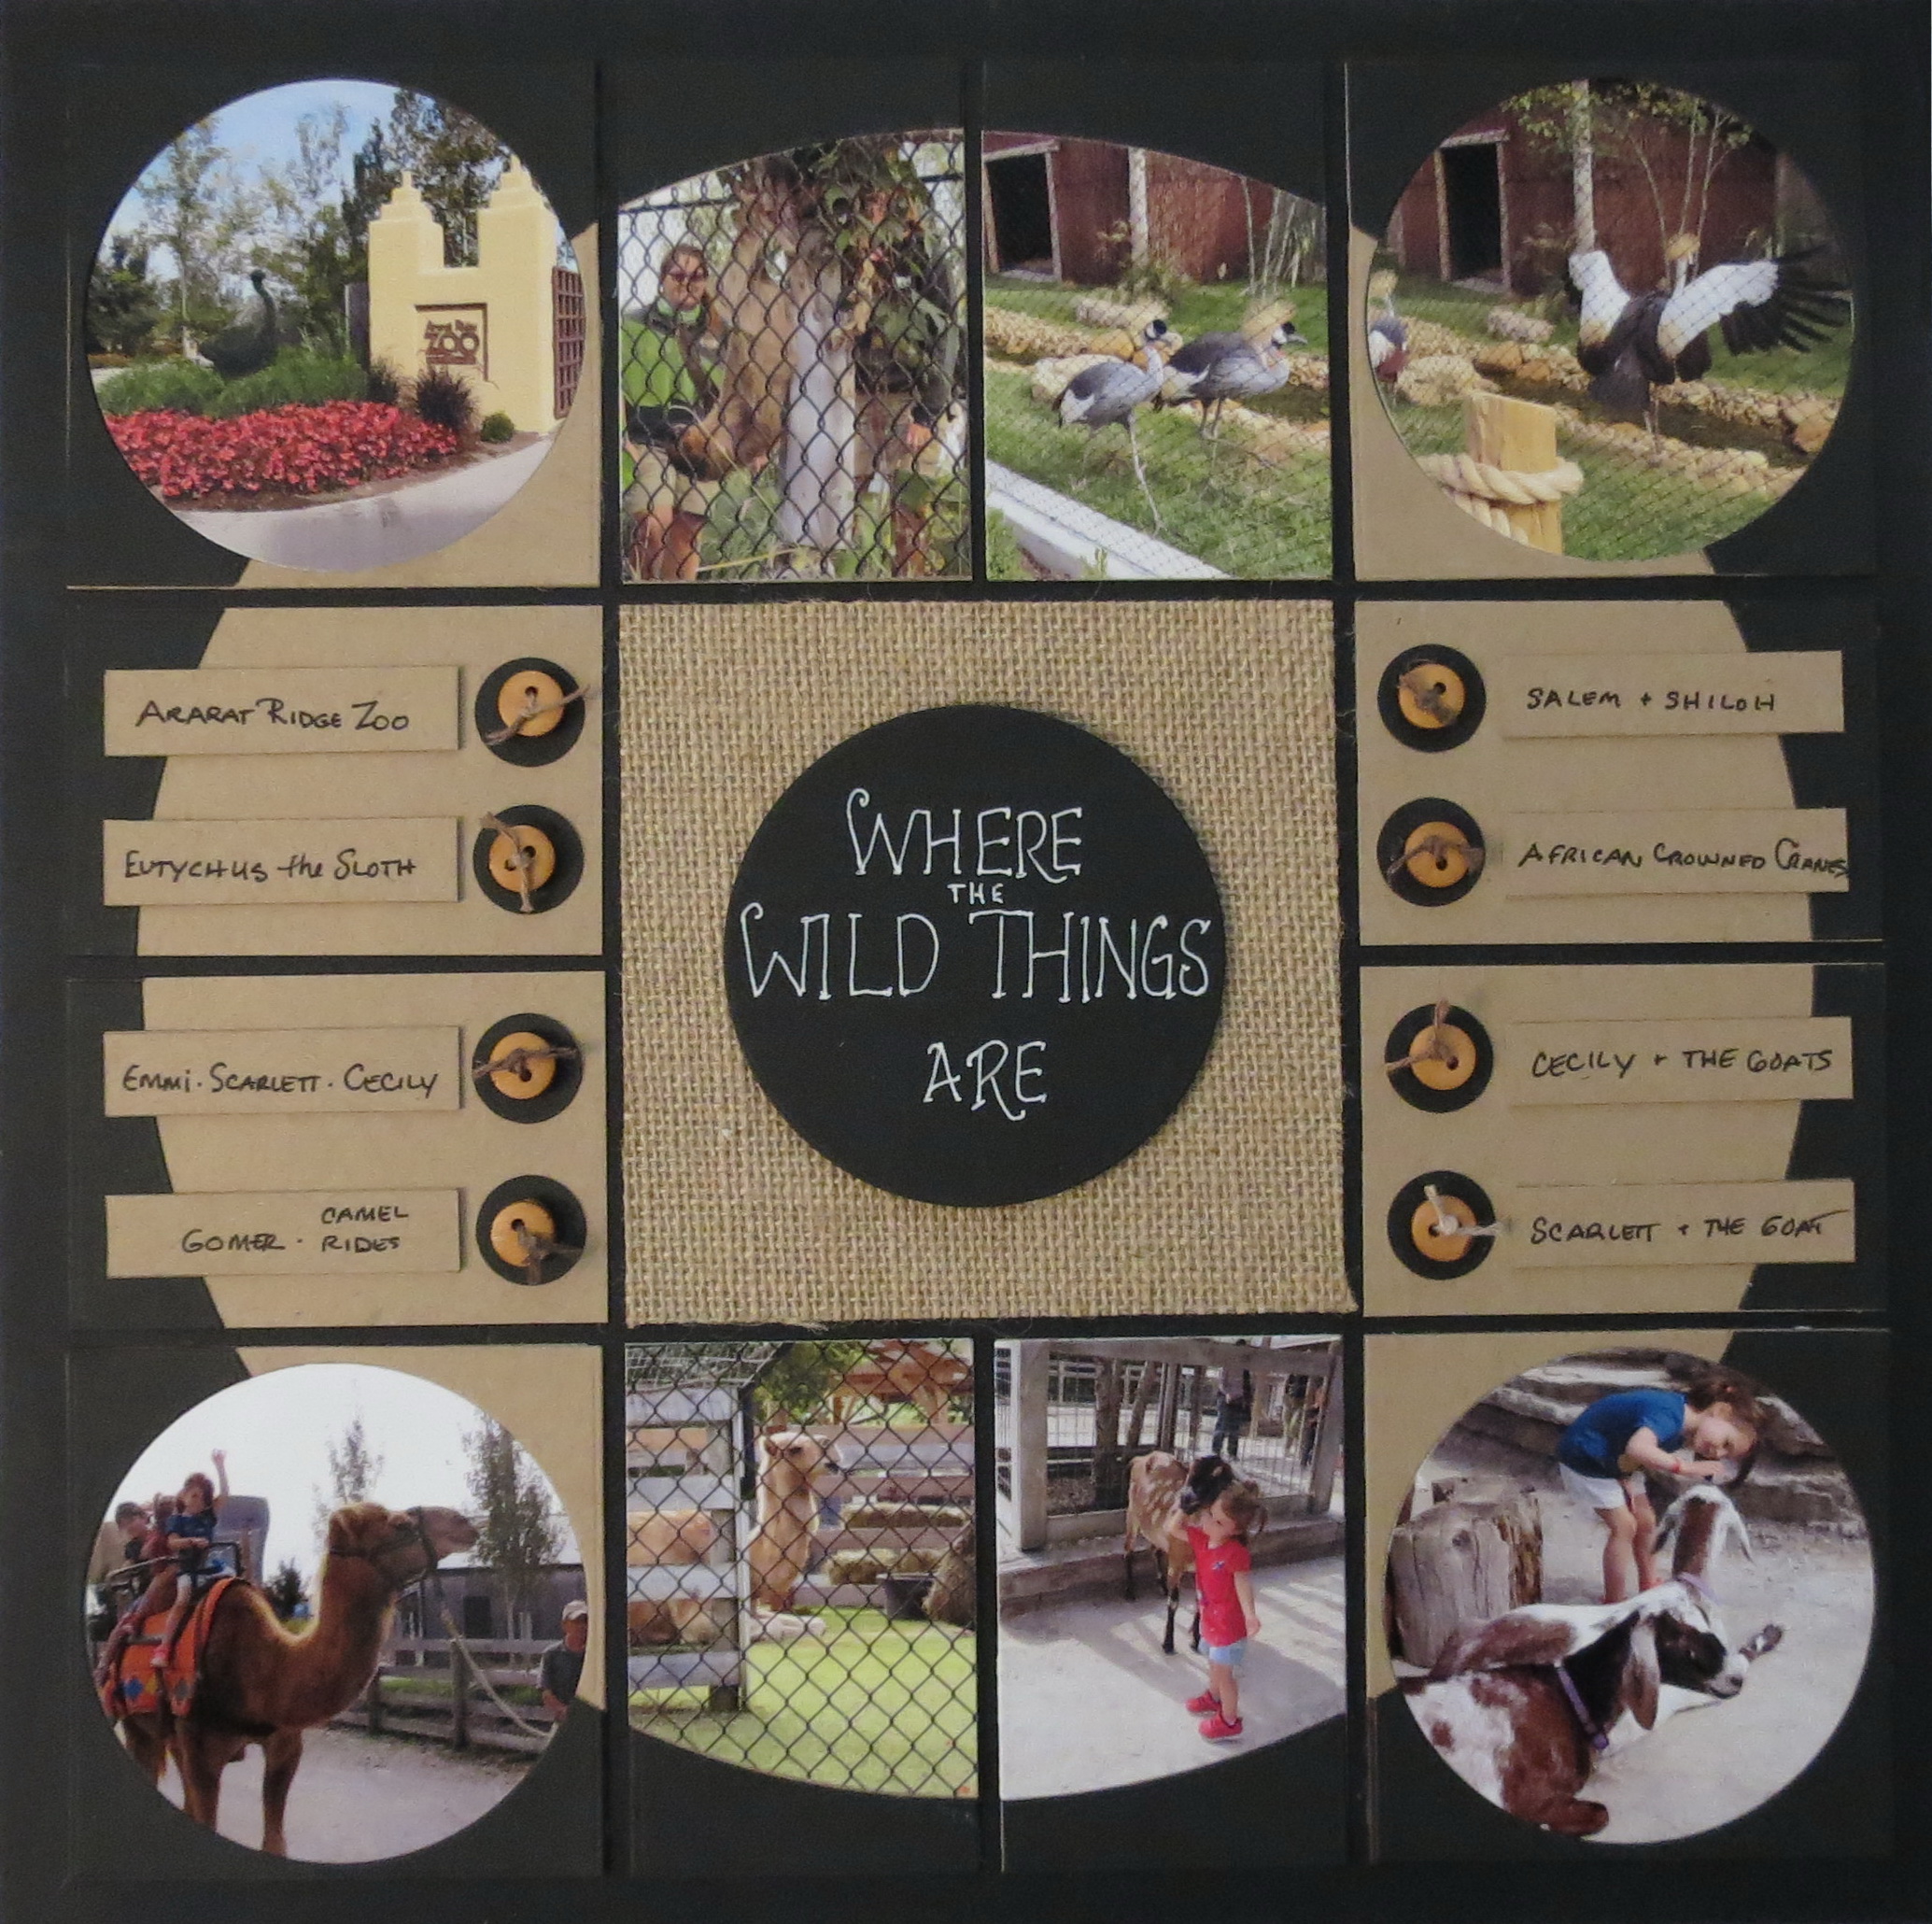
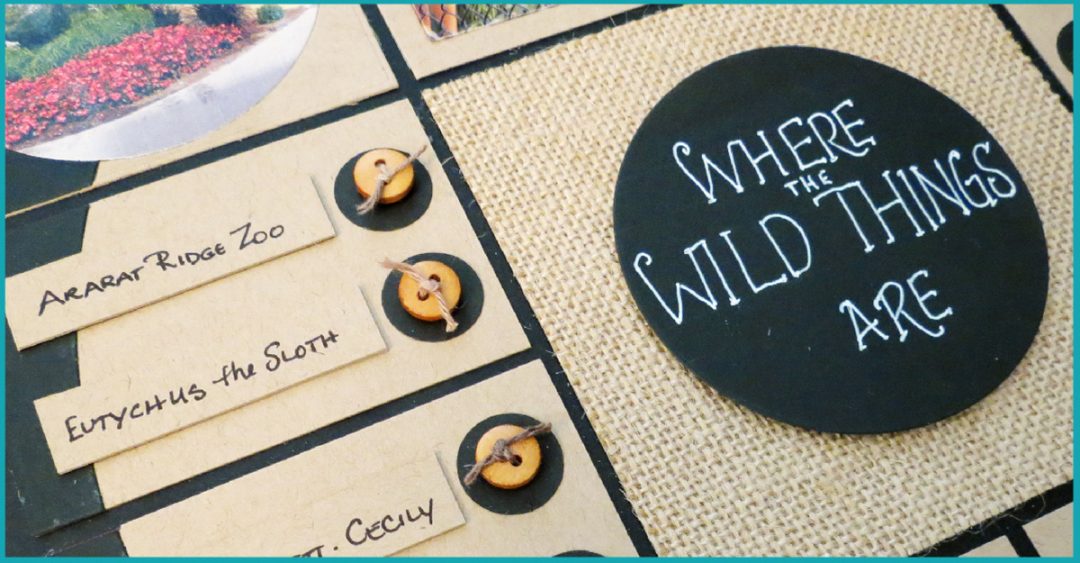
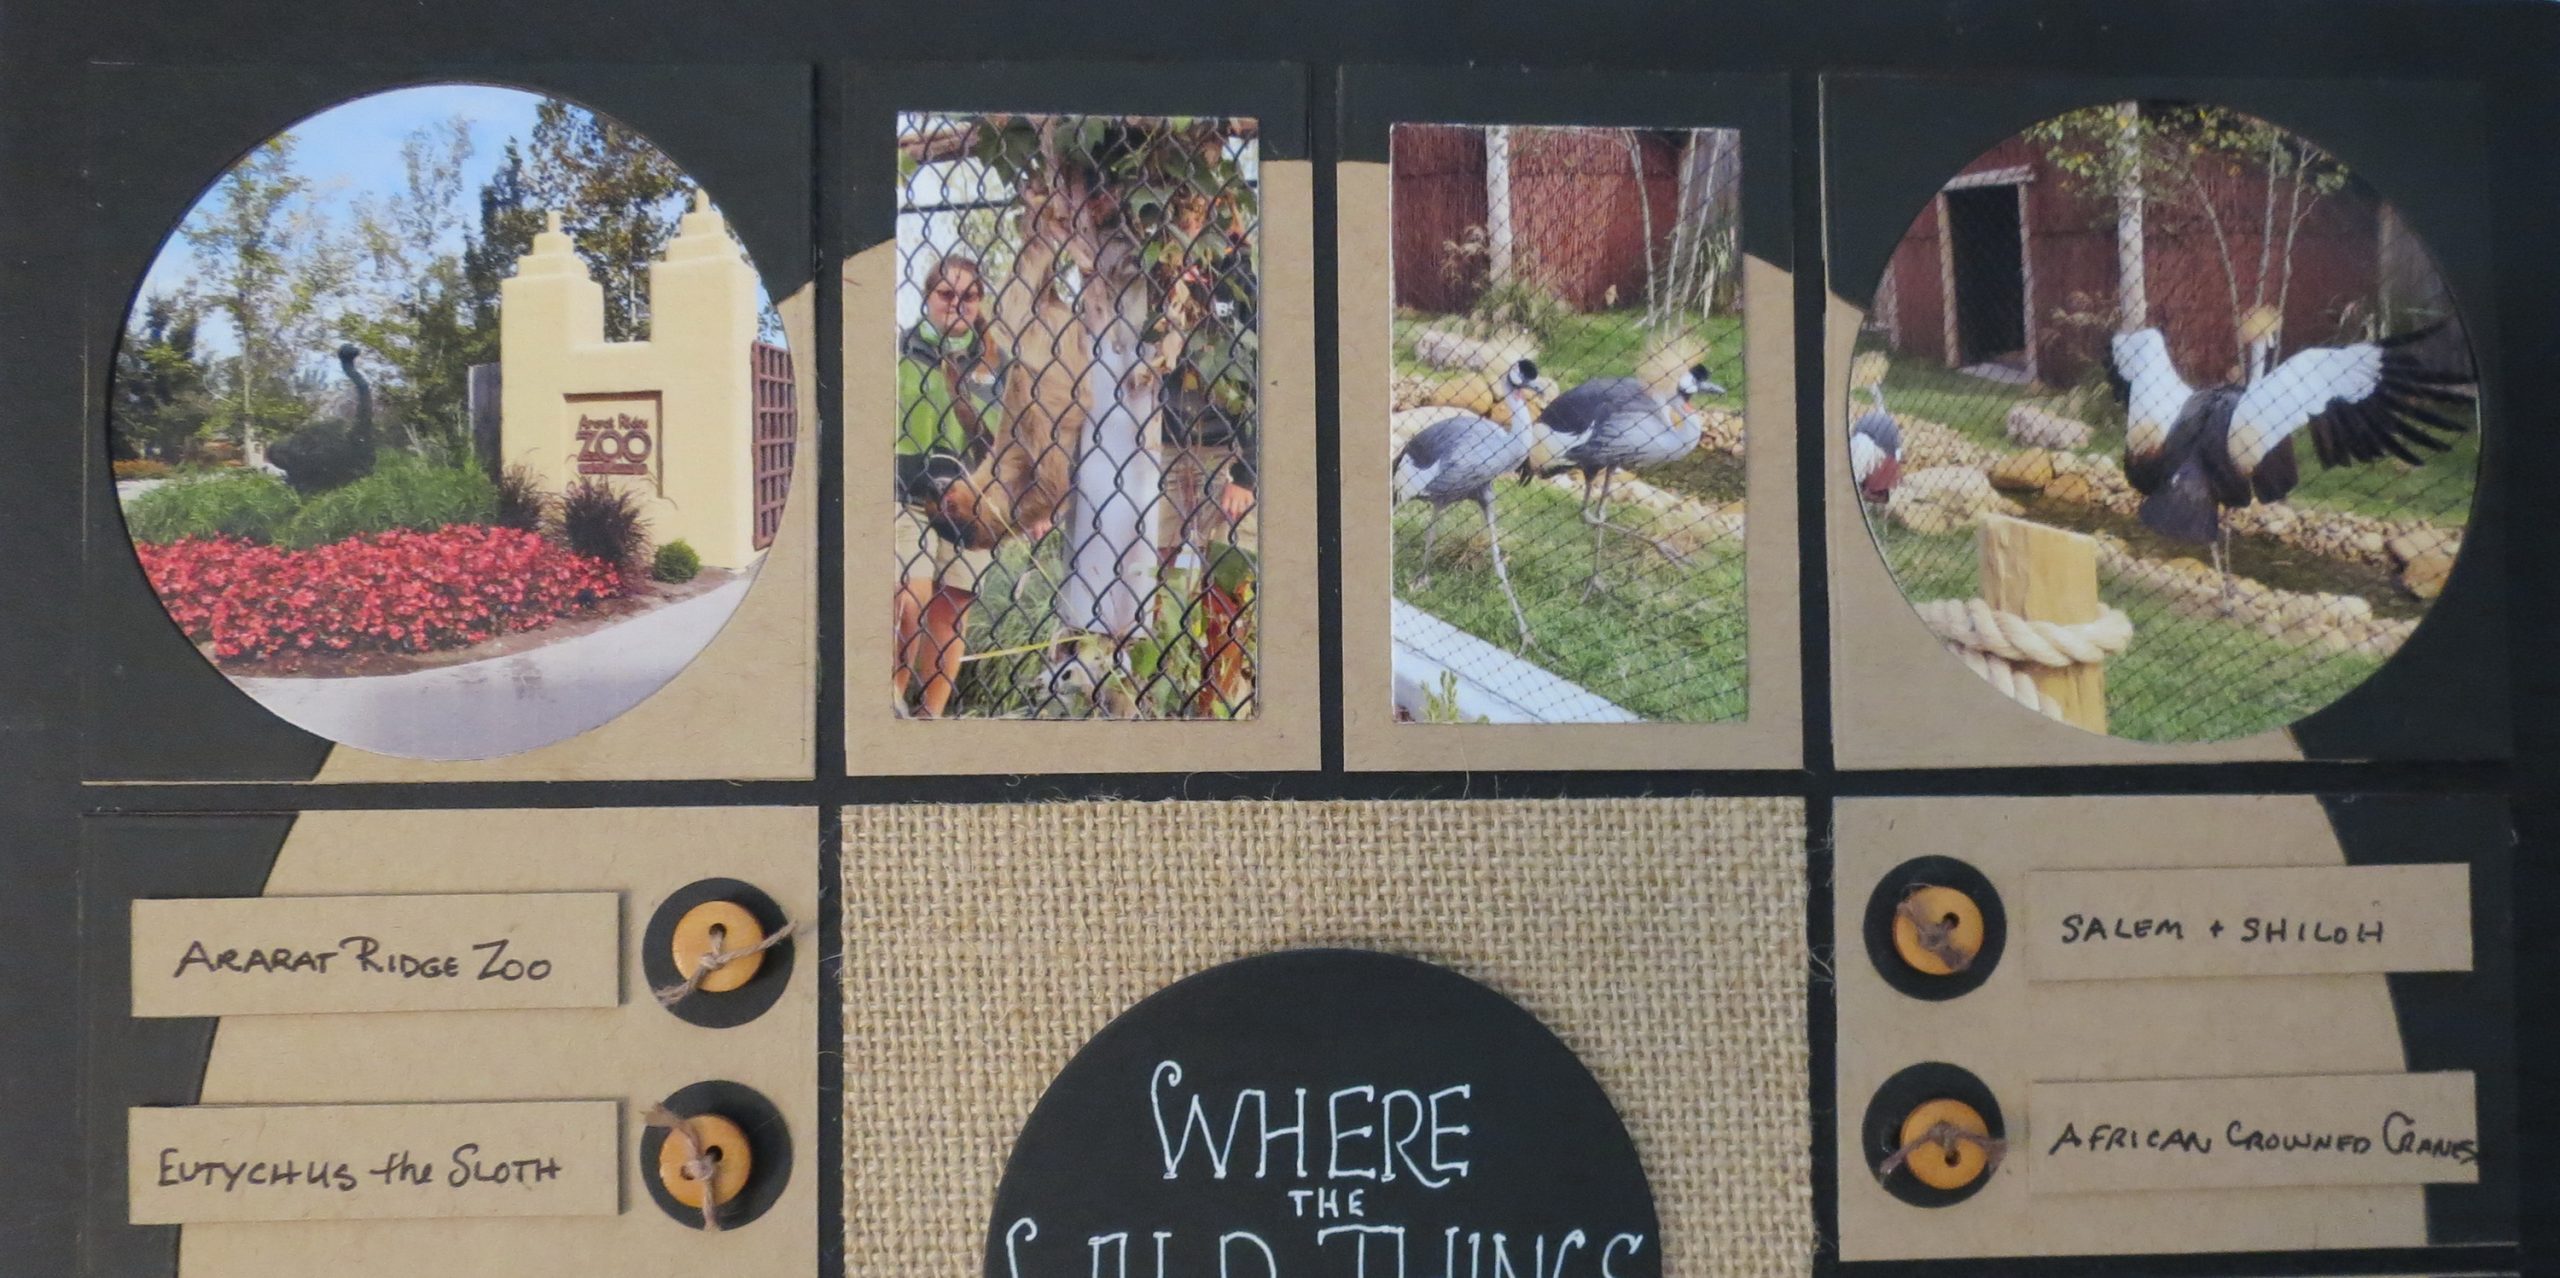
I doubled up on the journal tags for a bit of elevation and extended them over into the black for contrast. Black circle dots and twine tied buttons remain in a bullet style journal feature.
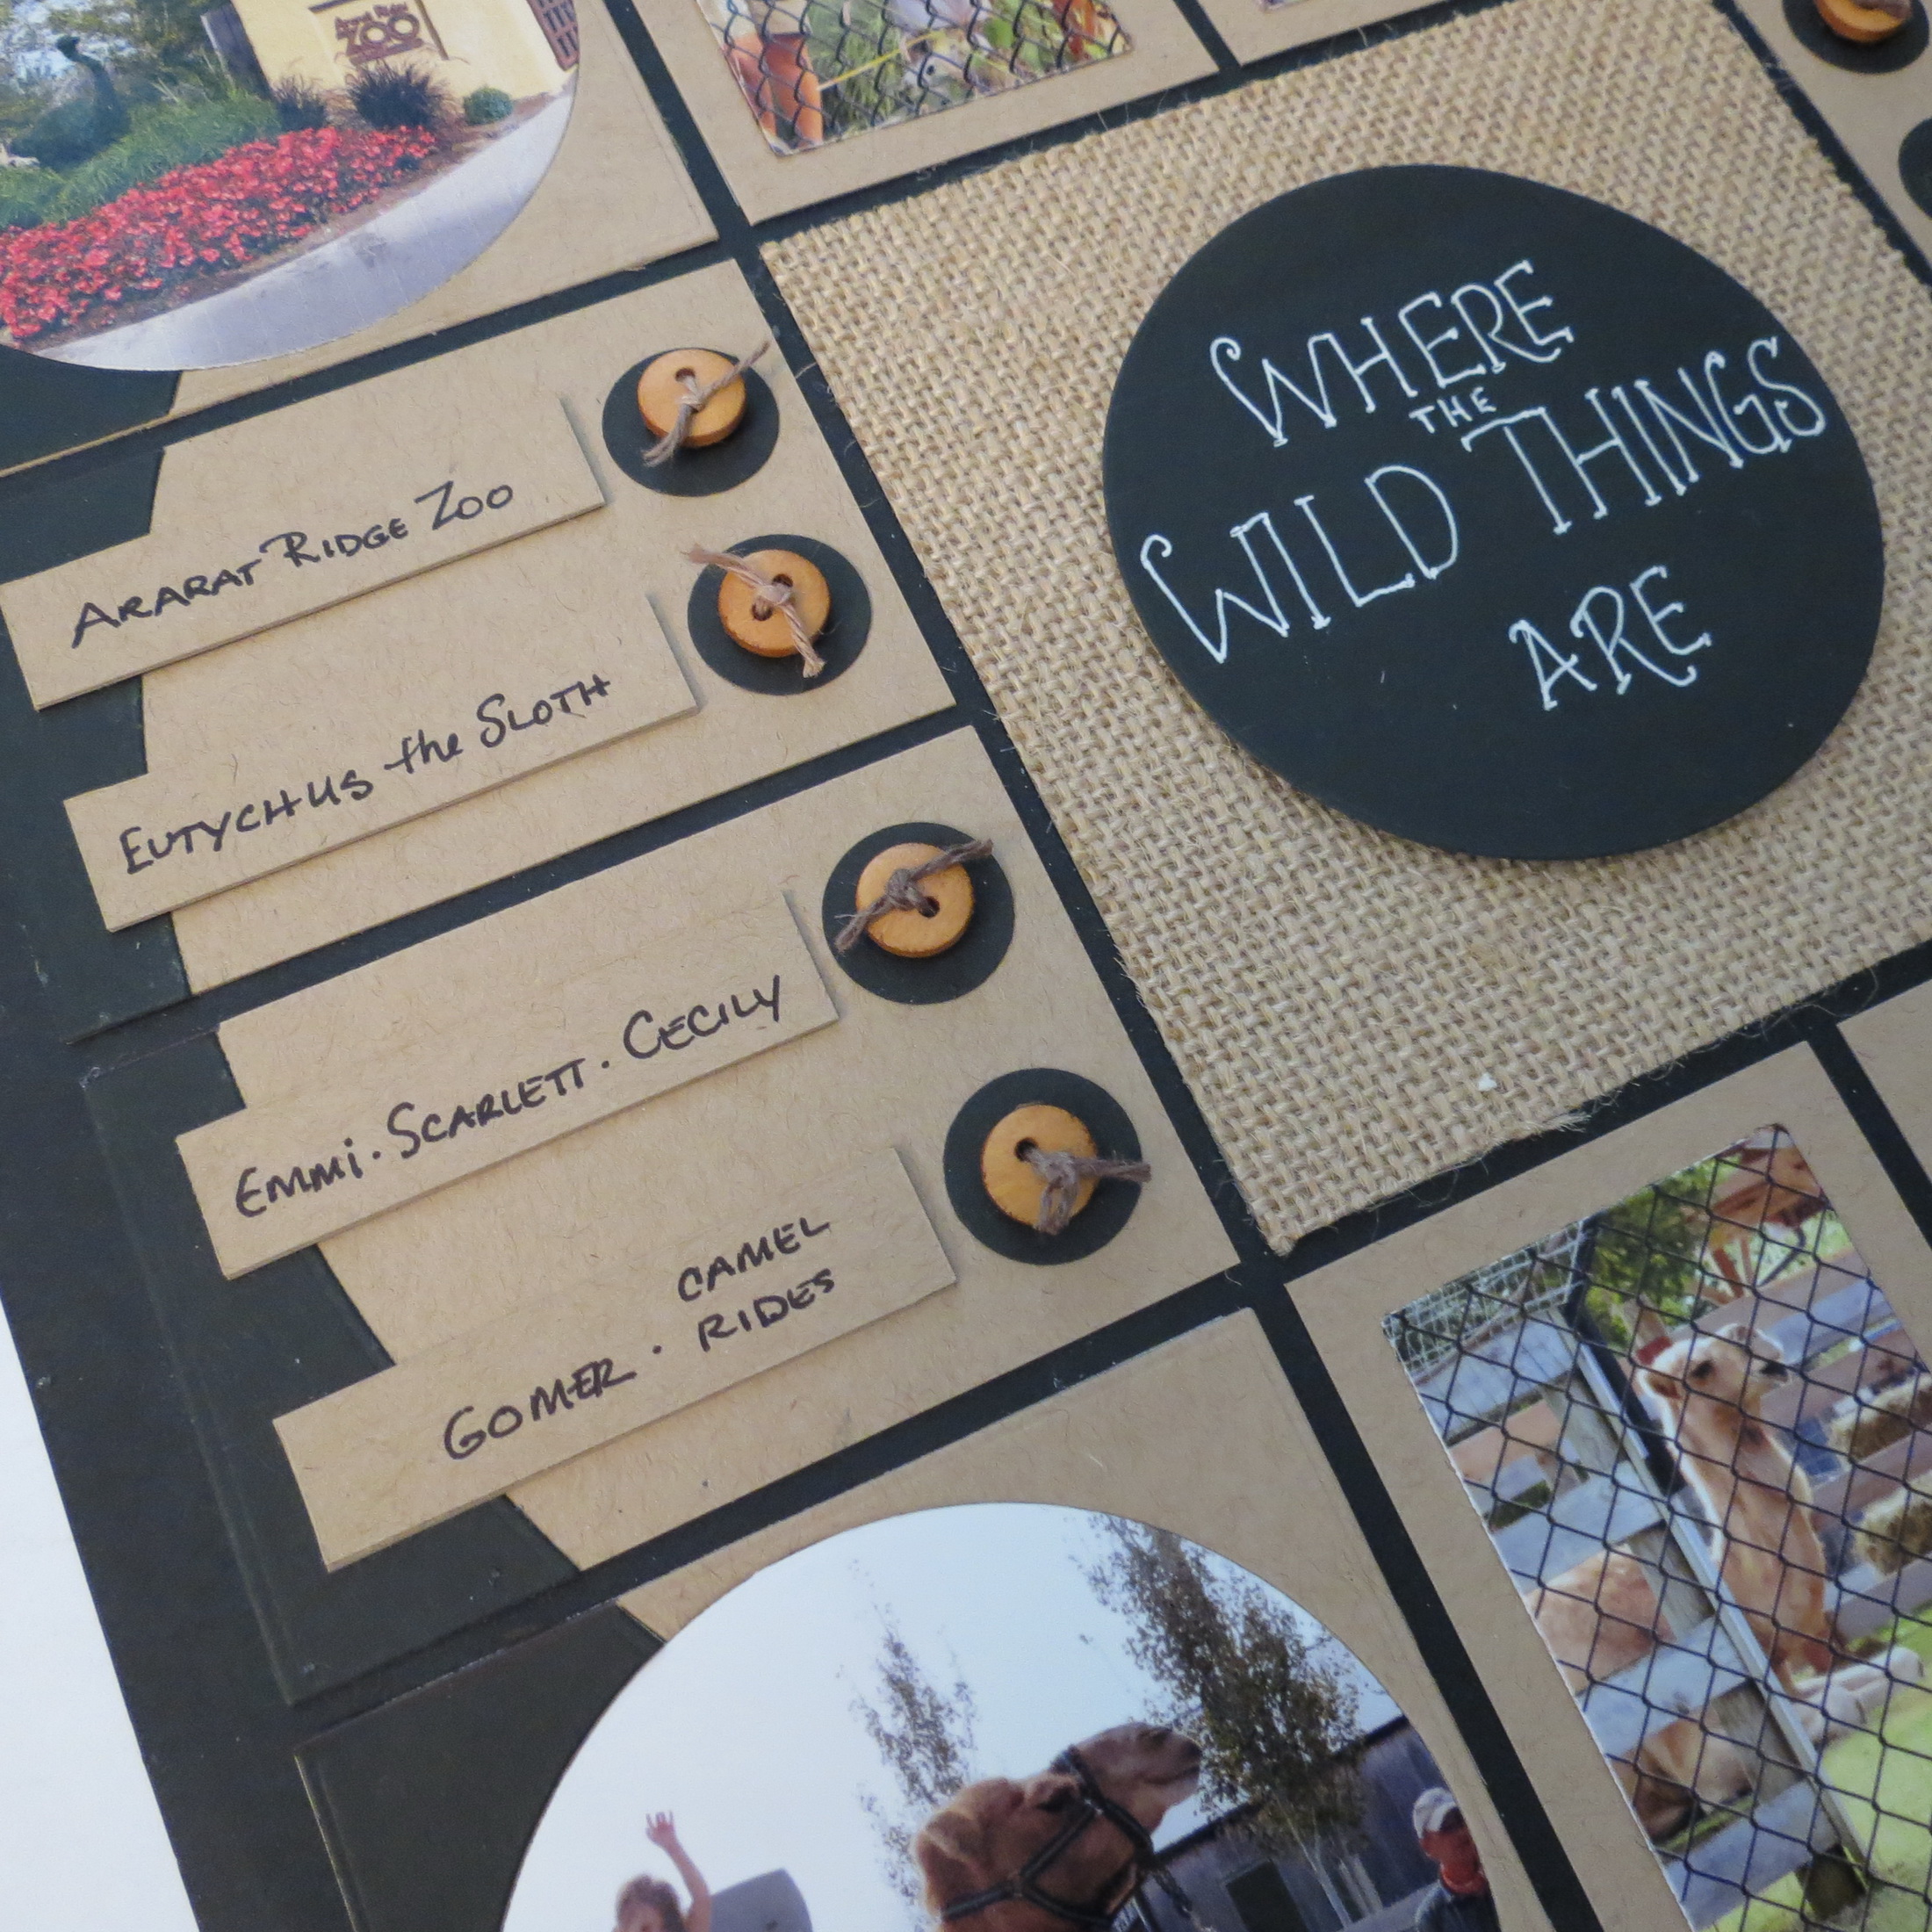
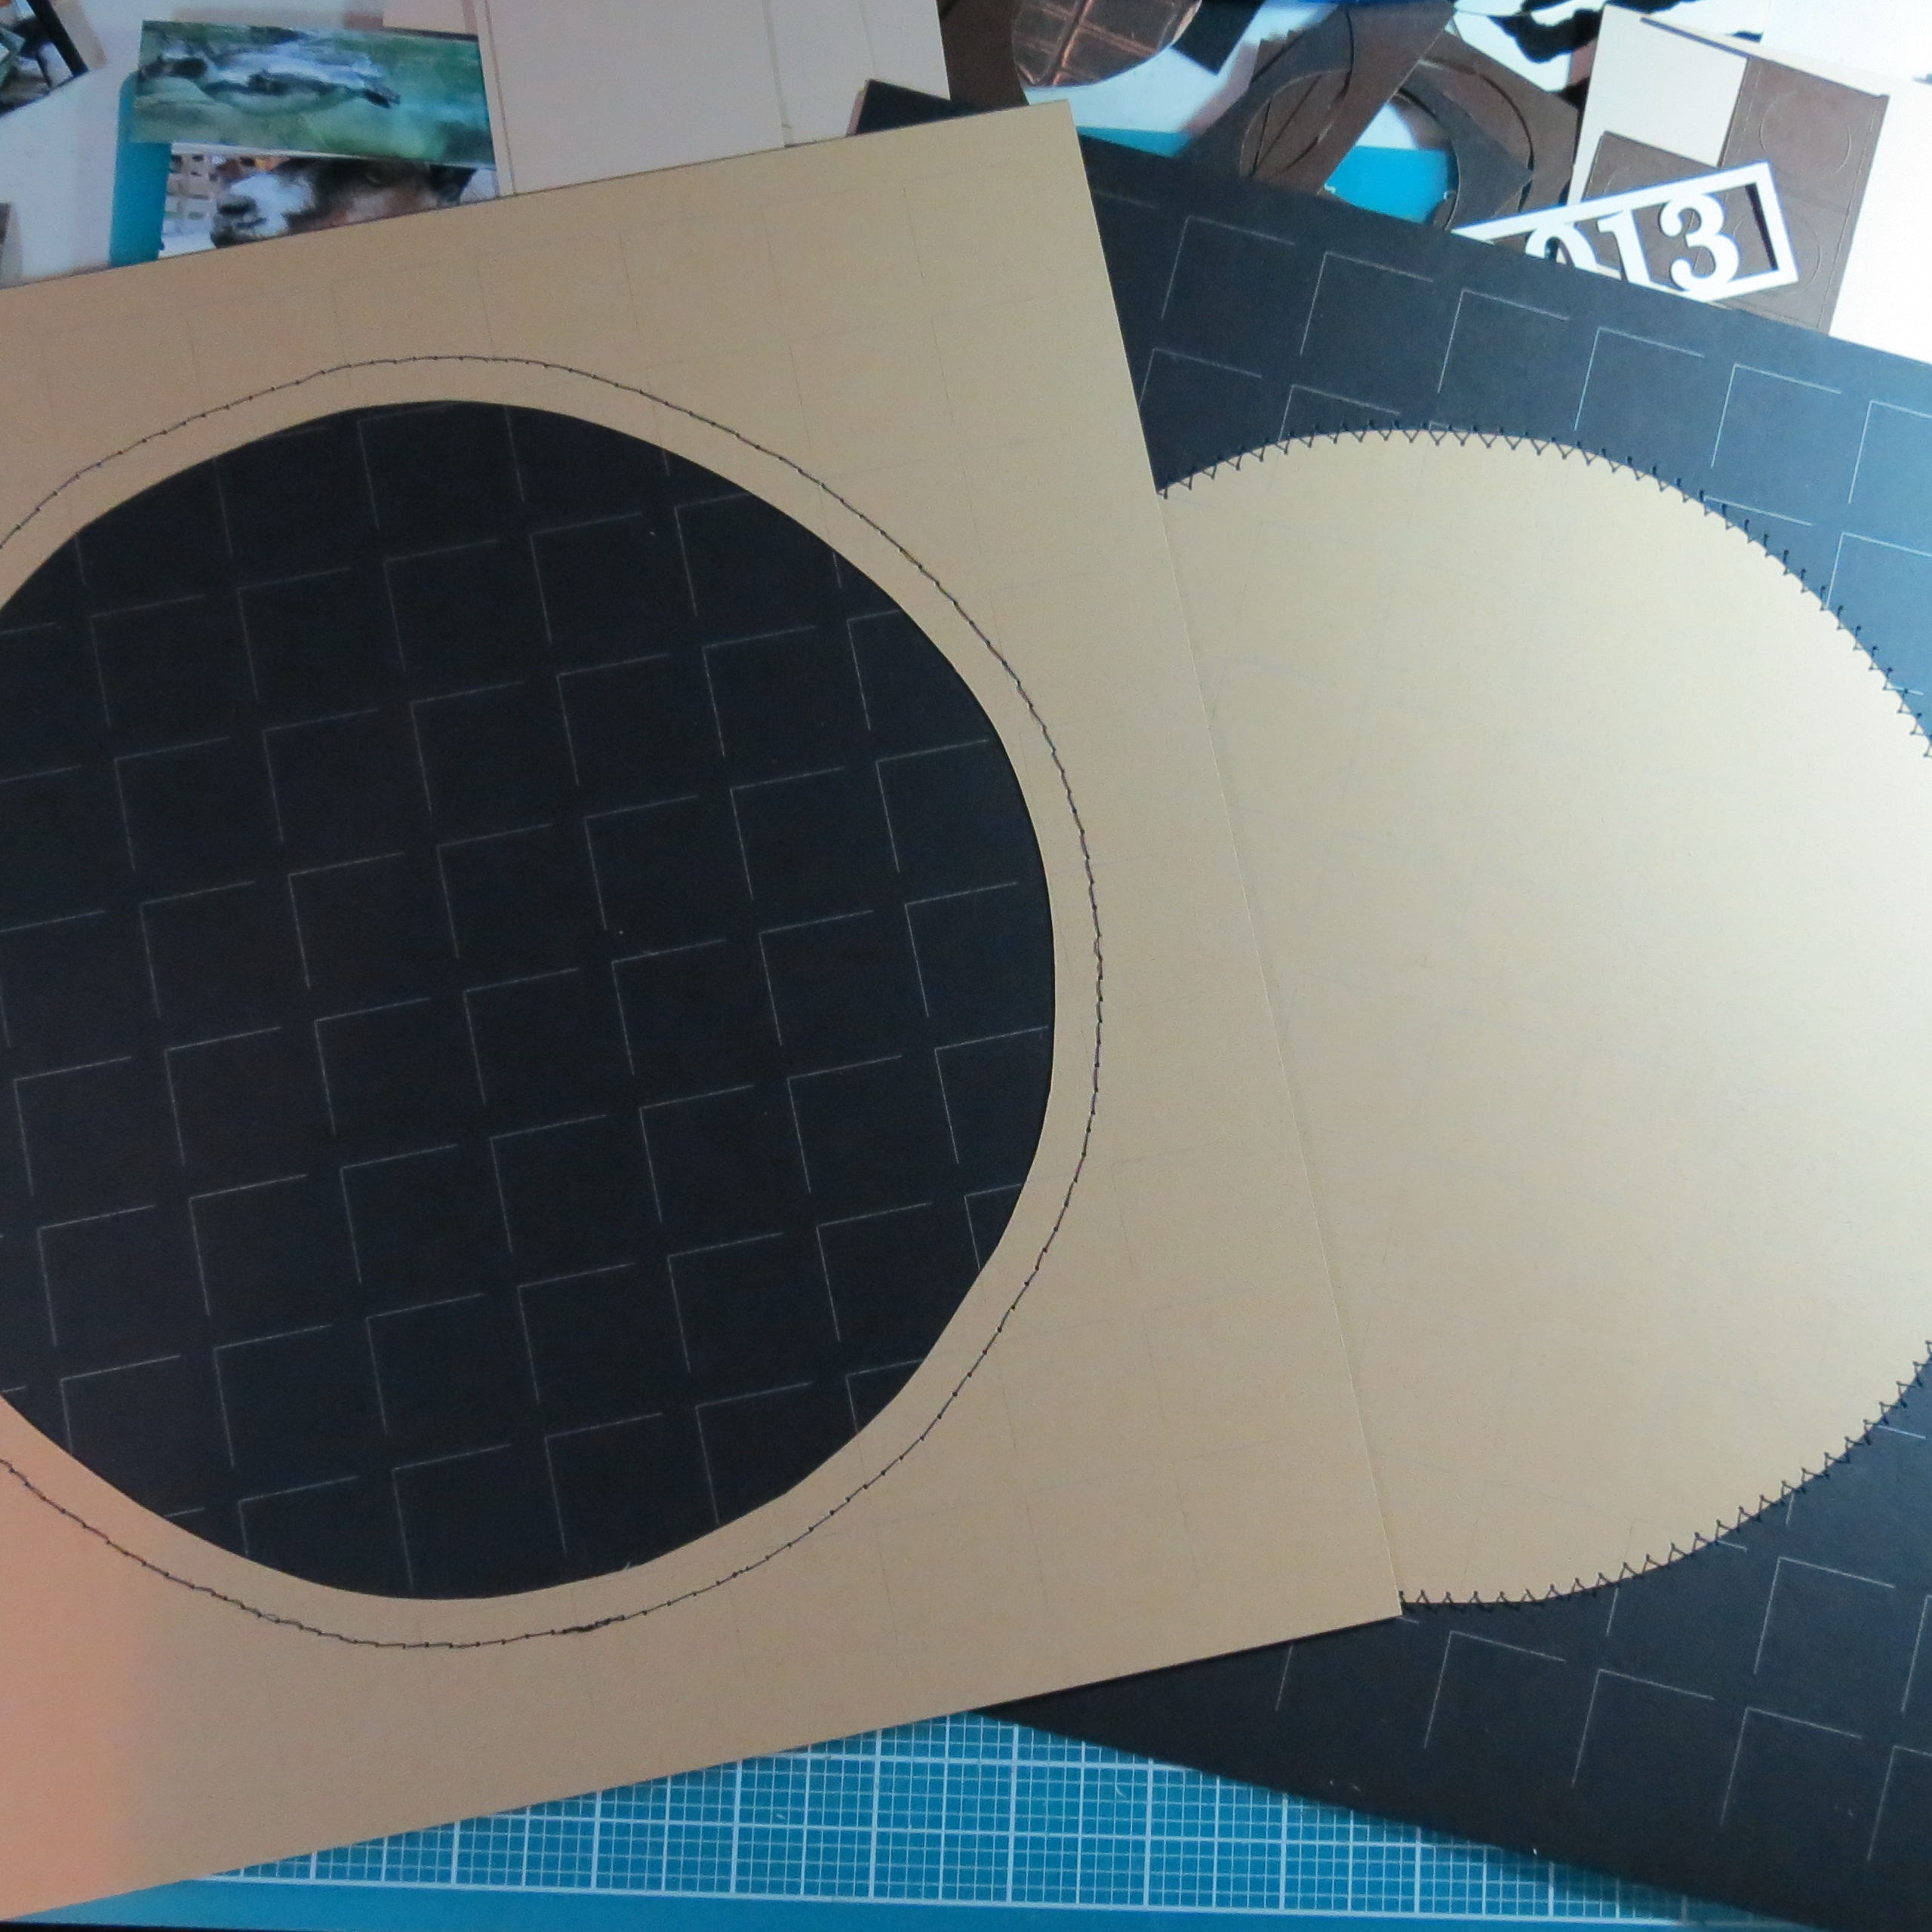
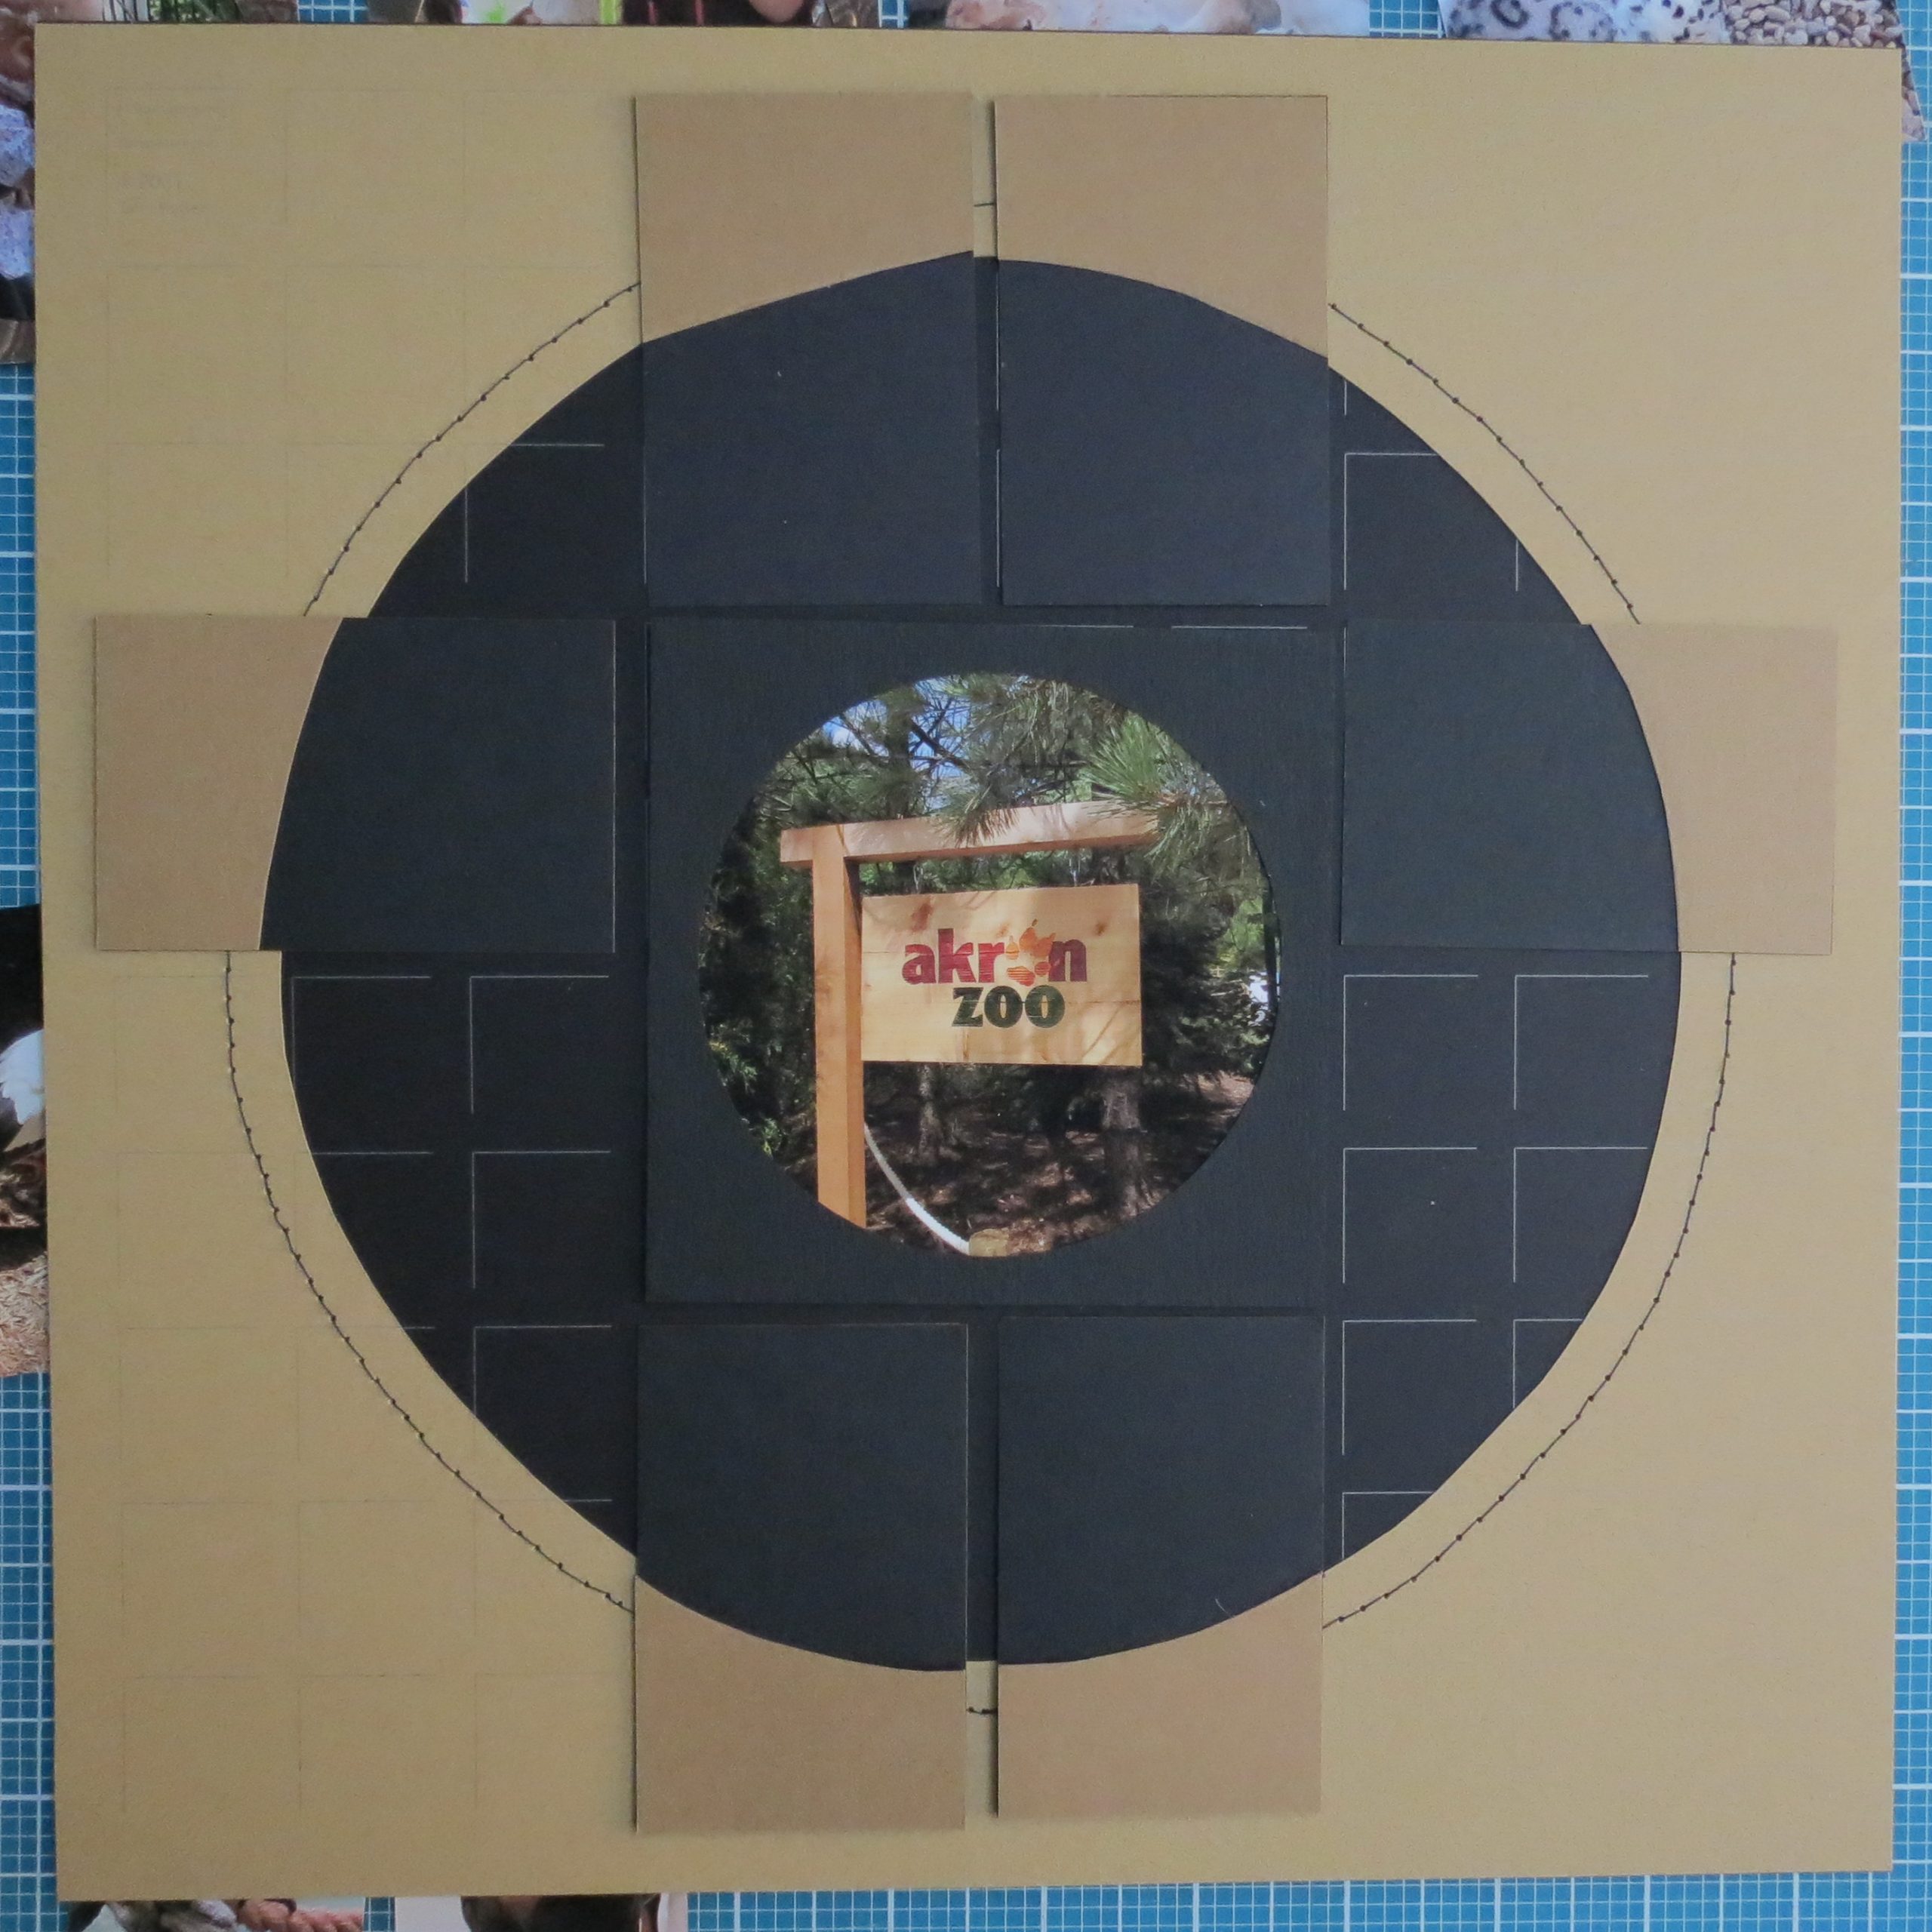
This time I had the Circle Die 3×3 instead of the Circle Tiles to work with and I even went one step further to better incorporate those corner circle frames by cutting them each again with the 3×3 Horizon Corner Die in black and applying to the top of a Kraft cut Circle Frame 3×3. Now the circle is more prominent and the corners blend in better with a circle within a circle.
Page Two
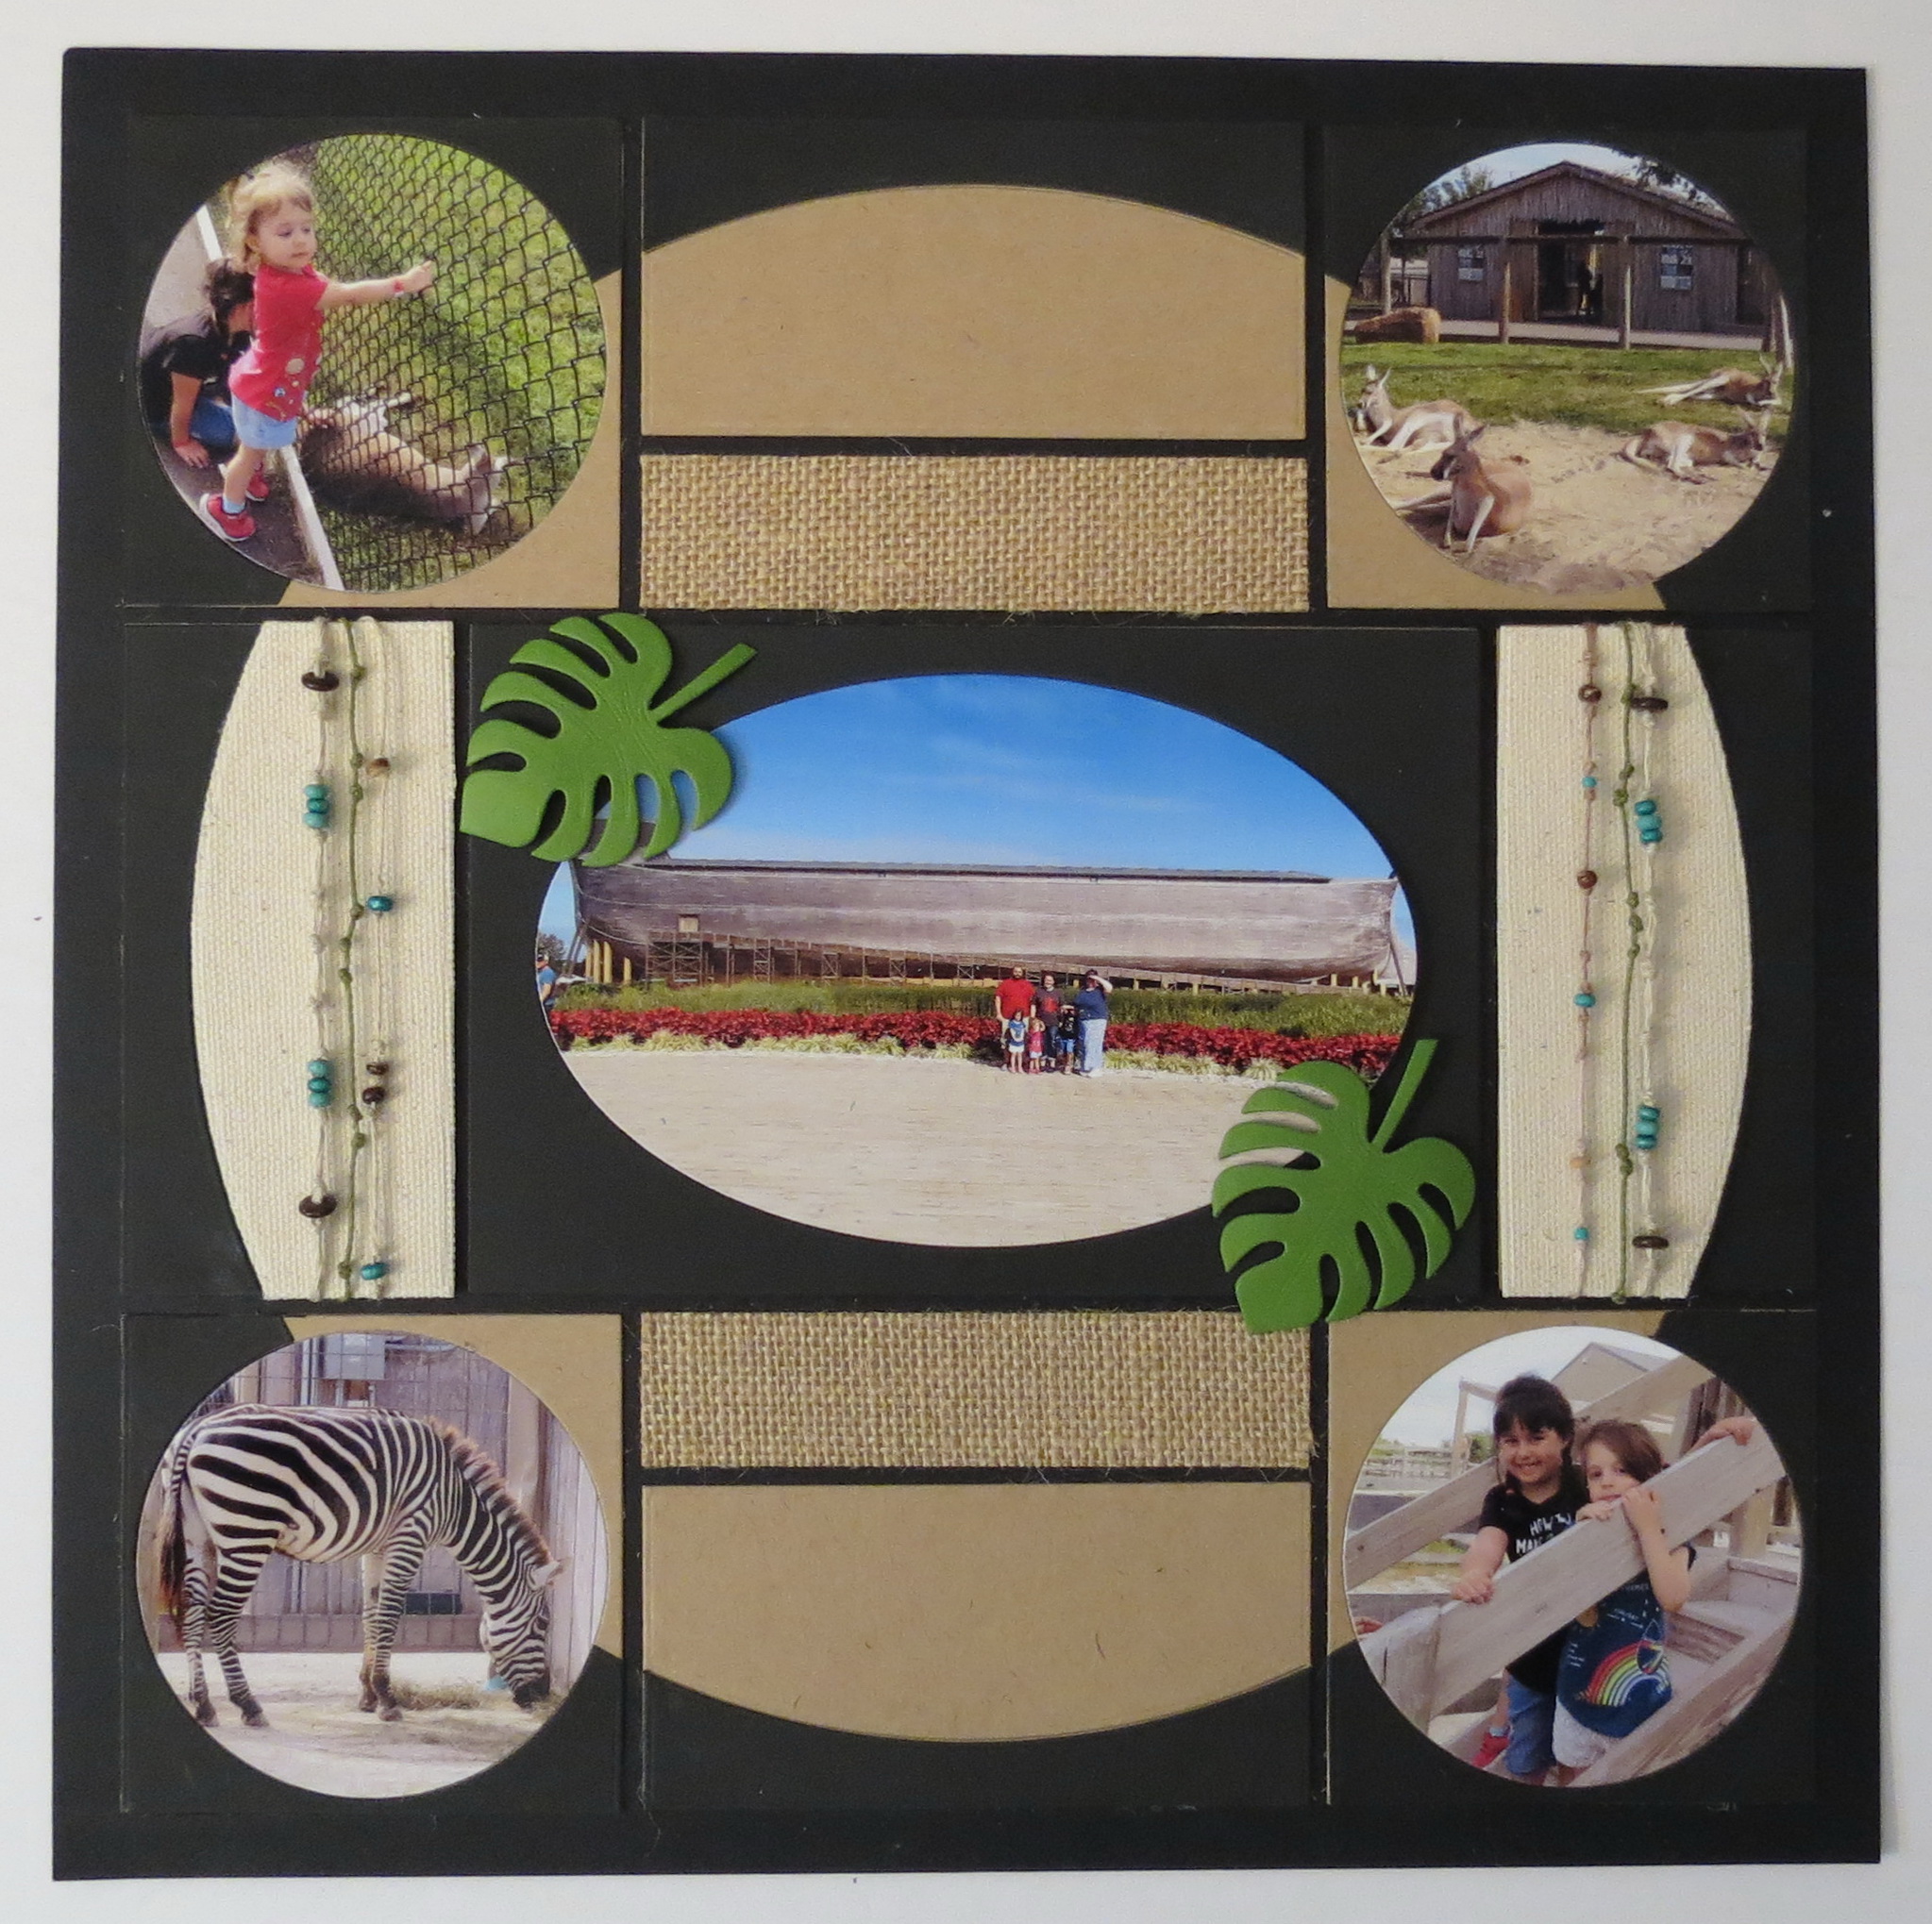
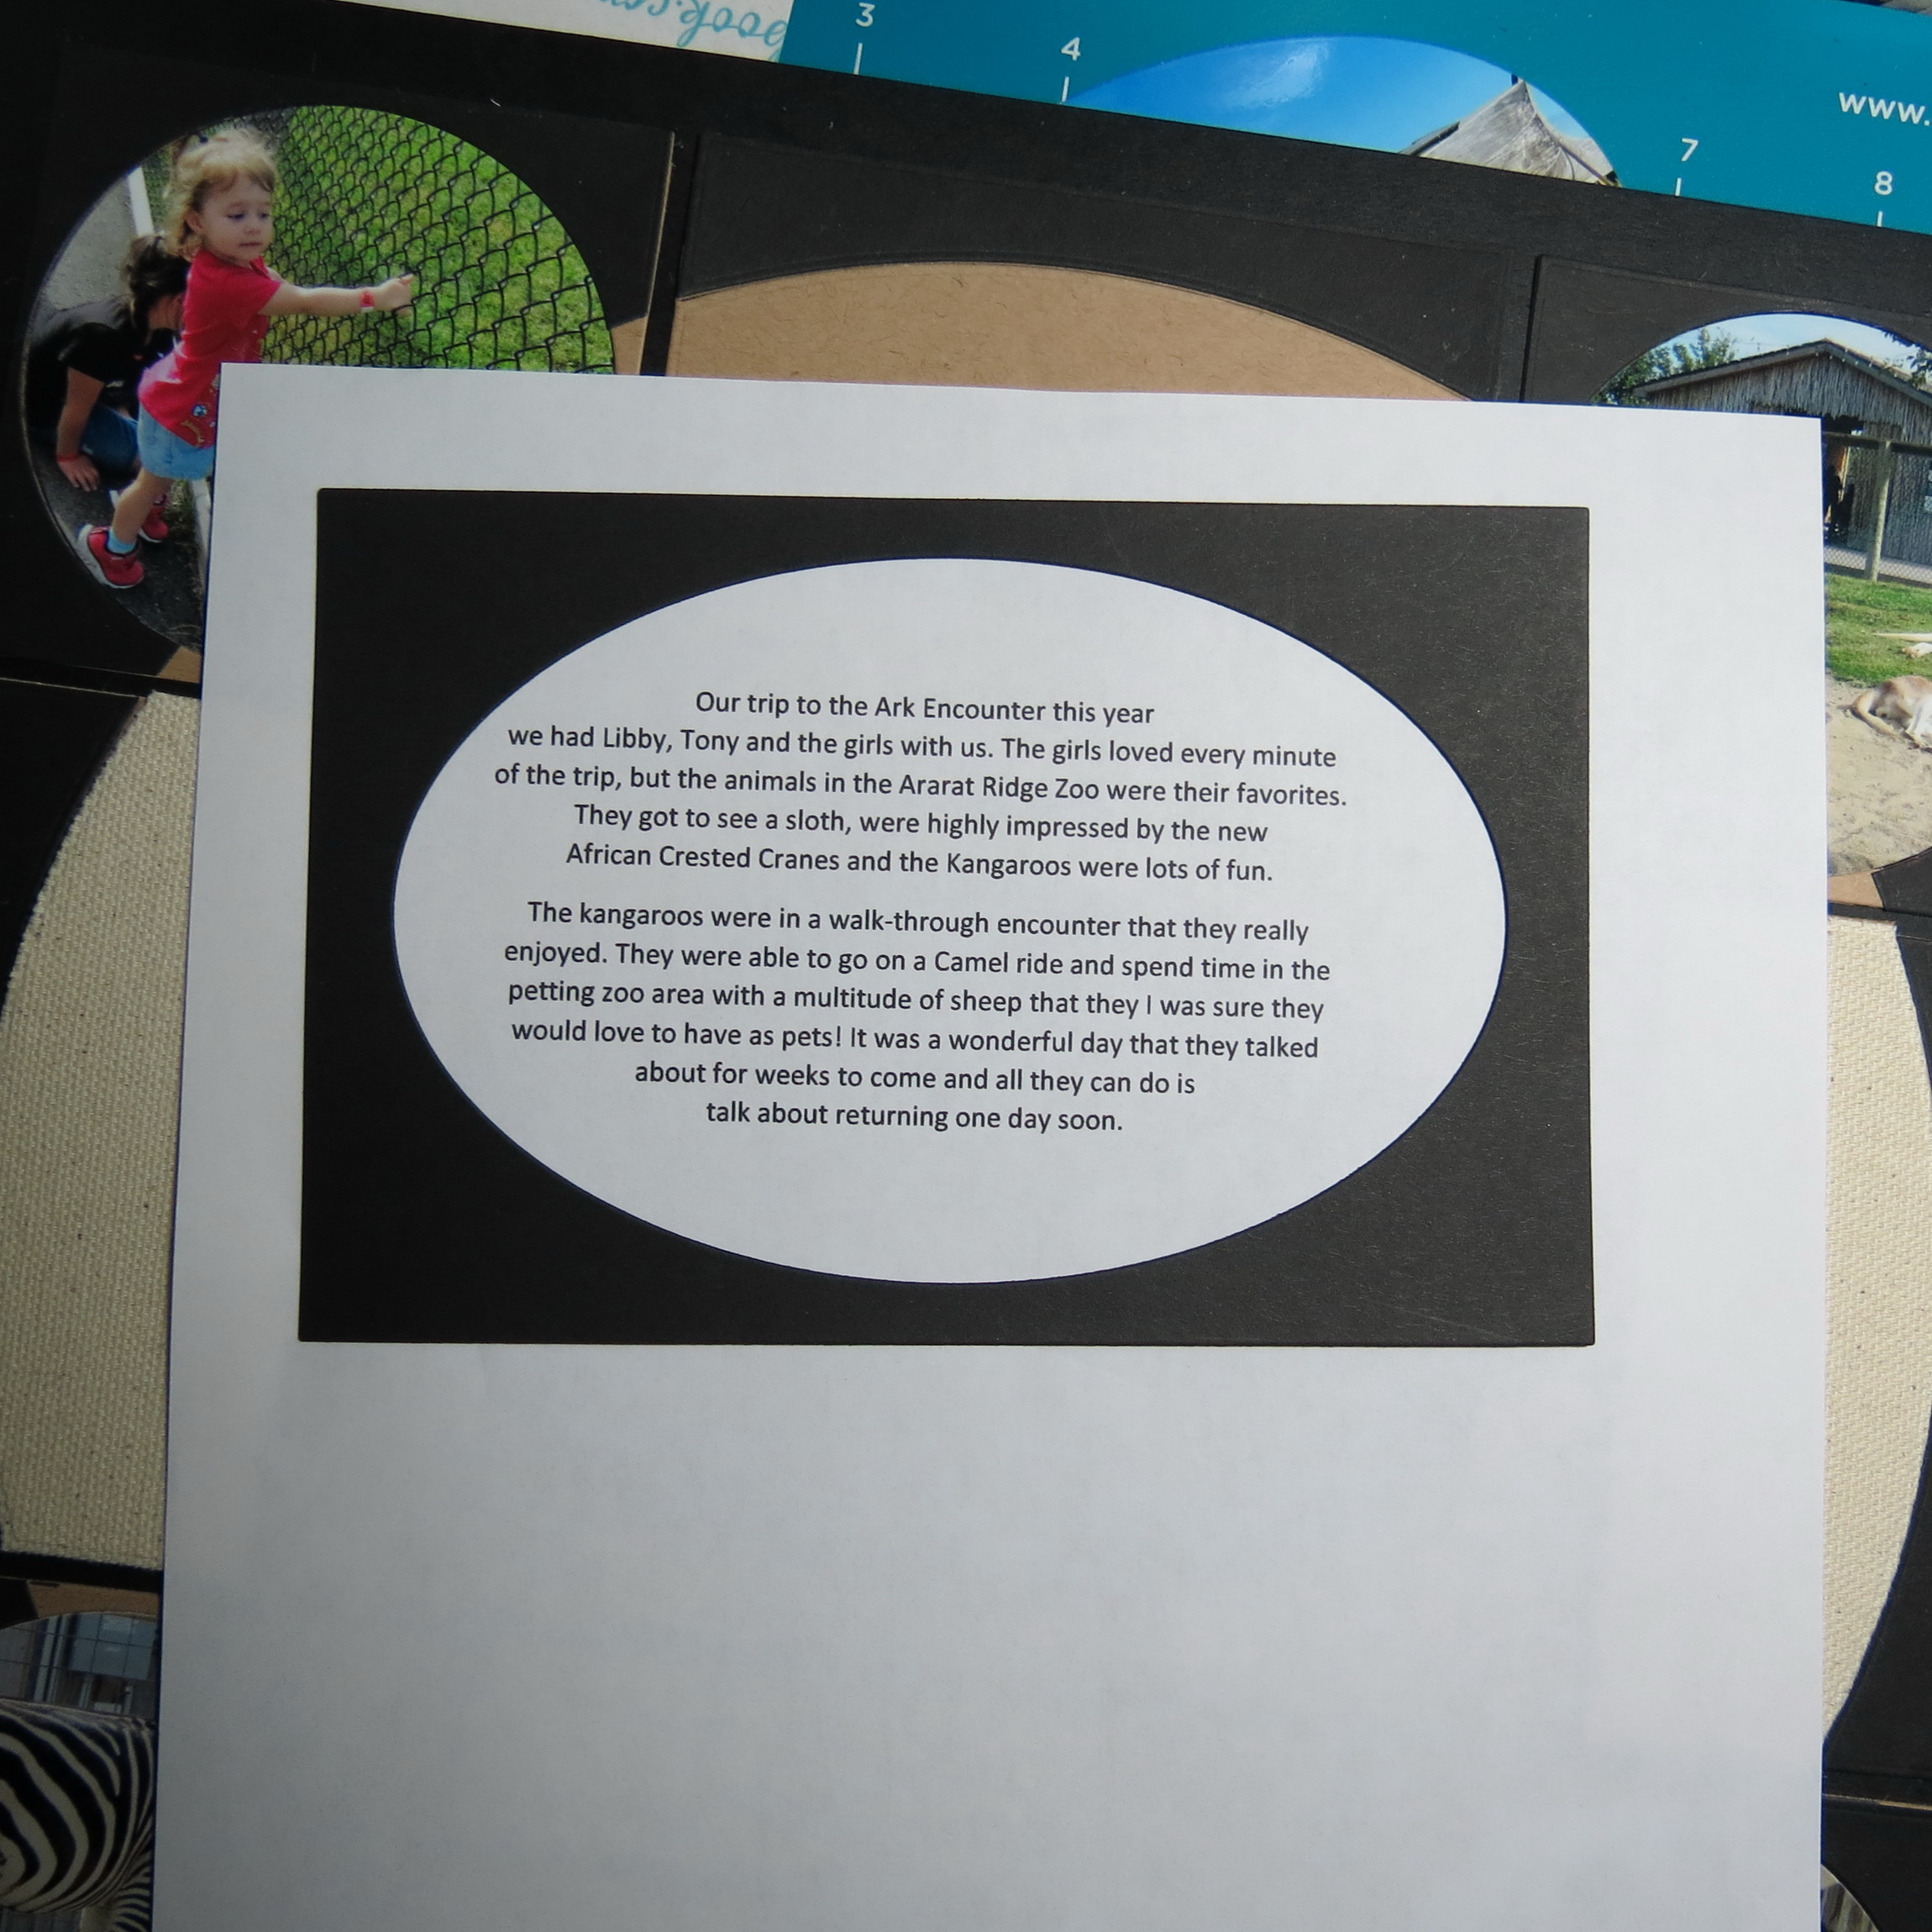
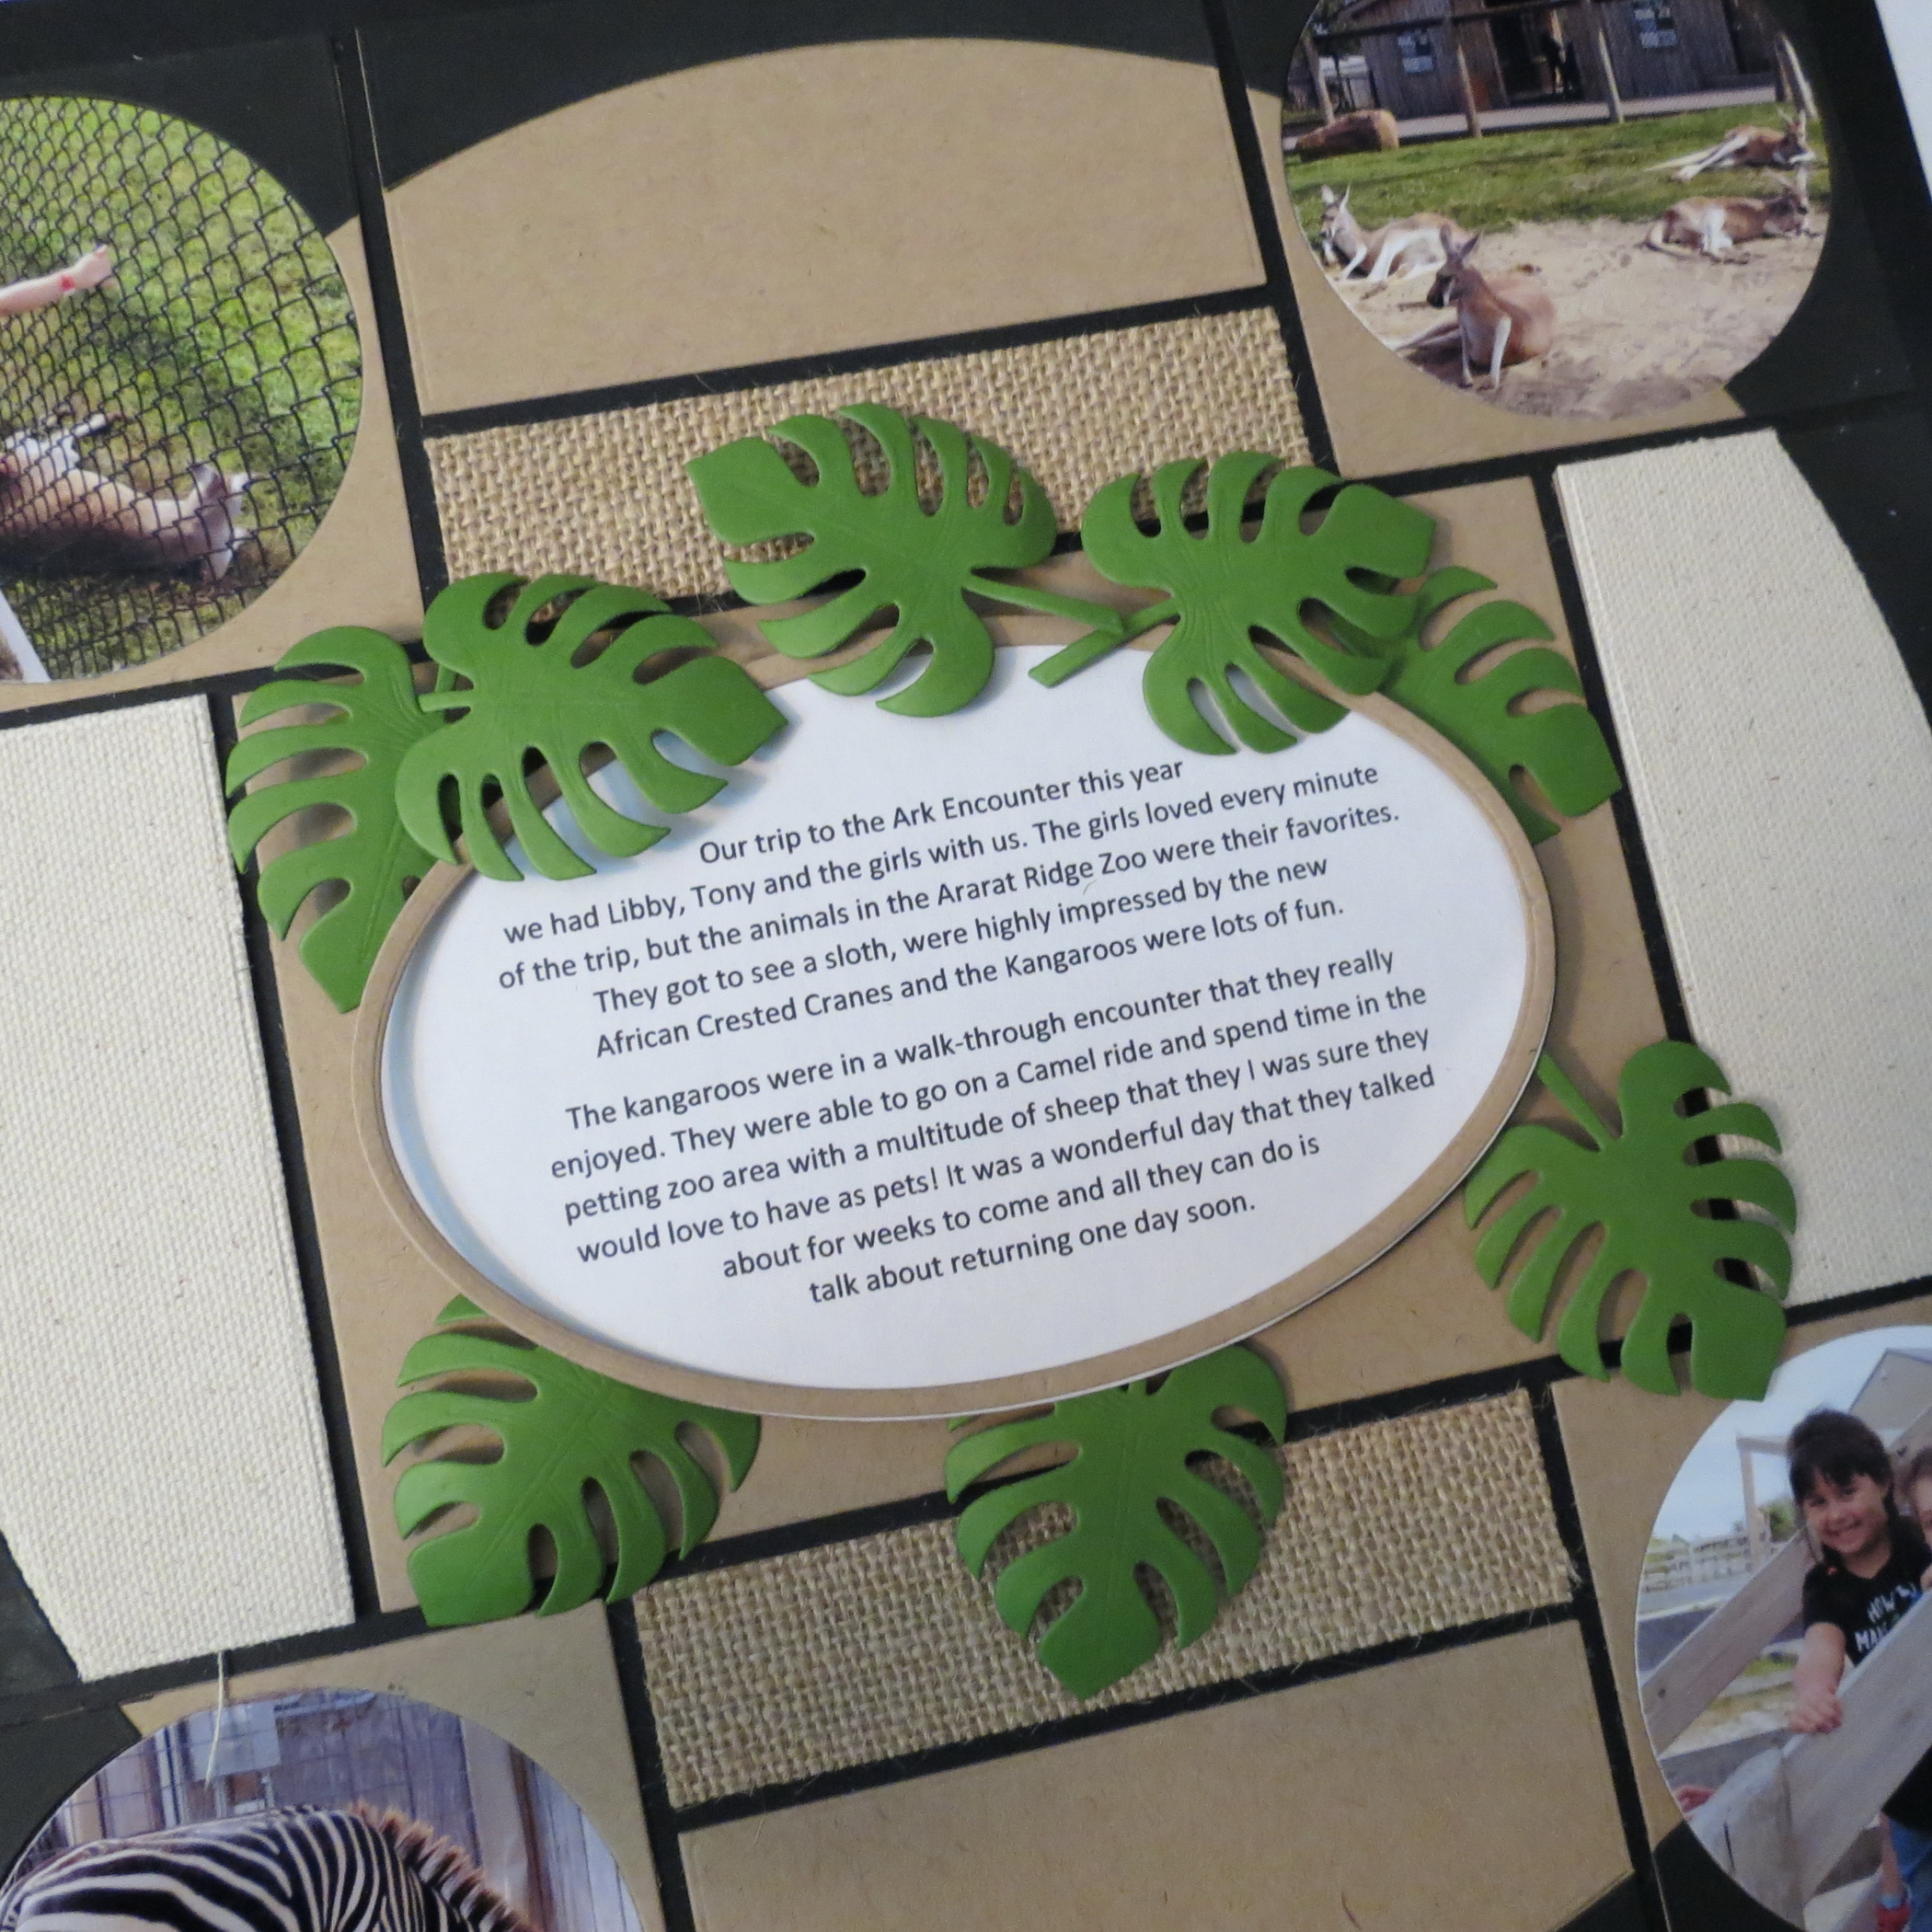
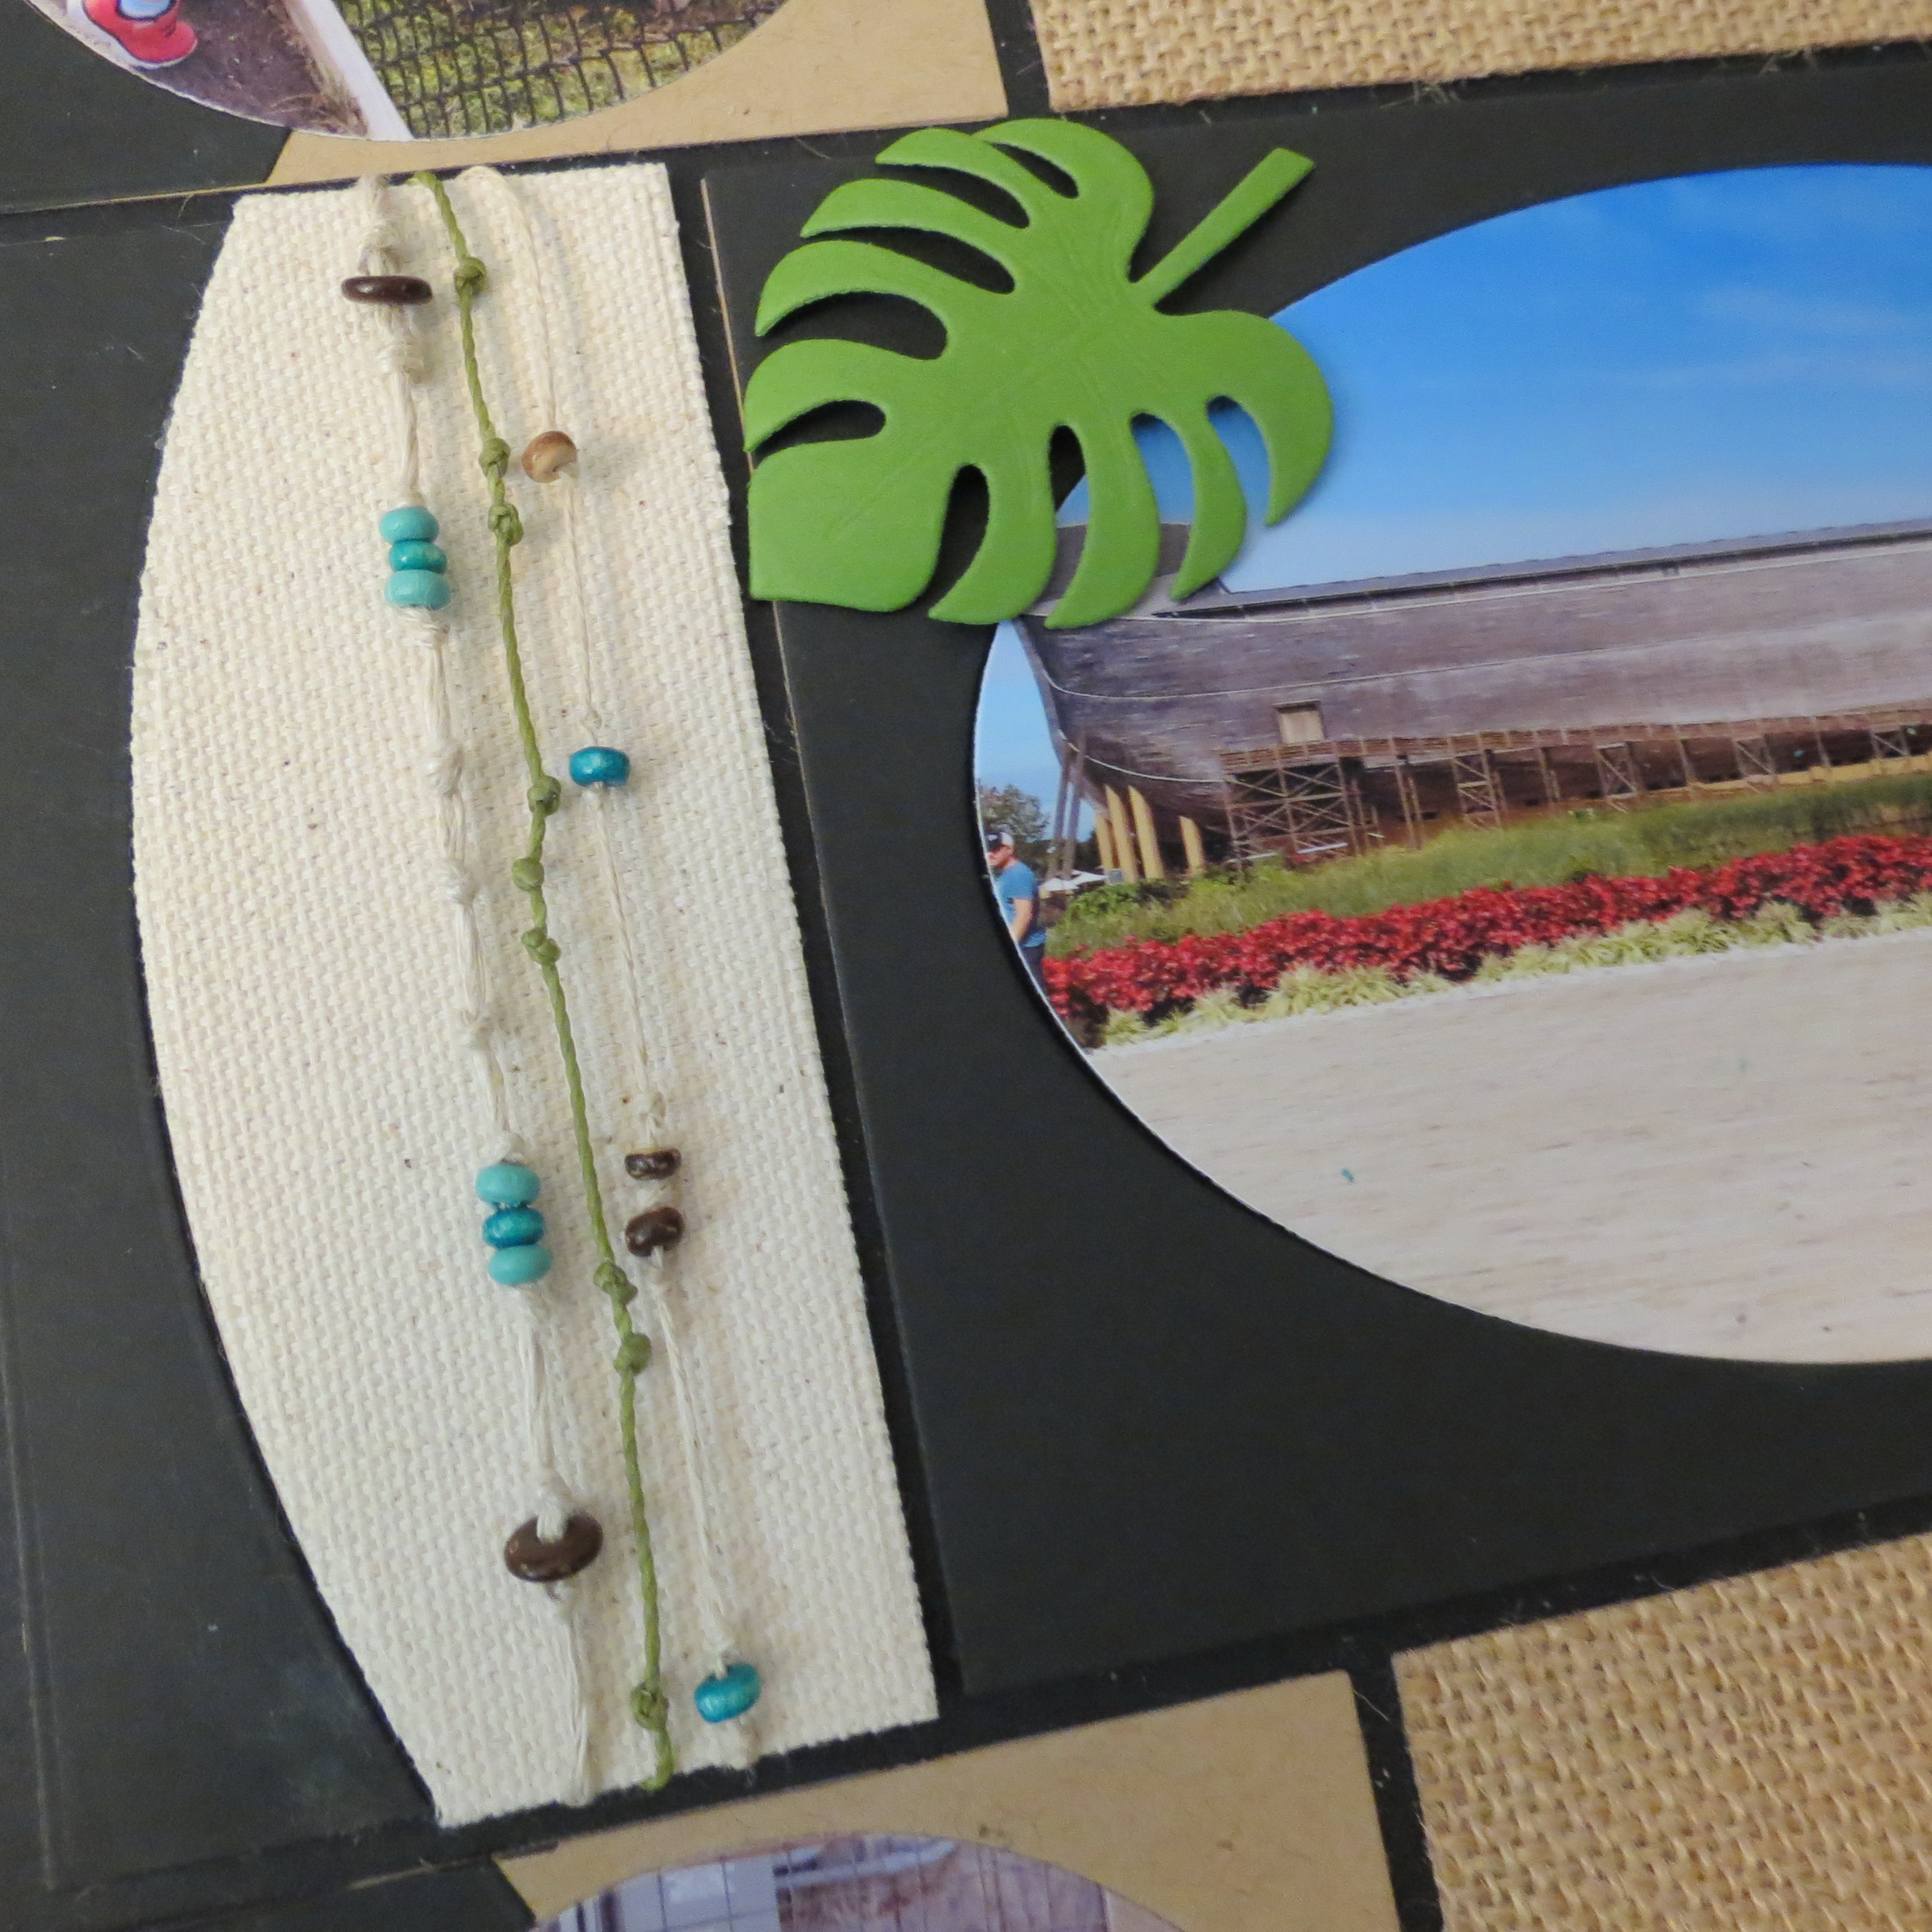
I’ve added an oval frame this time on page two with a few options for photos or journaling, using black or Kraft cardstock or even patterned paper, also the option to use the inner frame of the oval or not. With the arrival of the new Tropical Leaf Die You can use a little or a lot to frame this center section out.
Adding canvas to the two outer side panels brings in another texture to accompany the two strips of burlap in the 1×4 spots above and below the Oval Frame.
I have used knotted and beaded cording in other projects and thought this embellishment would add color as well as texture to these sections. In the close up you can see the details.
I thought I’d do a mock up of the page with an animal print for just the oval frame to view as an option.
Level Two Dies – option 2 – Time Savers: cards
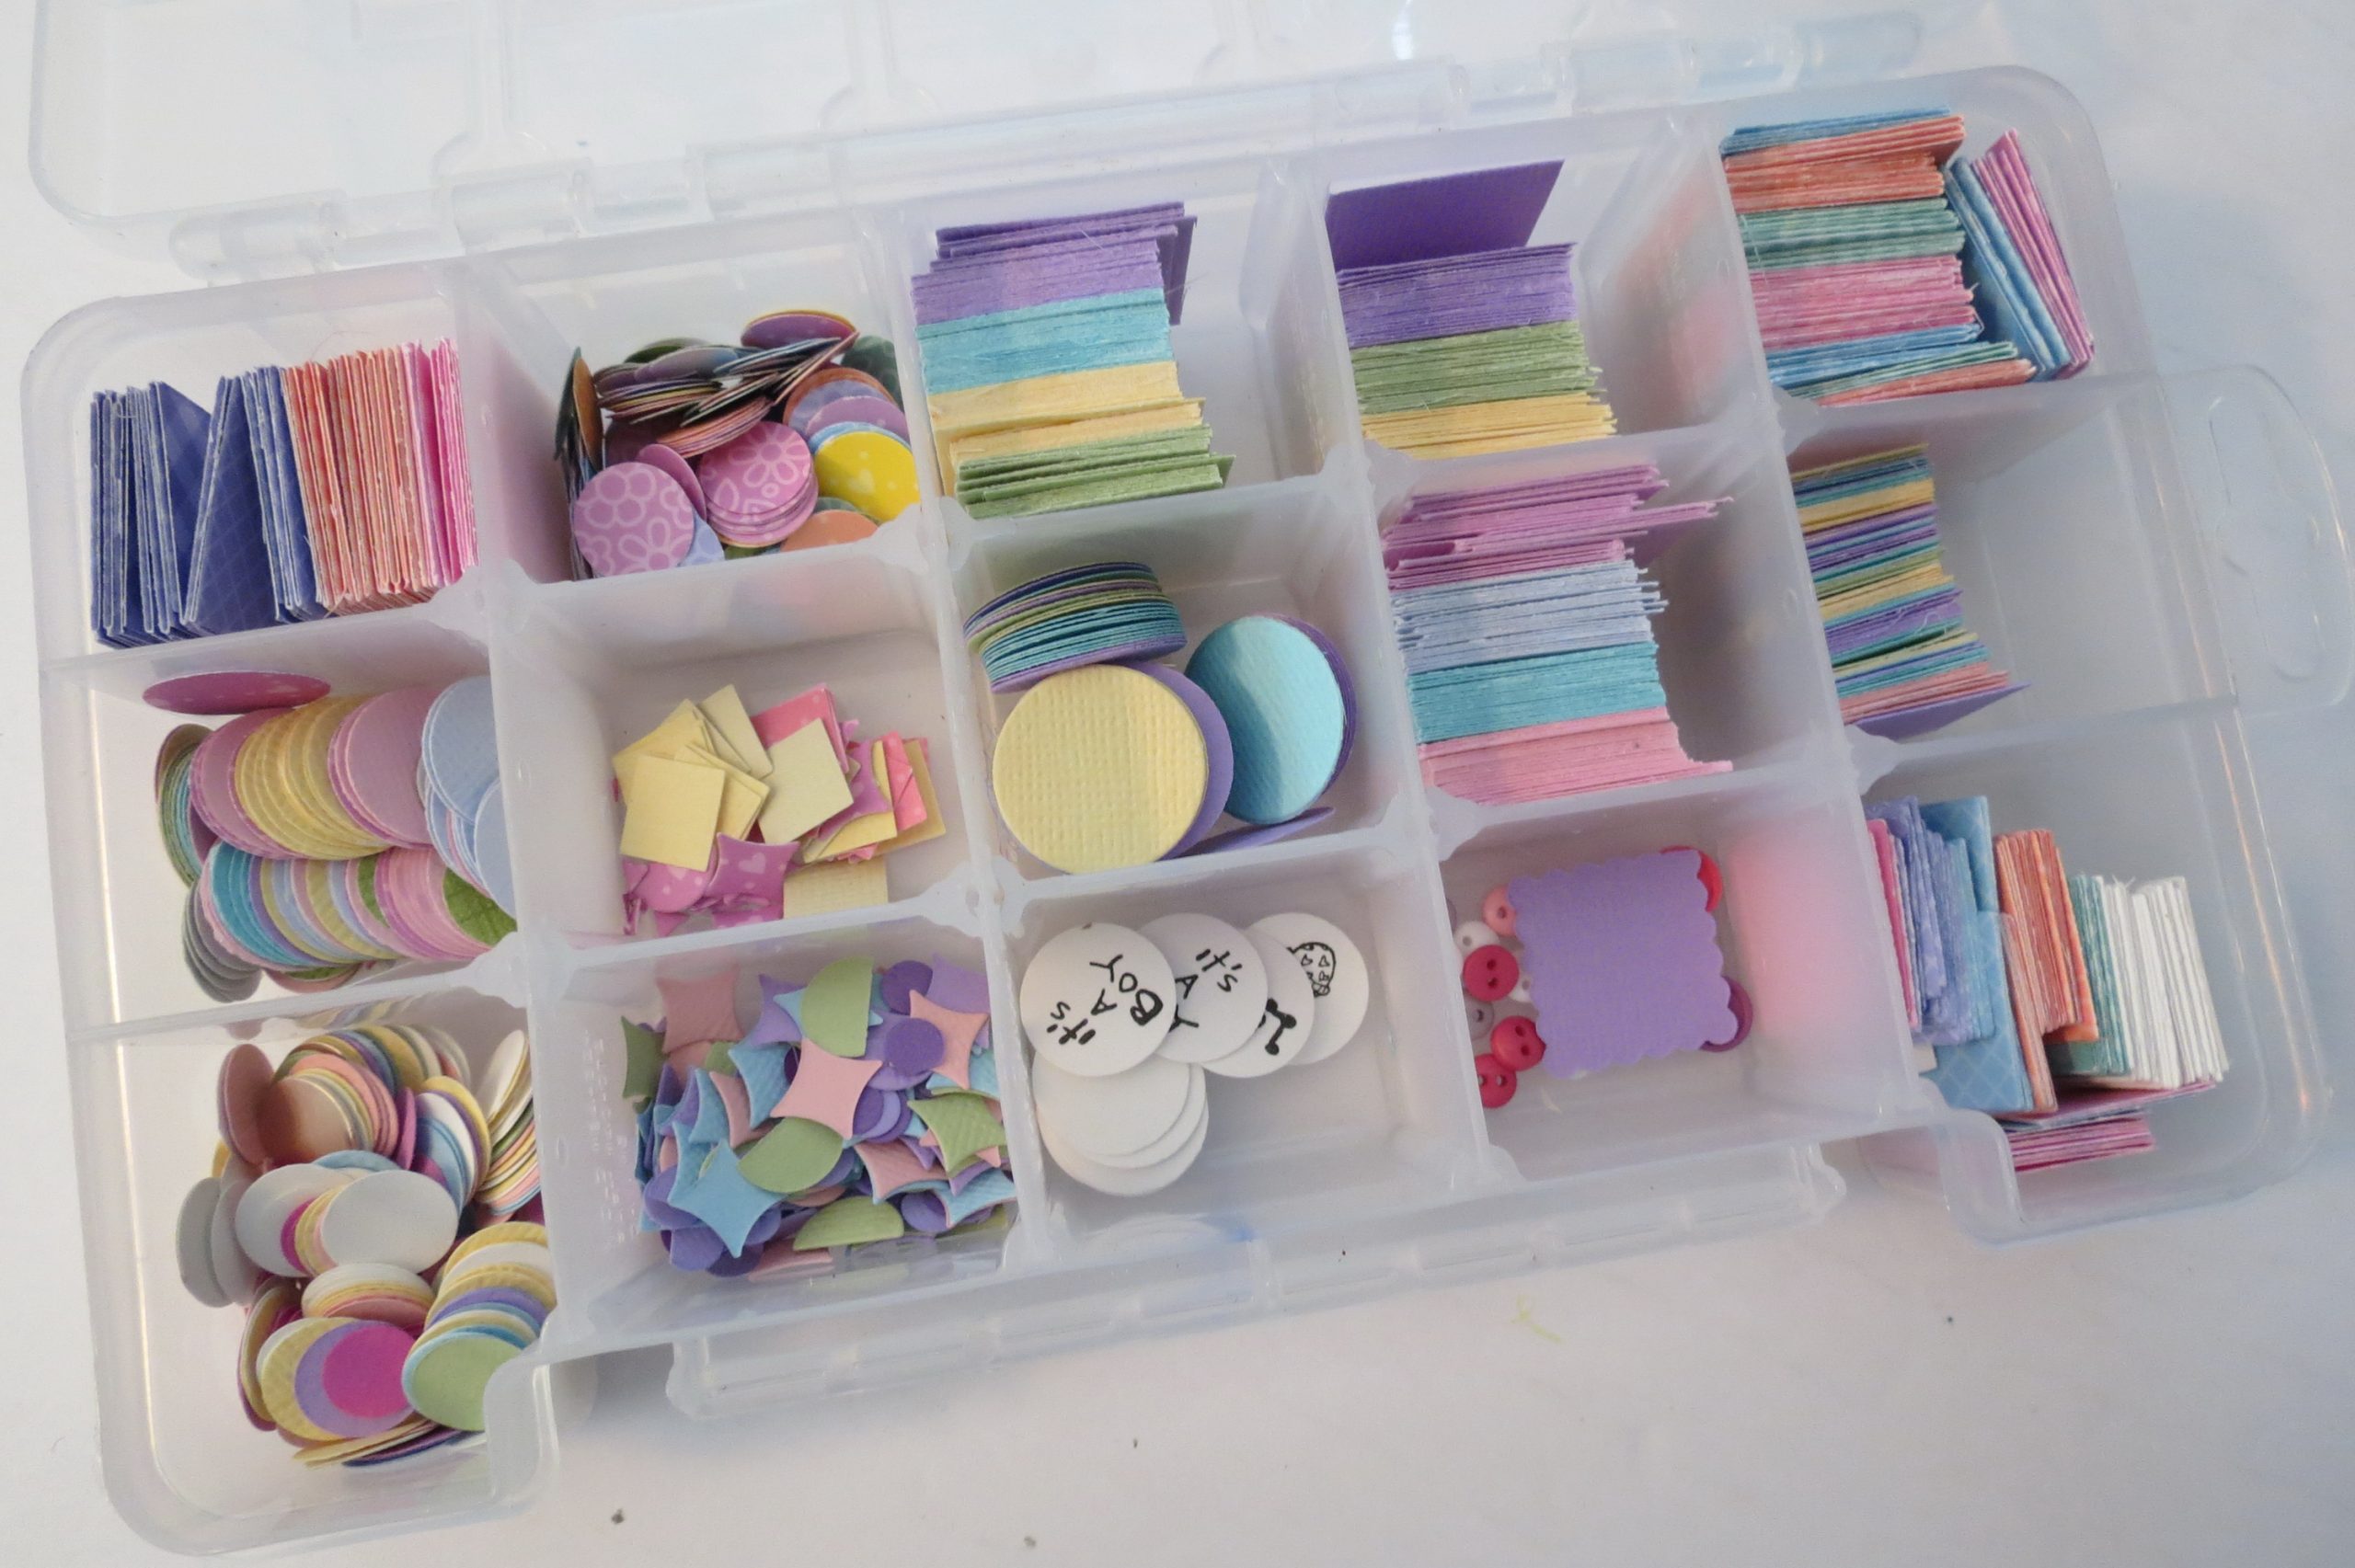
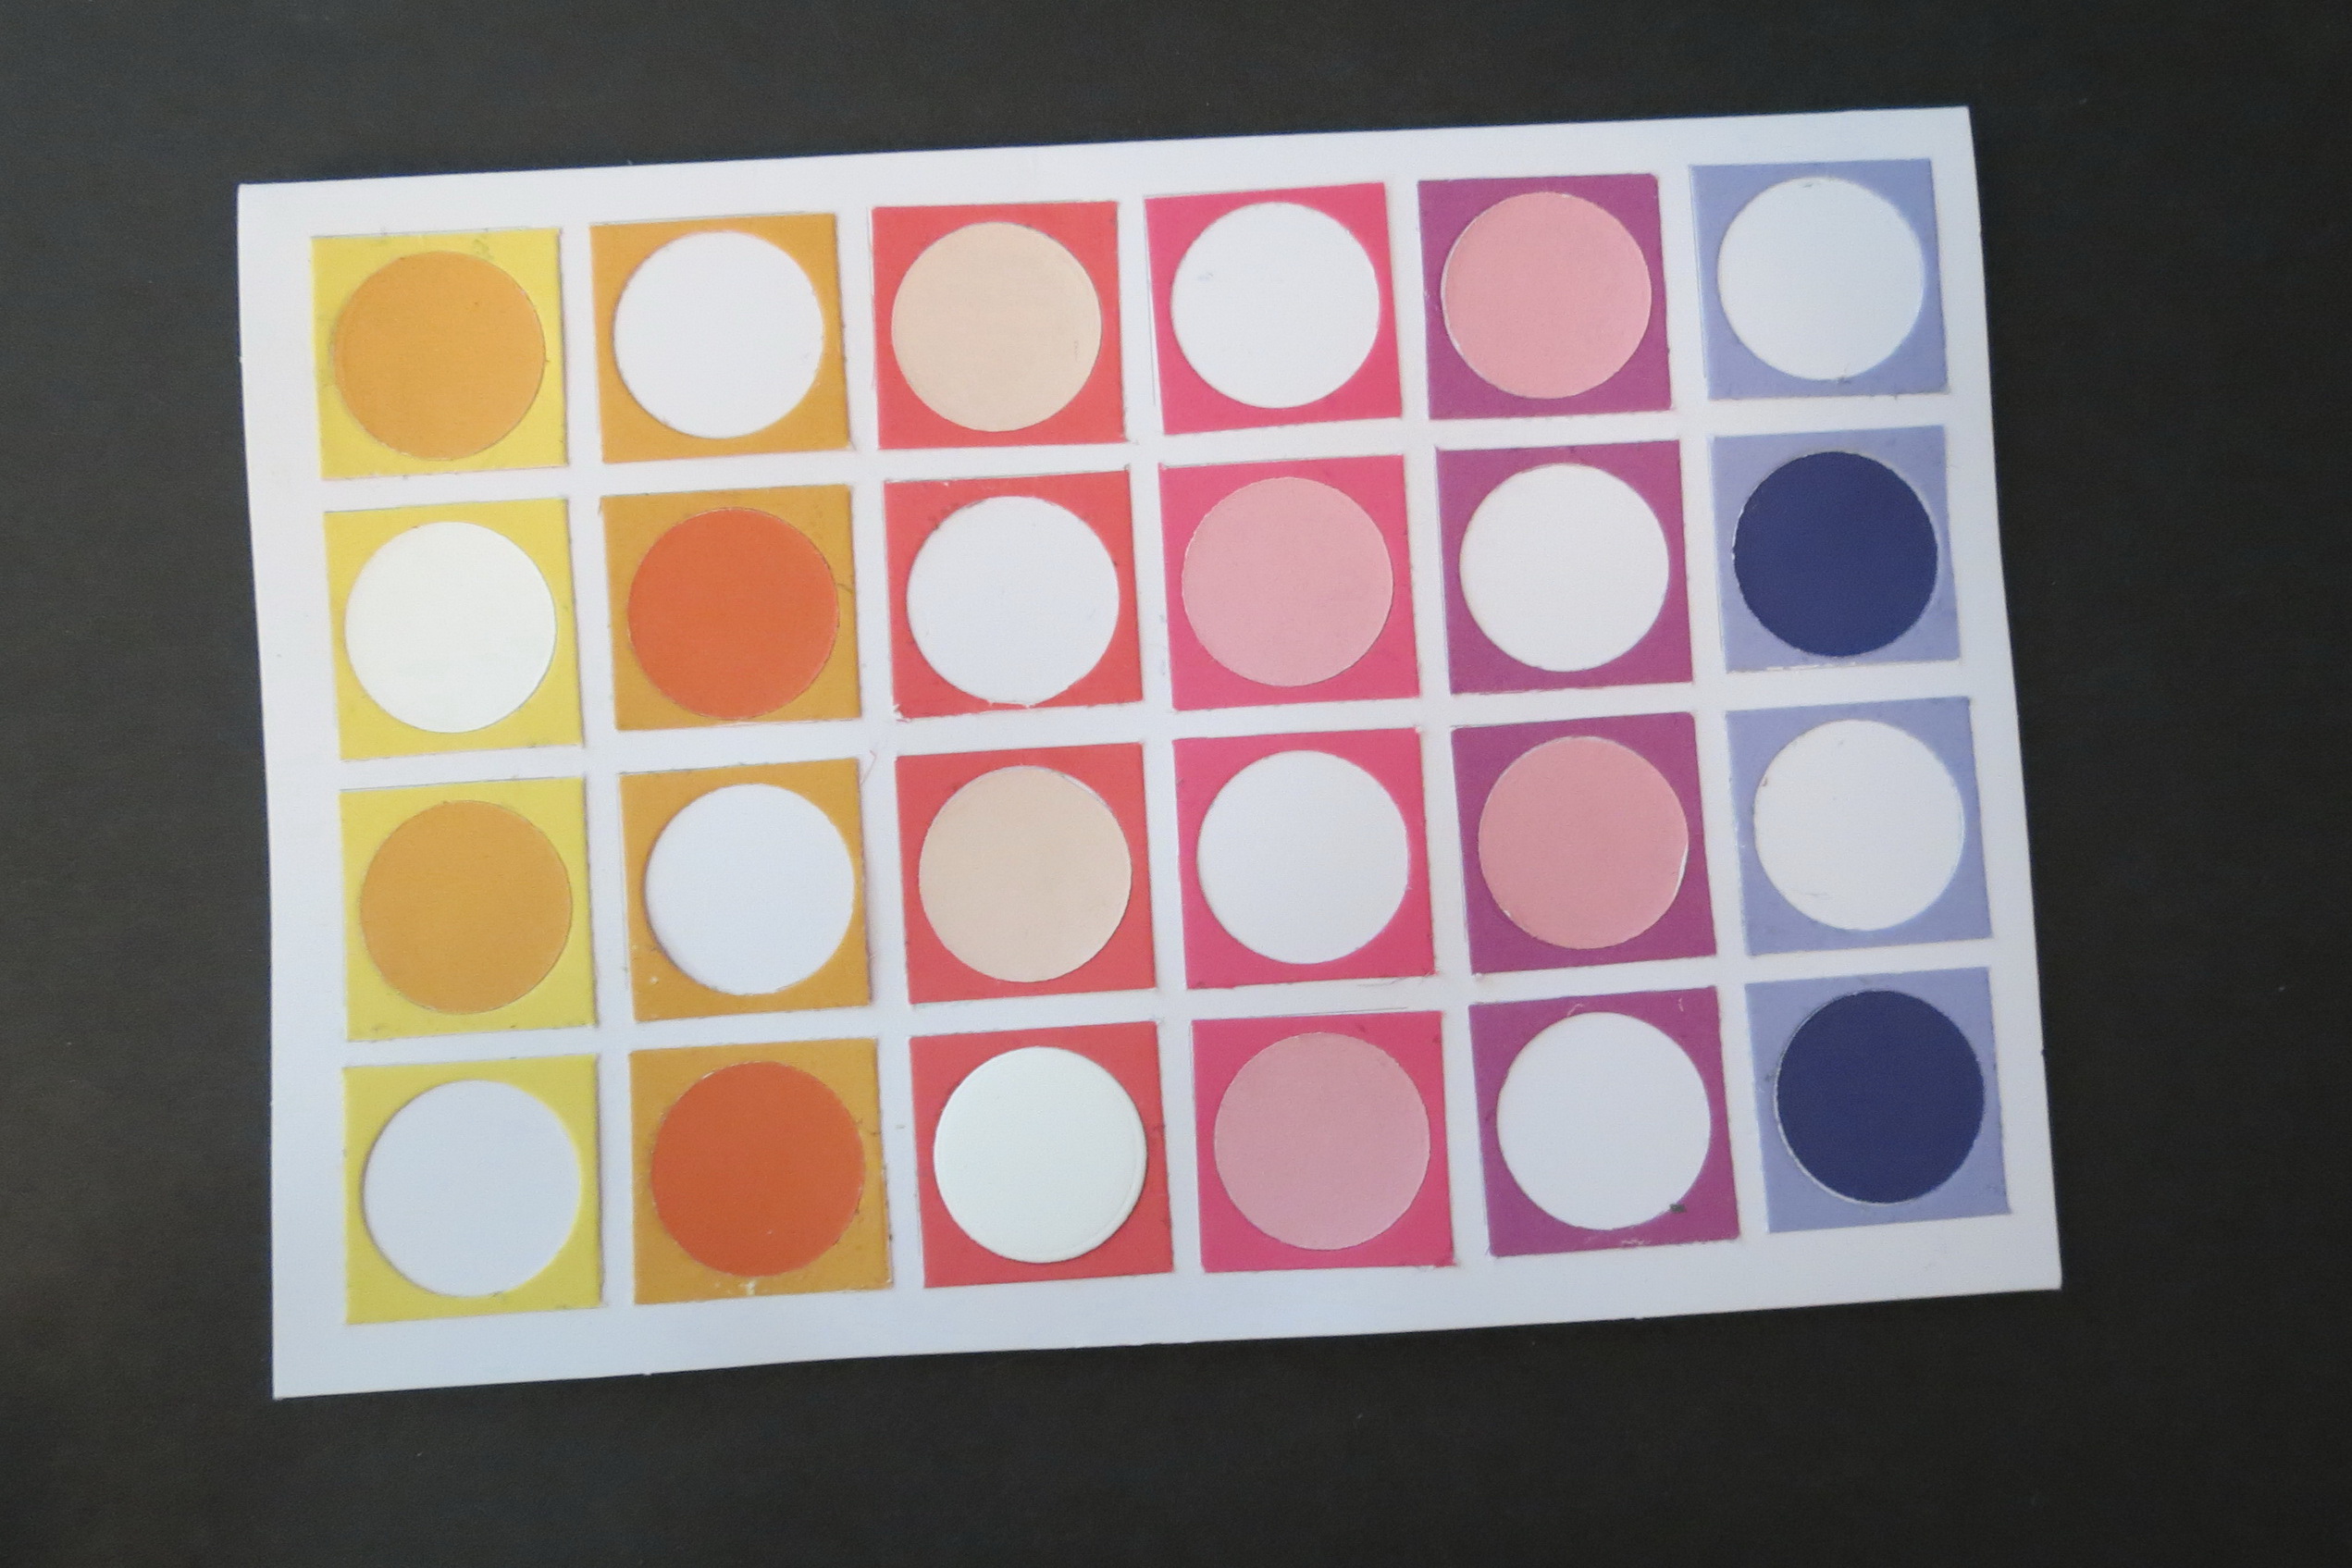
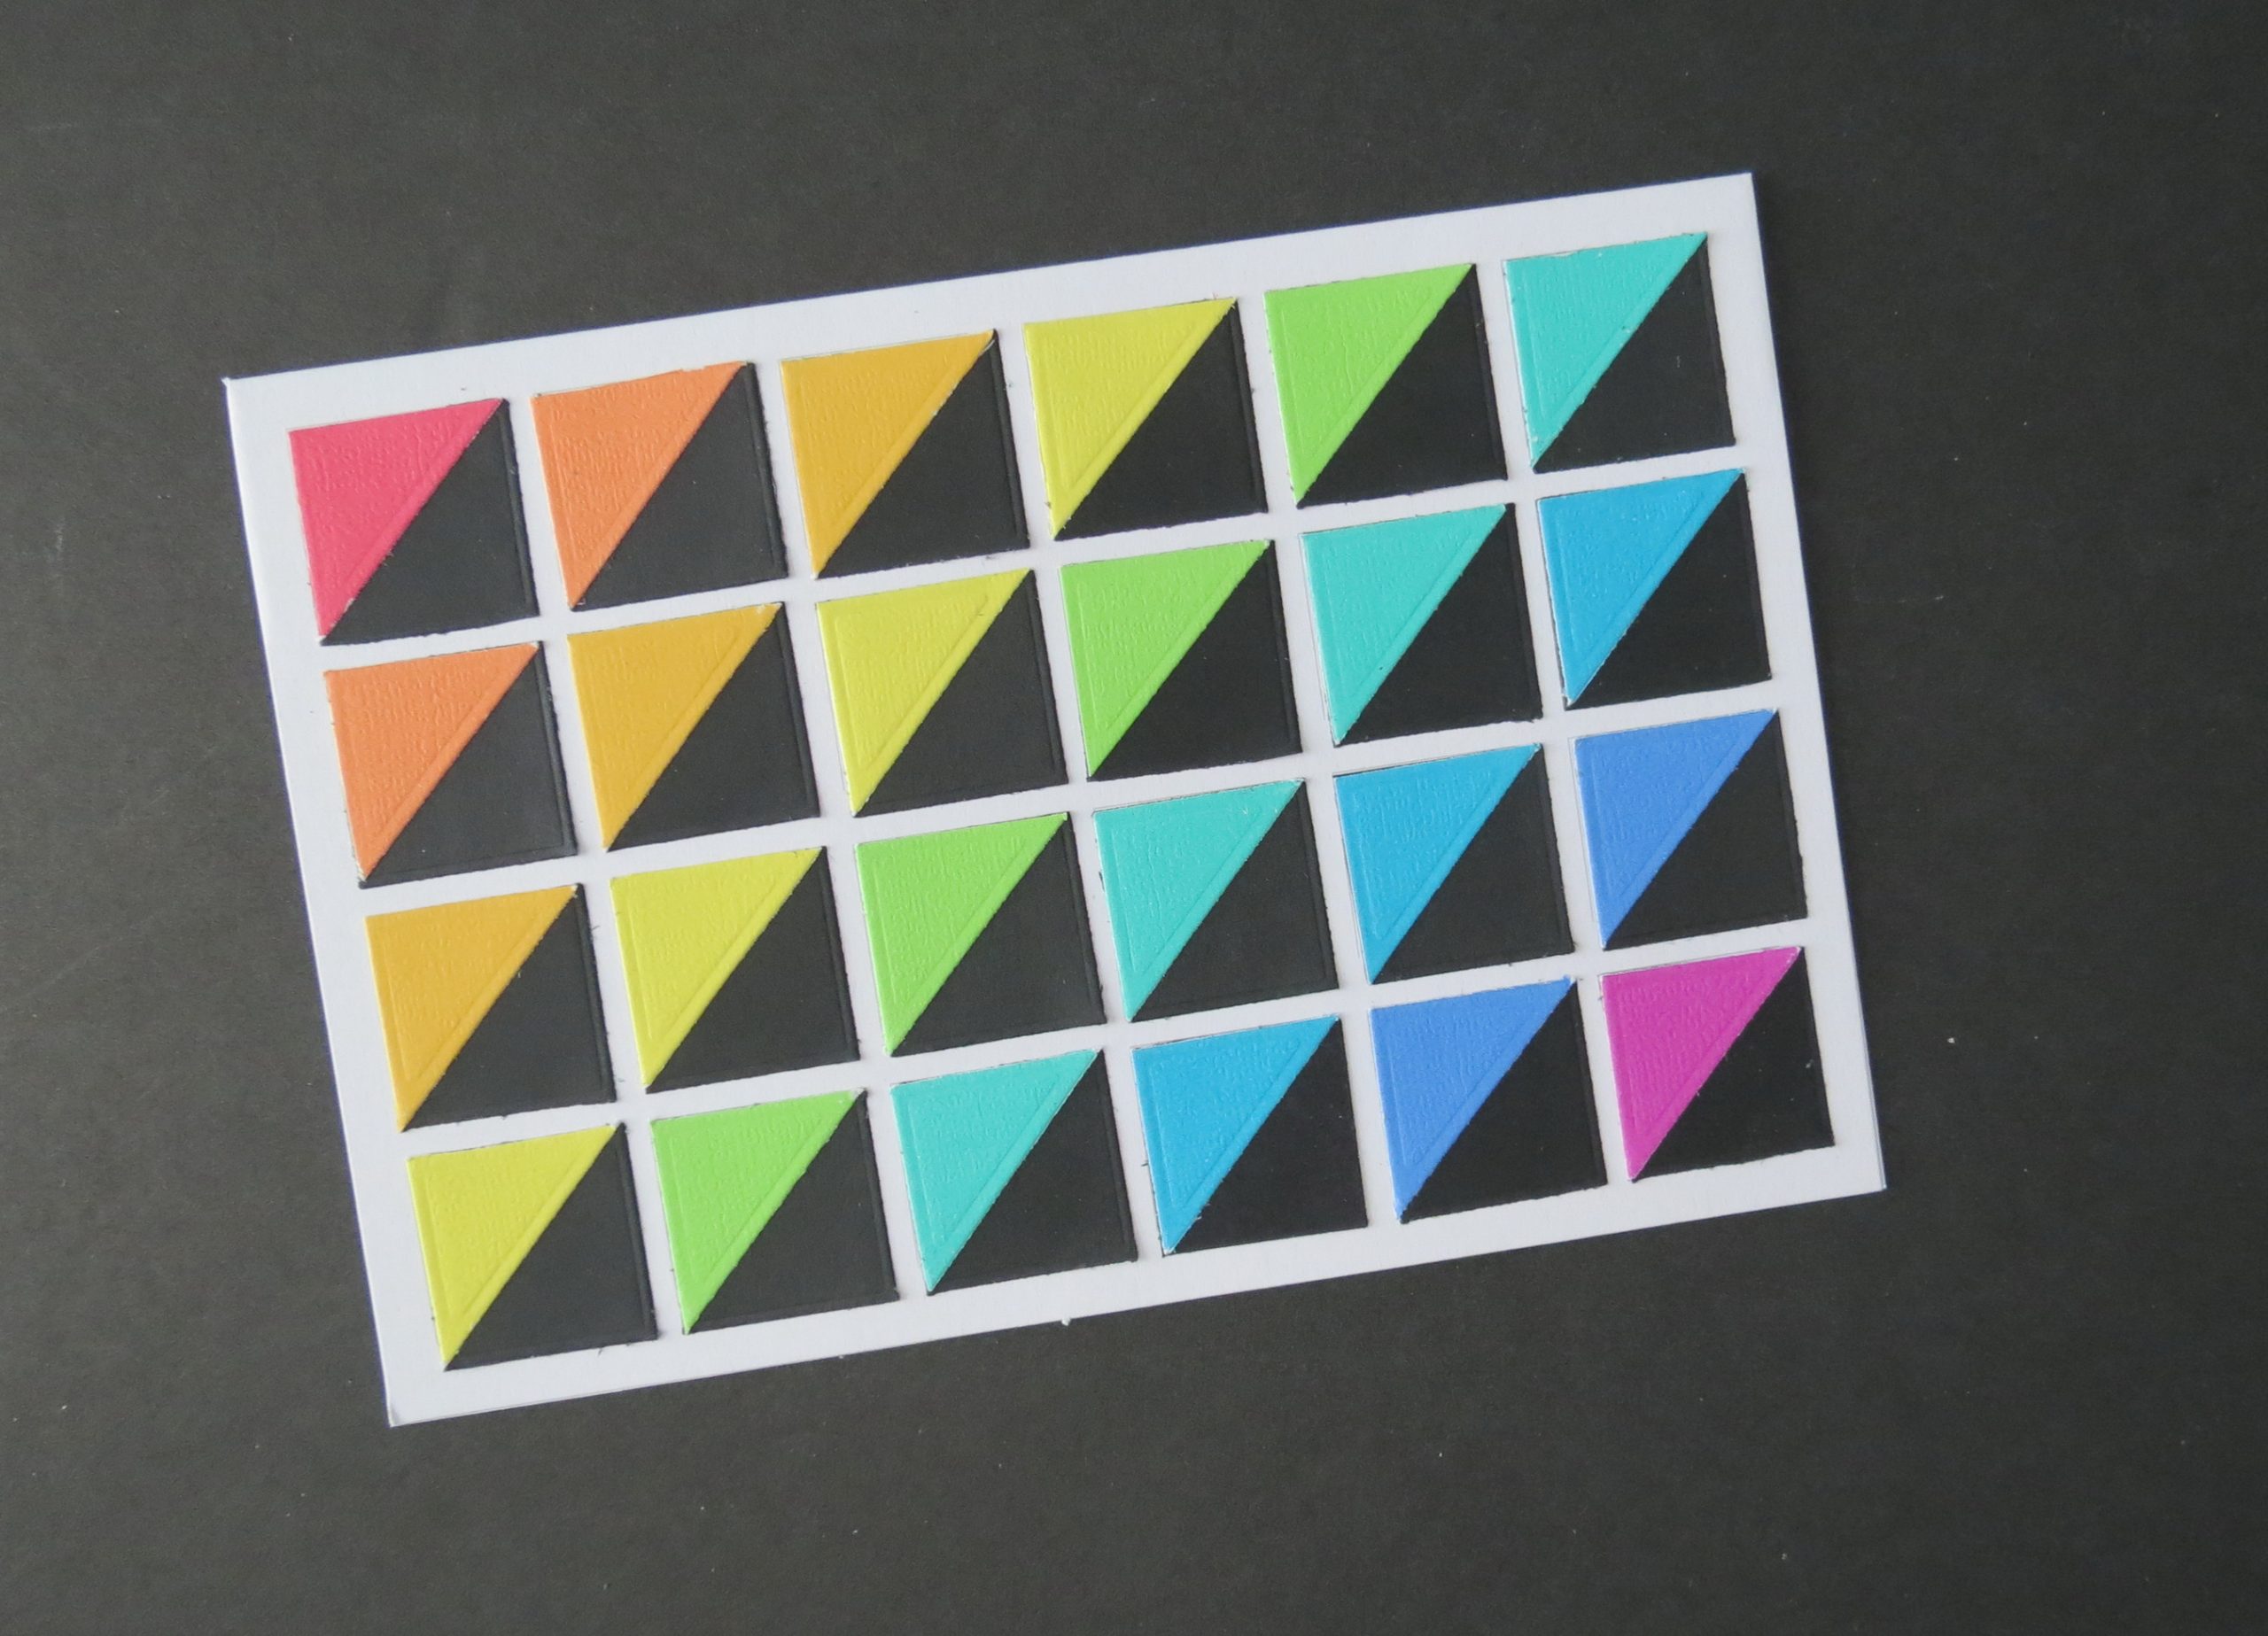
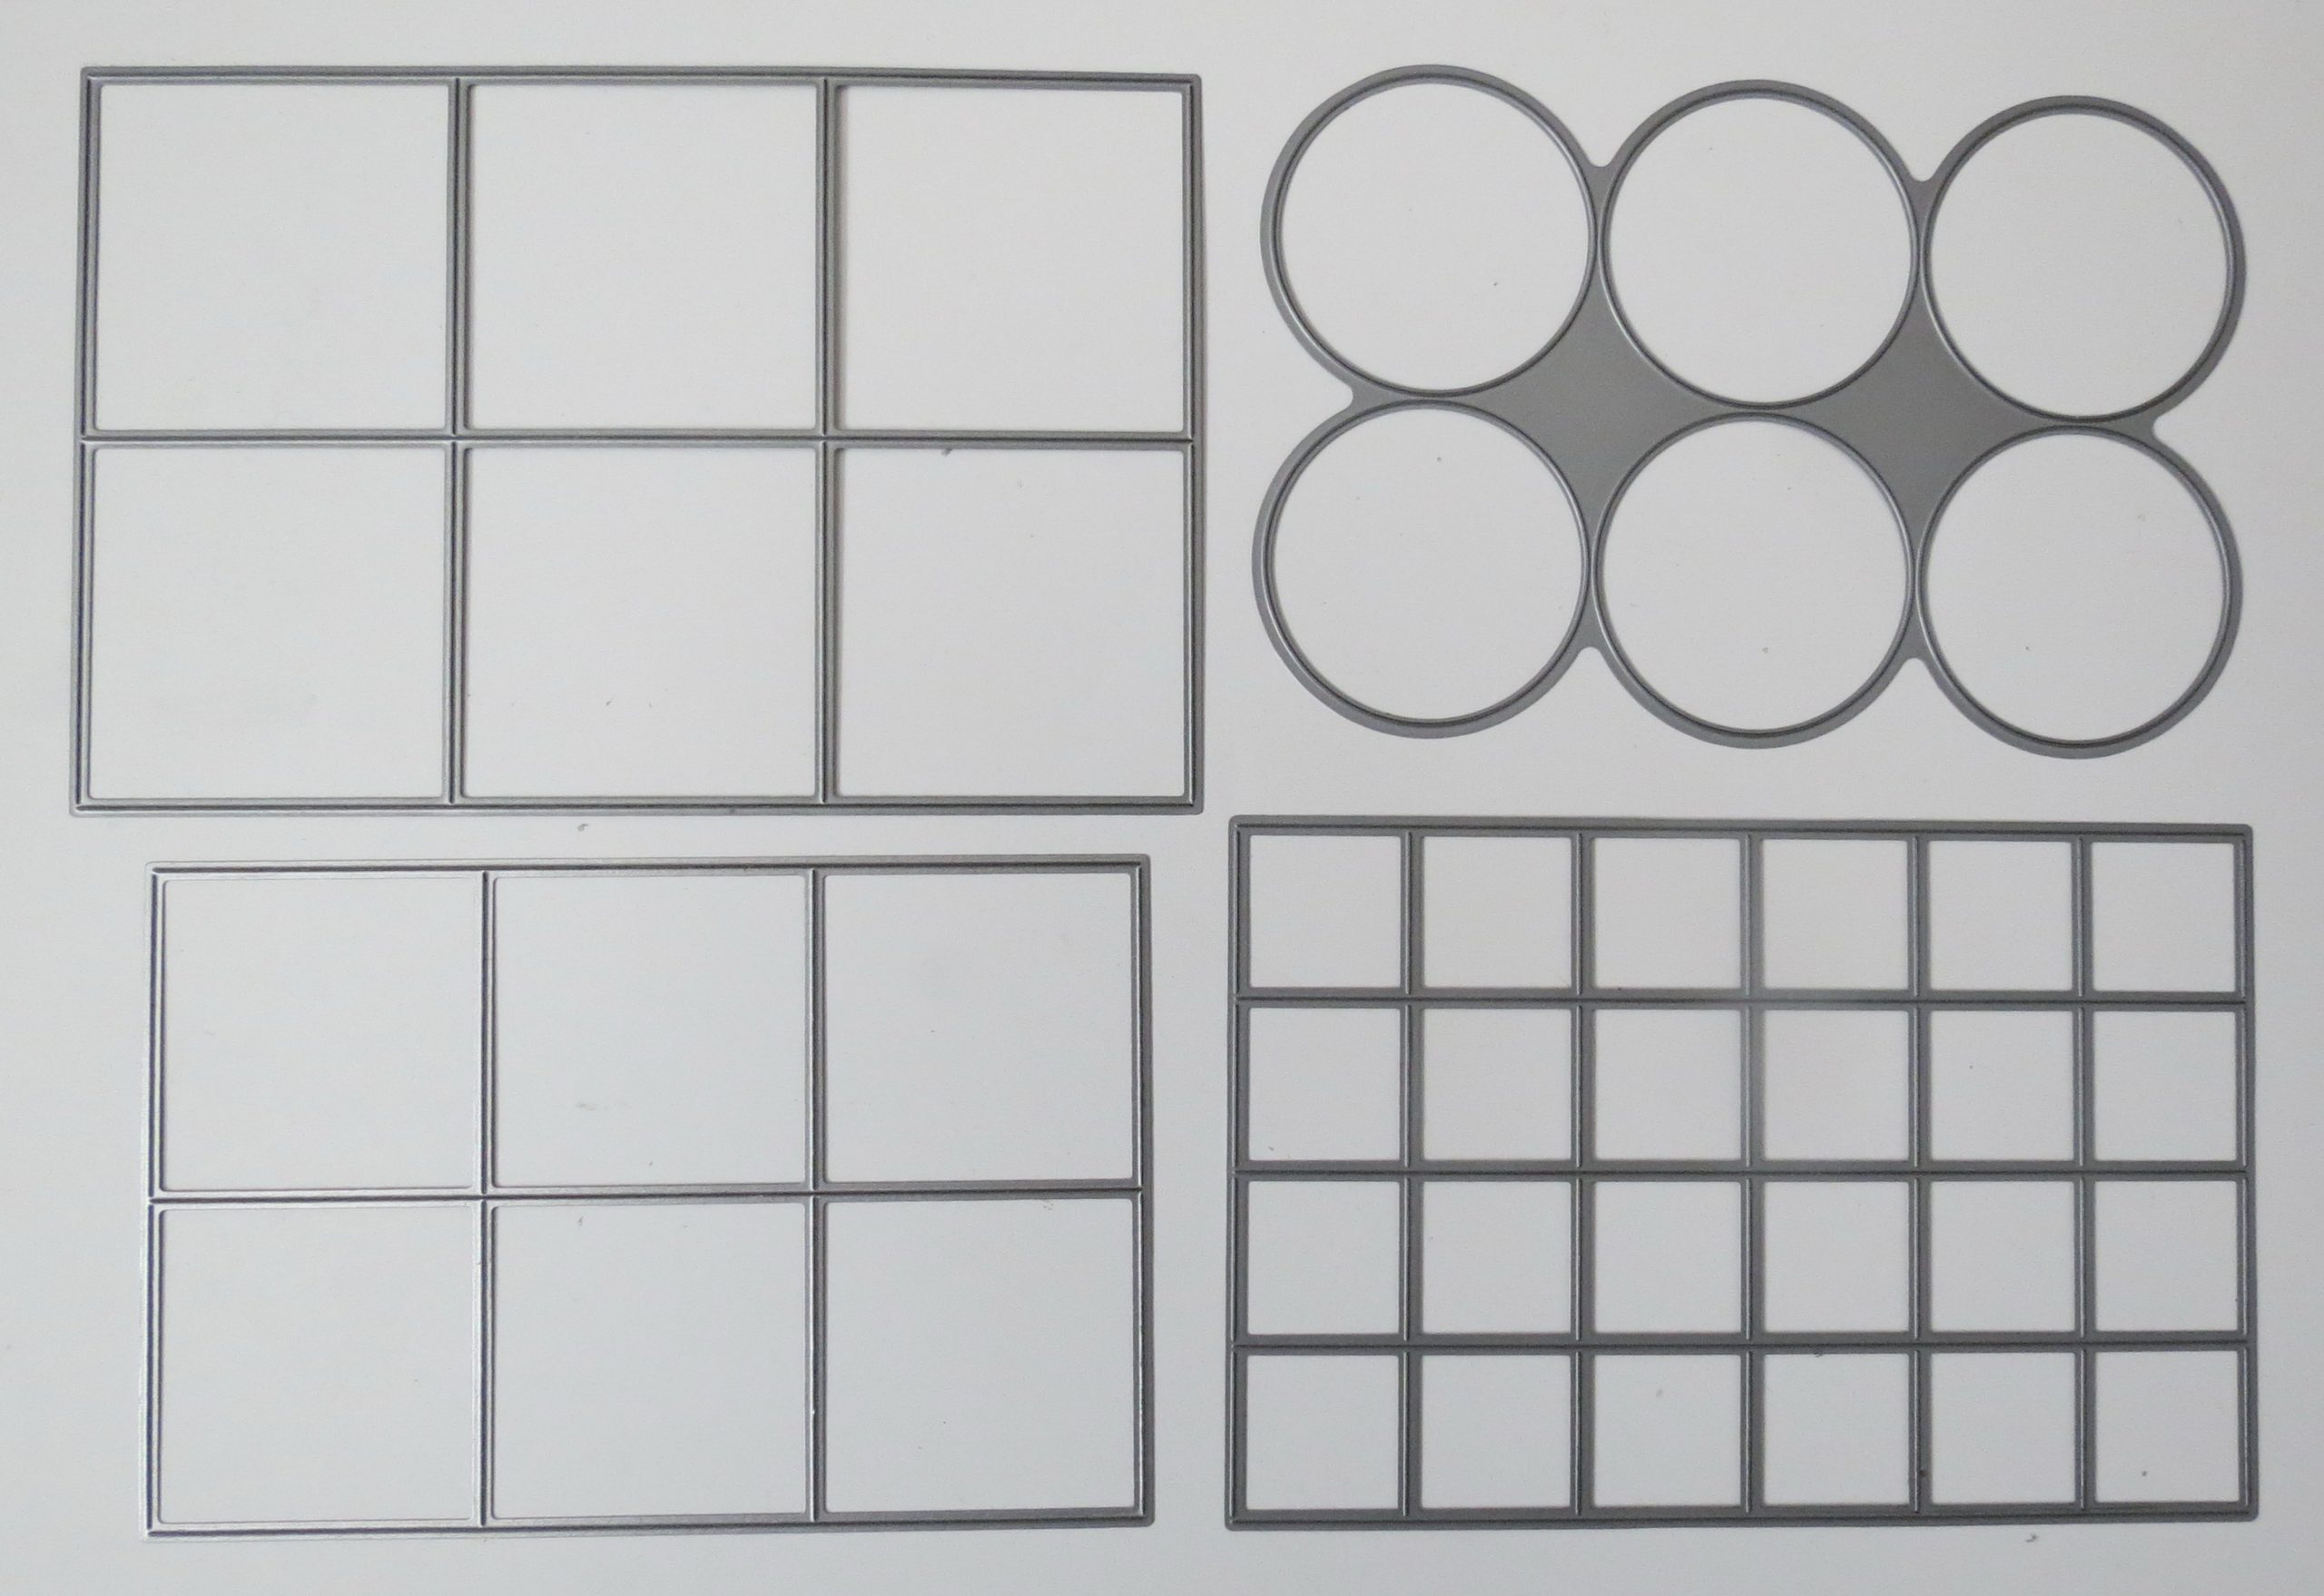
What are the Level Two Time savers that I’m referring to? The 1” Grid Die (4×6), Corner Tile Die – set of 12, Grid cut 2.125”x 2.125” Die, Circle Die Grid, the 1×1 Grid & Circles Die, and the Corner Grid die (4×6) for lots of triangles! Those I used to cut by hand!
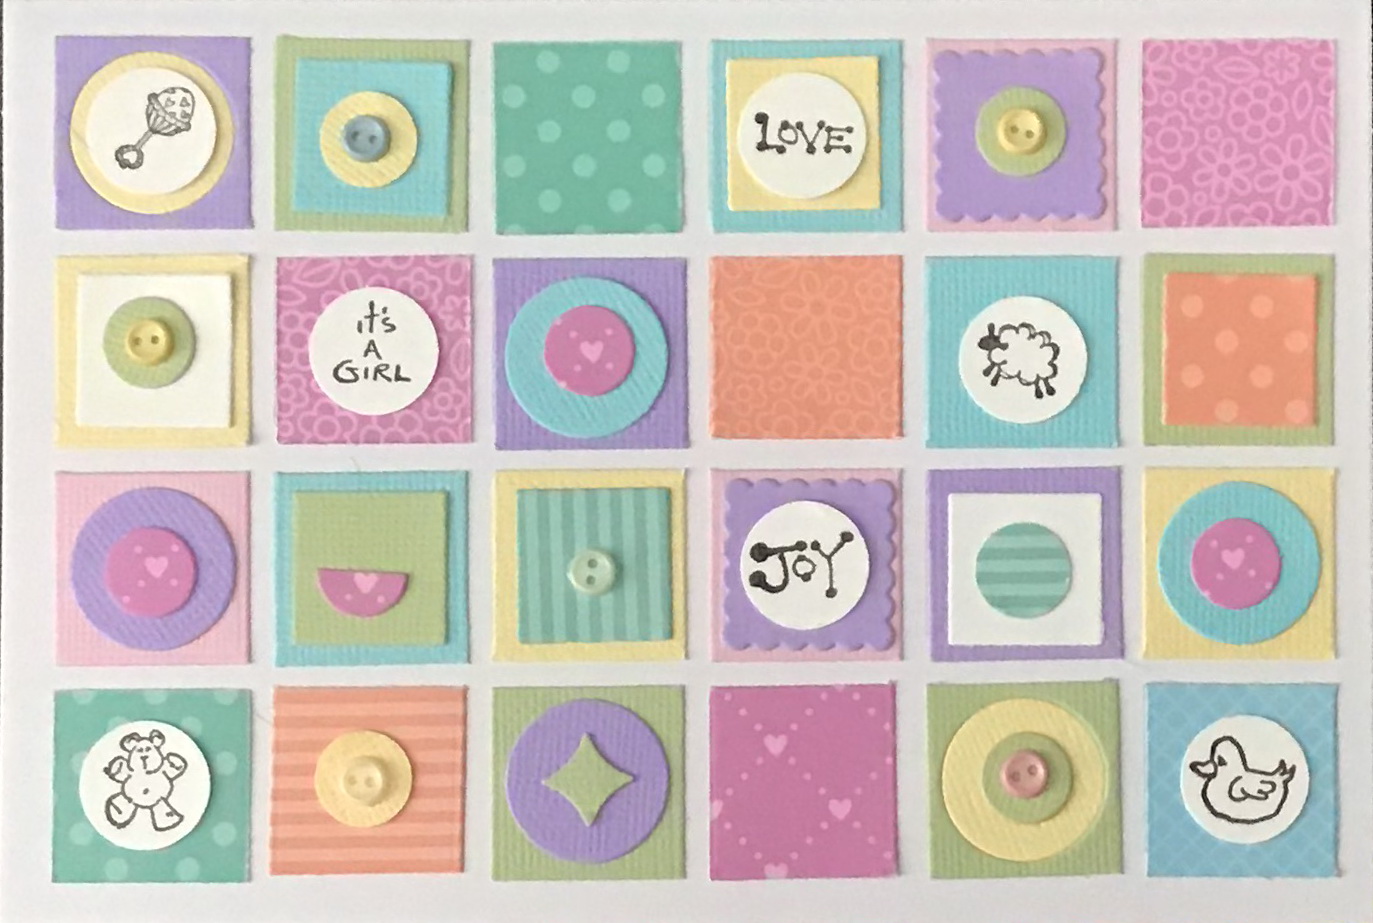
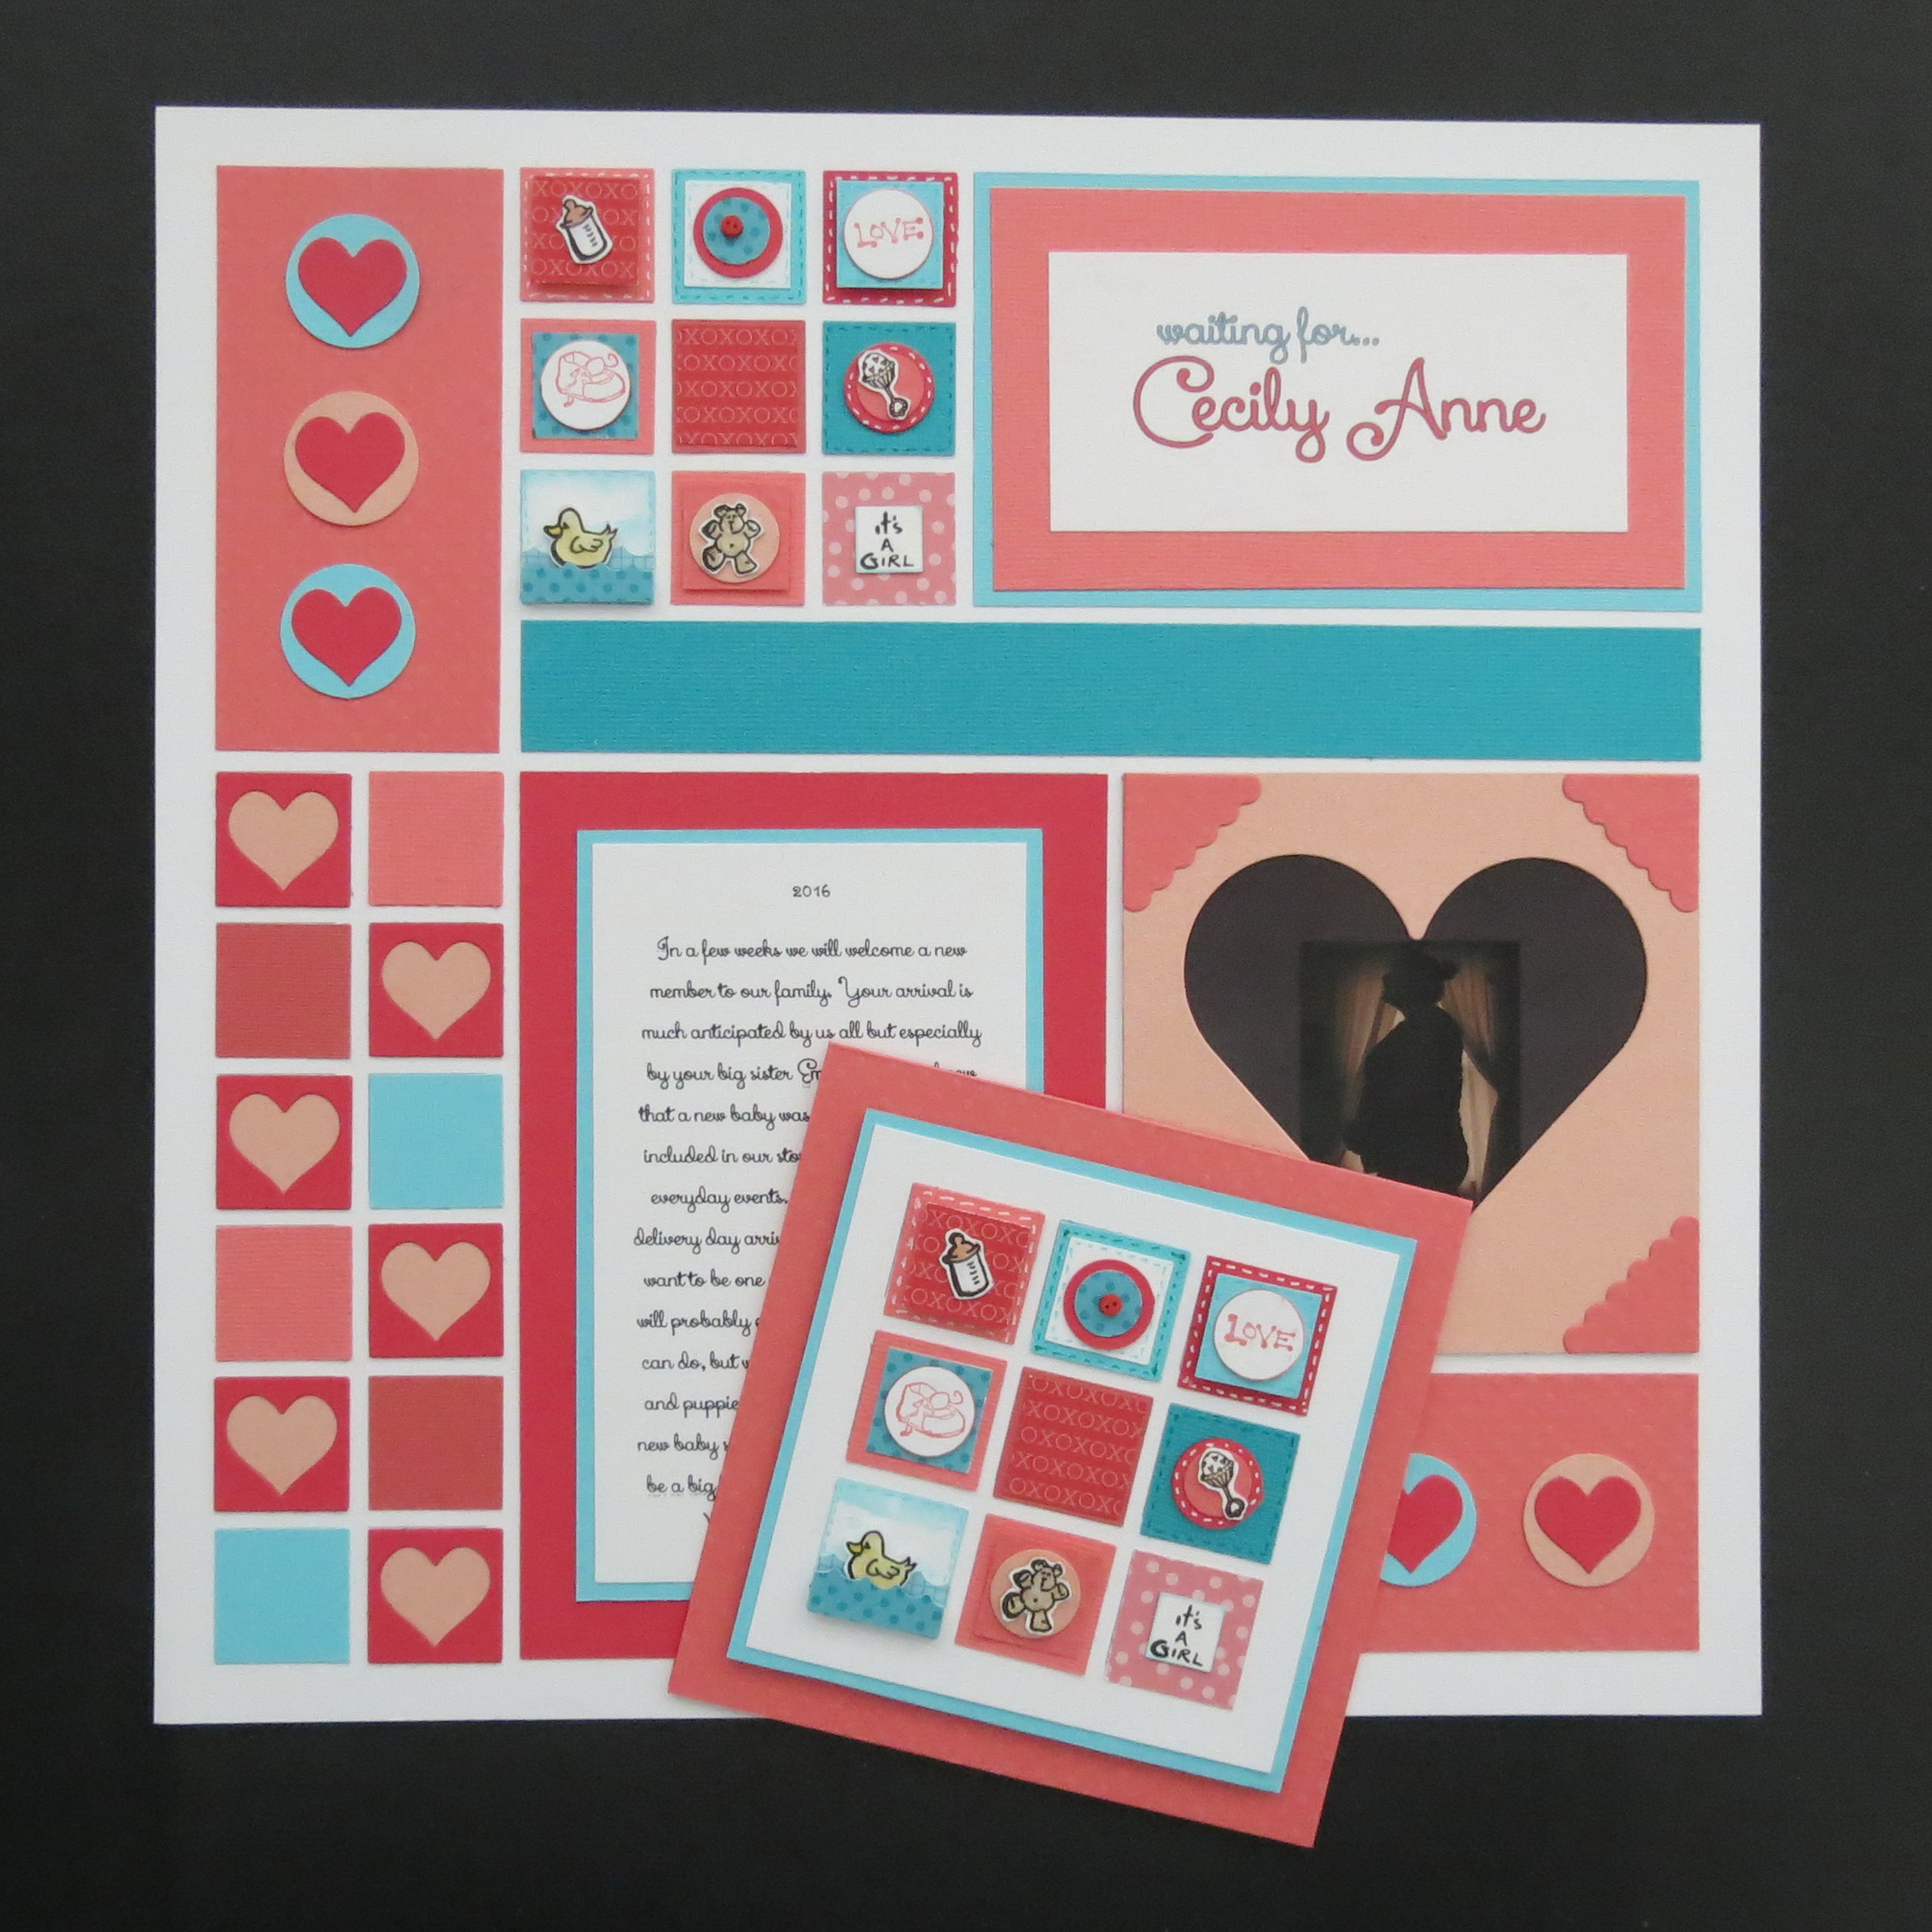
All those dies can be used for cutting photos, but I find them helpful for using up your scrap papers or a in a planned preparation of a box of elements for creating a quick card. This time a baby card.
Many pastel cardstocks and patterned papers are cut to the sizes that will work nicely on a Grid Greeting card.
I also make use of a collection of Rubber Stamps by Judith for stamped images, plus a few extras like tiny buttons and clay dots.

I also made use of the >1” square Scallop die that comes with the new scallop mat dies. A retired die that I use a lot for things lately is the Circle Time die using both the circle, half-circle and the diamond outtakes.
With all the pieces in one box and prepared, assembly is quick and easy.
A few other ideas for using the time saver dies.
These Inchies can also easily be incorporated into your layouts as I did in this layout and card.
Level Two Dies – option 2 – Time Savers: Layouts
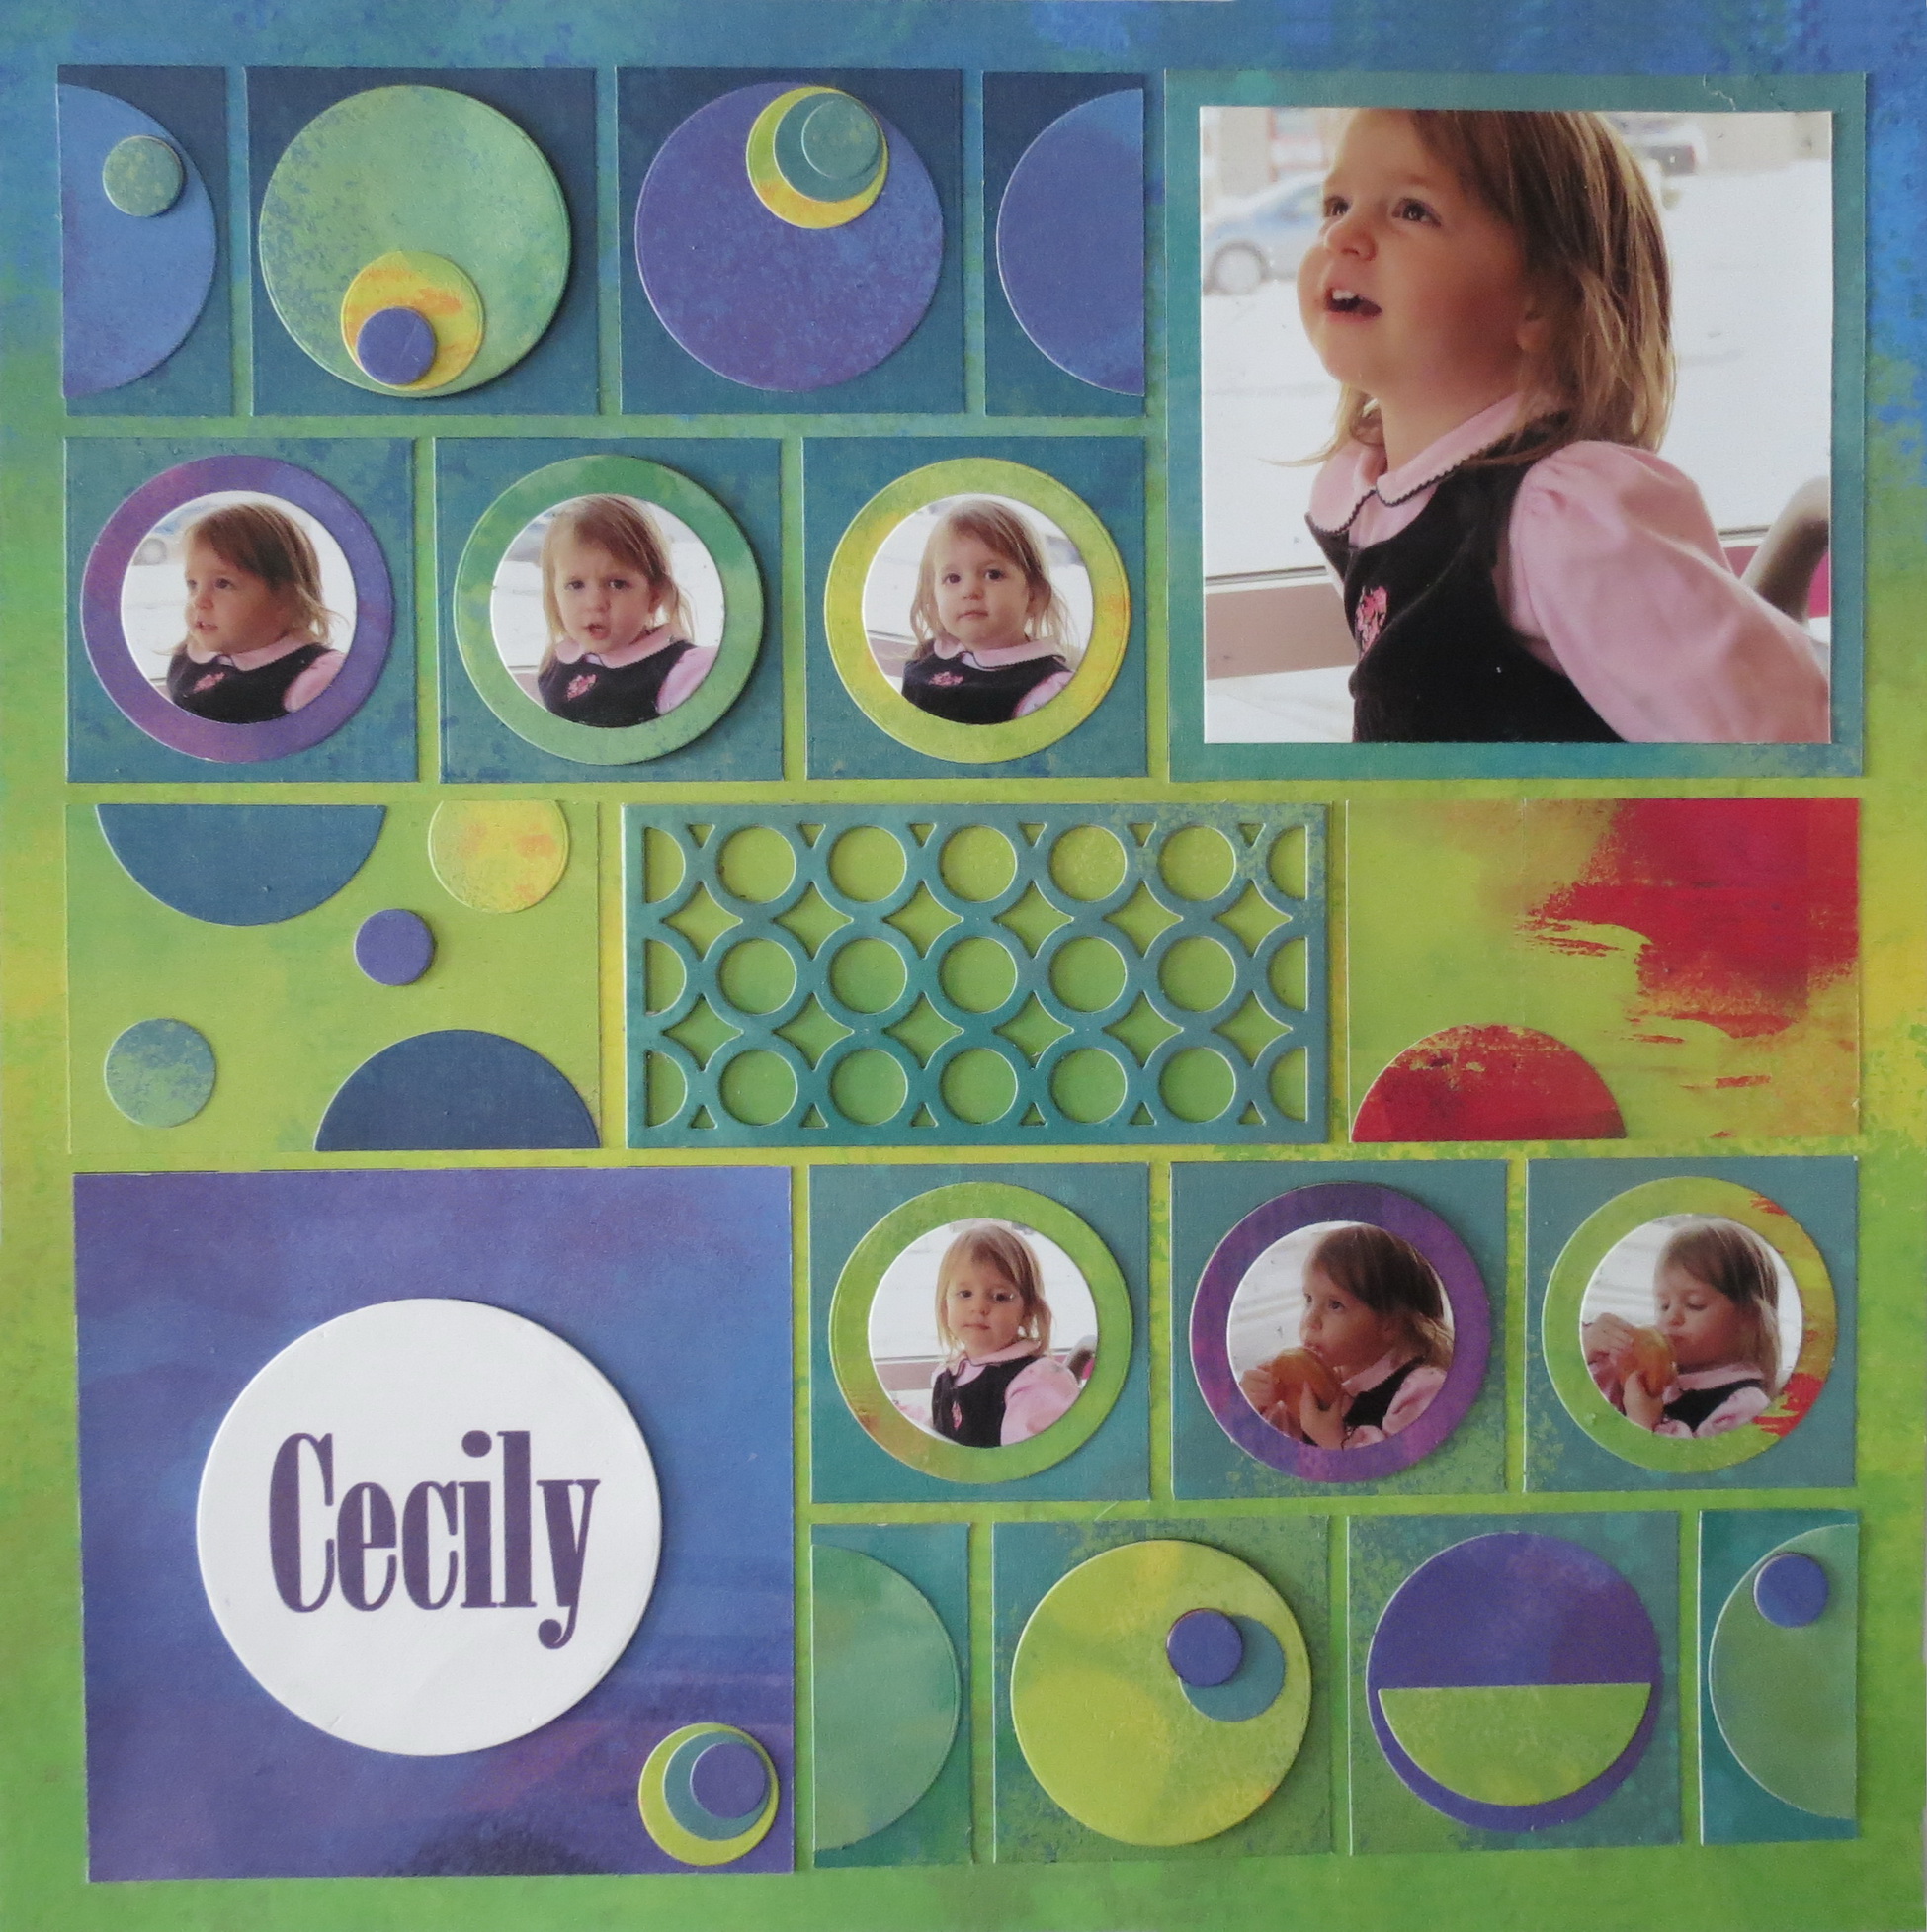
For a third way I like to use the Level 2 Dies, I’ll share one of my old favorite layouts “Cecily”.
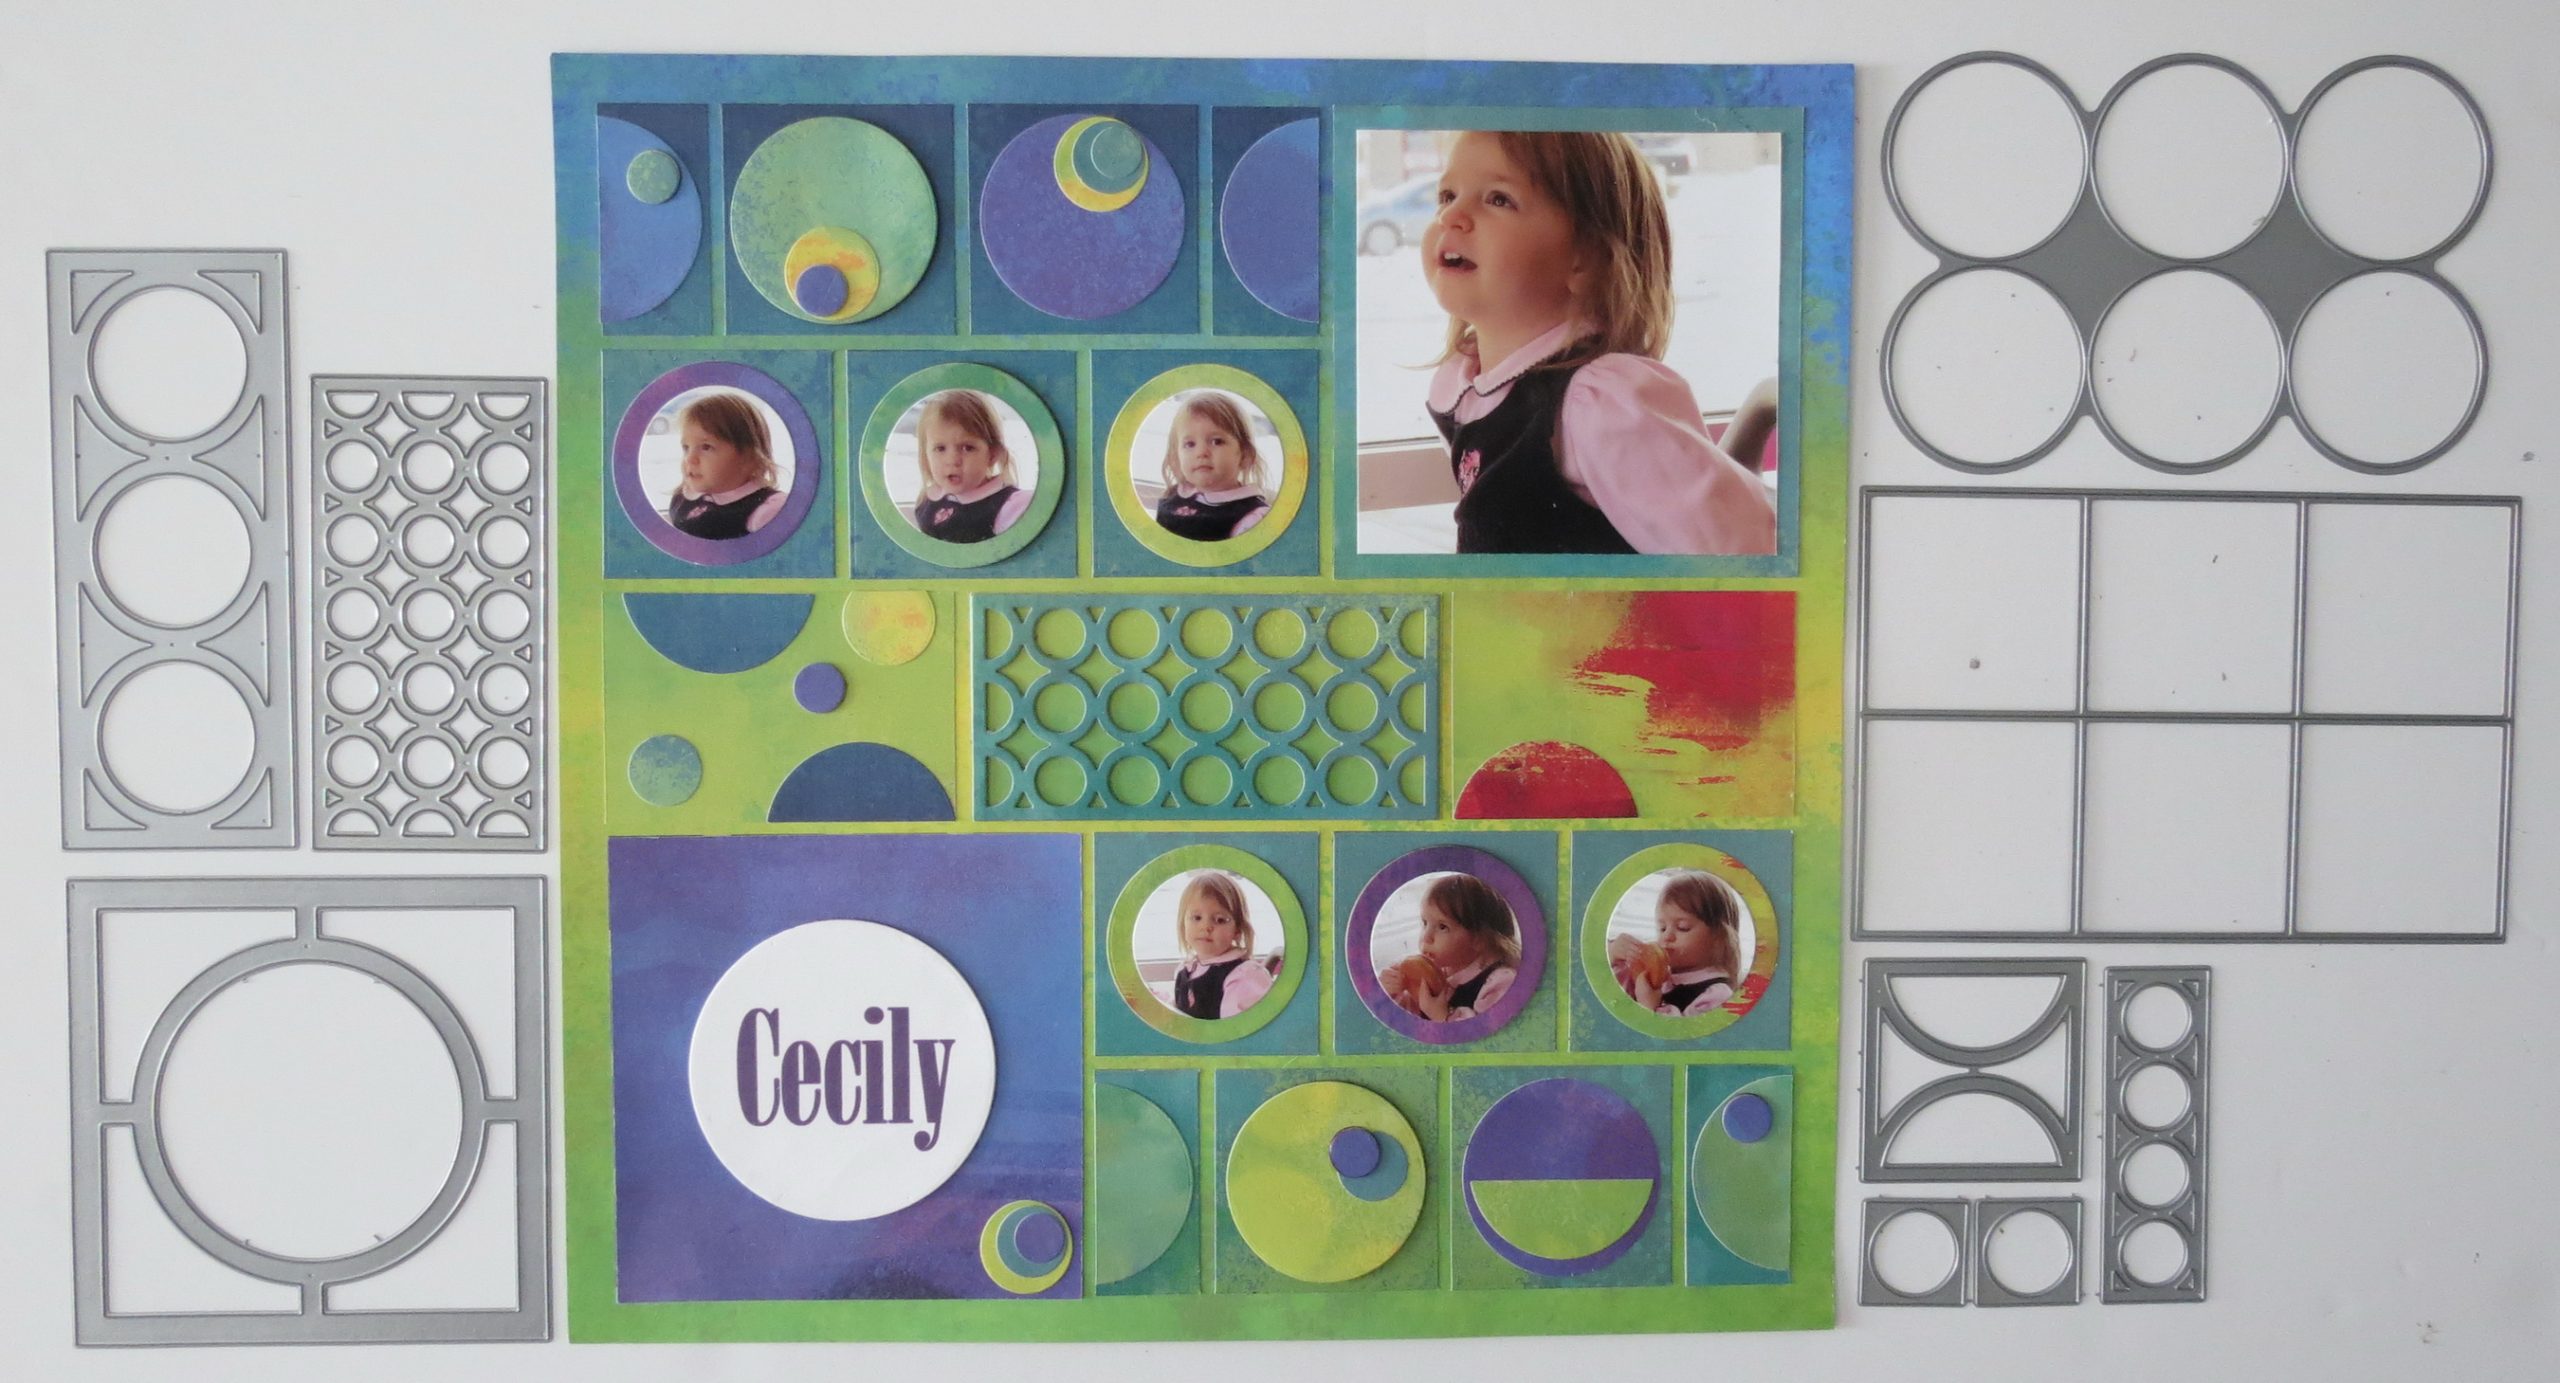
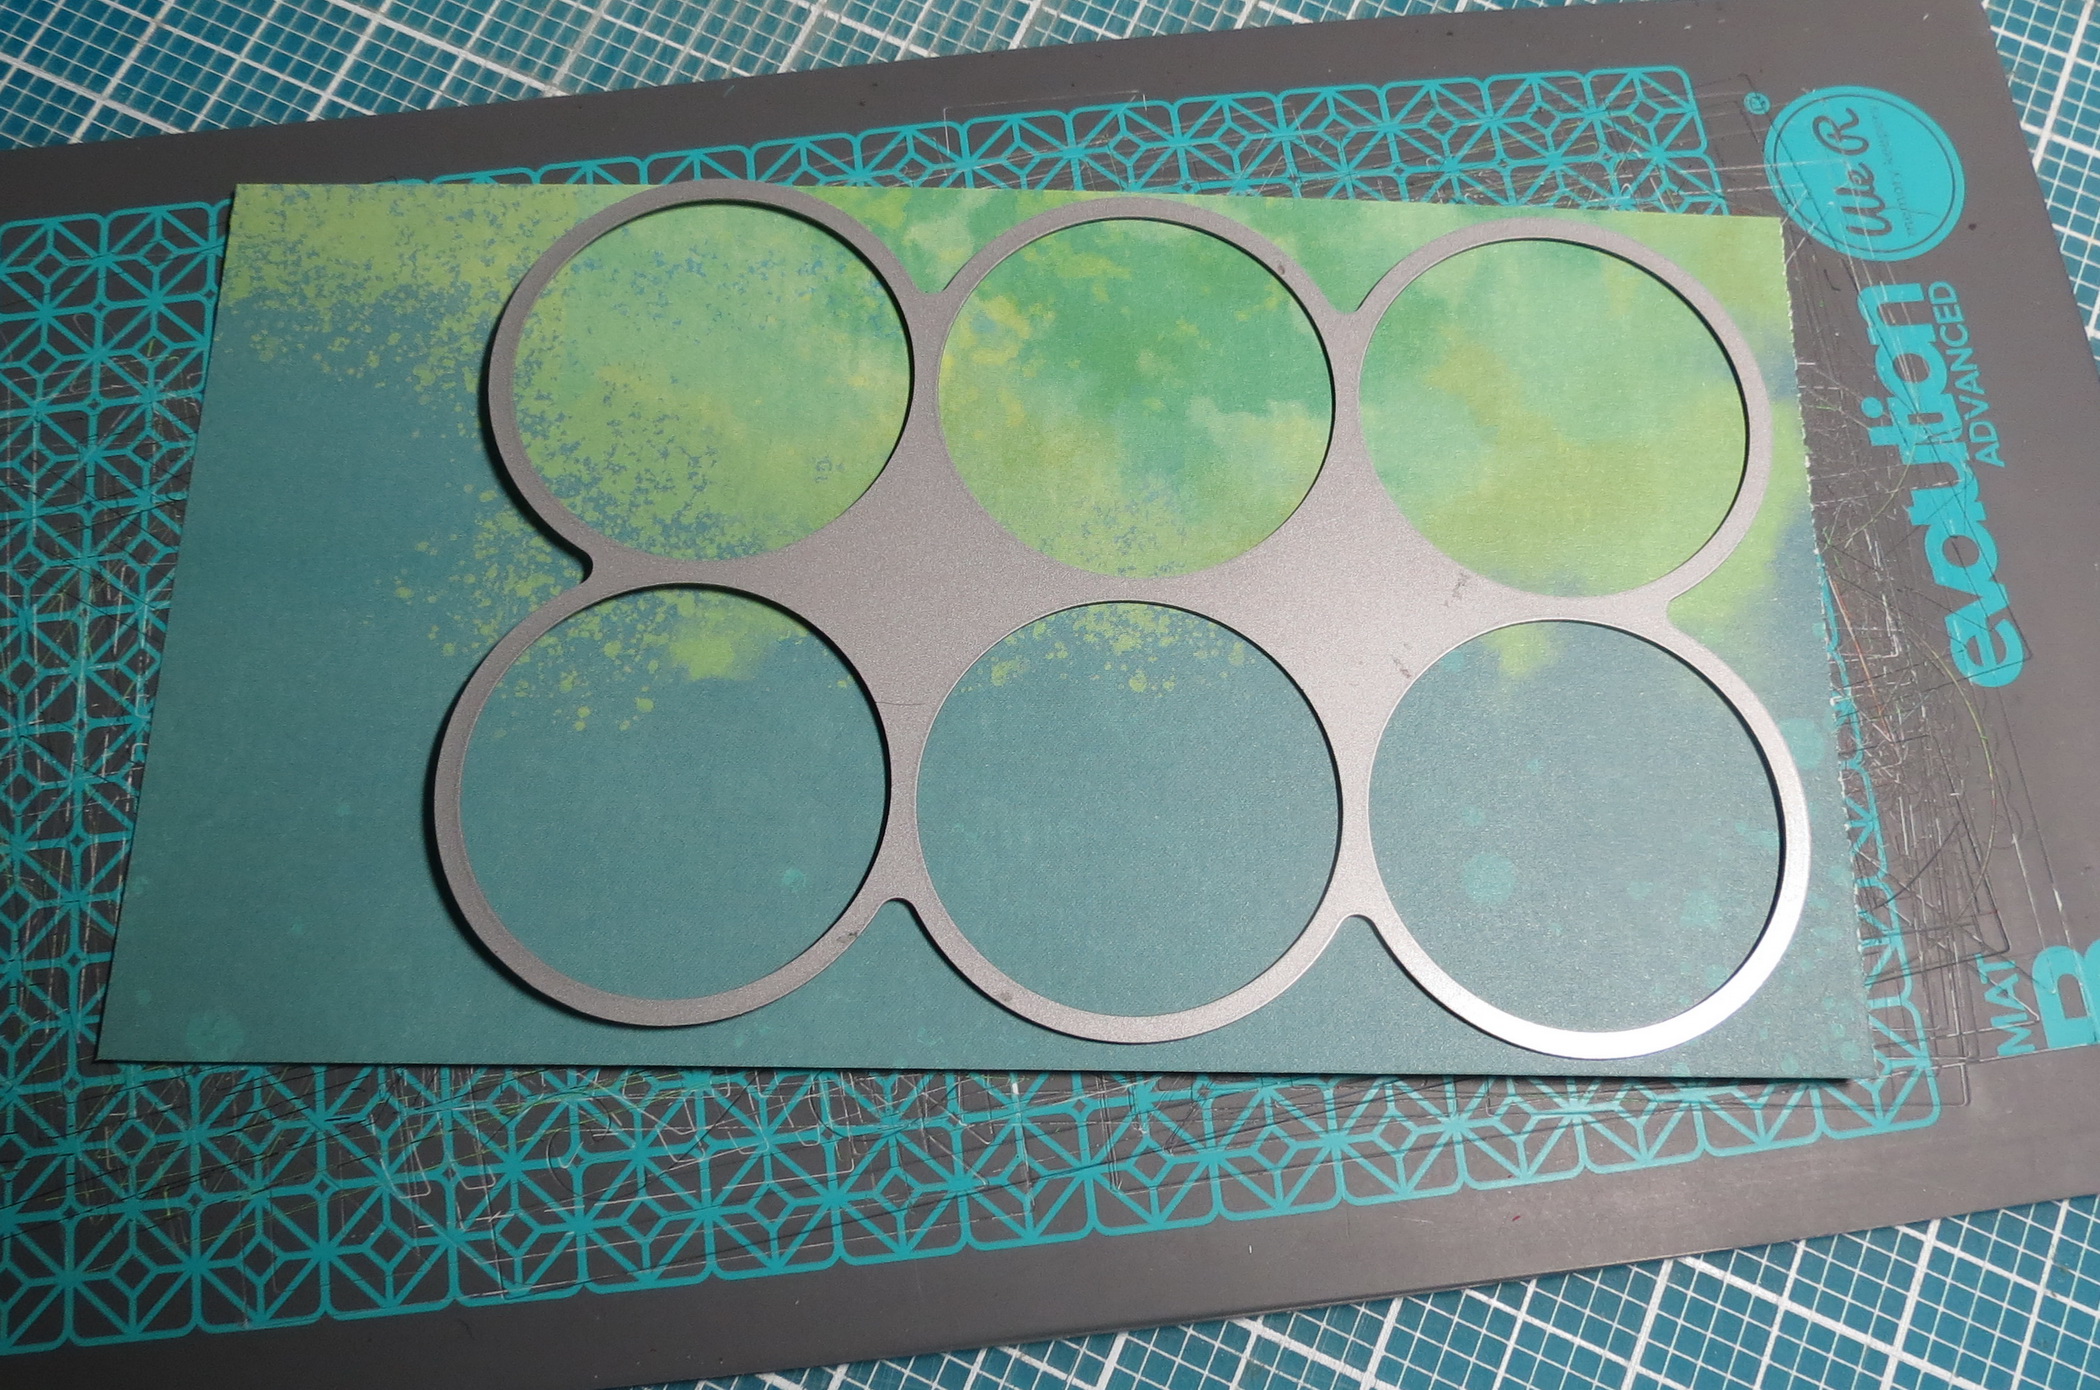
The Circle Grid Die allowed me to get several circles from one multicolored paper and it really made an impact on the overall layout to have the circles with a variety of colors cut all at one time. I was able to put multiple circles to use to stack my circles at different levels. Follow the link above for more details on how I put it together. It was a fun layout to work on, just a bit of a break from the same old, same old.
You too can take a break from your normal methods of scrapbooking and find some new ways by using the time saving Level 2 dies or exploring options for new ways to incorporate a Horizon Die to a layout!
Andrea Fisher