

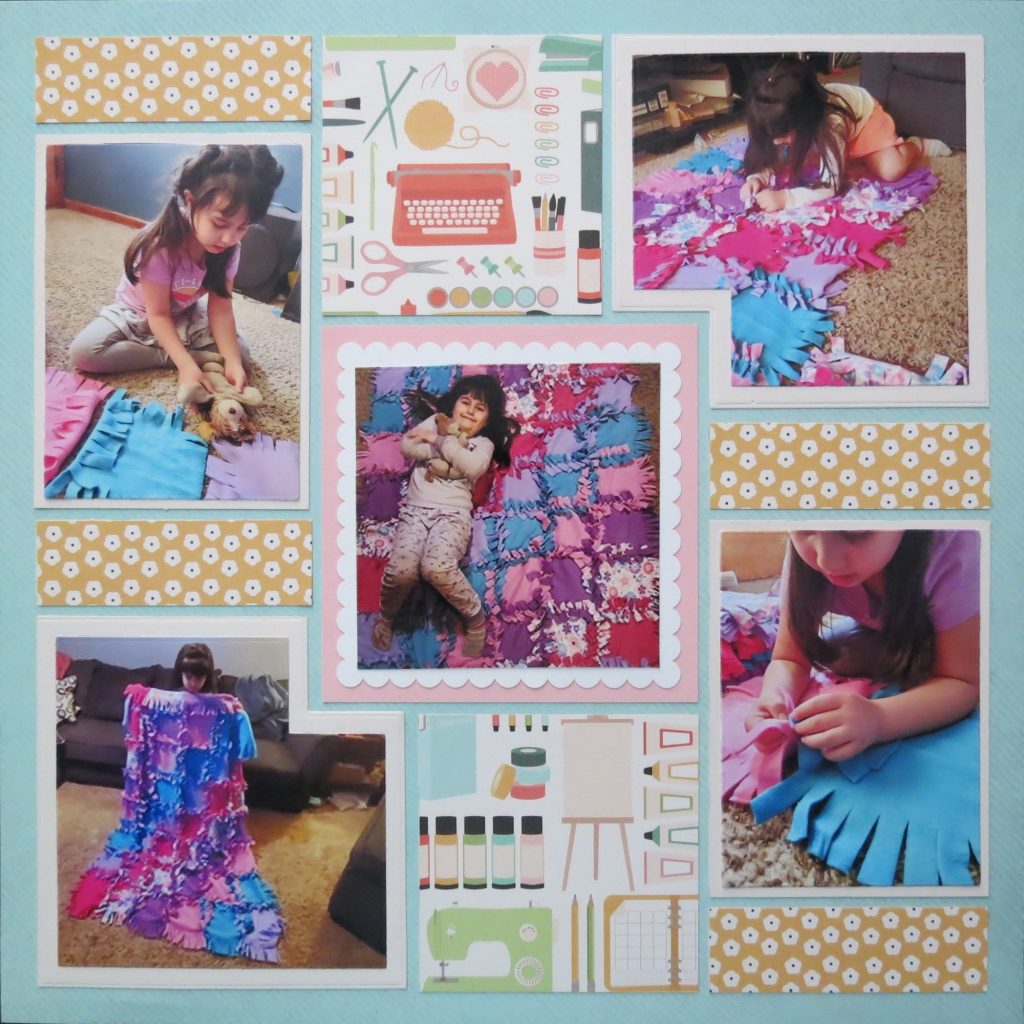
Three quick steps to change a page kit
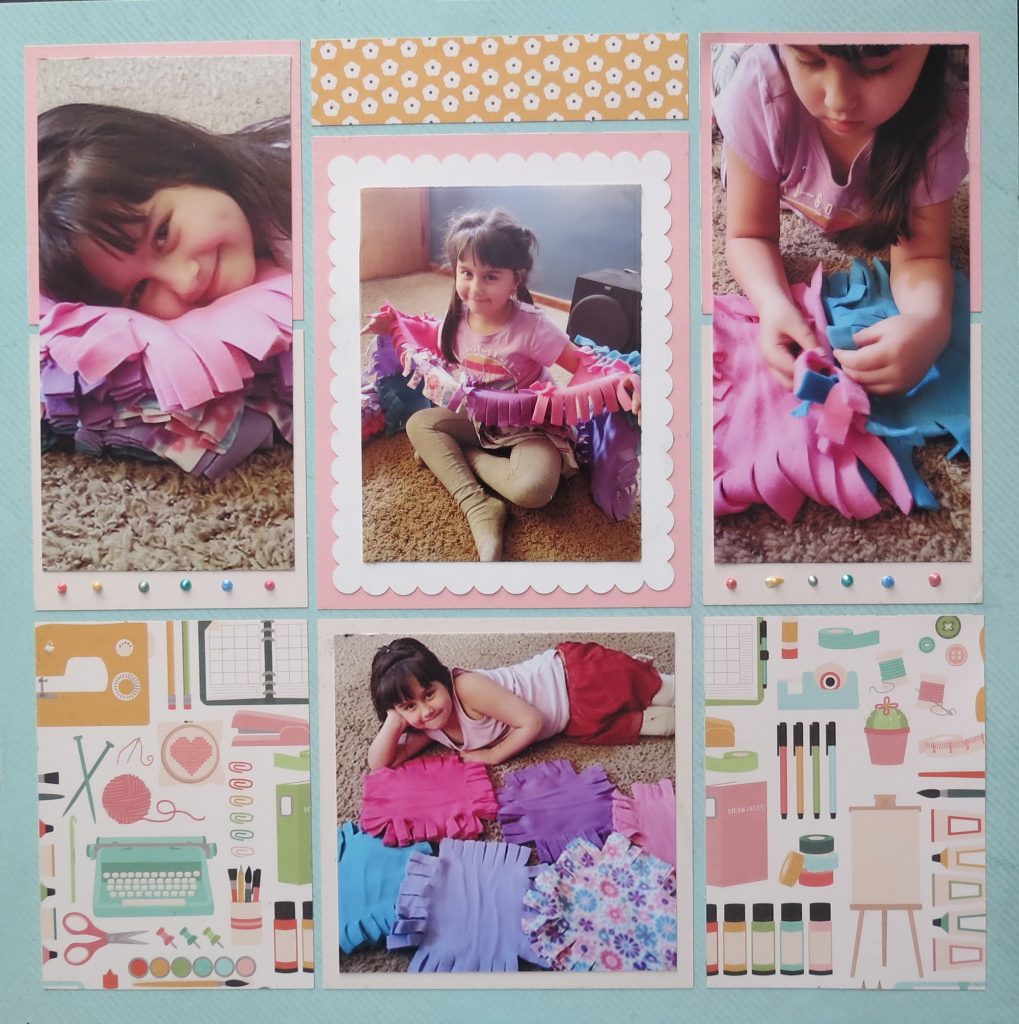
This Mosaic Moments Page Kit, Sew Crafty, was another chance to tweak a Page kit to fit with photos in three quick steps.

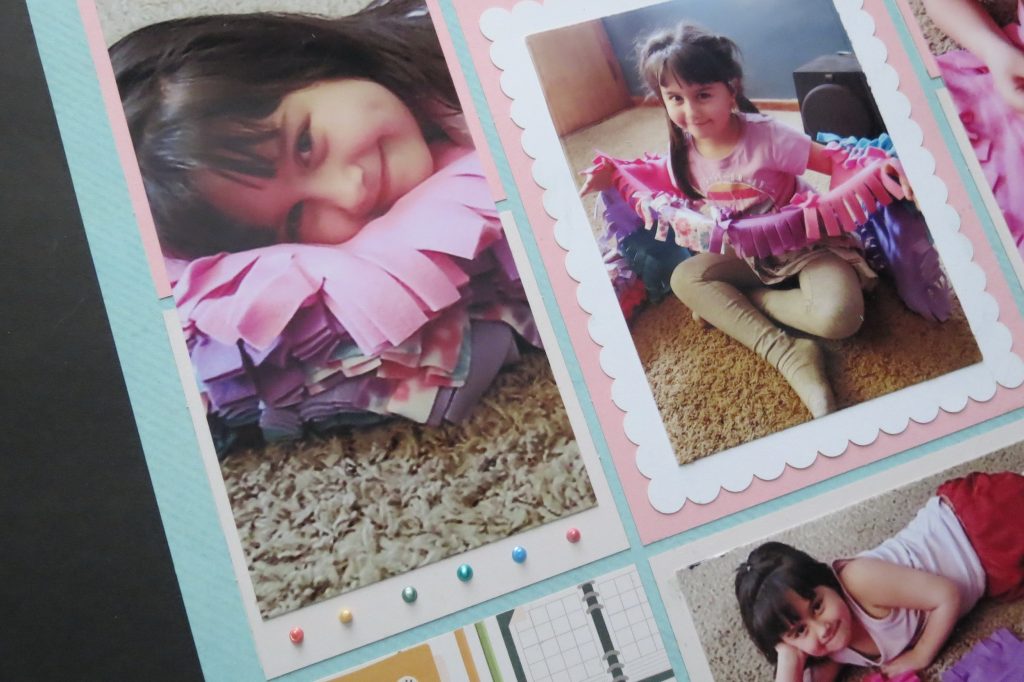
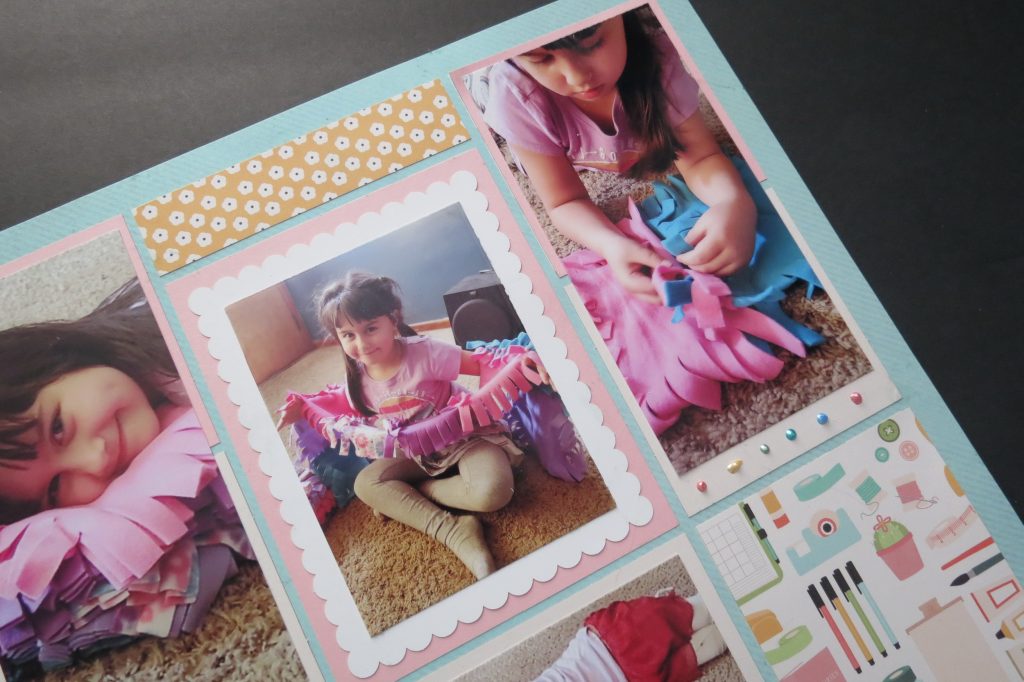
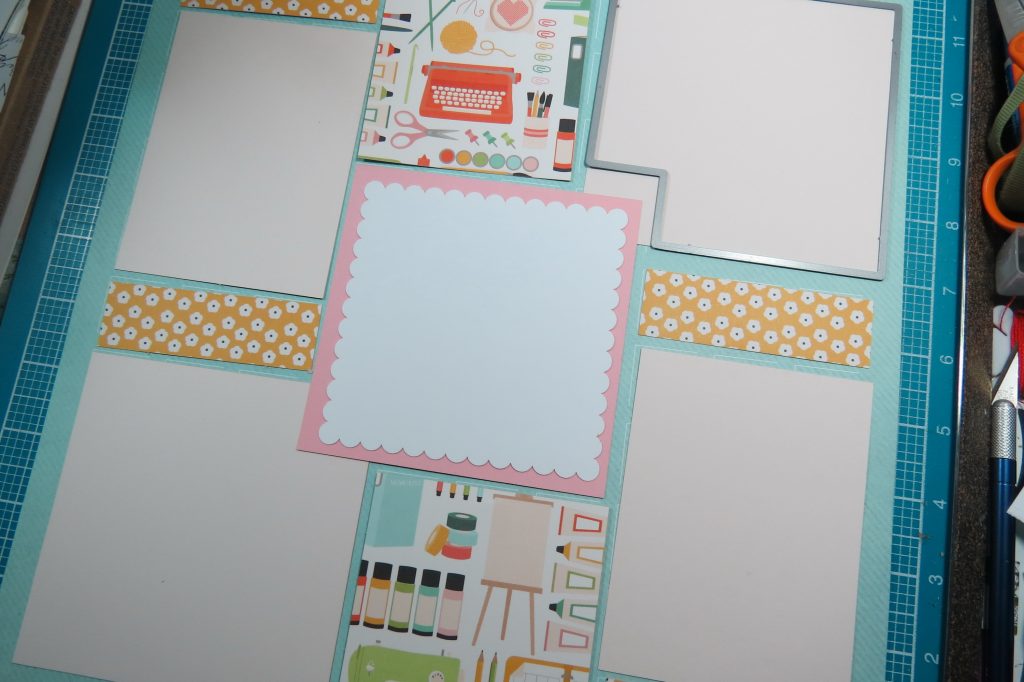
First, Pattern Change. The first page I have rearranged things so that I have a bottom row of 3×4’s and a 4×4. That lined the 3×3 squares on either side of the center column. These will now be spots that I can place a tall photo 3×6 by placing it over two tiles.
Second, Embellishments.
There’s a slightly wider border at the base of these photos that was a perfect spot to repeat some of the colors in the patterned paper with Liquid Pearls in Buttercup, Coral, Baby Blue, Sage, Mermaid, and Petal Pink.
Third, Die-cuts.
This page two pattern calls for an overlap of the mats in the corners of the center 4×4 mat. I’m not crazy about this particular style because I love having that 1/8” space around my photos. Now that we have the Corner Cut-out die, there’s an easy way to change that and make it with mats too! So, I have!
Page kits make completing a Mosaic Style layout quick and easy. I’ve showed you a few ideas for personalizing a page kit and being able to work it for your photos. Don’t be afraid to try something new. I think you will love your results!
Andrea Fisher