
One of the biggest holidays of the year bring many memories for us all, what is your favorite Easter Story? Is it from your childhood when you dressed up with fancy clothes and lots with ribbons for an early morning at church? Or racing around the yard to find hidden decorated hard-boiled eggs before your siblings got to them or is it the baskets full of chocolate bunnies? Maybe your memories are more recent and of children or grandchildren as you try to continue family traditions? Let’s try to get some of those memories into a layout, come and see how I tell our Easter Story.
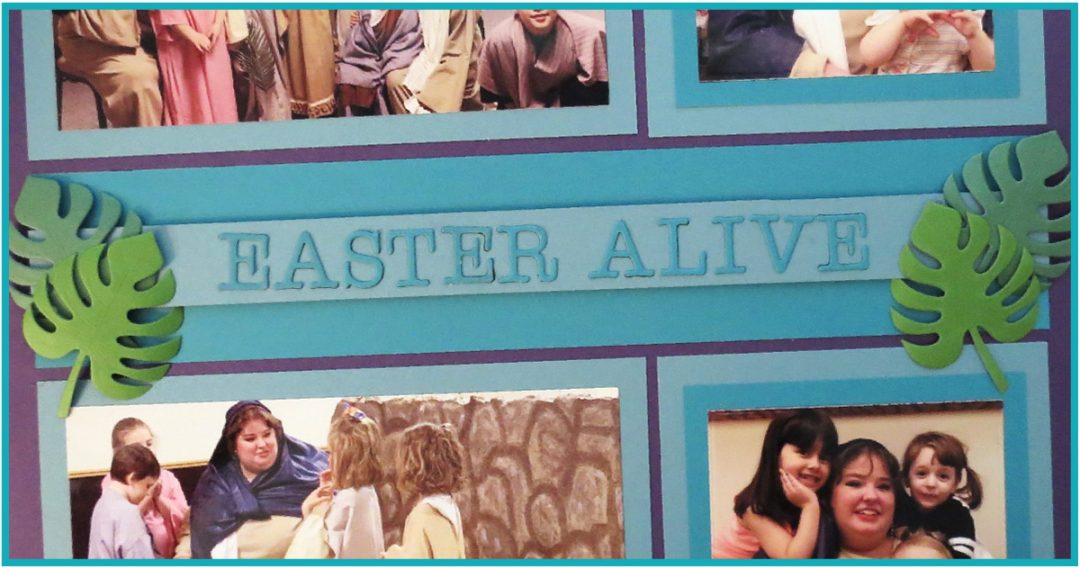
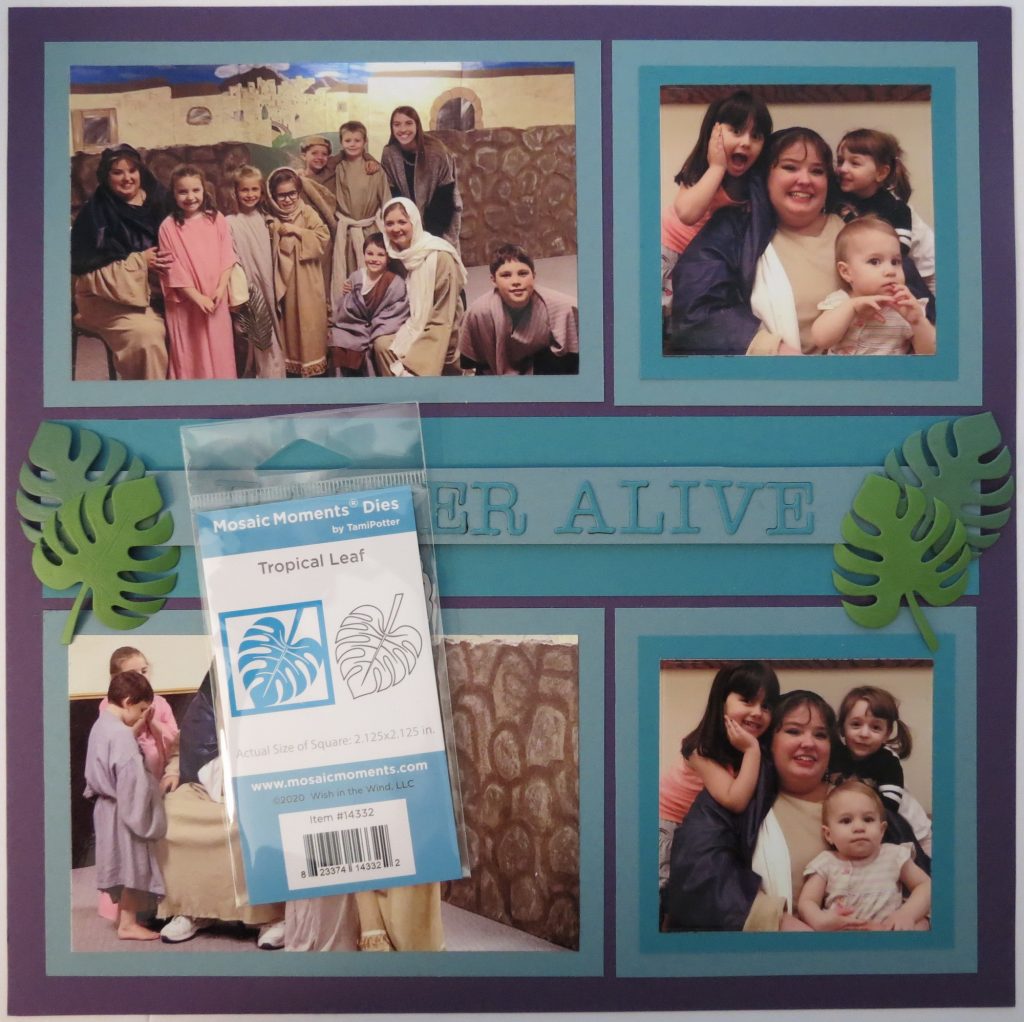
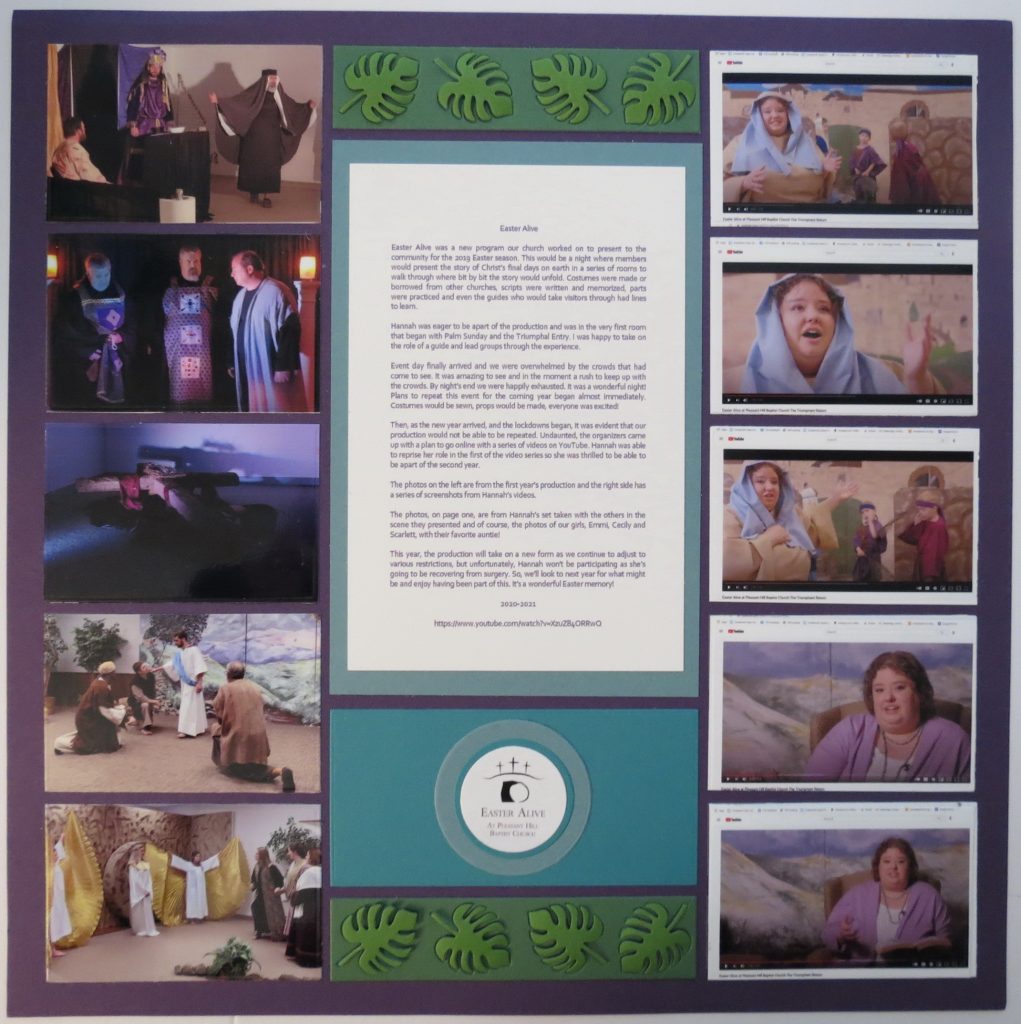
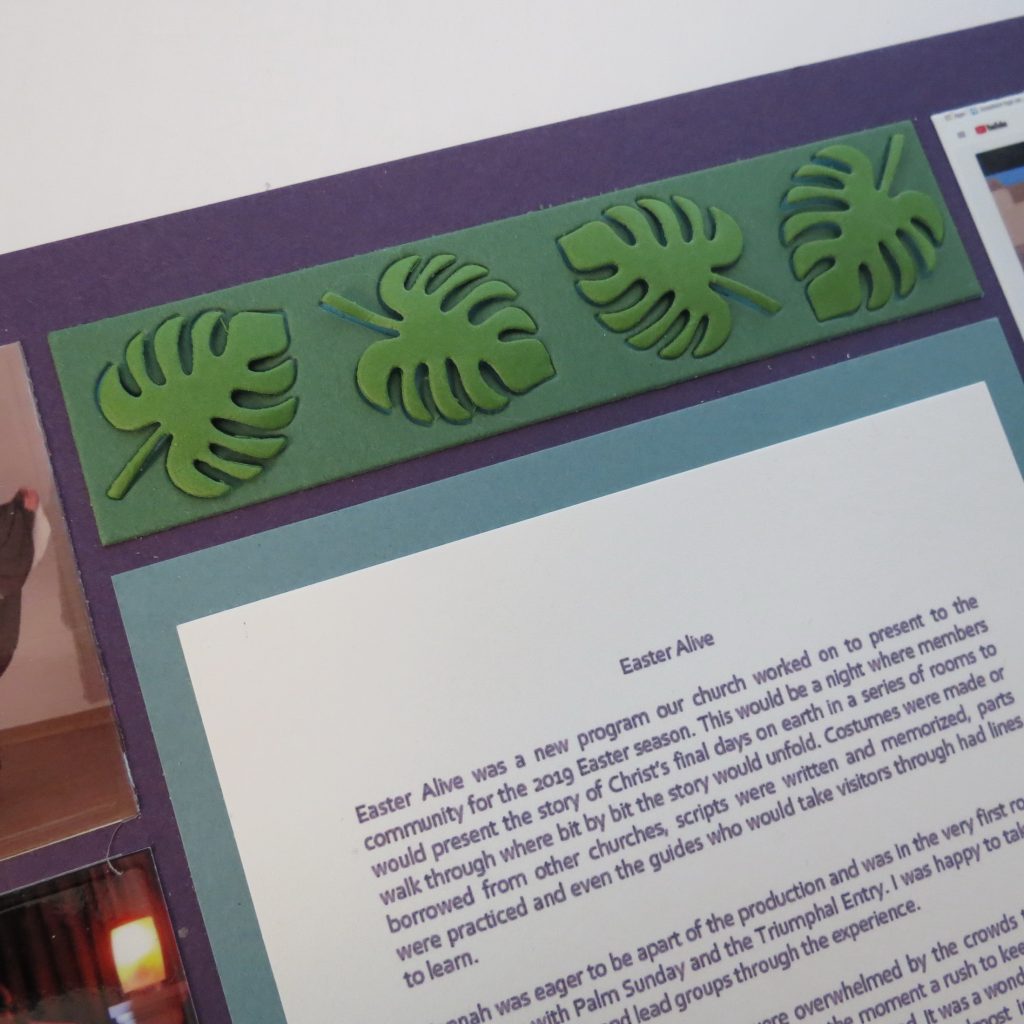
I begin with Royal Purple Mosaic Moments 12×12 Grid Paper and two shades of muted teal for mats and titles. I also used Alphabet 4 stacked with a layer of black letters for the title and the new Tropical Leaf Die and the Tropical Border Die they arrived just in time to use on this layout and a perfect addition! To cut the logo in the 2×4 tile I searched through the various circle dies for the right sizes to create a double mat. The Hole in One and the Circle-Center Border Die accomplished that easily. Don’t forget about those dies you have packed away and find ways to put them to use whenever you can.
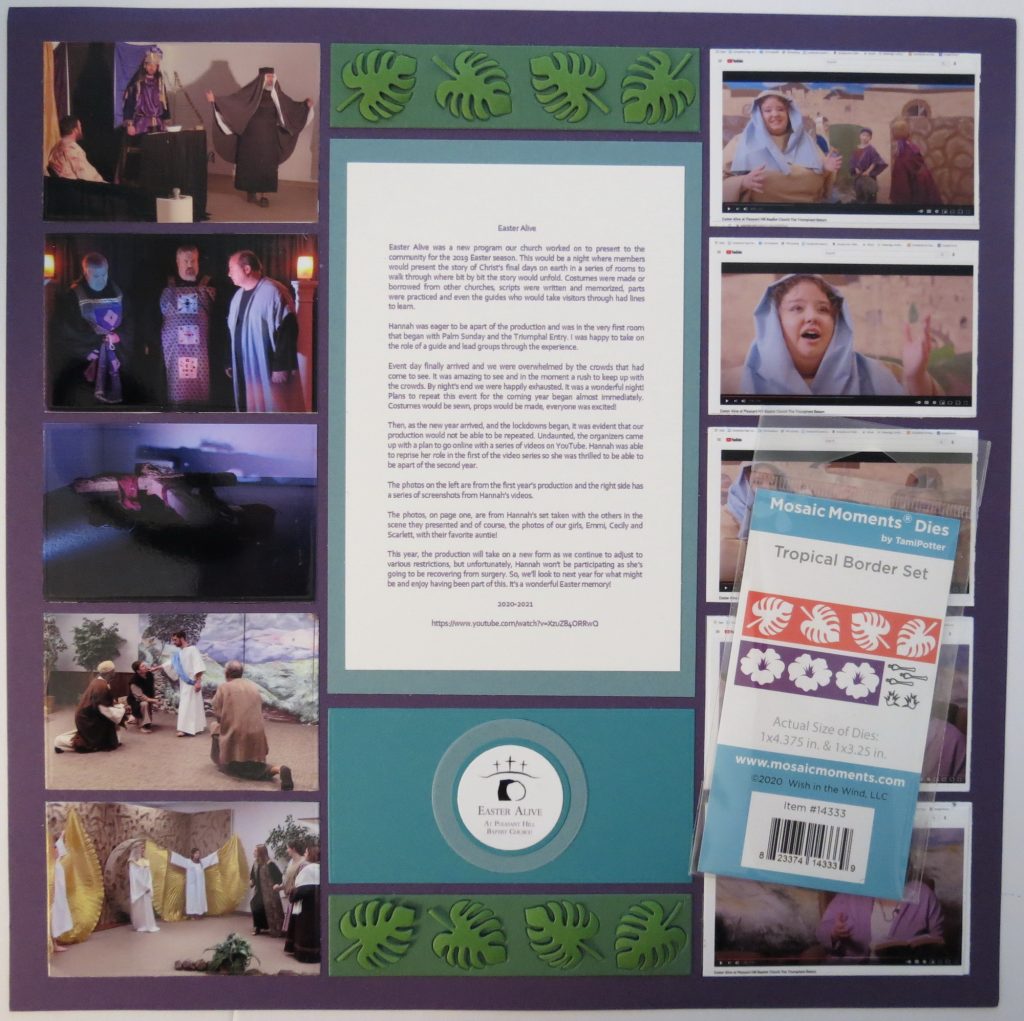
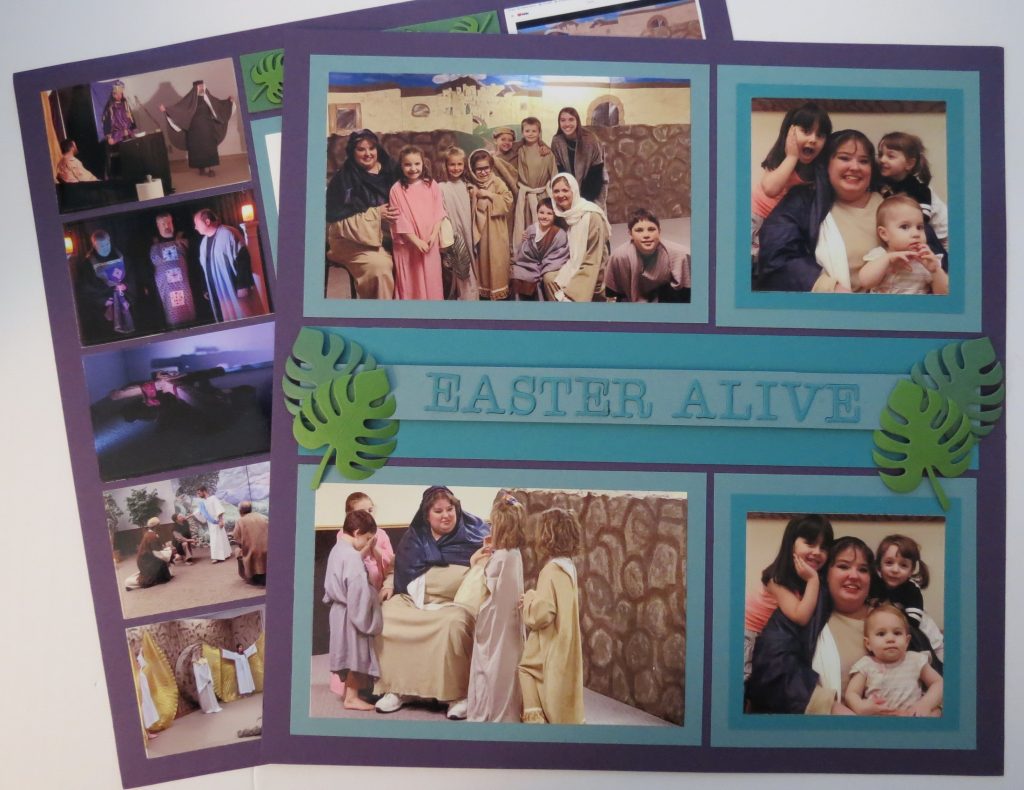
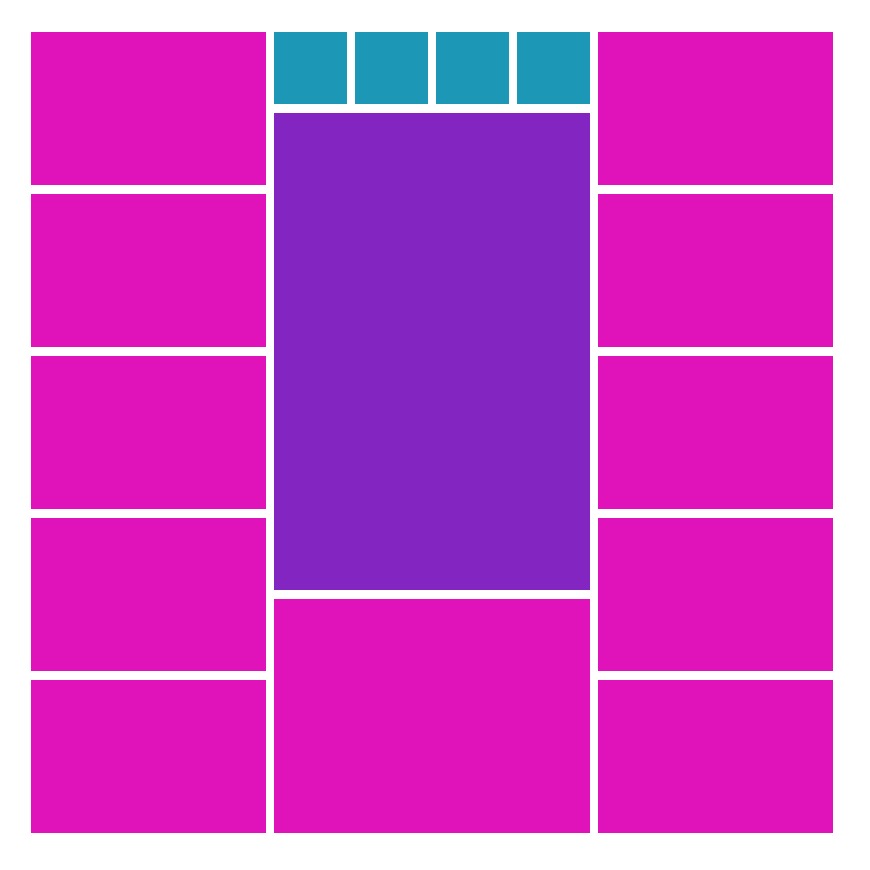
The patterns I began with are #364 & #377, both column patterns. For the first page, I altered it just a bit because I wanted to expand the 2×6 tile to extend across the page to accommodate the title. On page two I altered the bottom 3×4 tile to turn it into a 2×4 and a 1×4 row for the Tropical Border Die. Also, to turn the 4-1” squares at the top into a 1×4 strip for another Tropical Border section.

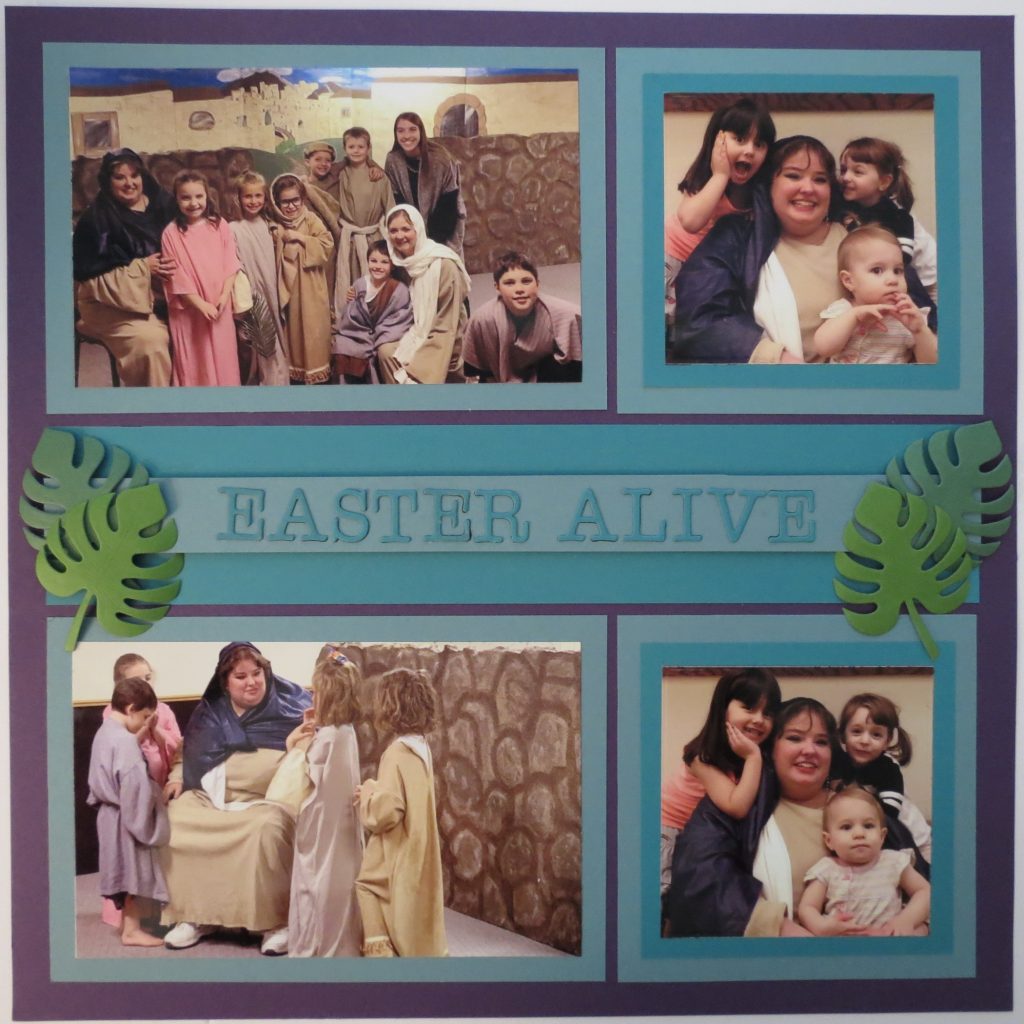
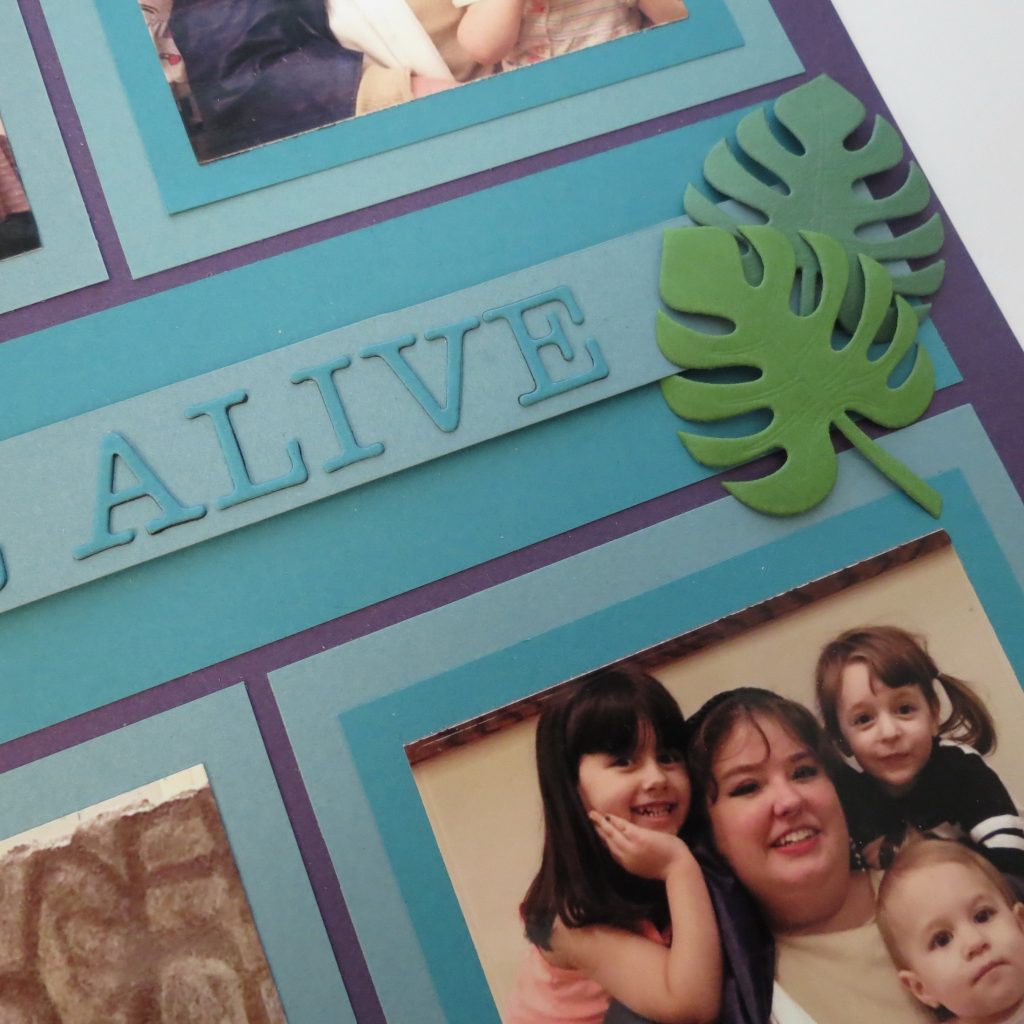
For my title block I popped the center strip up on foam mounting tape. Each of the letters are cut in the color and them backed with black letters for a shadow and a lift. When using the Tropical Leaf and Border Die pieces I used an embossing stylus on a foam mat and rotated on the backside of the die piece to shape the leaf. I’ve used a bit of foam mounting tape to position them across the raised title strip.
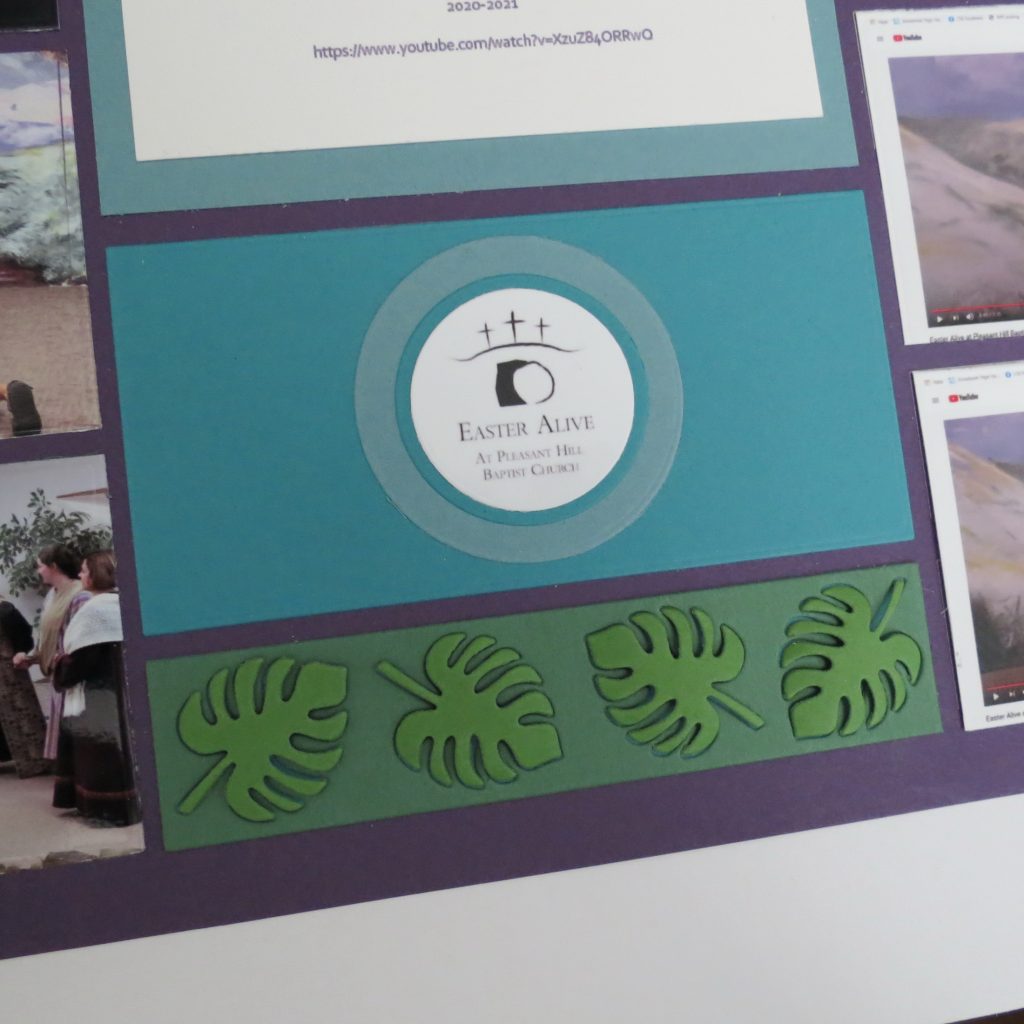
For the smaller 1×4 borders I backed the cut tile with some of the mat colors. I cut the tiles in two different greens and adhered the darker one to the teal backing and then dry embossed the small lighter colored leaves and with a small circle of foam tape replaced the leaves in their spots so they appear to float above the page.
The photos I’ve used include a series of screen shots from the video posted on YouTube. They may not be the clearest of photos but they are an important part of the story. Some photos were shared by others detailing the various rooms and my own of Hannah with the girls are included.
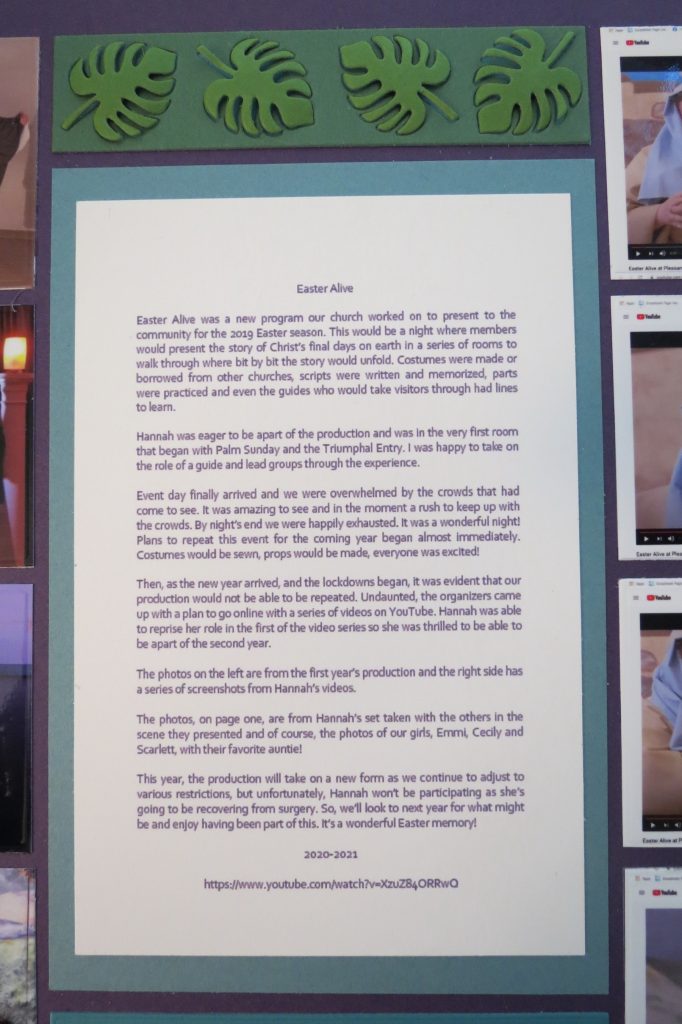
The next important piece of the page needs to be the story. I’ve reserved the larger 4×6 tile to tell my story. To fit with the layout, I used a purple ink color to match the grid. I also included the link to the video in the journaling. It may not be around in years to come, but for the meantime, it helps to document more of the story.
So, it’s time for you to get started! Pull your photos together, write out your story, pick a pattern and find what dies might help you to tell your Easter Story. Play around with a few ideas until you get a page you really love!
Have a Happy Easter…Celebrate!
Andrea Fisher