
Yes, it’s Spring and I’m sure you are like me and have been eager for it to arrive. On the calendar spring arrives March 20th, my youngest’s birthday. The day he was born it was 76* and wonderfully sunny. When I left the hospital a few days later, it was dreary, bitter cold and snowing. Welcome to Ohio. We are lucky if spring actually arrives by Memorial Day in May.
However, in my garden the blooms often have their own timetable. With a few days of early, fleeting warmth, the tulips and the grape hyacinths will be peeking through the snow drifts and the rhododendron will start blooming again.
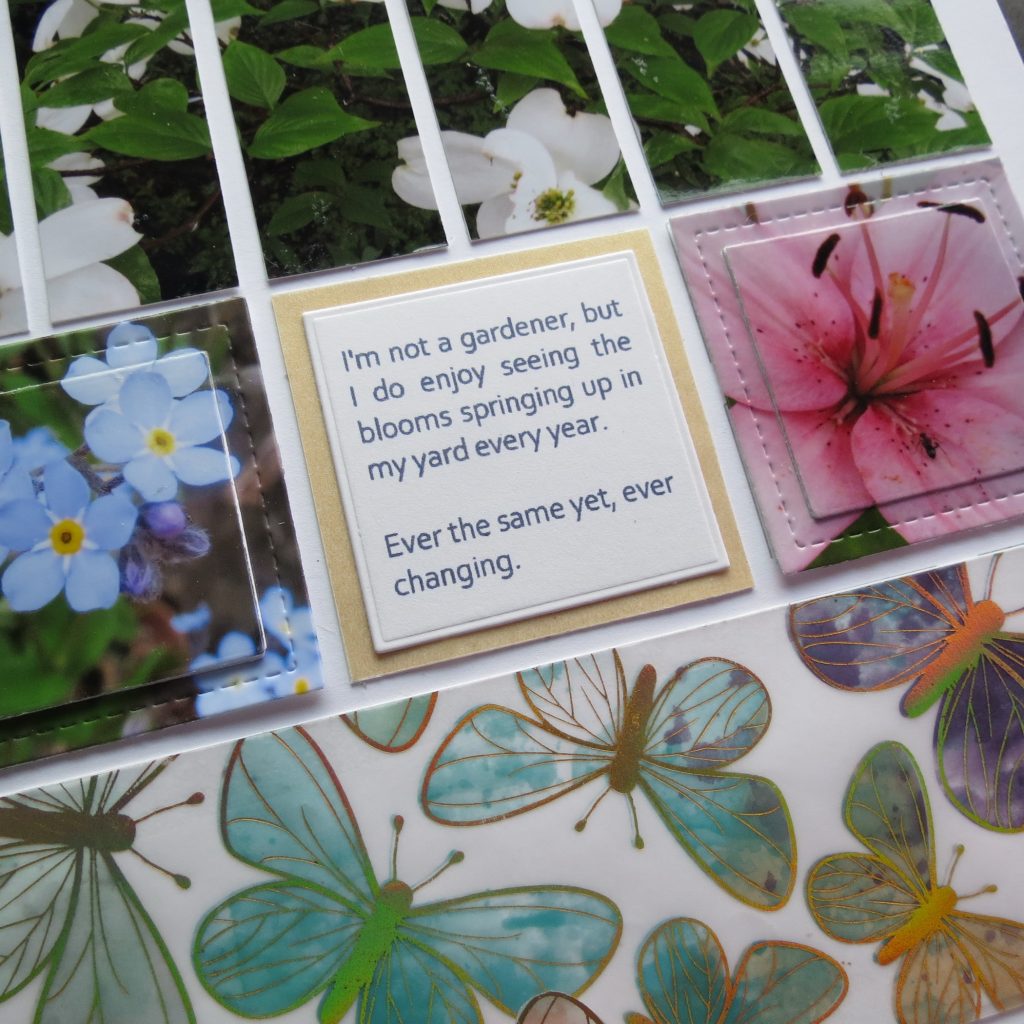
I’m not a gardener, but I do love the blooms on my plants and you will find me out taking photos every year. Same flowers, as always, but always in search of a great close-up and details for the perfect photo.
SUPPLIES
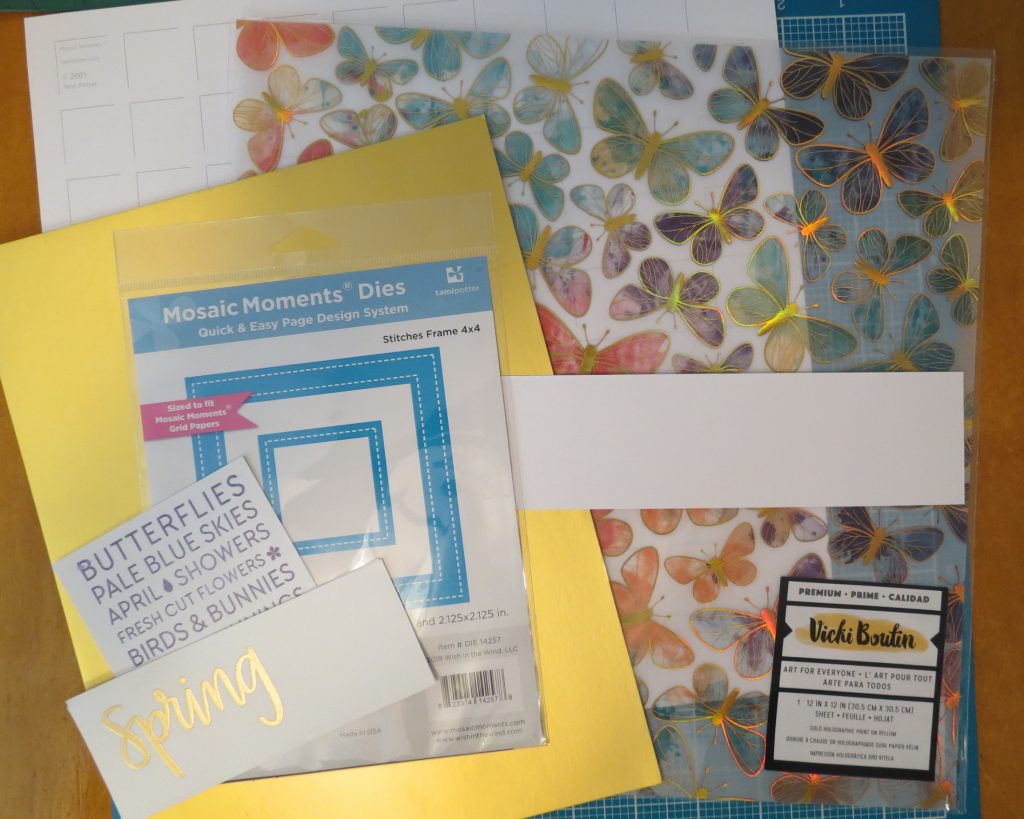
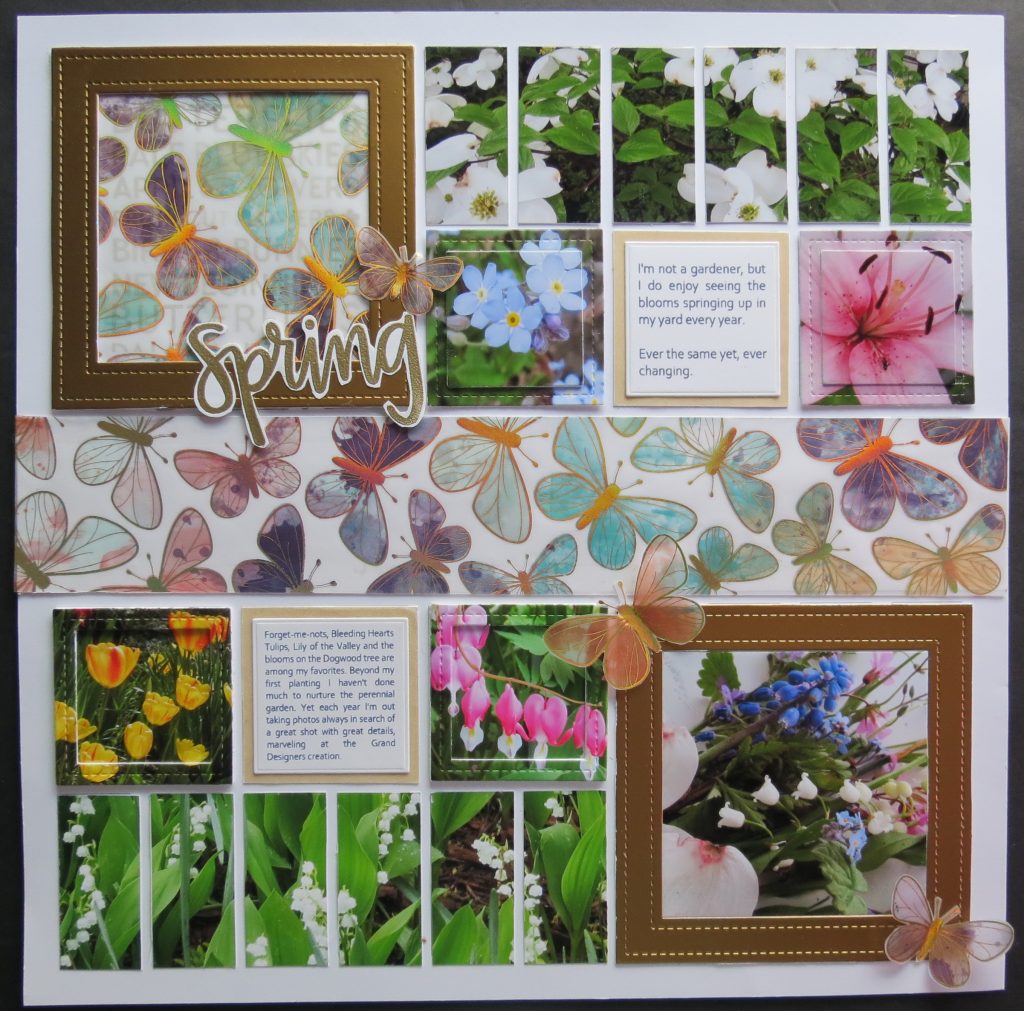
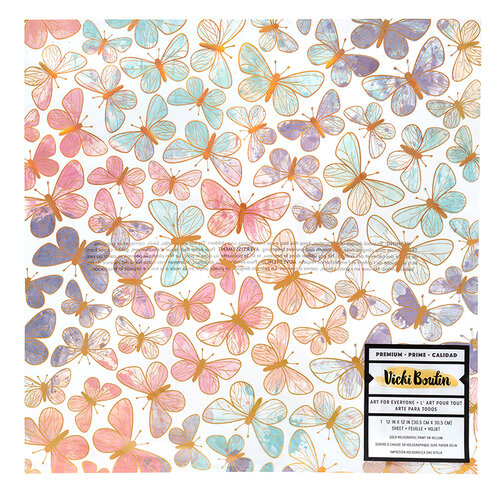
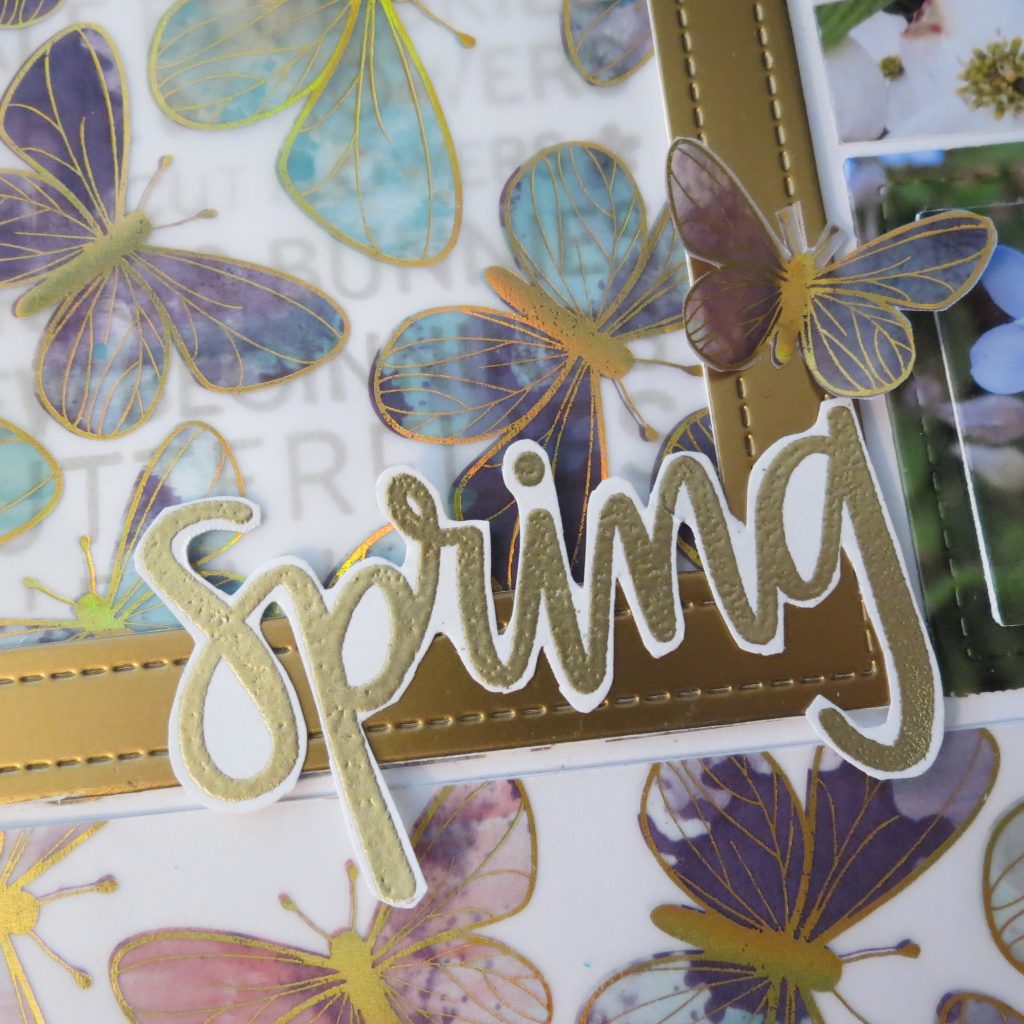
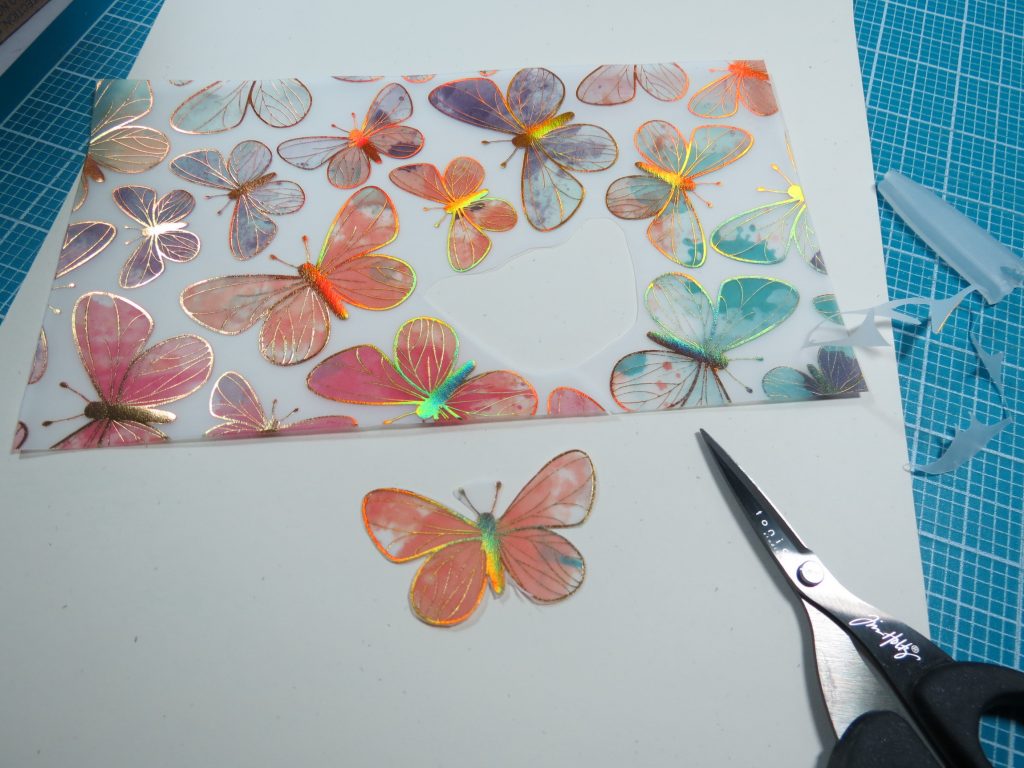
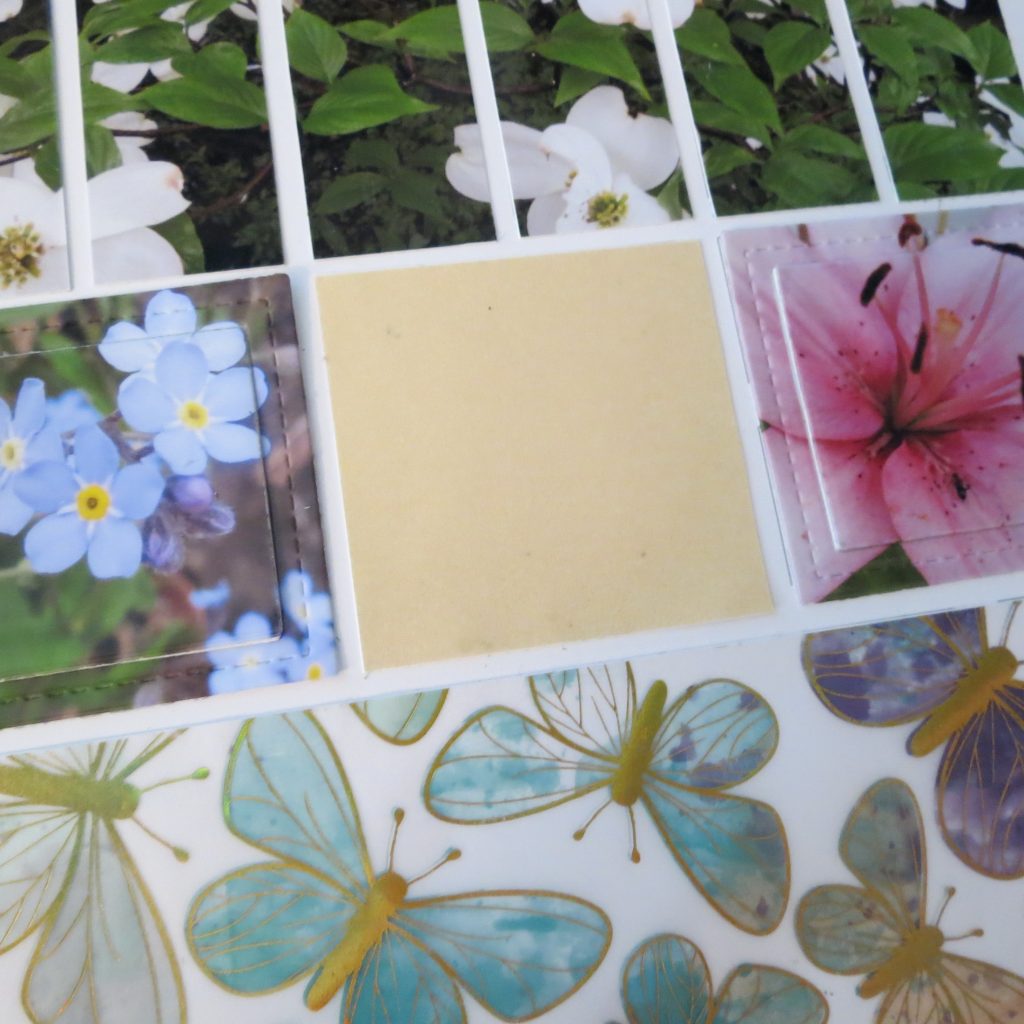
For this layout I had a perfect paper to create a spring layout. It is a vellum print of Butterflies by Canadian artist, Vicki Boutin.
I also had a gold shimmer vellum that I used for the journaling spots on my page.
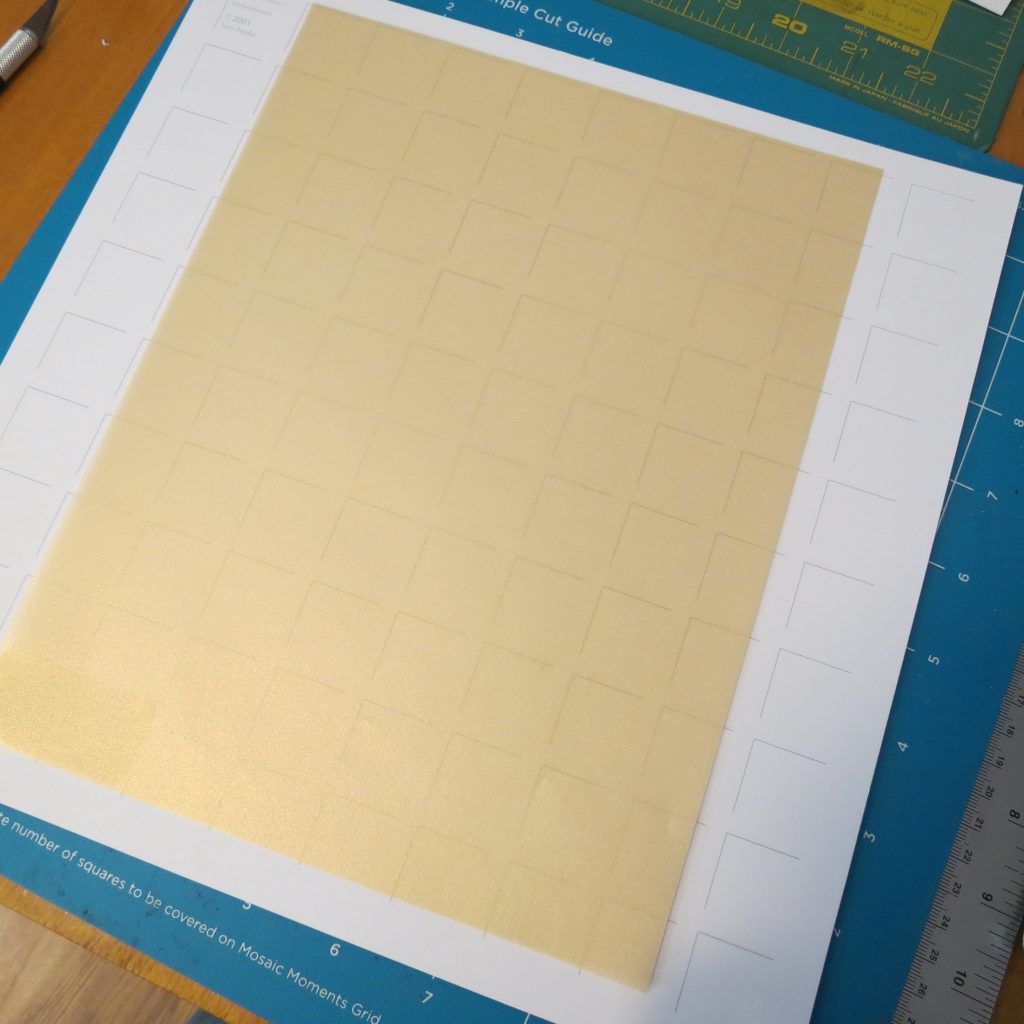
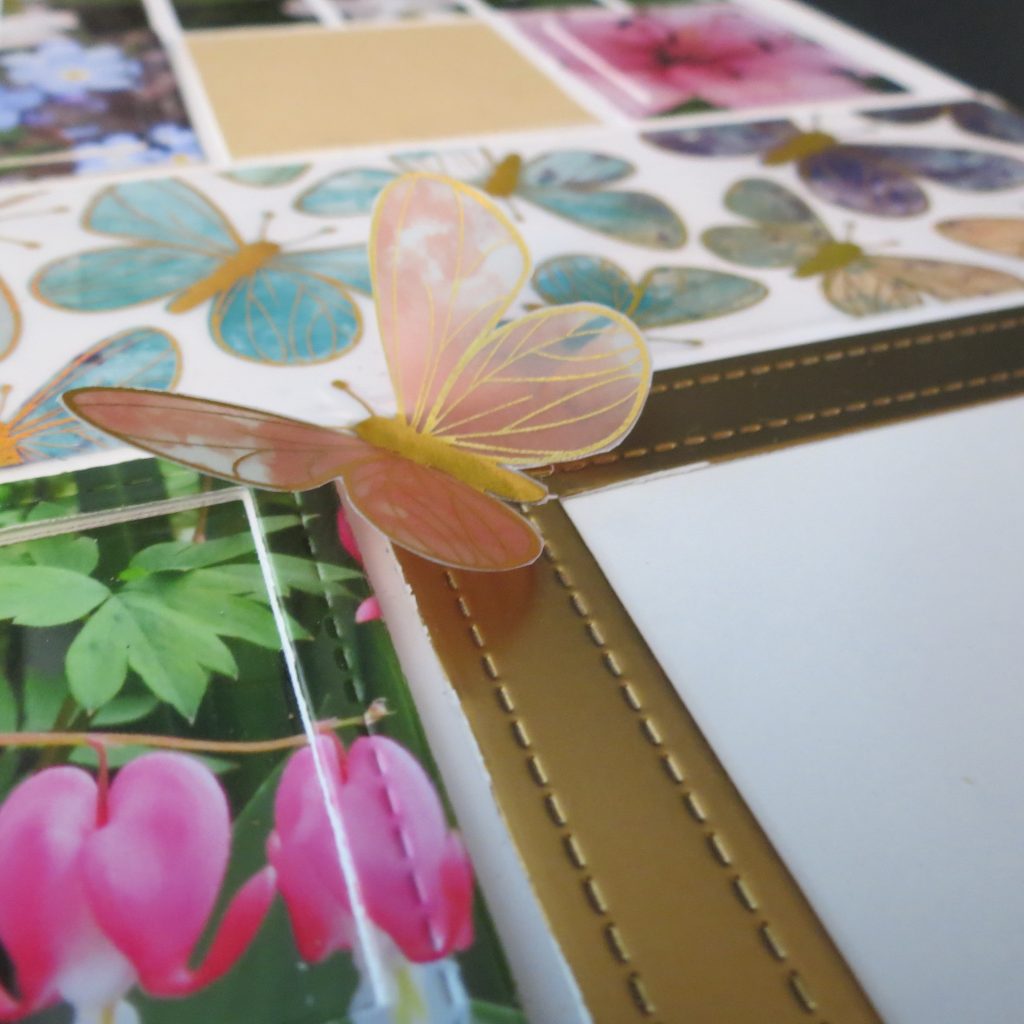
Gold metallic cardstock is used for the two large frames created with the Mosaic Moments Stitches Frame 4×4 Die. The smaller 2×2 stitches frame die was used to create two different frame looks.
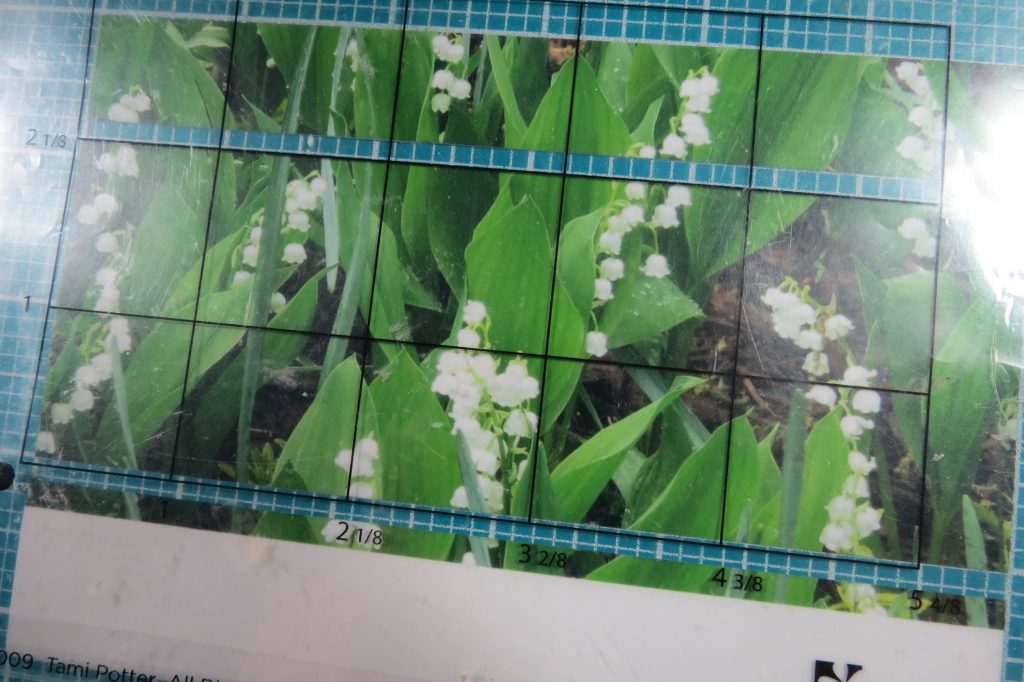
I also included 2 separate strip sections using the 1x 2.125” Strip Die, a garden photo is perfect for using this die, and the Quick Glance Guide made choosing the section of the photos to strip cut quick and easy.
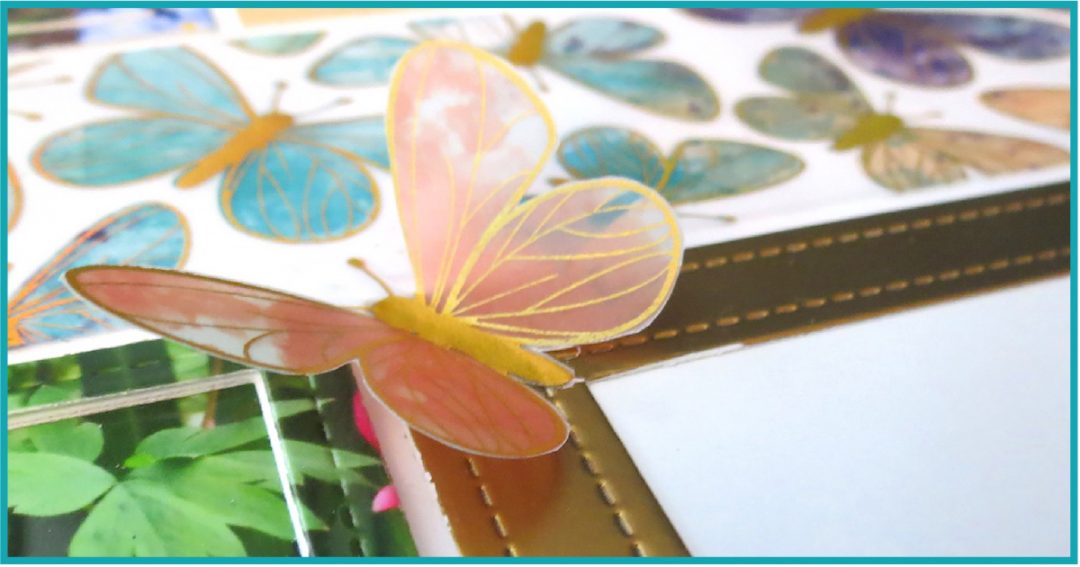
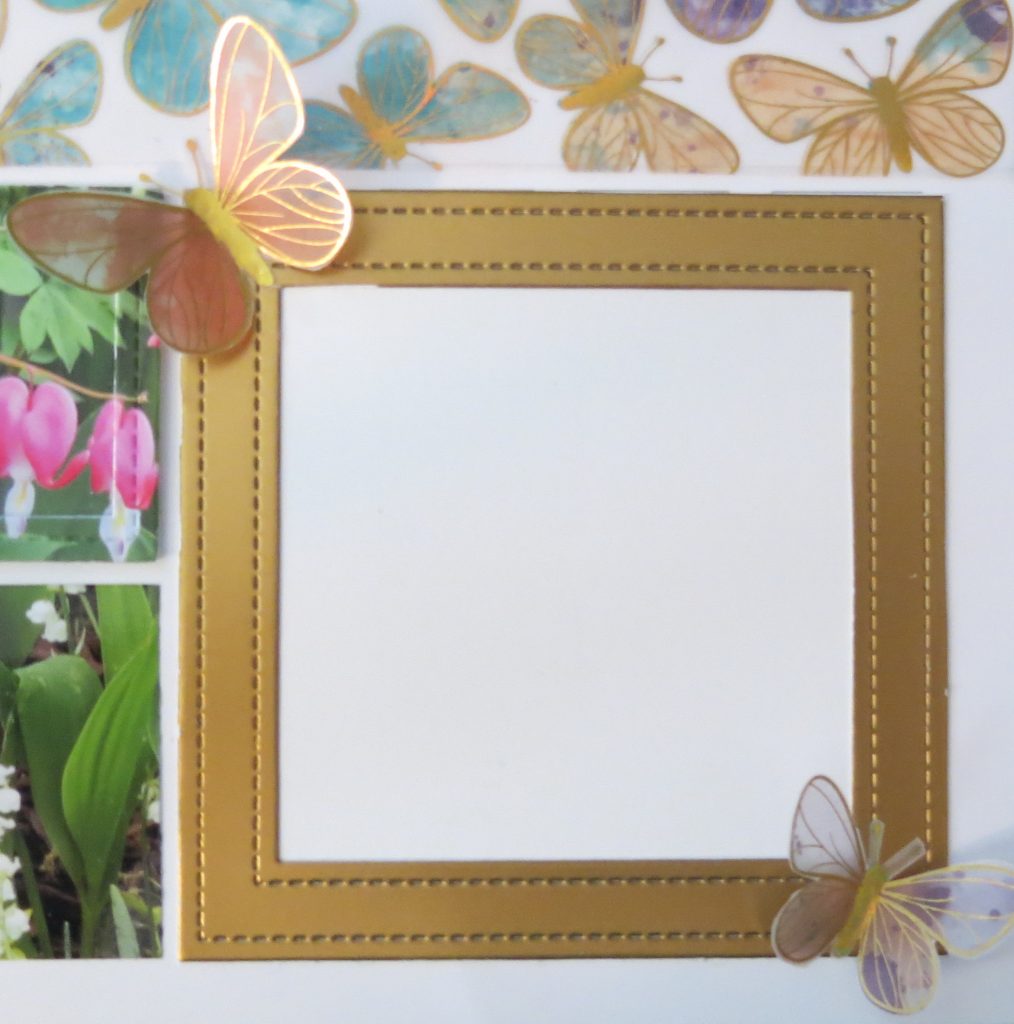
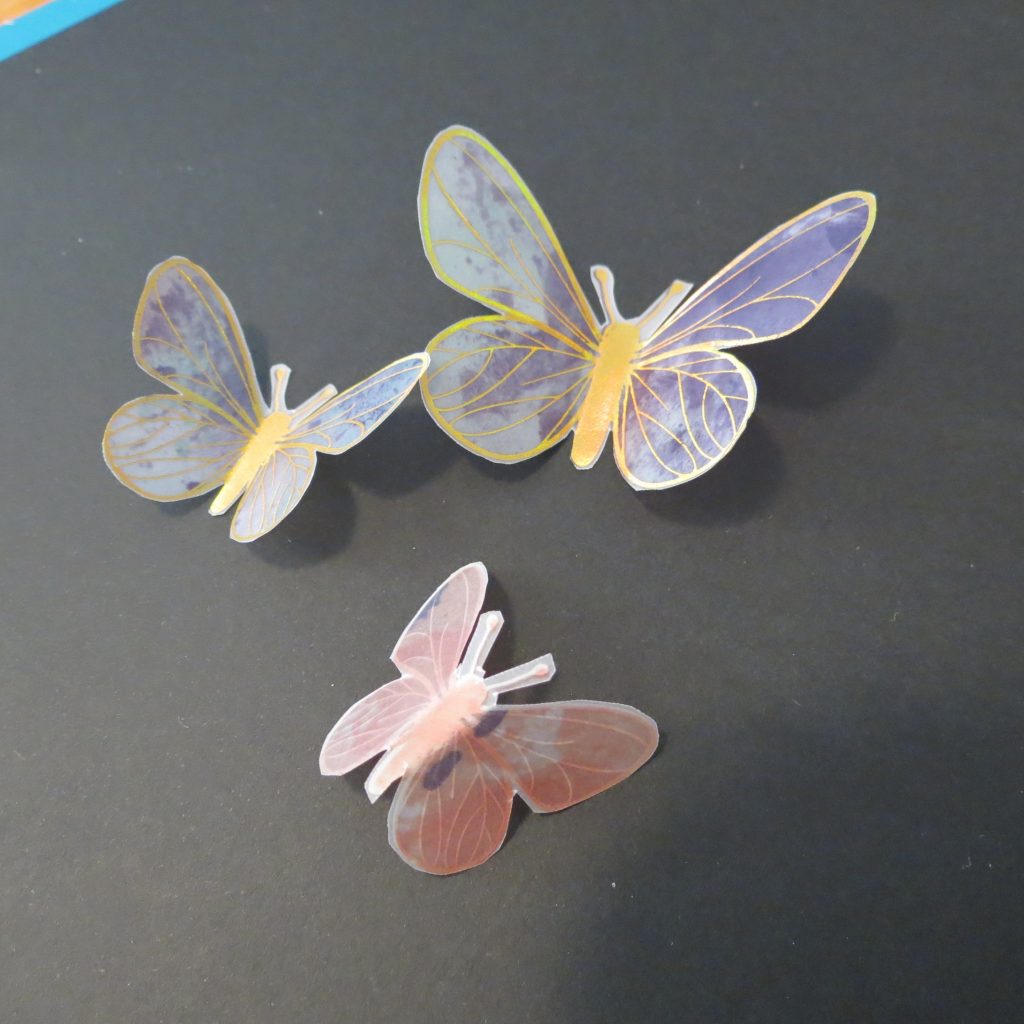
I’ve also included fussy cutting the butterfly paper to apply butterflies on the frames. I chose three in differing sizes and gently bent the wings upward, applied liquid glue on the butterfly body and then placed them on the frames and held them until the glue dried up a bit.
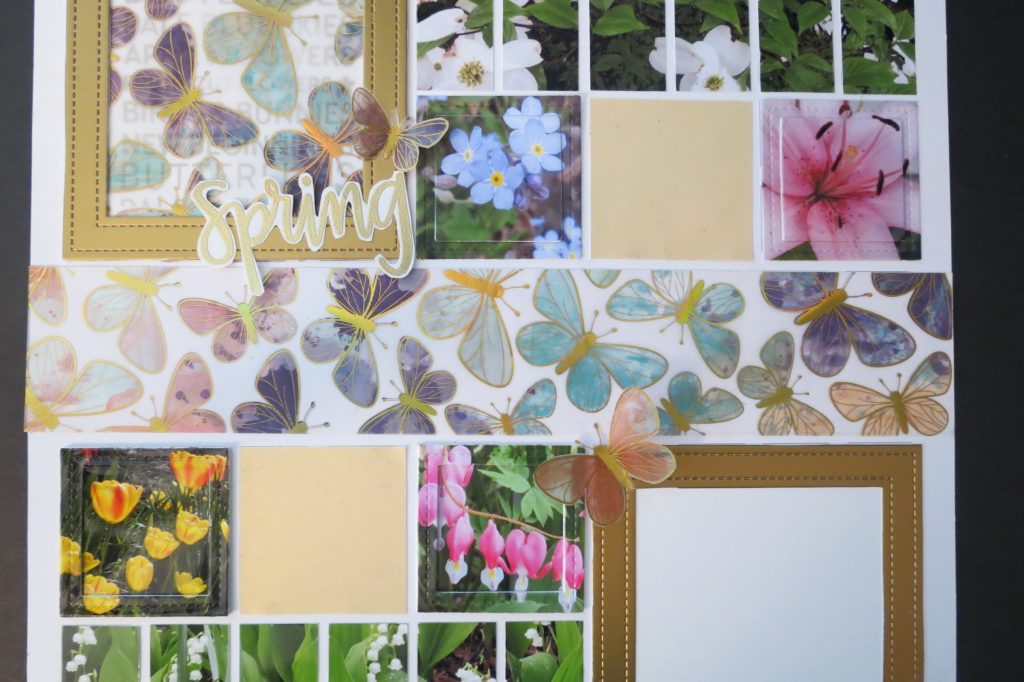
One of the large Stitches Frame 4×4 was used as a no-photo piece where I stamped the word Spring from Neat & Tangled Hello Spring in gold and embossed it and then fussy cut it and mounted it on the frame. I also stamped the word block in purple and then laid below a piece of the butterfly vellum.
PUTTING IT TOGETHER with a few new techniques
Vellum Strip
I began with the Butterfly Vellum and cut a strip 2.125”x 12”. I mounted this on a white cardstock trimmed to the same size. This creates a background that will block the grid lines below. I place it on the grid and it fits from edge to edge aligned along the top grid lines.

The Gold Frames
Next, I’ve cut two gold frames and then two additional frames in white for the top gold frame. I placed one white frame on the grid and inserted the stamped image of spring words inside and adhered to the grid. I layered the vellum that is trimmed to the size needed to fit the grid, so it will cover the frame entirely and then added the second white grid on top. The final layer is the gold frame. Adding the “spring” title and butterflies will finish this frame’s embellishments.
The second gold frame is adhered to the grid and the photo is inserted and butterflies added at opposite corners.
The 2×2 Frames
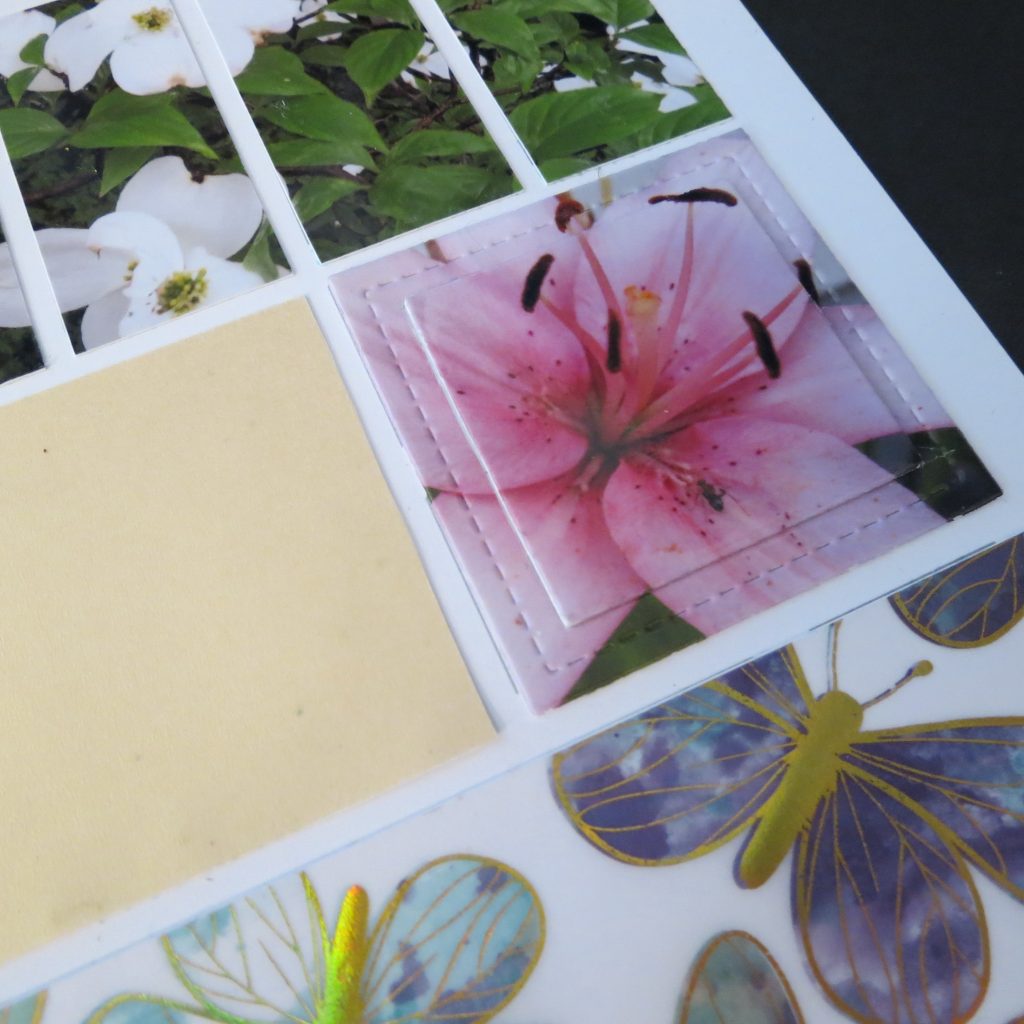
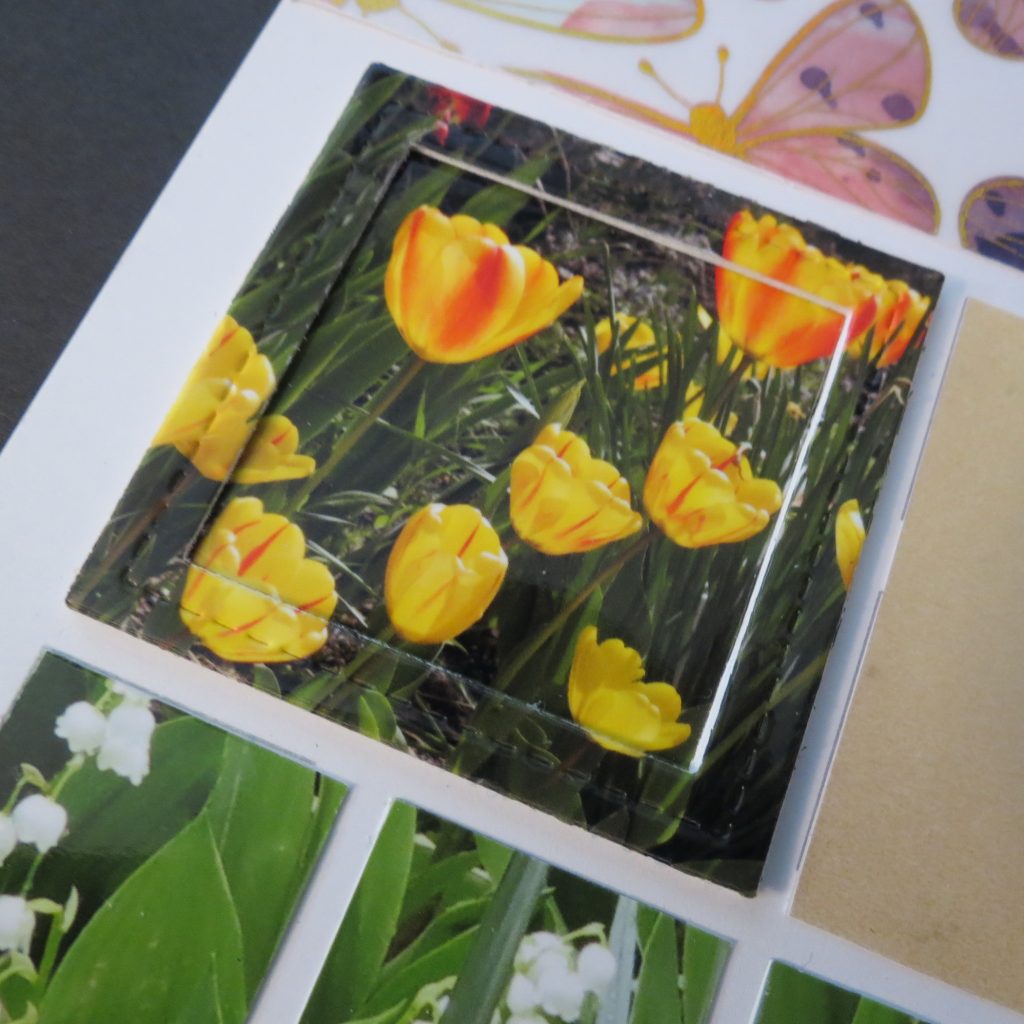
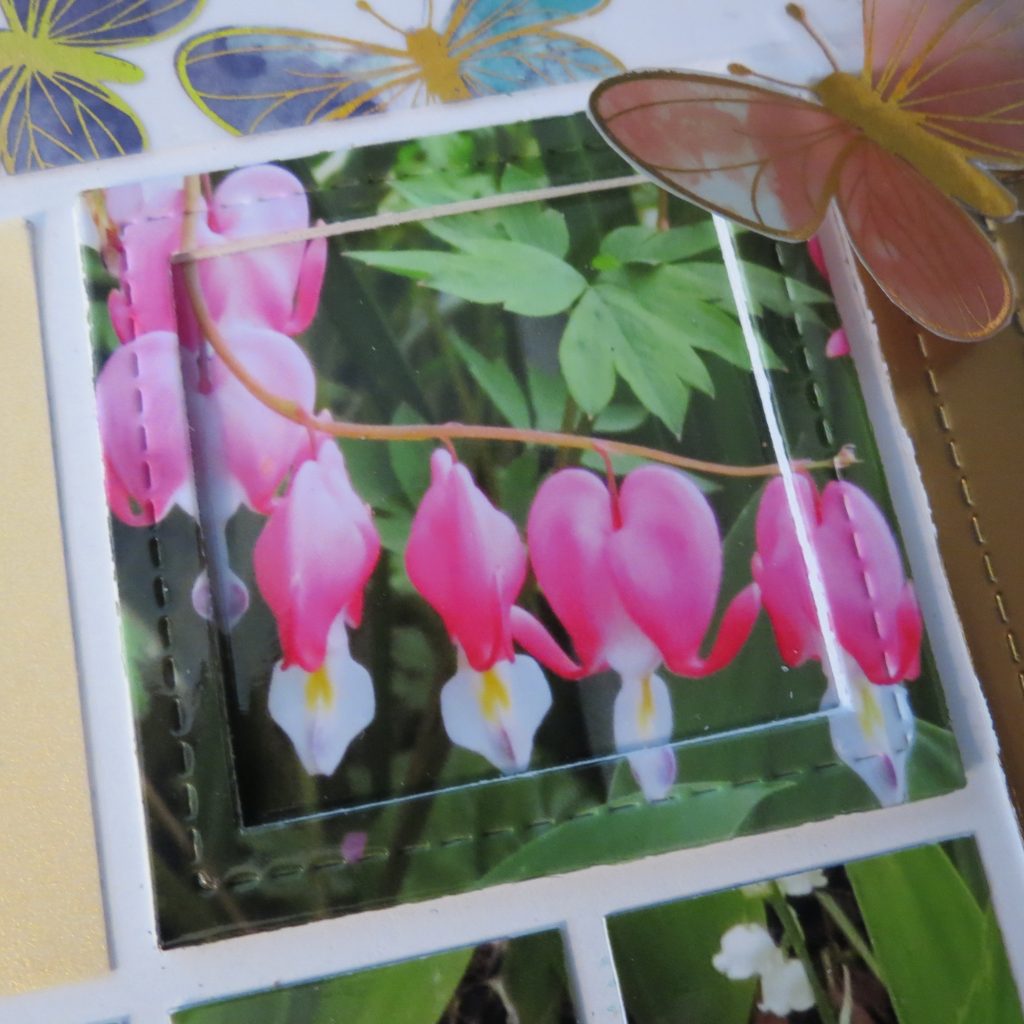
For the four 2.125” photos I cut four white 2.125” squares (2.125” square die from Basic Die Set A). For this technique I’m cutting the photos with the smaller square die from the Stitched Frame 4×4 Die set so that the photo is a part of the frame. I will also cut all of the 2×2’s into frames as well. I will separate the insides from the outsides.
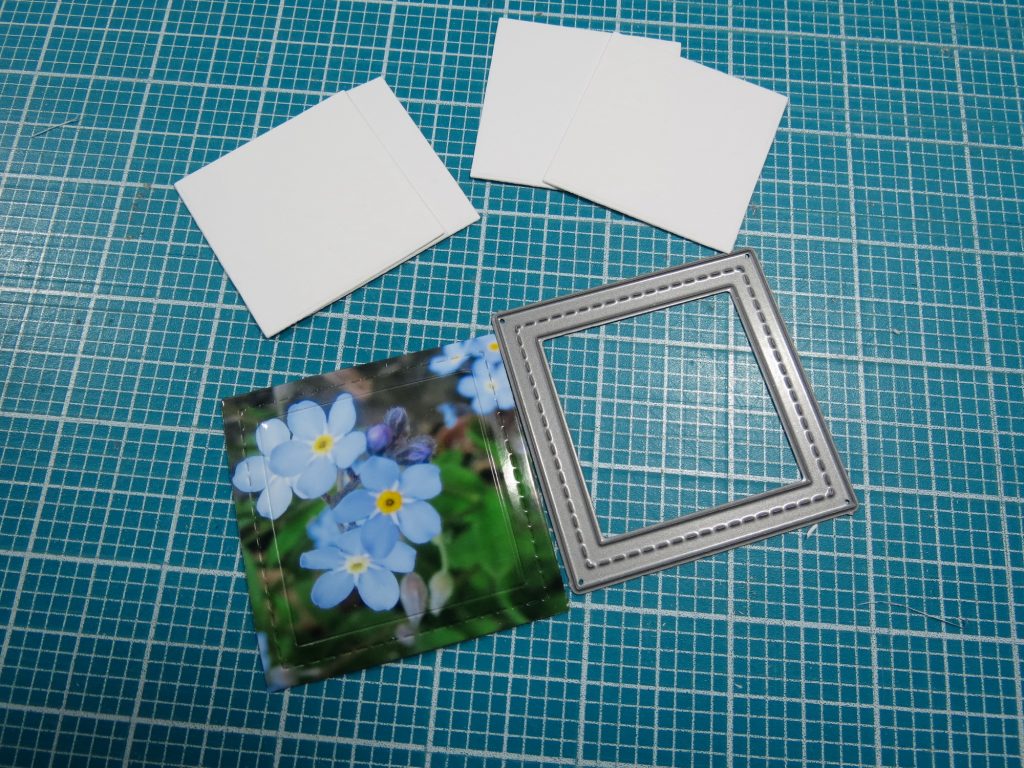
Two insides will pop up two of the square centers, top with the photo portion and place the photo frame section to the grid and place the pop upped center inside the frame.
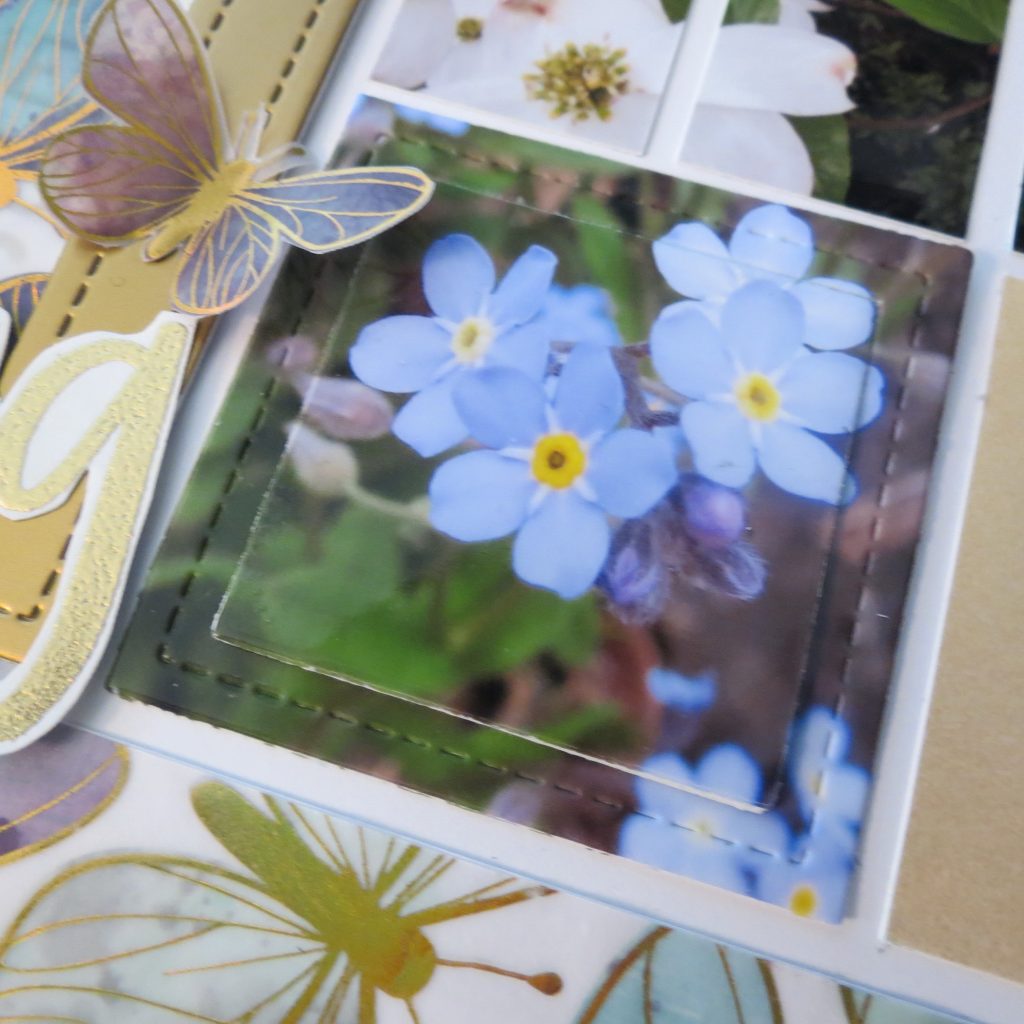
Then take the frame sections add the white frame sections to stack the frames, attach to the grid, then insert the square photo into the center of the popped-up frames.
Fussy-cutting
This beautiful vellum just had to have a few of the butterflies fussy cut and added as embellishments. I chose three sizes from the second strip and this leaves a significant portion of vellum for another time. For a little lift to the wings, I gently bent them up on each side of the body where a little bit of liquid glue helps to attach it to the frame. I’ve placed the smallest above the Spring title and the remaining two on the bottom gold frame.
Journaling Blocks
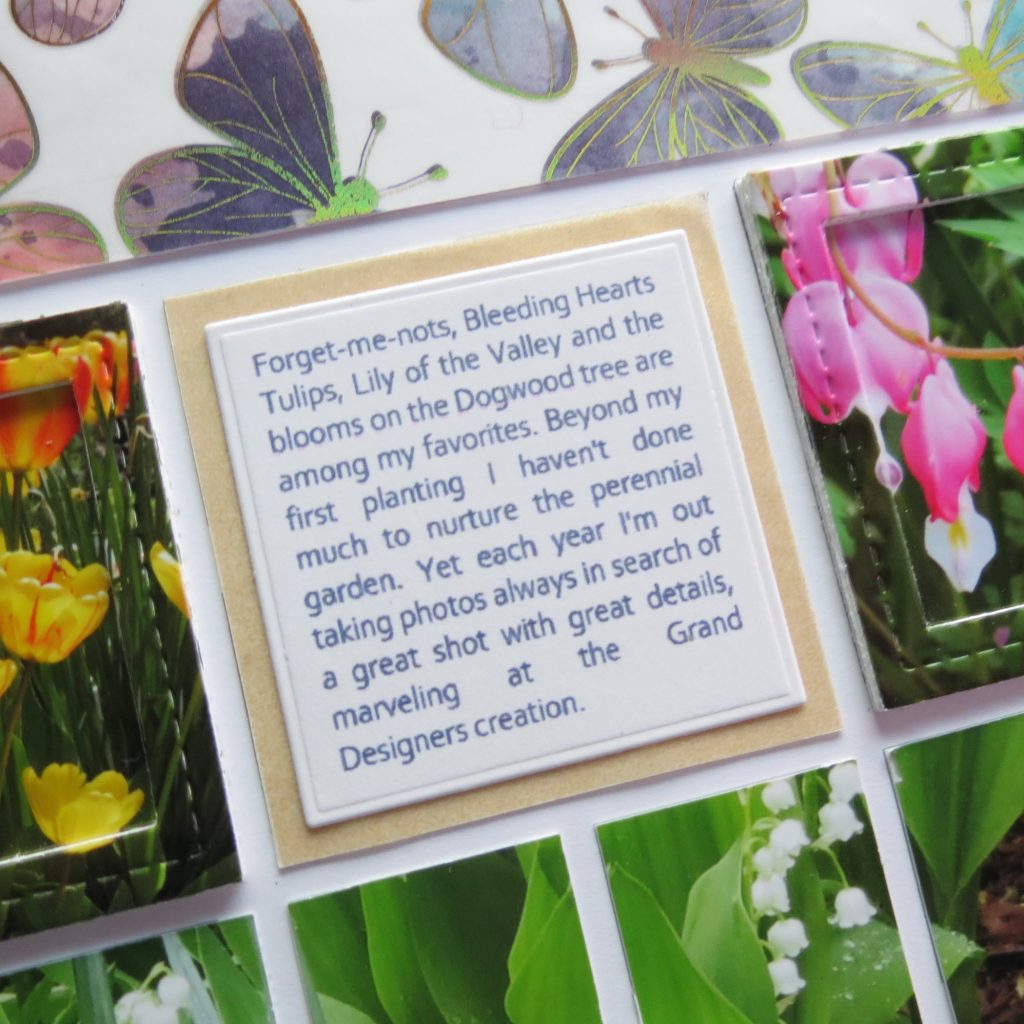
I cut two shimmer gold vellum squares and the under layer of white 2.125” square. I formatted my journaling and printed and cut using the Set A dies. I know a lot of people don’t like the embossed edge and see it as something to get rid of, but I think this is an elegant touch to finish off a plain white tile.
Do you take lots of photos each spring of the flowers growing in your garden? Why not put them in a layout and date it and watch to see how your garden grows from year to year. It’s time to put a bit of spring colors into our pages and lives with the hope of a new spring blooming!
Andrea Fisher