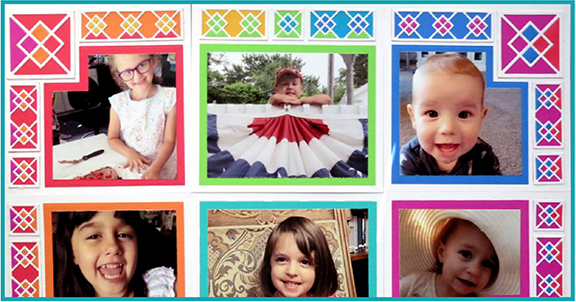
There are two projects this week created with the Highlands Die Set and both will use our small grid papers. I’ve created one large 12” x 18” piece with six 6”x 6” grids in white and a second, single layout on white 8”x 8” grid paper.
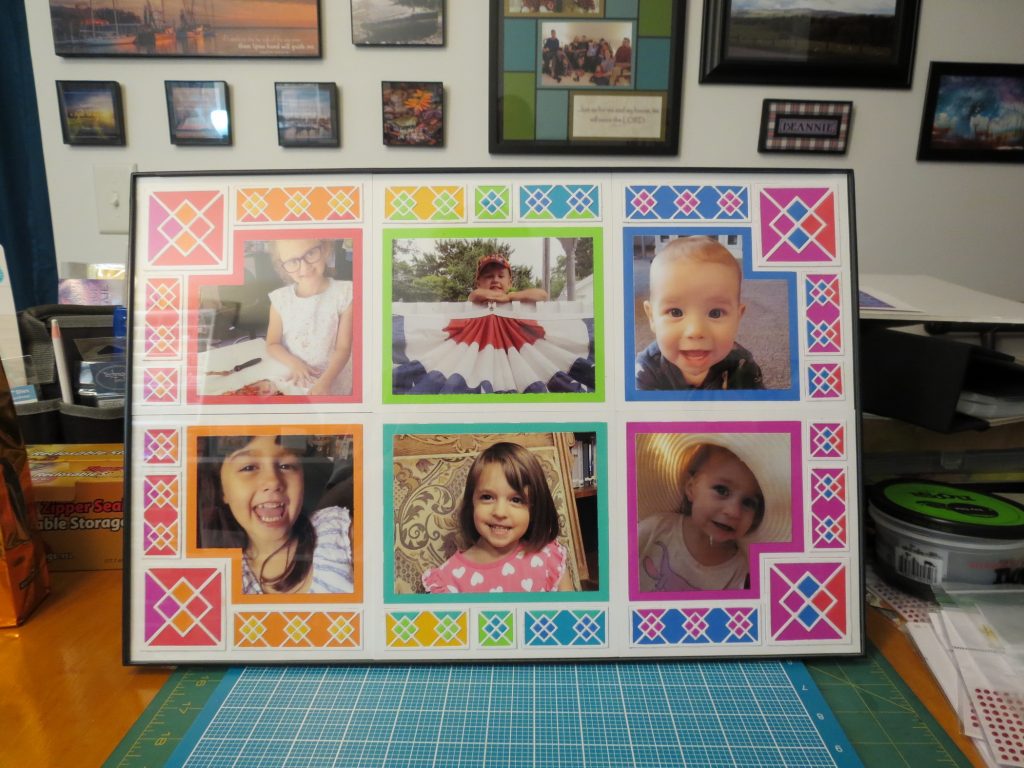
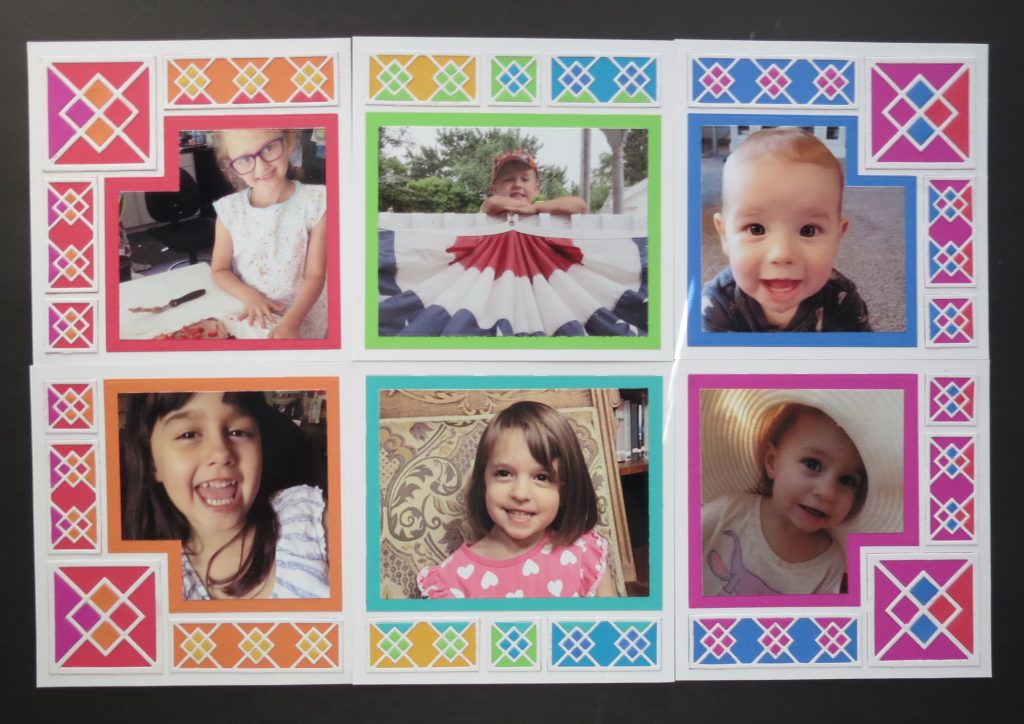
For the first, I’ve used six photos of my grandkids with a grid for each. My planned layout is to be three on the top and three below, perfect for keeping each family together oldest to youngest.
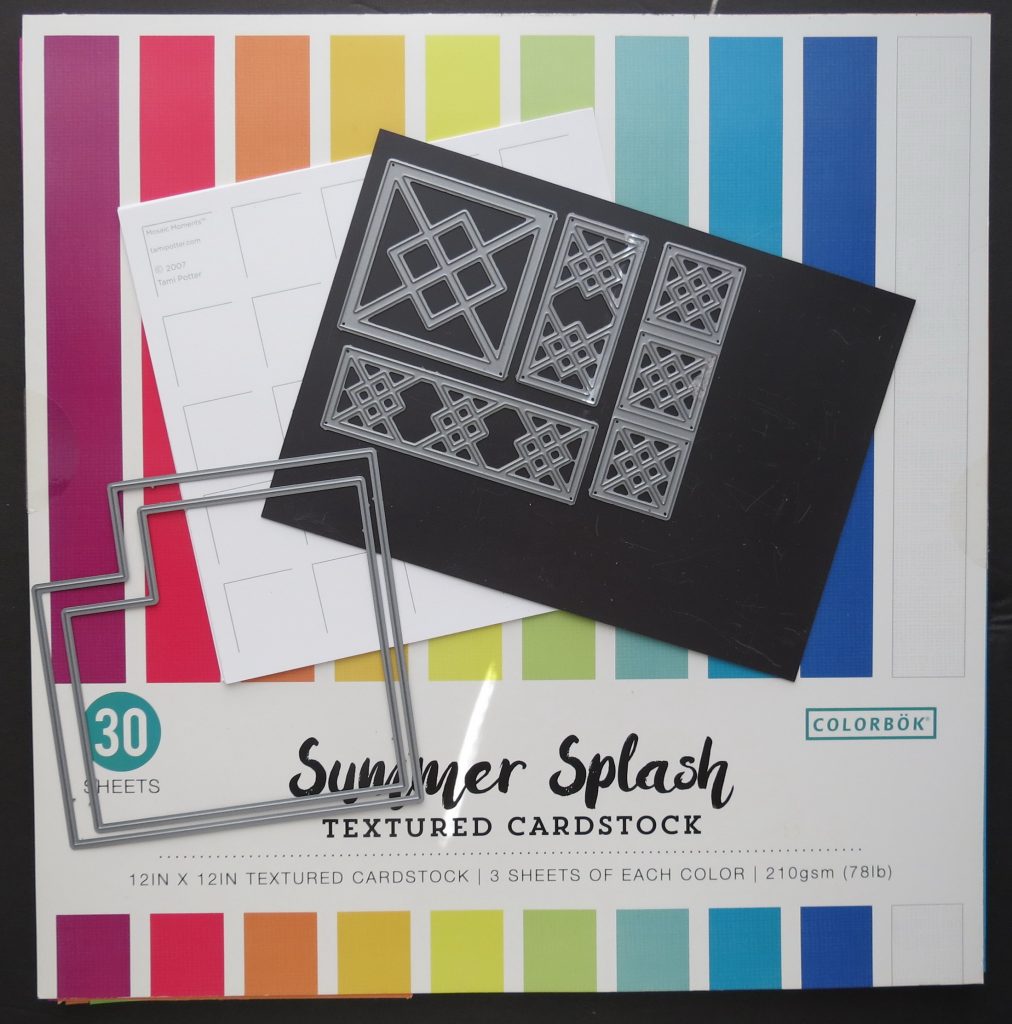
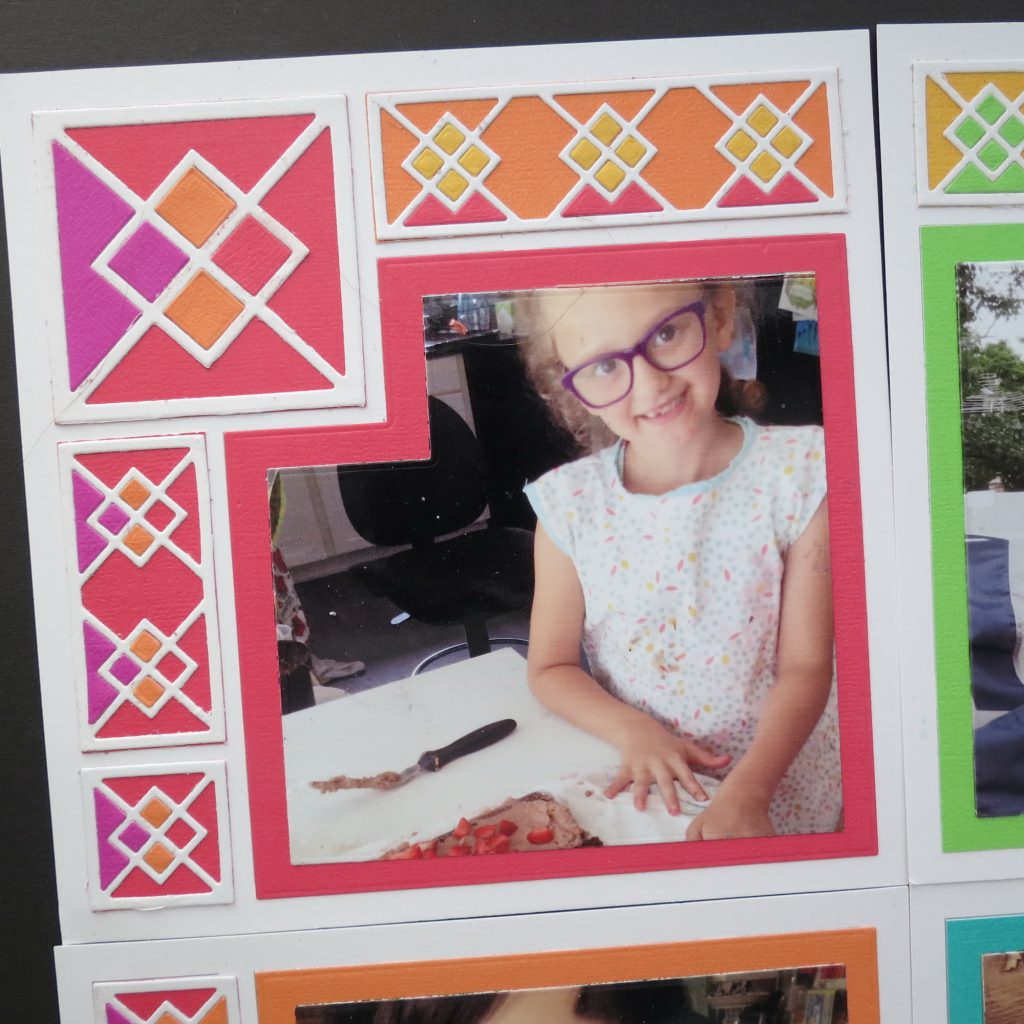
I’ll be using all the dies in the set, the 2×2, 1×1, 1×2 and 1×3. Additionally, I’ve chosen to use the corner cutout die and its layered die for the photos in the four corner grids.
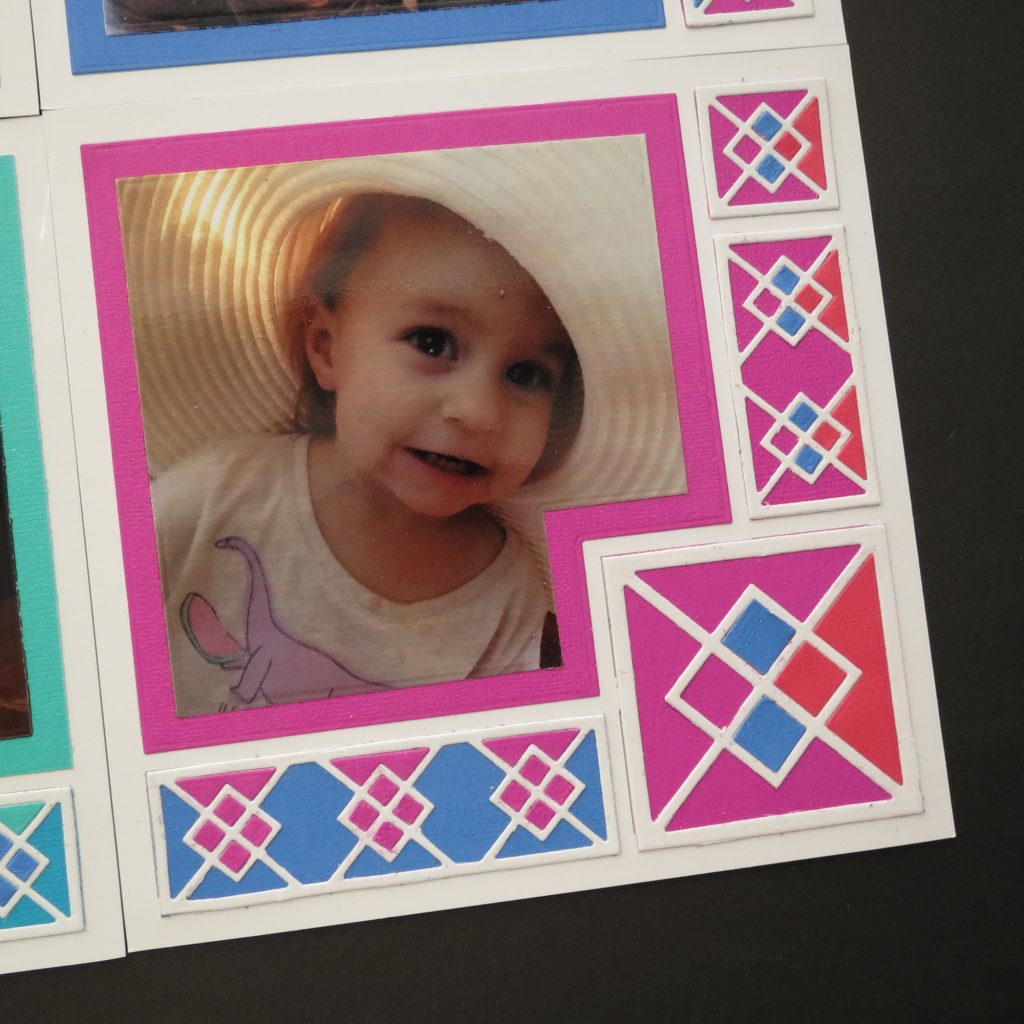
The grids are all white and I thought a rainbow of bright colors from the Summer Splash by Colorbok would really pop! All the colors are incorporated from left to right in a pattern that blends the next color to the last. Each of the mats for each photo blends into the border pieces, too. Each photo mat matches the color closest to it and carries to the border sections above or below.
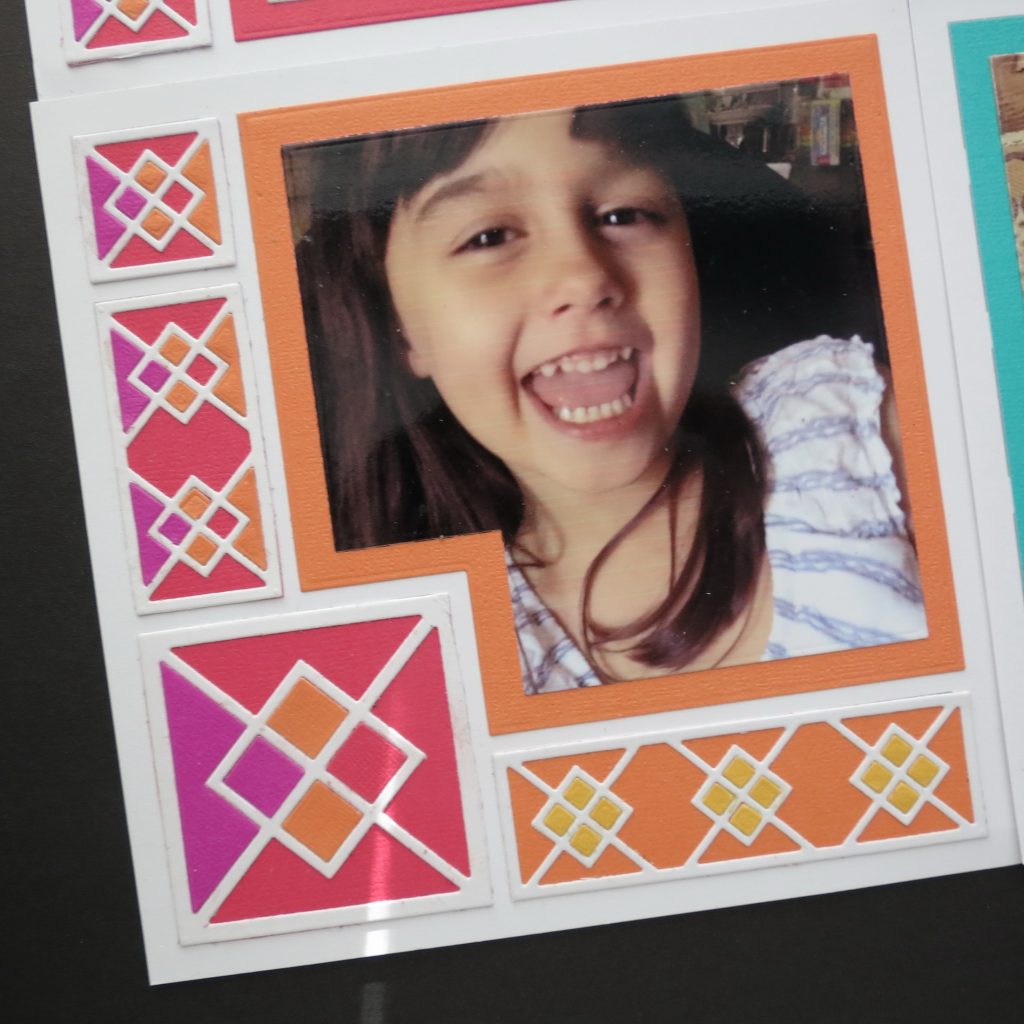
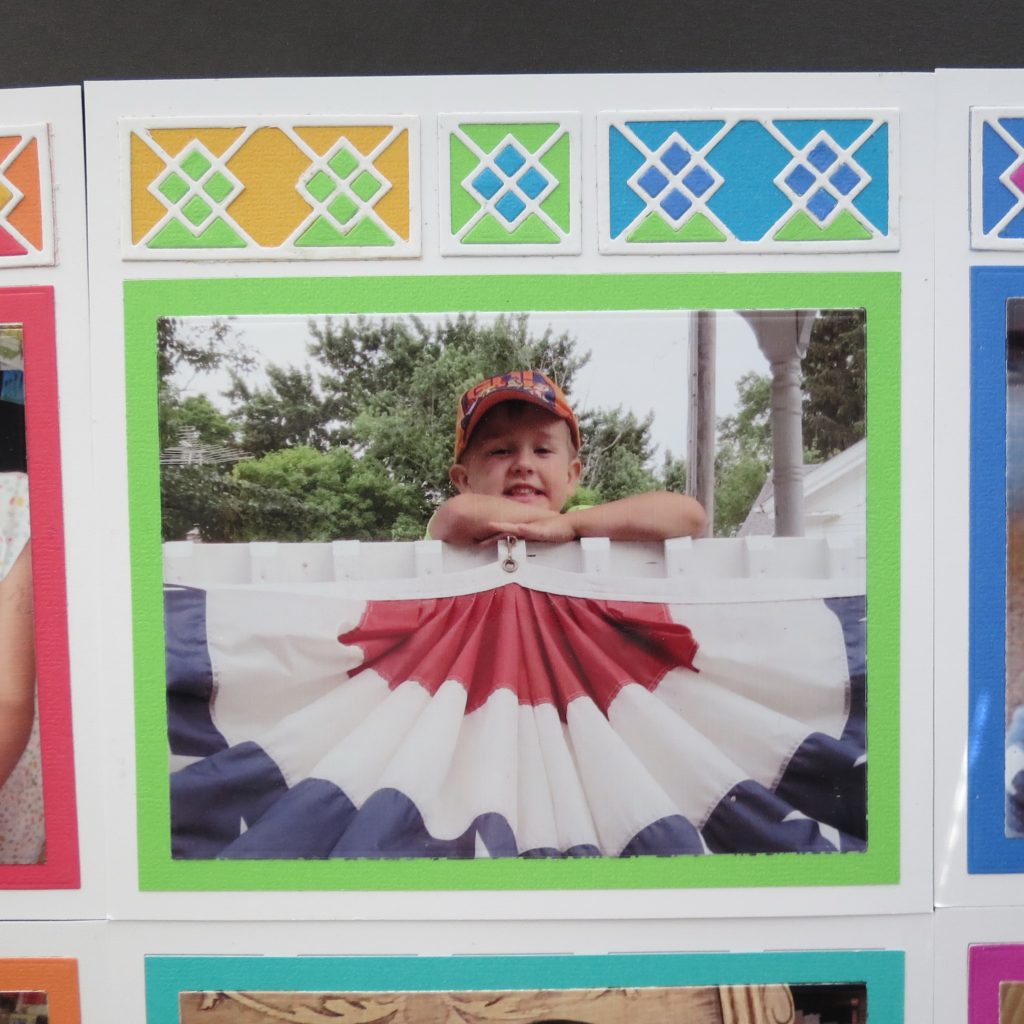
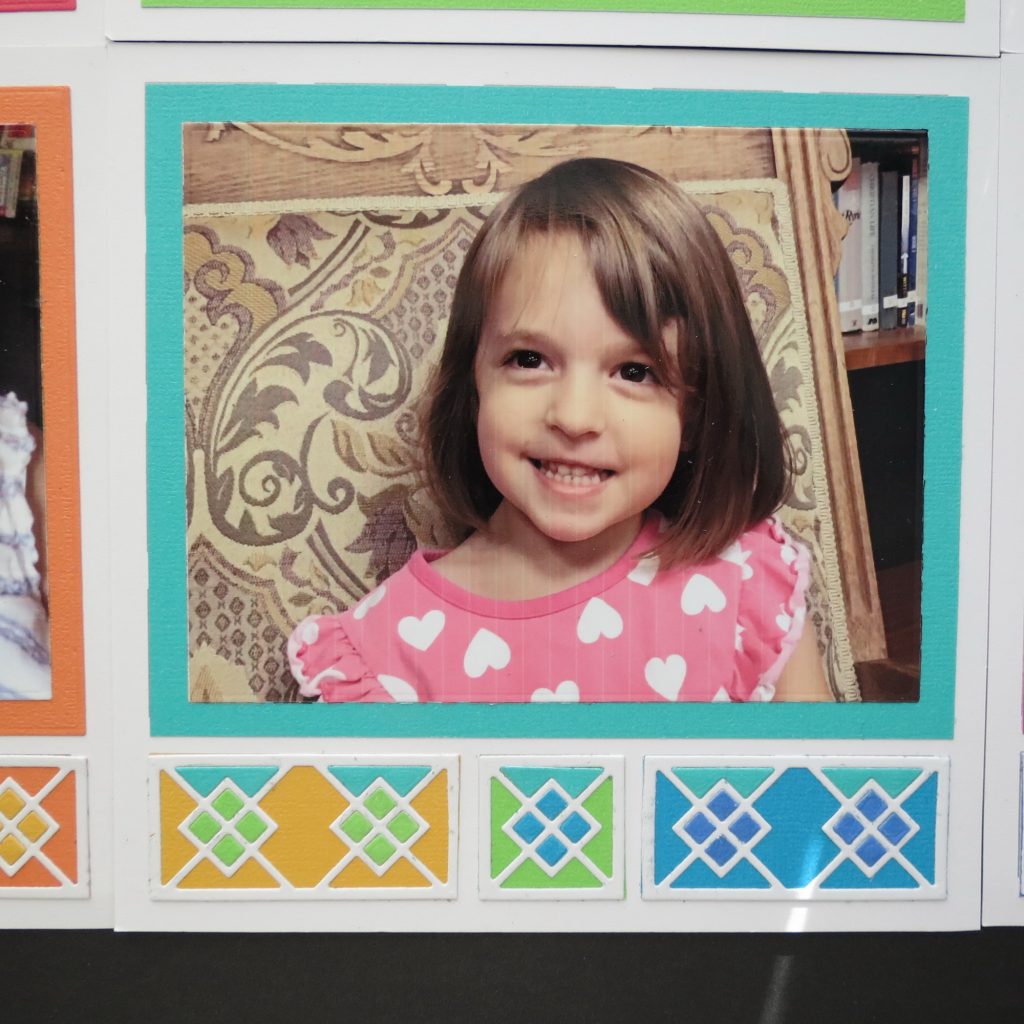
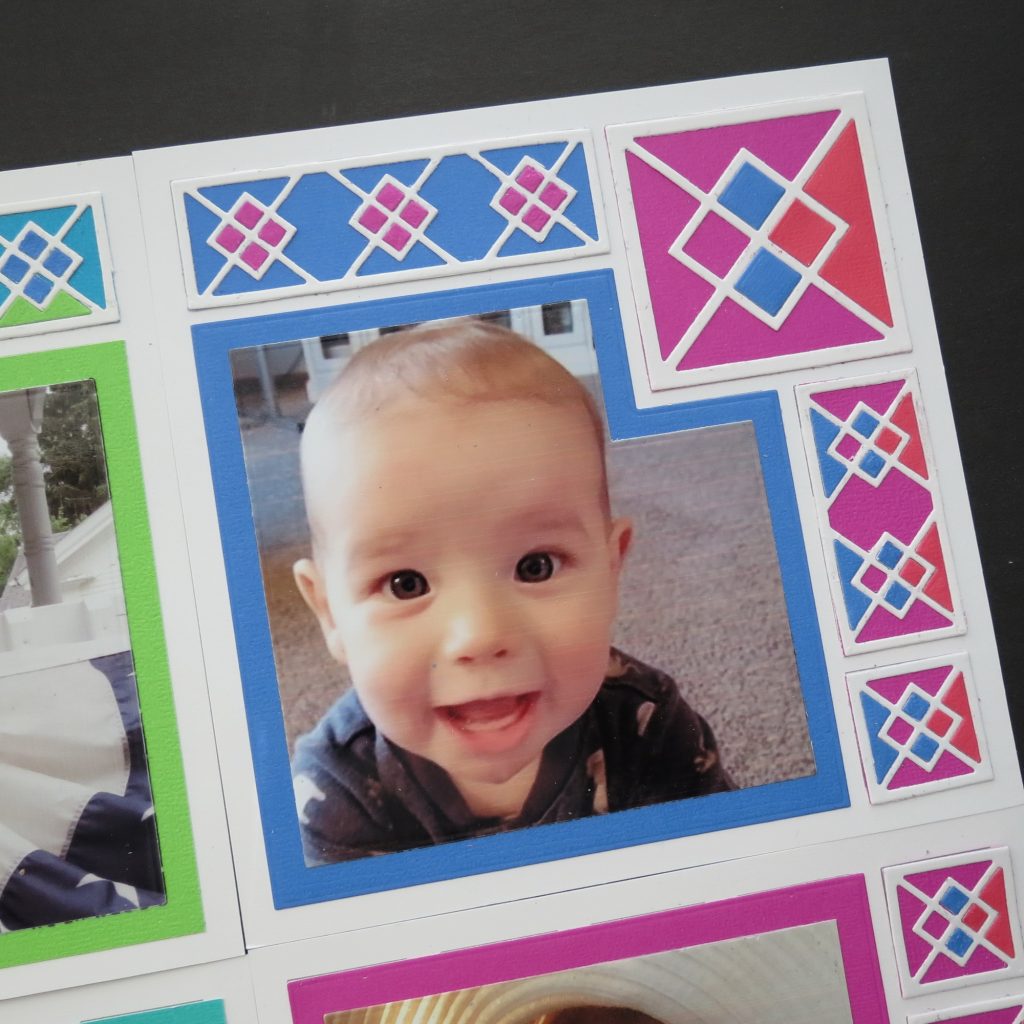
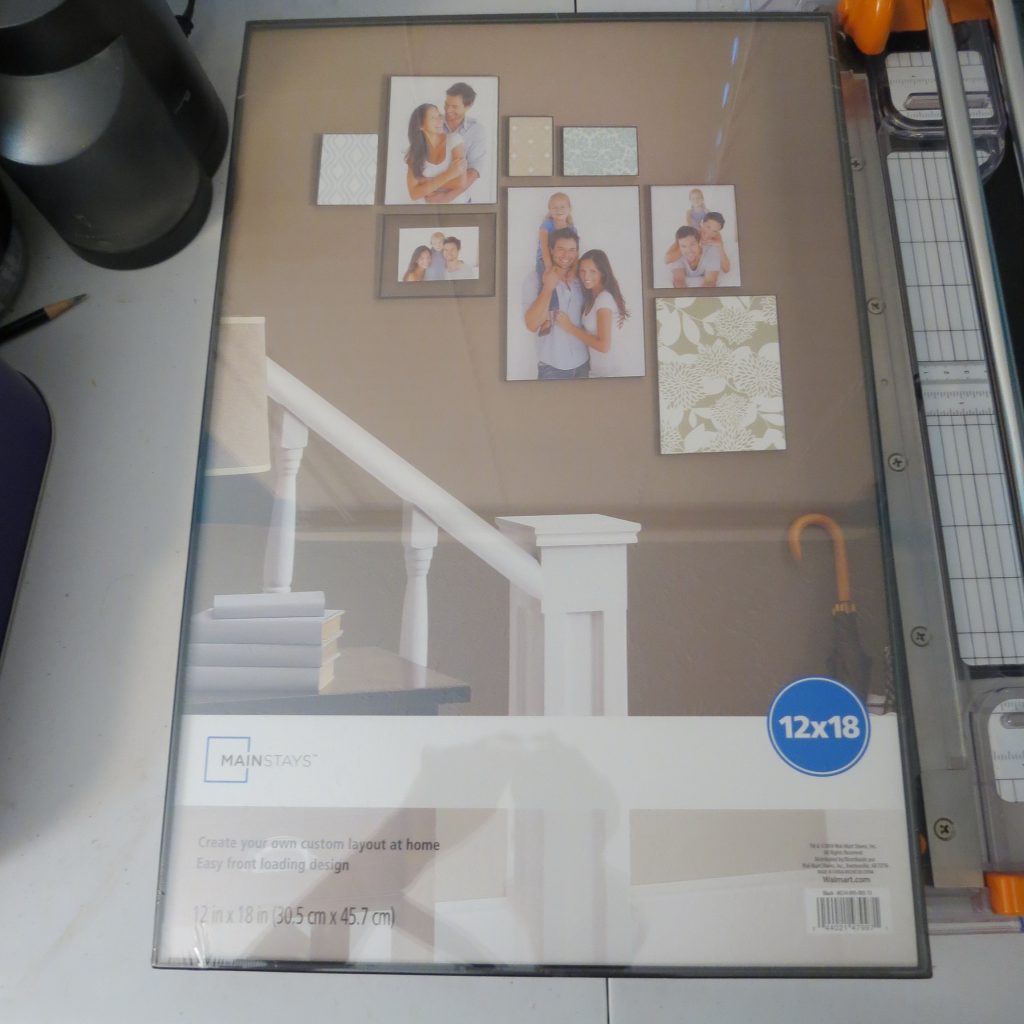
I purchased an inexpensive 12”x 18” frame to complete the project. It was easy as the glass lifts out and the grids go in and the glass drops back in, easy peasy!

There you have it, a new piece of wall art to show off any of your special photos with the Highlands Dies creating a colorful border.
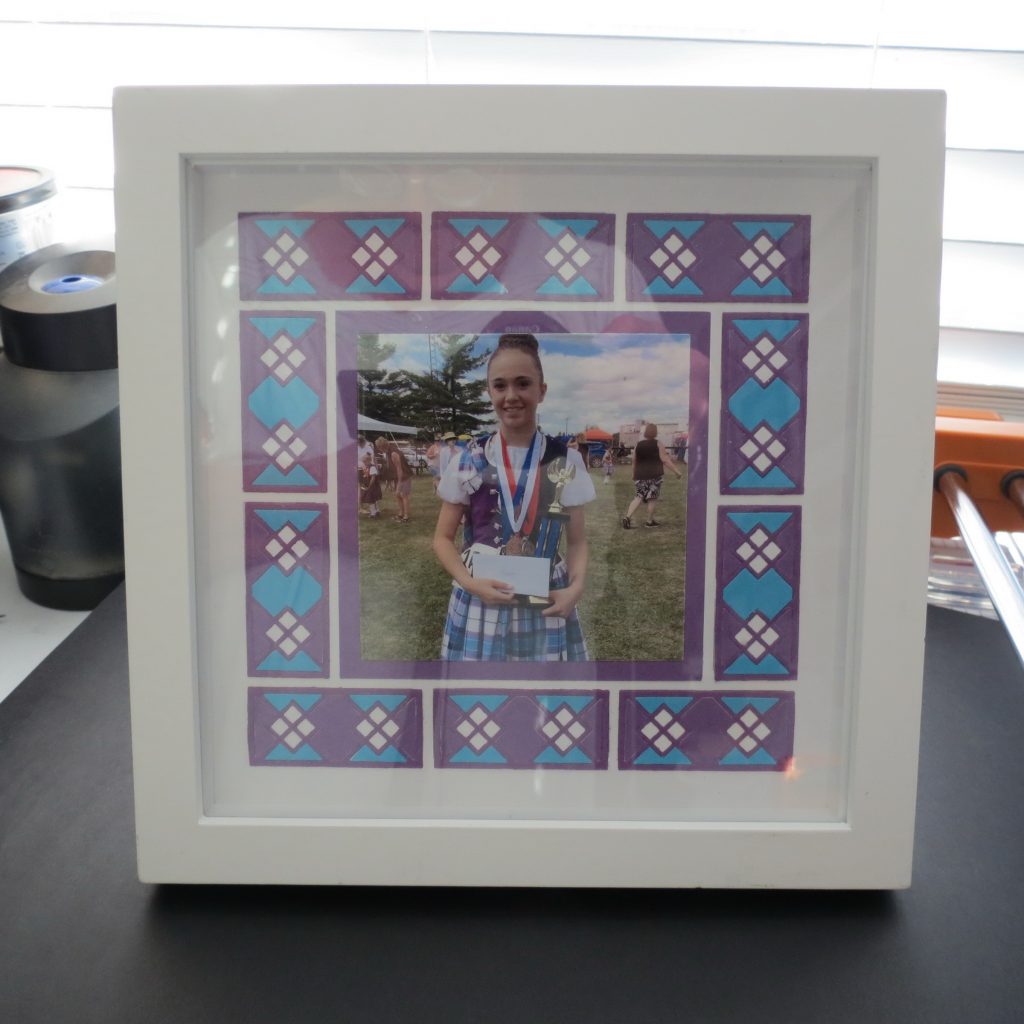
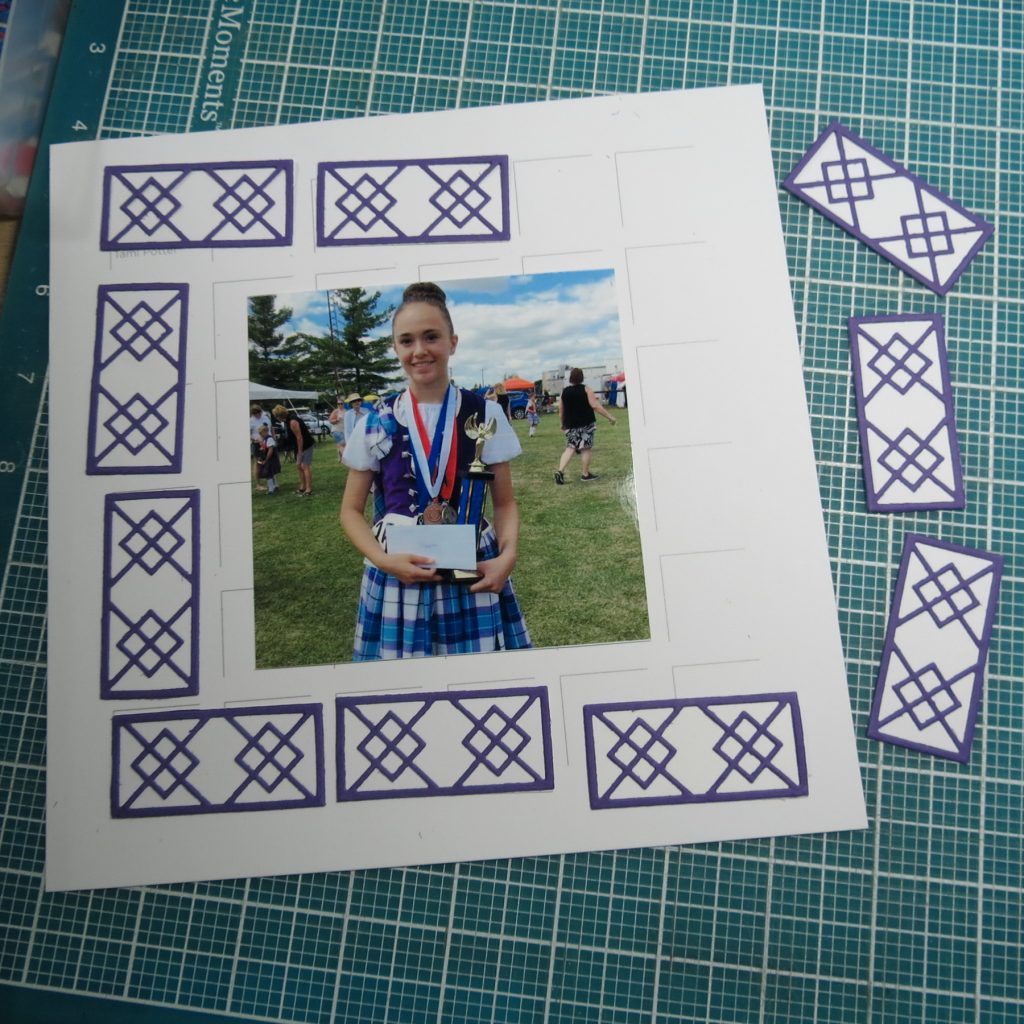
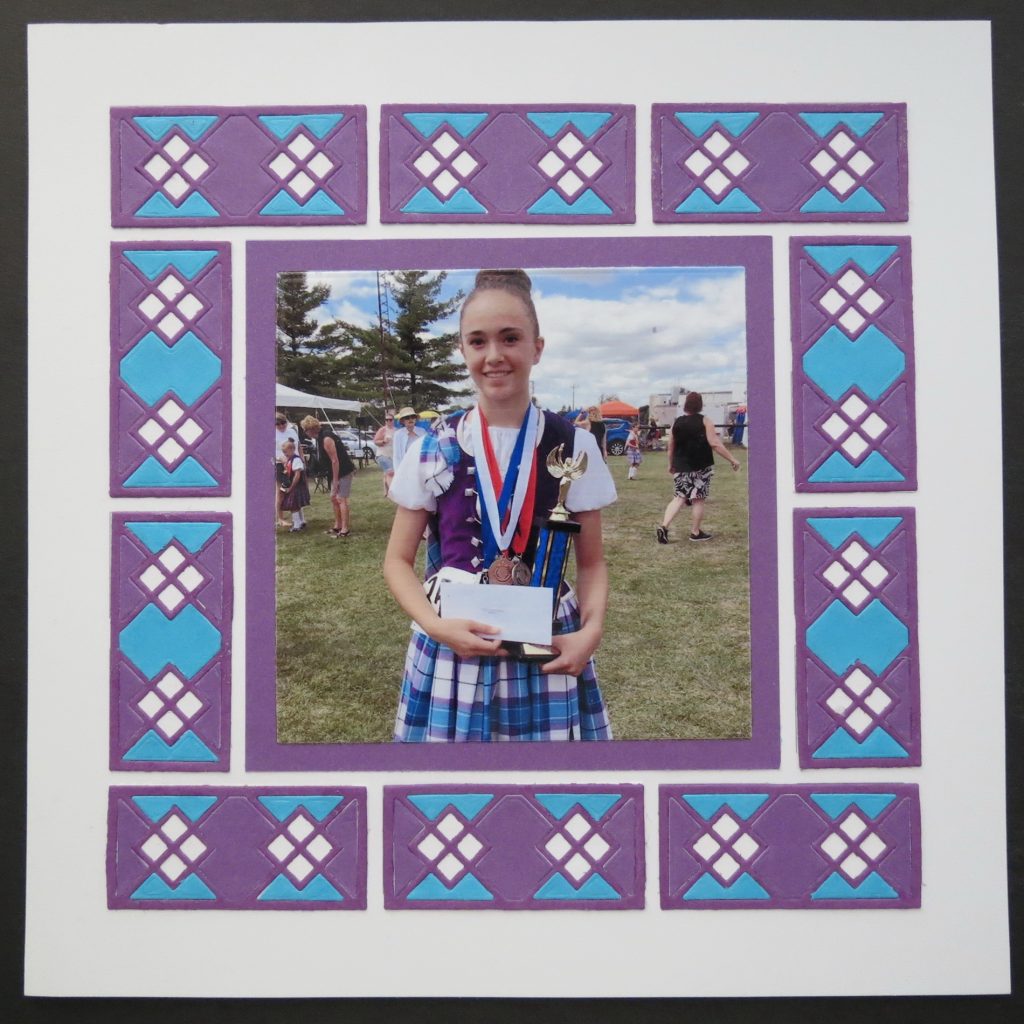
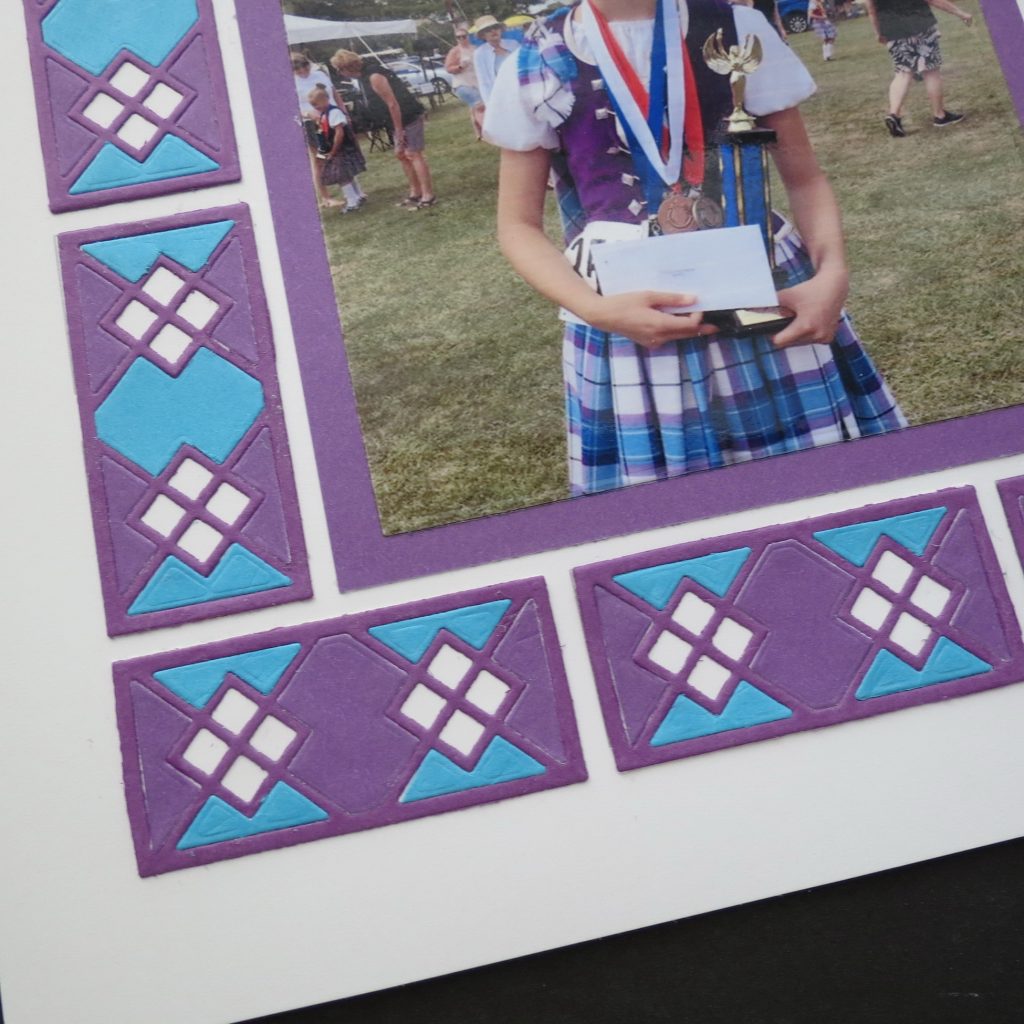
For the second layout, a single photo in the center of the Mosaic Moments 8×8 grid is matted and surrounded by the border of 1×2’s. The deep purple die cut is mounted on white 1×2’s and lighter purple and blue sections fill in the spots except for the central 4 squares that remain white. Instead of multiple colors, I’ve just stuck to two.
Both projects allow you to get your scrapbook pages out of the scrapbook album and into your home as décor for your walls or for tabletops to show off those special photos.
The Highlands Die Set works well to carry a pattern as a full-page design, as a border or as filler sections in any layout. See how many different looks and color combinations you can achieve with this set!
Andrea Fisher

