Autumn's warm shades provide us with the opportunity for amazing photos. With the Mosaic Moments® system, you can turn those beautiful photos into works of art.
Mosaic Moments® offers three different levels of dies. Explore (L1) is the quickest. Discover (L2) requires a little more planning of photos. Adventure (L3) has lots of cutting and a little more thinking; but, each one provides you with fantastic layouts. Take a look at some of these from our design team.
Level 1 (Explore) Die Pages
Add Some Blue
"Sweet Sadie" by Paije Potter - Pattern #177
Blue goes well with orange, yellow and red and many paper manufacturers are including shades of blue in their fall papers.
We love how Paije pulled out the blue in this pattern paper to create the Leaf Silhouette die cuts at the top of her layout and the number boxes in the middle. The blue carries the eye right across the page.
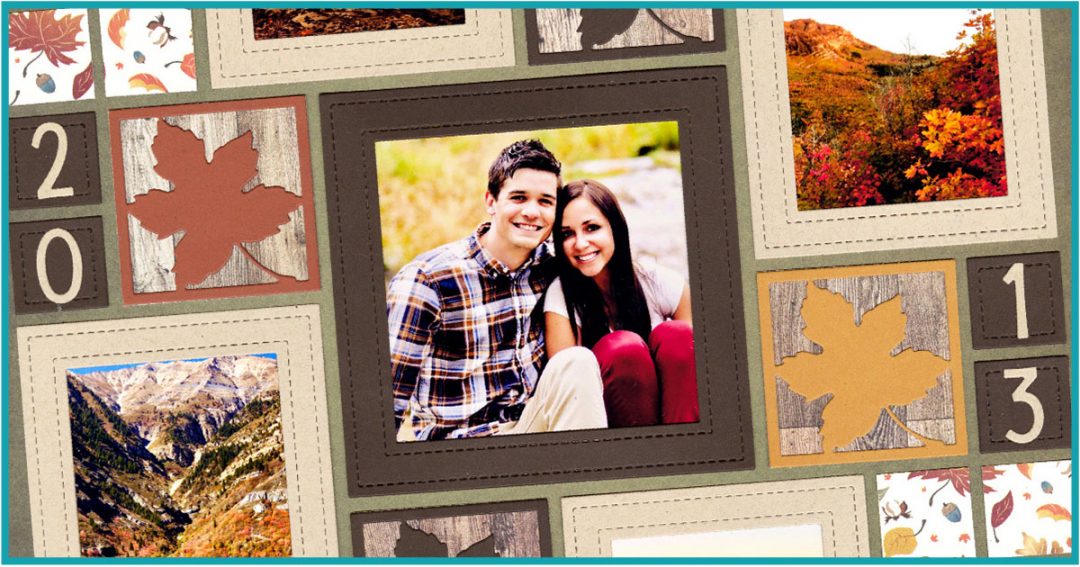
Decorate with Die Cuts
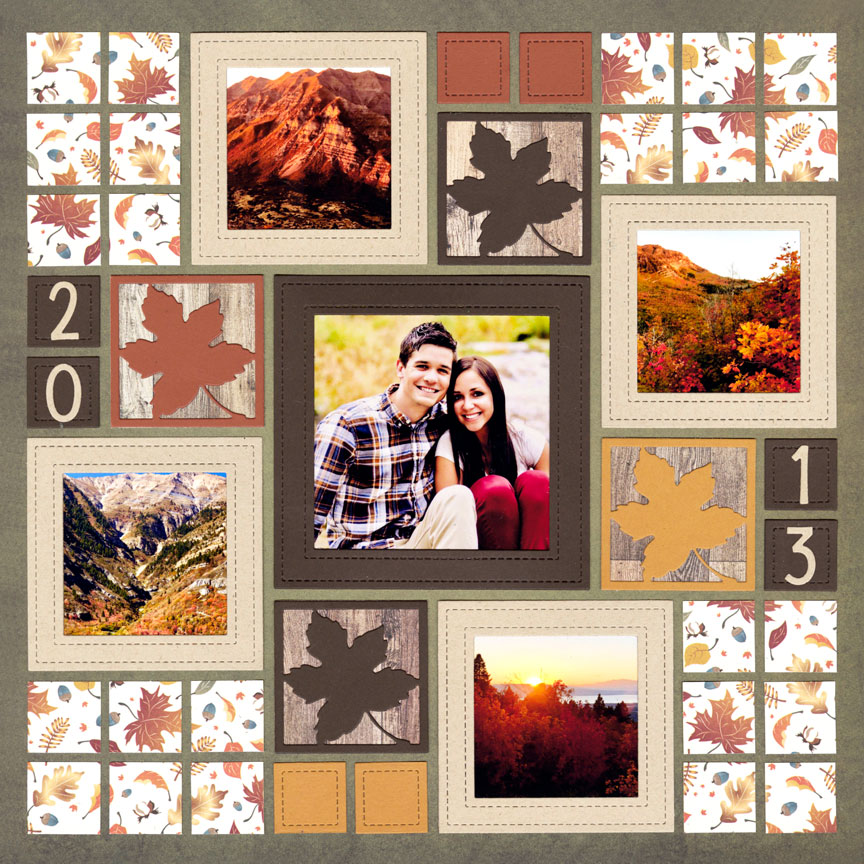
"Together 2013" by Jodi Benson - Pattern #197
Try Stickers
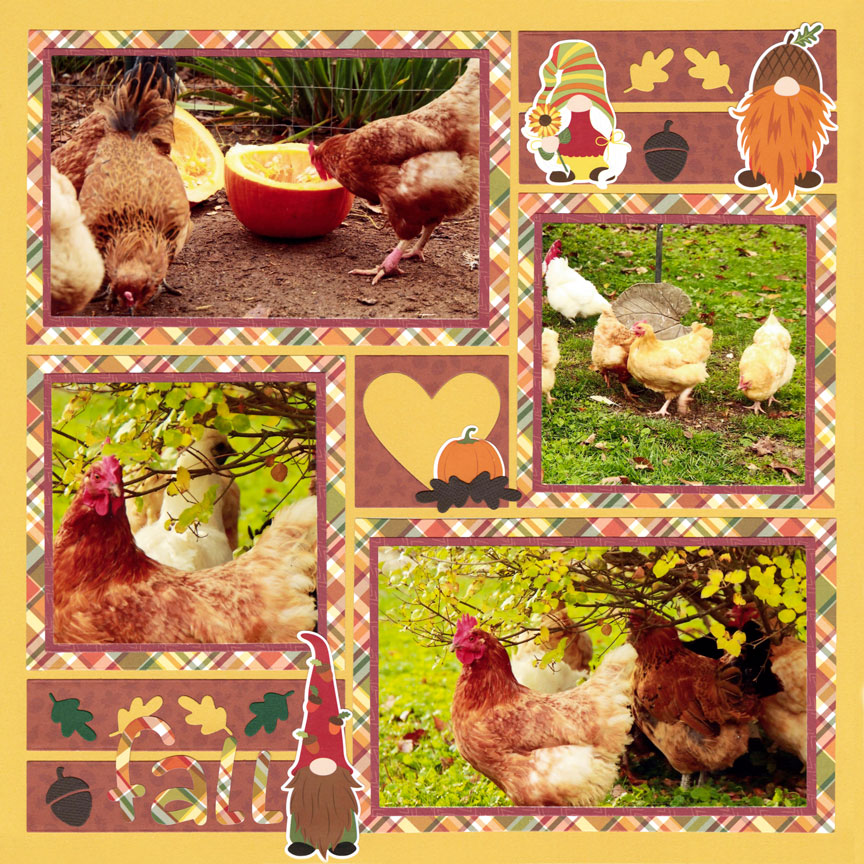
"Chickens Love Fall" by Candy Spiegel - Pattern #520
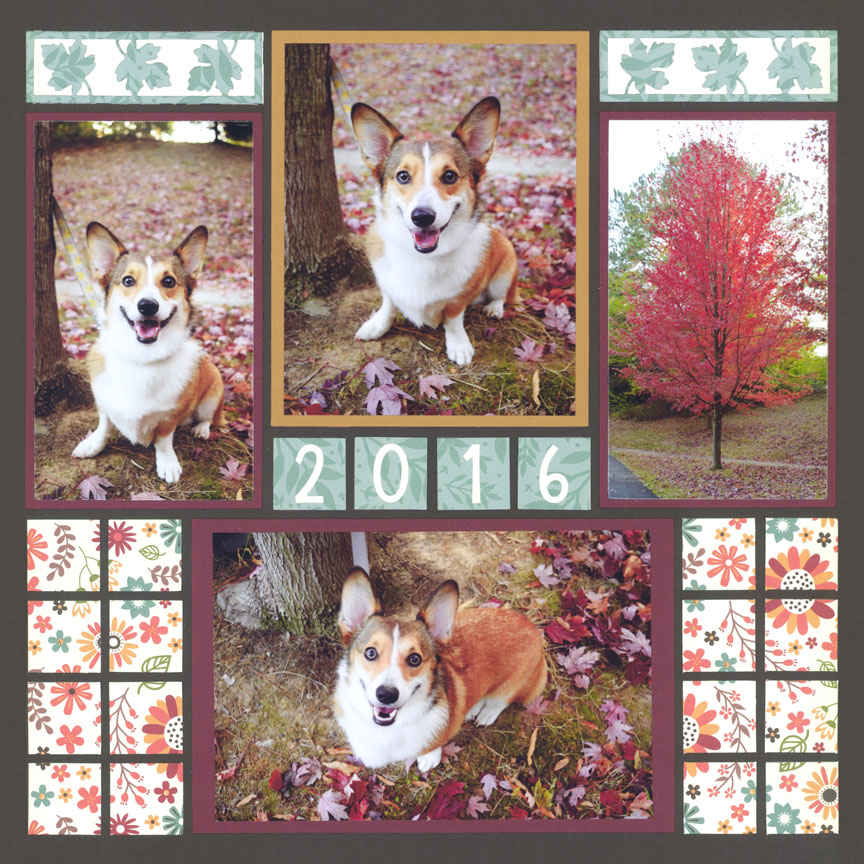
Put the Frame on a Photo
There are plenty of geometric shapes in the Mosaic Moments® collection of dies that can be placed on top of photos.
Adding a die cut on top of a photo can add interest to an otherwise not-so-interesting photo. It's a great technique for photos of leaves, sand, rocks, seashells, trees and more.
We love how Tami used the bottom piece as a journaling block, as well. Clever!
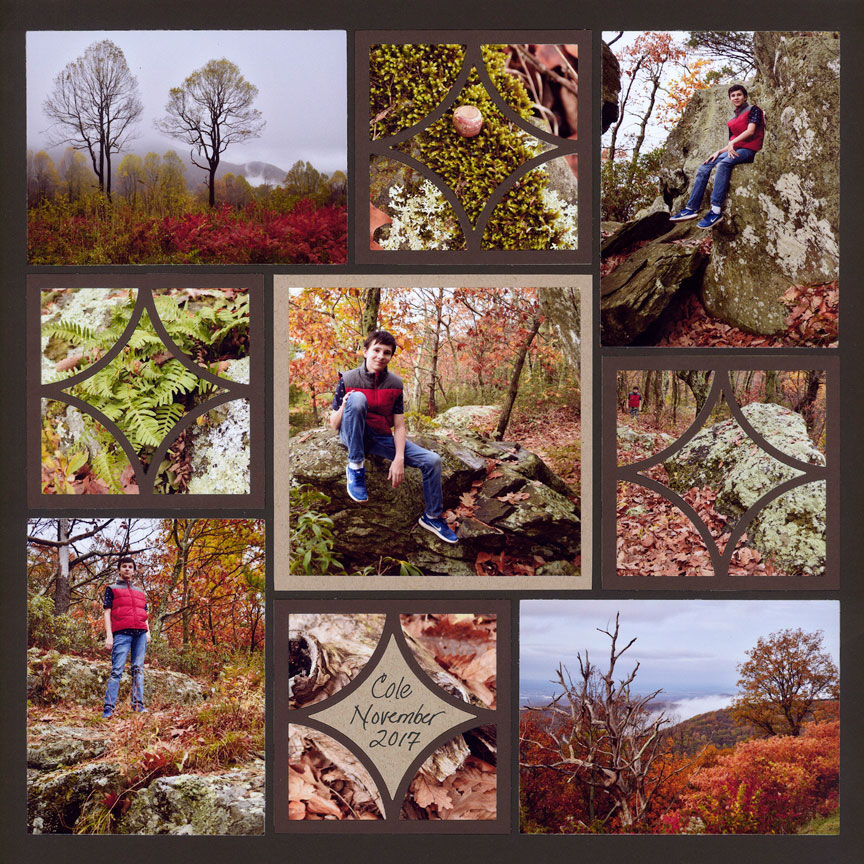
"Cole in November" by Tami Potter- Pattern #361
Level 2 (Discover) Die Pages
Try Some Steps
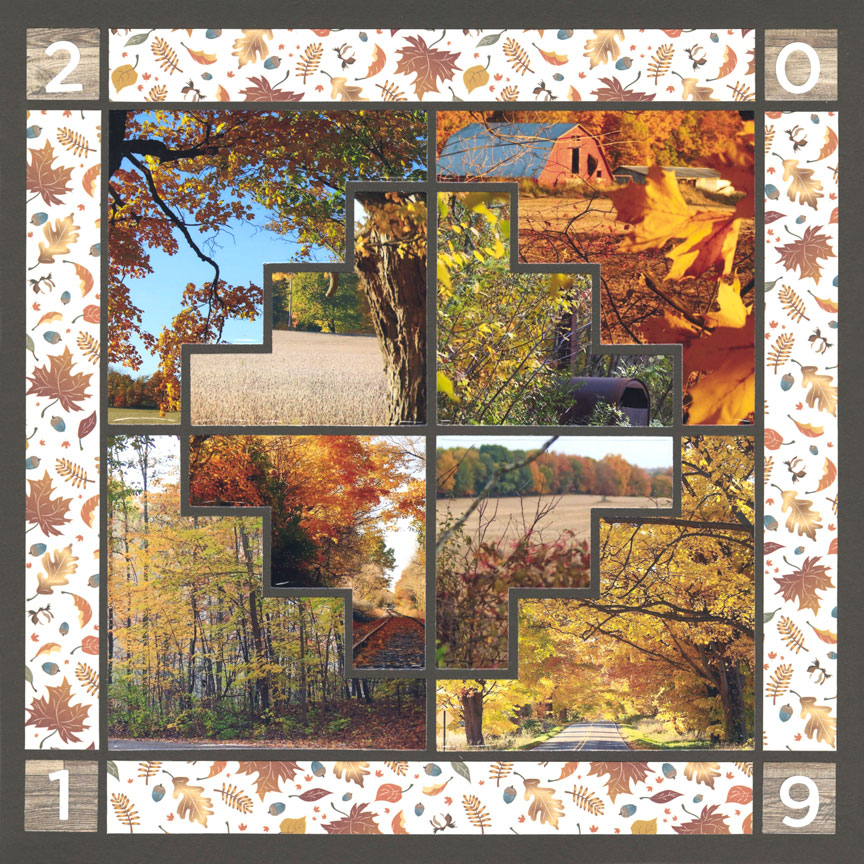
"Fall 2019" by Candy Spiegel
Using the Steps Die is a fun way to add extra photos into a single space. This technique works best when you have a strong contrast between the colors in your photos or in the scale of your photos.
For example, notice how Candy's photos that are mostly orange are butted up against those that are mostly yellow. This keeps your photos from blending one into the other.
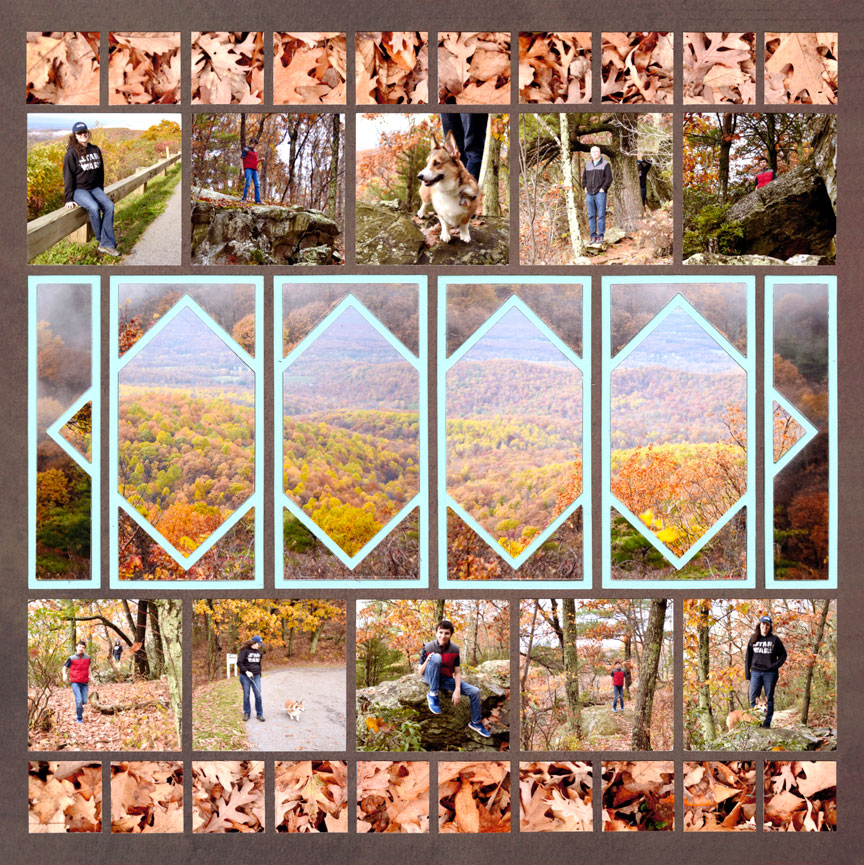
Connect the Corners
Leaves are beautiful, but photos of leaves can be boring if simply placed on a page -- unless you use a cool technique like the Corner Strip Die to connect the corners together.
This die runs through one time and cuts up to four corner strips. It quickly takes your photos from "nice" to "wow."
Note: If you wish to cut four corner strips, you will need a 5x7 photo.
"Beautiful Fall" by Paije Potter
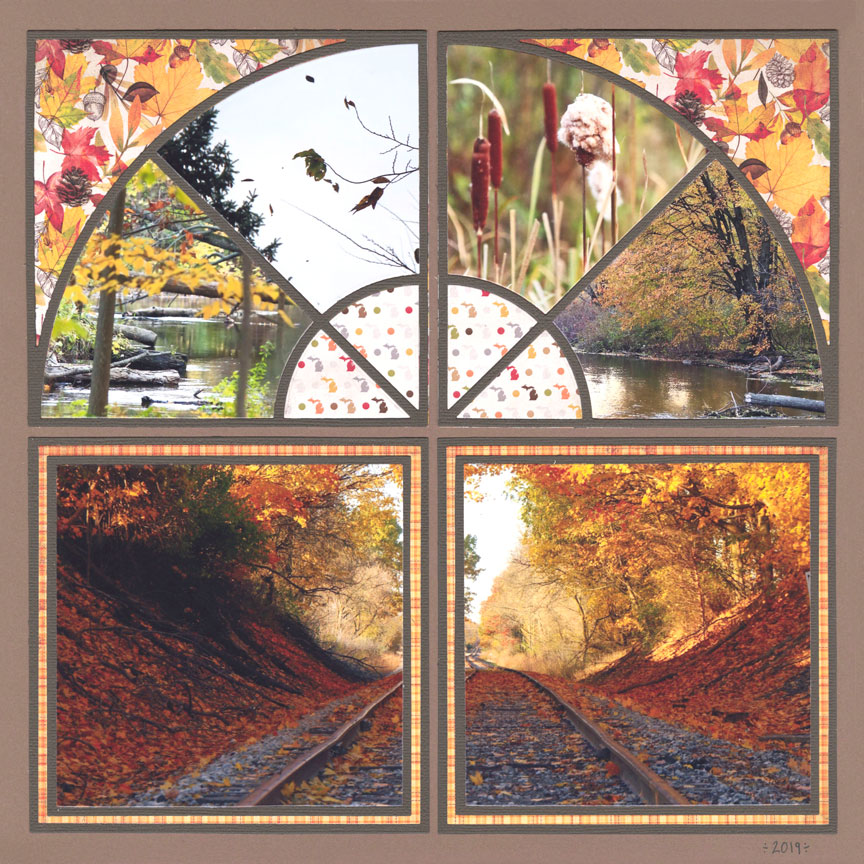
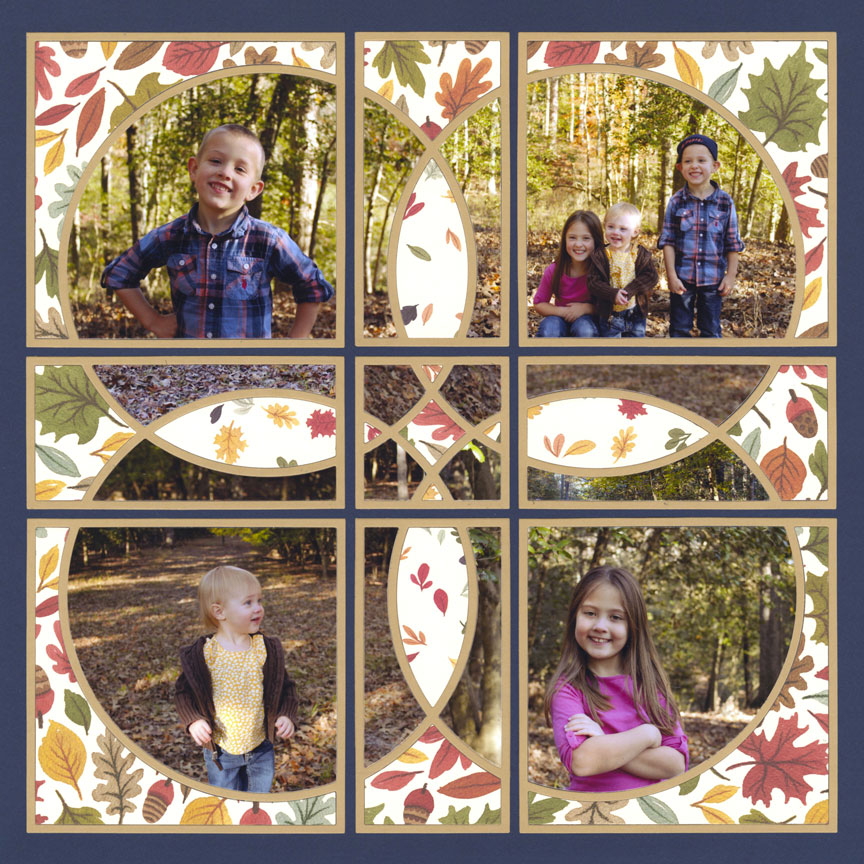
Make it Round

"Freedom Park" by Jodi Benson - Pattern #103
The only challenging part of creating a beautiful round design is making sure the photos fit in the correct direction.
With the Horizon Collection, the process is made simpler since there are many options for photo sizes that can all be used to create a large circle on your layout.
Using pattern paper for the outside portions, like Jodi did here, makes the photos the focus and makes cutting easier.
Create a Panoramic
Multiple photos can be combined to create a faux panoramic with the One-Inch Grid Die.
Simply cut each photo with the die, line up the horizon the best you can, and start placing them onto the grid paper.
It takes a little longer to adhere each of those squares, but the end result is phenomenal!
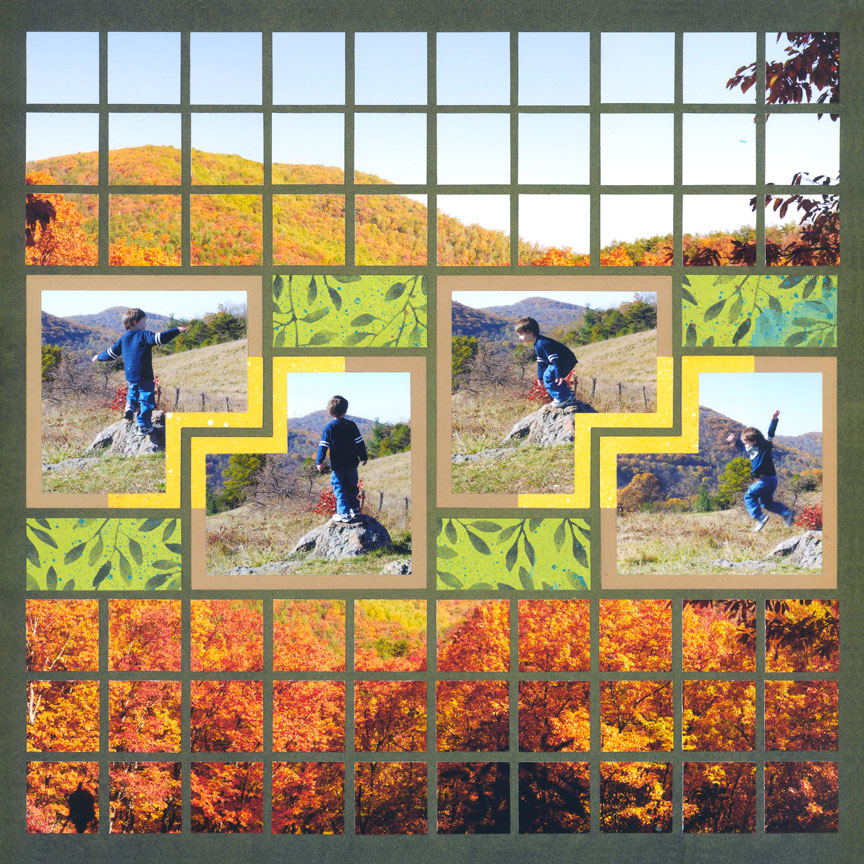
"Cole Jumping" by Paije Potter
Level 3 (Adventure) Die Pages
Or, Try This Panoramic
"Autumn Beauty" by Paije Potter - Pattern #464 (Slight Adjustments)
Using one of the Adventure Level dies repetitively, like the Dynamic Dies shown along the center of this layout, can also create a panoramic look.
Notice, Paije used two different sets of photos for this panoramic -- one inside the diamond shapes and one for the area outside the diamond shapes.
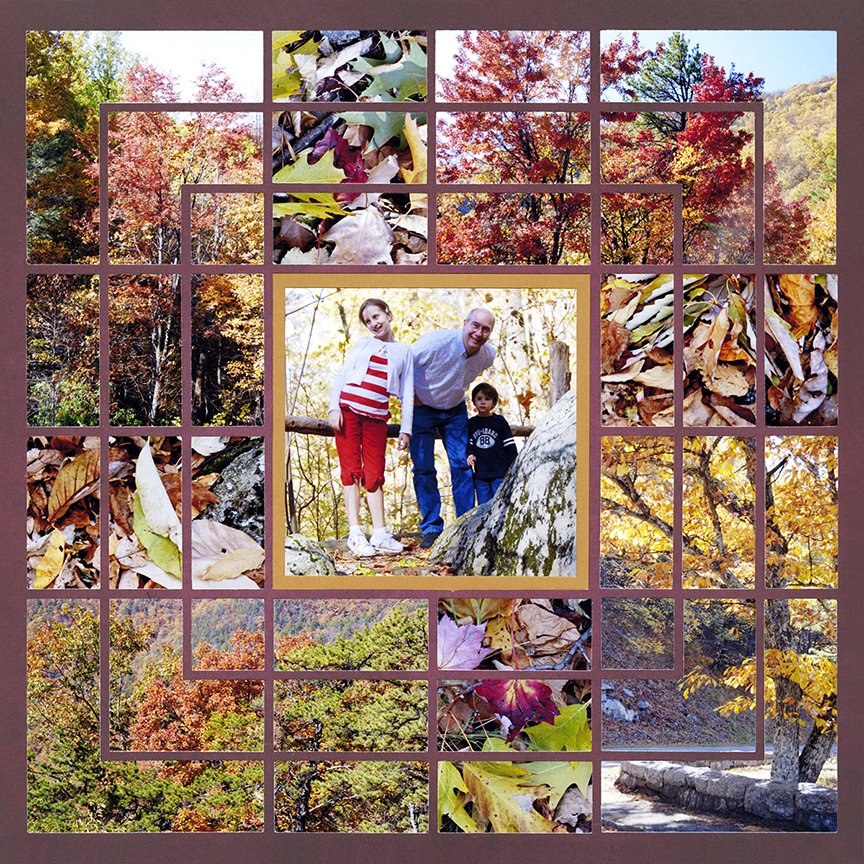
Connect the Photos
Many of the Level 3 Dies have lines that connect one photo to the other.
The Clover Die Set, for example, has rings that link the four large photos together.
It is a nice way to include large photos, while leaving plenty of space to set the mood with fun, fall paper.
"Fall Portraits 2018" by Lauren Jones - Pattern #368
Add 'Wow' with the X-Factor
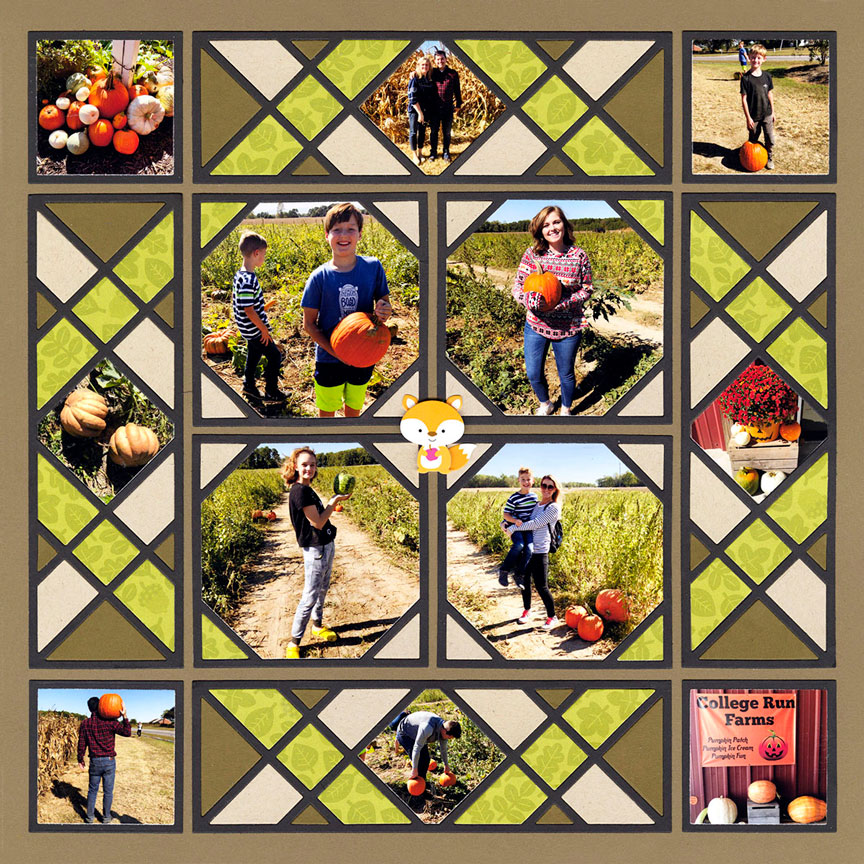
"Pick A Pumpkin" by Jodi Benson - Pattern #493
The X-Factor Collection includes numerous dies that all work together, but provide a lot of different looks. By combining a variety of papers, you can create all new shapes, like this beautiful stained-glass-window look that Jodi created here.
To keep a layout like this from becoming overwhelmingly busy, use monochromatic pattern paper or solid cardstock along with the pictures.
Dial it up a Notch
The Dial Die Set provides a unique layout opportunity. The set is easier to use since it comes with separate pieces that cut the insides of the outline die.
Here, Candy only used the Dial Die on the top half of her layout. The bottom section is actually cut from an 8x10 photo.
Feel free to mix up the dies on your layouts. Afterall, it is your fabulous fall day you are scrapbooking!