
Respect your Older Photos
It’s been a while since I’ve done any type of Heritage layout, but as we’ve been talking about working with photos and getting them to work in our patterns recently, it might be an idea to cover using older photos and scrapping with them to achieve the best results.
Now that most of us are digitally oriented in our photo files, many of us well remember the days of and have piles of photos that we shot with 35mm film. That means we’ve also got negatives that may or may not be stored appropriately. There was also a transition time when you got both negatives and photos stored on a CD. Go back even further, and we land in an area where many of those memories were bound in small photo folders with decorative edges on the white borders of the black and white photos. Further back in time, we run into the photos that were often done by professionals and may be mounted on heavy cardboard folios.
I’m going to start with that group of much older photos for those of you that might want to delve through family treasures but the tips will also be helpful for working with any photo collections.
I first worked on my Heritage Family albums almost 20 years ago. My father’s health was failing and I wanted to bring back his family memories, get answers before they were gone. In the end I relied on his younger brother and cousin to try to fill in blanks. Dad had begun to compile a photo album that I had never seen before, it was in an old-style scrapbook with photos attached using rubber cement. Acid Free preservation was a big thing back then and I pulled things out his album in an effort to “save” them.
~ My first tip for working with older photos is work with materials that are safe.
~ The second is to make digital copies to work with as you scrap. Scan them to your computer and save. This allows you to cut and crop to fit your plans without destroying the originals. There is often information in those photos that you want to keep. Making digital copies allow you to crop, enlarge and even touch up older photos with ease. Yes, it’s some work, but the more you do the easier it will be.
In digital form you will easily change a vertical photo into a horizontal one or even change the size of the area to print.
Because I used frames when I redid the originals so I covered the photo, not cut it, I now had to work around those frames.
One photo I have included has been cropped from a group photo, and another cropped to include a section making it a horizontal from a vertical.
~ The third tip is to respect the history and heritage of the photos you work with to be sure to preserve them, not to crop or cut just to fit a pattern or die. Often the backdrop in a photo will tell you a lot. The place, the surroundings, pictures on walls, or mantles, cars, buildings and signage all contribute to being able to date a photo or give another background story to tell.
Choose your Grid paper, patterned papers or cardstocks and embellishments carefully so that it reflects the time you are scrapping.
Applying the Tips
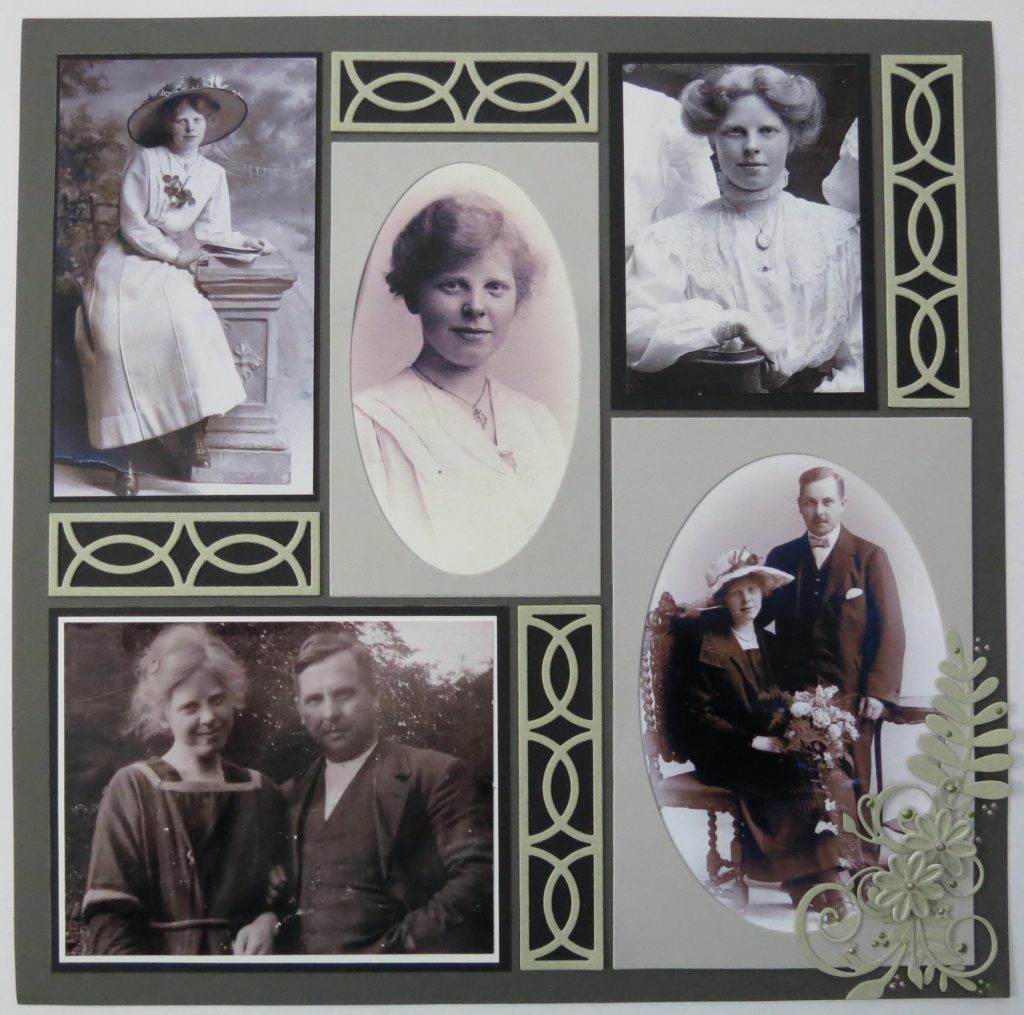
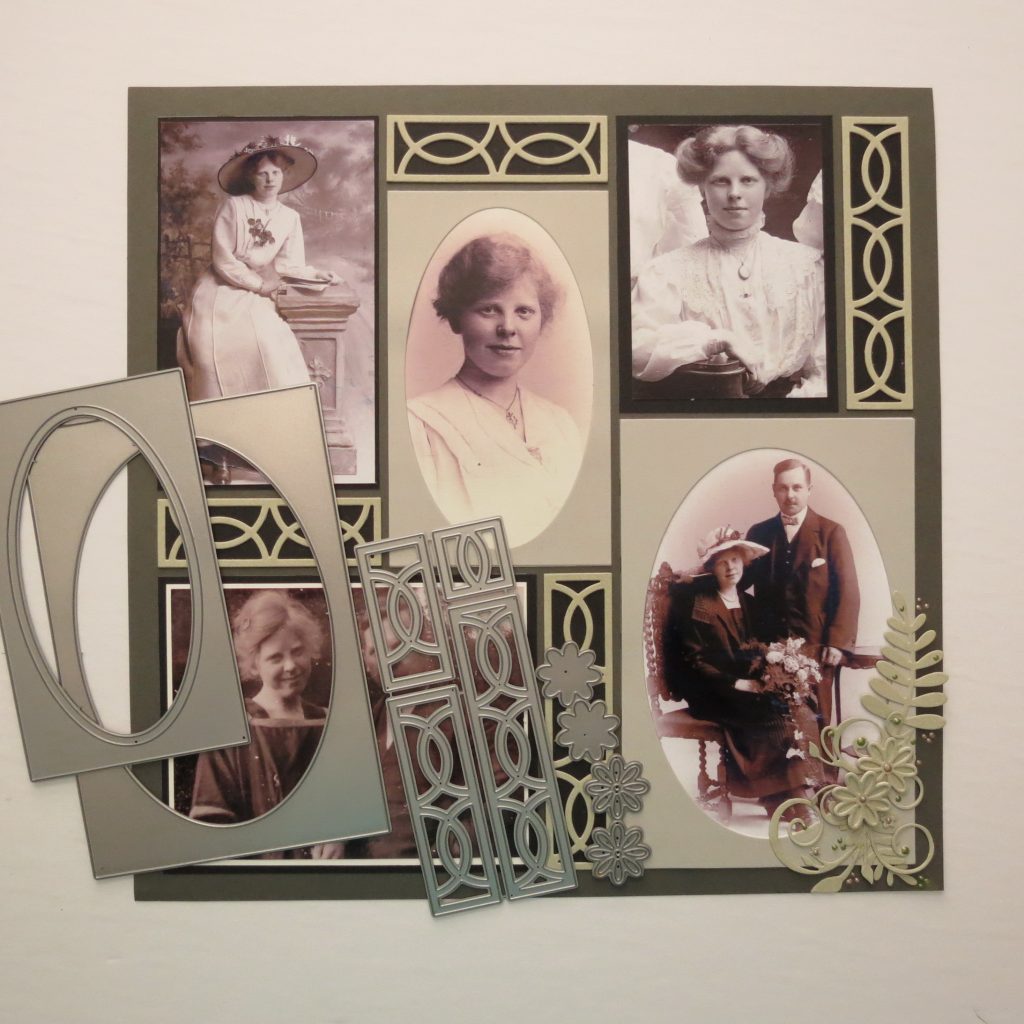
I’m working with all photo safe materials. I’ve chosen Graphite Gray Mosaic Moments Grid Paper as my base for this layout. It will serve as a neutral tone to complement the black & white and sepia tones of the photos. A light gray was used for the oval frames for two of the pictures. One is 4×6 and the other is 3×5. The 3×5 photo was cropped before printing and afterward. The original photos are unchanged and unharmed. Using the Oval dies hide the image with the previous cardstock frame. Giving a slightly new look from the original scrapbook pages.
Two photos are matted on black cardstock, one narrow one wider to easily fit the grid. One photo is double matted with narrow borders.
I’ve used the 1×3 and 1×4 from the Loop Border Die Set. The background is black and the die sections are cut in a light gray-green cardstock. I think these decorative touches are in keeping with the time in history for these photos.
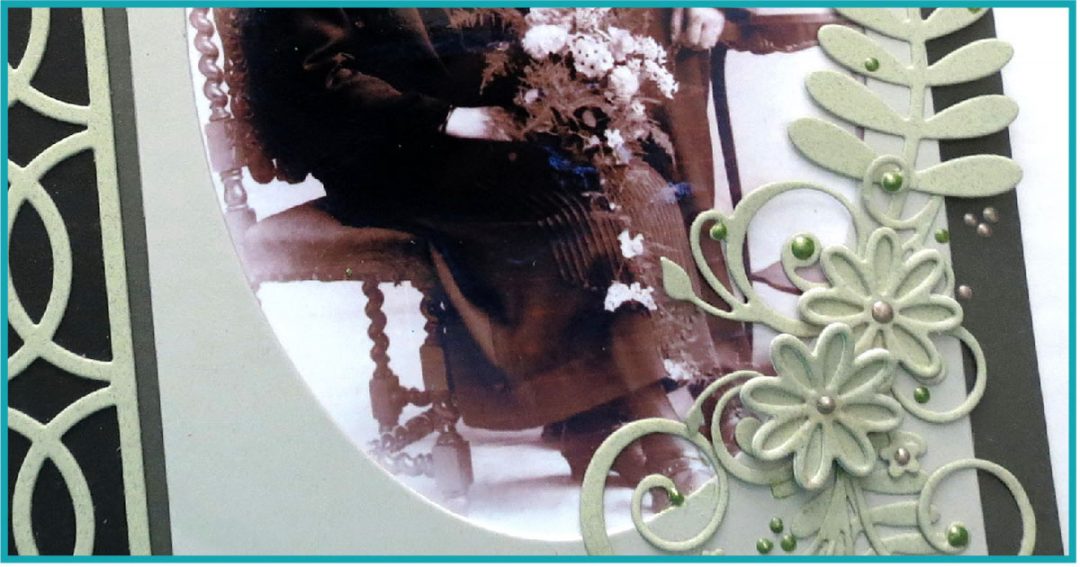
Additionally, I’ve cut several of the silhouette flowers from the 4×6 Oval Frame set to stack, foliage and swirls from Paper Rose to arrange in the bottom corner of page.

To finish things off I’ve used Nuvo Crystal Drops in Bottle Green and Vintage Rose to add a little bit of soft color and shine to highlight my special wedding photo.
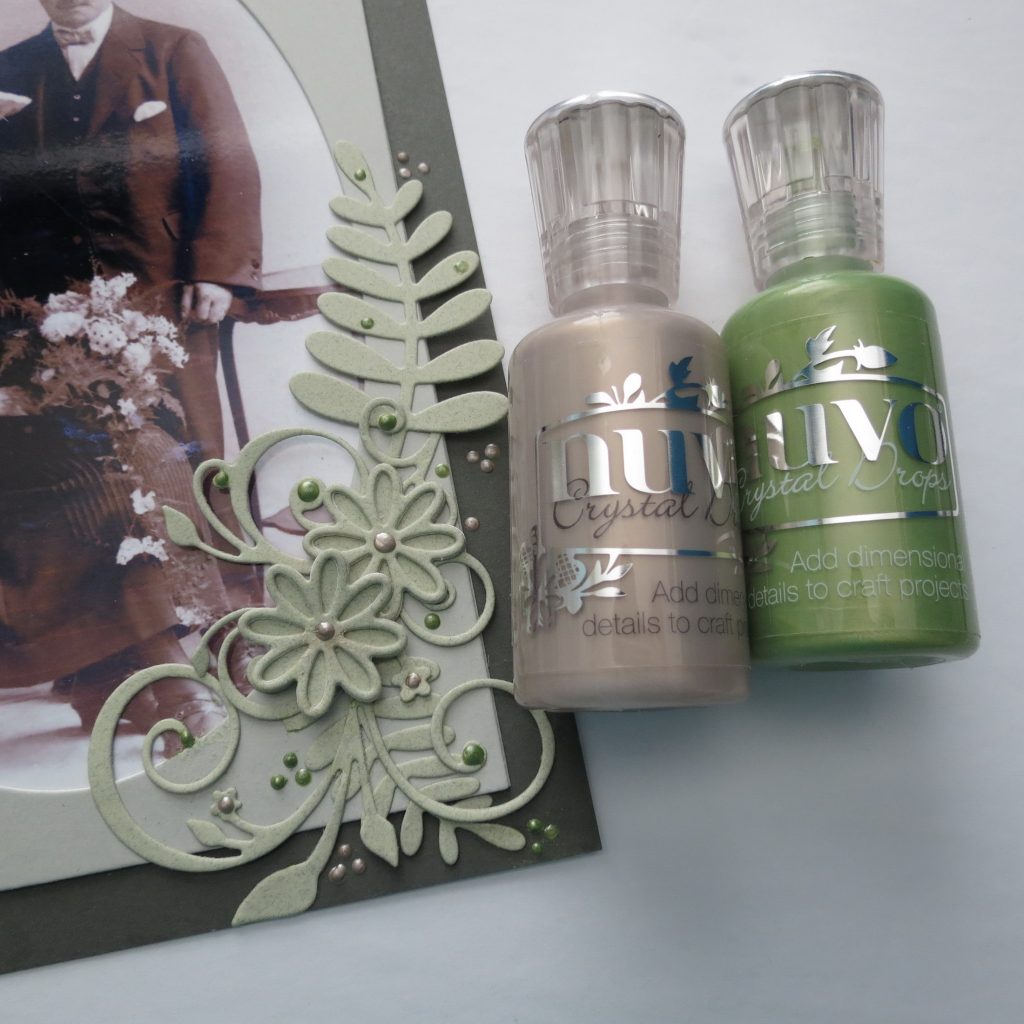
Making these elements in a gray-green color was meant to contribute to the monochromatic scheme. I’ll admit that the color as photographed does not quite appear like in real life, but it is really more subdued. Finishing touches with Nuvo Crystal drops in Bottle Green and Antique Rose are perfect accents like the pearl necklace my Grandmother is wearing in her wedding photo.

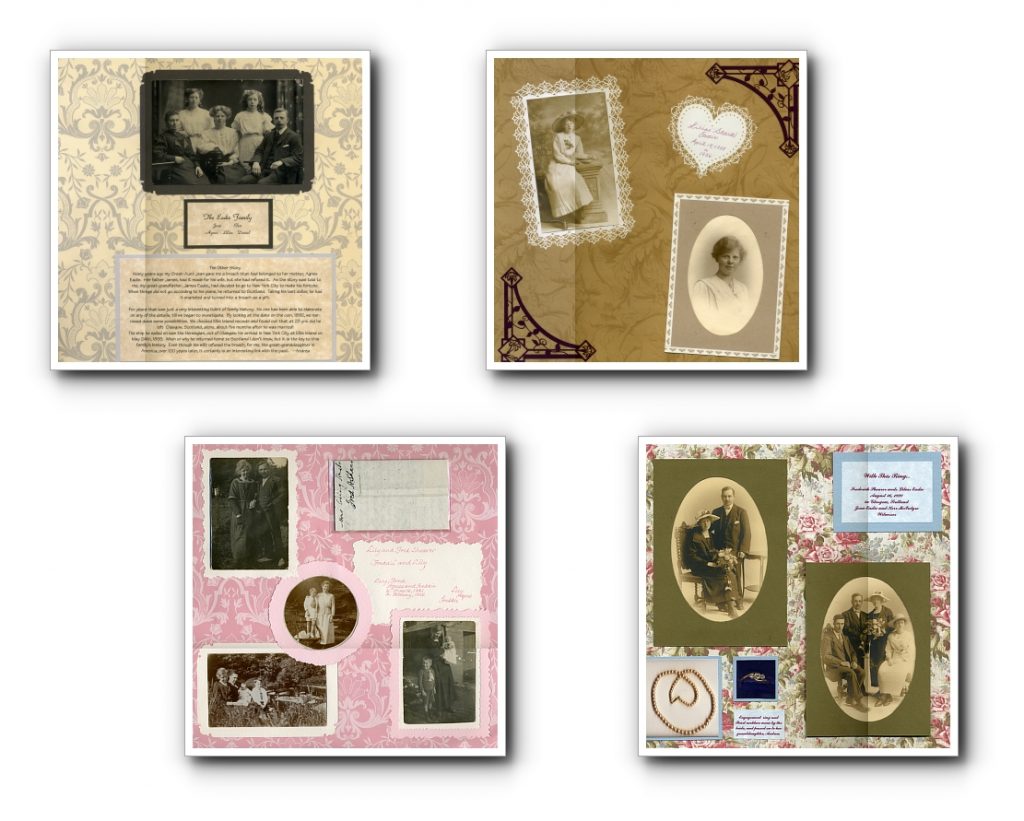
These five photos originally fill four different scrapbook pages. Each of those pages are full of other items that I use to tell my Gran’s story, this page is more of a look at Lilias from her early teens to married life. I like being able to look at her in a glance on one page.
When you pull out those older family treasures, don’t hesitate to work with them, just make digital copies to carefully preserve them in new formats and create your wonderful pages!
Andrea Fisher