
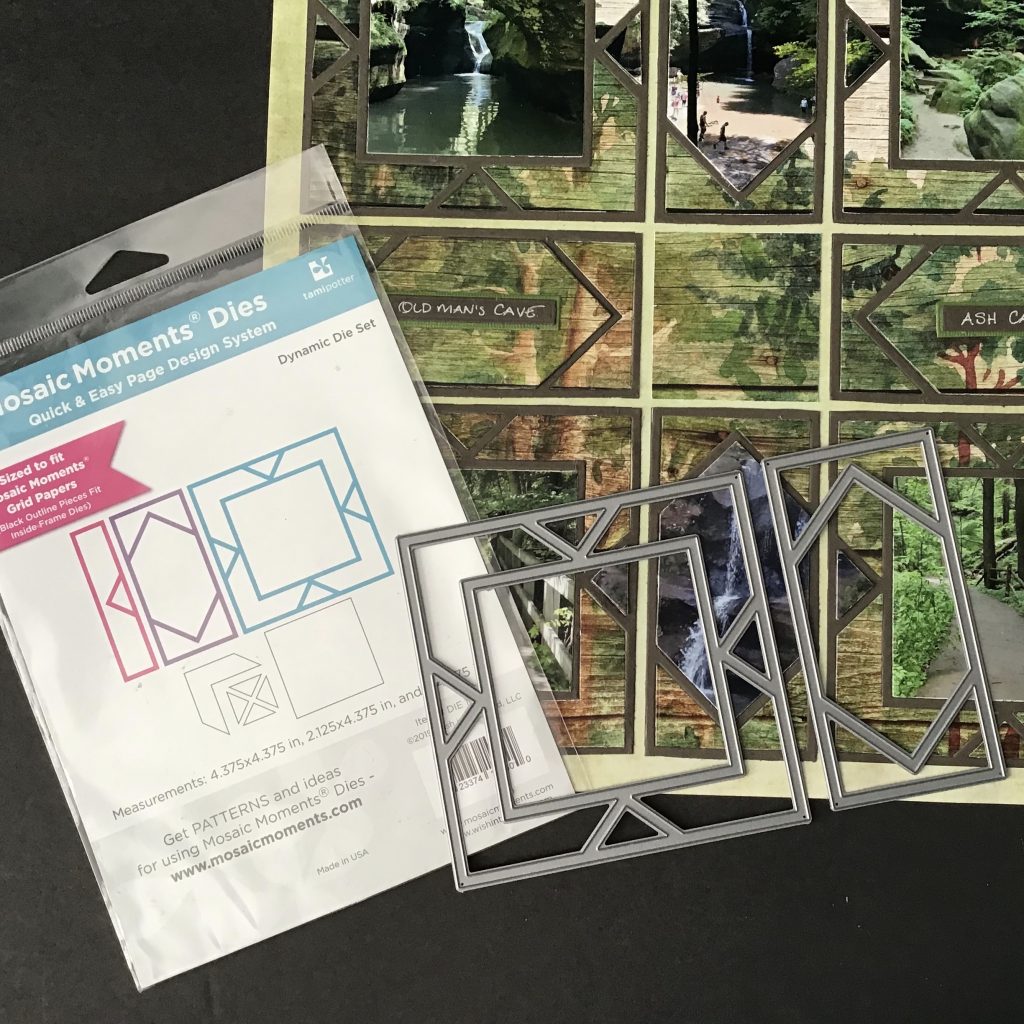
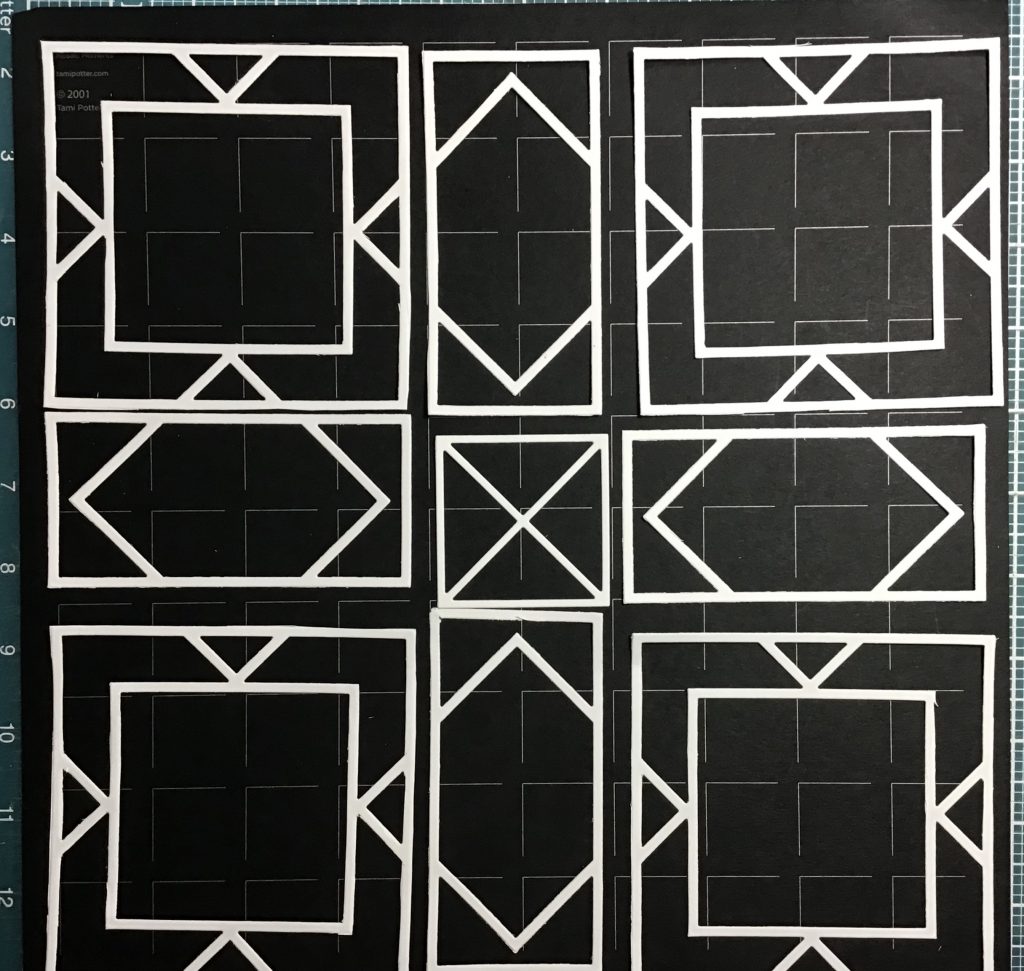
How many ways are there to design a scrapbook layout with the Dynamic Die Set? Do you have a favorite way to work with the Dynamic Die Set? I decided to play around with a few extra die pieces to see what could be done.
This is what I came up with.
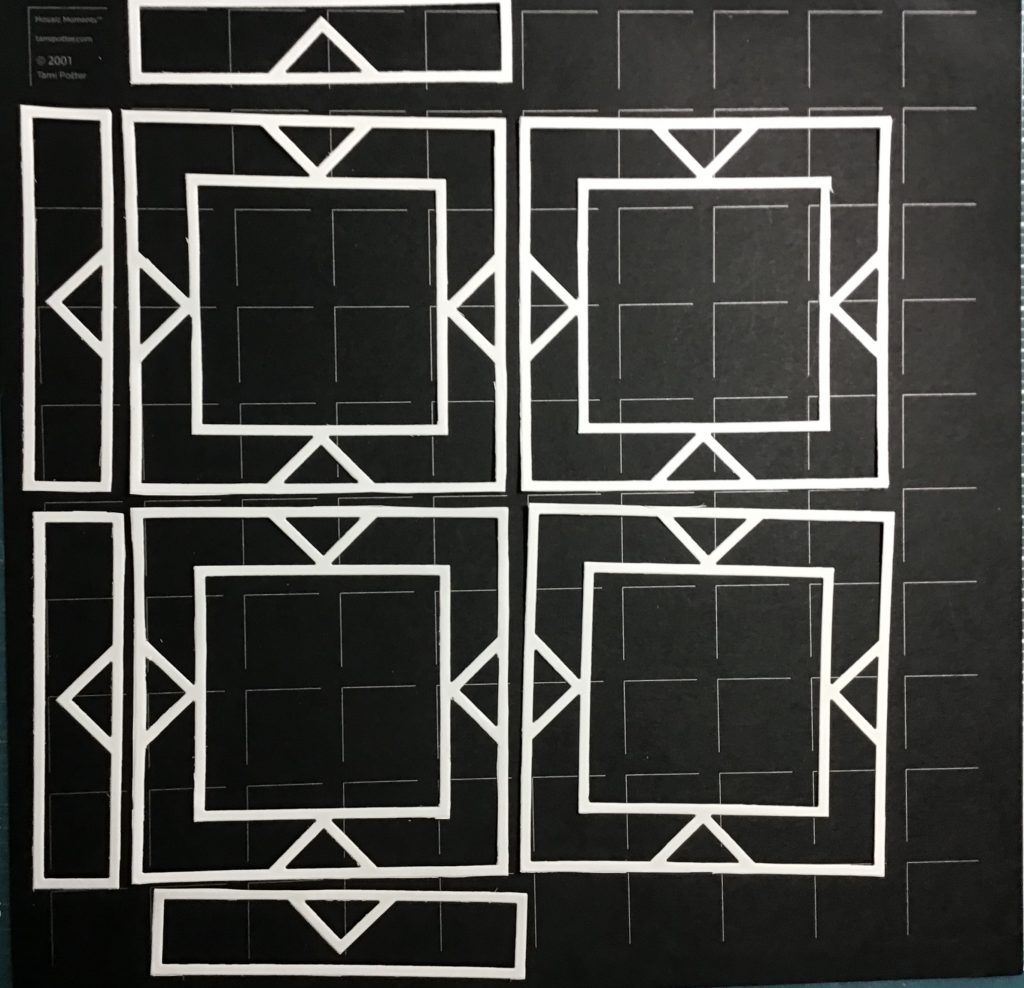
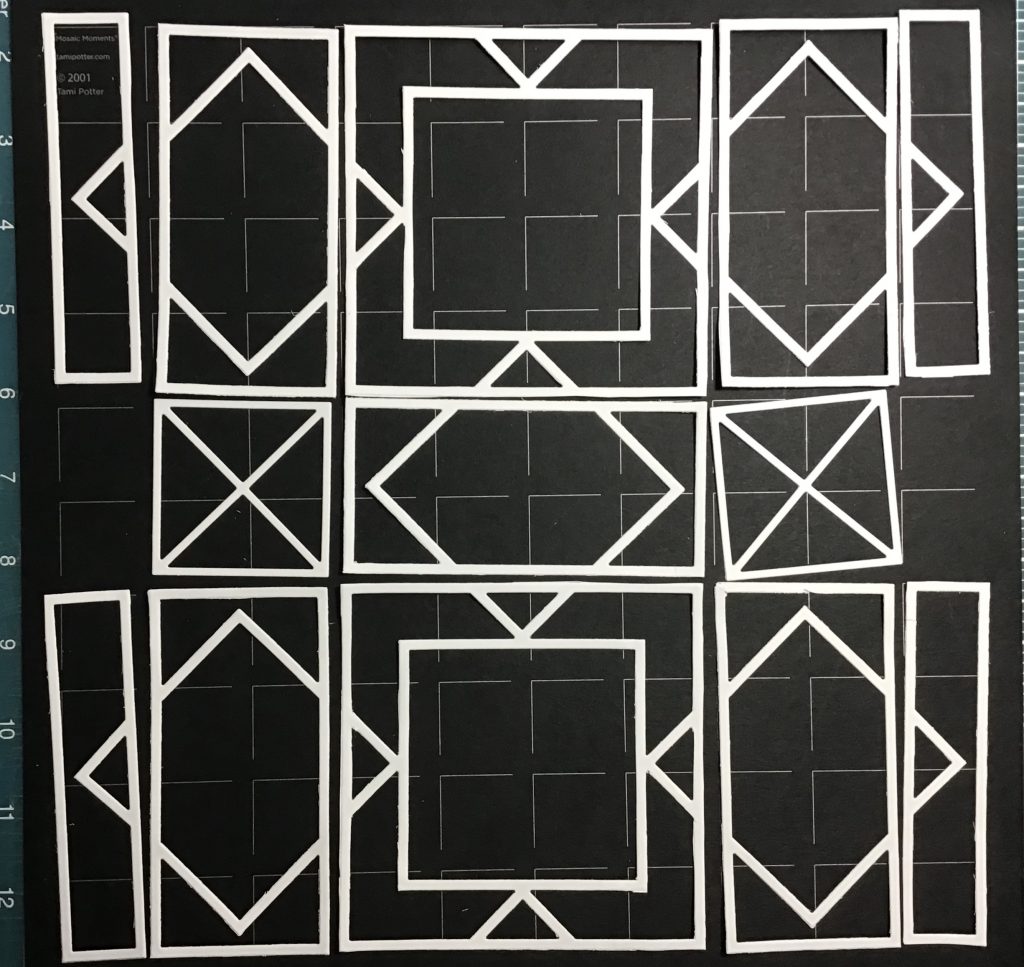
For my own page I’m going with 4 large 4×4 die pieces in the corners with the 2×4 section in between on each side.
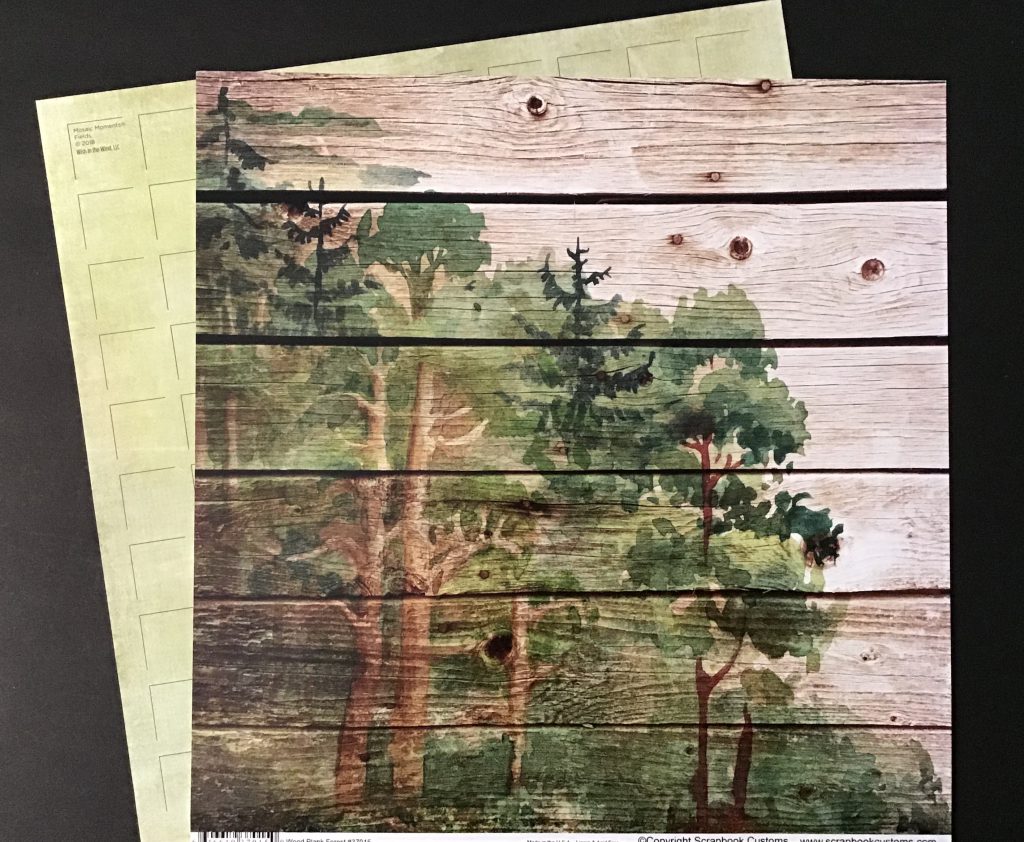
I have chosen the Fields grid paper from the Lazy Days Collection to be my foundation. I had a pretty paper from Scrapbook Customs called Wood Plank Forest. It’s the kind of paper you could just frame and hang and enjoy, but I wanted to incorporate it into a layout and this pattern was the perfect opportunity to try something new.
I’ve cut all my die pieces in dark brown and placed them on the grid and then began to cut my patterned paper into sections to keep the pattern intact once I filled the spots.
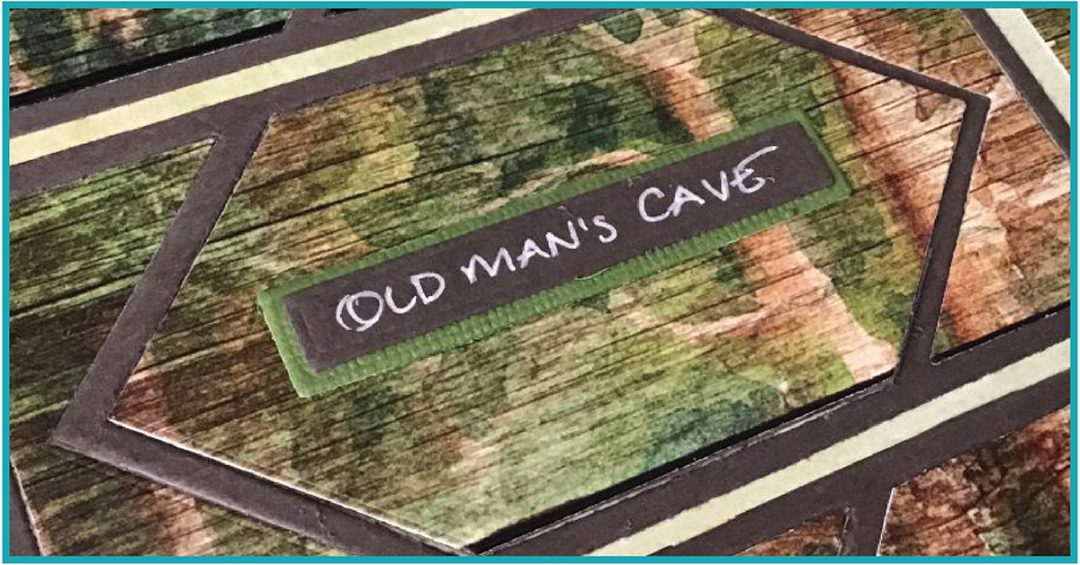
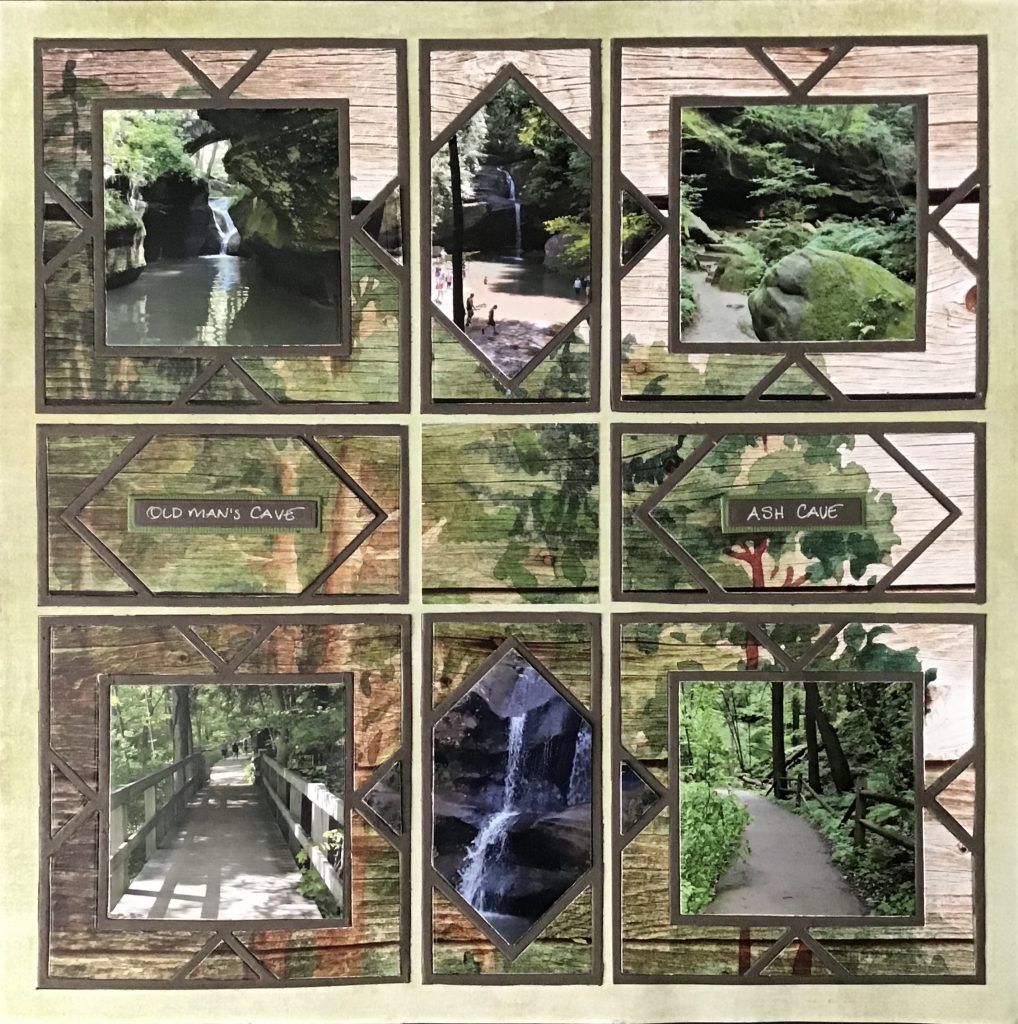
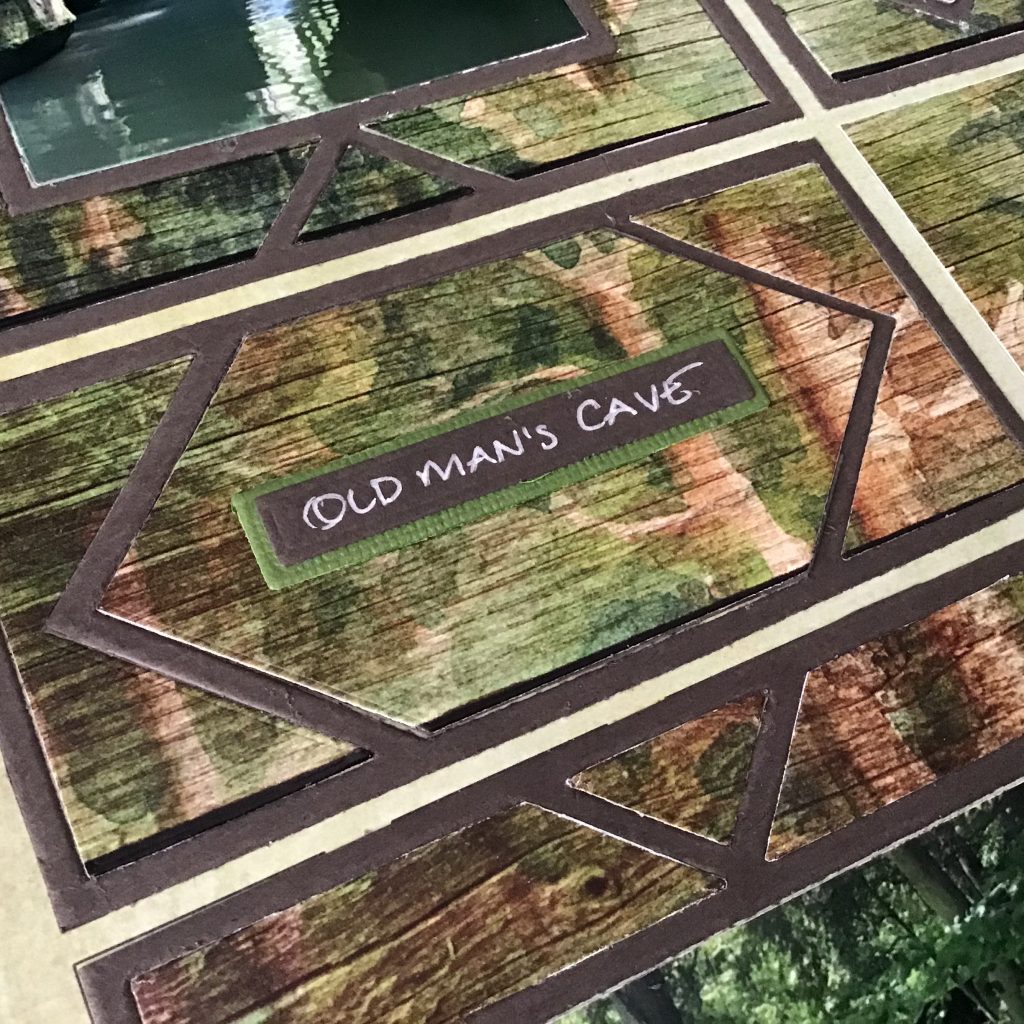
In the horizontal center sections I’ve built up the center bits with two additional brown cardstock pieces. It’s just a slight elevation that is really just visible close up. I’ve placed my tags with the location on each of these sections.
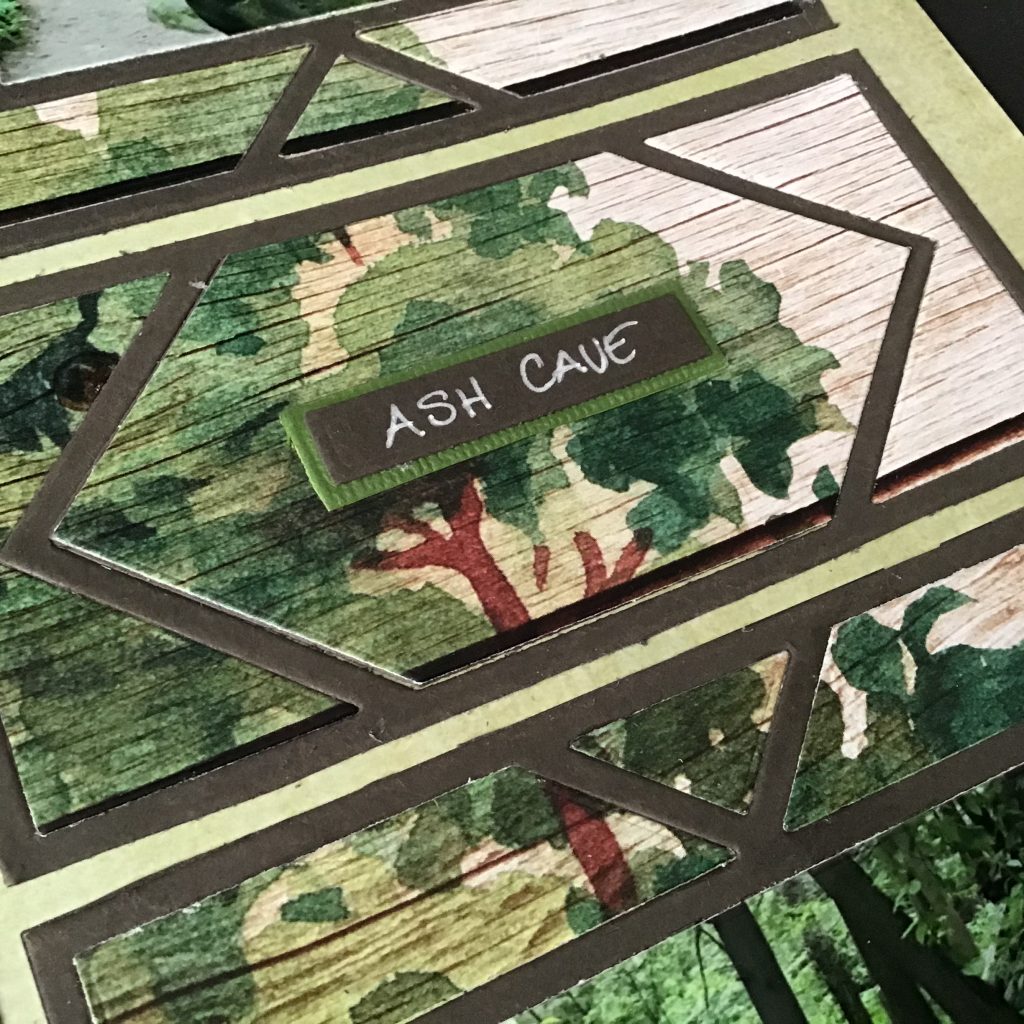
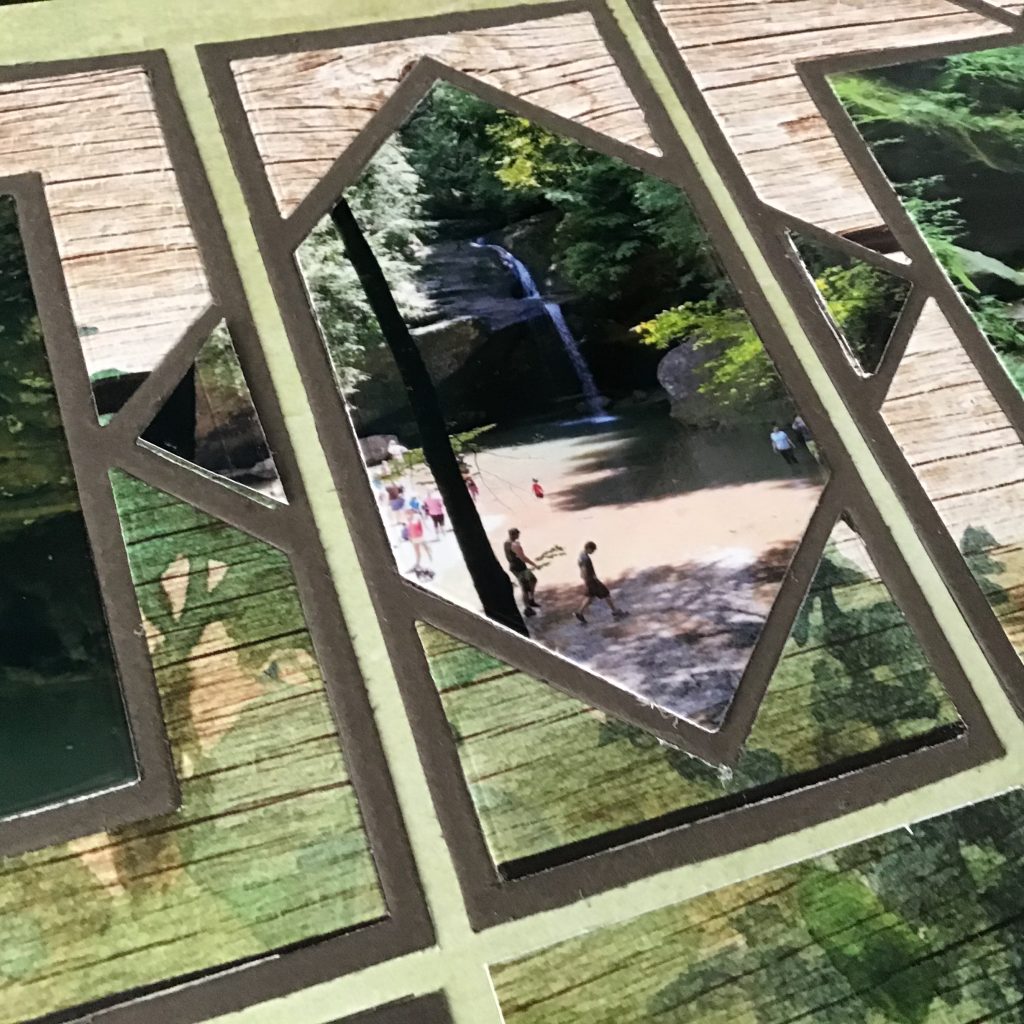
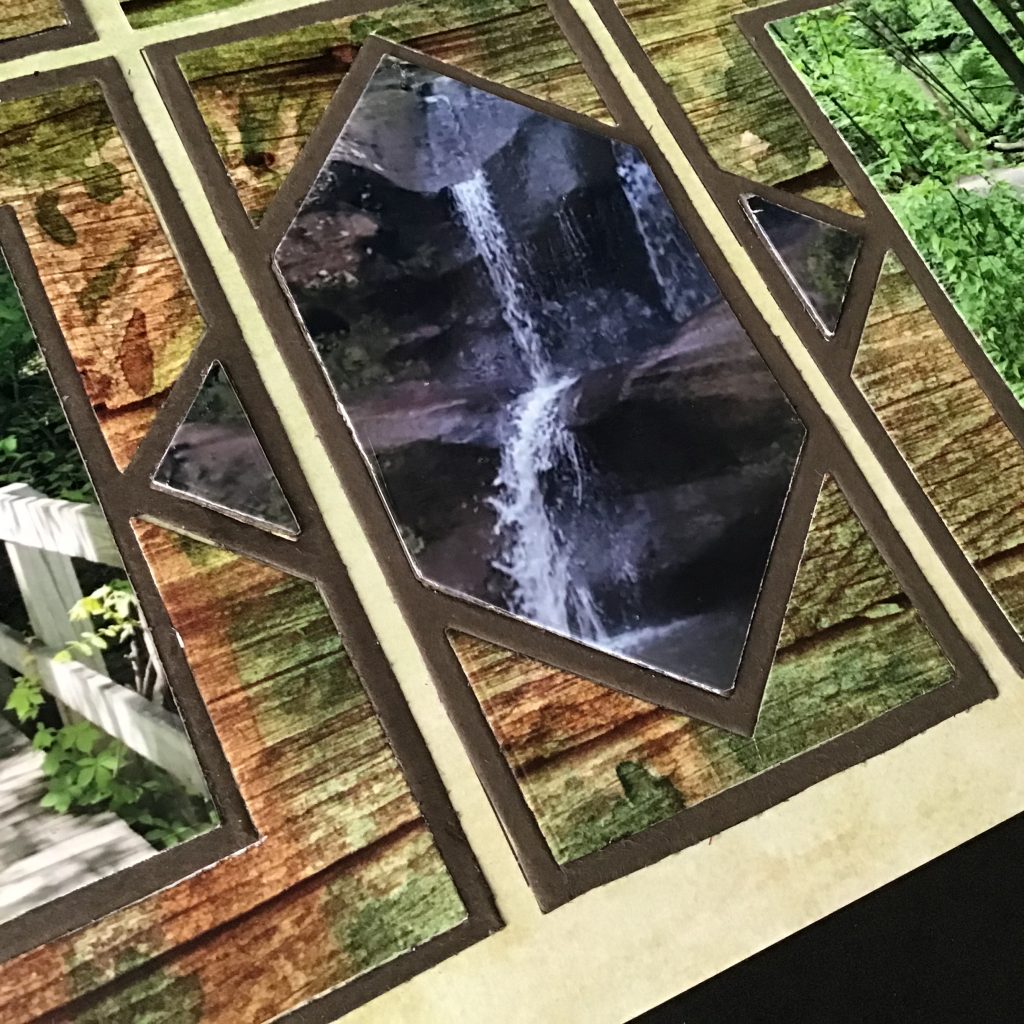
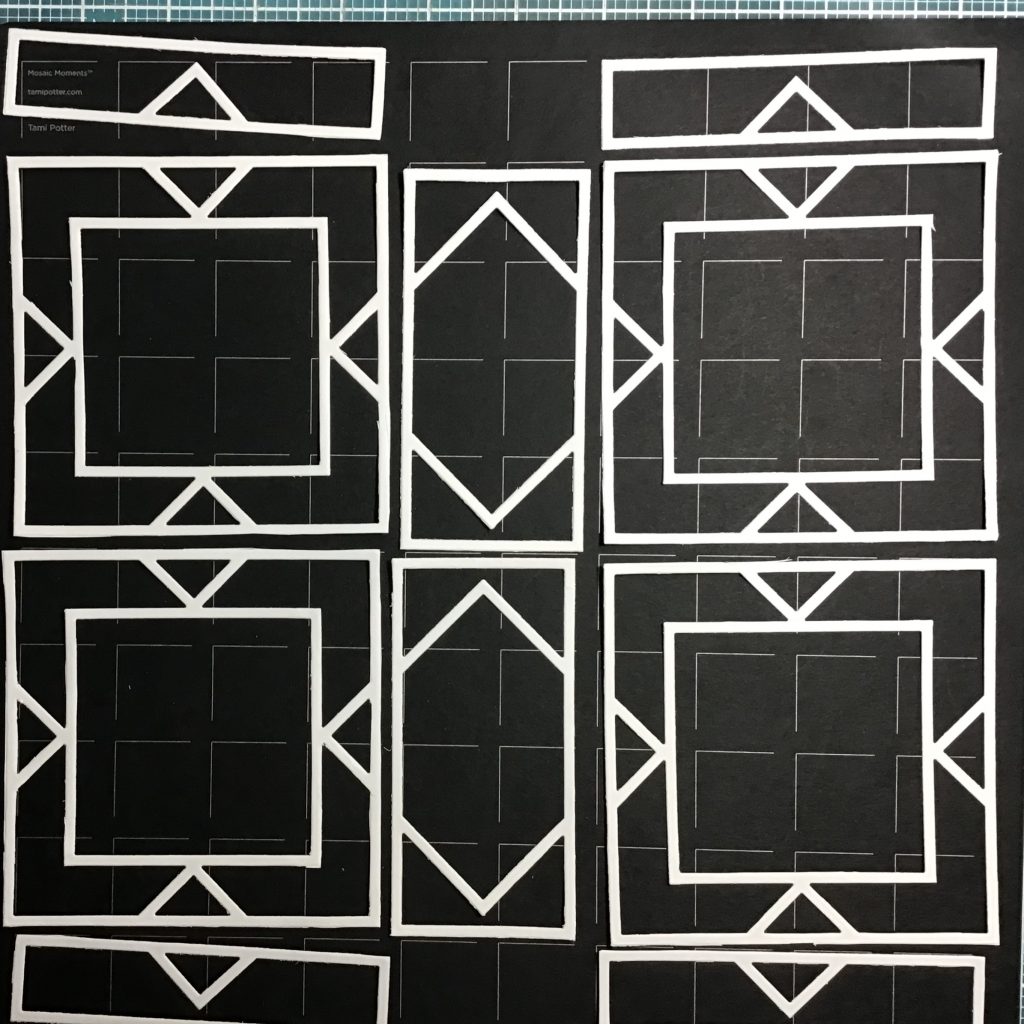
Each of the four corners have photos inserted into the squares. In the diamond between the corners I’ve built the center 2×4 section and the extended side triangles with two layers of brown cardstock to elevated from the die frame.

I could have filled all the spots to accommodate 8-9 photos, but I wanted to see as much of the paper as possible. Yes,that means taking a little longer to work on the details, but I think you’ll be pleased with the results if you try something similar.
Andrea Fisher