
Borders add interest to your layout while reinforcing the theme of the page.
Mosaic Moments™ offers border dies in several different sizes, but today we are going to look at ones that fill one square tall, by five squares across.
Scroll down to see the array of design opportunities.
1. Snowflakes
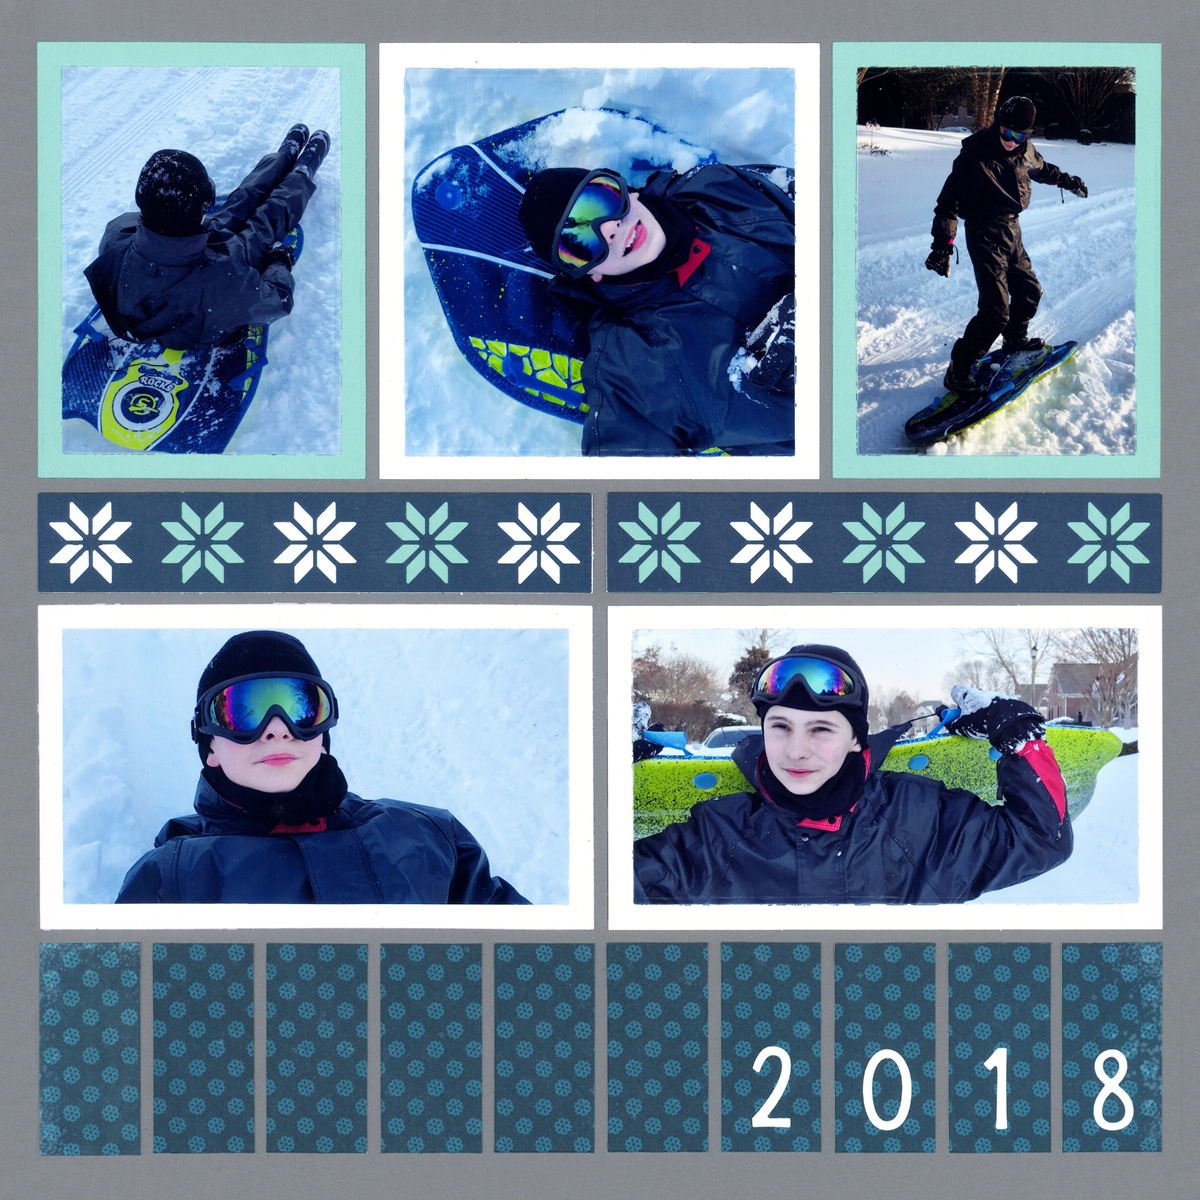
"Cole Sledding" by Paije - Page Pattern #307
In this design, Paije used the snowflake border twice and placed it side-by-side to give the appearance of one long border. Alternating the colors used in the design gives the layout a Nordic appearance.
Tip: Change out the colors and add a gem to the center of the snowflake and they could pass for poinsettias.
2. Flowers
Flowers aren't just for girls. Here they are used in place of strawberries.
Placing the borders on the outside edges of the page keeps your eye focused on the main event -- the photos.
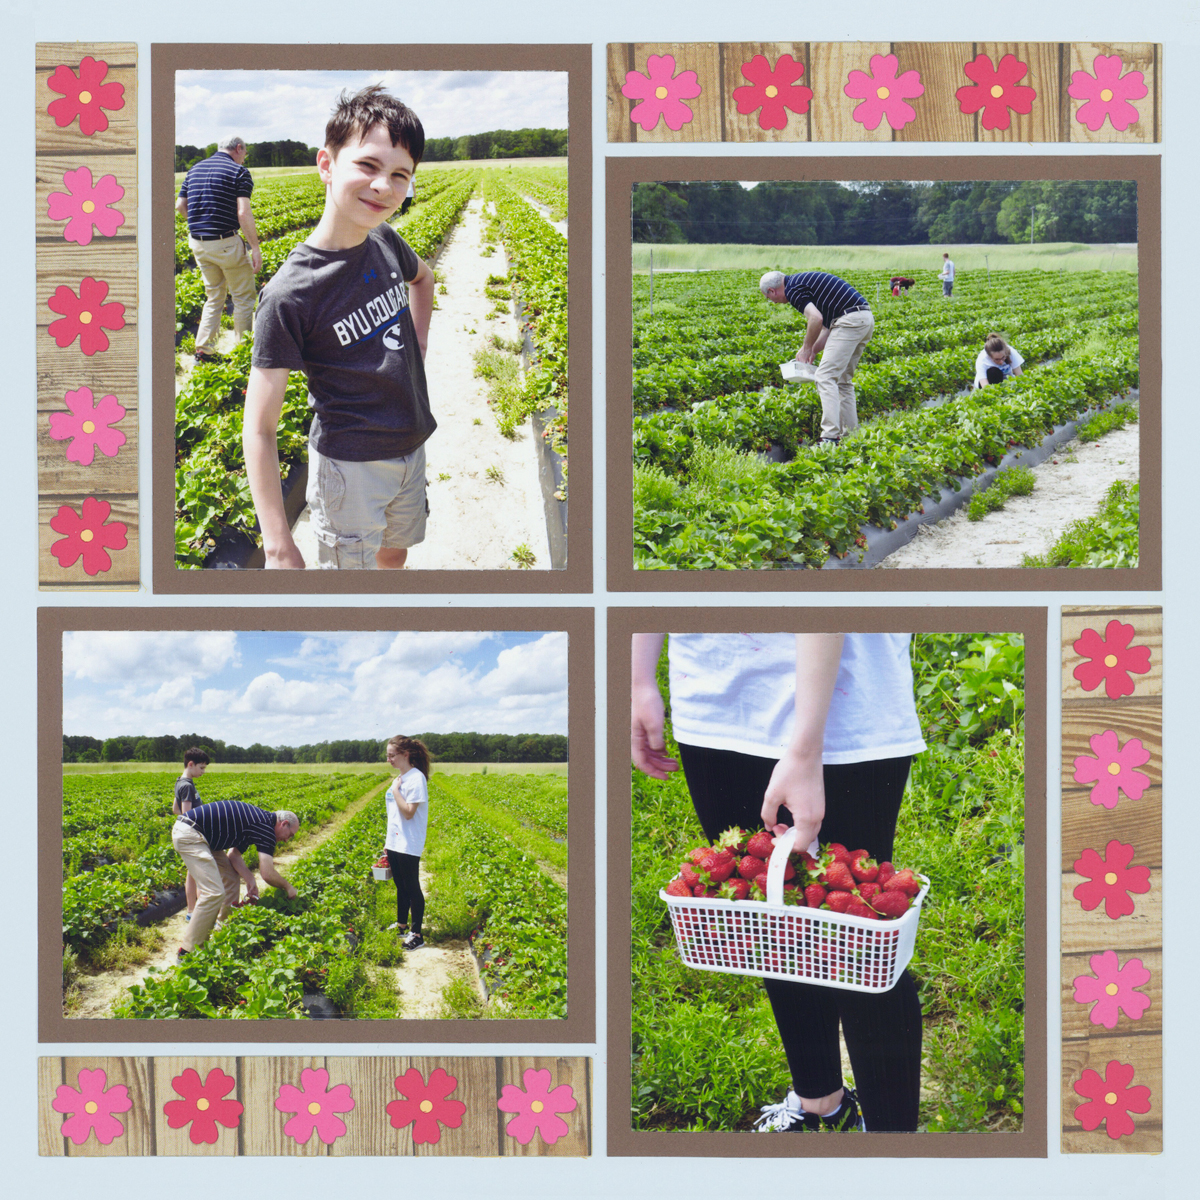
"Strawberry Field" by Paije - Page Pattern #357
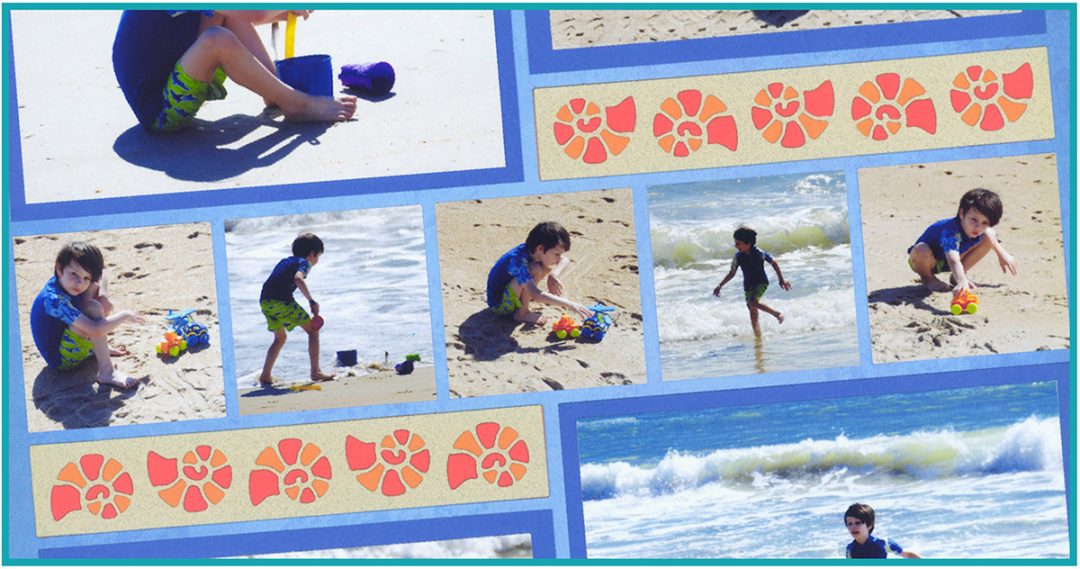
3. Seashells

"Beach Day" by Paije - Page Pattern #347
Sometimes making all of the photos the same size can lead to boring pages.
Look at the impact Paije created by making two of the photos one square shorter than the others and then using the seashell border to fill the space.
The pop of color of the seashells really brings the page to life.
4. Make it Work
When the border is longer than you wish, you can easily cut it down to fit your design. That's the beauty of working on the Grid.
Here, Paije used the Wave Border, which is actually 1x6. She trimmed a bit off the edge to make it 1x5.
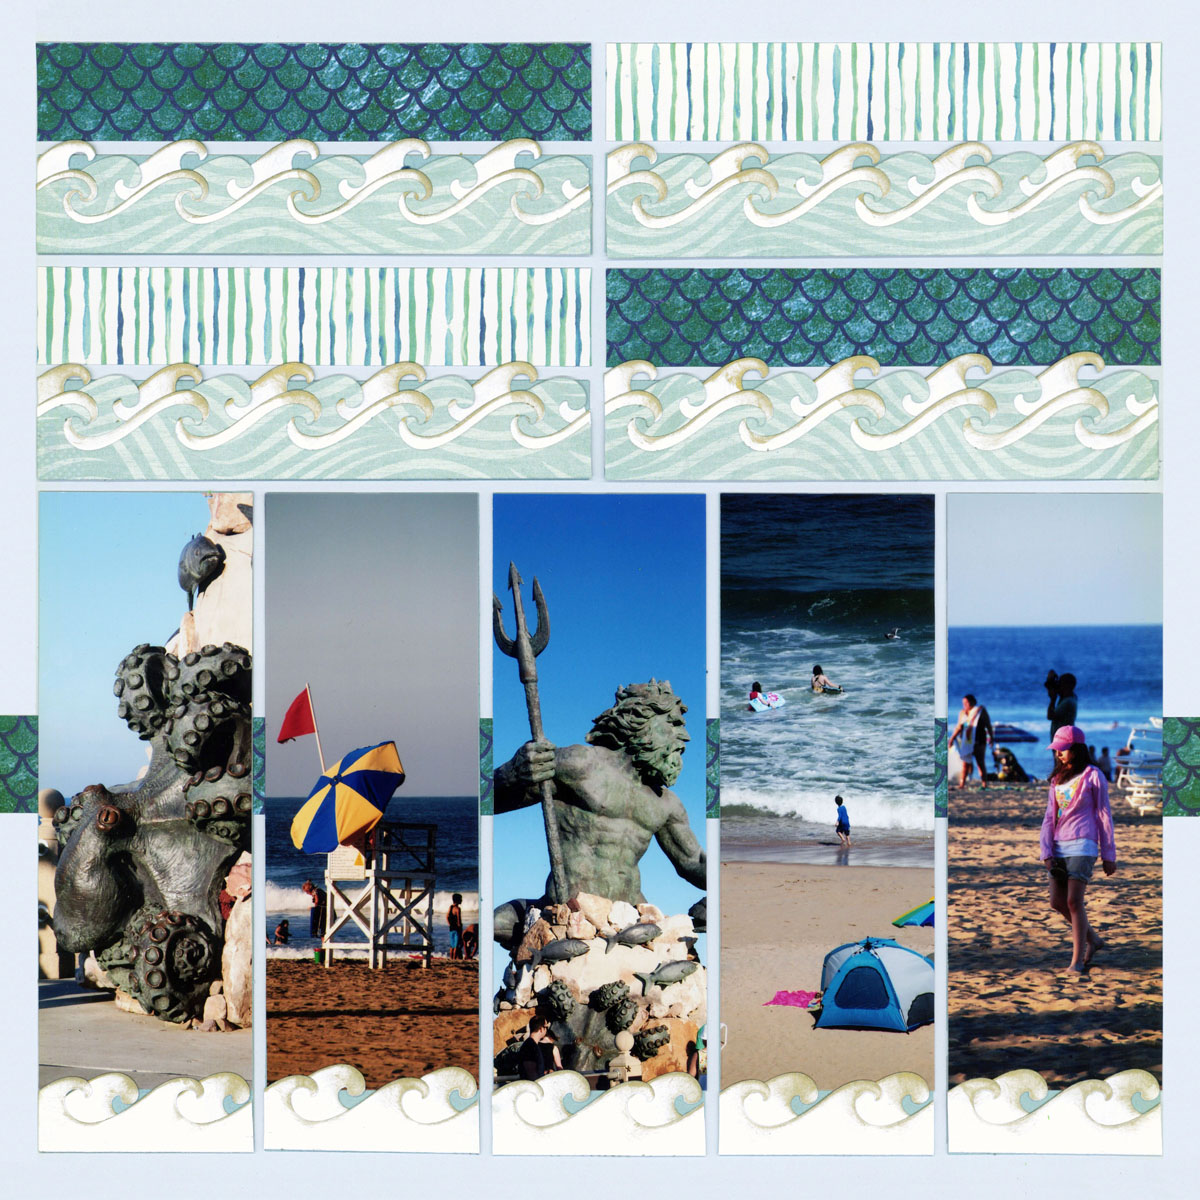
"Fun at Virginia Beach" by Paije - Page Pattern #121
5. Mix it Up

"40 Busch Gardens" by Tami Potter - Page Pattern #353
The Layering Ribbon Border allows your to cut and layer pieces to create your own designs.
Here, Tami used the pieces that come with the set to create to flower borders. Then, she used the background pieces and added die-cut letters to create her title for the other borders.
6. Around the Edges
The Mid-Century Border can be a beautifully decorative piece.
But Tami kept it simple on this layout. By placing it around the outside edges, it helps denote the movement of the ride.
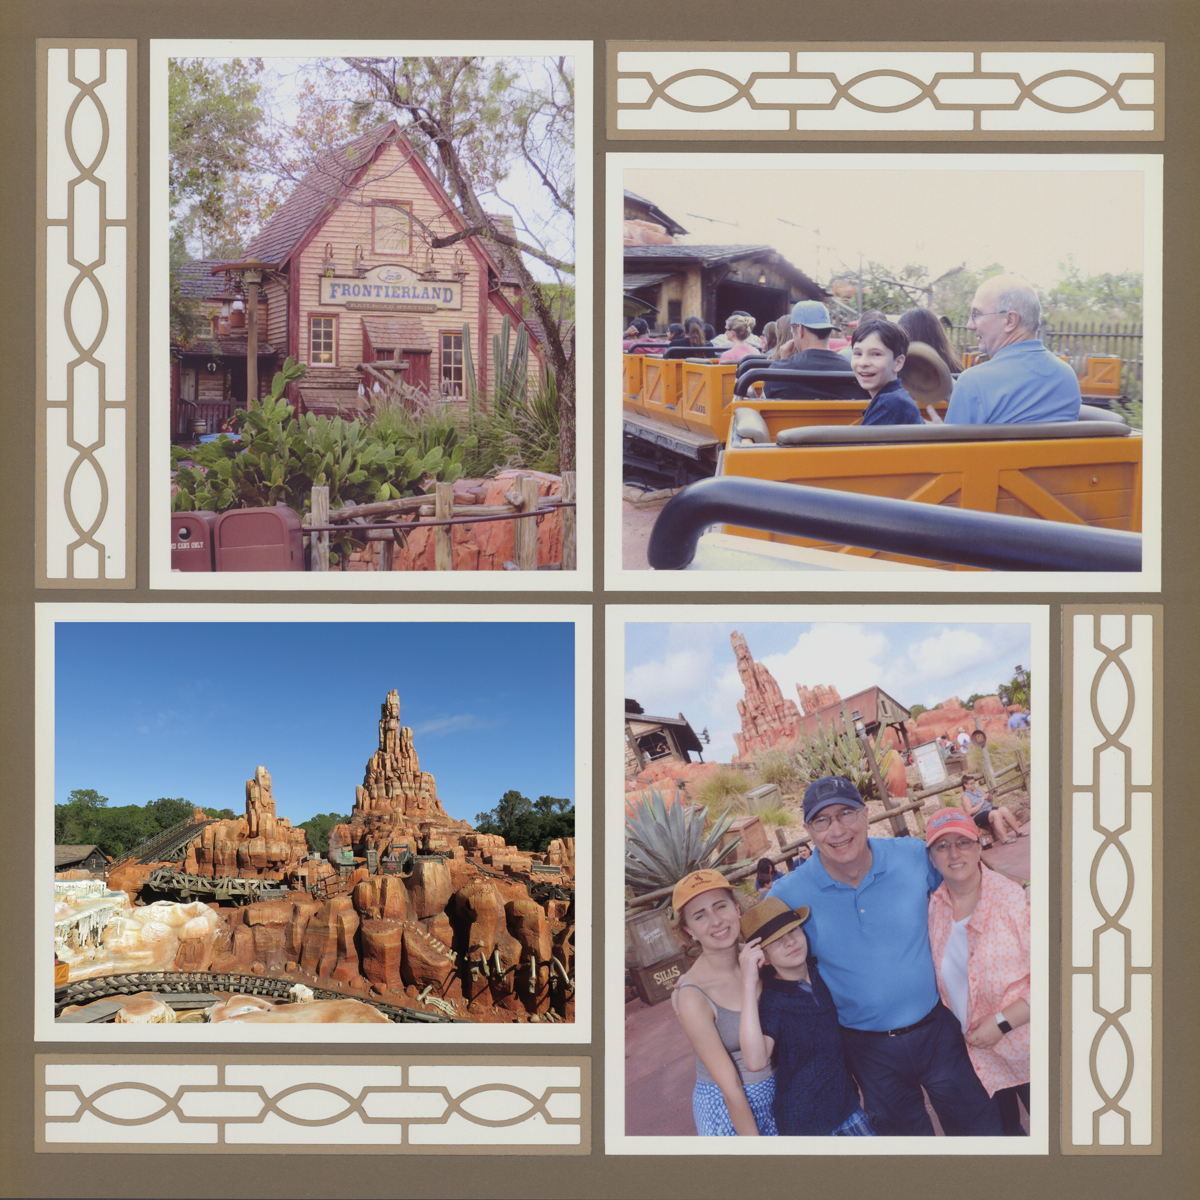
"Frontierland" by Tami Potter - Page Pattern #357
7. Diamonds
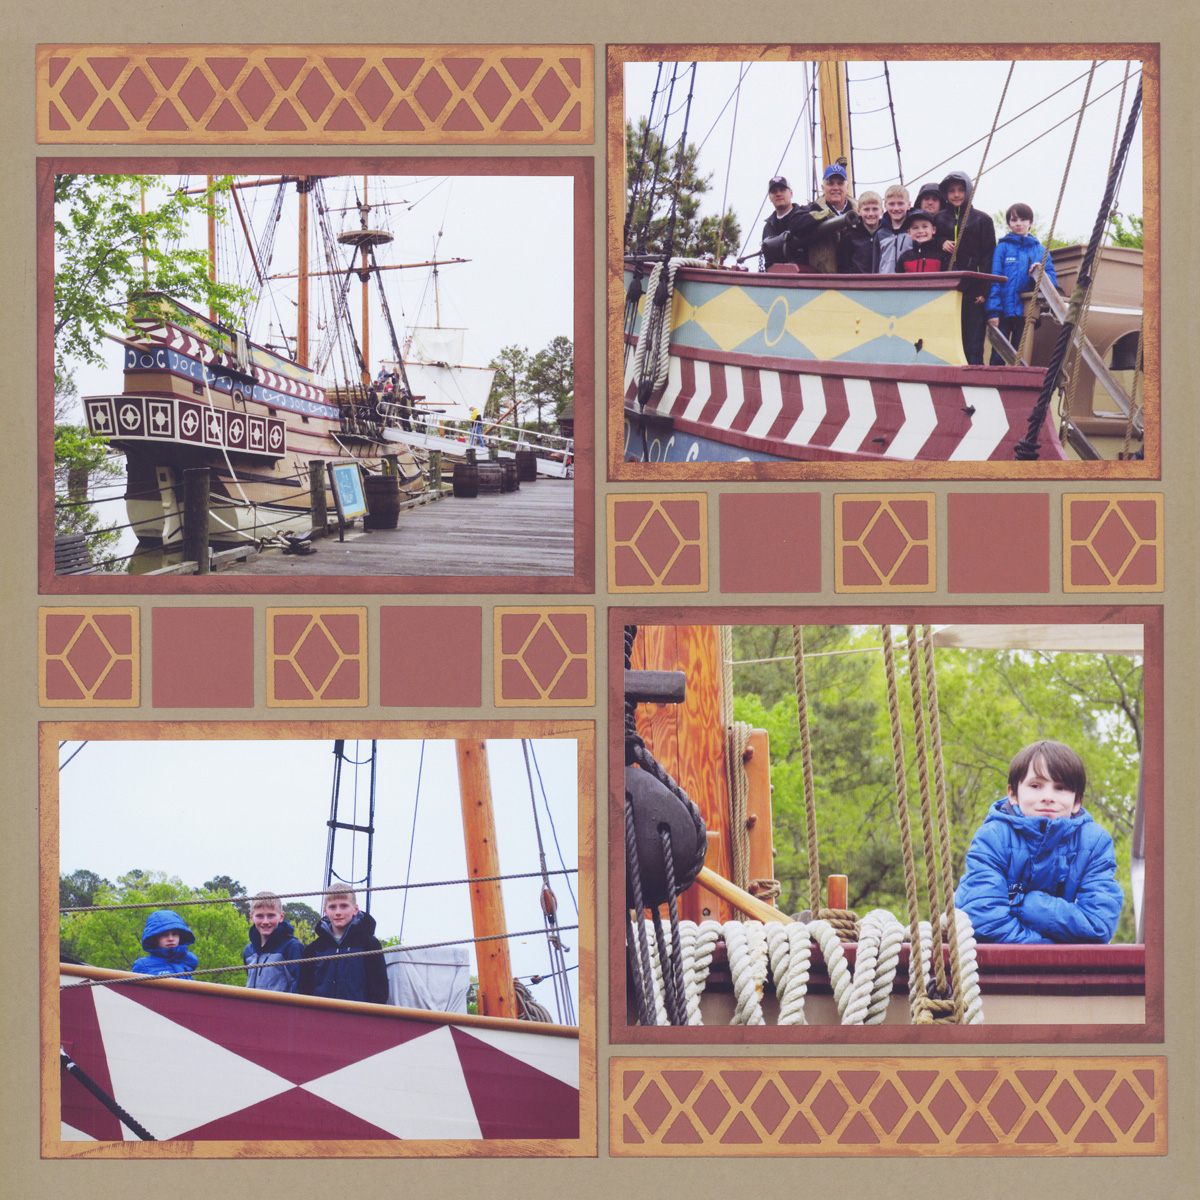
"Jamestown Settlement Ships" by Tami Potter
Many of the border dies have similar or matching dies in other sizes.
Tami used a similar diamond shape in the middle of her layout to repeat the design of the Diamond Border Die on the top and bottom of the page.