Why not focus on the story? We love taking photos of so many things, people, places, events, celebrations and even the everyday moments. We love scrapping our photos and making pretty designs too. However, a lot of us, procrastinate about adding journaling to our pages.
We’ve talked before about what I call the three styles:
- The Dragnet Approach: “just the facts ma’am”, names, dates, places.
- The Cliff’s Notes Version: a bit more than ‘just the facts’ with enough other information that summarizes the events being scrapped.
- The “Tell Your Story” Option: details, details, details.
We can talk a bit more about the third option today, “Tell Your Story” and about the details we want to add to our layouts.
Memorial Day, Flag Day and Independence Day all have Patriotic themes we can scrap about. Some of those photos will come with a story. How do we get that story from our heads and onto paper and still do it justice? We can tell a story orally, and plenty of relatives probably have a reputation for remembering long past events and talking about them at length, but one day they won’t be here to tell it one more time, and we should care about getting it down somewhere to pass it along to those who will come in the future.
There is nothing like a first-hand account of Pearl Harbor, D-Day, or even boot camp! If there’s a relative who immigrated to the states, what is their story of why they came and what their early days were like as they adjusted to life in America? What were your feelings the first time you visited DC, Mt. Rushmore, or Williamsburg? Do you remember where you were and what you were doing when that first plane hit the Twin Towers? Do you remember the thrill of Independence Day celebrations and fireworks? These are the stories that need a few more details to put in a layout.
Once you have your story, we need to add a few photos. We need to decide if we can fill two pages or will one be enough? Do we want a large space to write the story all in one spot, or will we choose to scatter it around the page with photos to illustrate each point?
If the story is one you are retelling you may want to have a list of questions to ask your story teller or have a recorder handy to get all the details correct.
My suggestion is to begin with writing the story for your page out to see what space you will need and if it’s possible to organize it into smaller blocks of writing or will you need one big spot. Now you will have an idea of the pattern you will want to consider from the Pattern Gallery.
How many photos? Do you have enough to illustrate it or will you need to do some shooting for your specific story. This info will also help you to narrow down the pattern choices.
With a Patriotic theme it will be good to choose a grid paper that conveys that theme. Grid choices in several reds and blues will get you started. You can add in patterned papers, or cardstocks and any number of our dies that will add to the theme.
What you include is up to you, but the goal is to tell the story about events that are important that only you…or even the person whose story you are writing about can tell. There’s a wealth of information you may want to include, this might even begin a special scrapbook to contain all the family stories for generations to come.
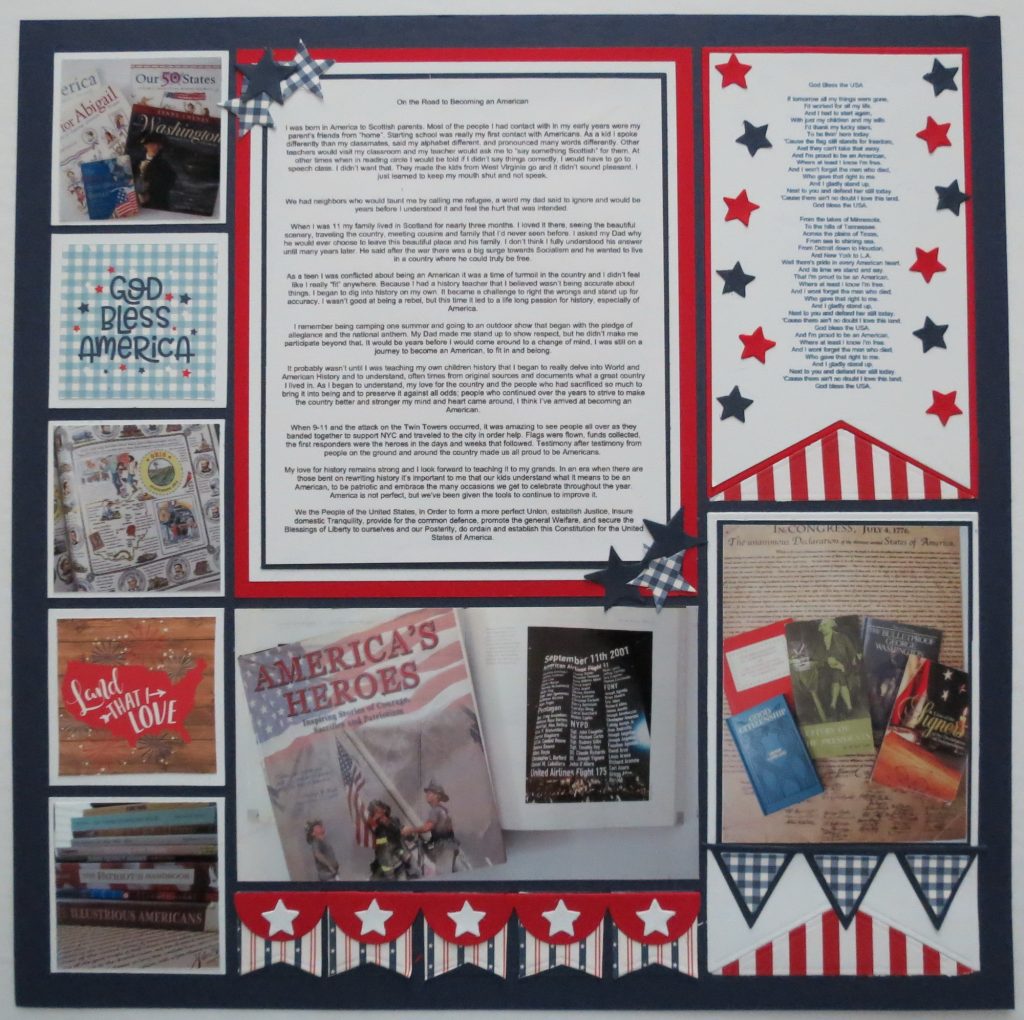
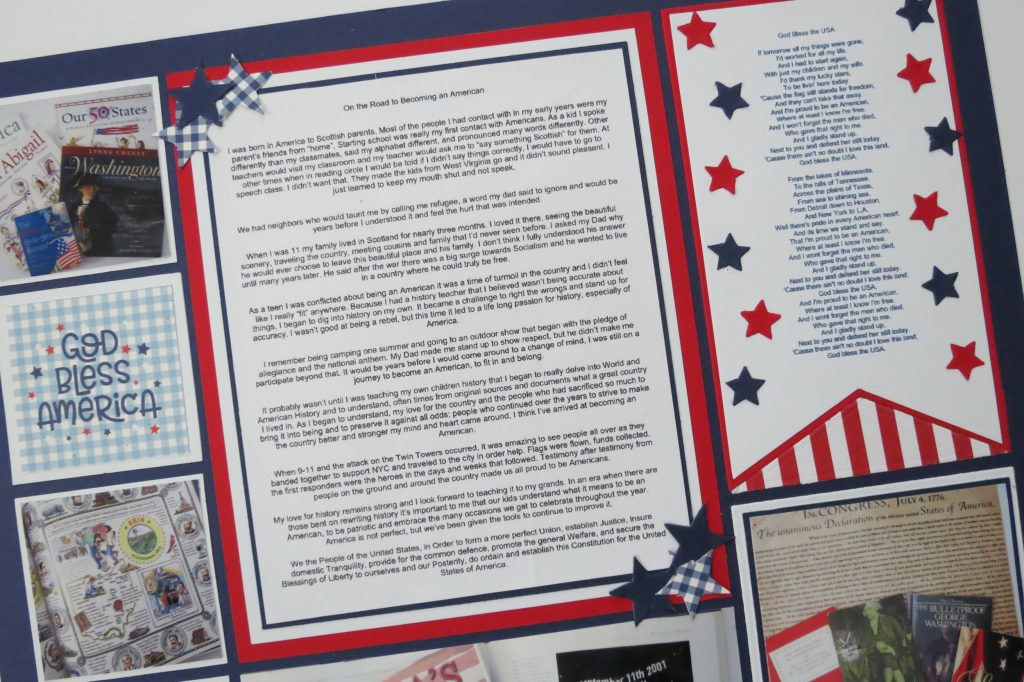
Here’s my layout and my story.
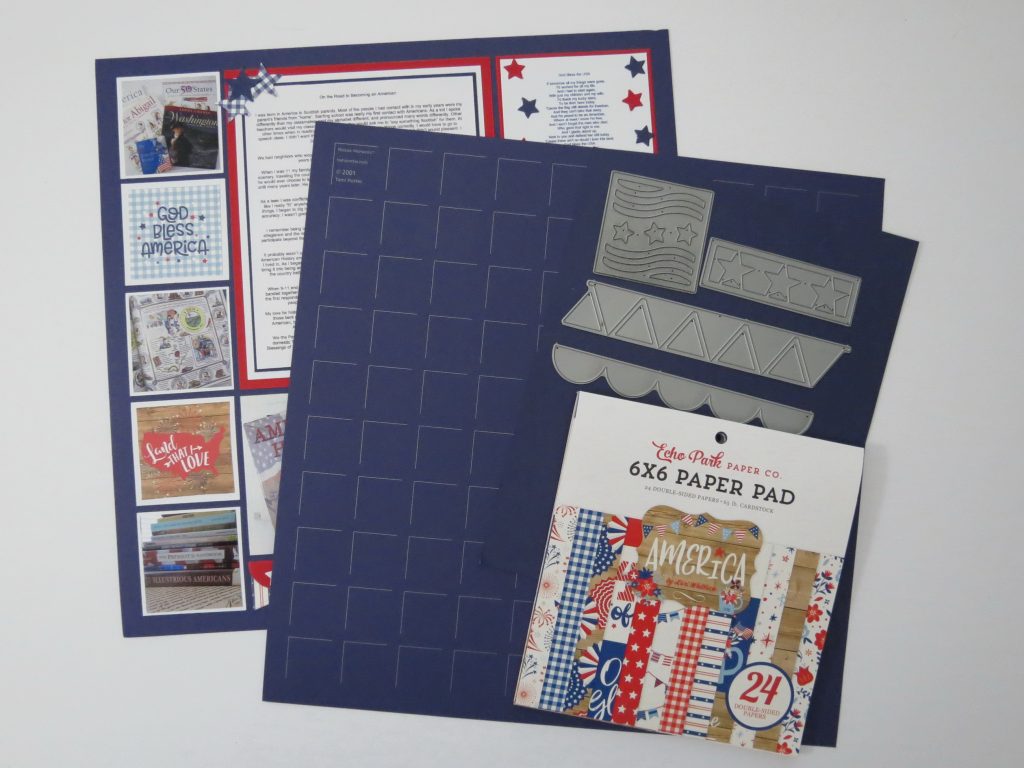
- Mosaic Moments Grid paper: Sapphire Blue
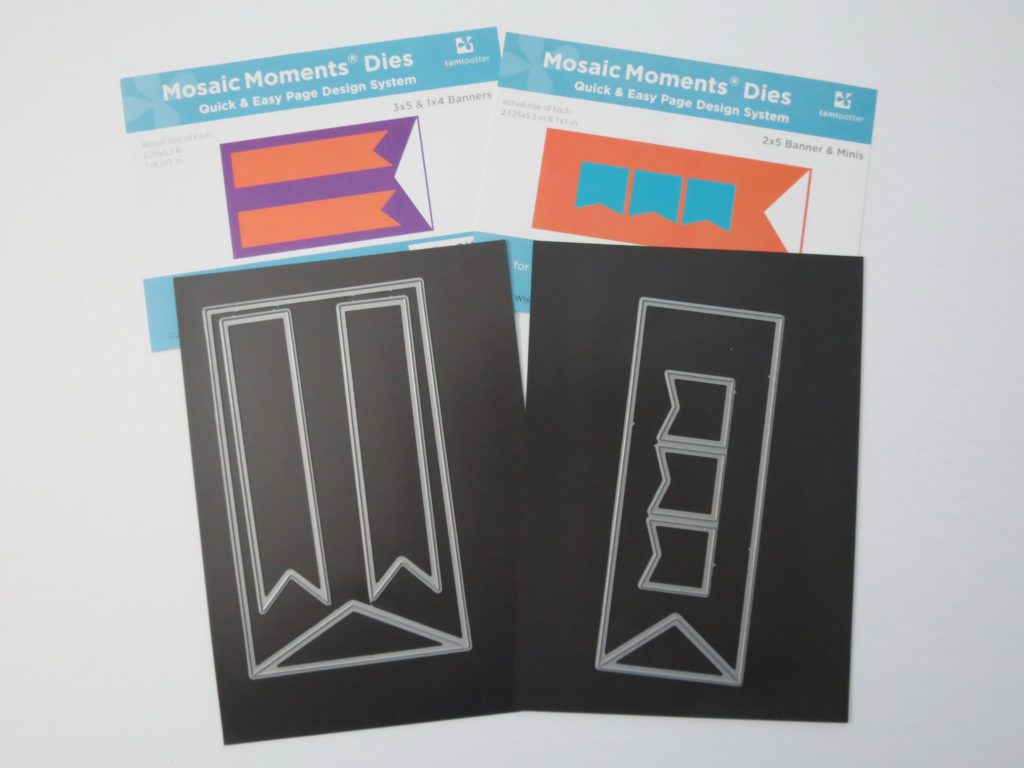
- Mosaic Moments Dies: Stars n’ Stripes, Triple Star 1×3, and several Banner Dies-2×4, 3×5 and an older, retired die set Pennant and Scallop Die set
- Patterned Paper: Echo Park America 6×6 collection by Lori Whitlock
- Pattern #275 with a few adjustments
- Cardstock: Black Iris (Darice) Red and White – Michael’s)

My story fills the large 5×6 space on the grid. I have triple matted the text with a red, white and blue. To accent this block, I’ve separated three stars from the 1×3 Triple Star Die in a solid and a pattern.
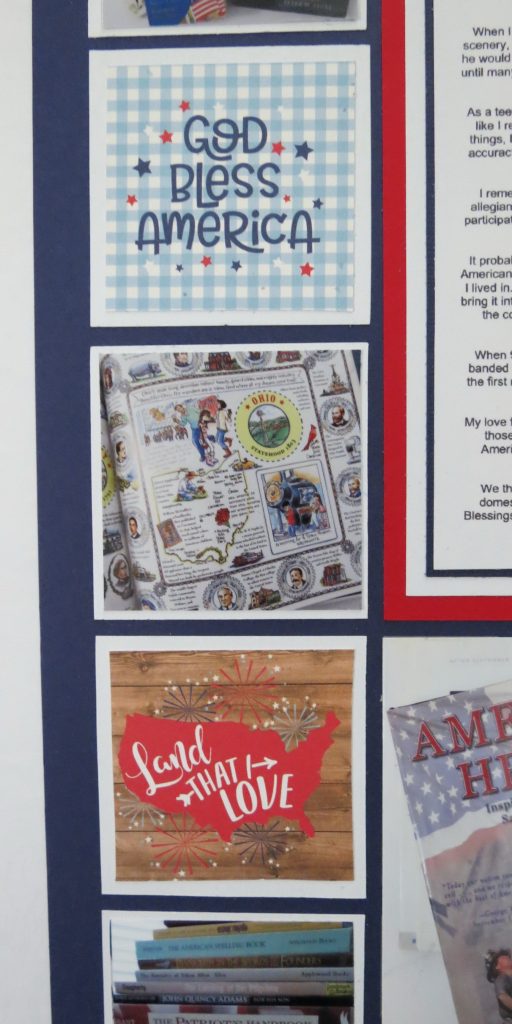
In the left-hand column I have a series of 2×2 squares, some with pictures of our favorites and squares from the Echo Park America papers. They work with my theme well and I’ve also trimmed and mounted them on white cardstock.
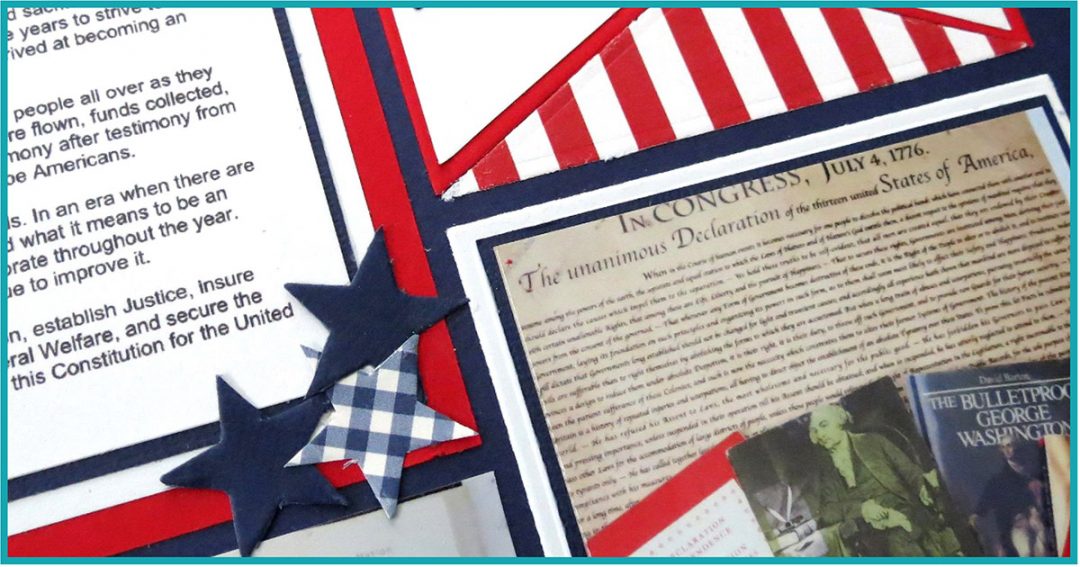
On the right-hand column, I decided a couple of larger banners would work nicely, one for the lyrics of a patriotic song and the other for a picture and additional banners. The top banner is cut in red and white and layered by using the embossed edge as a guide to cut a narrow strip away. Along the edge of the 3×5 banner I’ve scattered stars in red and blue that I used the Stars n’ Stripes to obtain. A red and white striped paper is cut for both banner gaps.
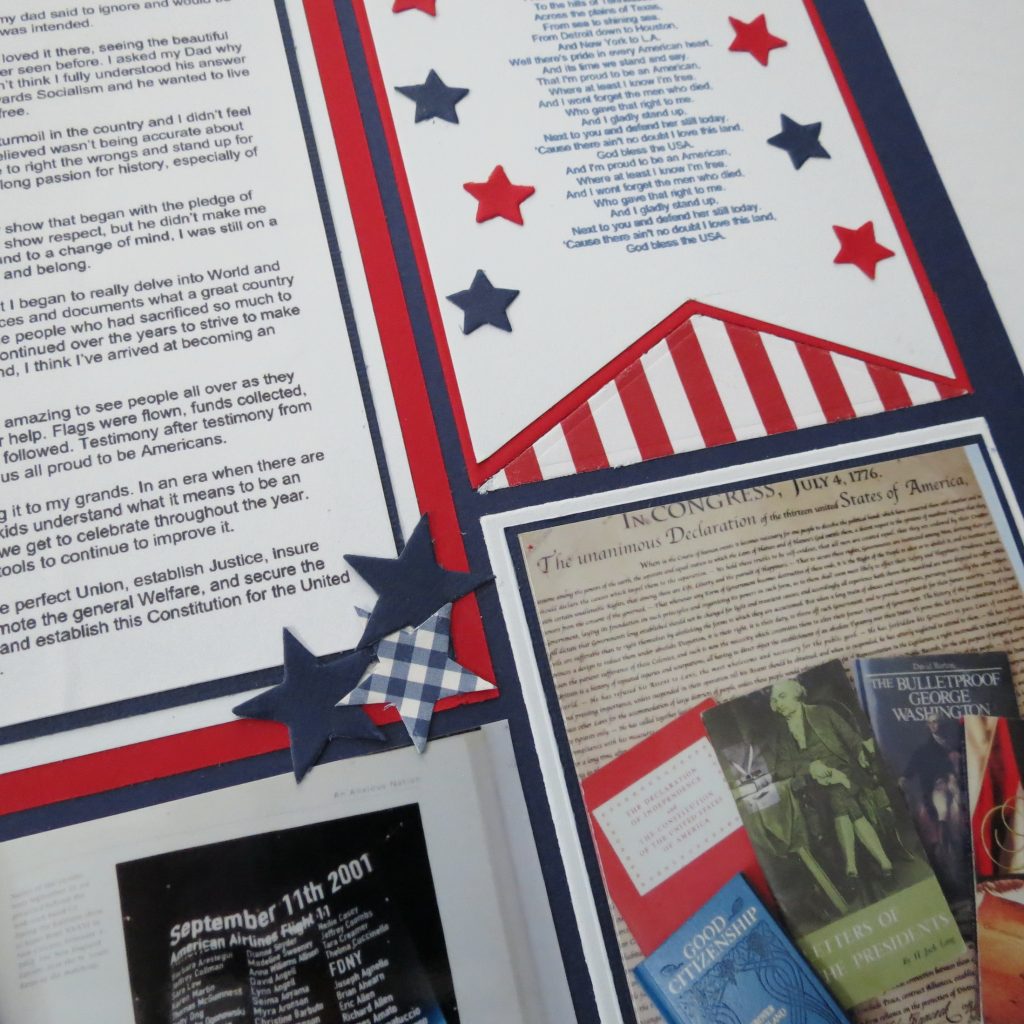
In the lower banner I’ve mounted my photo on blue evenly spaced the edges leaving the wider gap at the bottom. A pennant in blue and blue gingham layers edge the photo bottom.
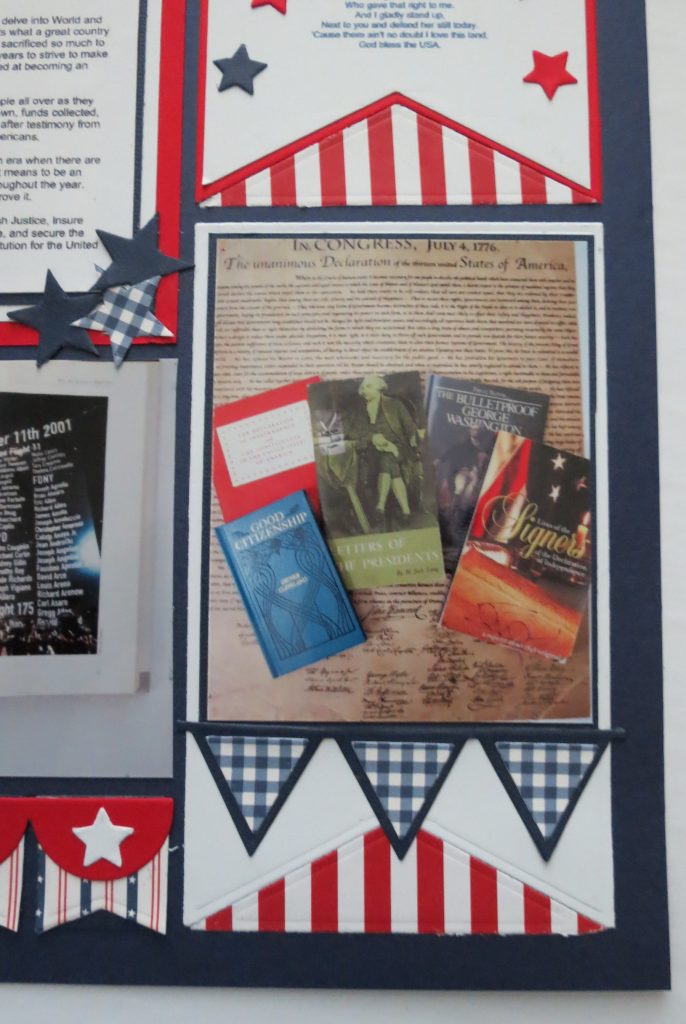
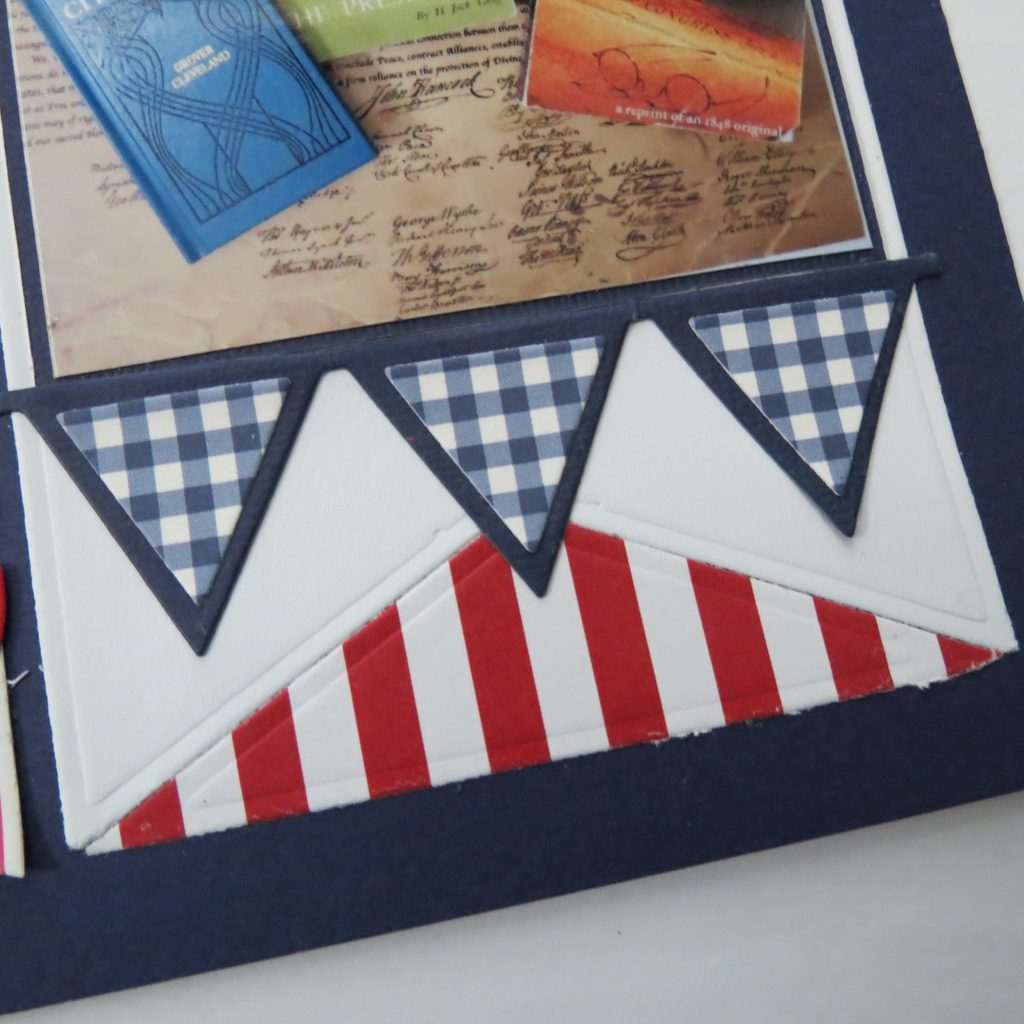
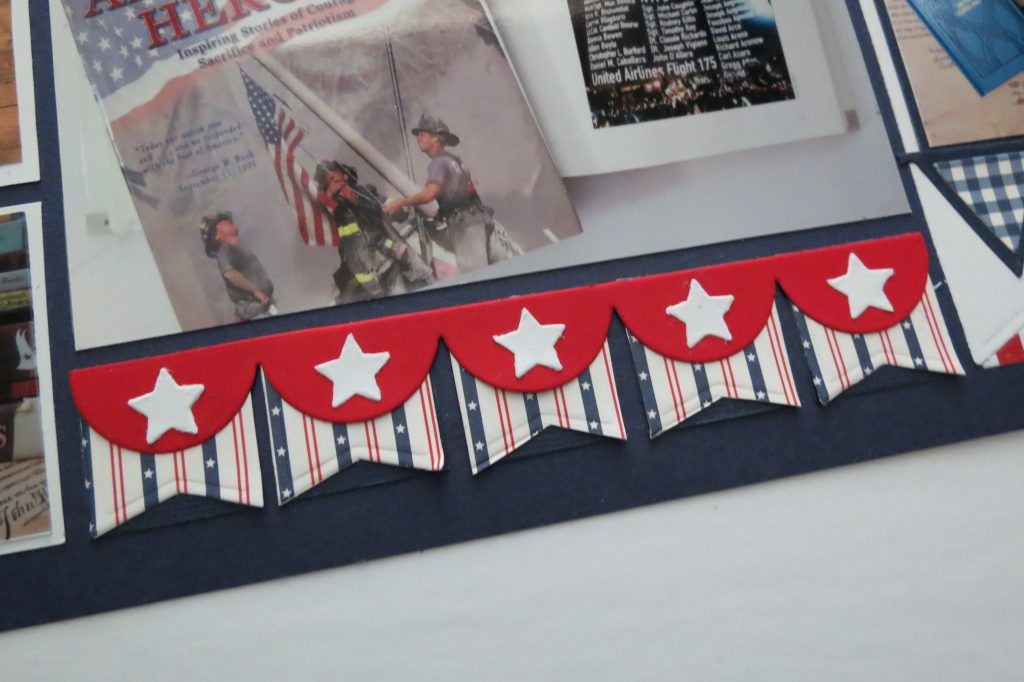
My final photo goes direct to the grid below the story block leaving 5 – 1” squares below that to finish the page. Filling them with my blue cardstock and using the 1” square banners to cut from the striped pattern paper. I added a scallop border in red to the top and white stars in each pennant.
Sometimes you begin your scrapbook pages with your photos, today we started with the focus on the story, why not try putting a page together where your story is the focus!
Andrea Fisher

