Tweaking A Trend
Personally, I usually avoid the trends. Trends come and go on a regular basis. Think about it for a moment and you’ll see how many there have been in scrapbooking. I didn’t buy into the grunge trend in scrapbooking, not that I’m Mr. Monk or anything but it was just a little too dirty looking for me.
If you are going to follow new trends in scrapbooking, be sure you are using it because you really like it. Otherwise you may look back at your scrapbooks and only see the trend (and maybe not like what you see) and not see your wonderful photos!
Today I’m going to begin with a trend we are seeing in scrapbooking this year: Chevrons. I’ll show you how you can use them in your Mosaic Moments layouts.
Here I’ve used a couple of color combos:
- Navy Grid paper with Brick and White Mosaic Moments Paper Tiles. Only two colors, but combined with the Navy base you now have the perfect combo for holidays like Independence Day, Memorial Day or Veteran’s Day. Perfect for either a nautical layout or patriotic theme.
- Next on a Black Grid and three colors of Paper Tiles, White, Orange, and Sun Yellow. If you are looking for a backdrop for your October events, this Candy Corn Chevron may fit the bill.
- Finally on a Cocoa Grid and Paper Tiles in four fall colors, Chocolate Cream, Red, Tangelo Blast, and Sunflower you’ll see what you can do in a fall color Ombre Chevron.
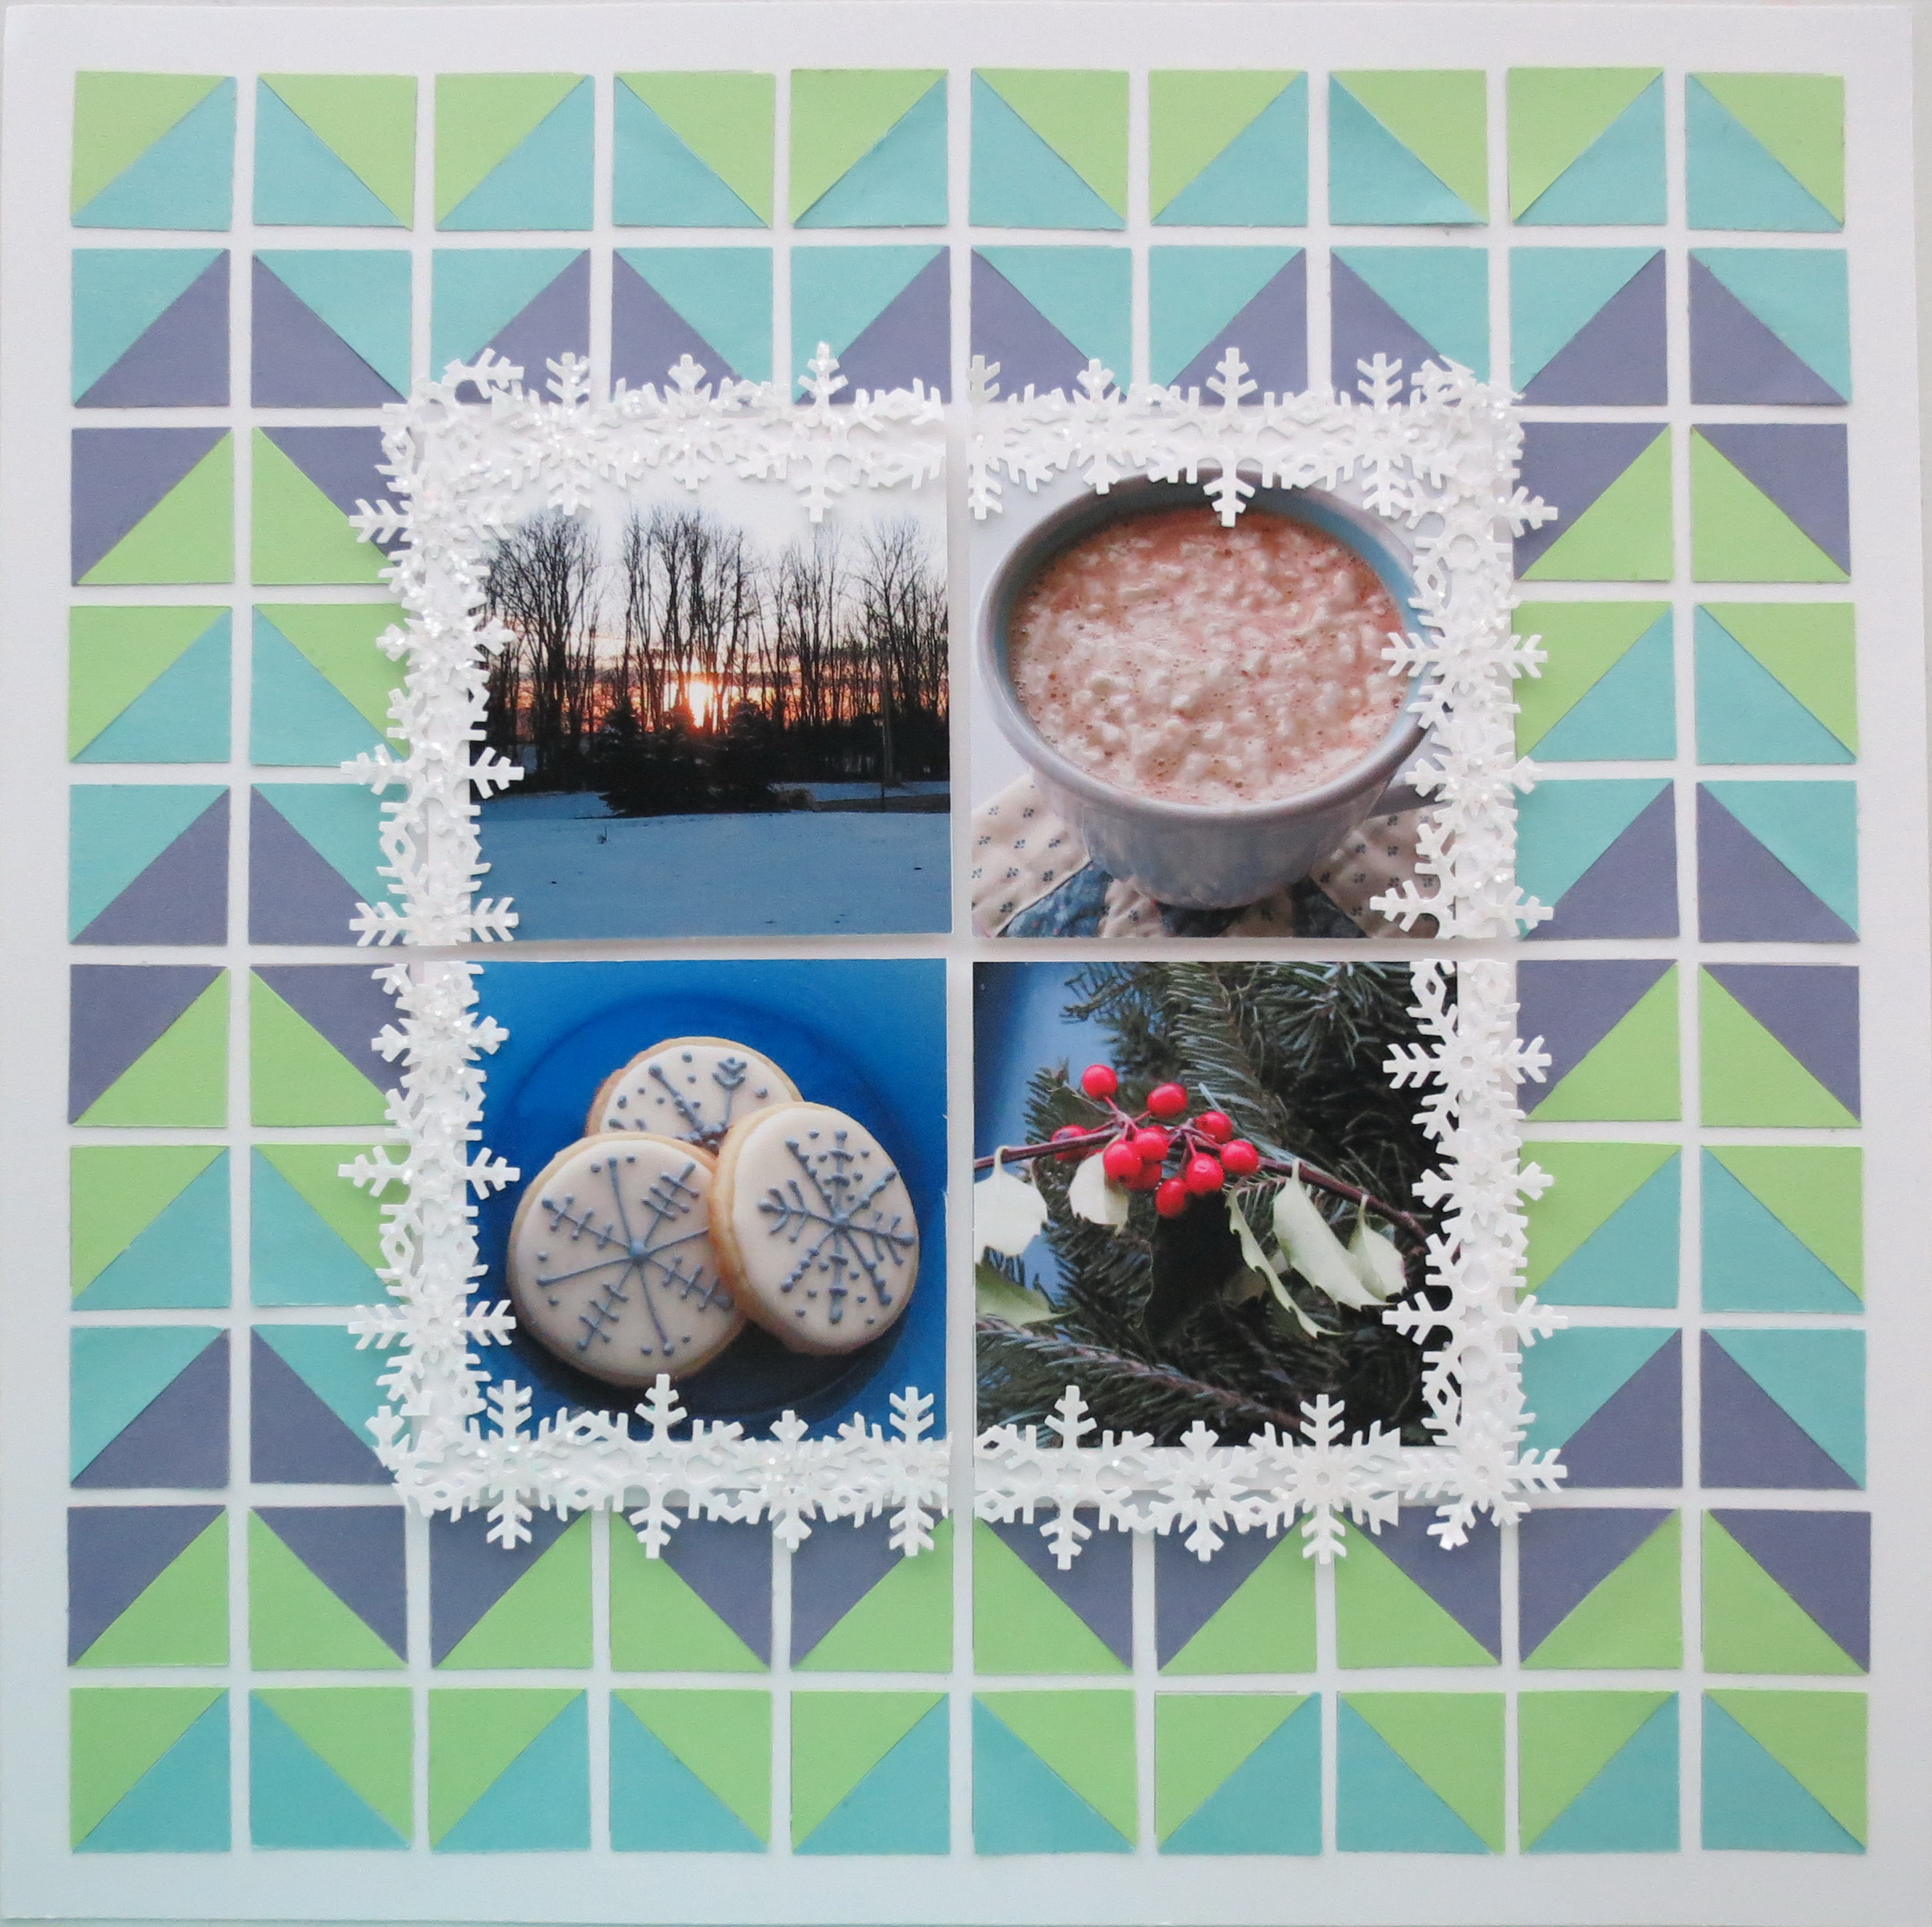
The layout I’ve done my sample in has skipped the warmth of fall for a taste of the brisk winter snows! Yes, I said that word! However, if you are like me you can forget to take photos outside in the snow and any of the activities your kids may be involved in because you don’t want to be out in the cold or that the snow has been coming down faster than you can clear it and the next day melted! So here’s hoping this is an idea you’ll like to plan for and remember to take the photos!!
What I Used:
- I have chosen to work on a White Grid to play up the snow feel.
- I have chosen 4-3×3 size White Paper Tiles for my center photo display.
- The Martha Stewart snowflake border was used to create four border strips.
- Martha Stewart Crystal Coarse Glitter for the bling.
- Glue dots to adhere the snowflake border and give it a little more depth than just adhering it flat to the surface.
- Foam mounting sections to elevate the photos above the background grid for more depth and to allow the snowflakes to appear to float’ over the edge of the paper tile.
- The Paper Tiles for this Chevron pattern were, Light Aqua, Medium Lime and Medium Icy Indigo.
How I Did It:
In the photo below you see I have 1” paper tiles lined up to cut several at once. What you don’t see is that I have two different color tiles stacked together (use a small amount of dotto adhesive to hold to each other and then to the mat to cut). This way by using the top right side of one with the bottom left side of the other and vice versa I have two tiles that line up and match without a gap because they have the same cut sides meeting when placed together, see second photo .
When filling the grid with the triangle tiles be sure that each of the corners have enough adhesive so that they will lay flat on the page. Follow the pattern you have chosen to create. I used a pattern by filling in the spaces on one of our FREE downloadable patterns Crossword planner, available HERE to decide what I wanted and it helped to keep me straight when filling things in! Although I’ve used a full page Chevron pattern you may prefer to only use a stripe instead of a full page. The planning sheet will help you to see what it will look like before you commit to cutting the pieces.
I printed four photos as 3” squares to place on the 3-3/8” White Paper Tile. I attached them so that they would all come together in the center leaving a narrow white border on the outside of the four photos. I placed them on the mat as I would if they were on the grid to get the proper spacing between them to aid in attaching the punched borders.
Then the snowflake borders were arranged on the outside edges and micro glue dots used to attach to the white edge. Next the edges were trimmed to eliminate excess at the ends and trim between the 1/8” areas between photos.
Next the glue for the glitter was applied, followed by the crystal flakes.
Time to dry was allowed and then foam mounting tape placed on the back to give good support and then put in place on the grid.
The final project is now complete. It reminds me of those great warm sweaters of winter and even the way the Chevron is formed for the Mosaic Moments Grid, it reminds me of a purl stitch in knitting! So grab a cup of hot cocoa and get started!!
A close-up look…
…can you see how the snowflakes appear to float above the base?
Any number of themes can be achieved with the right color combinations. This is one way to use a trendy item and make it your own.
Hope you’ll give it a try and share the results with us either on Journella.com or our Mosaic Moments Facebook page; we’d love to see what you come up with!!
Thanks for joining us…
Andrea Fisher

