
Today I’d like to show you a great home-dec project that can be adapted to any season, or subject you’d like to feature using the Mosaic Moments RTC Grid paper. I call it Misting Three Ways.
Misting 3 Ways by Andrea Fisher
This weekend I completed a family photo shoot in the hopes of getting the annual family photo for our Christmas cards. This year was unique. Two of my five children are now married and have their own traditions to begin, but I thought I’d try to do this once to see how it would go. The project feature today is one way to show multiple photos off at one time. It makes a great gift for Grandparents too! While it is presented in a clear 12” x 12” holder, it could easily be displayed in a wooden shadow box to add to the fall theme.
Here are the items you will need:
- 12” x 12” sheet of RTC in either white or ivory (my choice: ivory)
- 4 shades of Tattered Angels Glimmer Mists (my choice: gold, peach delight, candy apple red, olive vine)
- Assorted leaf die cuts to use for masking or you can use real leaves of varying sizes and shapes
- Leaf stencil
- Frame or shadow box
- Seasonal ribbon for hanging frame
If you have done any misting in the past, you know it can be messy so be sure you lay some newspapers down in the area you will be misting to avoid unnecessary mess and make clean-up easy.
- Begin with your choice of color of the RTC Grid Paper and your leaf stencil. I used the olive vine for this portion and the fern type leaf.
- Block off the leaves you aren’t using with a strip of scrap paper to isolate the one you intend to spritz. Dotted adhesive will anchor it well. Once finished this will also give you a leaf you can use by cutting it out. This is Mist Way One.
- Use scrap paper on all sides to avoid as much of the “drift” from misting. Use dotted adhesive around the leaf image to keep in close to the surface and avoid spreading. Mist.
- Then with your lightest color add a few spritz around the page.
- Layer your leaf die cuts around the page including over some the areas you just spritzed. They will be your mask to create leaf shapes in the negative space. This is Mist Way Two.
- Continue to spritz your colors randomly around the page until you are satisfied with how it appears. I checked by placing paper tiles in the correct spots to gage the overall look.
- At this point you will be able to move your leaf die cuts around slightly to allow a double image when you mist again with your lightest color again.
- Finally, the leaves that you used as masks now have layers of several colors on them and make a perfect embellishment for your final presentation. This is Misting Way Three.
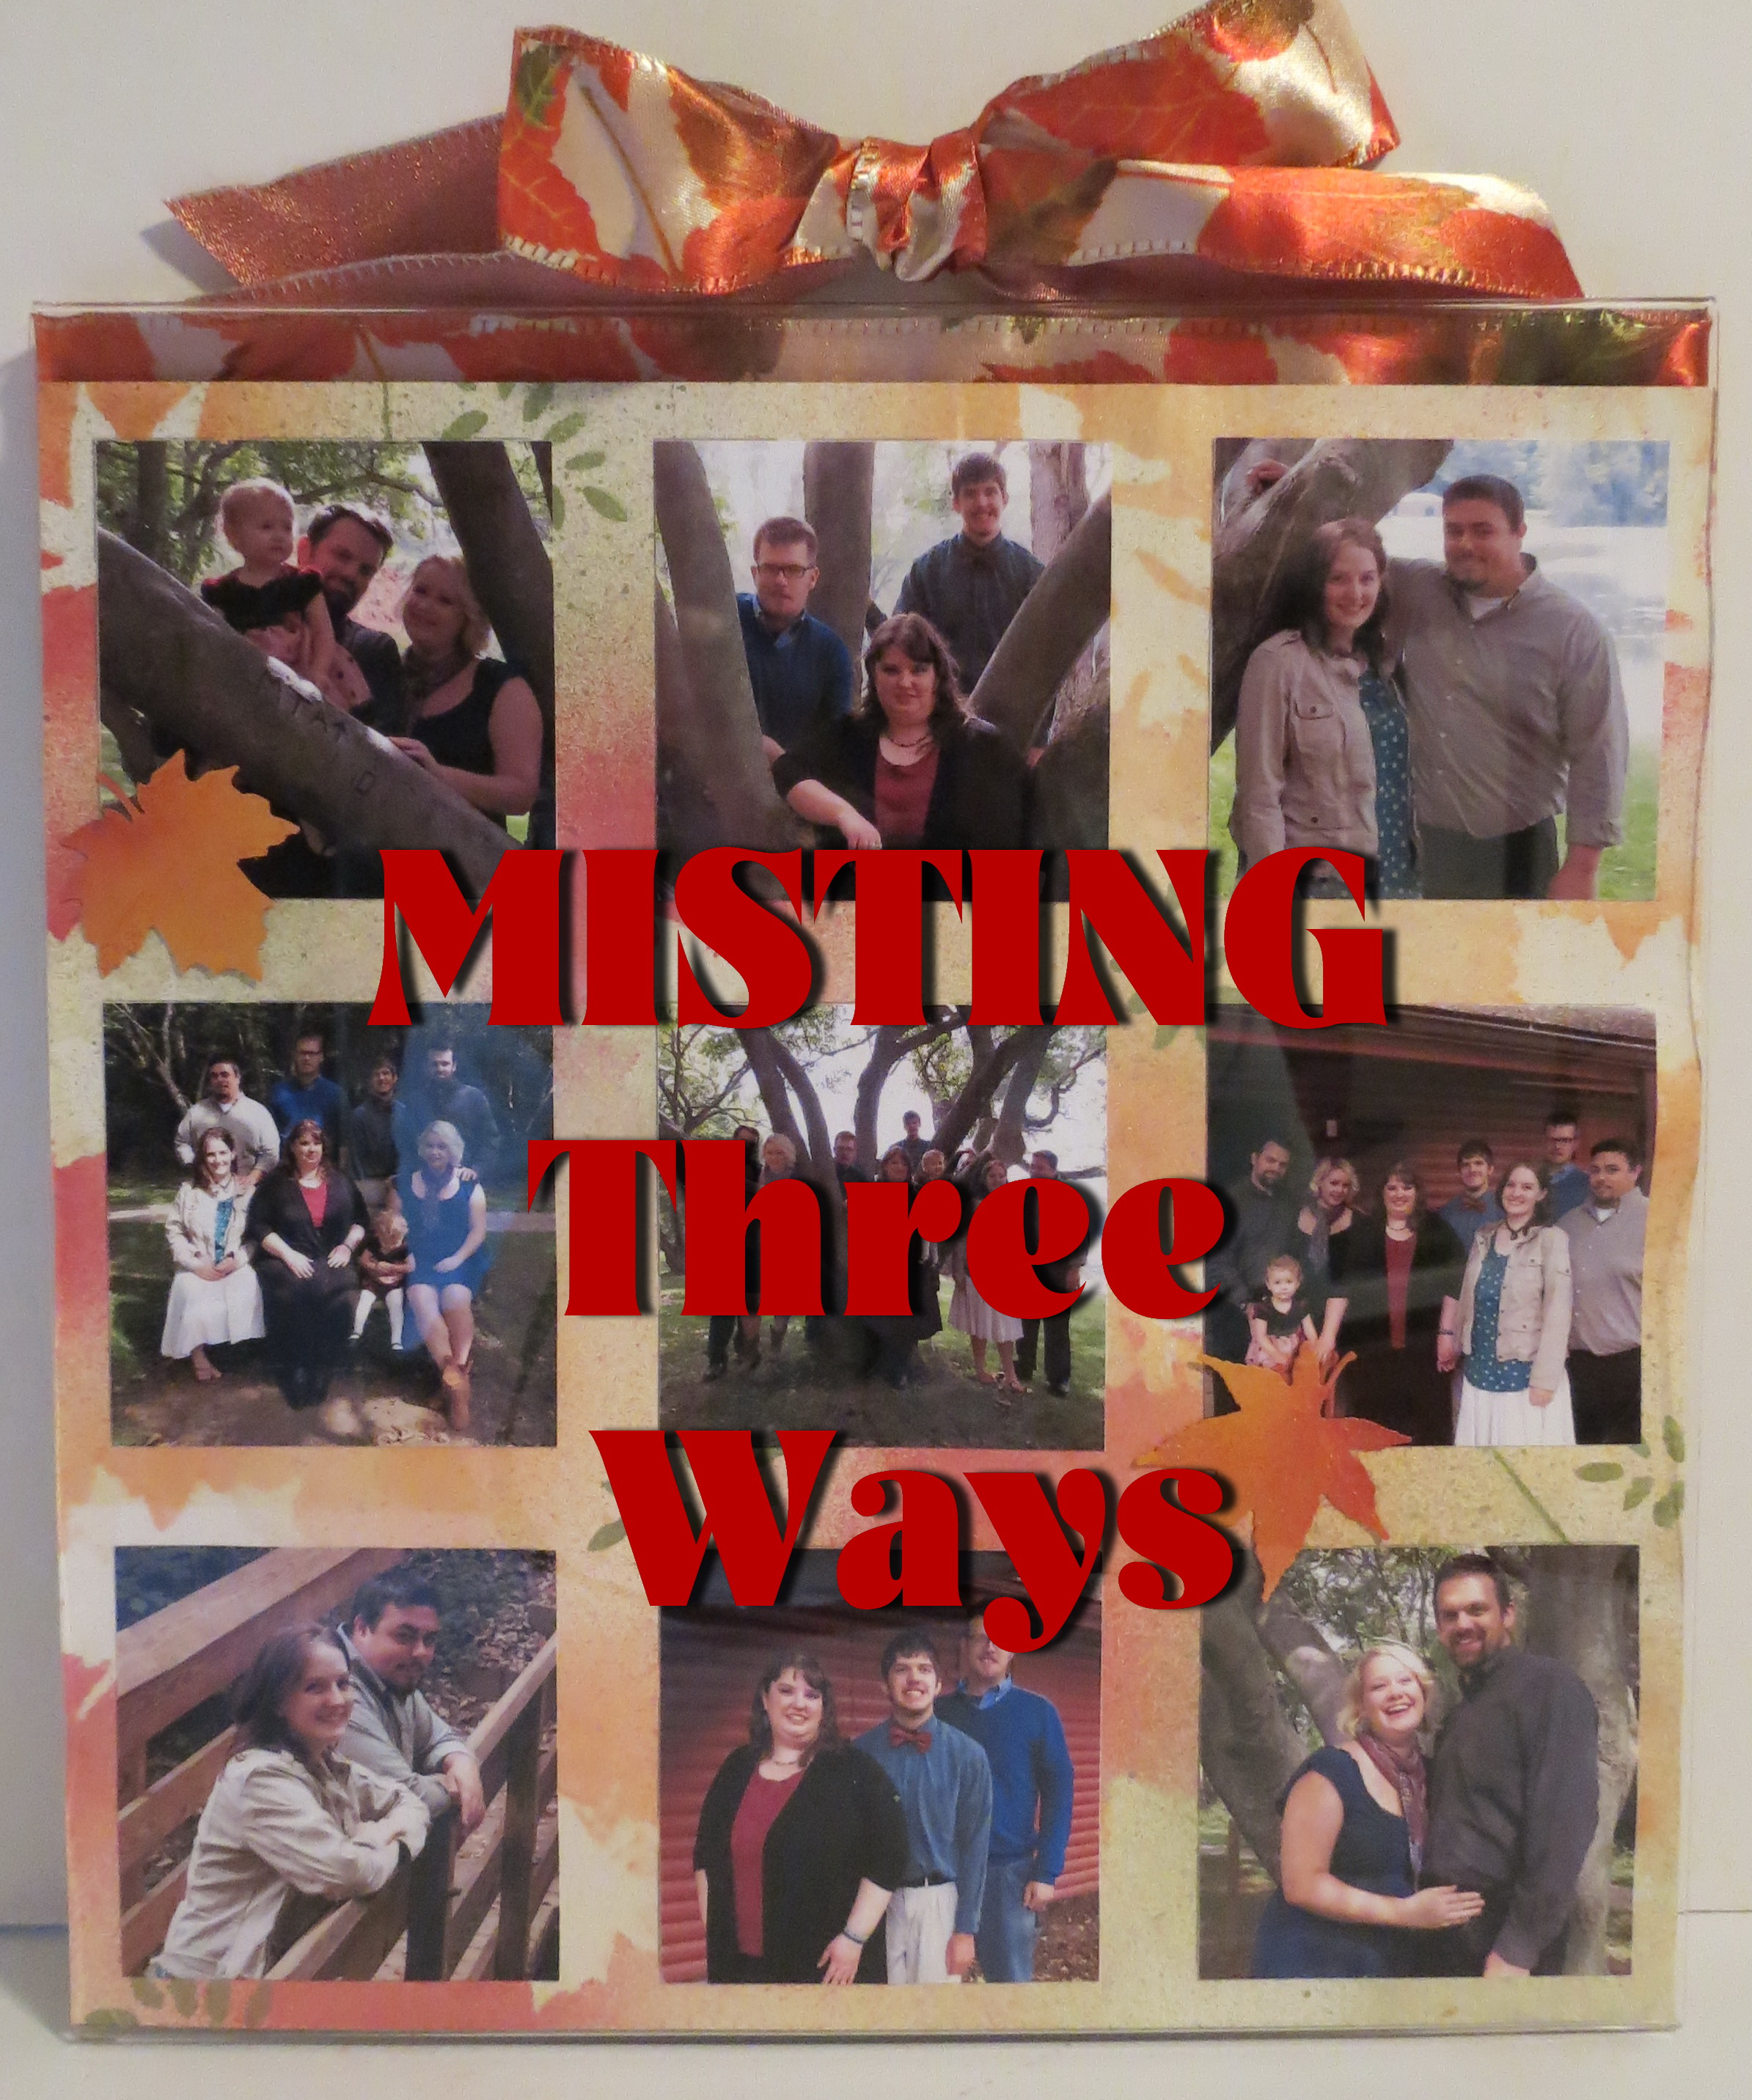
This will take time to dry before you will be able to add your photos to the prepared grid, so it’s a good time to prepare the photos you want to use. Each square section on the RTC Grid Paper measures 3 ¼”. You will need nine photos or eight and a center title. Once the page is completely dry you may want to weigh it down to flatten it before continuing. As the misting can cause some warping. Arrange the photos the way you like them and adhere. Then if you like, add some of the leaves that you used as masks and place on the page. I chose to use the leaves strategically to cover up a few distractions. One was a chair we had used to stand my granddaughter on and another was where her legs showed up dangling mid-air.
After sliding the layout into the frame I used a length of fall ribbon through the top and tied in a bow so that it can be used to hang the frame.
completed photo page
This project could easily be done with a winter theme using snowflake die cuts and shades of blue on white RTC Grid Paper. Add you own creativity for spring and summer themes and change the pages out seasonally. Add them to your scrapbook albums for safe keeping when moving on to the next season and keep the pages fresh and new.
If you try this project out why not share the results with us on the Story Board on Journella! We’d love to see what you came up with!
Thanks for dropping in, hope you found inspiration to ‘Design Each of your Moments!’
Andrea Fisher
2013 Design Team captain.