 Get Close and Personal
A great page needs a focal point, a photo that helps tell your story.
WINTER FUN
We don’t always take our cameras out with us when playing in various outdoor winter activities, but more and more people are using their camera phones to capture some of the special moments of skiing, sledding, snow angels and building snowmen. Be sure to make the most of your opportunities and tools at hand to capture a few photos for your scrapbooks and turn them into great pages.
WITH THE PATTERN
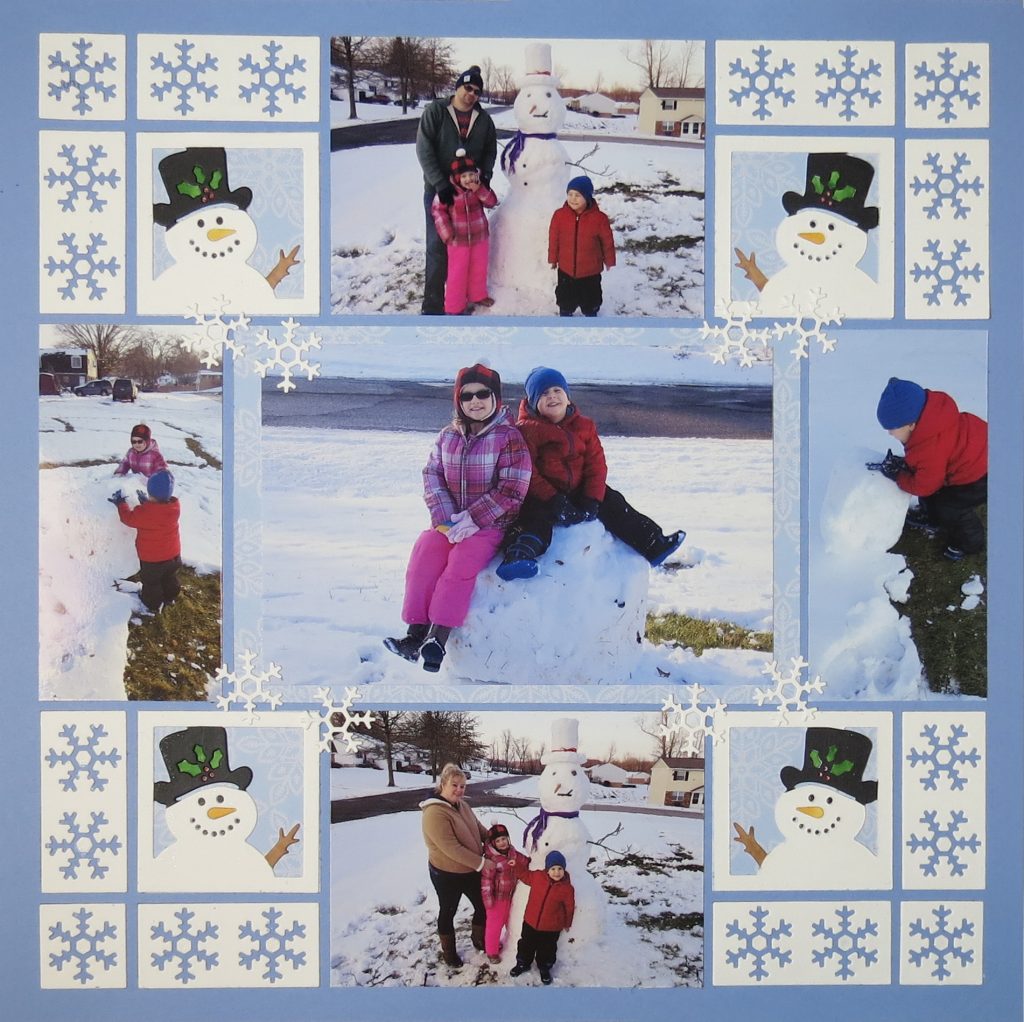
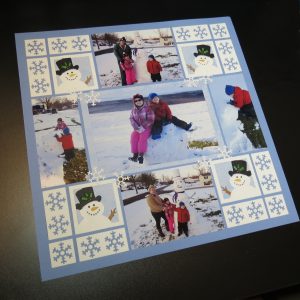
For this layout let’s begin with Pattern #109 it is a symmetrical pattern with a large central photo to be the focal point. The photos on either side also feature more detailed moments of the outing. Top and bottom have everybody posing with their finished projects.
WITH THE EMBELLISHMENTS
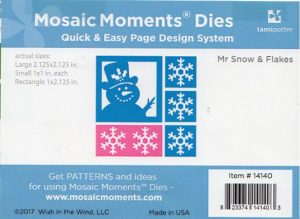
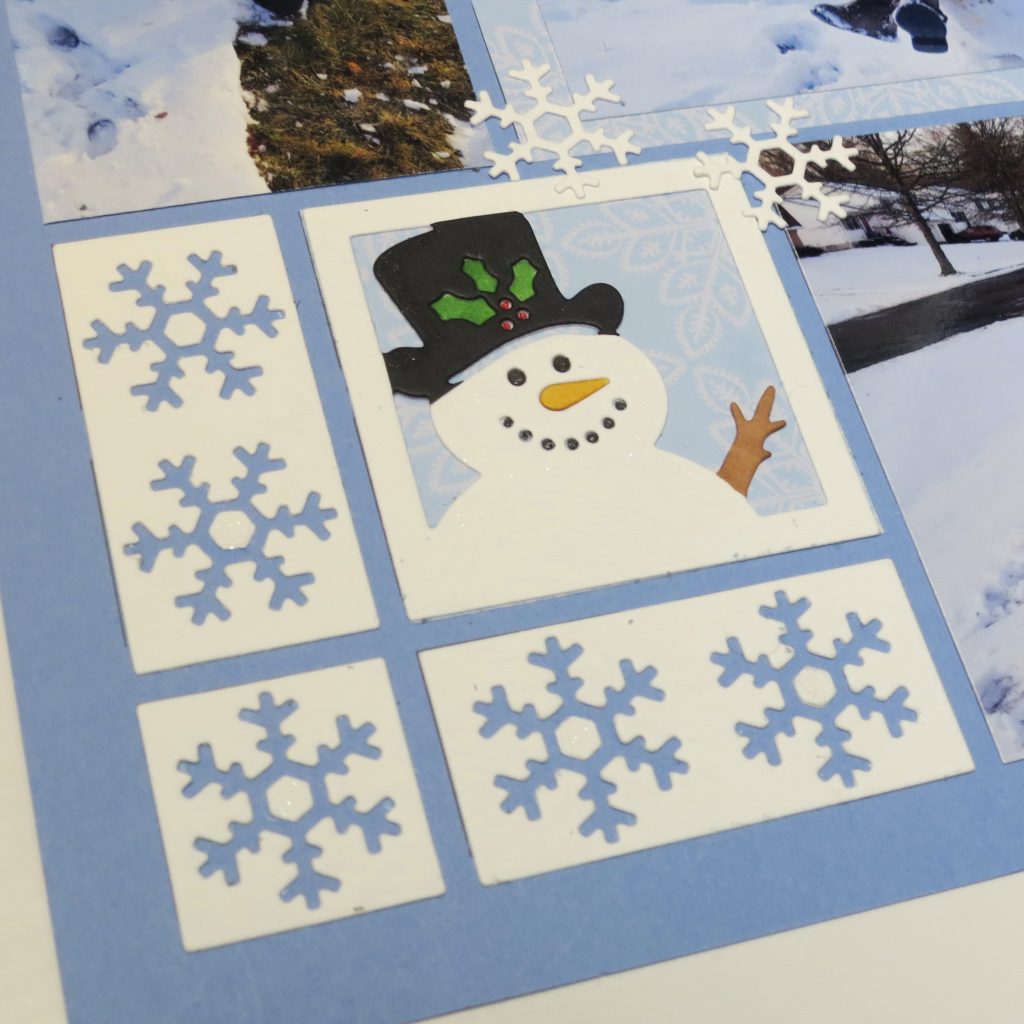
The outside 2×2 squares in each corner are flanked by our featured die Mr. Snow and Flakes. A pale blue snowflake patterned paper backs the white 2×2 cutout tiles.
I ran my bone folder tool to smooth out the edges of the die pieces left from cutting it out. I’ve flipped two of the snowmen so that all four snowmen face to the center of the layout. This helps the eye to travel to the central point, the large center photo.
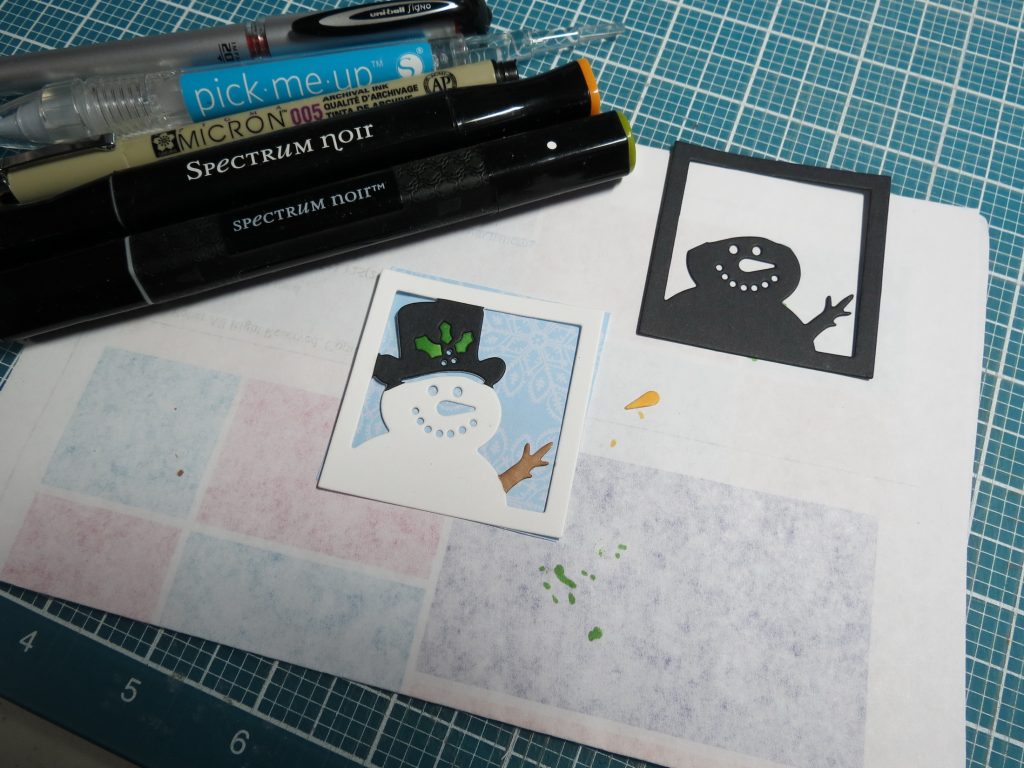
Instead of leaving the snowman tile a solid white color I thought I’d like to do some piece work. The snowman was cut in black and his hat cut off to top the white snowman. Each of the holly bits and carrot nose are colored and glued in place. Holly berries and coal eyes and mouth are inked in with a fine tip micron pen.
Using both the 1” and 1×2 snowflake dies to fill in the corner portion of the pattern white cardstock is used and that allows the Cornflower Blue Grid Paper to show through. The snowflake out takes are scattered around the page. To add a little bit of glimmer to the snowman and flakes clear Wink of Stella was brushed on spots.
This die set has so many options for using on any of your wintery scrapbook pages I’m sure you’ll want to try these ideas and some of your own too.
WITH THE PHOTOS
A final way to enhance a focal point is with your photos. One special photo centrally located or a series that develops your story. While in this layout the top and bottom photos show the end result of their fun in the snow those in the center section show the beginning and middle of the process of snowman construction from the long rolling path through the snow and the effort of pushing the big snowball.
One of the things I liked is a set of footprints showing that Liam and his daddy were working side by side. I like the center photo of the kids on their half completed snowman as furthering the story of their progress in building and having fun doing it. This gives the page a beginning, middle and an end.
CROPPNG FOR INTEREST
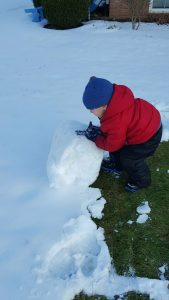
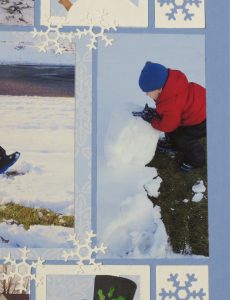
The original photo has some clutter at the top of the photo that distracts and is not essential. I’ve trimmed the photo so that just the main portion with Liam pushing with all he has is the focus for your eyes to rest on.
Other ways to add interest to a focal point would be to use three views, one distant, one near and one very close up. I try to remind myself of this when I’m taking photos to help create interest on my pages.
In the coming months we’ll talk about other photo tips to help you create memorable layouts with ease. So stay tuned for more ideas.
Andrea Fisher

