
Simple Steps: The Basics 101.05
Cropping Made Easy
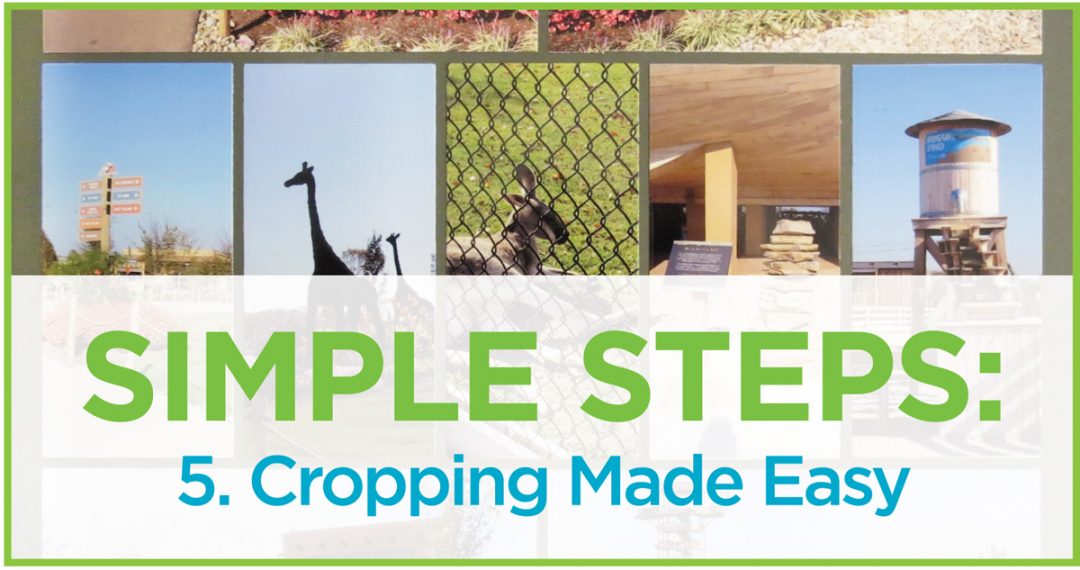
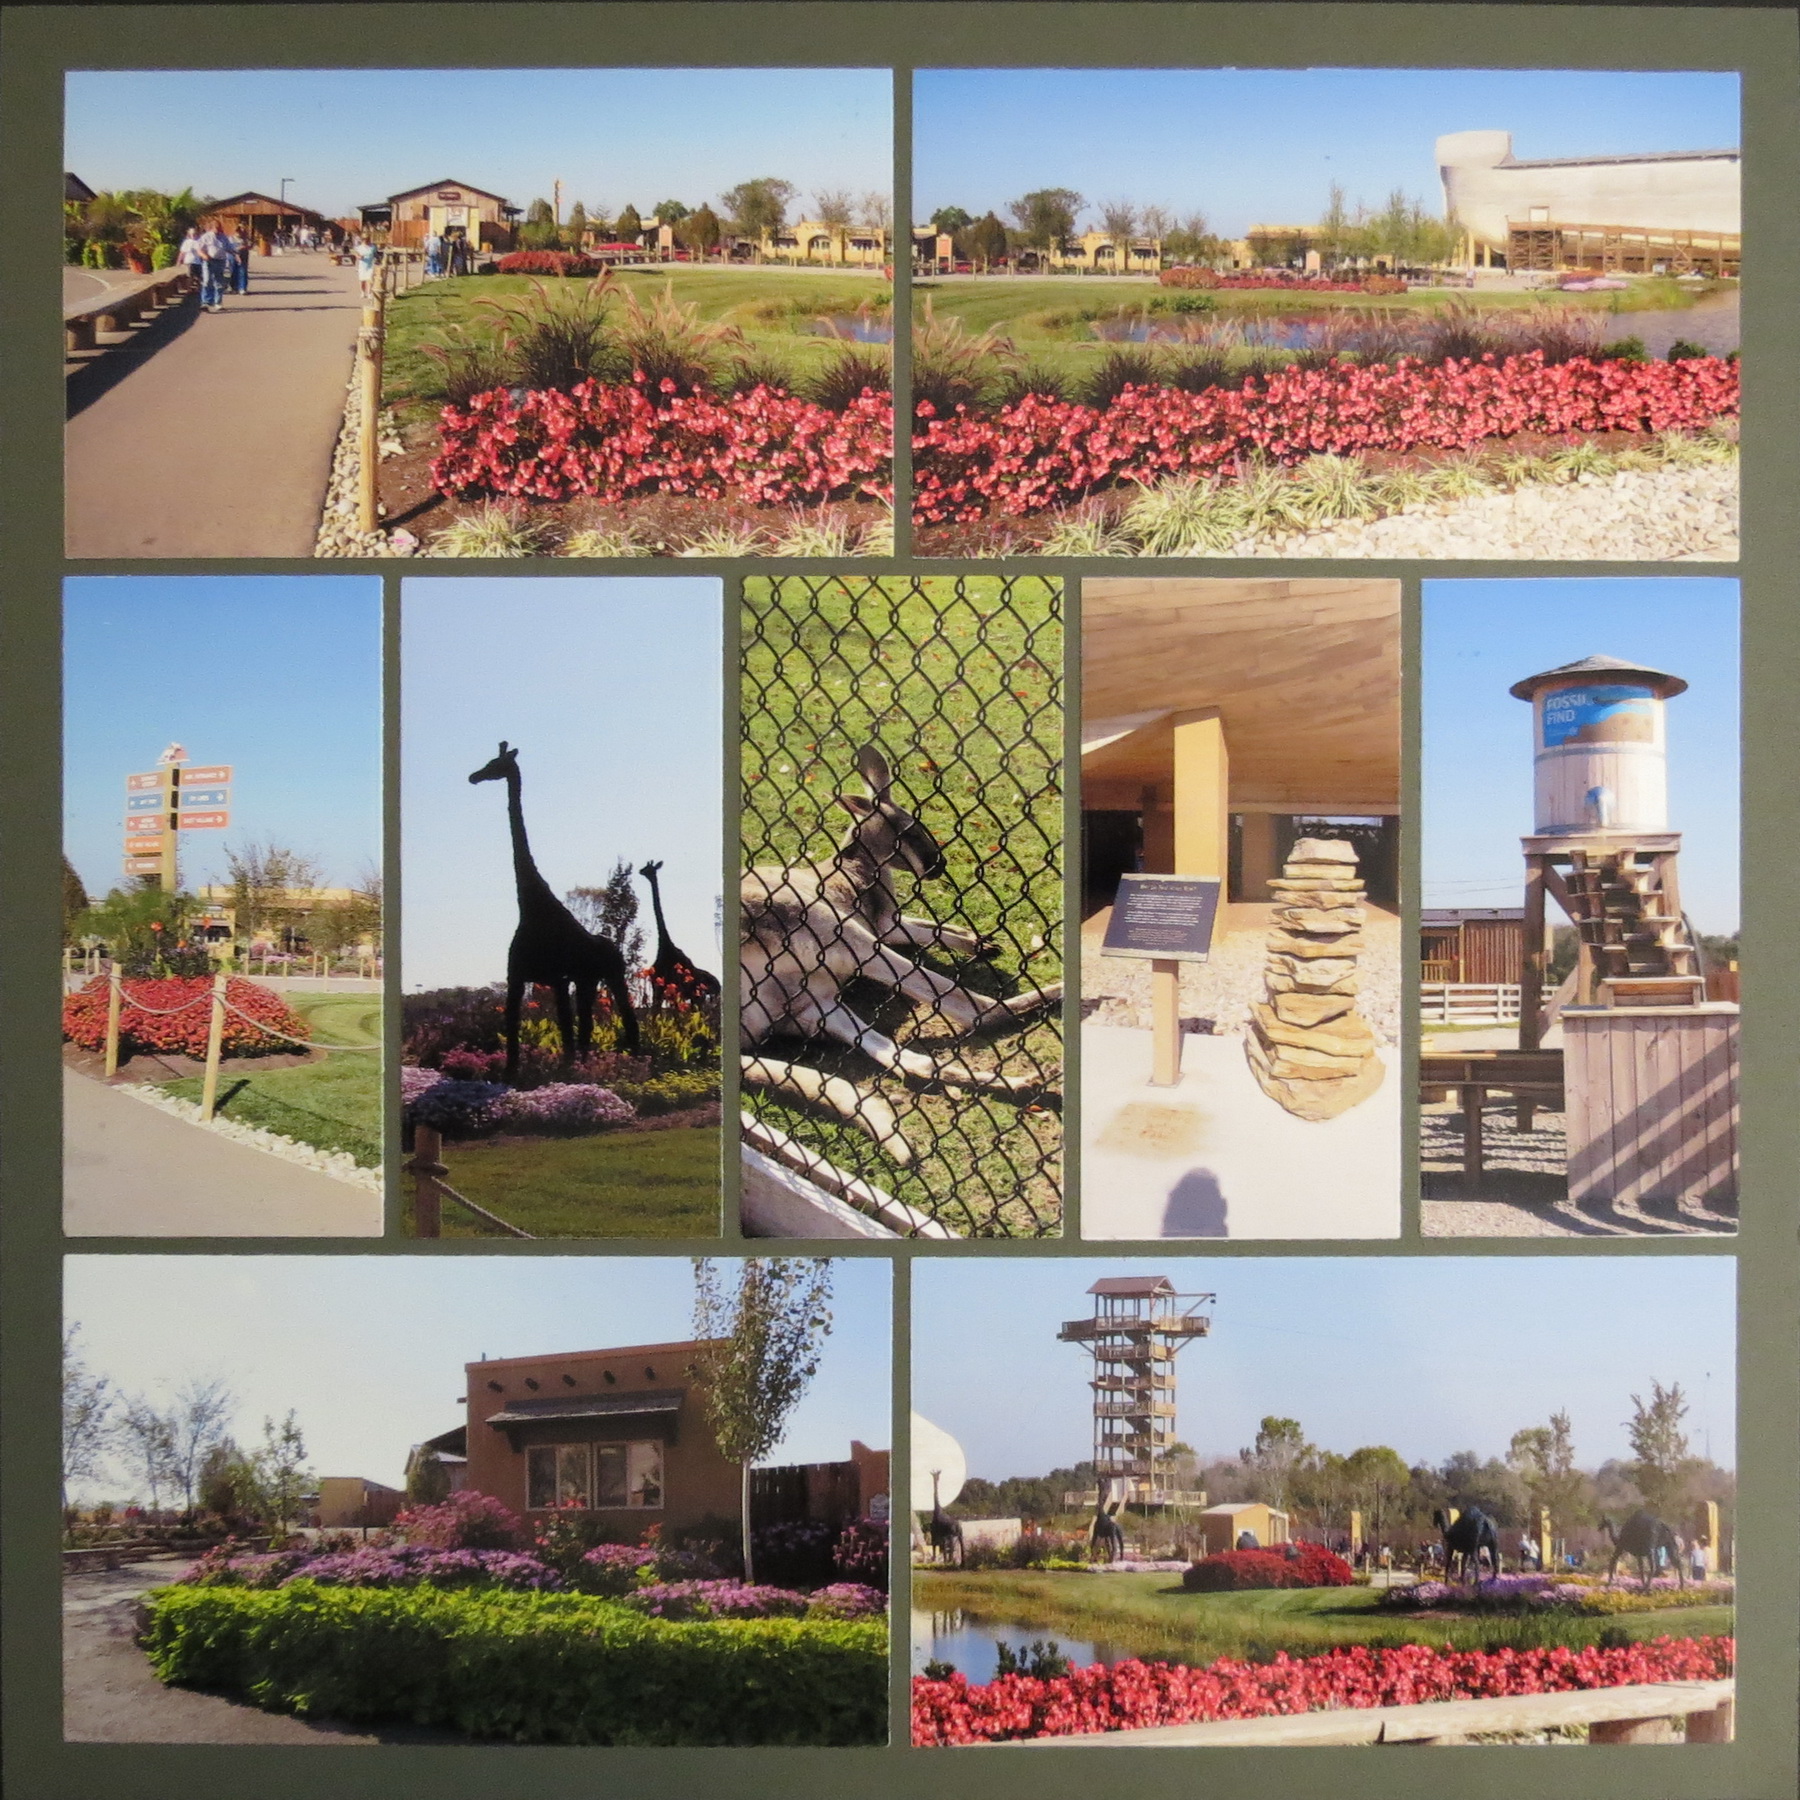
The Ark Encounter
All in One Family
So far this year in Simple Steps: The Basics we’ve explored several basic ideas; basic tools, basic matting, and some of the dies that pair well with the basic die sets like triangles. I thought it might be nice to take a look at using just one die set for an entire page! This week Simple Steps: the Basics 101.05 will give you a few tips on Basic Cropping.
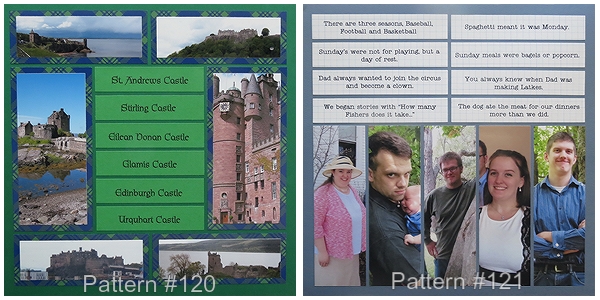
There are a handful of patterns in the Pattern Gallery that feature only one die set for the entire page. Most of those are using Mosaic Moments Die Set A squares, and most of them don’t really pose a huge challenge. However, there are three you might want to consider trying out sometime. They are Patterns #120 using Die Set D, Pattern #121 using Die Set E and Pattern #345 using Die Set B.
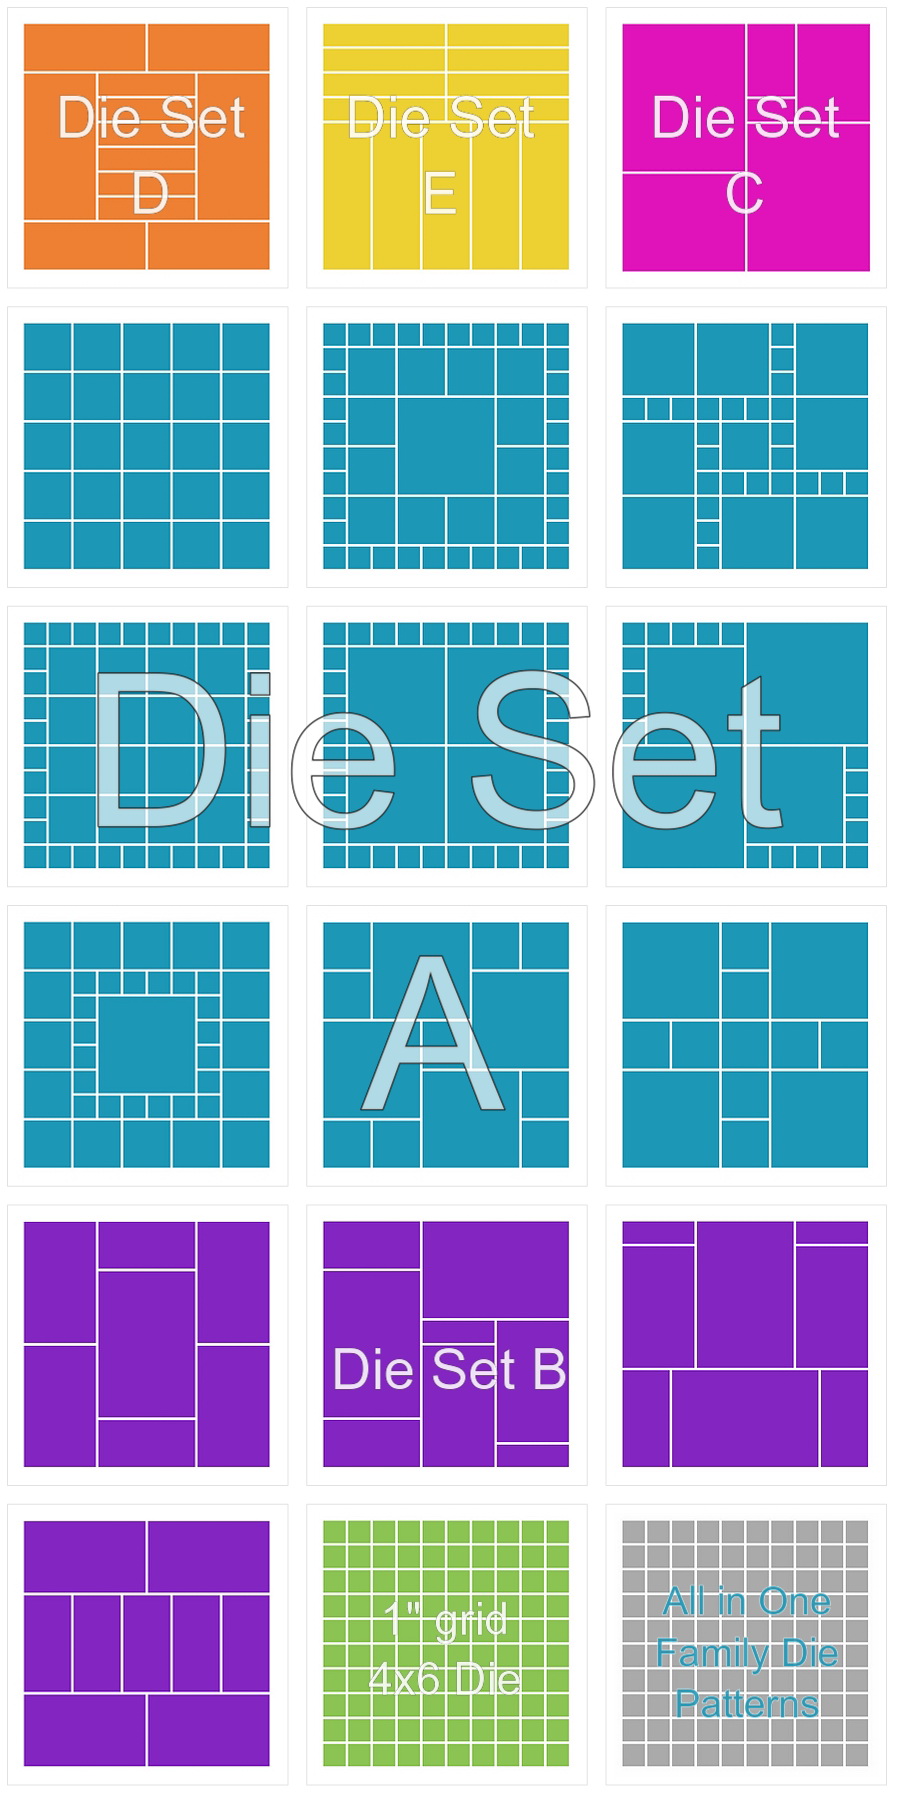
Mosaic Moments All in one family patterns

Mosaic Moments Die Sets for selected patterns
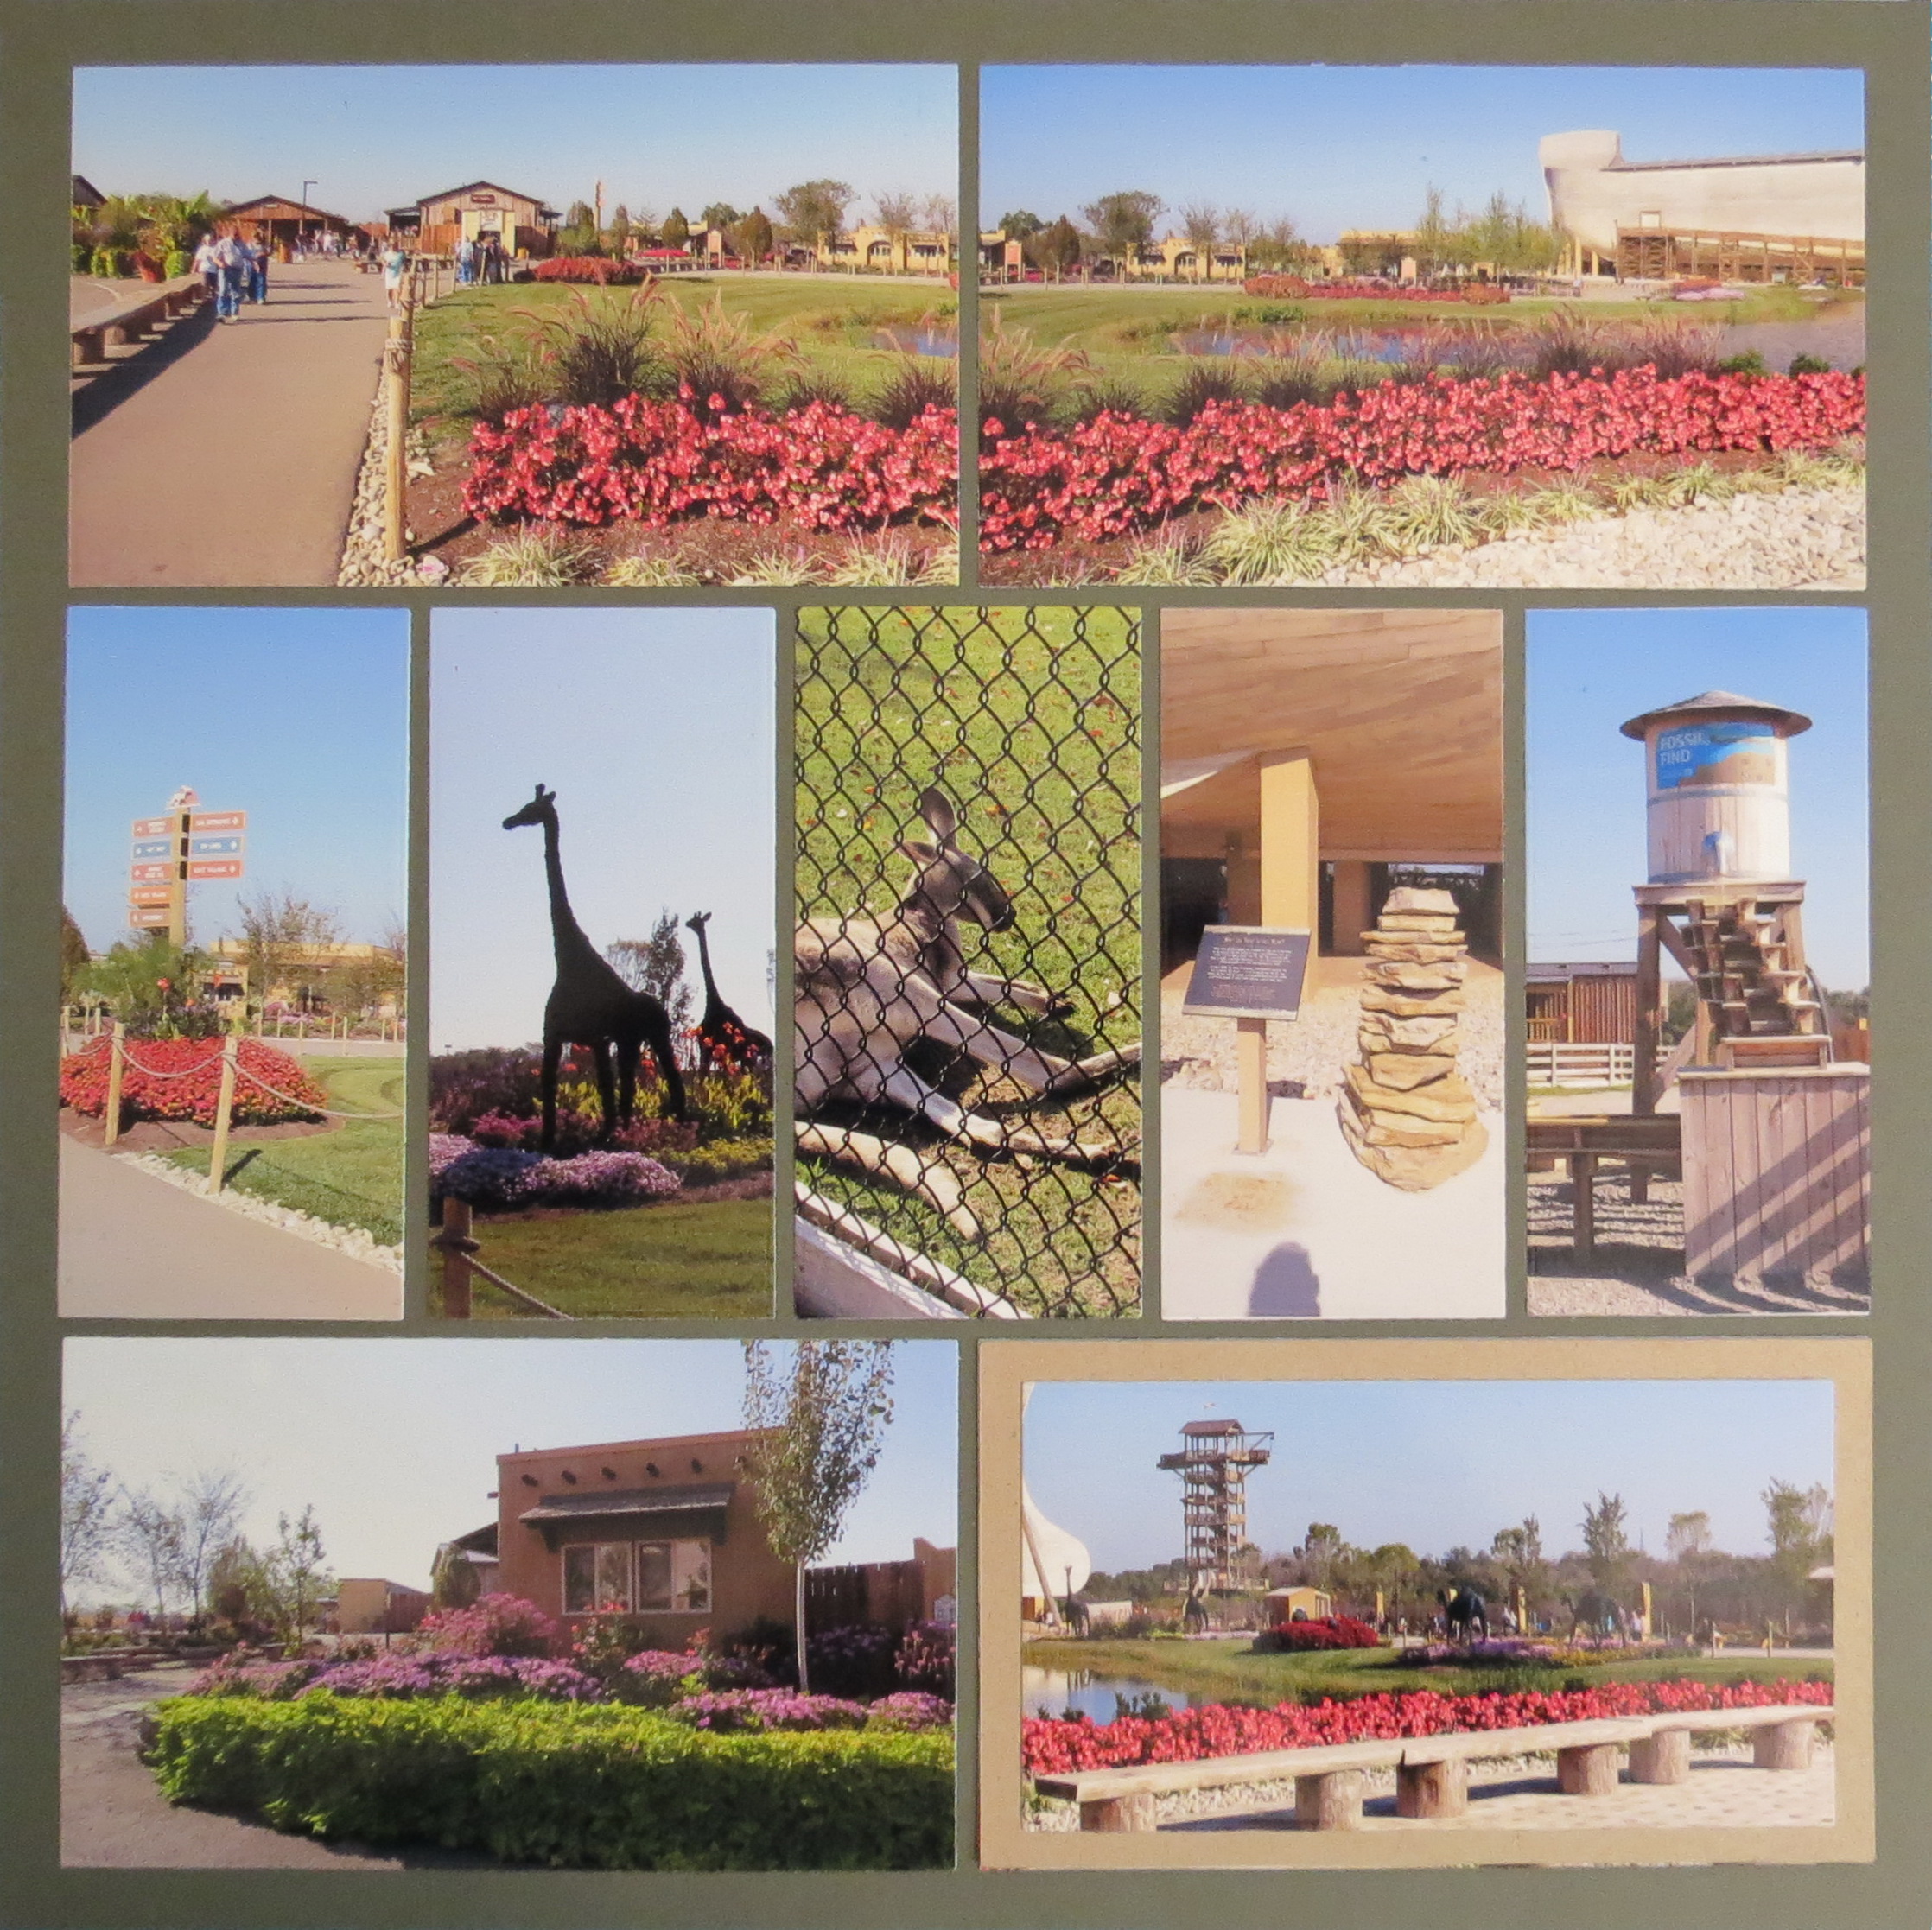
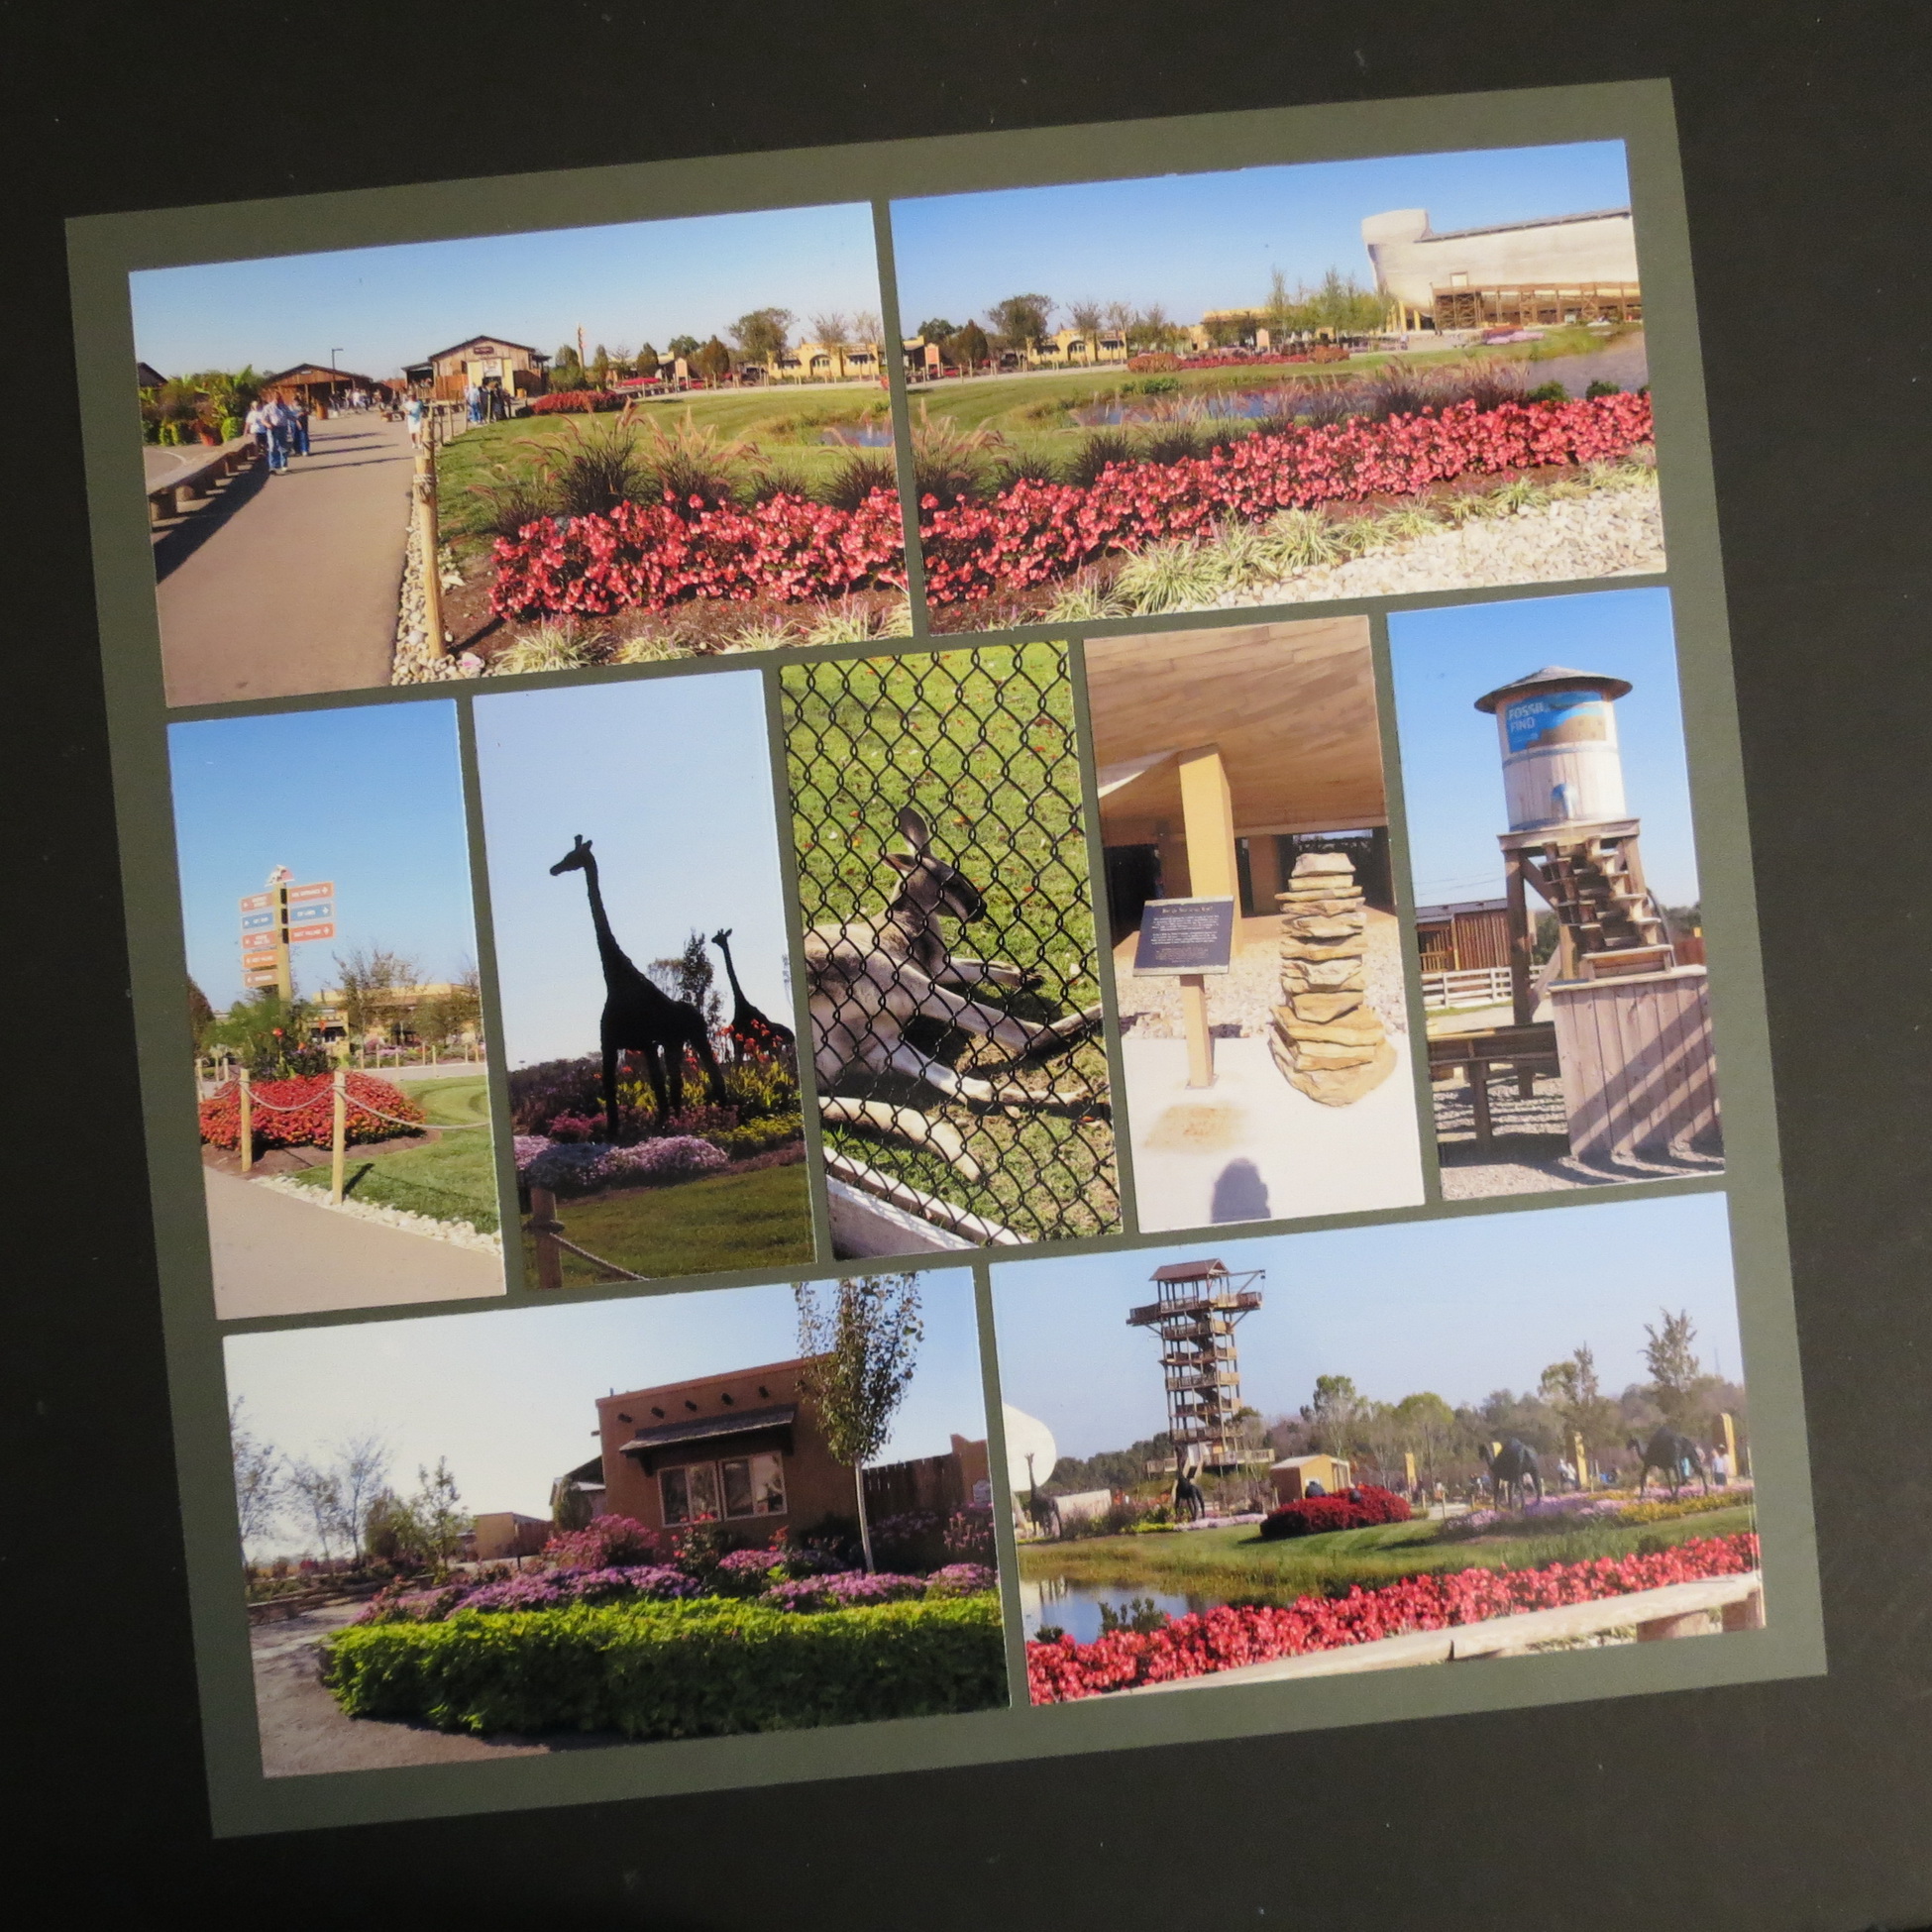
Pattern #345 is a page that can come together fairly quickly and the dies will speed things along. It is a good pattern for featuring those horizontal photos we all seem to take the most and with only a minimum amount of trimming from the photo keeping your subject intact.
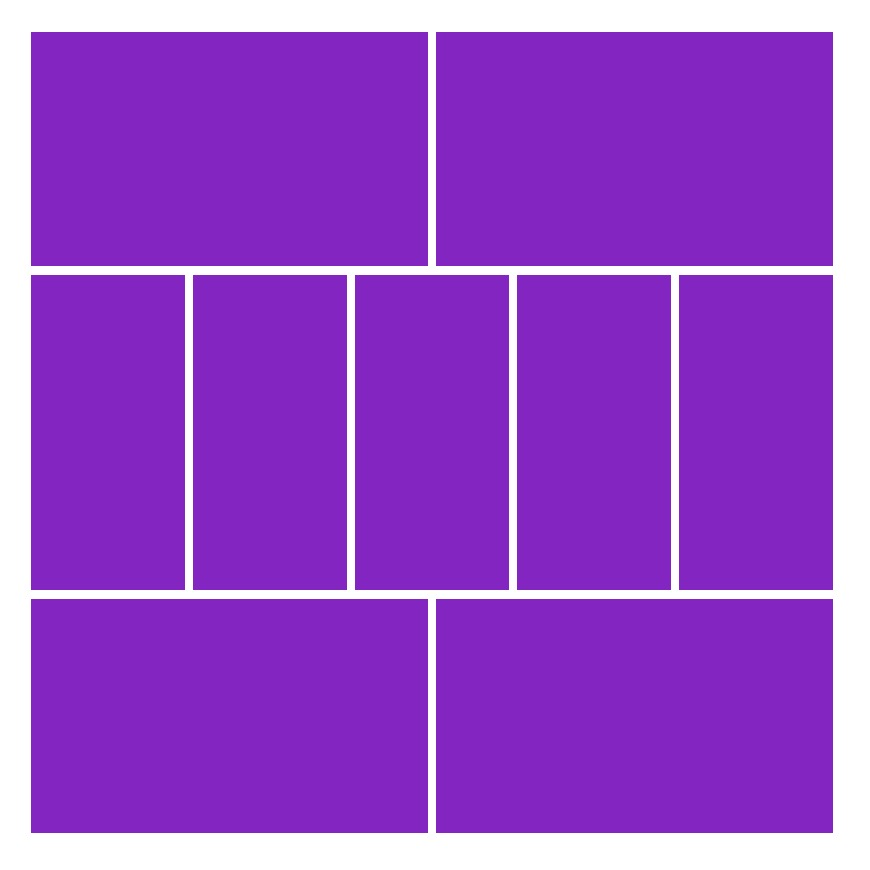
Mosaic Moments Pattern #345
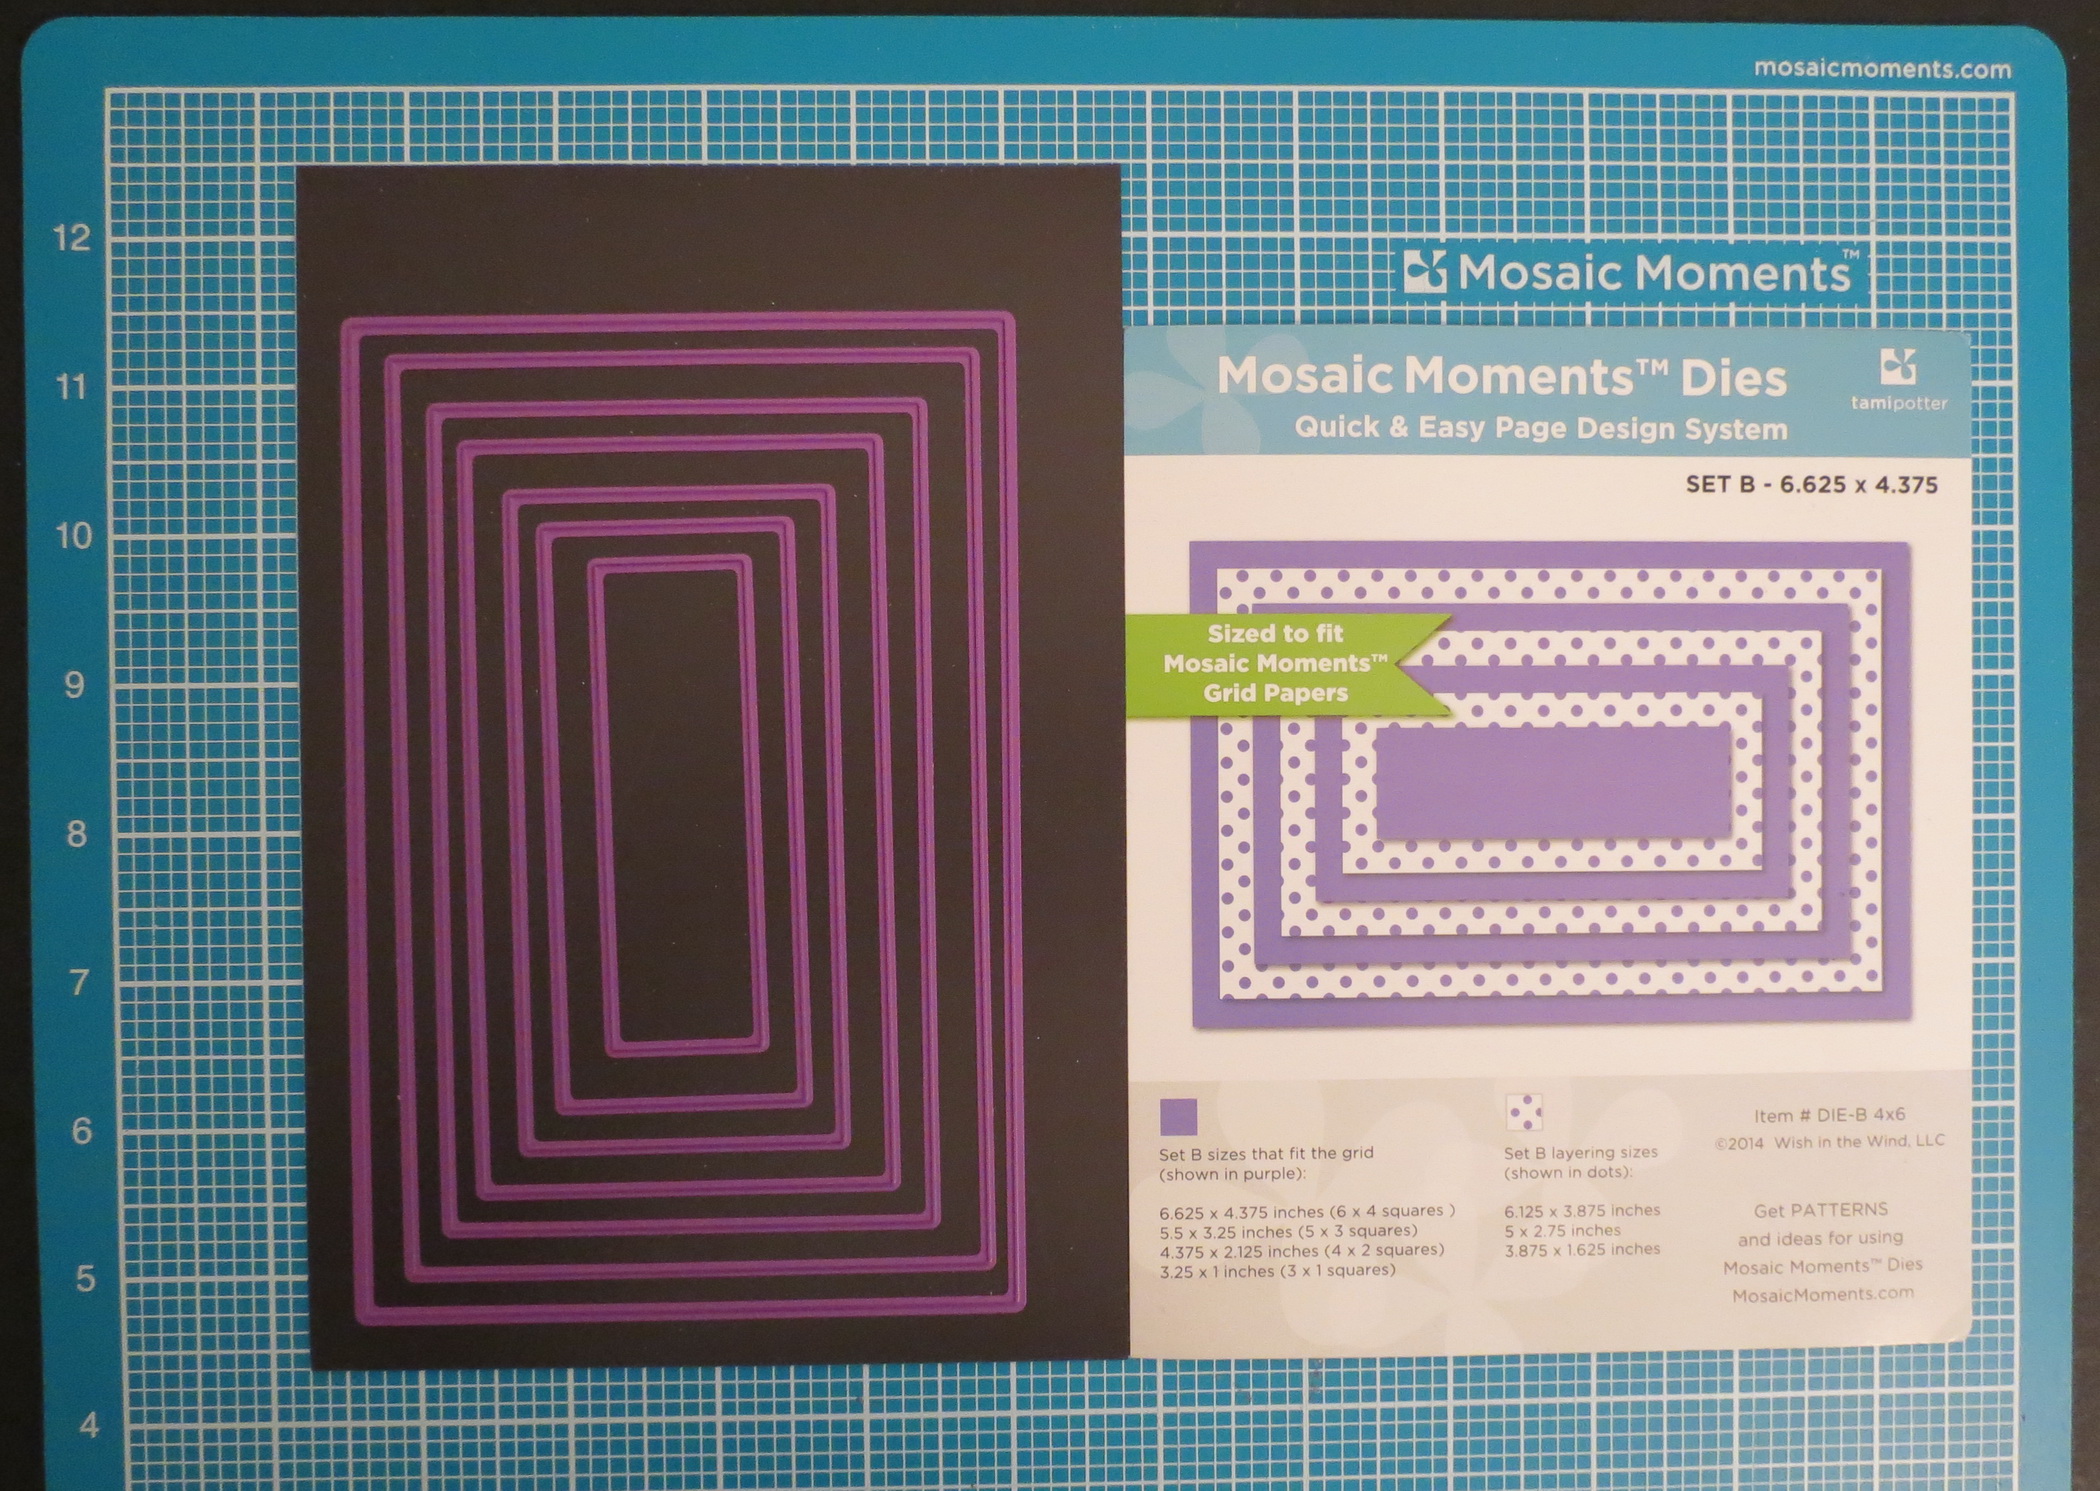
Mosaic Moments Die Set B
This pattern also allows you to use one set of dies to complete a page. In this pattern, there are 5 vertical 2×4 block spots in the center of the page. There also are 4 horizontal 3×5 block spots and Die Set B will cut them all!
Mosaic Moments Simple Steps: The Basics: Cropping Tips
Mosaic Moments 12×12 Graphite Grey Grid Paper gives a nice warm tone to the woods in the pictures and mellows out some of the brightness of the photos. I tried out a few lighter colors with the photos but they seemed a bit washed out for some and that’s a shame because these are bold clear colors on most.
TIP: Don’t hesitate to play around and see which color grid works best for you photos!
A Few How-tos for Cropping Photos:
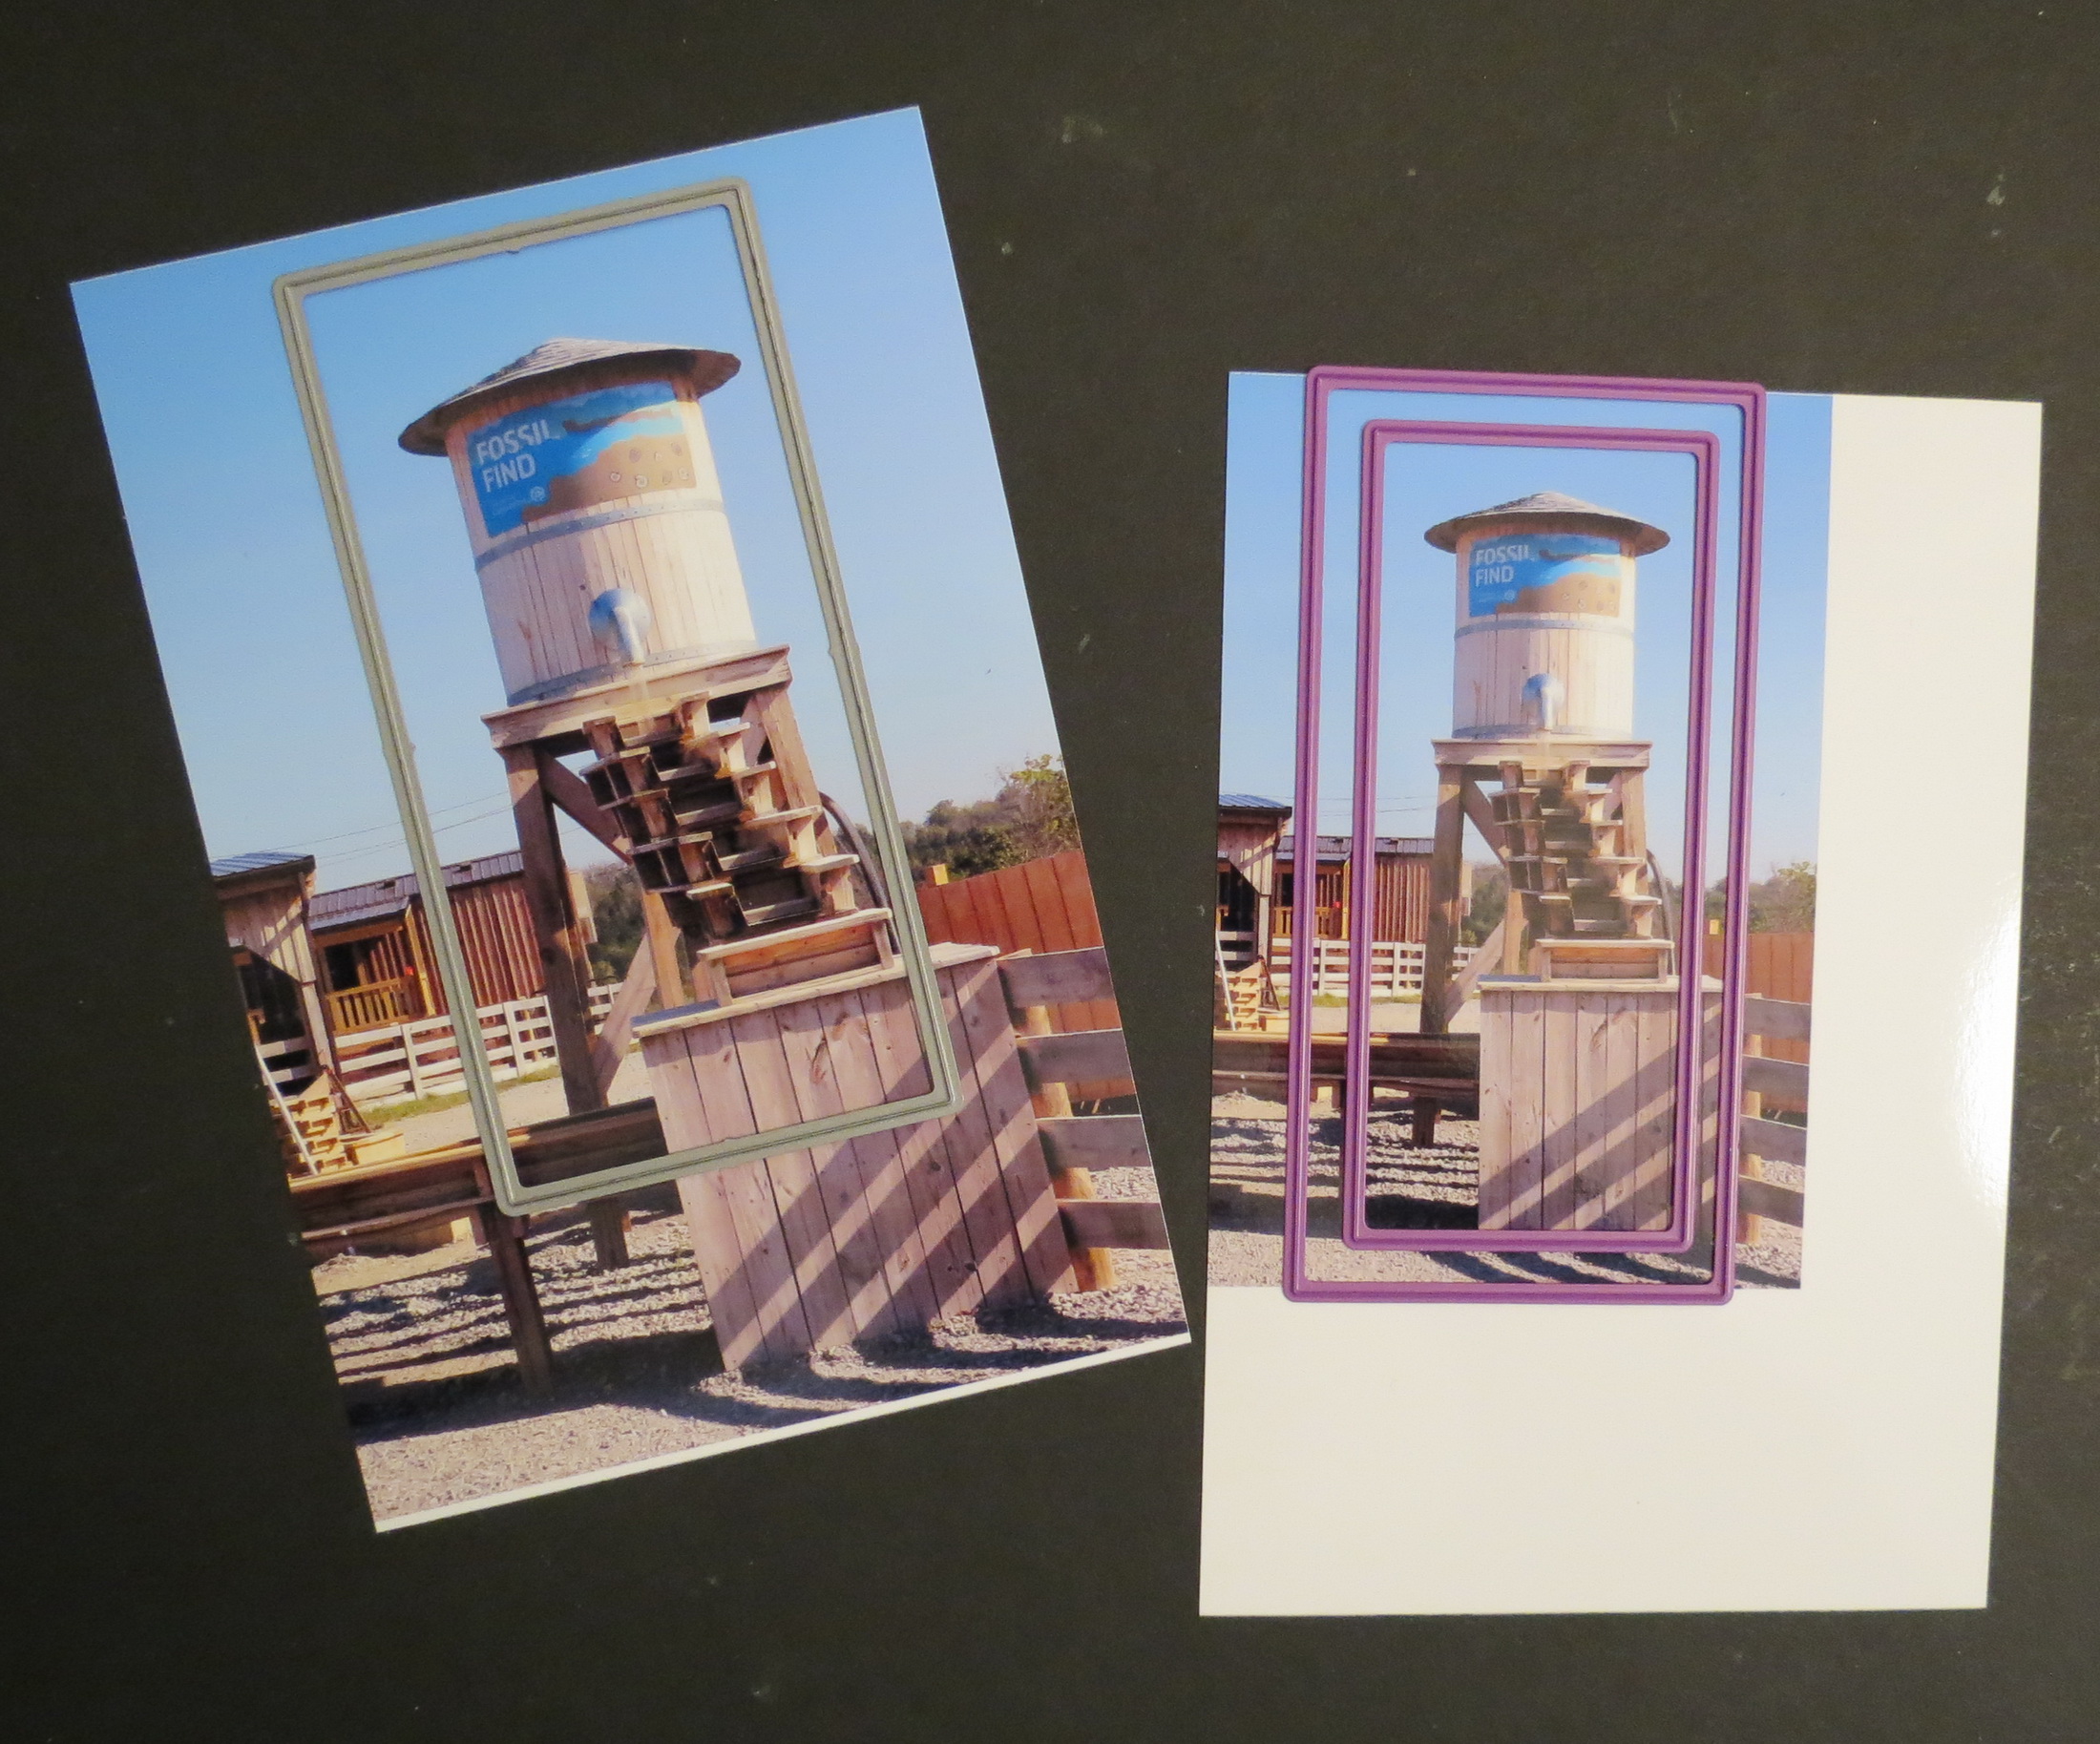
TIP: Sizing photos to use with the dies.
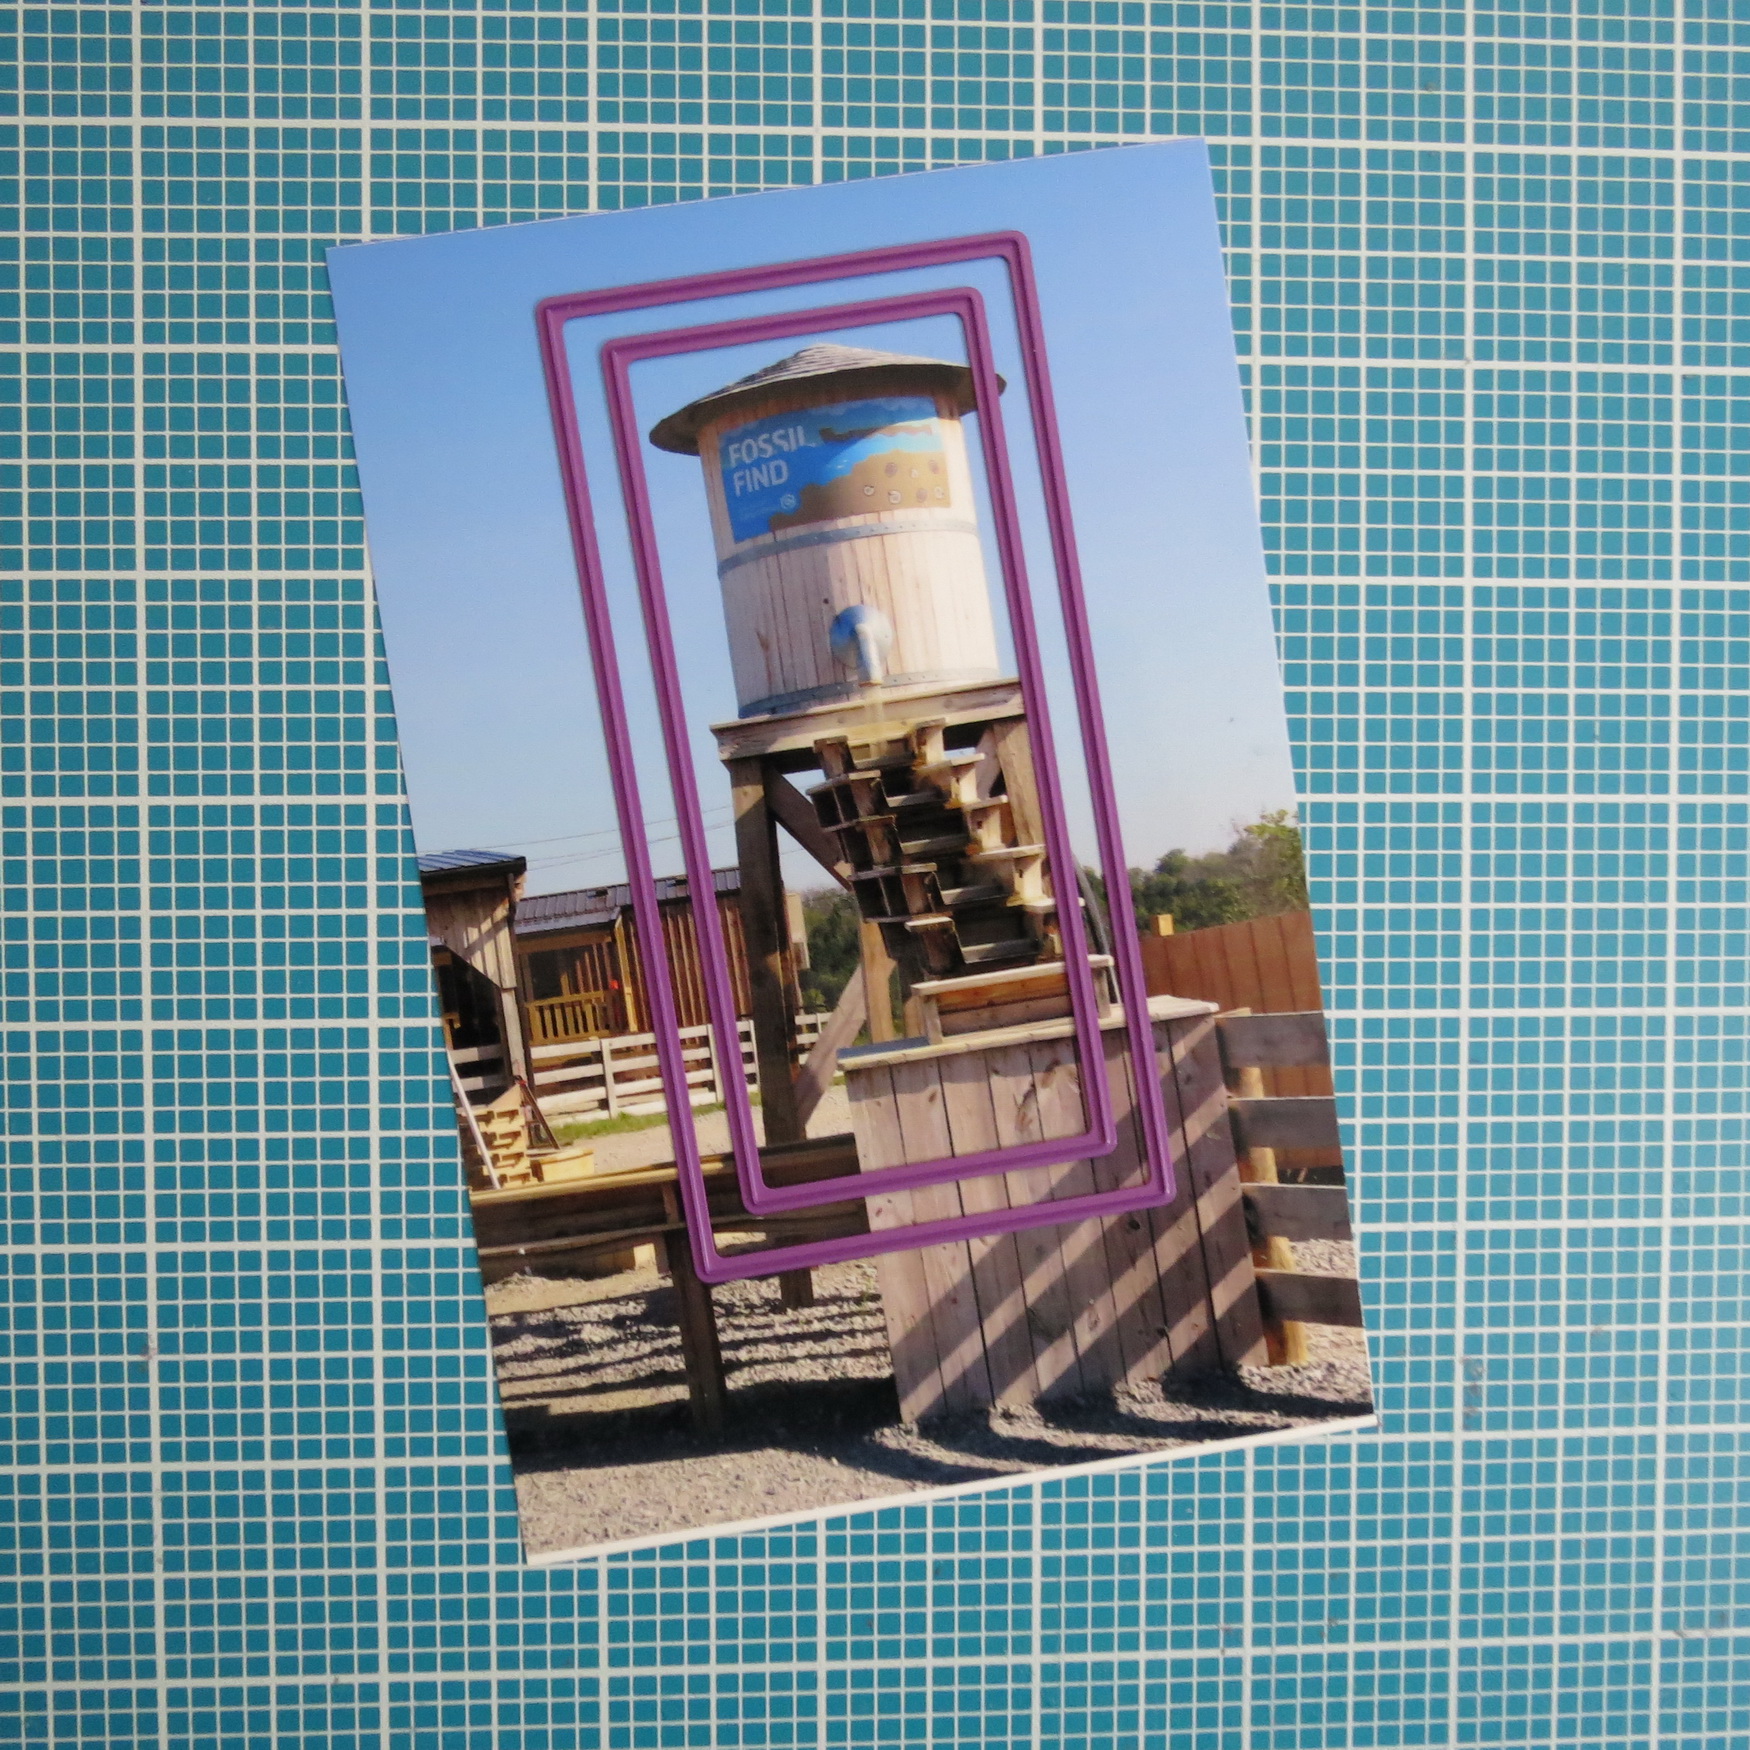
The center section of this layout has 5 – 2.125”x 4.375” sections or 2×4 block sections. There are a couple of options for us. We can crop the photos to fit the grid with the 2×4 die or we could use the smaller layering die to cut the photo and the larger 2×4 to mat the photo.
As you look at each example you can see how much of the image may be lost on a regular 4×6 photo. You need to decide if it takes too much away or just the right amount for your purposes. Cropping too much of your photo away might lose too much of what you really want to preserve.
Mosaic Moments Simple Steps: The Basics: Cropping Tips Two choices
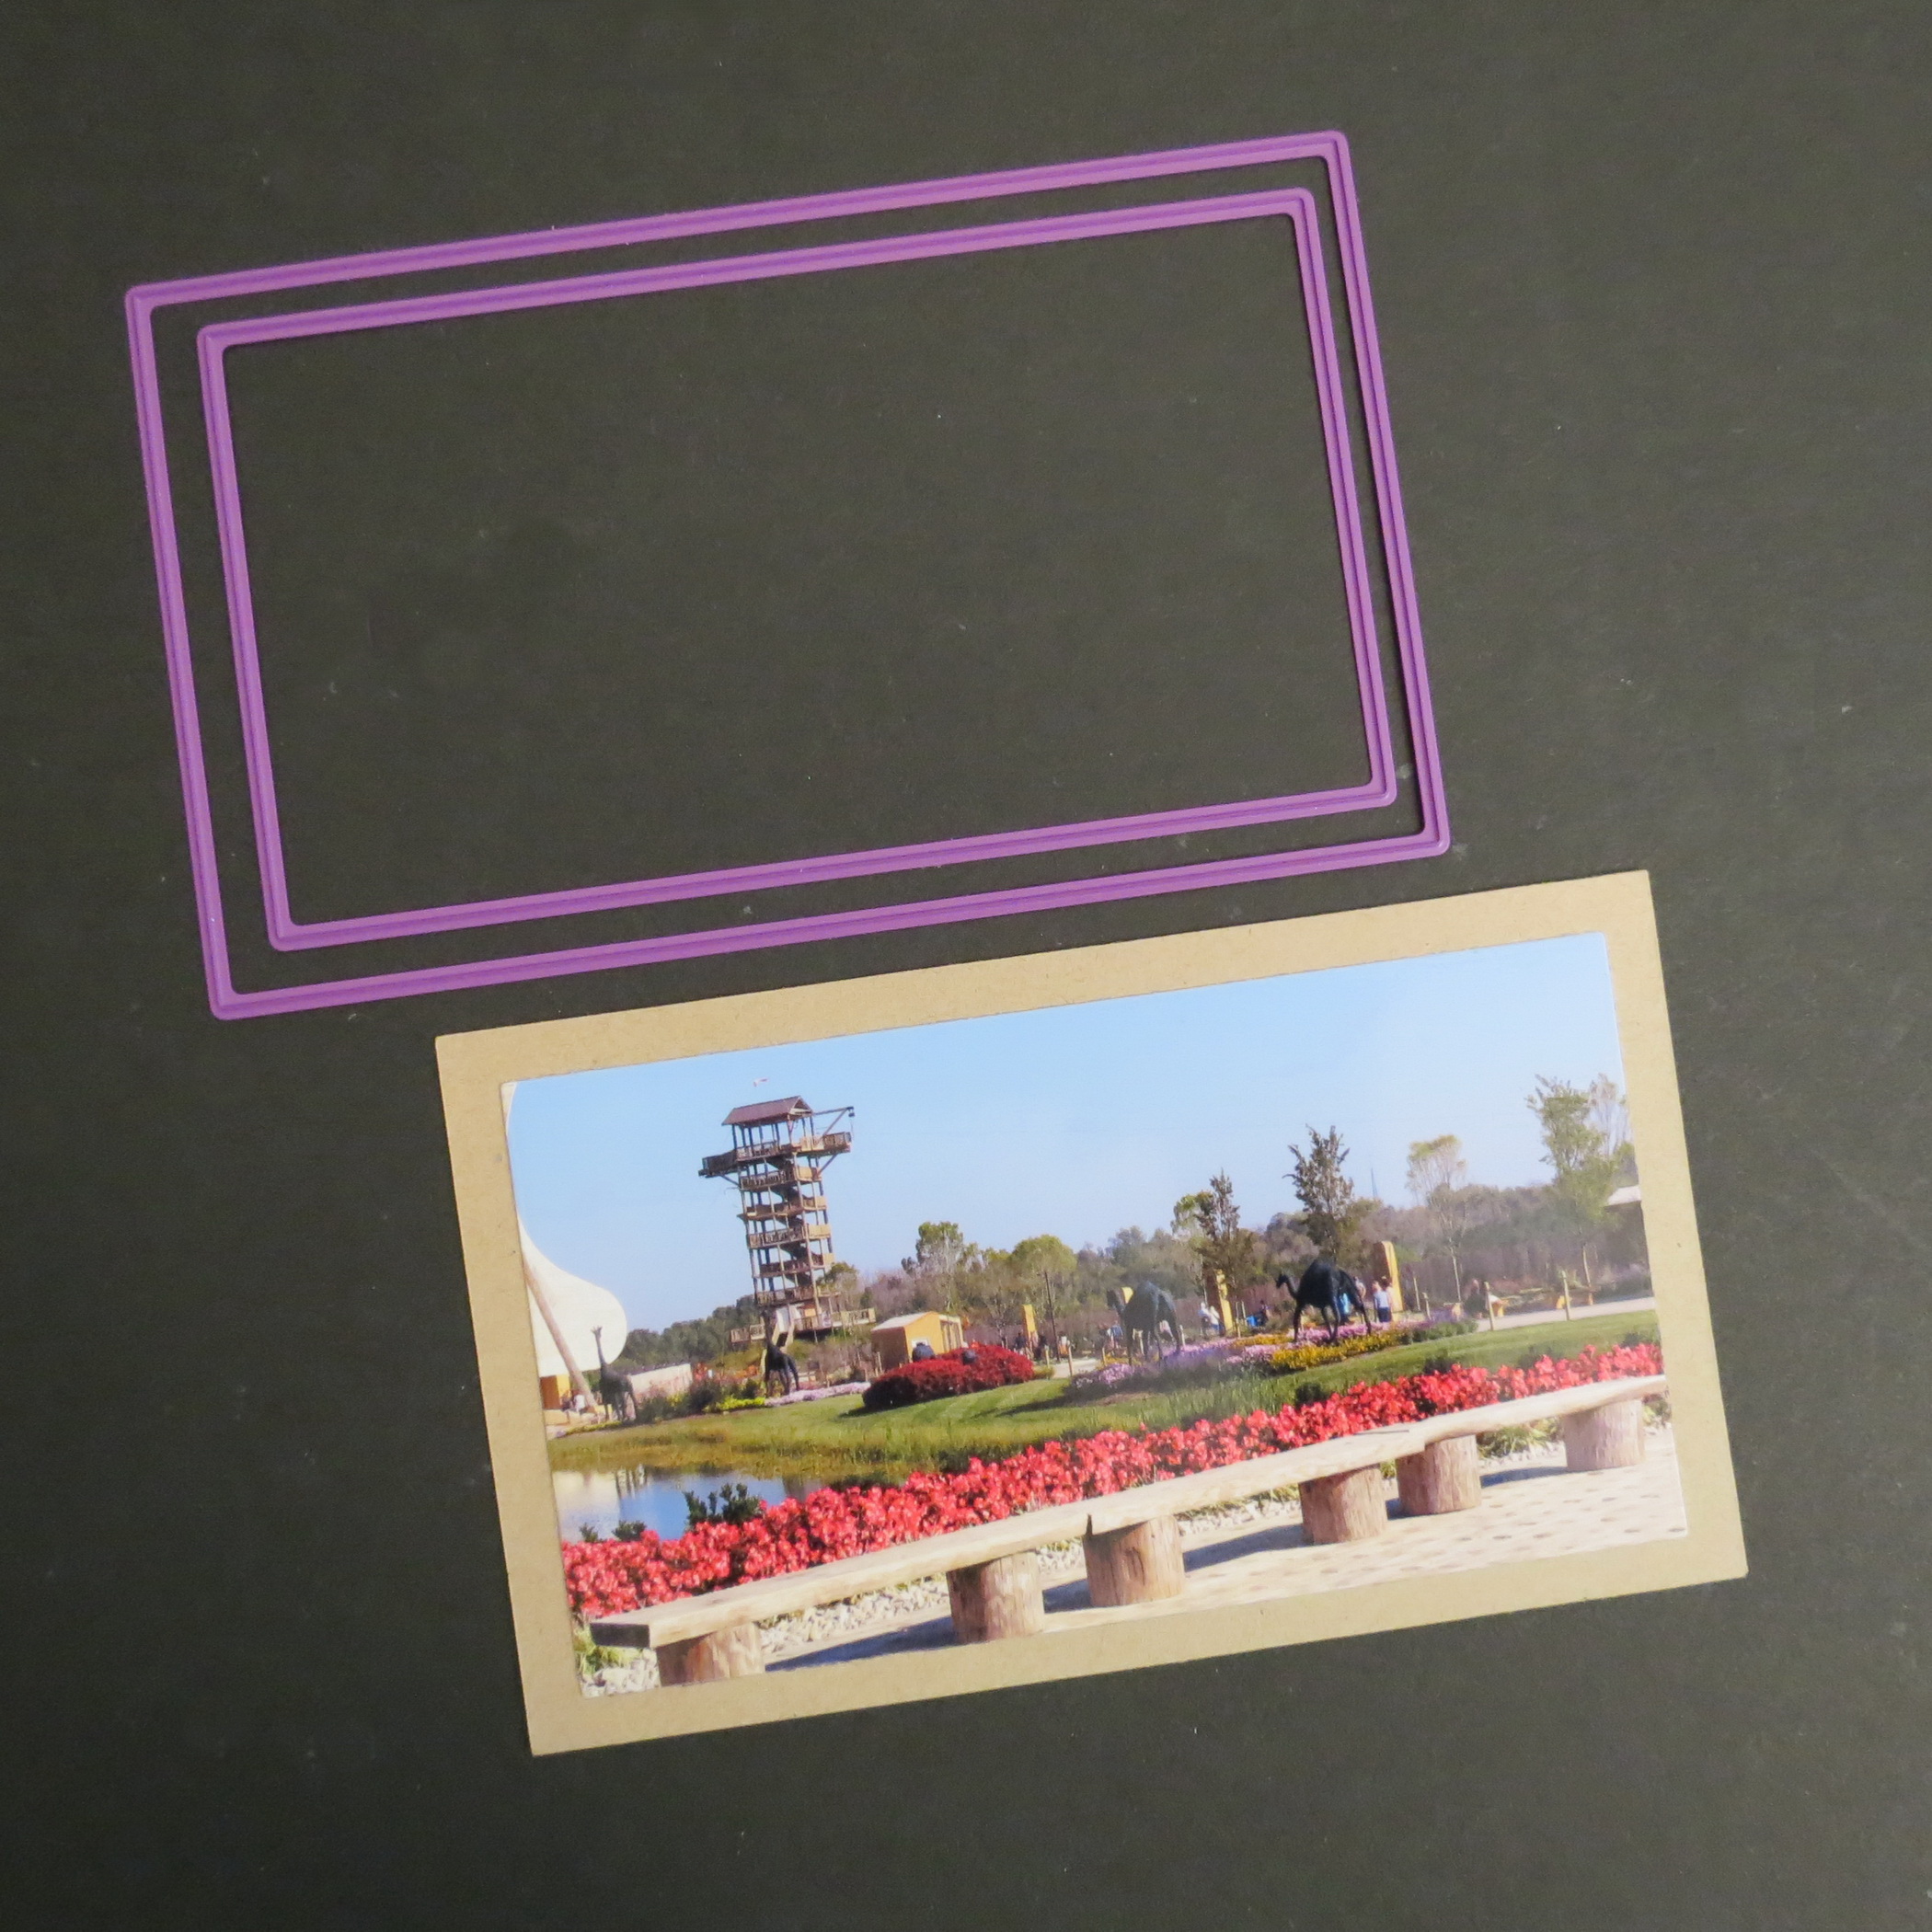
Cropping Tips Use the 2×4 die on a 4×6 photo
Cropping Tips Consider if you want to mat the photo and how that will look.
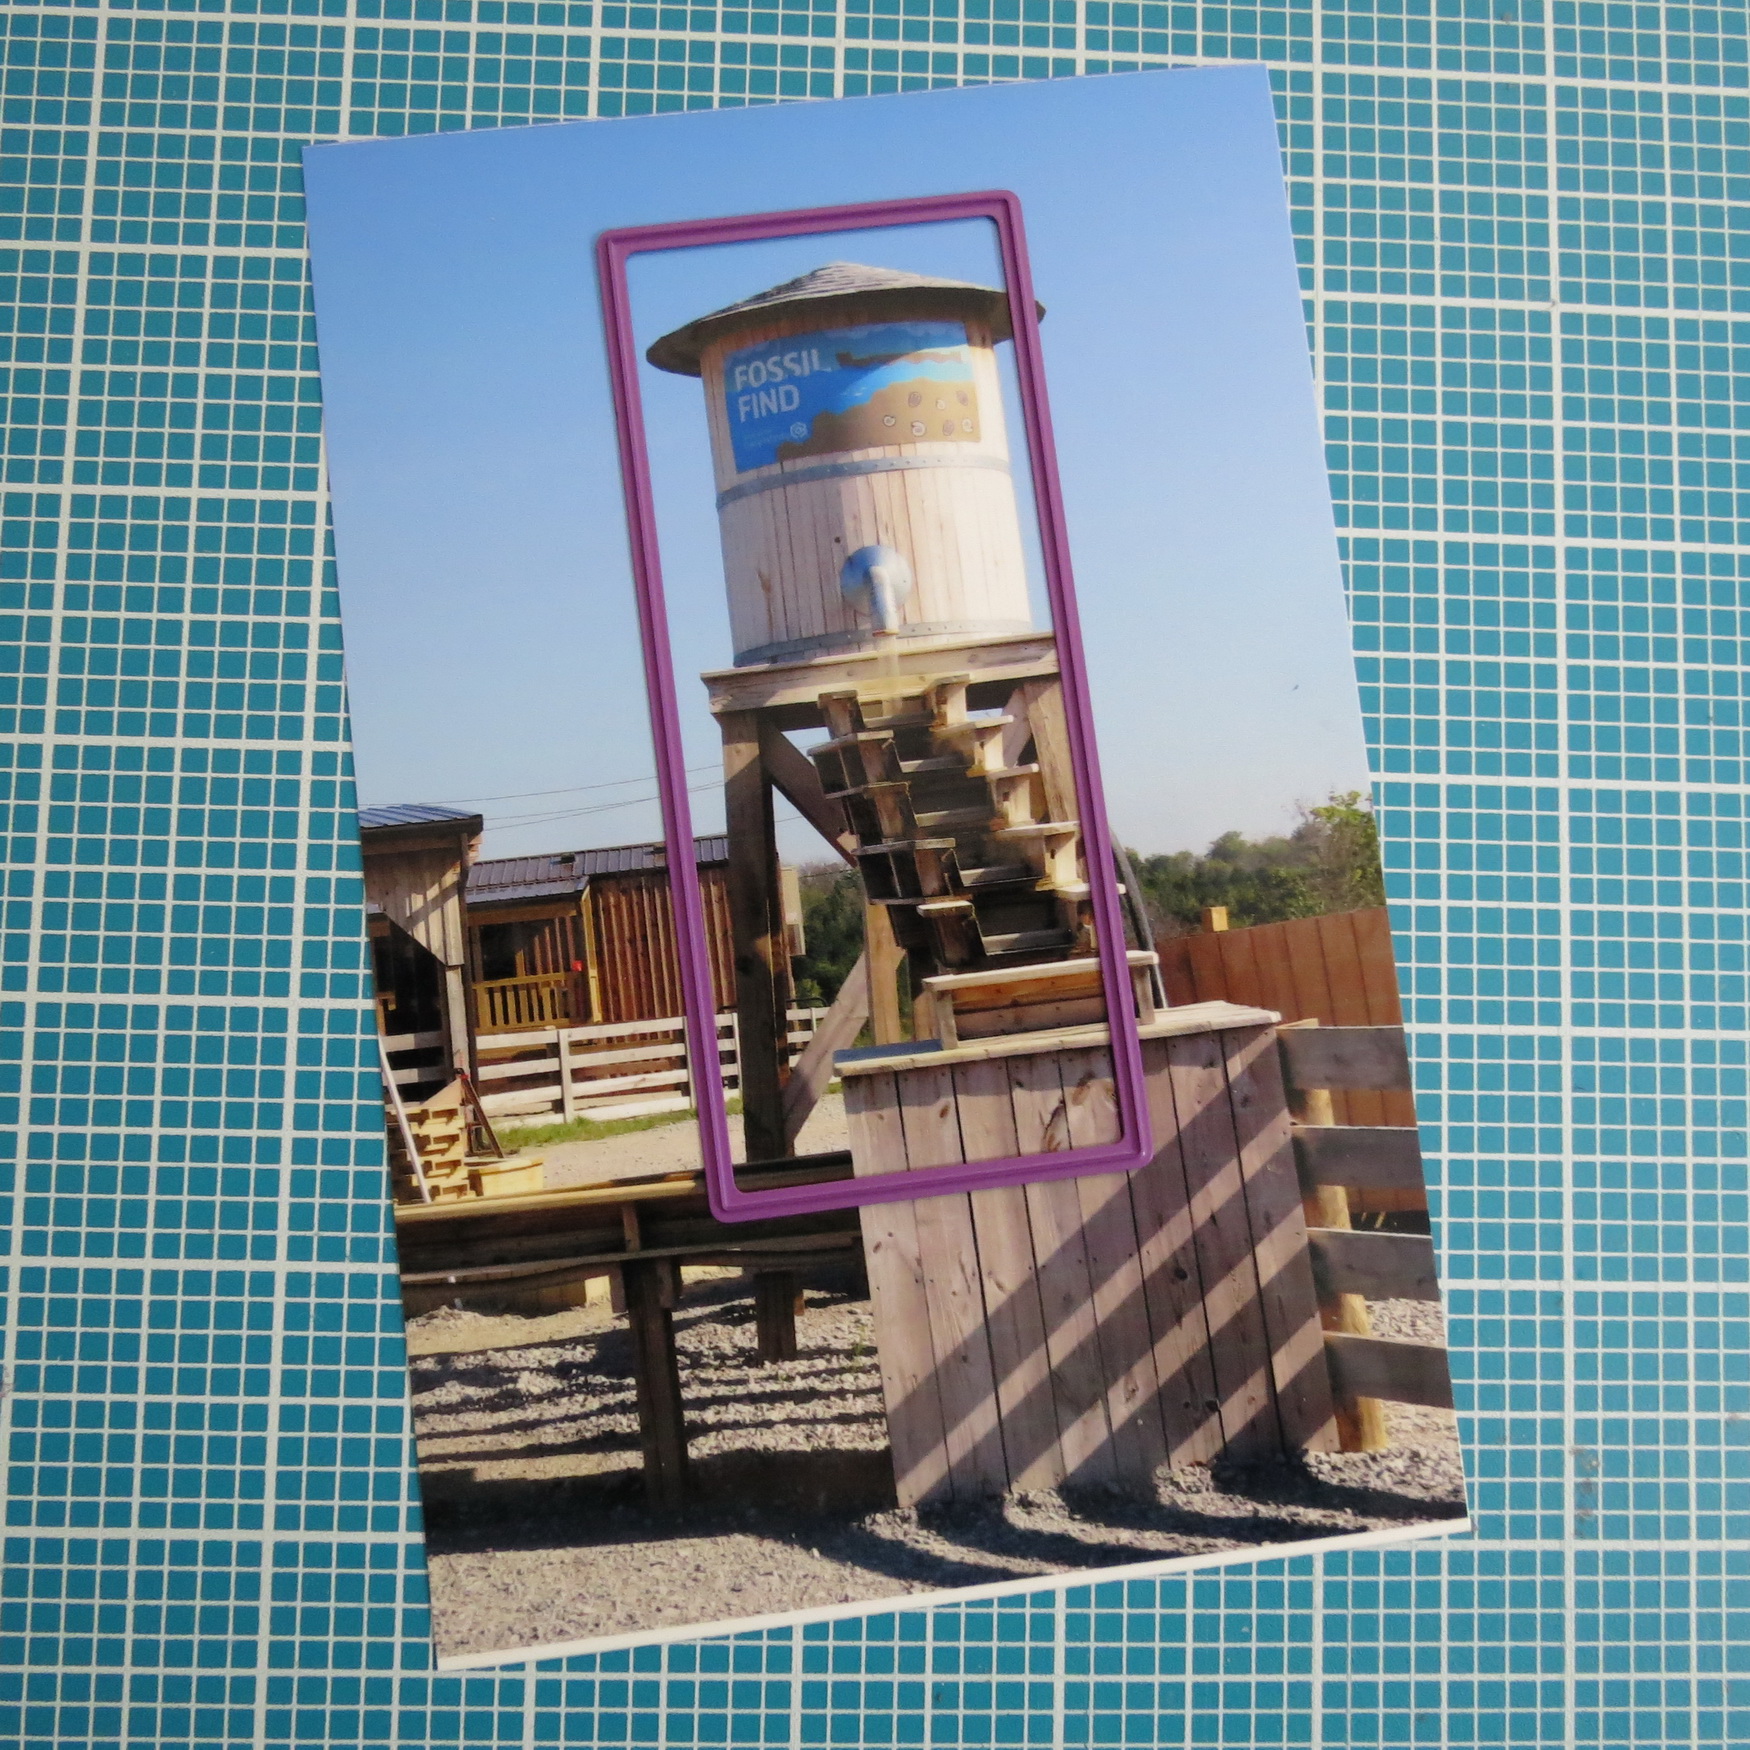
Cropping Tips Using the layering die for the 2×4 die on a 4×6 photo
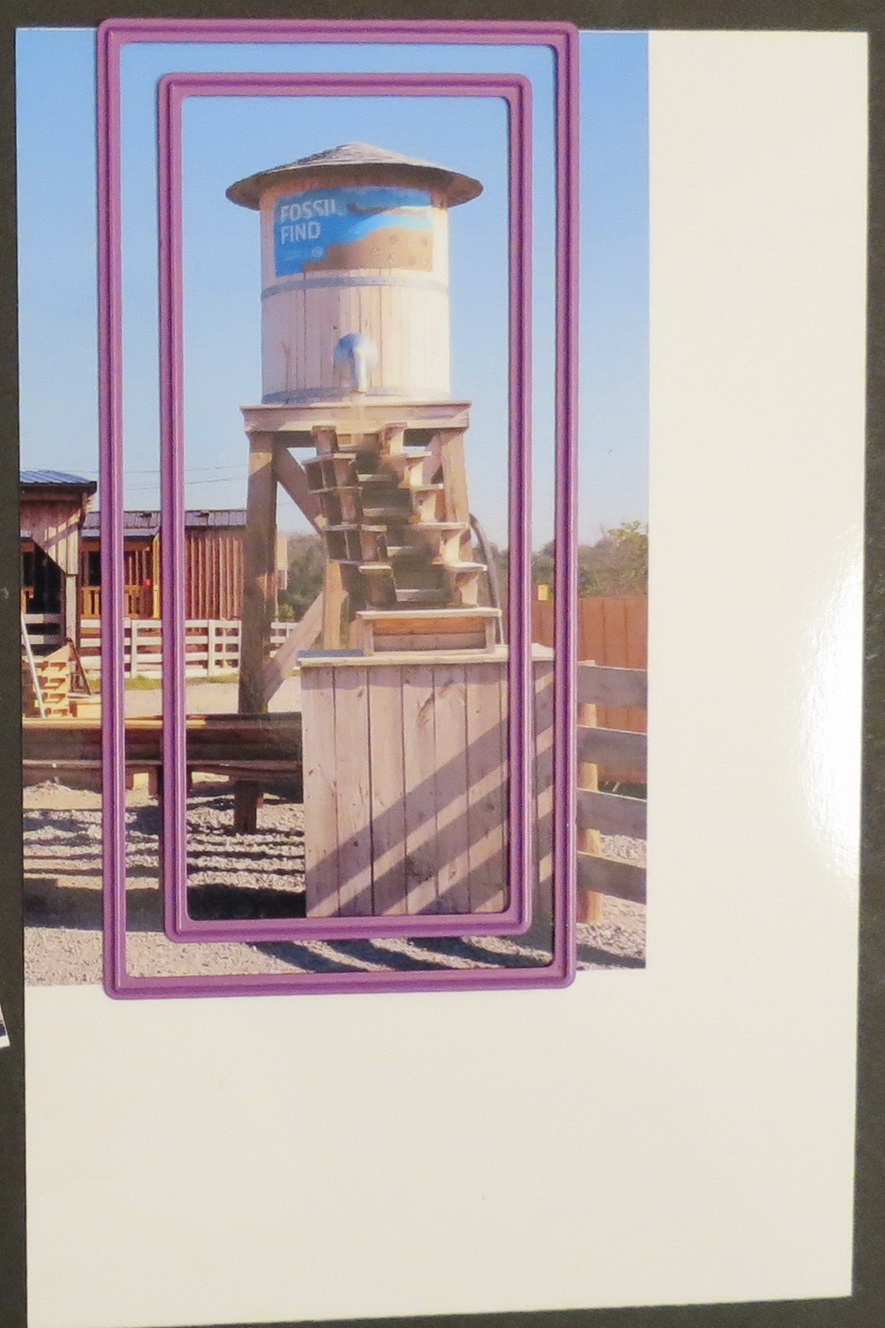
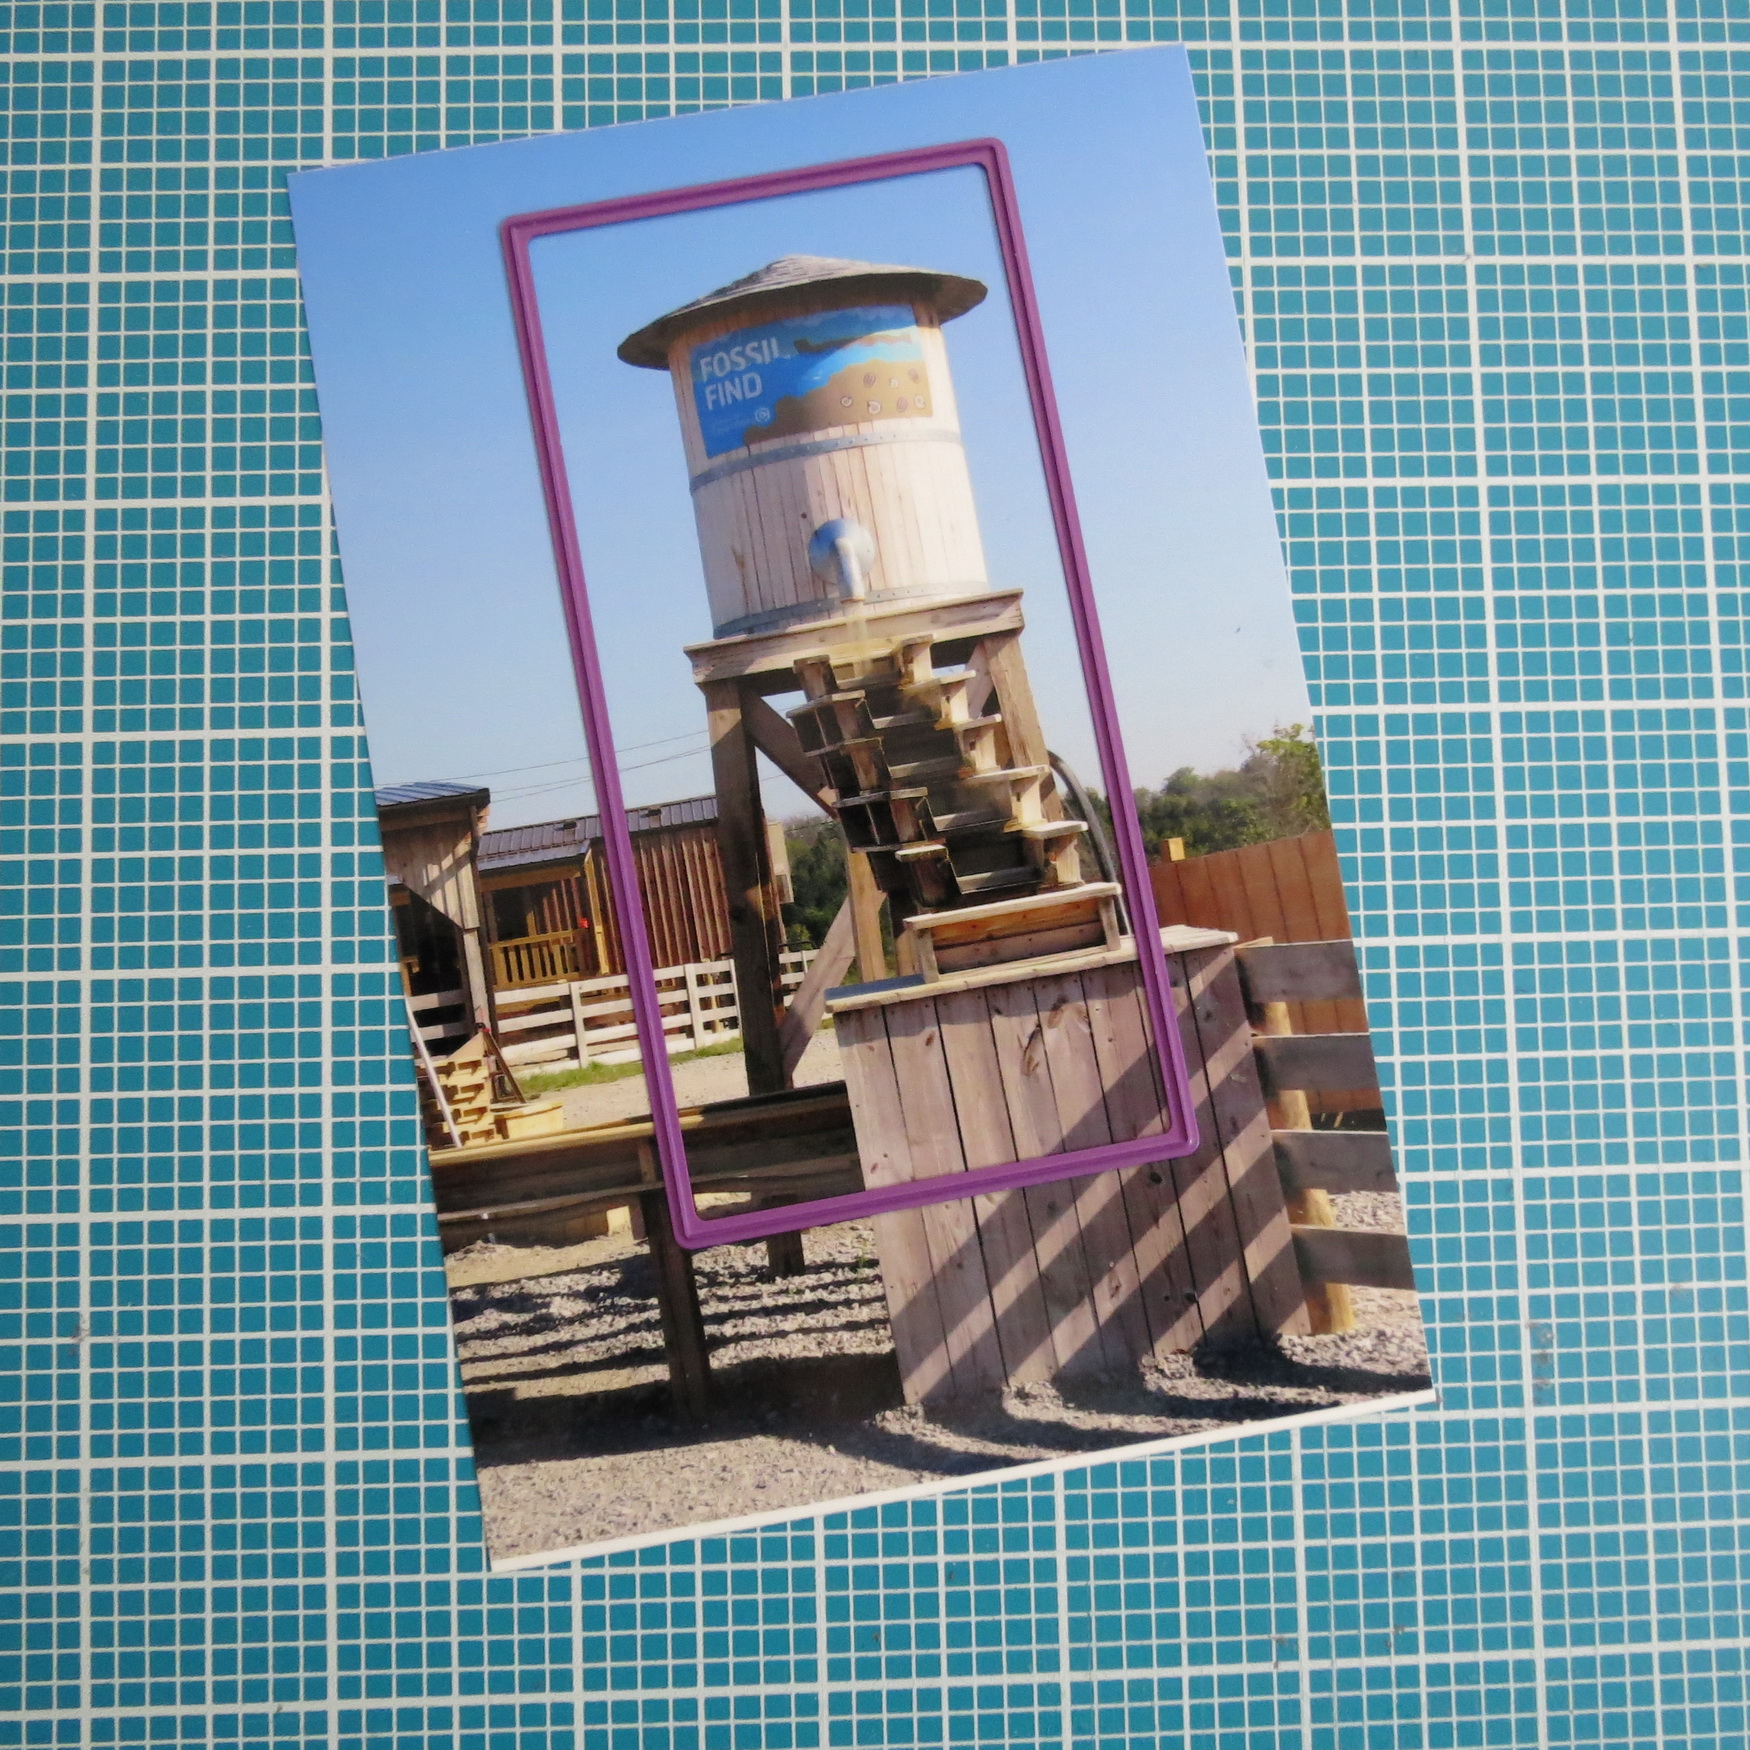
Cropping Tips Adjust your margins and improve your content
Cropping Tips The results
For me, I wanted more of the picture to fit that 2×4 block. The remedy is to reprint the photo and change the margins on the print setting. To print a 4×6 vertical photo, I adjusted my bottom margin by 1.50” and the photo remains the same proportion and I can now get more of the photo into the space. No longer does it have that crowded feel and I’m pleased with the amount of details in all my photos for this section.
TIP: Try it out! I know not everyone prints their own photos, but this is one time you could take a few and try it out and see if you like what you see and the change it can make to your layouts.
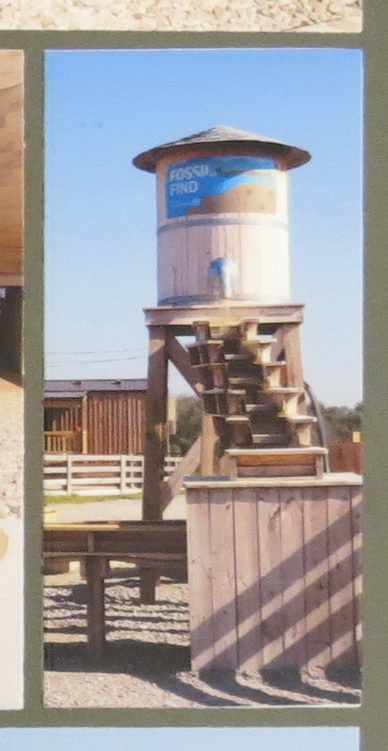
For the horizontal photos, I wanted a big, full picture in each spot, but I’ve done one up to let you see how the photo looks if it’s matted and mounted. Now to do that, I did print the photo without cropping it to 4×6 and printed it at the original digital size. This helped to retain the content of the photo and still be able to see most of the photo although smaller than the 4×6 cropped by the 2×4 die.
Mosaic Moments Simple Steps: The Basics: Cropping Tips Matting options
Mosaic Moments Simple Steps: The Basics: Cropping Tips matted on the grid
TIP: Remember this method of scrapping is to enhance your photos. Cropping away for the sake of a pattern or page won’t necessarily leave you with results you’ll love. Trying a few of these suggestions will make a difference you’ll love! Sometimes, cropping will enhance and focus your eye and remove the distractions.
Does anyone remember the early days of scrapping where they didn’t just cut into a picture, they really were aggressive in cropping things out? We don’t want to do that. Use dies to focus in on your subject, get as much in as you want and have a layout that will last beyond the trends that come and go!
So who is game to try out the other all in one family of dies for patterns #120 & #121? Here are a few examples to get you started!
Mosaic Moments One Die Family layouts
Mosaic Moments Simple Steps: The Basics: Cropping Tips
Andrea Fisher