Two Ideas for One Die
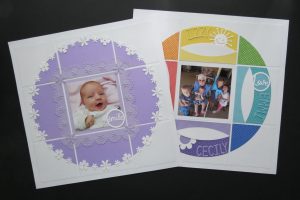
This week’s Advanced Techniques will focus on White Space with the use of our featured die the Horizon Die Set.
It is rare that a single photo is featured on grid paper. The whole idea of the grid paper is to showcase many photos in an eye-pleasing way on our 12×12 grid paper. I’m going to break away from that to show you how our newest Horizon Die Set can be used to bring one photo to the forefront and to explain how the use of White Space will be a new, advanced technique you will want to try out with a favorite photo.
Let’s begin with defining White Space:
White space, also called negative space, is “that portion of a page left unmarked: the space between graphics, margins, gutters, space between columns, space between lines of type.” (Wikipedia)
White space allows a design to breathe and gives you a visual rest space; in a layout it alleviates a cramped or chaotic feeling. Not every inch of your page is filled, and that’s okay.
White space doesn’t have to be white, but in today’s examples it will be.
White space is just an area without photos or journaling, a place where you aren’t being visually bombarded. Today, we are going to explore doing this on the grid with the new Horizon Die Set!
We often have questions on “What do I do with all the White Grid paper that comes in the variety packs?” I see the white and black grids as wonderful blank canvas’ ready to do just about anything you want. They are so versatile!
With today’s layouts a white grid will work with both the monochromatic theme Miz Scarlett and the playful full Doodlebug Designs color palette found in The Family Circle.
I have used the Die Sets A & C to cut all the sections of Pattern #344 in white for both layouts. I liked being able to mount the color sections from our new Horizon Die Set on top of the white sections because of the stability it gives to the page. When it is complete it will also add to the various layers in each layout.
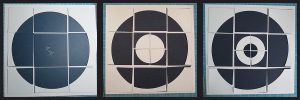
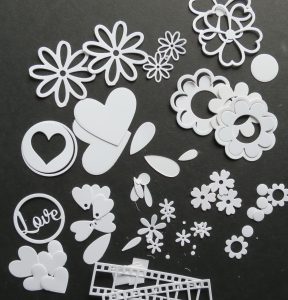
In both layouts I’ve used the same arrangement of the die sections to create a circle. Before deciding on what I’d do I played around with the pieces of the whole die set to see what could be done. The photo shows a few of the ideas I considered.
A few years back Tami gave her Design Team a challenge to do a page with a theme of Circles, creating a page that used circles as part of the design. This was no easy thing to accomplish and now Tami has outdone herself with this new Horizon die set as you can now easily achieve a circle layout on a grid.
If you look on Pinterest you’ll find so many inspirational circle layouts that you can now try to recreate with this new die and grid paper! I look forward to translating some of them into a grid design. These are a few I’ve found.
Miz Scarlett Supplies:
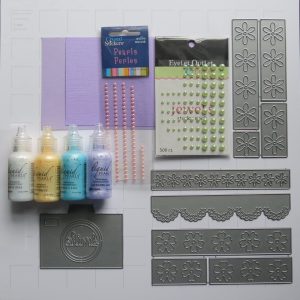
• Die Sets A & C
• Daisy Row die
• Layering Ribbon and border die set
• Mat and Photo Petticoat die set
• Smile for the Camera Die set for the “Smile” circle
• Perfect Petals Die set (new – sneak peek!)
White 12×12 MM Grid paper, American Crafts lavender cardstock, Liquid Pearls – lavender, buttercup and robin’s egg, and pink pearls
Miz Scarlett
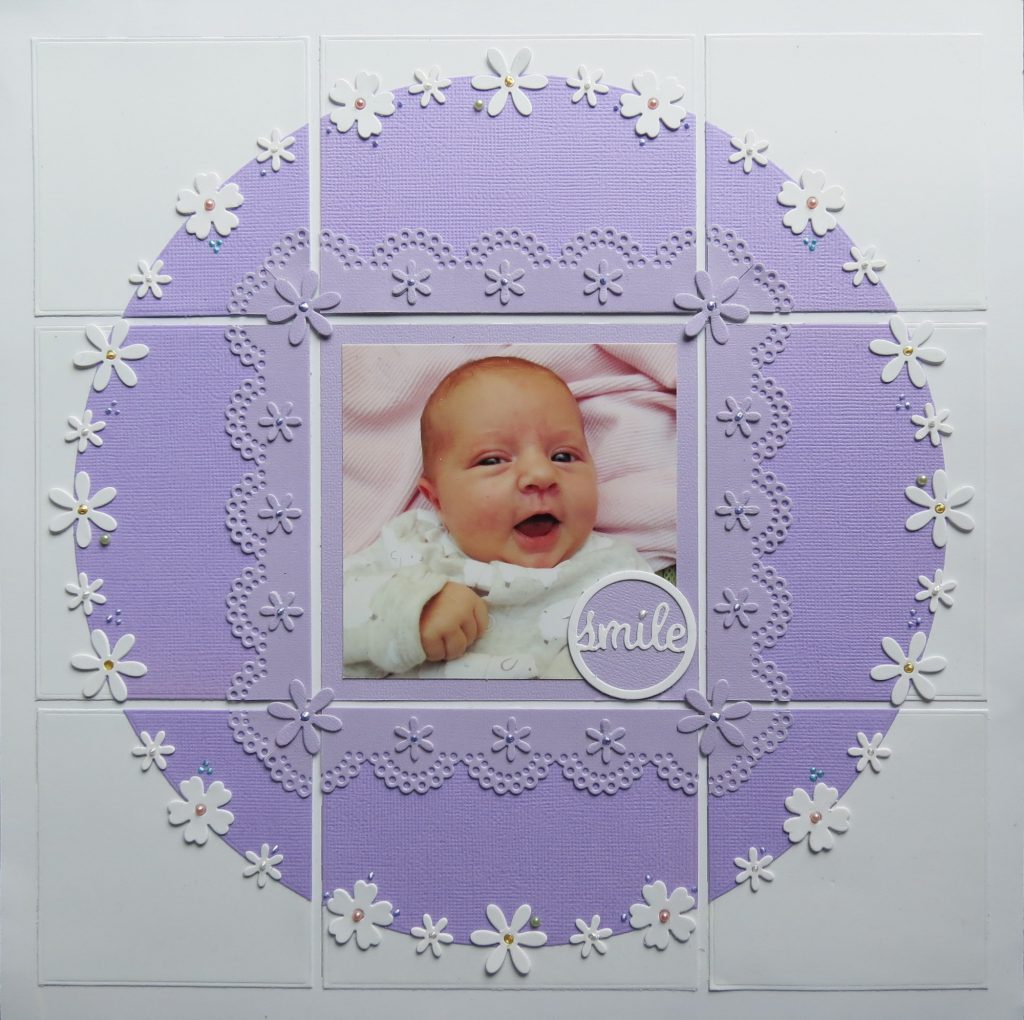
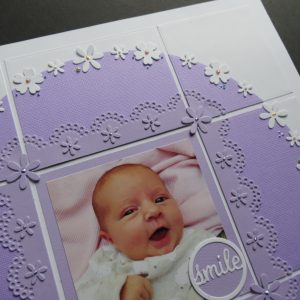
Beginning with the white grid, then adding the white die bases I now add the color die shapes to the page and I’ve got a central circle surrounded by a large empty space…my white space. The focus will now be drawn to the center of this layout.
I have one photo I’m featuring and the combination of the white space and the Horizon Die set pattern draws you to that central spot on the grid. Next, I’m going to add a few embellishments to continue to draw your eyes to the middle.
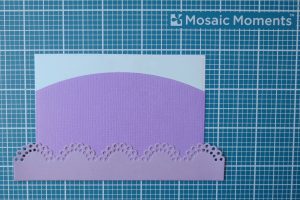
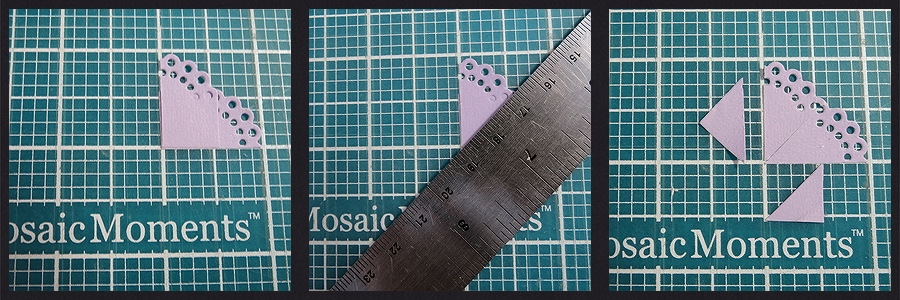
I’ve matted the photo in a lighter shade of lavender. Then with that same color and using our Mat and Photo Petticoat die set added an inner border to each of the 3×4 sections. You will want to center these scallop sections and cut a small portion off of each end.
TIP: Save those end bits to use on the corner sections. Line them up on your craft mat and diagonally cut through both pieces for a mitered corner. Remove and discard the small triangles.
This now blends with the mat of the photo and enlarges and extends the center into the outer lavender sections. The lacey border really needed a little more and my solution was to add the tiny daisy from our layering ribbon and border die and to add a bit of depth, double stacked the daisies for a nice stand out look. I used larger daisies from the Daisy Row Die Set for the corners. All these were done tone on tone. Finishing touches of Lavender Liquid Pearls in their centers adds a little bit of shine.
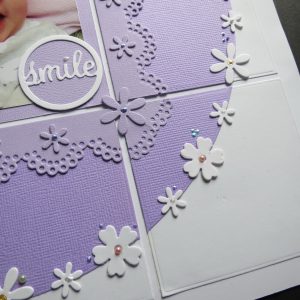
Now I move to the outer edge of the circle and use more flowers in white this time. We have so many flower dies that can be incorporated in you layout cut a bunch and play around with the arrangement.
I allow the flowers to slightly extend and hang beyond the edge of the pattern section, an advantage of using full 3×4 and 3×3 bases with the die section layered on top where the shadow from the flowers adds dimension. Small pearls and Liquid Pearls finish off the flower centers and have been randomly added around the flowers for a tiny bit of color and interest.
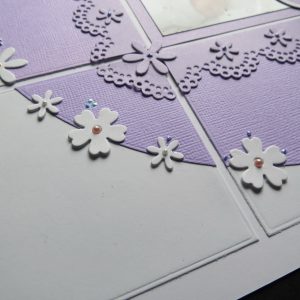
Shadow created with layered die sections and doubled flower embellishments overhang. Liquid Pearls and pearls added detail
Now for the second page:
The Family Circle: Celebrating 89 Years
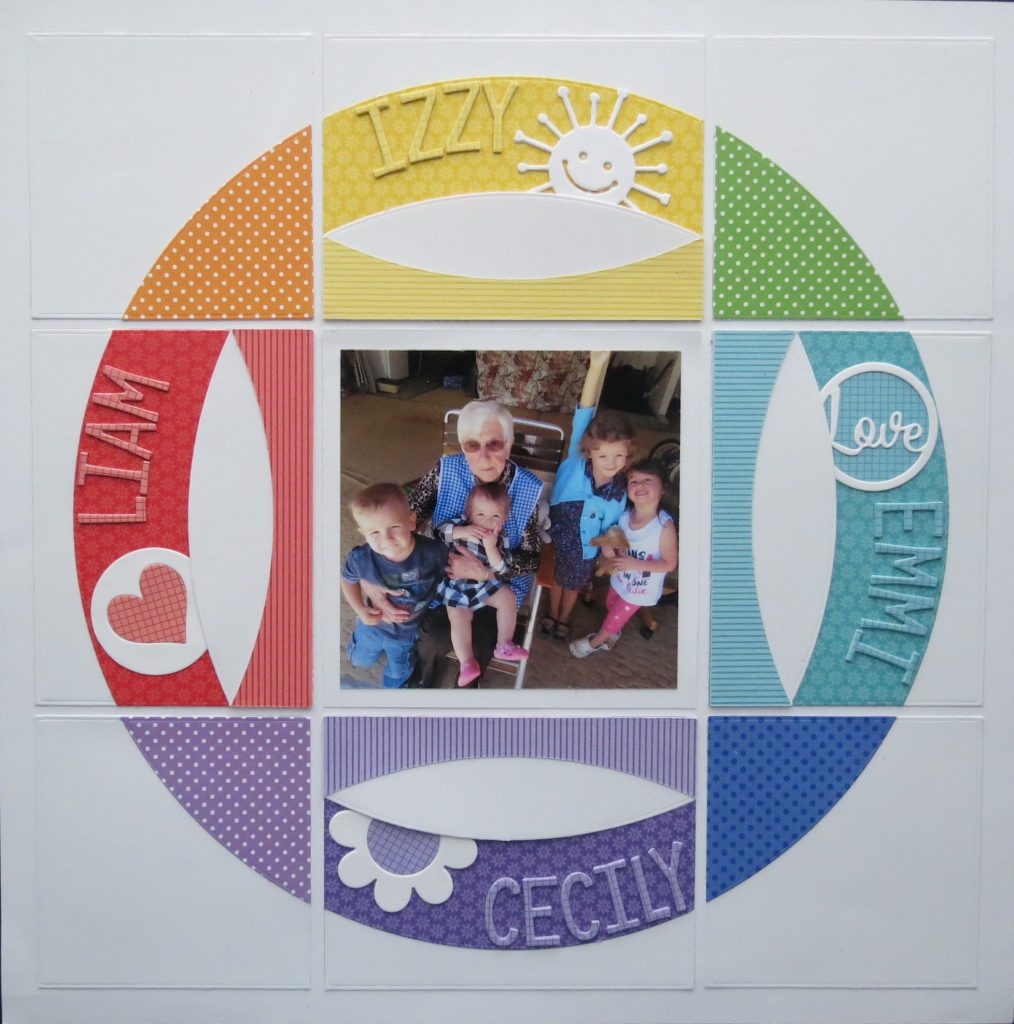
Mosaic Moments the New Horizon Die Set and Advanced Techniques: White Space Doodlebug Designs papers
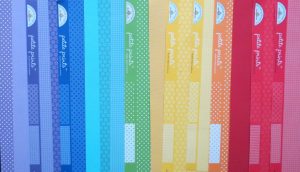
I was eager to try out a rainbow of Doodlebug Design papers with this one!
The Doodlebug Page: The Family Circle
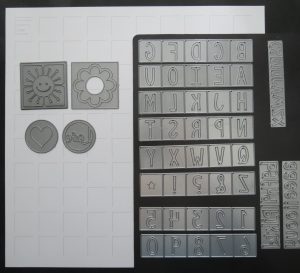
• Large flower form the Circle Frame and Flower Die set
• Circle Heart frame from the Smile for the Camera die set
• Love Circle frame from the Smile for the Camera die set
• Alphabet 3 Die Set
• Sunny 2×2 Cornerstone die
• 3×4 die from Die Set C
• 3×3 die from Die Set A
White 12×12 Grid paper, Doodlebug Designs pattern papers and cardstock, white cardstock
My center photo has a white mat that along with the 1/8” grid around each section is white space on this layout. The bold colors work so well on the white Grid paper and it’s one of my favorite ways to use the White Grids to let colors pop off of the page.
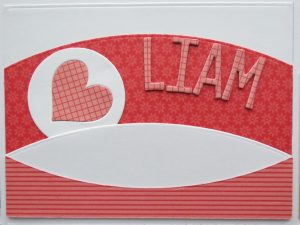
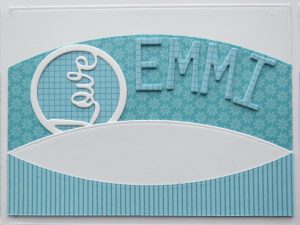
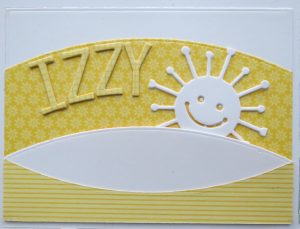
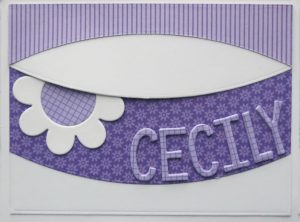
My photo is one that features my Mum on her 89th birthday last year with her then four great-grandchildren. That’s what led me to use each of the four 3×4 sections to add their names using the Alphabet 3 dies. Each section has several different patterns of paper in the same color used for the block. So that the tone on tone papers stand out on the base color they are stacked with two layers of cardstock to match the paper adding dimension too.
TIP: To speed the process of cutting all these letter layers I punched 1” squares to use in the letter die cutting, one letter at a time.
TIP: Zig Two-Way glue pen works wonderfully to adhere the layers of these letters and attach all the small pieces to the layout
TIP: I’ve used that embossed edge line (that not everyone likes) to line up my letters to space them evenly.
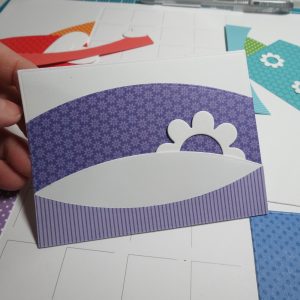
When I was playing around with these pieces I tried different ways to arrange them, here’s some of my attempts.

Mosaic Moments the New Horizon Die Set and Advanced Techniques: White Space Doodlebug Designs papers
To create a ring of color I used the white die cut piece and played around with positioning and additional colors for a rainbow look. Because the Doodlebug Design papers are double-sided you have more color/pattern options to play with. Trim away the excess white and mount flush with the bottom of the base.
I chose the option to create a pocket by only taping the sides and bottom of the lower section. I liked the idea of slipping the edge of a die piece inside, or it can stand alone and show off the ring image that it creates.
This was another opportunity to include some of our other dies on each block. I cut the frame away from the Sunny cornerstone tile and doubled it for stability. The Love and Heart circles from the Smile for the Camera set are backed or embedded with pattern paper and tucked into the Pocket. The flower with Cecily is from the Circle Frame and Flower set.
I hope you’ve been inspired to try out the new Horizon Die Set and explore the many possibilities you have to create a great grid layout and to also try a little more ‘White Space” next time you scrap!
Andrea Fisher

