
Designing with Dies
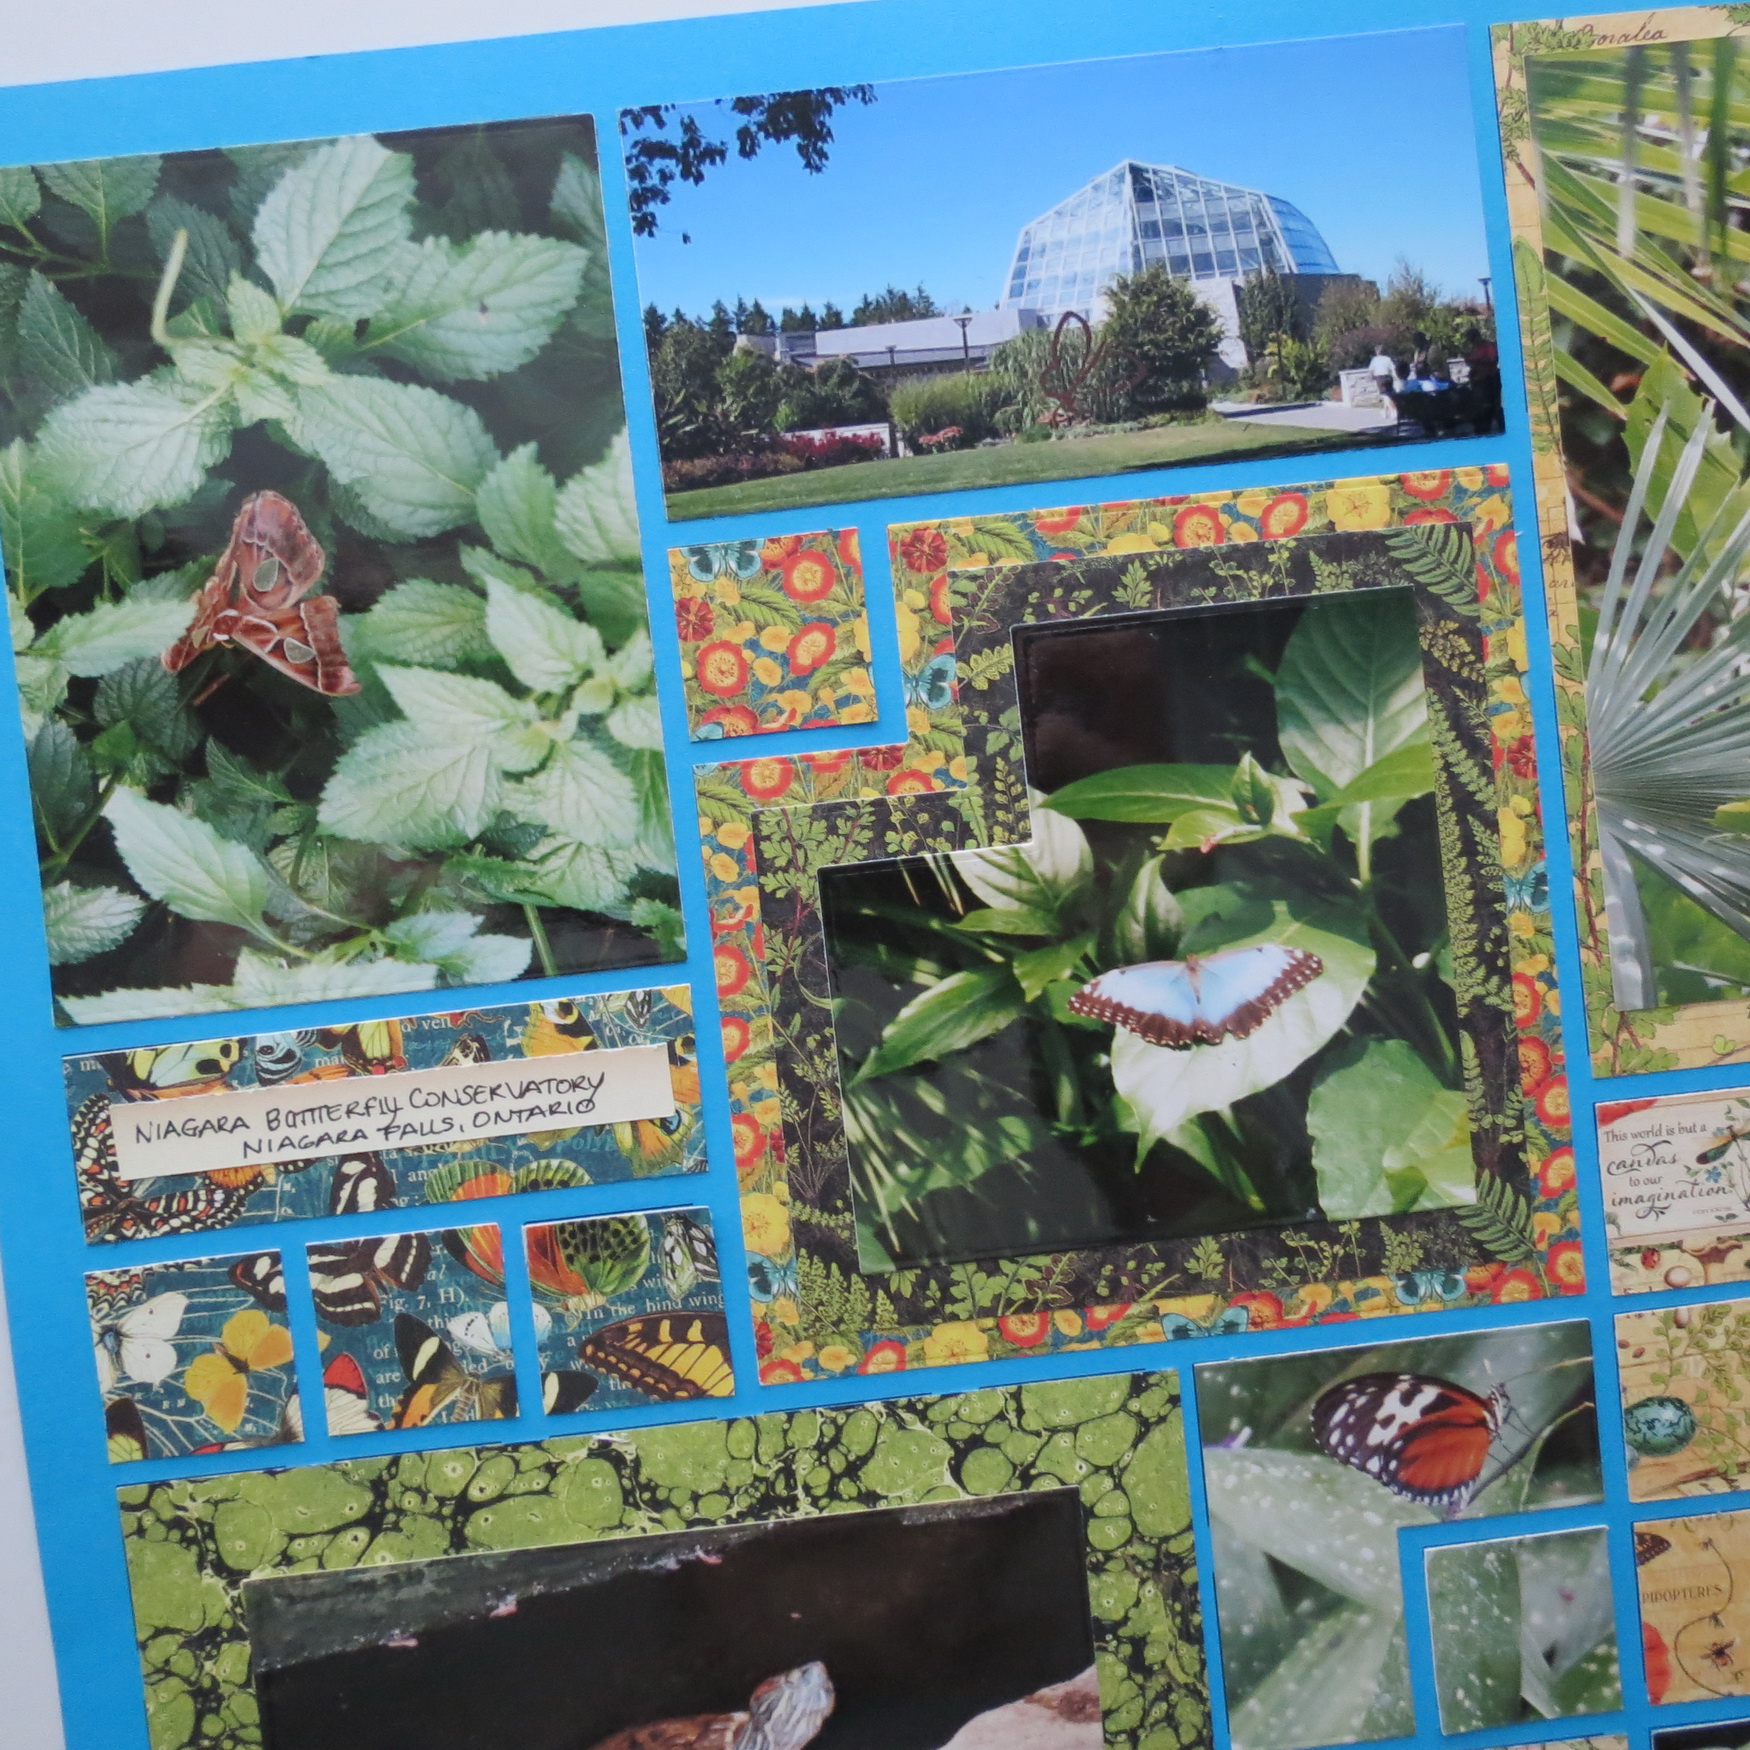
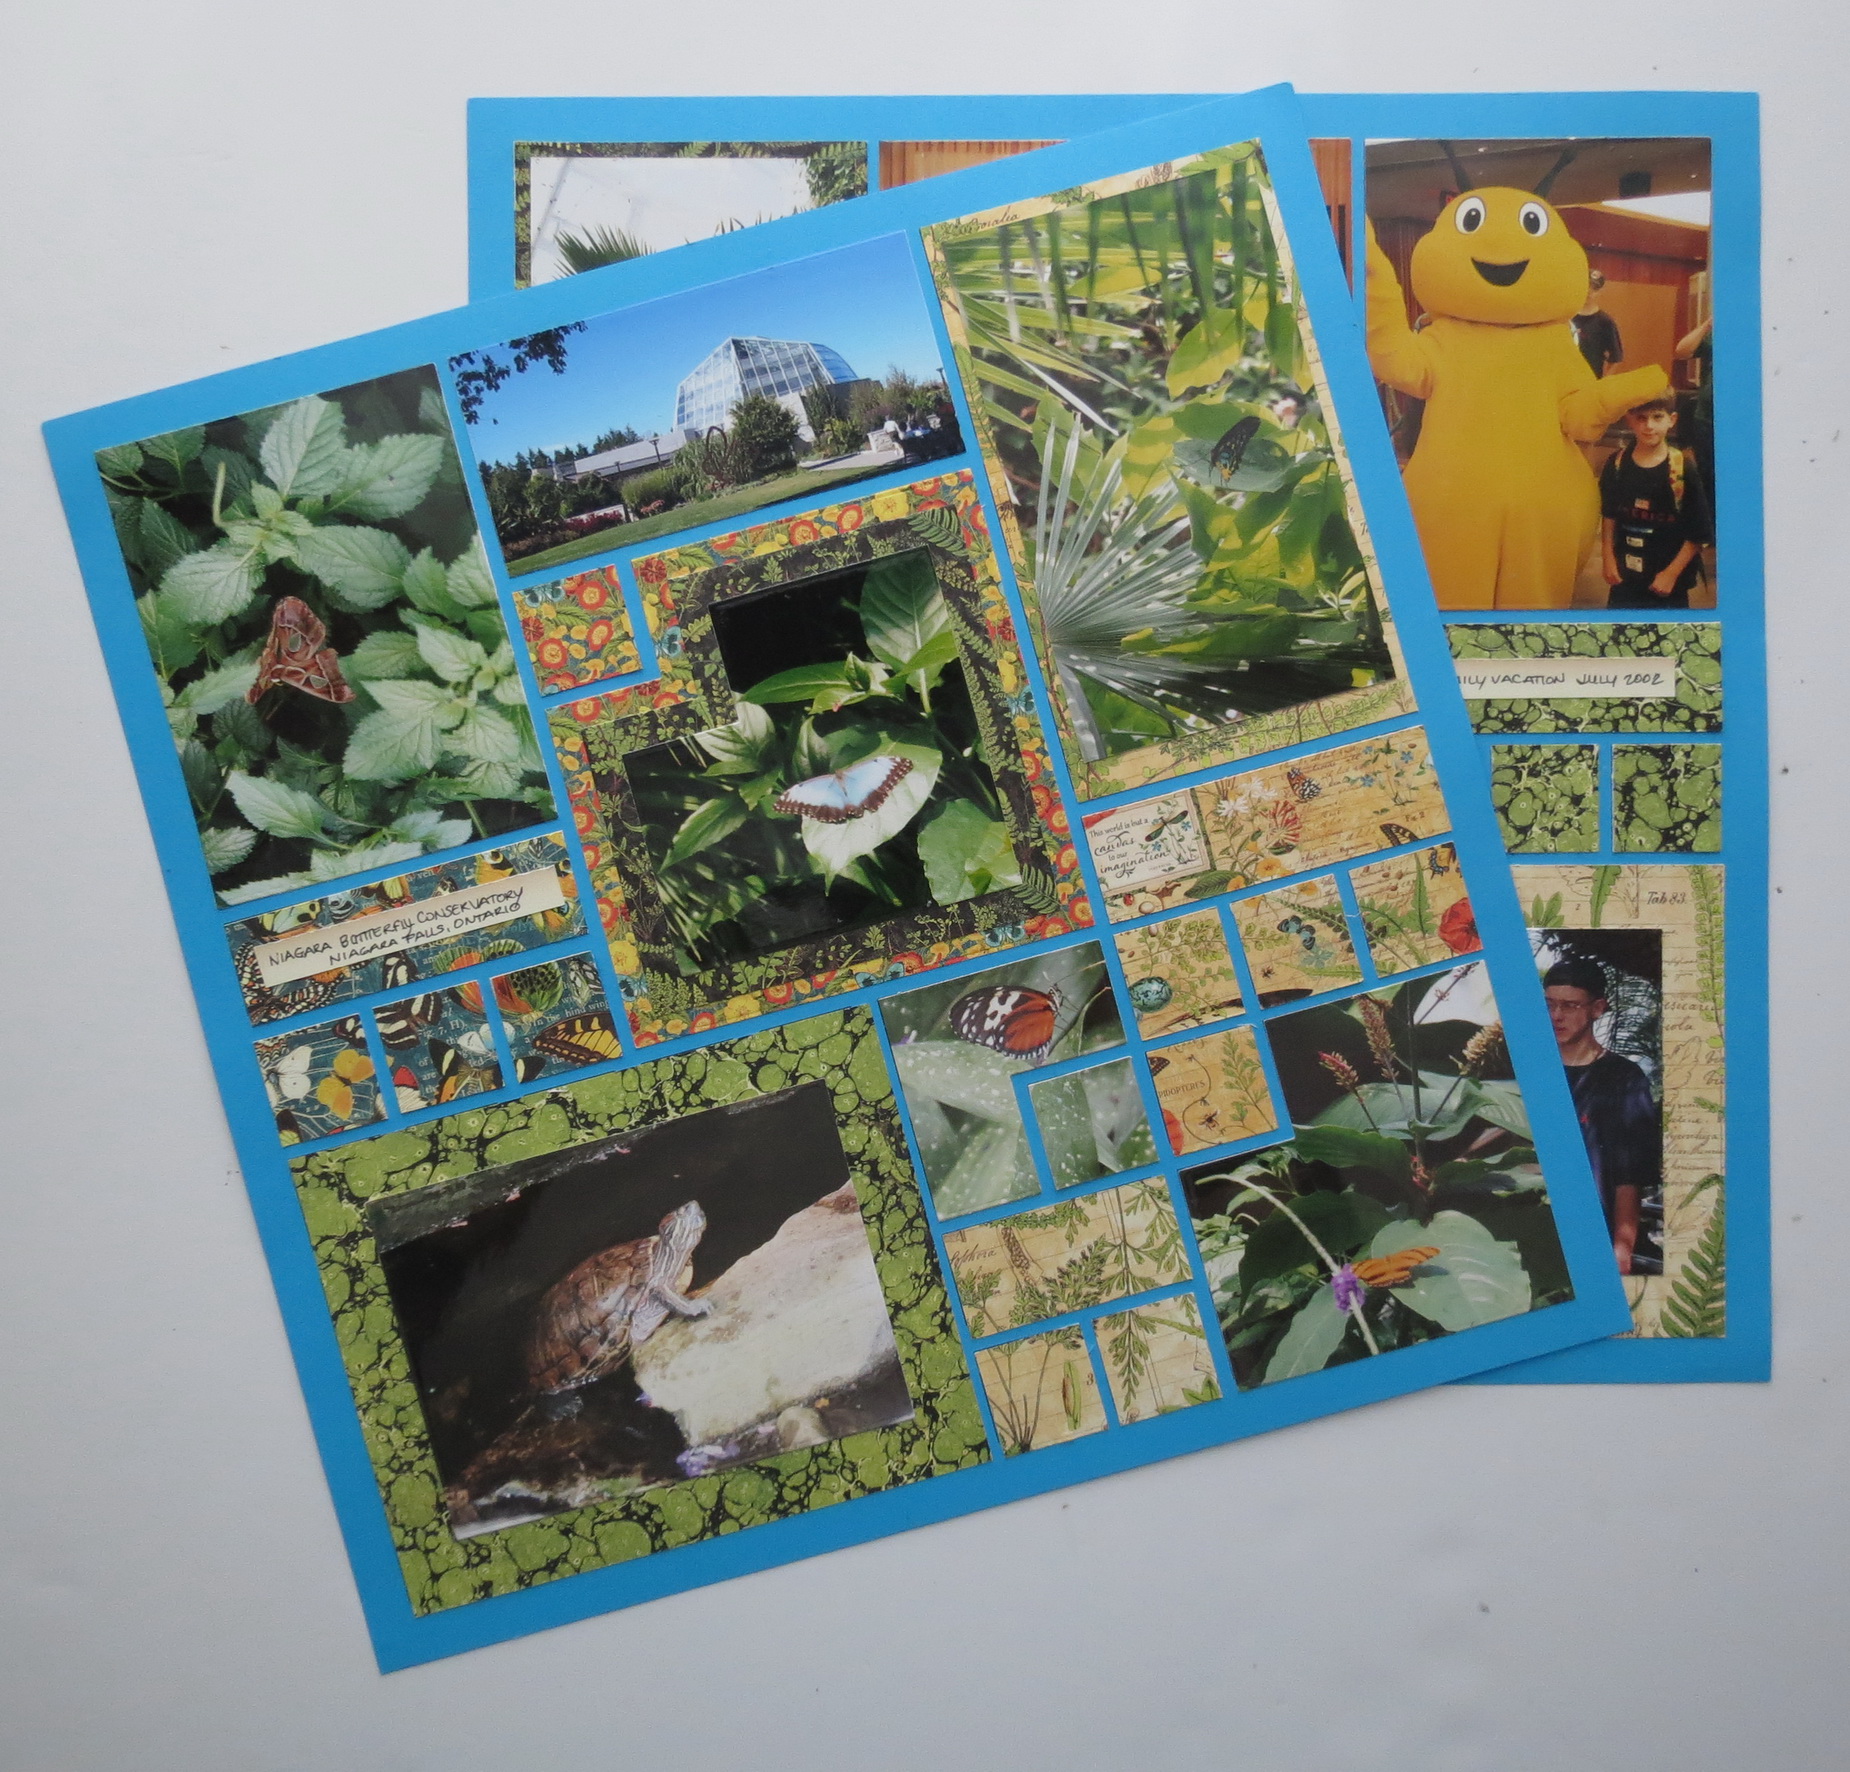
Niagara Butterfly Conservatory, Niagara Falls, Ontario
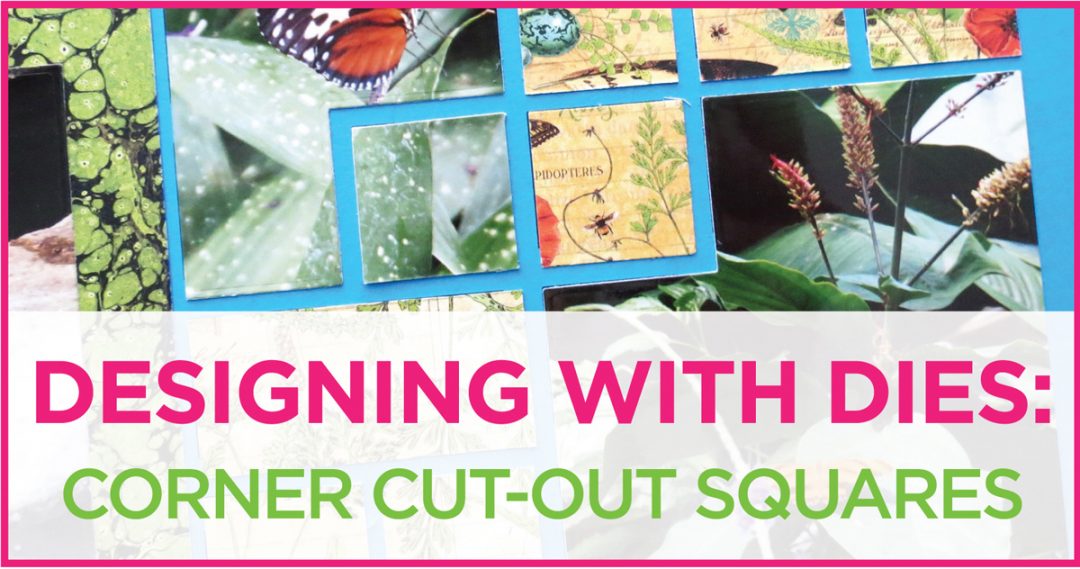
We have a new square die to add to our collection, this time with a small 1” corner removed, the Corner Cutout Die Set. These nesting dies can be used in several different directions and differing ways.
They can be used as a mat, or several mats for a layered look and also right to the grid. One inch sections of either photos or patterned paper can be used in the “out-take” of the square, I’ve done both ways here. You might even try one of our many 1” square dies if they fit with your theme.
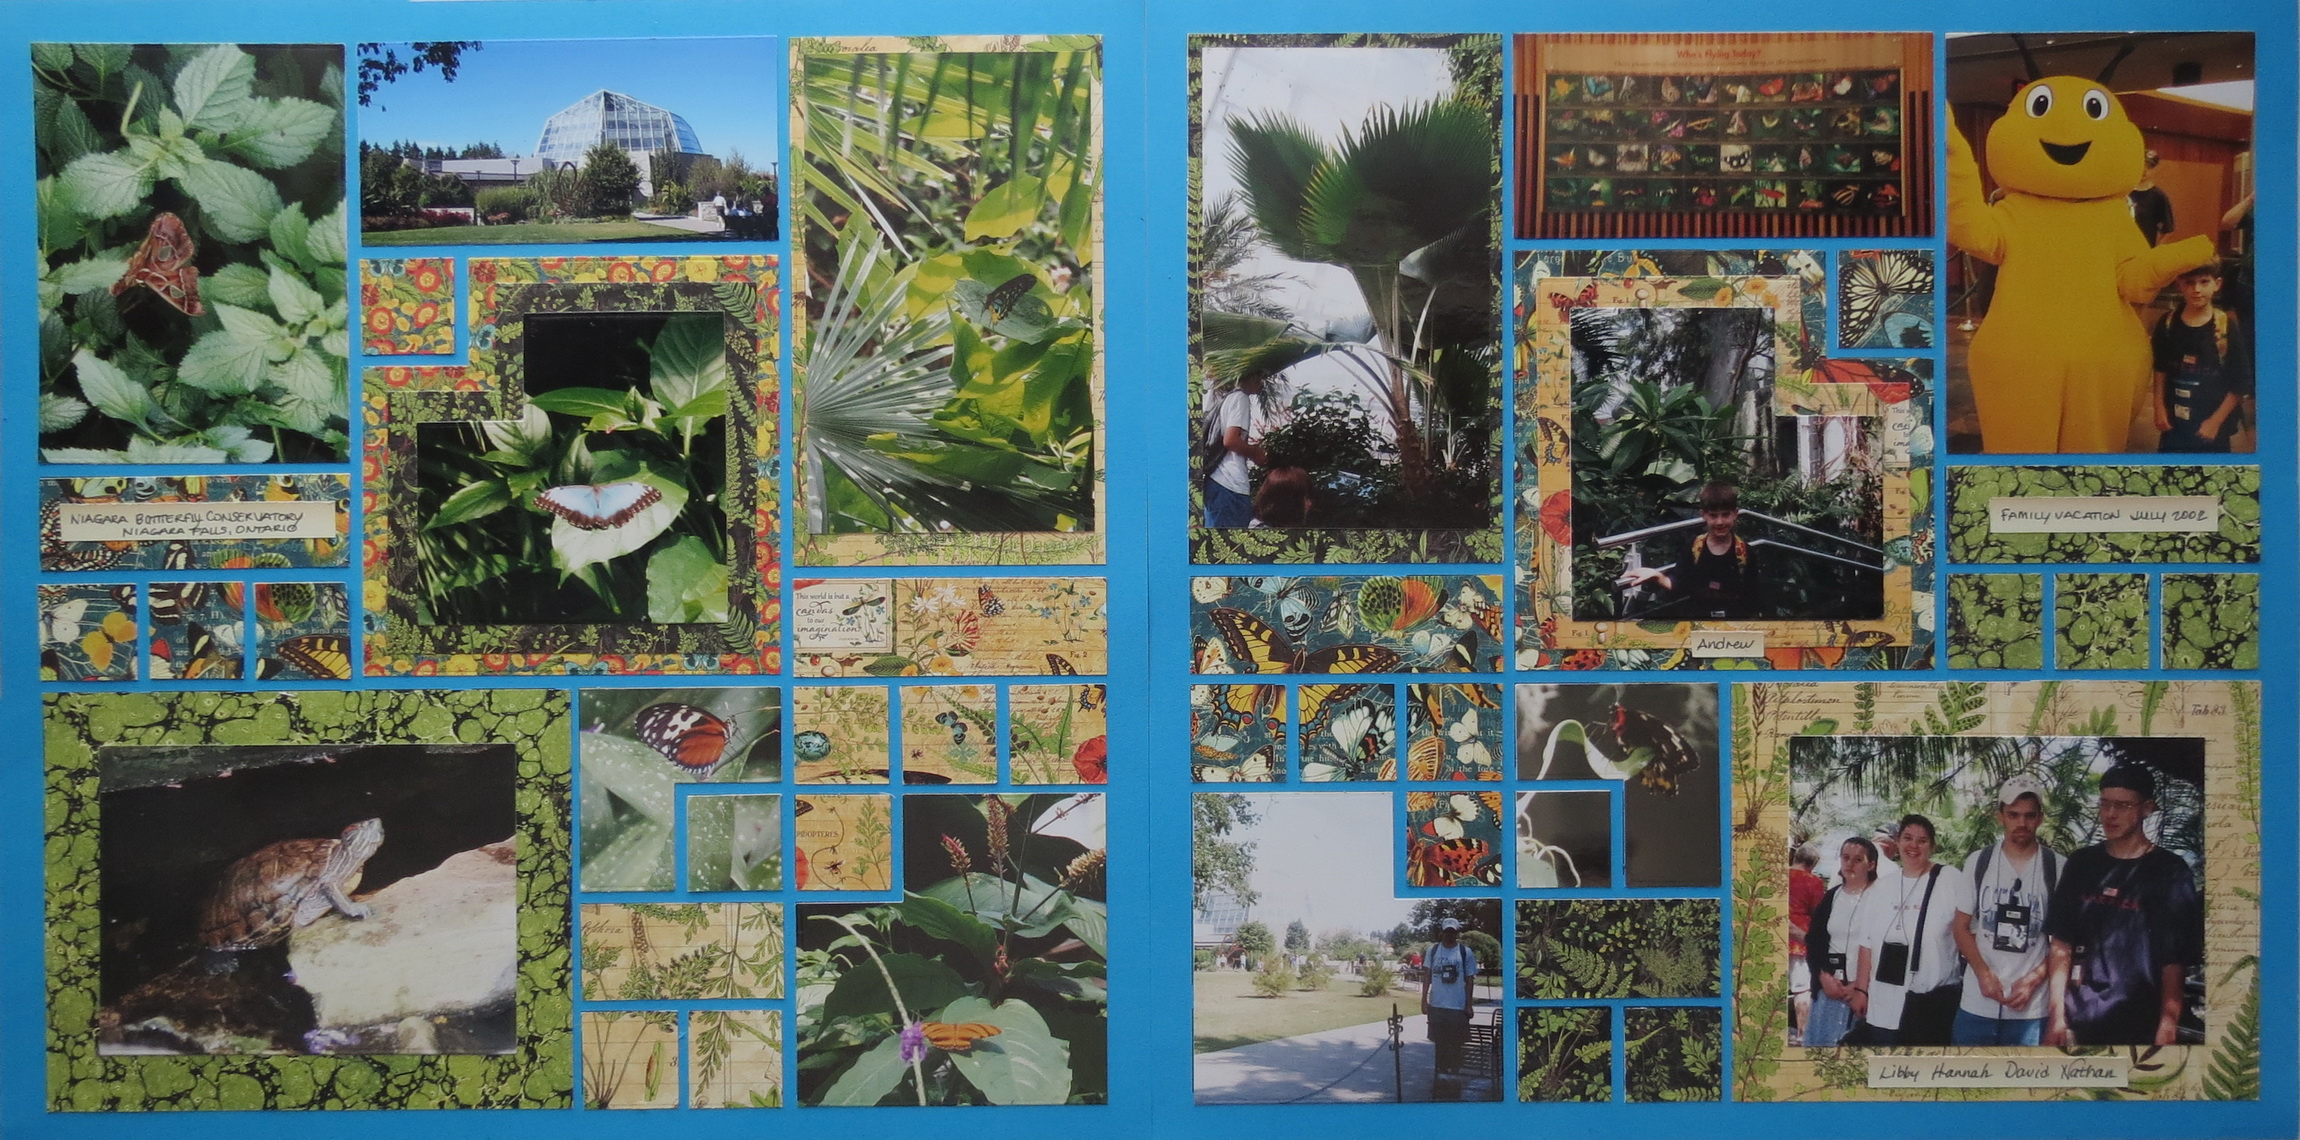
Mosaic Moments Designing with the Corner Cutout Die Set two page layout on “Blue 12×12 Grid paper”
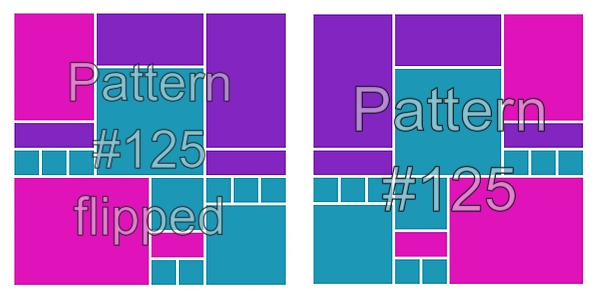
Mosaic Moments Pattern #125 and mirror image
I’ve chosen to use Pattern #125, a puzzle pattern, for the layout and flip it to use as a second page. I’ll repeat that mirror image patterning when the dies are used. You will find many other options for this die in the Pattern Gallery.
Our Mosaic Moments Grid Paper used in this layout is one of our newer colors, Blue. It’s a nice bold, bright blue, slightly lighter than our Bahama Blue Grid paper.
The Corner Cutout Die Set
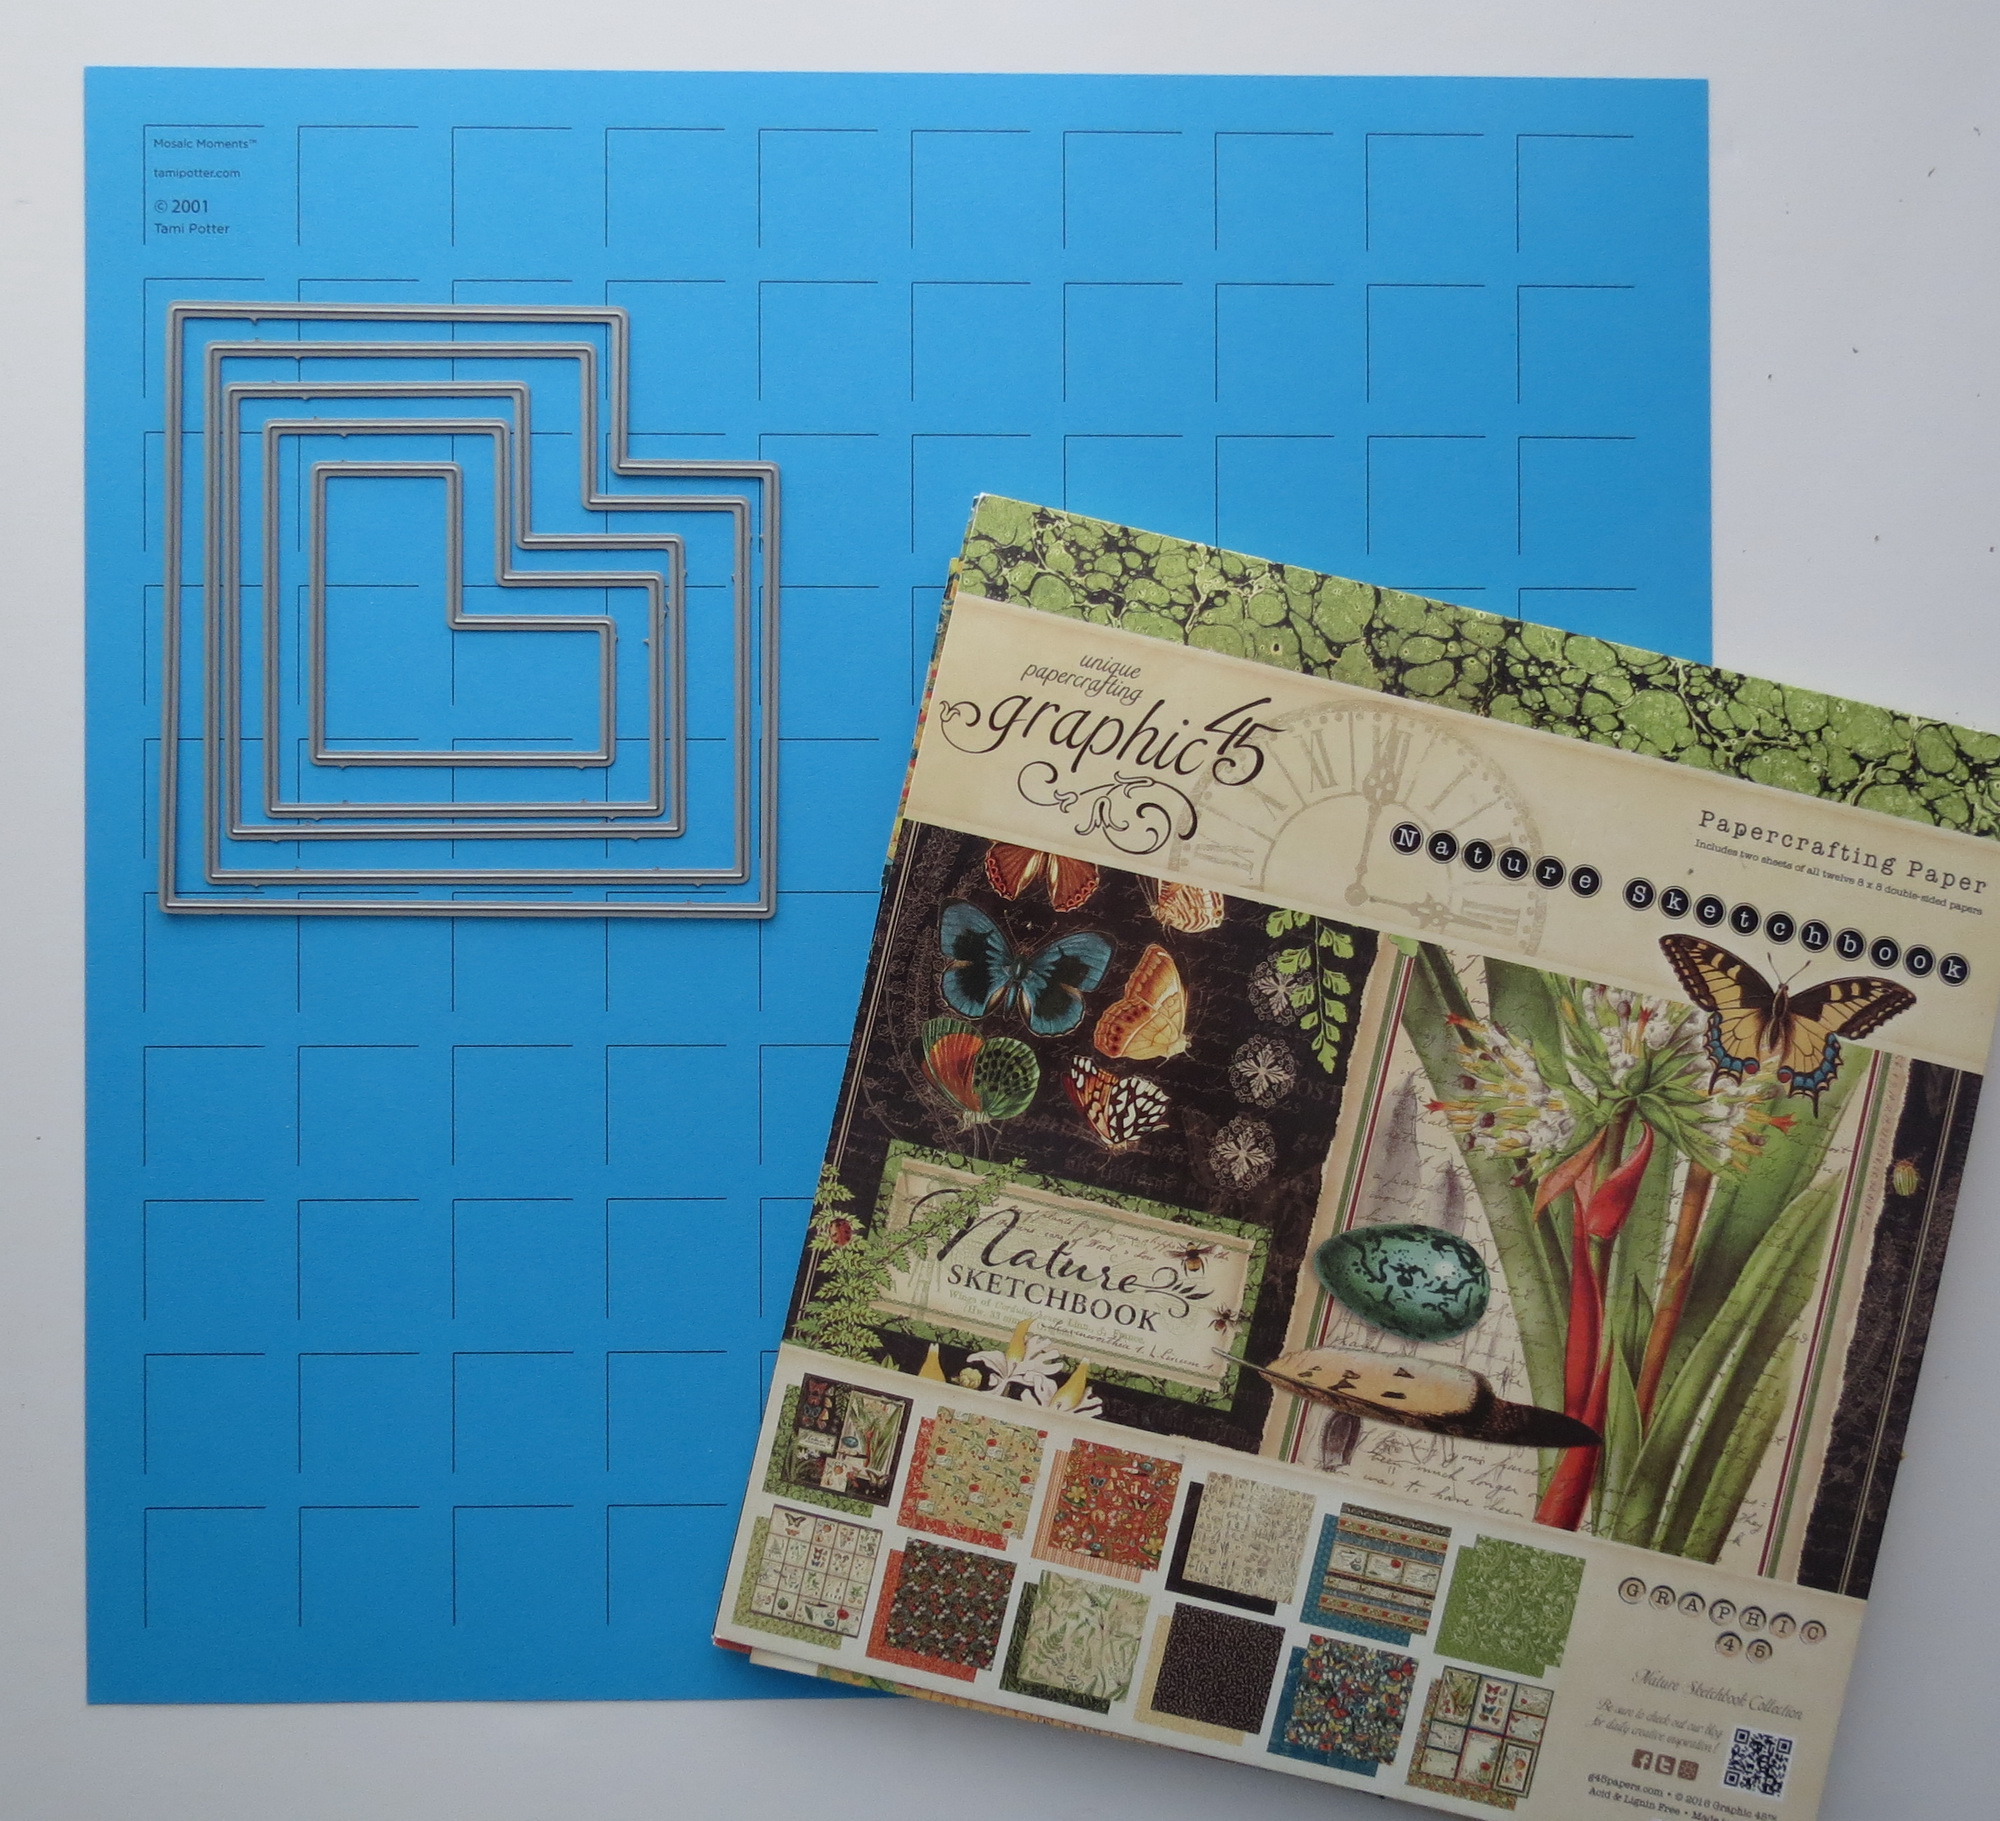
Mosaic Moments the Corner Cutout Die Set a nesting corner set Blue 12×12 mosaic Moments Grid Paper and Graphic 45’s Nature’s Sketchbook patterned papers
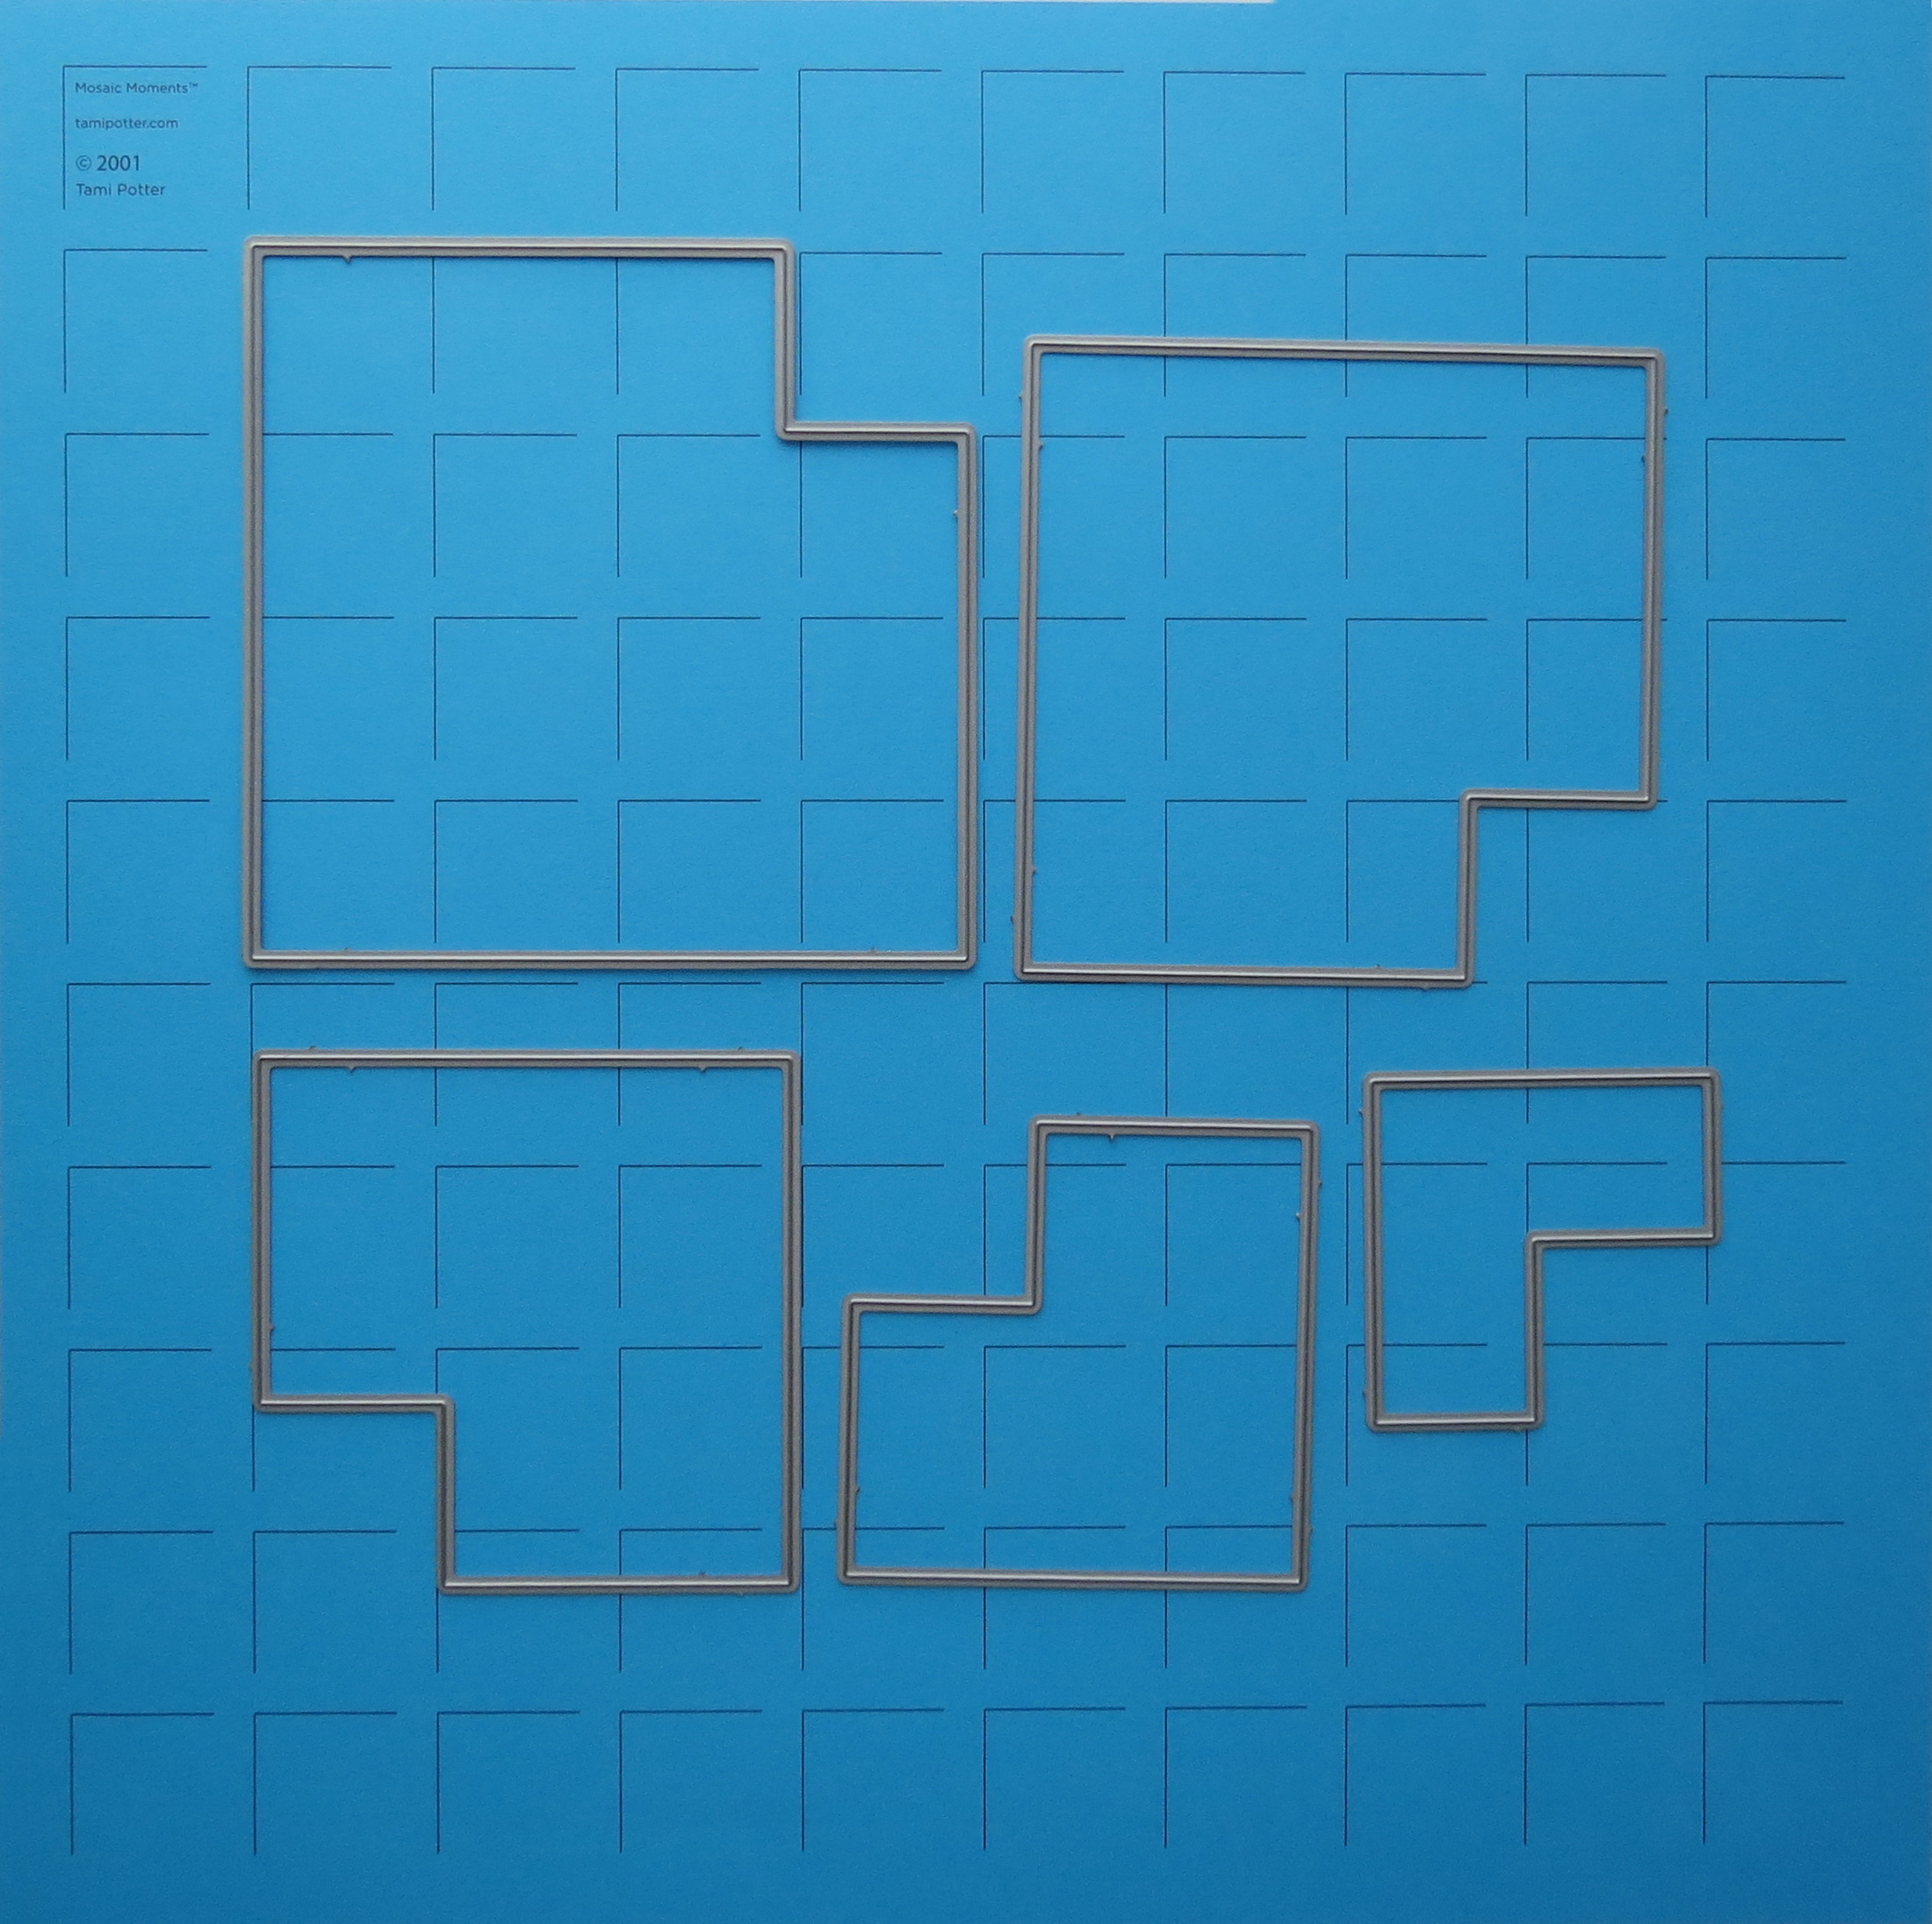
Mosaic Moments Designing with the Corner Cutout Die Set just rotate to get the direction you need for your layouts
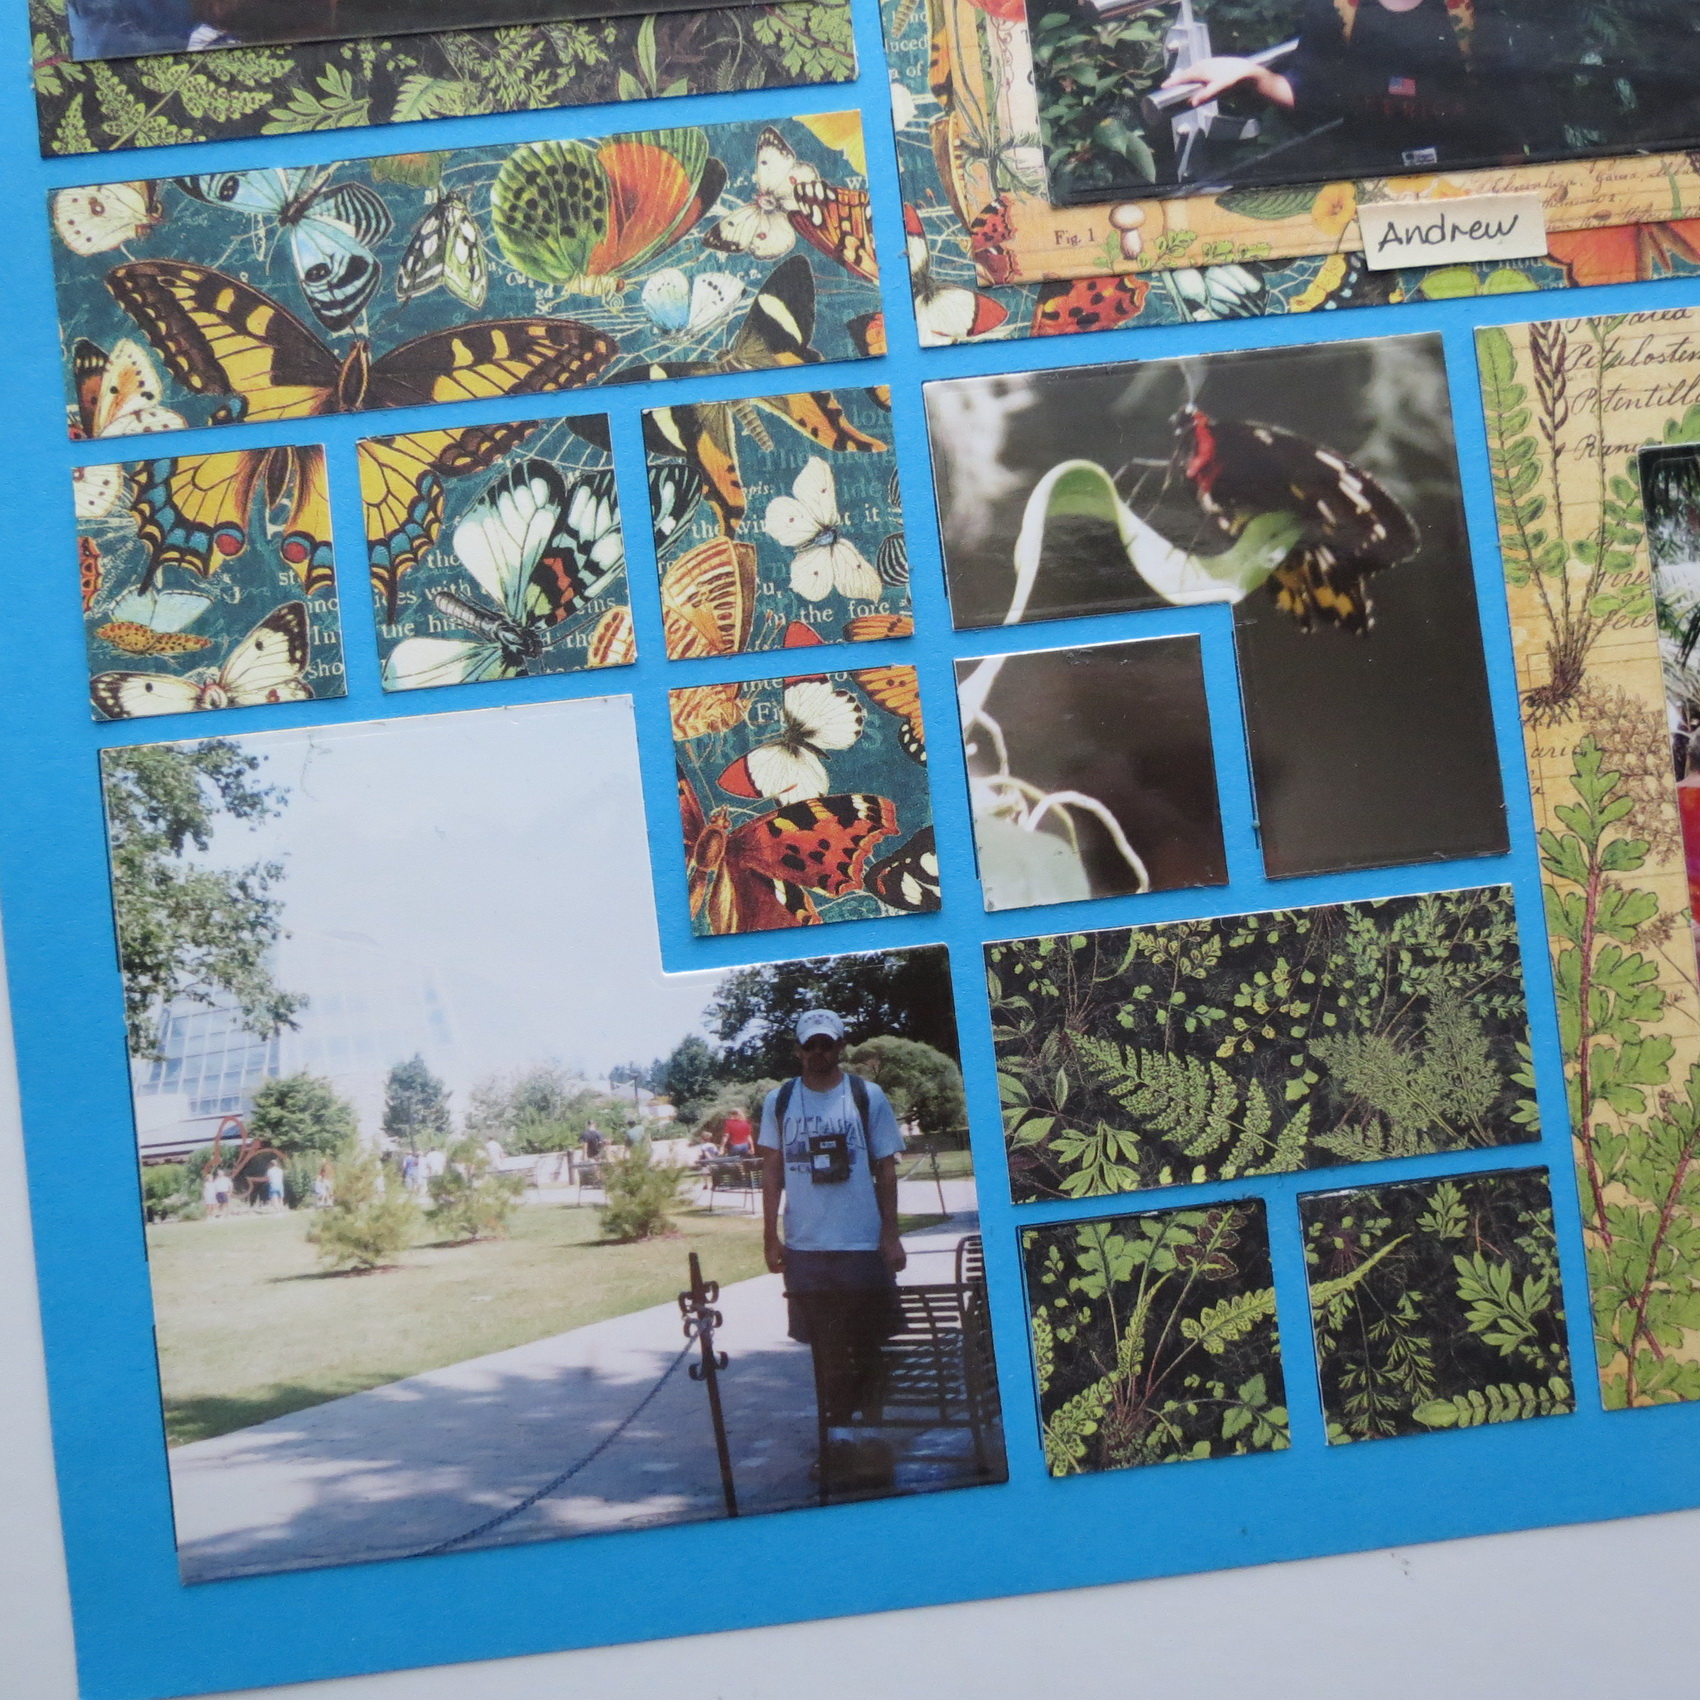
The photos being used this time are 3.5”x5” and are a perfect size to trim to the 3×4 pattern spots, but when it comes to the larger 4×4 or 4×6 areas I need a mat to fit to the grid. Nature’s Sketchbook by Graphic 45’s and its nature themed papers seemed a good choice. I tried a few different combinations of patterns and colors before finalizing my choices.
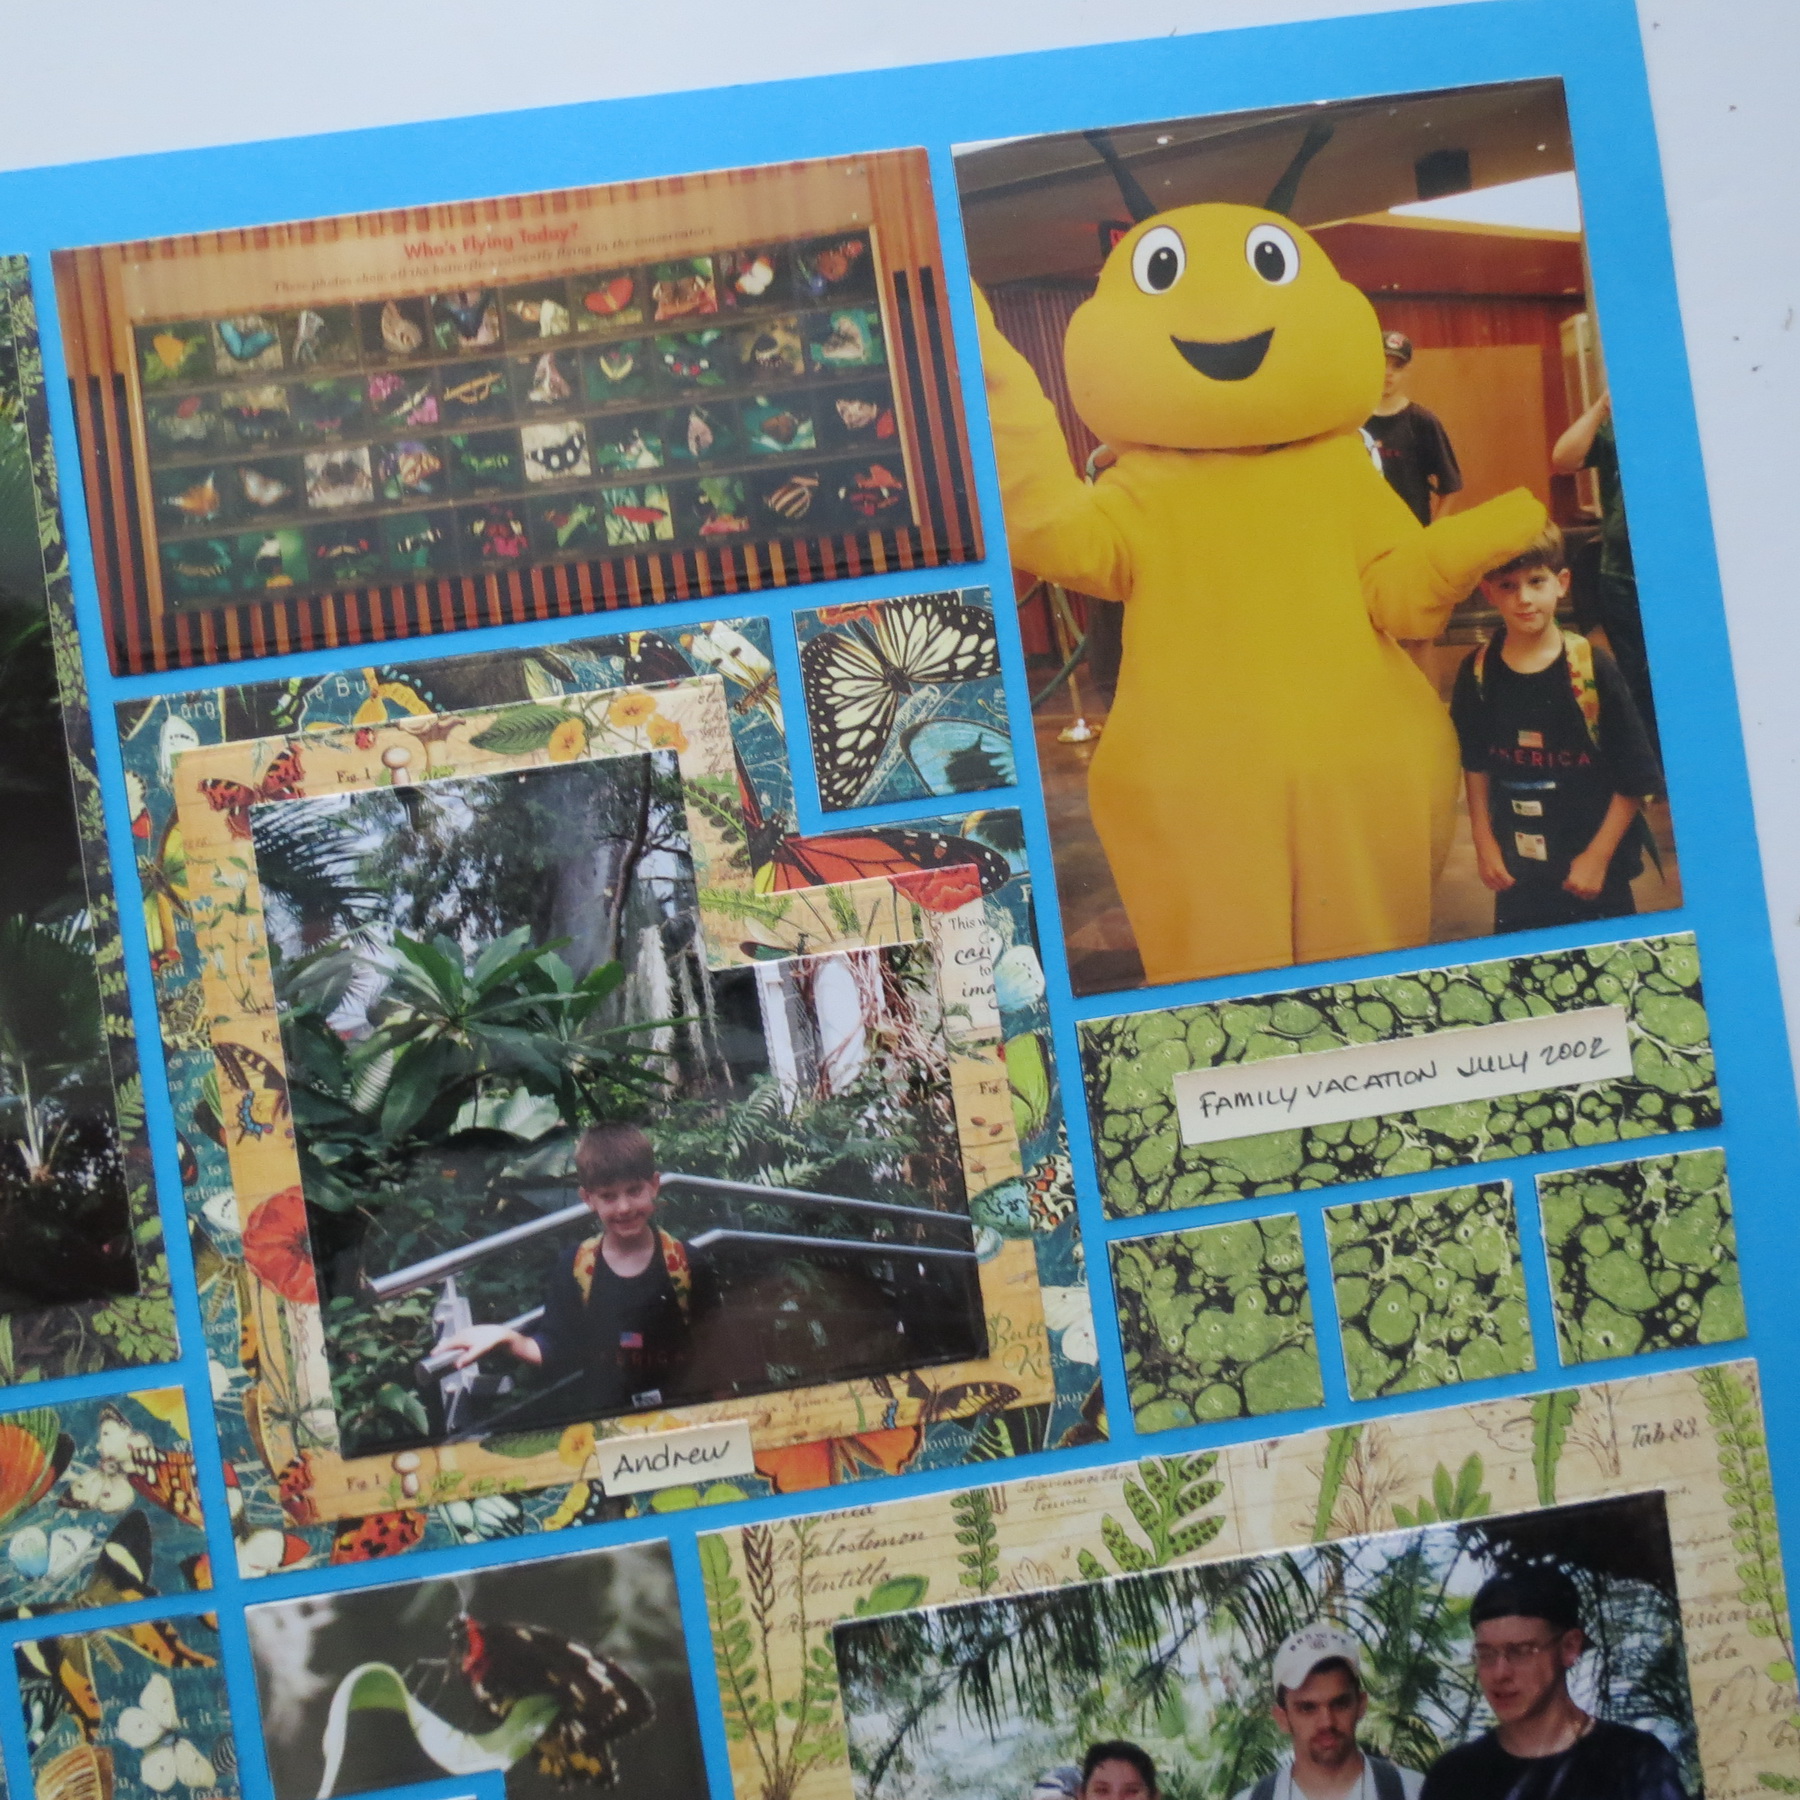
Once again I’ve used tiny tags for a few of the important things, like the names of people and location. Our family has been to a couple of Butterfly Gardens so it’s important to get the time and place correct.
My first page shows off five butterflies in their habitat and a turtle found in this luscious tropical paradise.

Mosaic Moments Designing with the Corner Cutout Die Set Page one layout Graphic 45 Nature’s Sketchbook papers
Page two includes the kids as well as some of the other attractions at this Niagara Parks vacation destination.
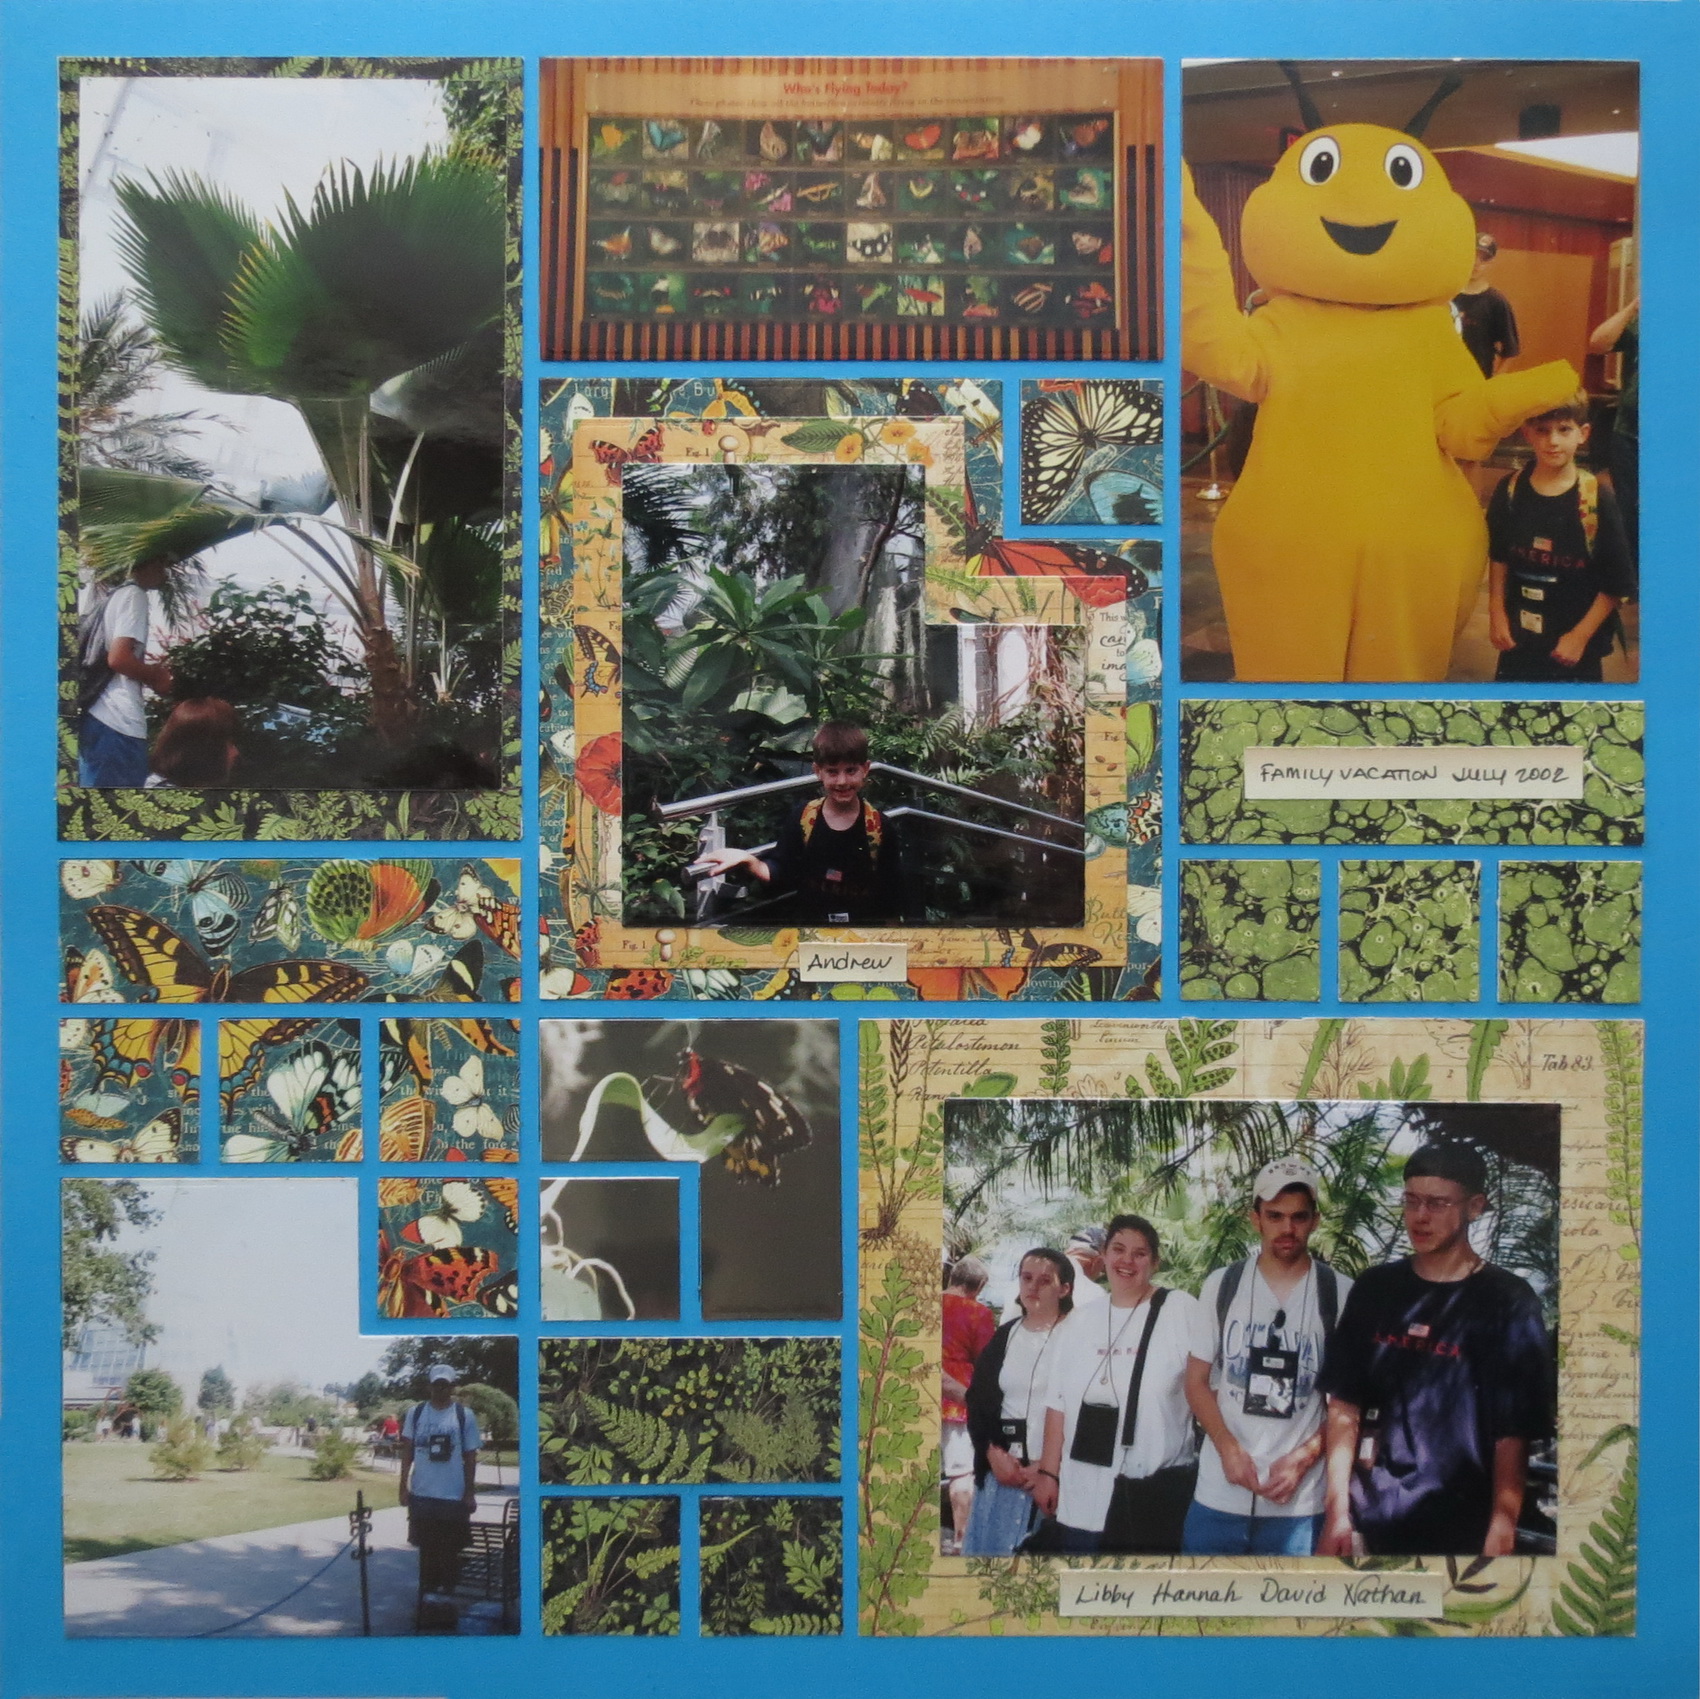
Mosaic Moments Designing with the Corner Cutout Die Set Page two layout
Working with a mirror image pattern also allowed me to treat the new Corner Cutout die the same mirror image way for each of the three sizes.
Mosaic Moments Designing with the Corner Cutout Die Set
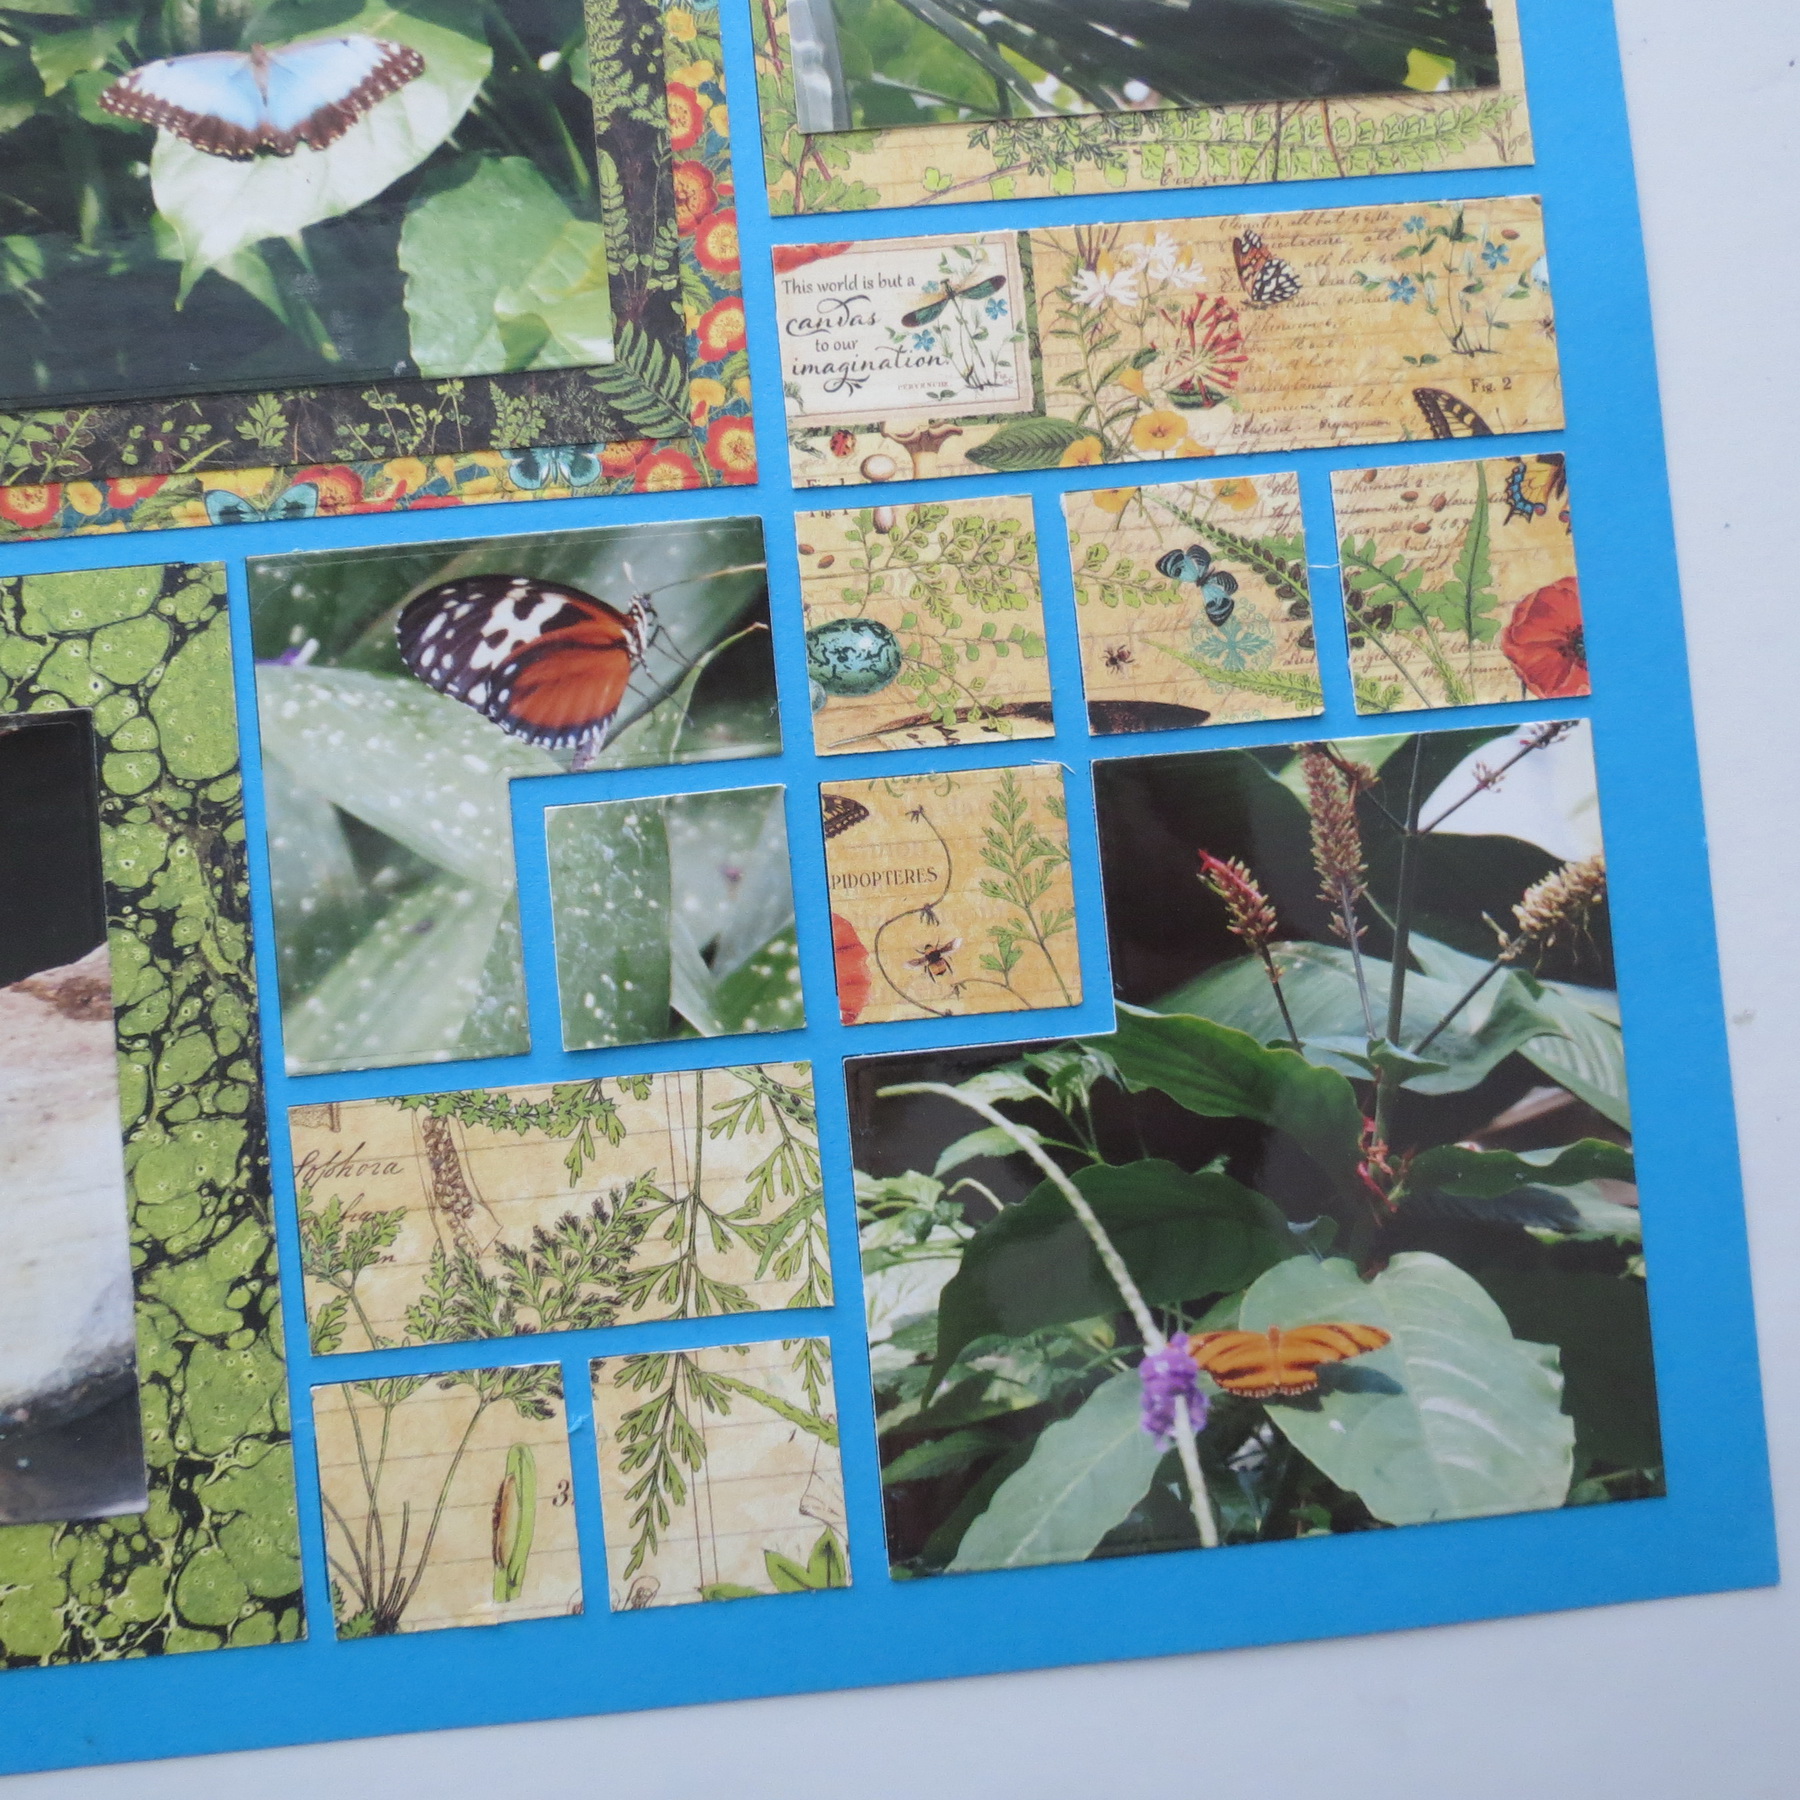
TIP: Make sure your paper is going the correct direction before you cut and just rotate a quarter turn at a time to get the placement for the ‘out-take’. This spot can be filled with the missing corner piece or patterned paper.
Mosaic Moments Designing with the Corner Cutout Die Set
For each of the sizes I’ve cut photos and mats, but there are numerous ways to add a design element on your pages with the use of color and the right pattern. You can explore those possibilities to your heart’s content with the Corner Cutout die set! I can’t wait to see what you all come up with once you start to play with them!!
Andrea Fisher