Finding the Right Photos For Your Photo Mosaic
Finding the right photos to work with Mosaic Moments™ grid paper is simple. Mosaic Moments™ grid is a great foundation for a wide range of subjects from a wedding day to a baseball game, to baby’s first year, or holidays. You name it and it can be done on Mosaic Moments™ grid paper. Here are some things to consider when choosing your photos:
- Lighting – When choosing pictures for your photo mosaic, it is best to look for photographs with similar lighting.
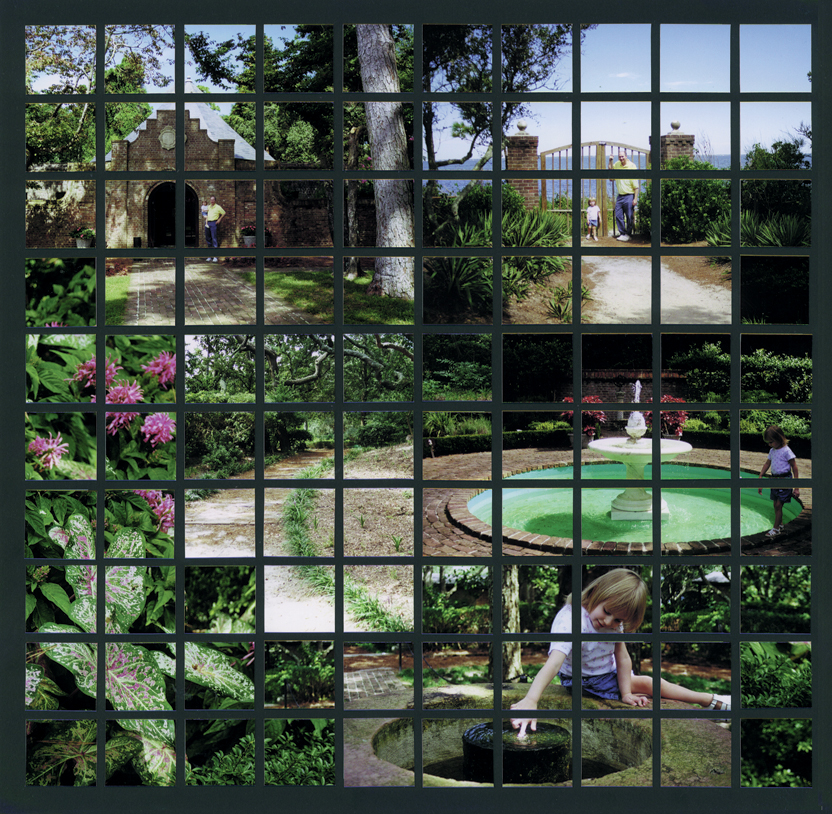
- Subjects – Many photographic subjects are enhanced by the mosaic process. Scenic outdoor photographs work especially well. Photo mosaics can bring to life photos of activities such as skiing, Easter egg hunts, snowman building, or choosing the perfect pumpkin.
- People – Photographs with just a couple of people are easiest to work with when cutting photos into one inch squares. I prefer to use photographs where the subject’s head is no larger than one inch in size so that I can keep their entire head in one cut square. Close-ups Keep in mind that photographs will be cut into smaller pieces.
- Close up – shots of people may not work well when cut into one inch squares. You may want to consider using those photos for focal points within your mosaic.
Tip: Place distant shots at the top of the mosaic (in the background) and close up shots toward the bottom of the page (in the foreground.) This gives the mosaic a feeling of spatial perspective – almost as if it had all come from one large photo.Next: The Tools You’ll Need to Create a Photo MosaicHow We Make it Easy: Simple No Measure Cutting TechniqueTips for Cutting and Cropping Your PhotosTips for Photo Mosaic Composition & Color

