The Ripple Effect
The ripple effect of creating handmade scrapbooks is a journey filled with joy and meaningful moments.
The beauty of the Ripples dies is the movement they create on your pages. The curvy lines give you organic shapes on your layout of otherwise squares and rectangles.
With this die set, you can have so much fun experimenting. You can design various lengths of shapes and you can play around with layering the pieces to add texture. You will have so much joy creating pages with Ripples.
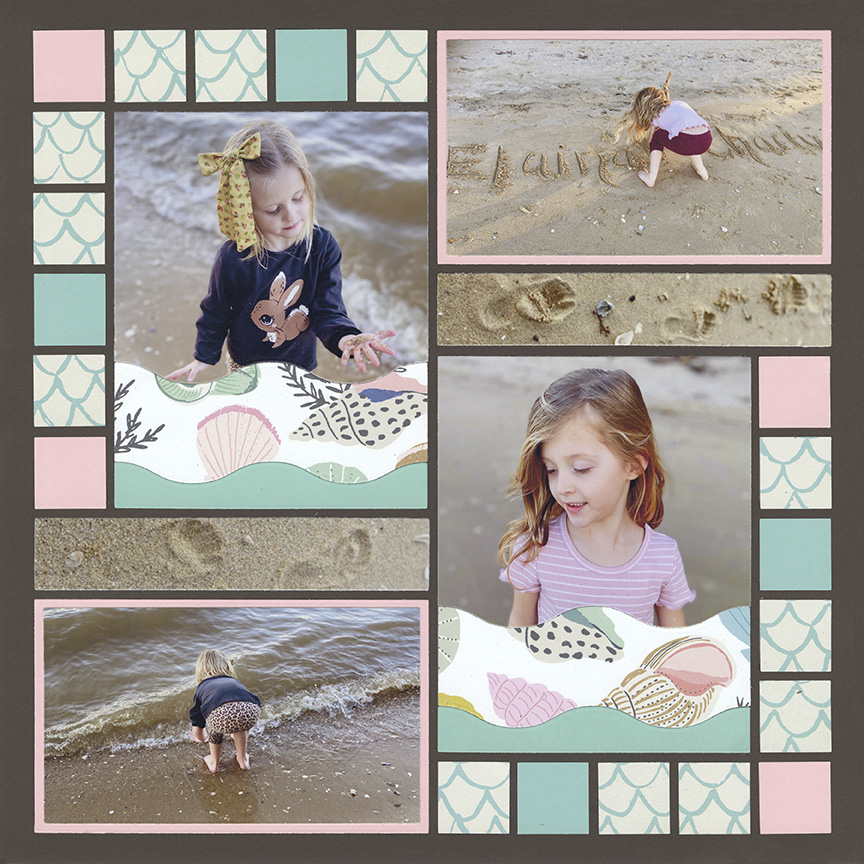
See The Ripples Dies in Action:
In this Video you will learn:
- How To Place the Ripples Dies Together to Make Different Sized Design Spots
- Tips on how to keep track of each piece
- How to cut and glue the pieces and place them on the Grid Paper
Use Ripples To Make Different Sized Design Spots
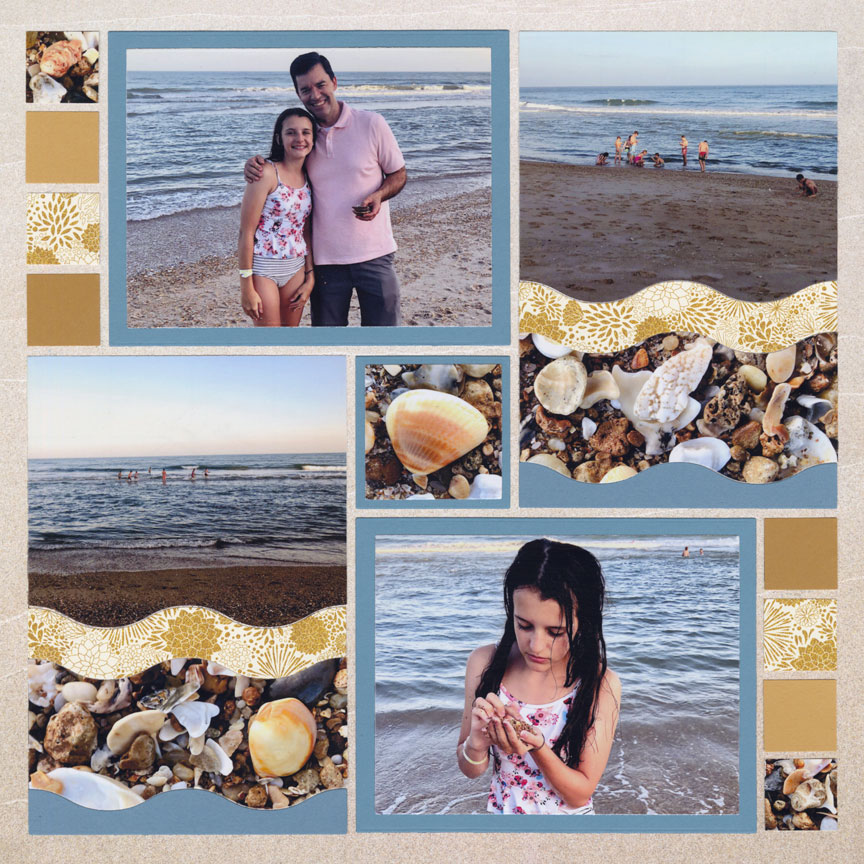
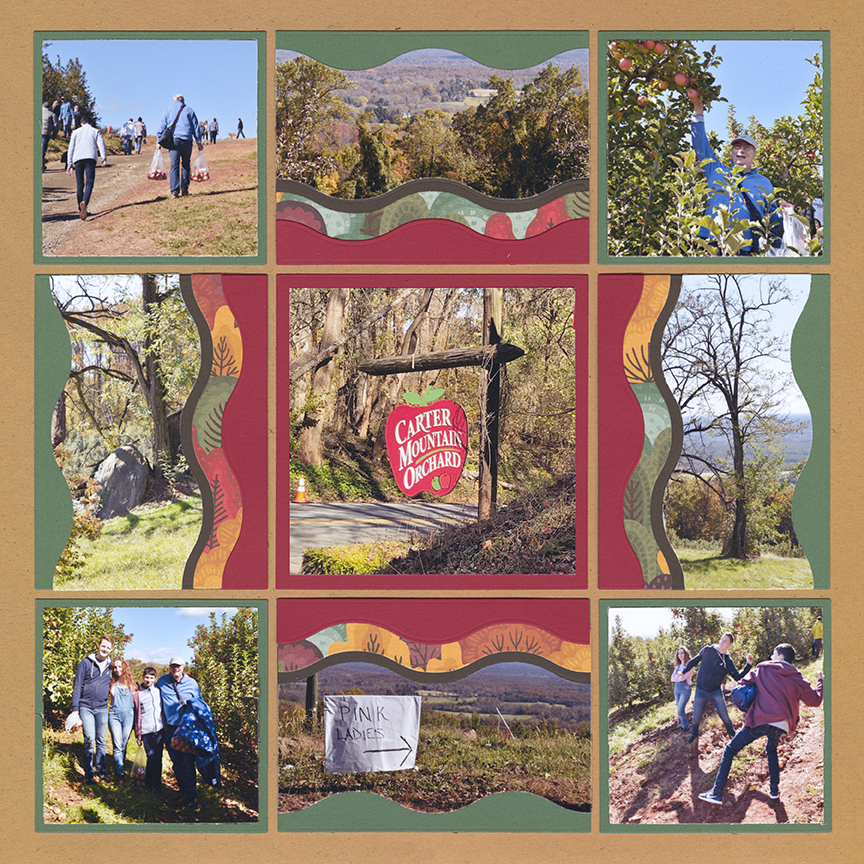
The dies can be placed next to each other to make 4x6 SQ design spots on the grid paper.
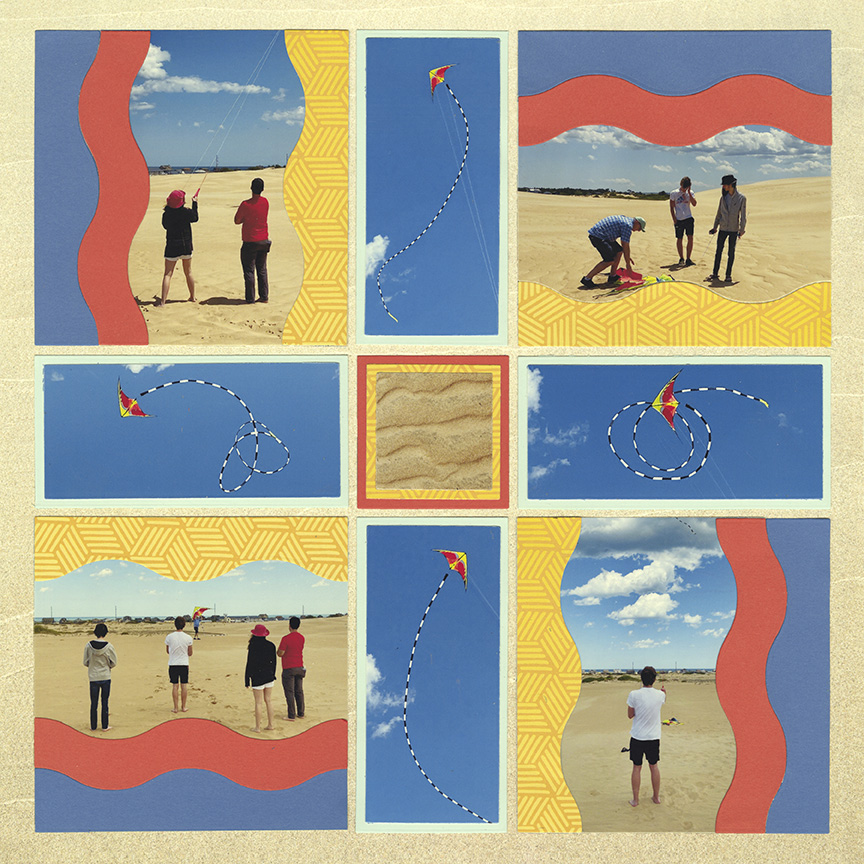
You can also make 4x4 design spots on the grid paper. Try stacking extra ripples pieces over your photos.
Patterns used: No. 709 and No. 368
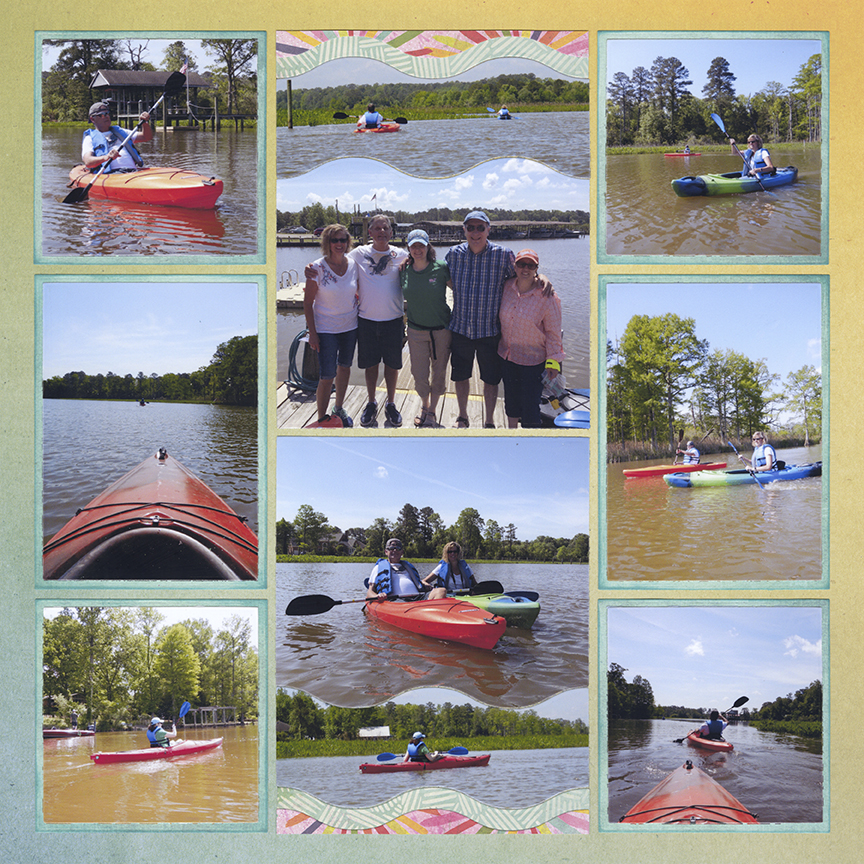
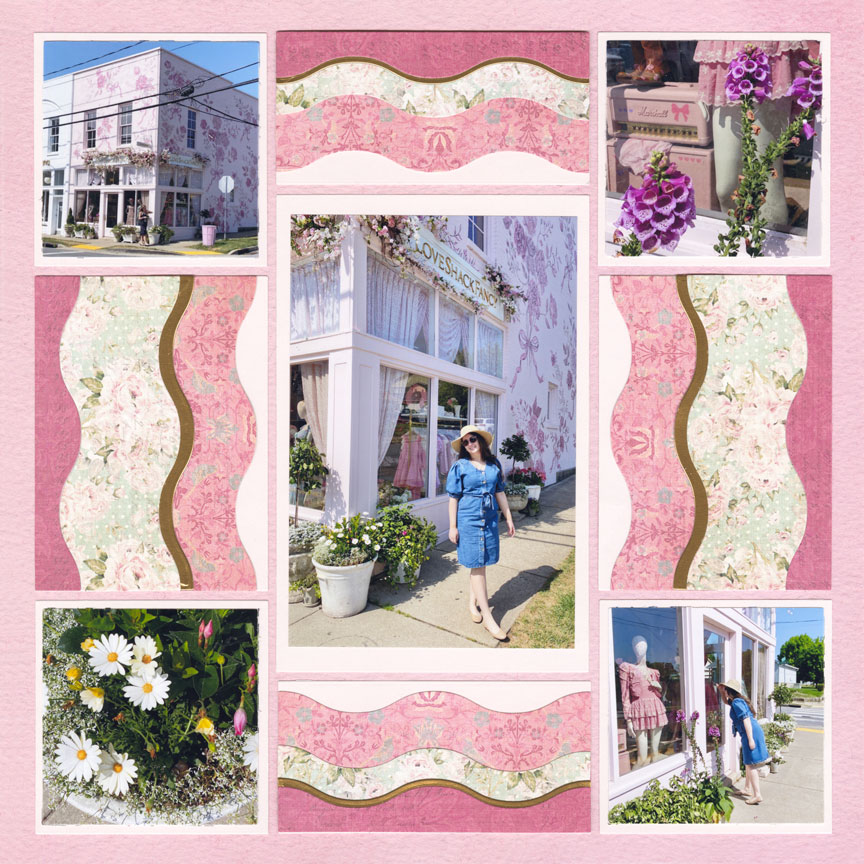
The Ripples can be placed together to make 4x5 design spots on the grid.
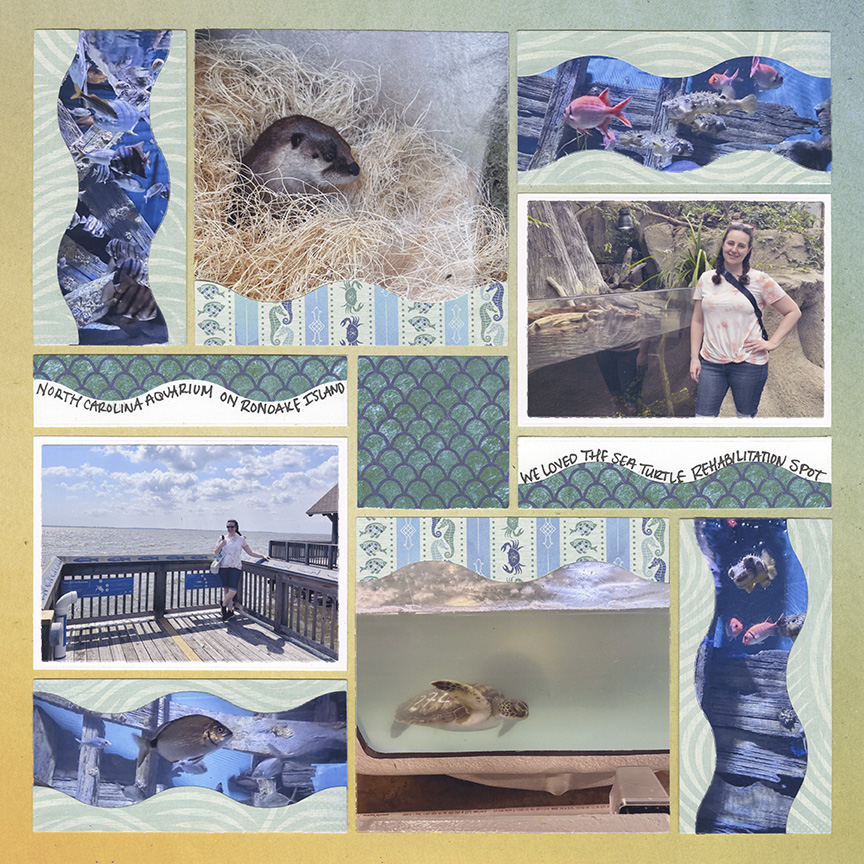
Another option is you can stack the ripples dies over 2x4 and 3x4 SQ blocks. Watch video above to learn more.
Patterns used: No. 679 and No. 558
Various Ways to Stack & Layer!
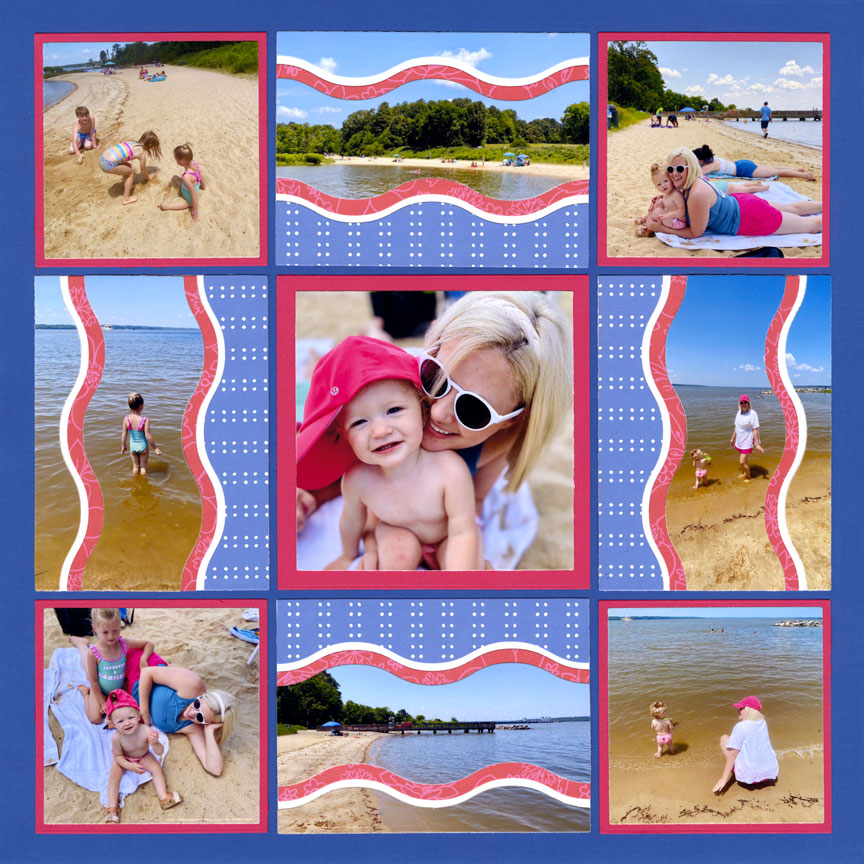
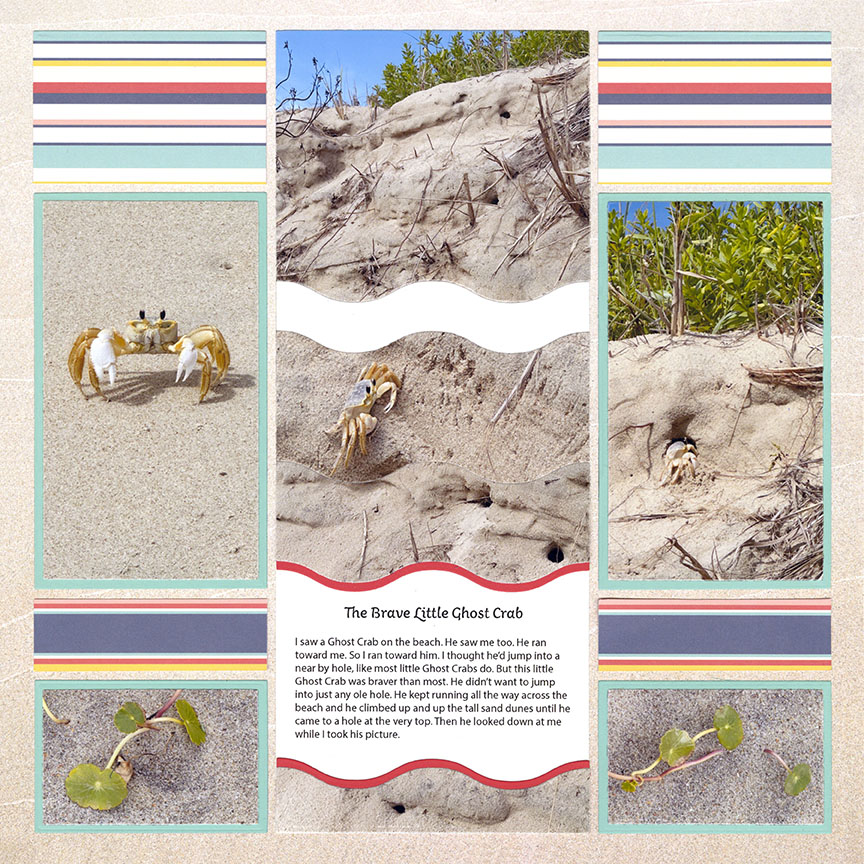
Patterns used: No. 344
Right Layout: Middle section was stacked to create a single column going from the top to bottom of the grid.
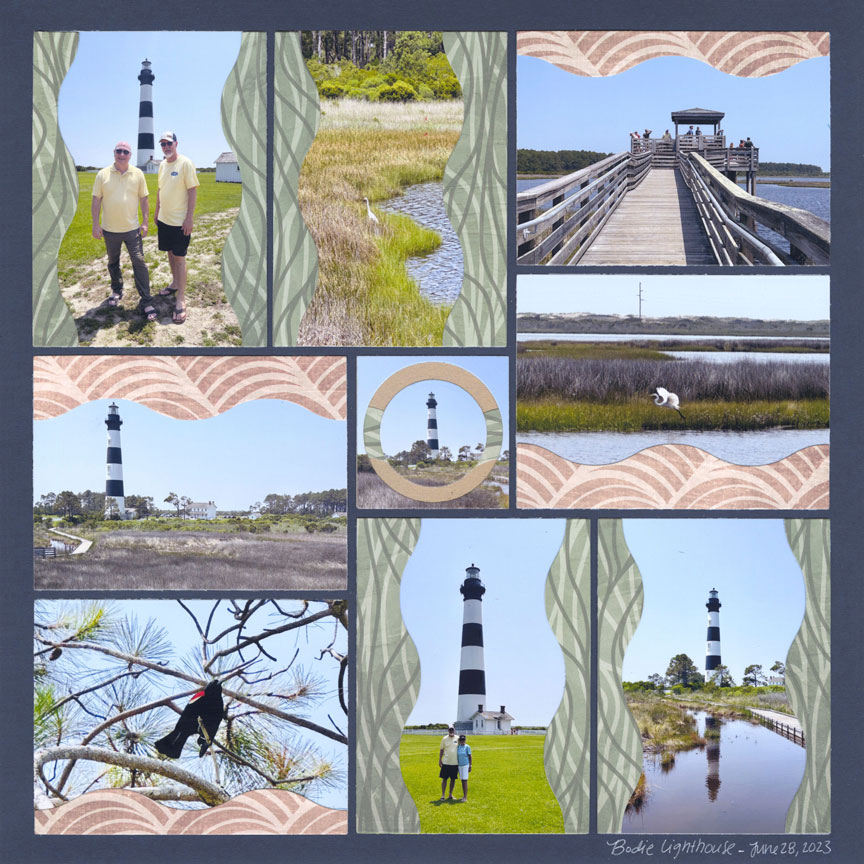
Patterns used: No. 390 and No. 344
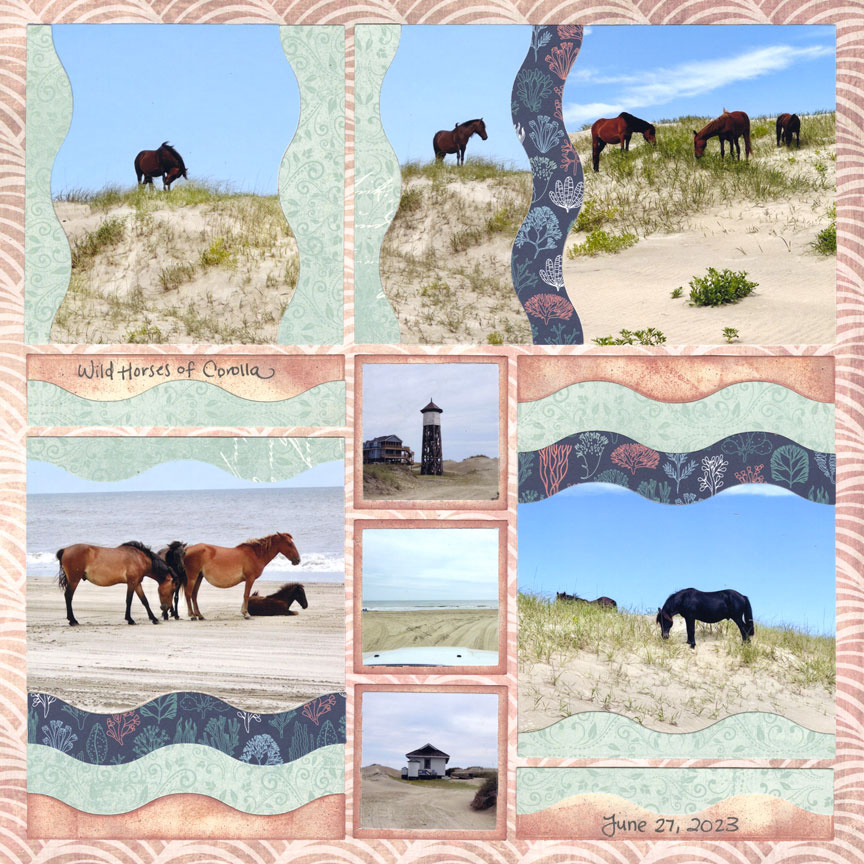
Patterns used: No. 477 and No. 189
