
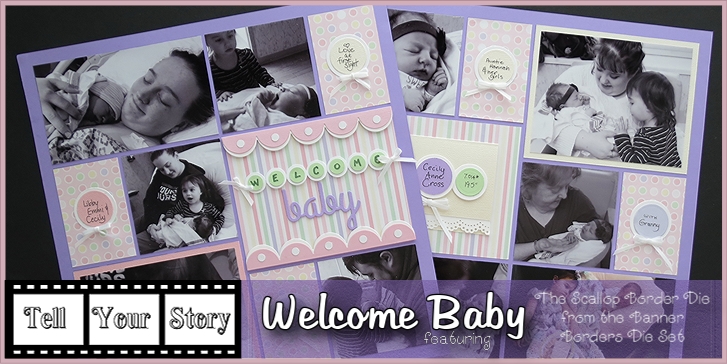
Tell Your Story:
Welcome Baby
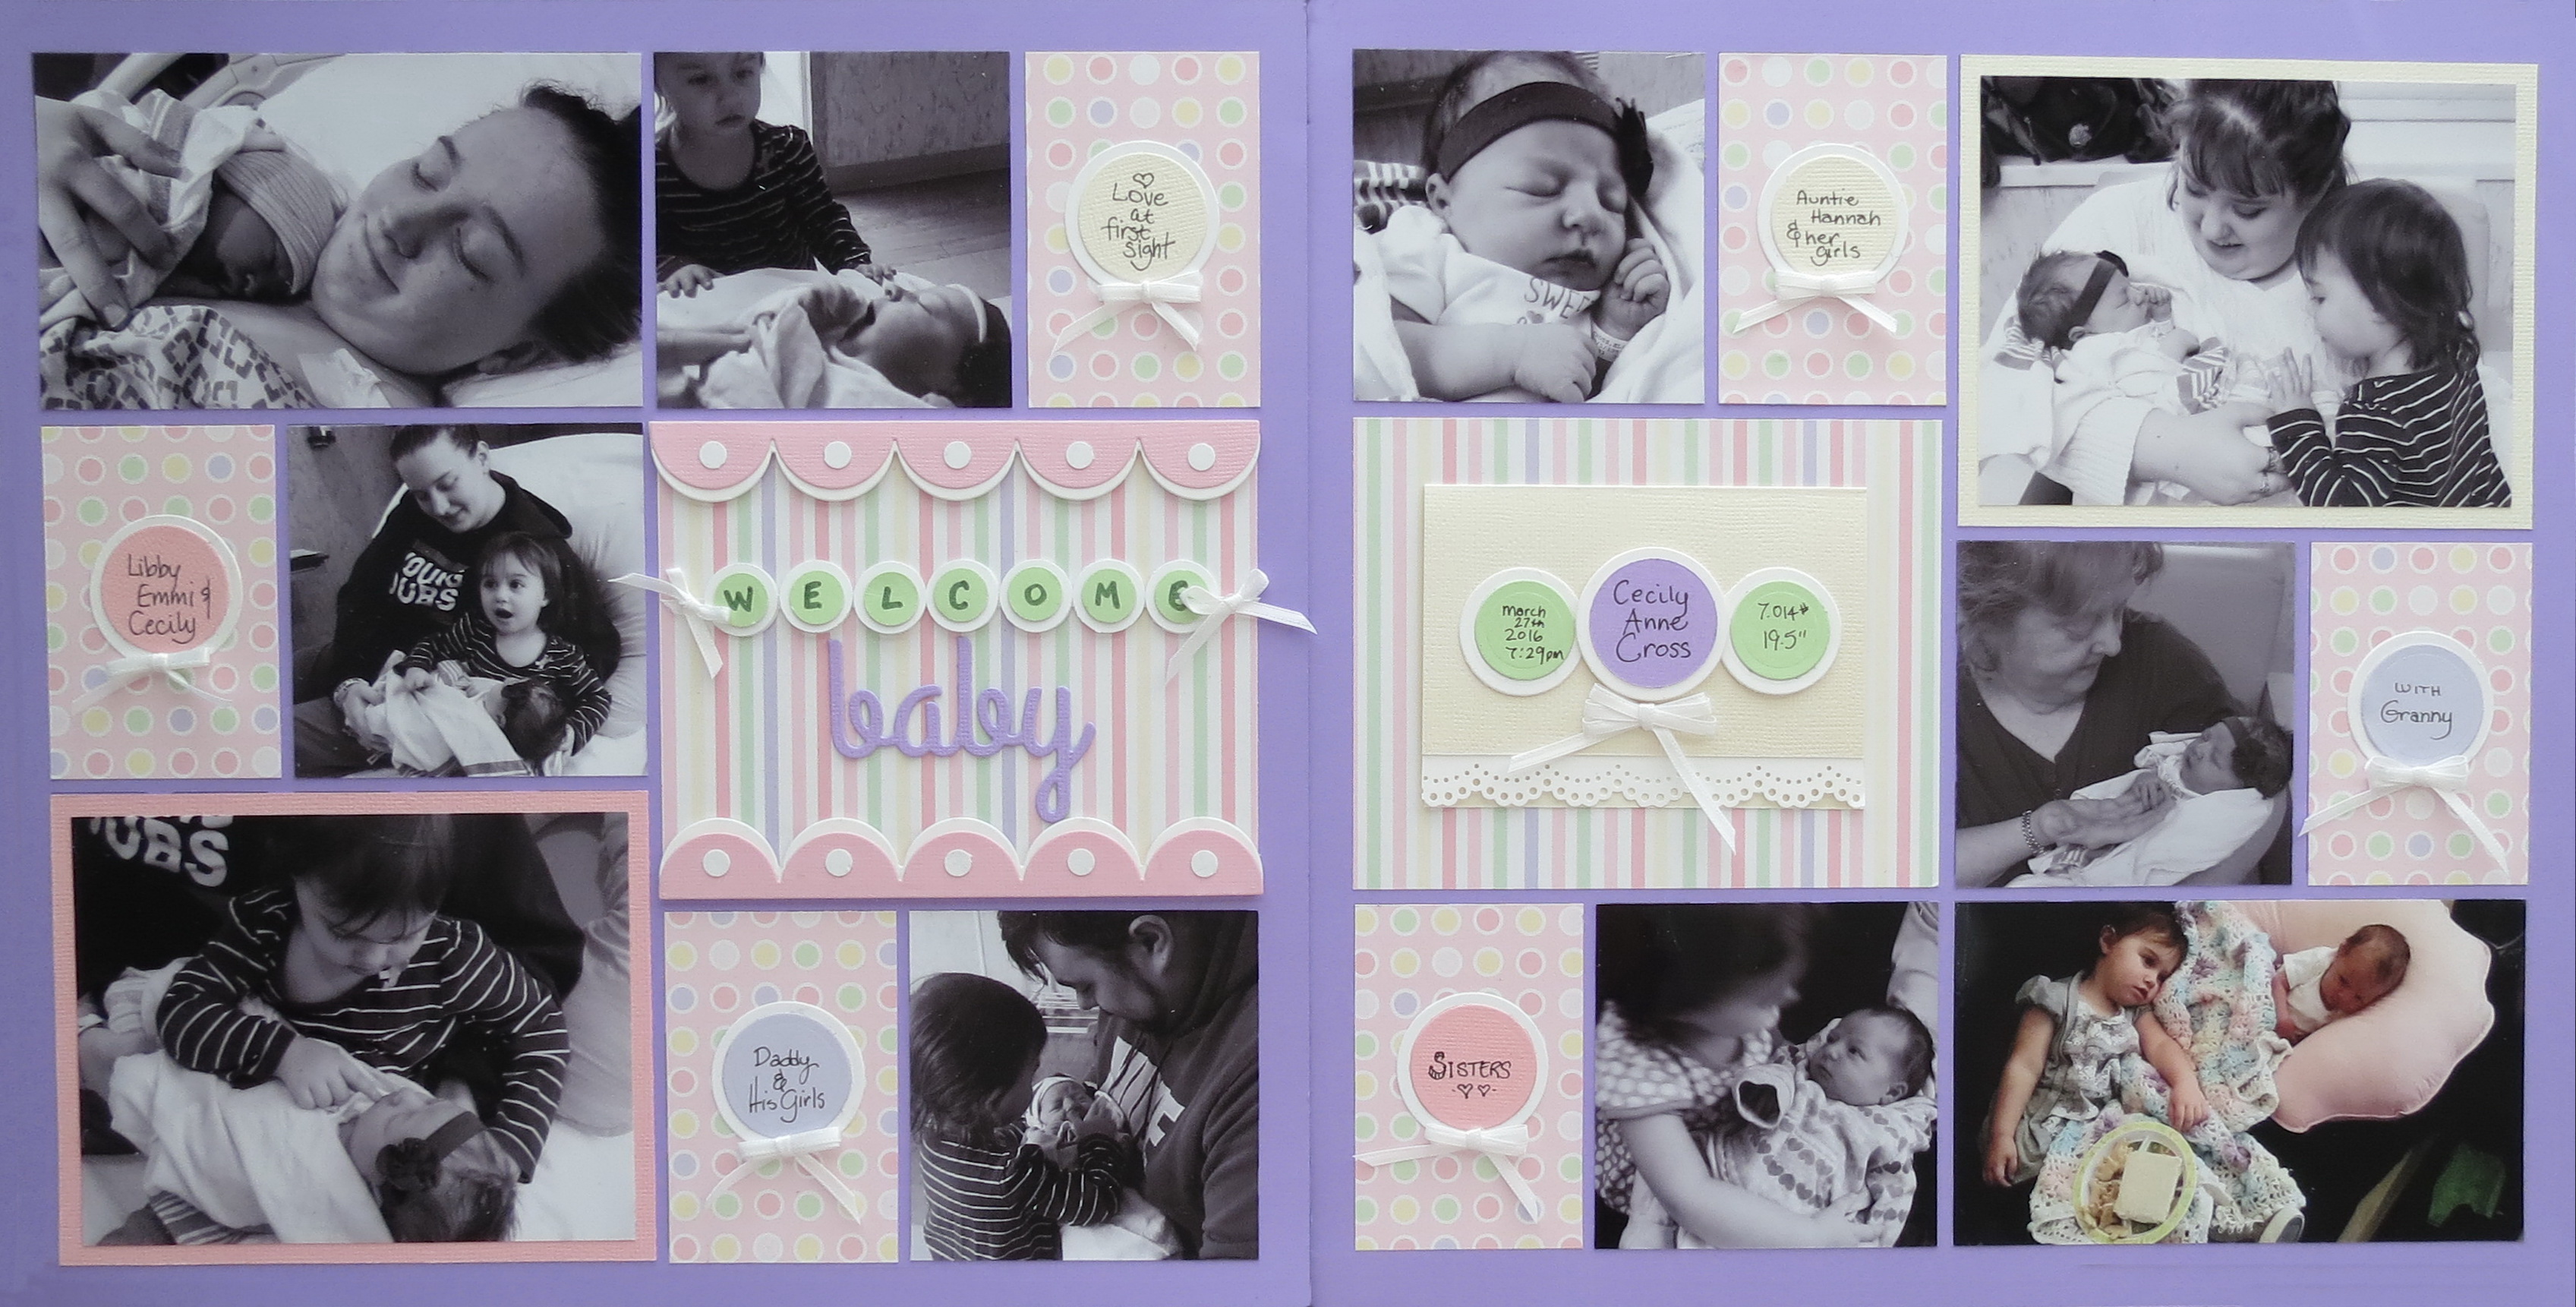
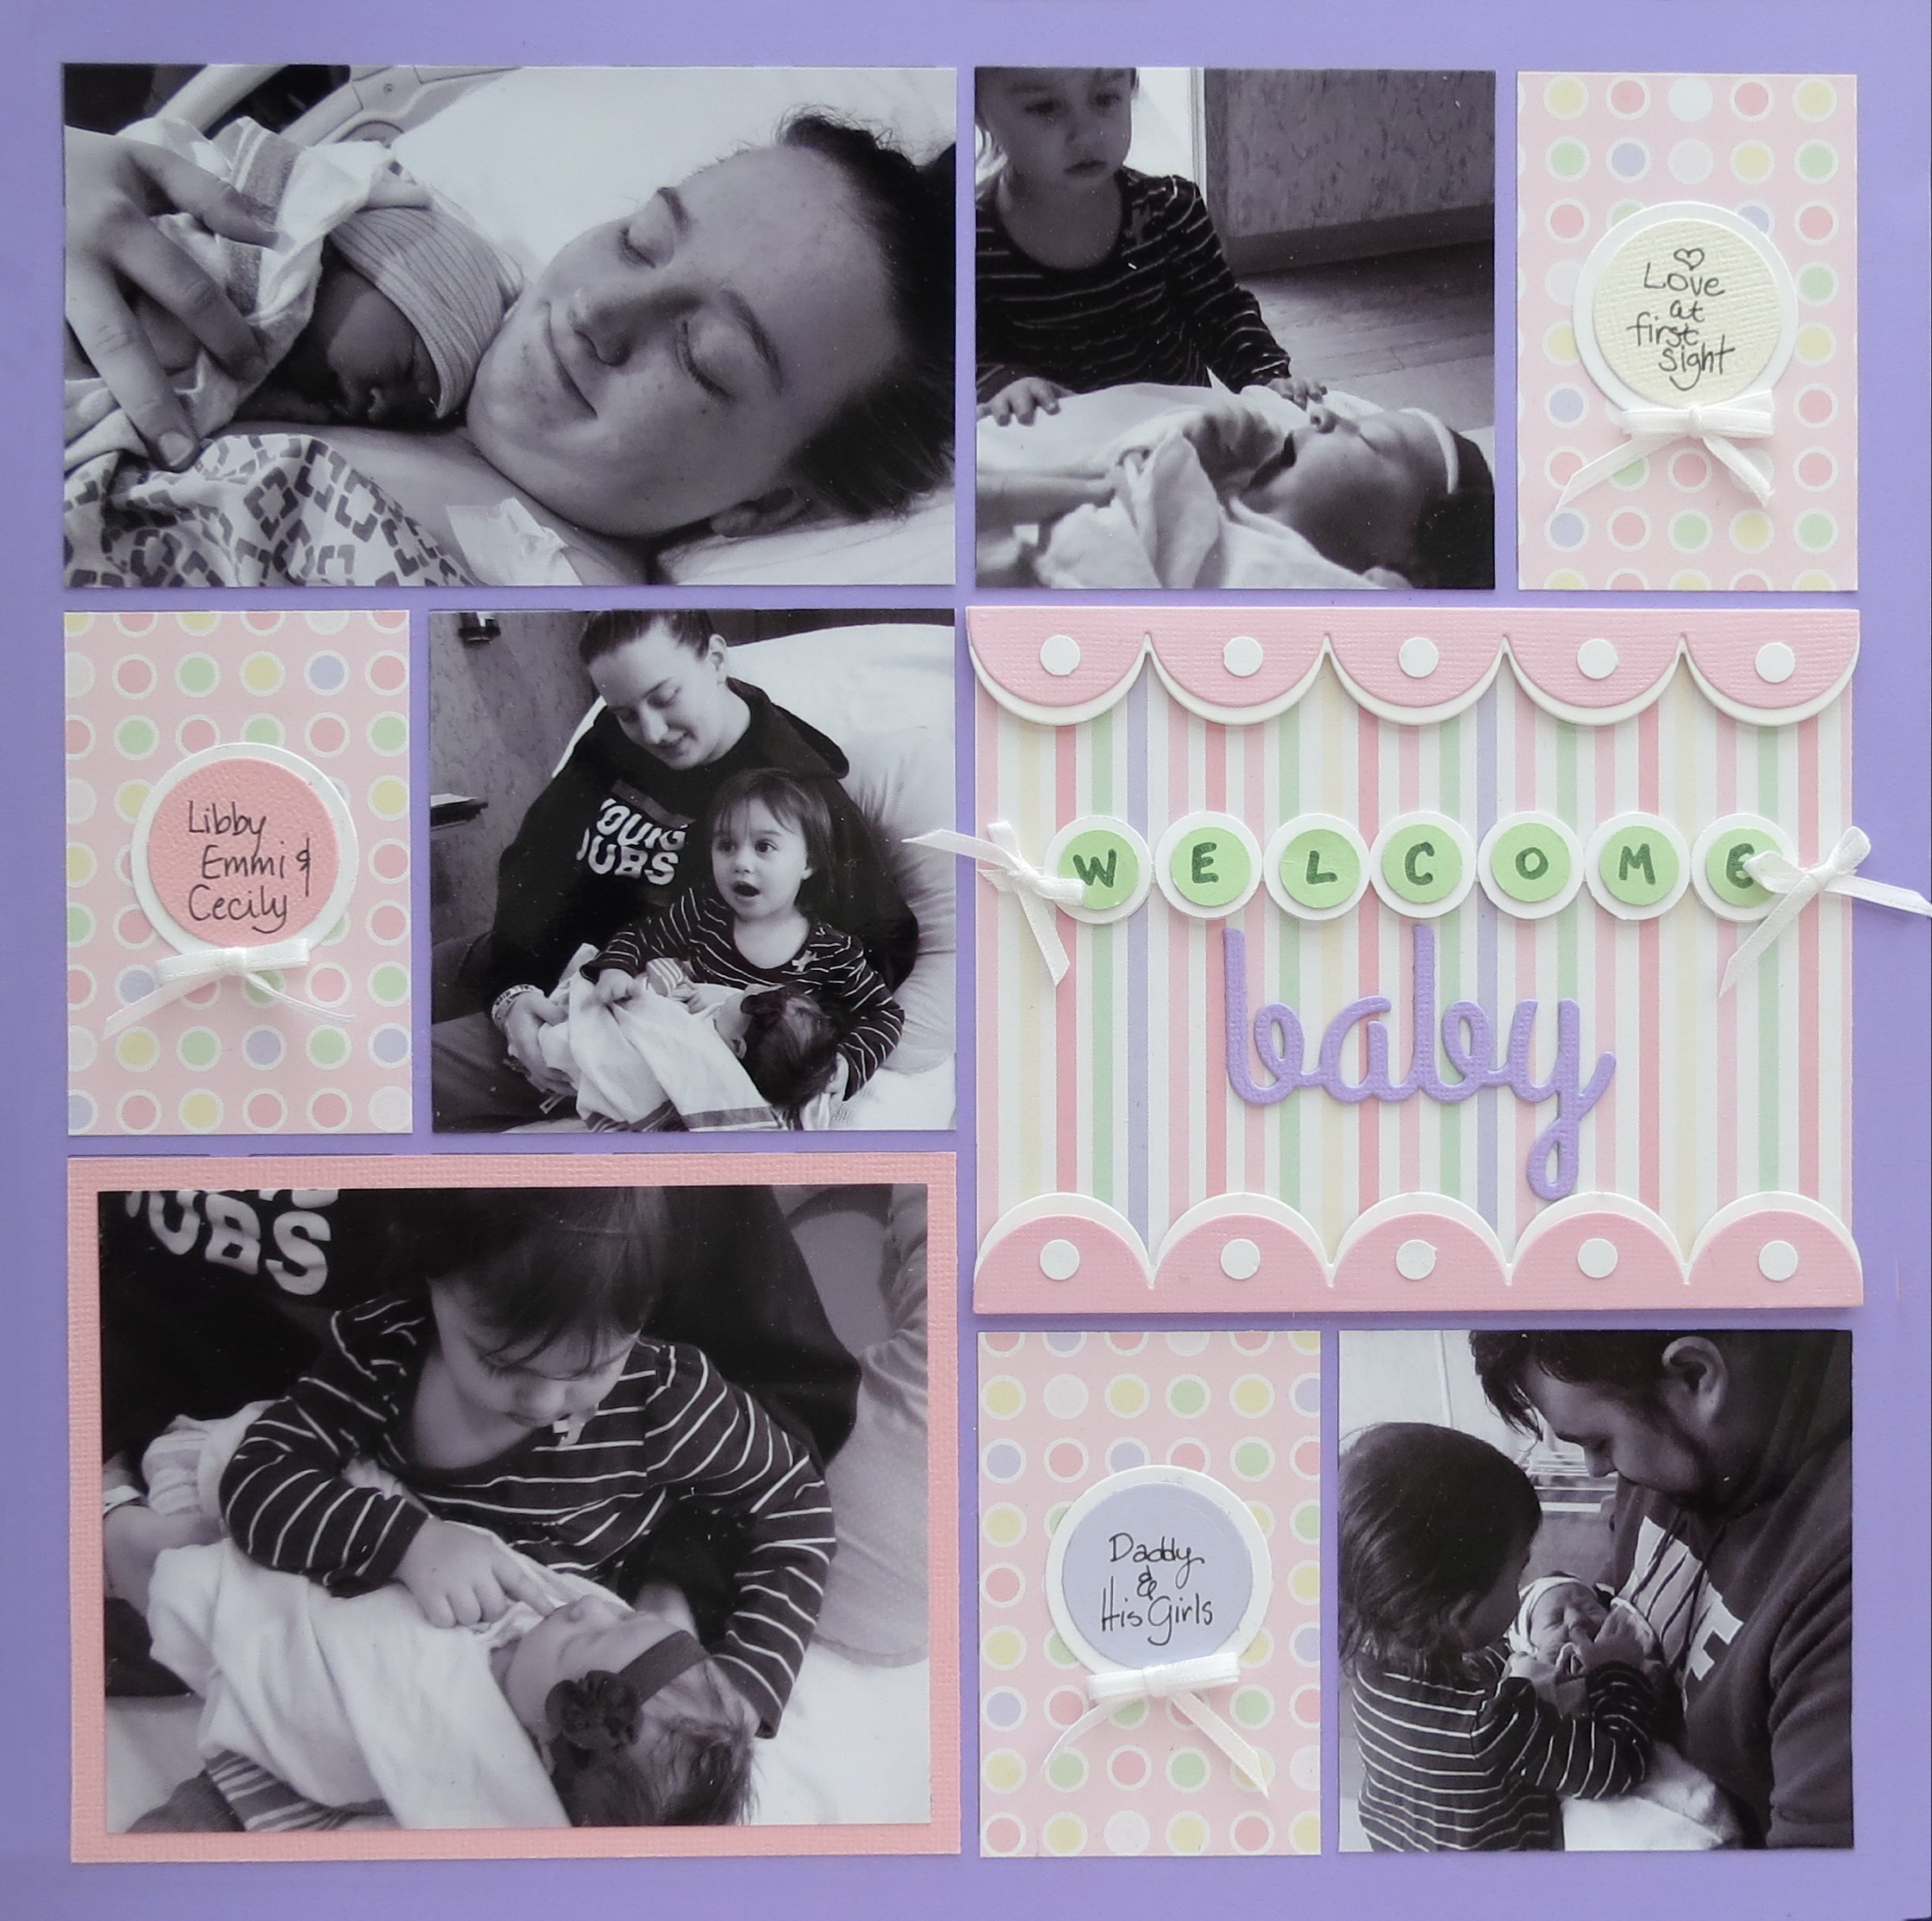
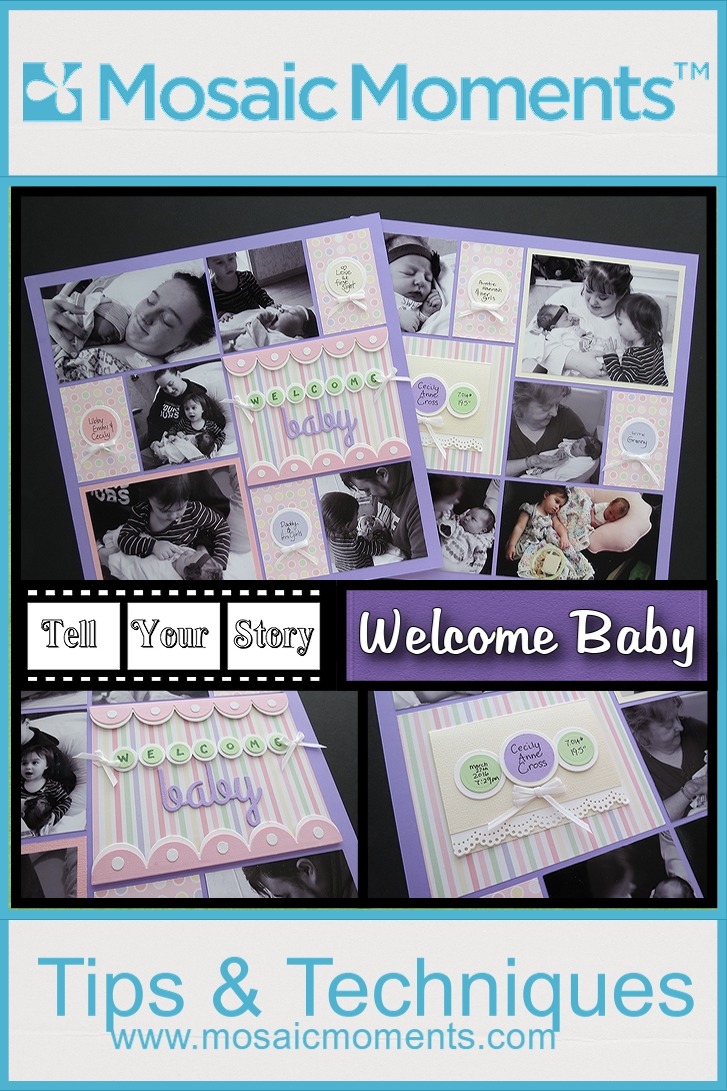
MM-TYS Welcome Baby two page layout in Tell Your Story series
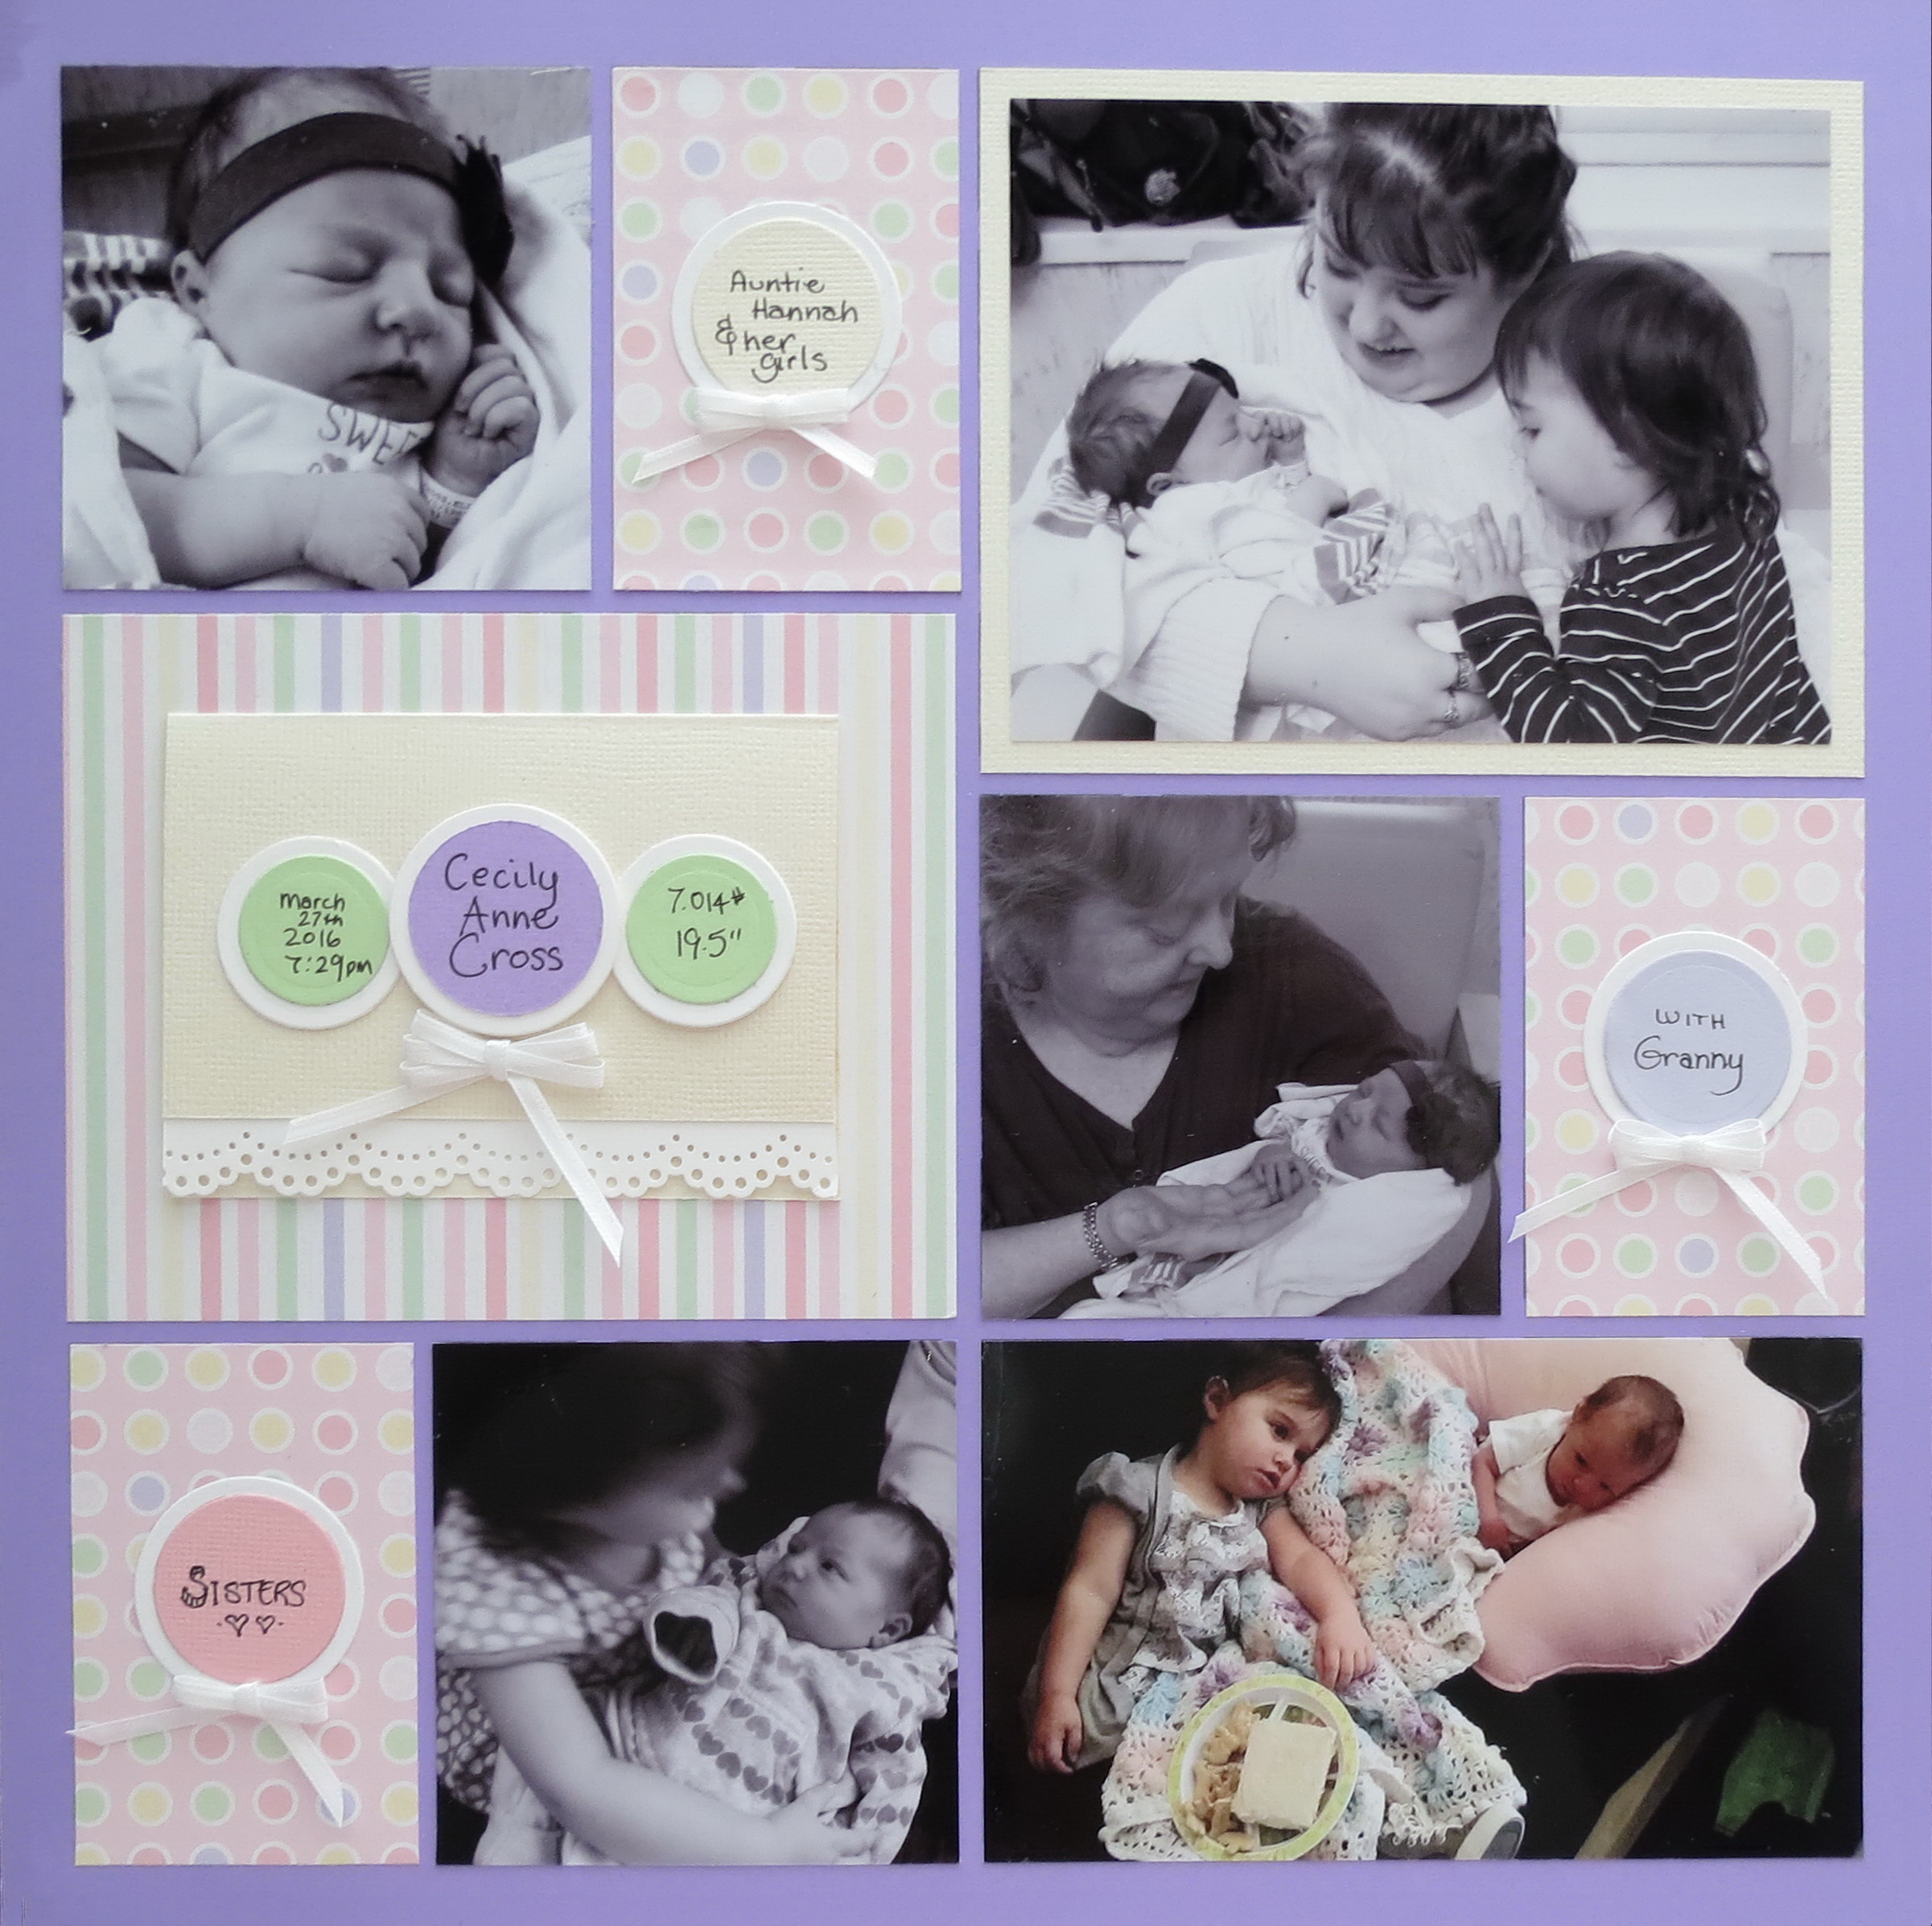
A few weeks ago I shared my story about anticipating the arrival of our newest family member. Today’s layout tells the story in pictures about Cecily’s arrival and her meeting all of us! I’ll also be including a journal block to include a bit of that first meeting story. To accompany the layout I’ll be including a matching card to welcome baby.
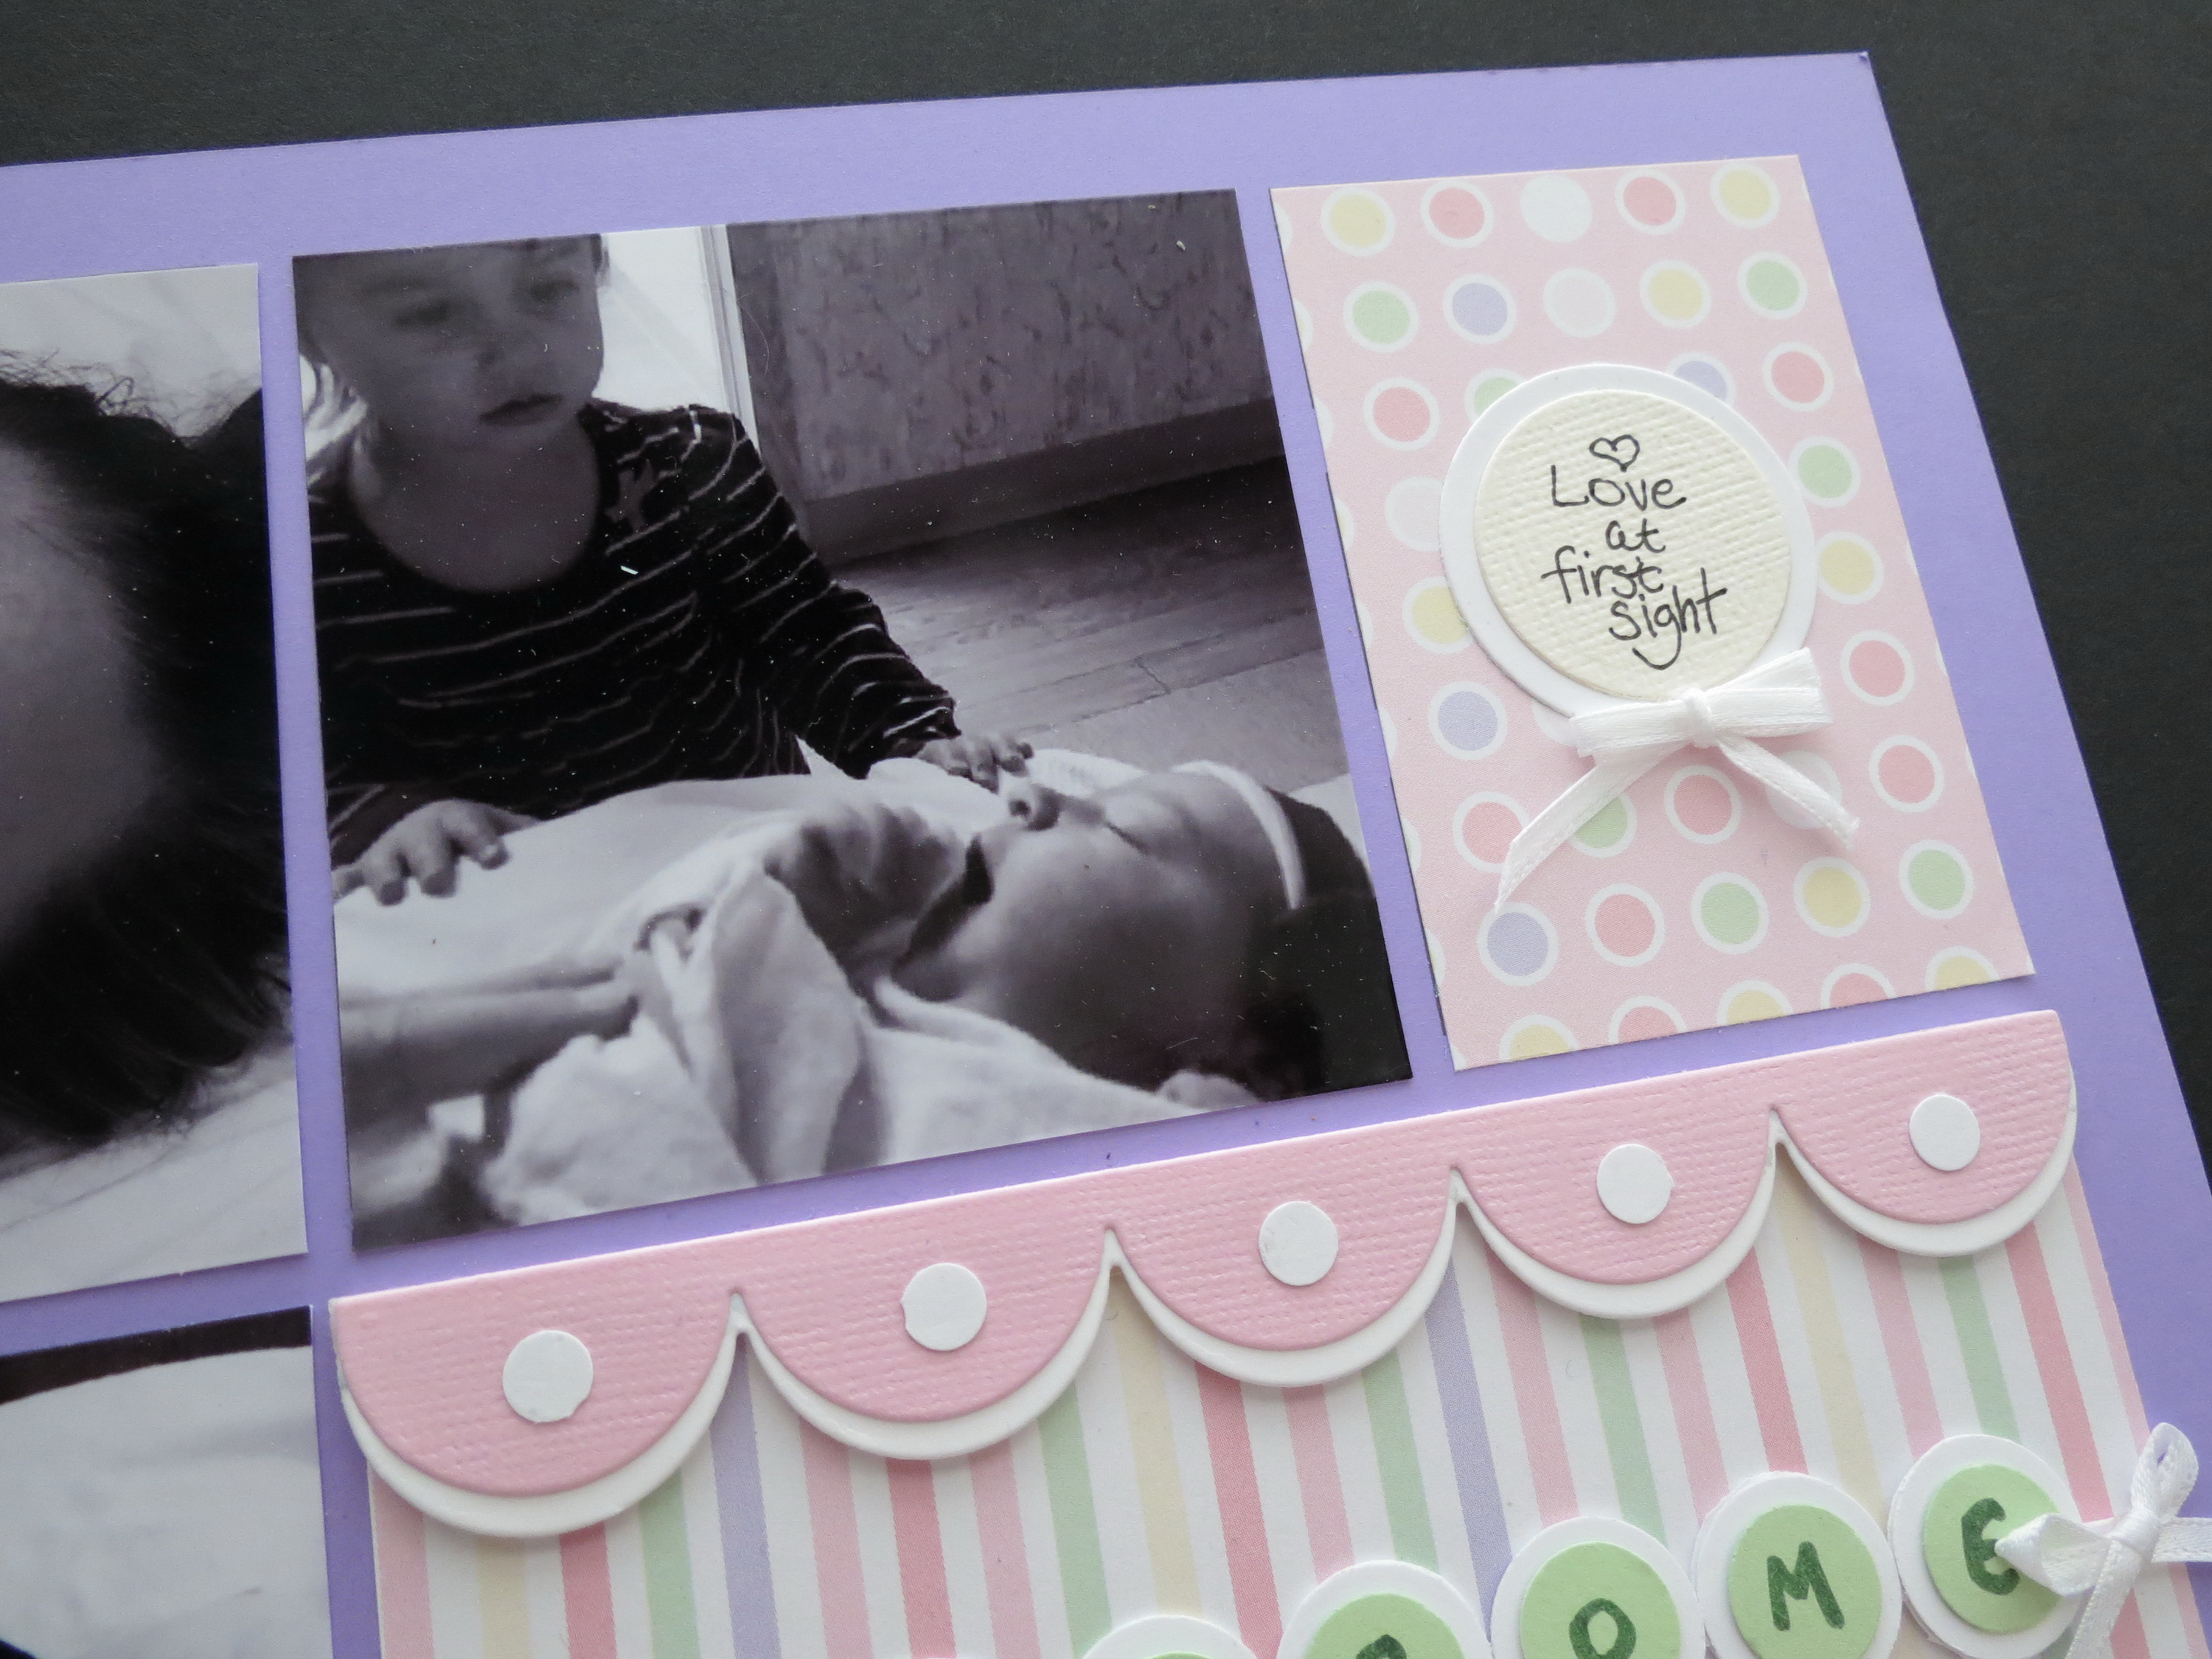
Cecily’s biggest fan after Mama and Daddy is her big sister, Emmi. For Emmi, it’s “MY Ceci” whenever you ask about the new baby. The pictures in this layout feature those first moments and days. The pictures have been taken by several family members. I’ve chosen to go with Black & White so as not to be distracted by the colors and backgrounds and focus on the subjects alone. One exception is the final photo. The color in the photo is so subtle and went so well with the colors in the layout, standing out against the dark background that I thought would be a nice added touch to leave it as is.
MM-TYS Welcome Baby Almost all Black & White photos with one exception!
MM-TYS Welcome Baby
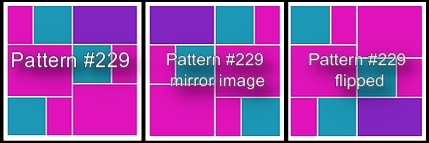
MM Pattern #229
Designing this page was inspired by the dot patterned paper for colors and the dots used for journal spots. I added a few bows, scallop borders, a title and card-like journaling folder with the story. Additionally, with this Tell Your Story post I’ve created a card to match this block and repeating a few elements used in the layout.
MM-TYS Welcome Baby
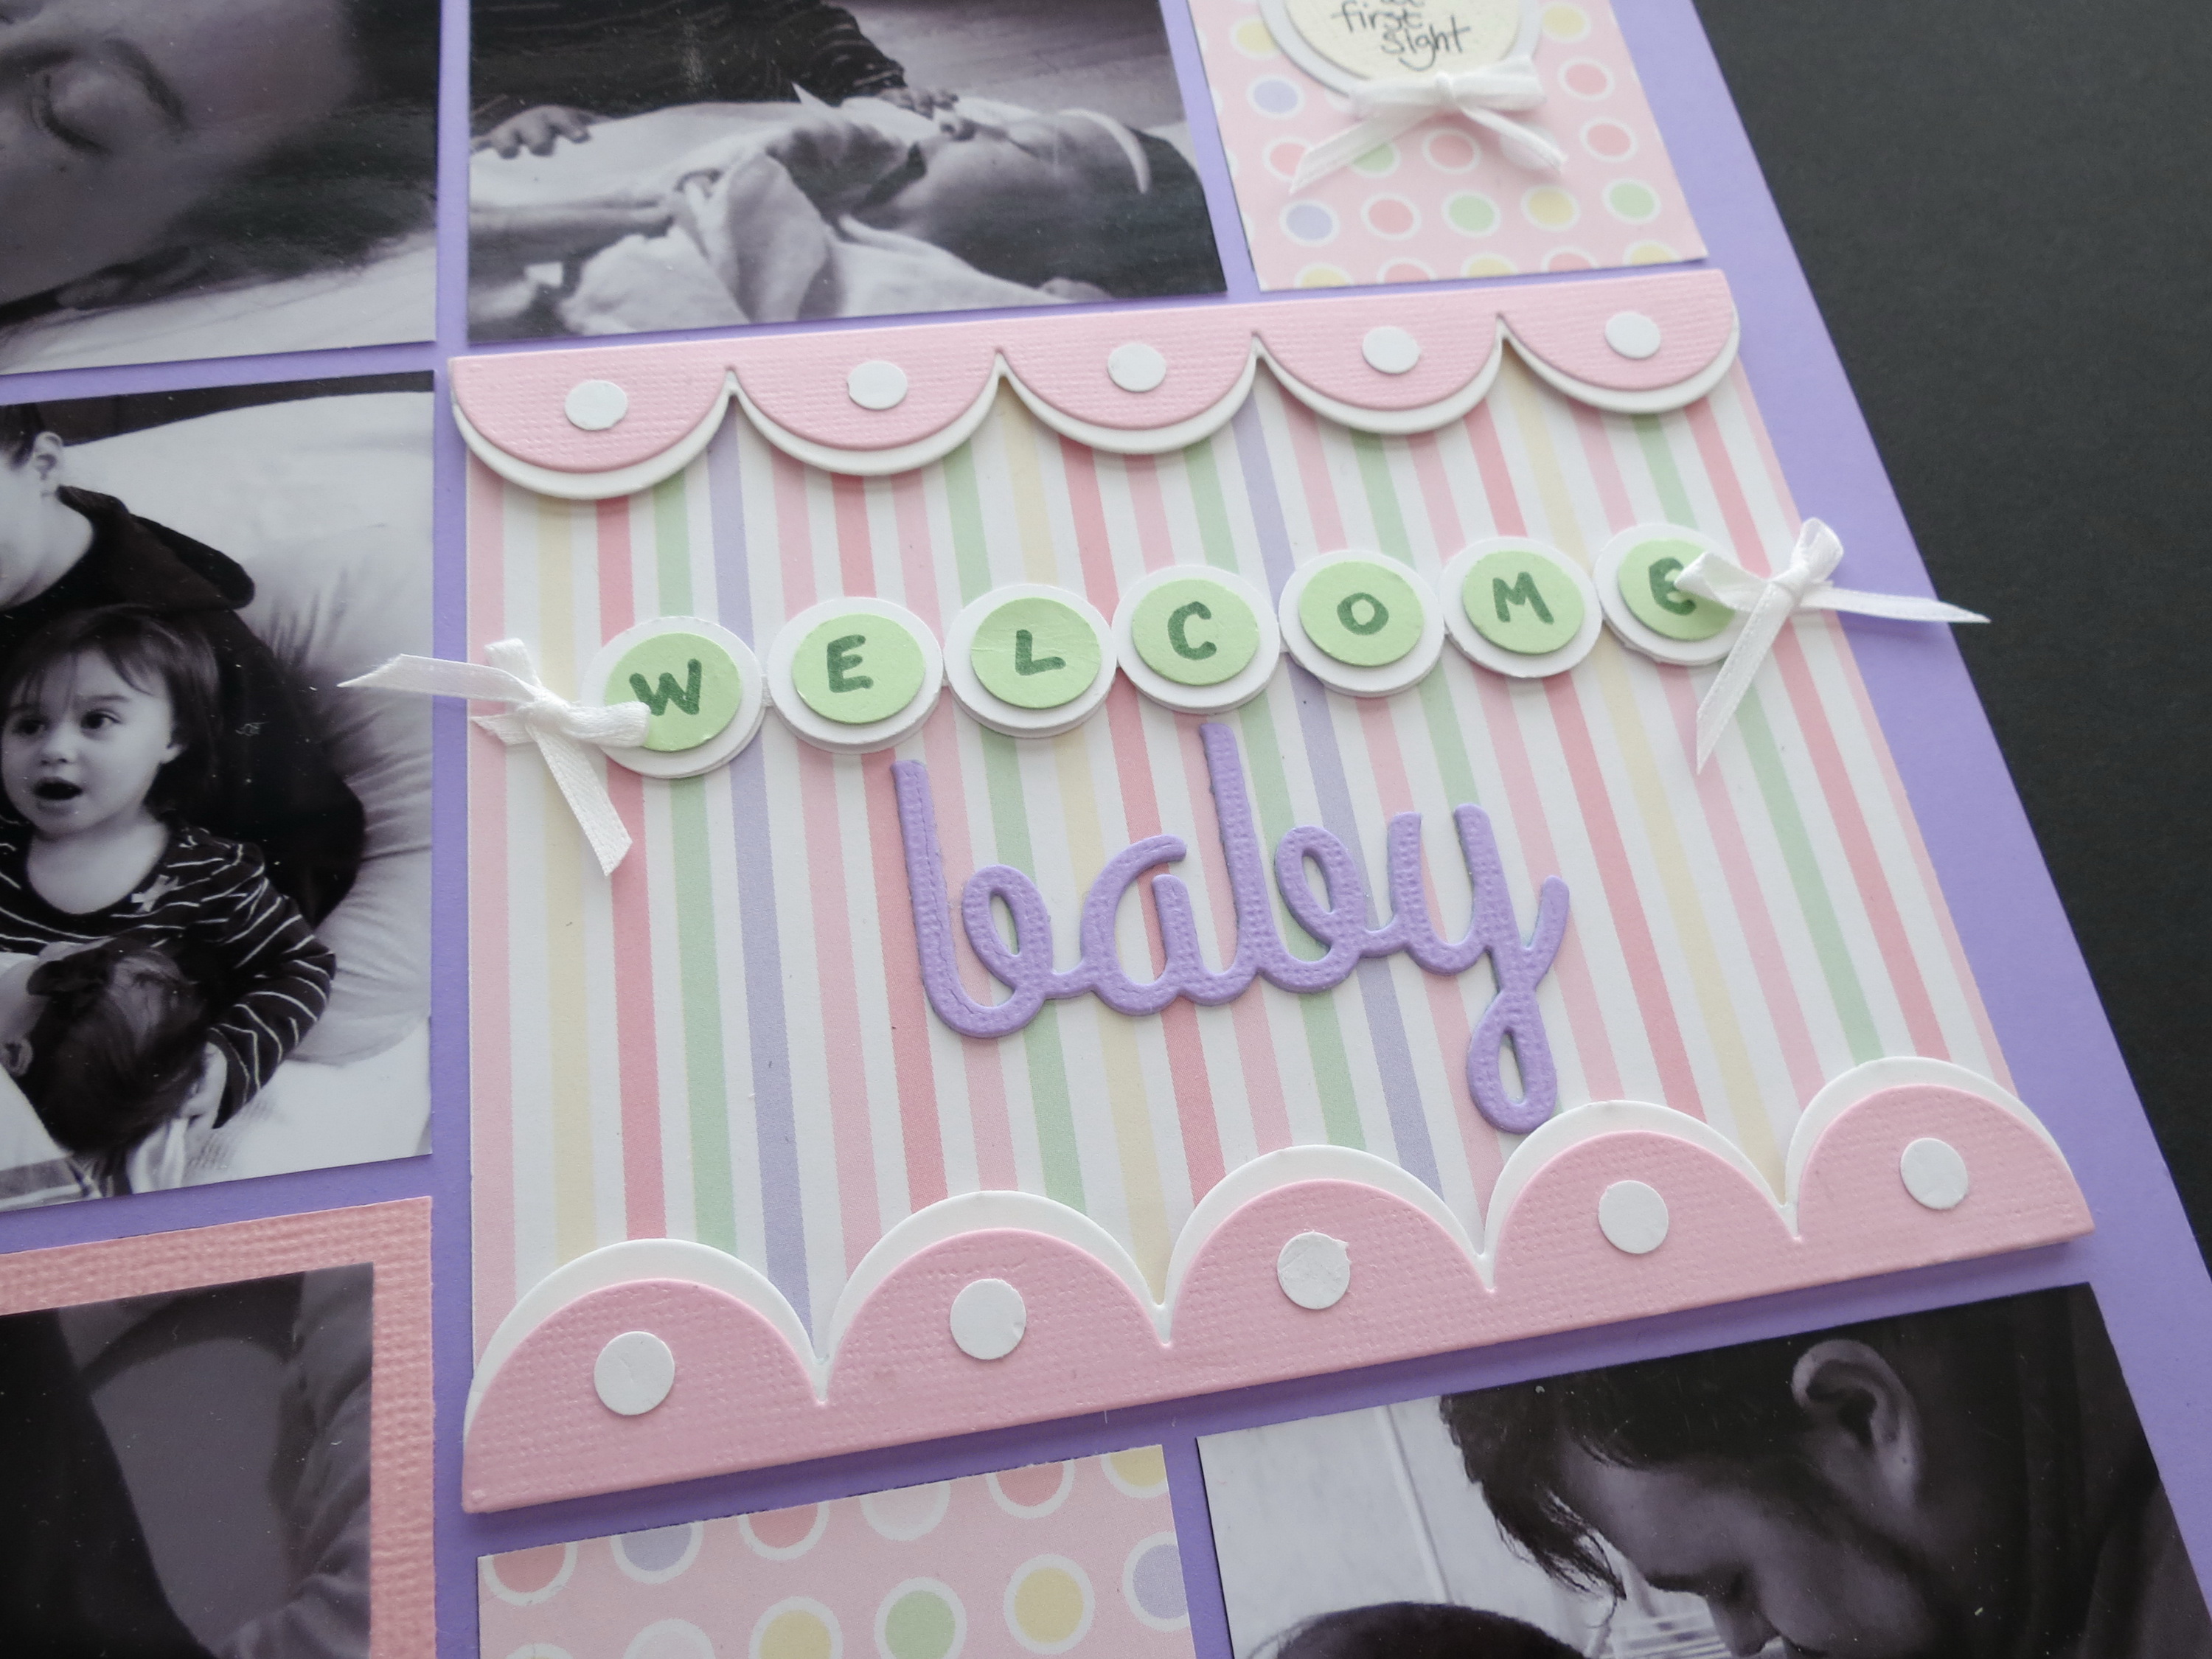
MM-TYS Welcome Baby Title block
For the title I began with a striped patterned paper base and then used the Mosaic Moments Scallop Border Die from the Banner Border Dies Set to cut borders two each in white and pink. I layered the white under the pink 1/8” and put one on the top and bottom and finished it off with hand punched ¼” circle in the center of each scallop.
MM-TYS Welcome Baby title block scallop border detail
To imitate the dots in the patterned paper, I punched and die cut circles in white and pastels to create a banner strung across the block. For each letter I used two white circles with a glue dot in between to secure the ribbon and top white dot. A smaller green dot for letters finishes it off. The ribbon helps to keep the letters straight and easier to put in a row. Tiny bows at each end hide the ribbon ends.
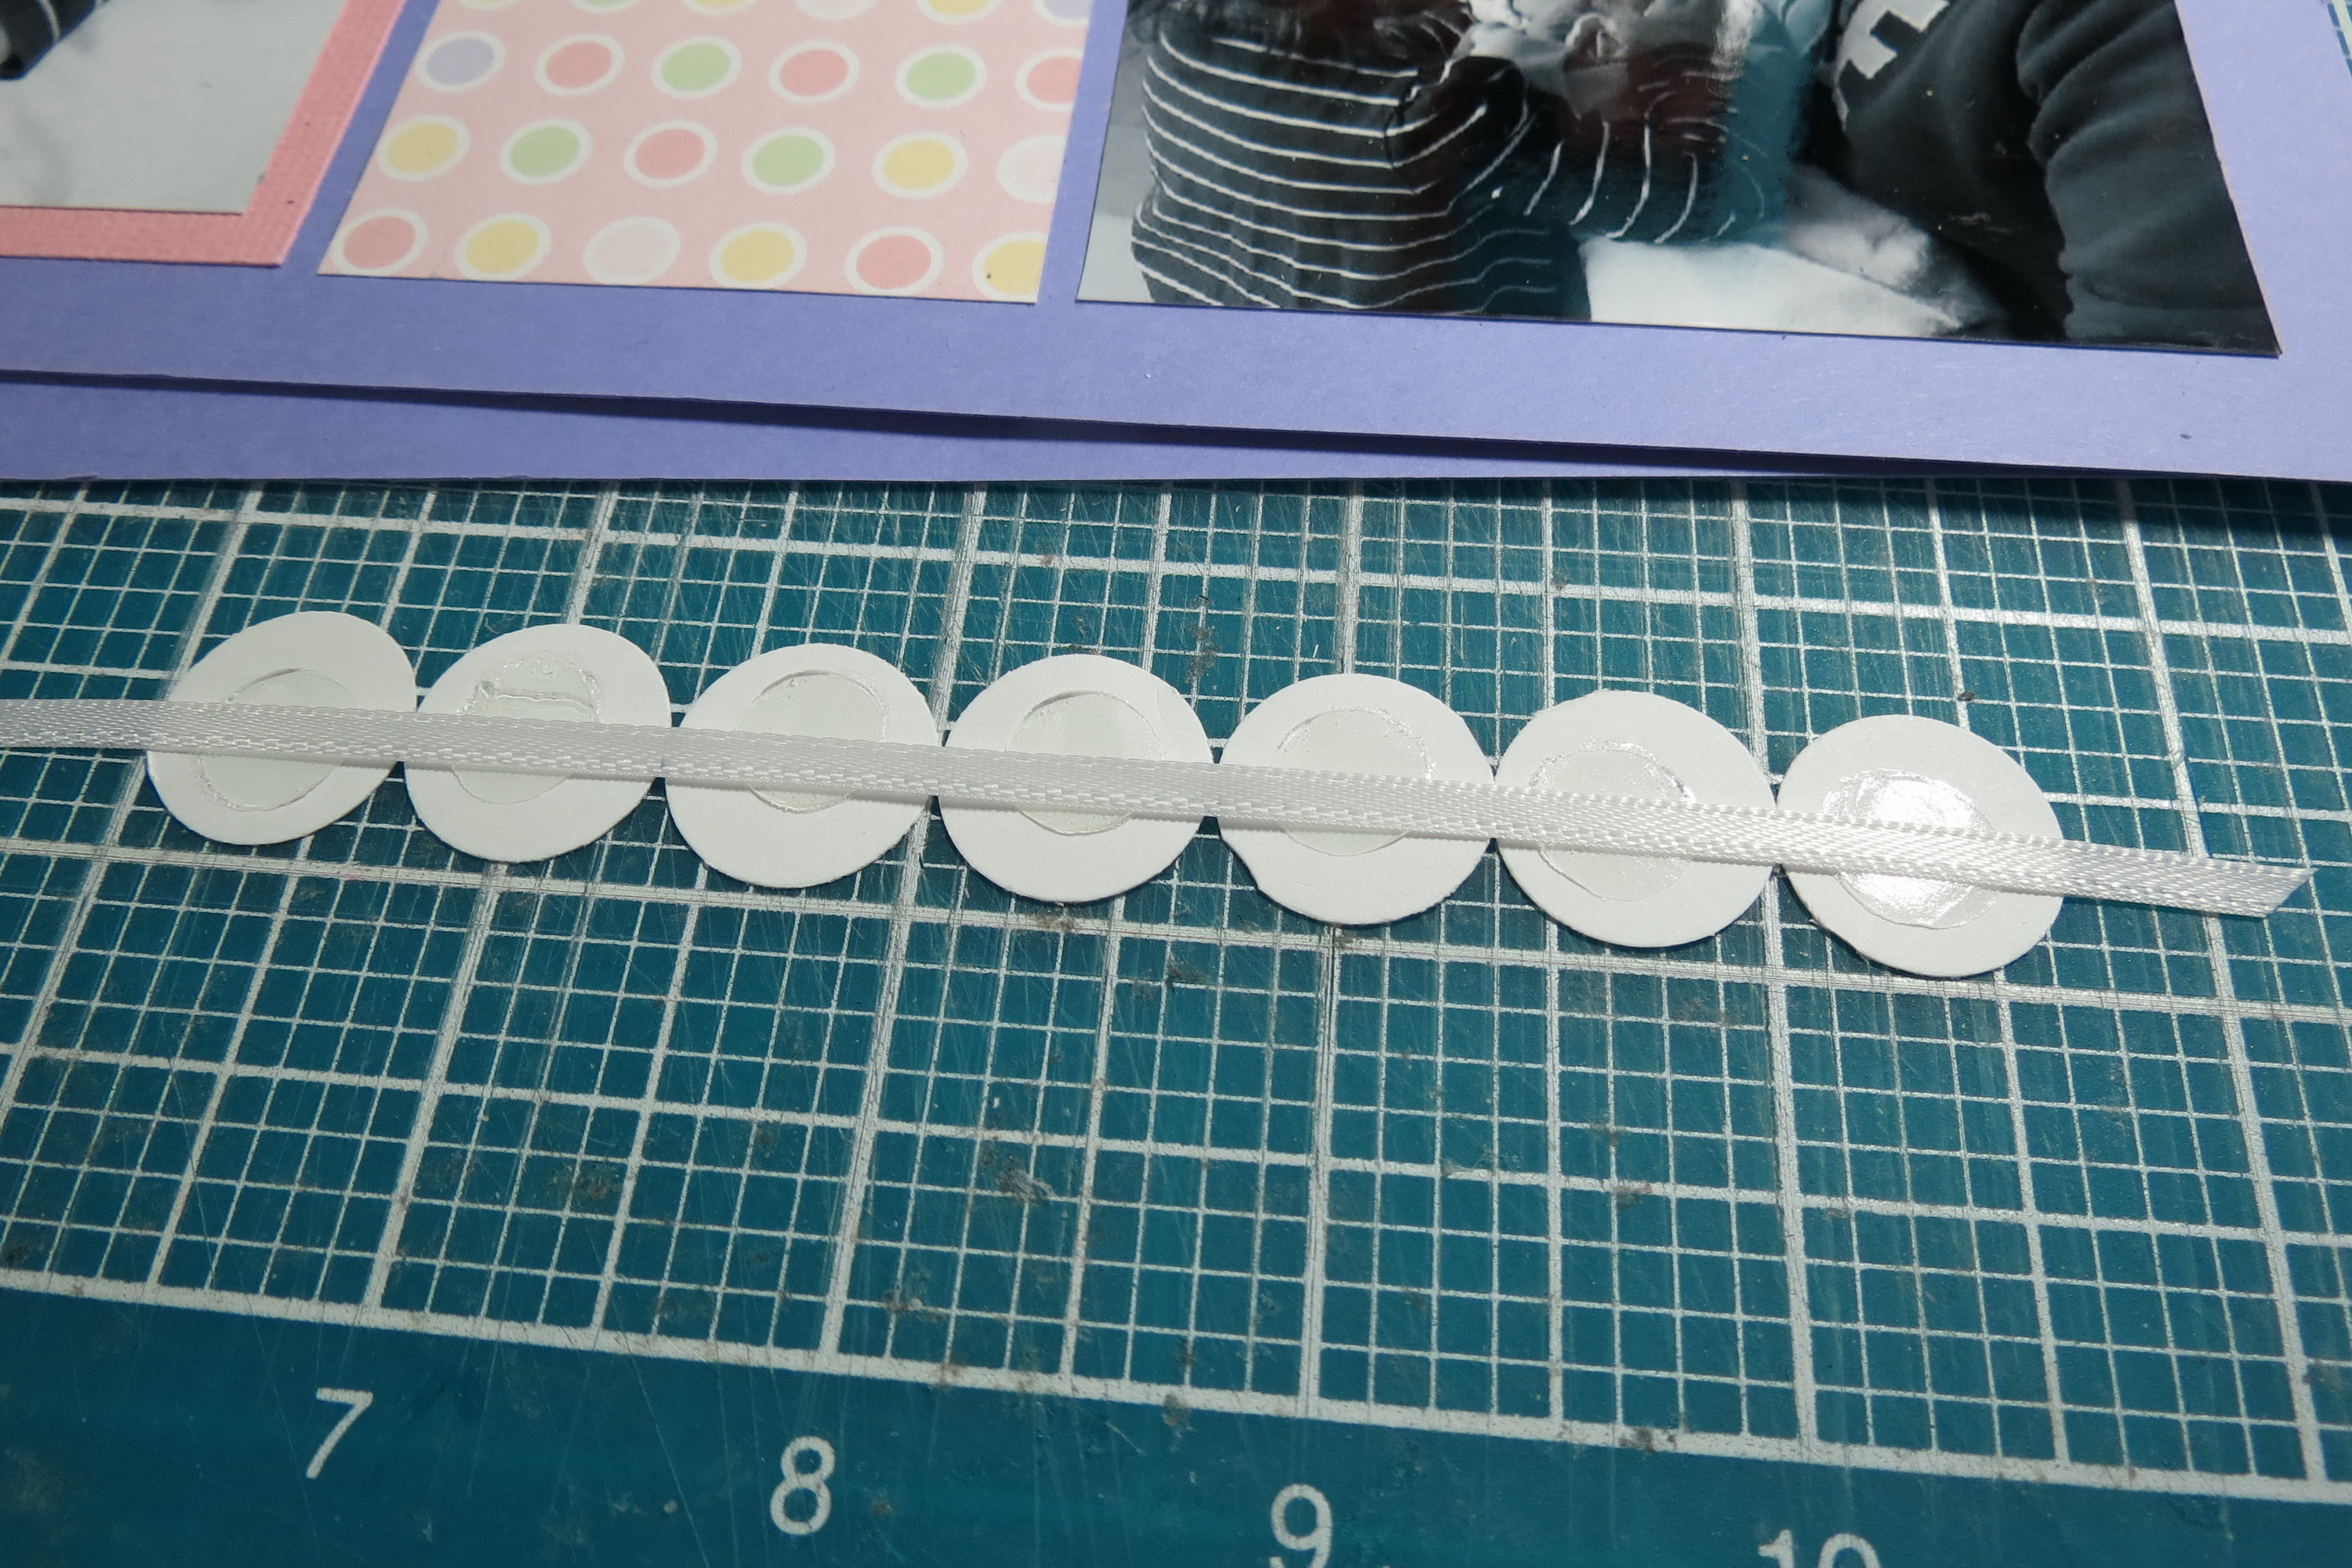
MM-TYS Welcome Baby Title block detail creating “welcome” section.
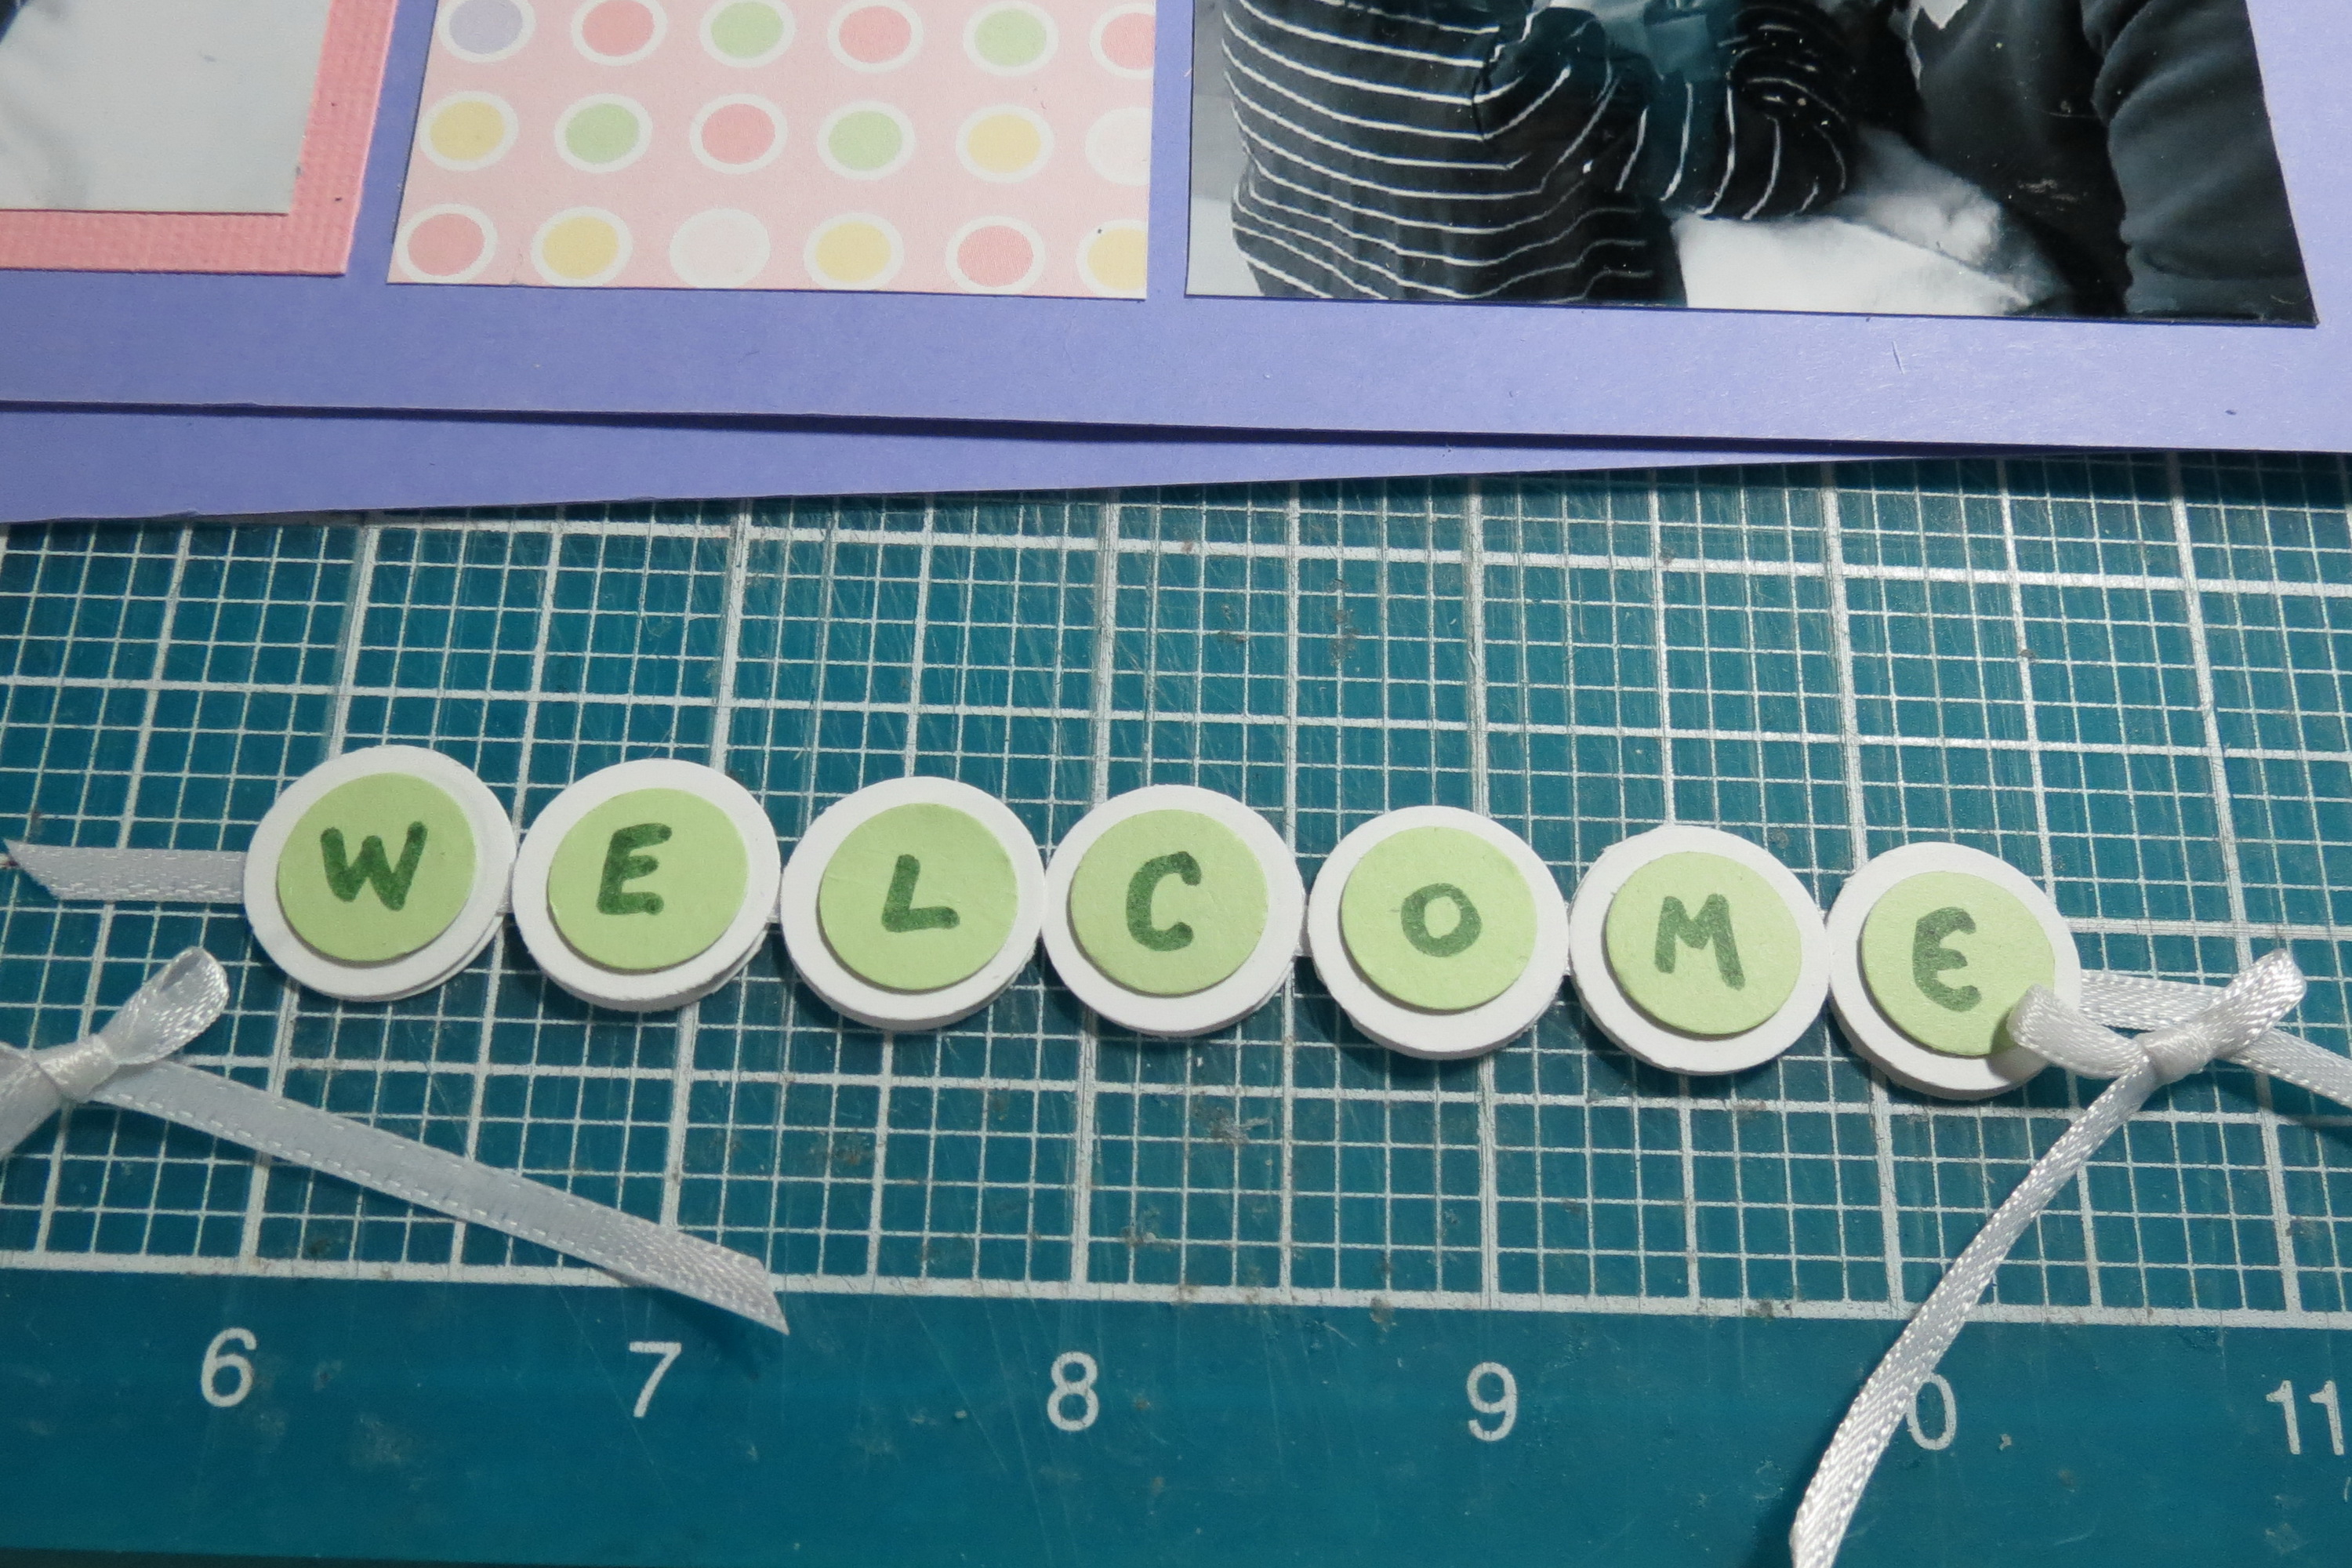
MM-TYS Welcome Baby Title block detail creating “welcome” section.
The final element on the title is a die cut “baby” in violet cardstock. It is actually three layers stacked together and it gives it some bulk making it stand out more than if I’d just attached it to the page as a single layer.
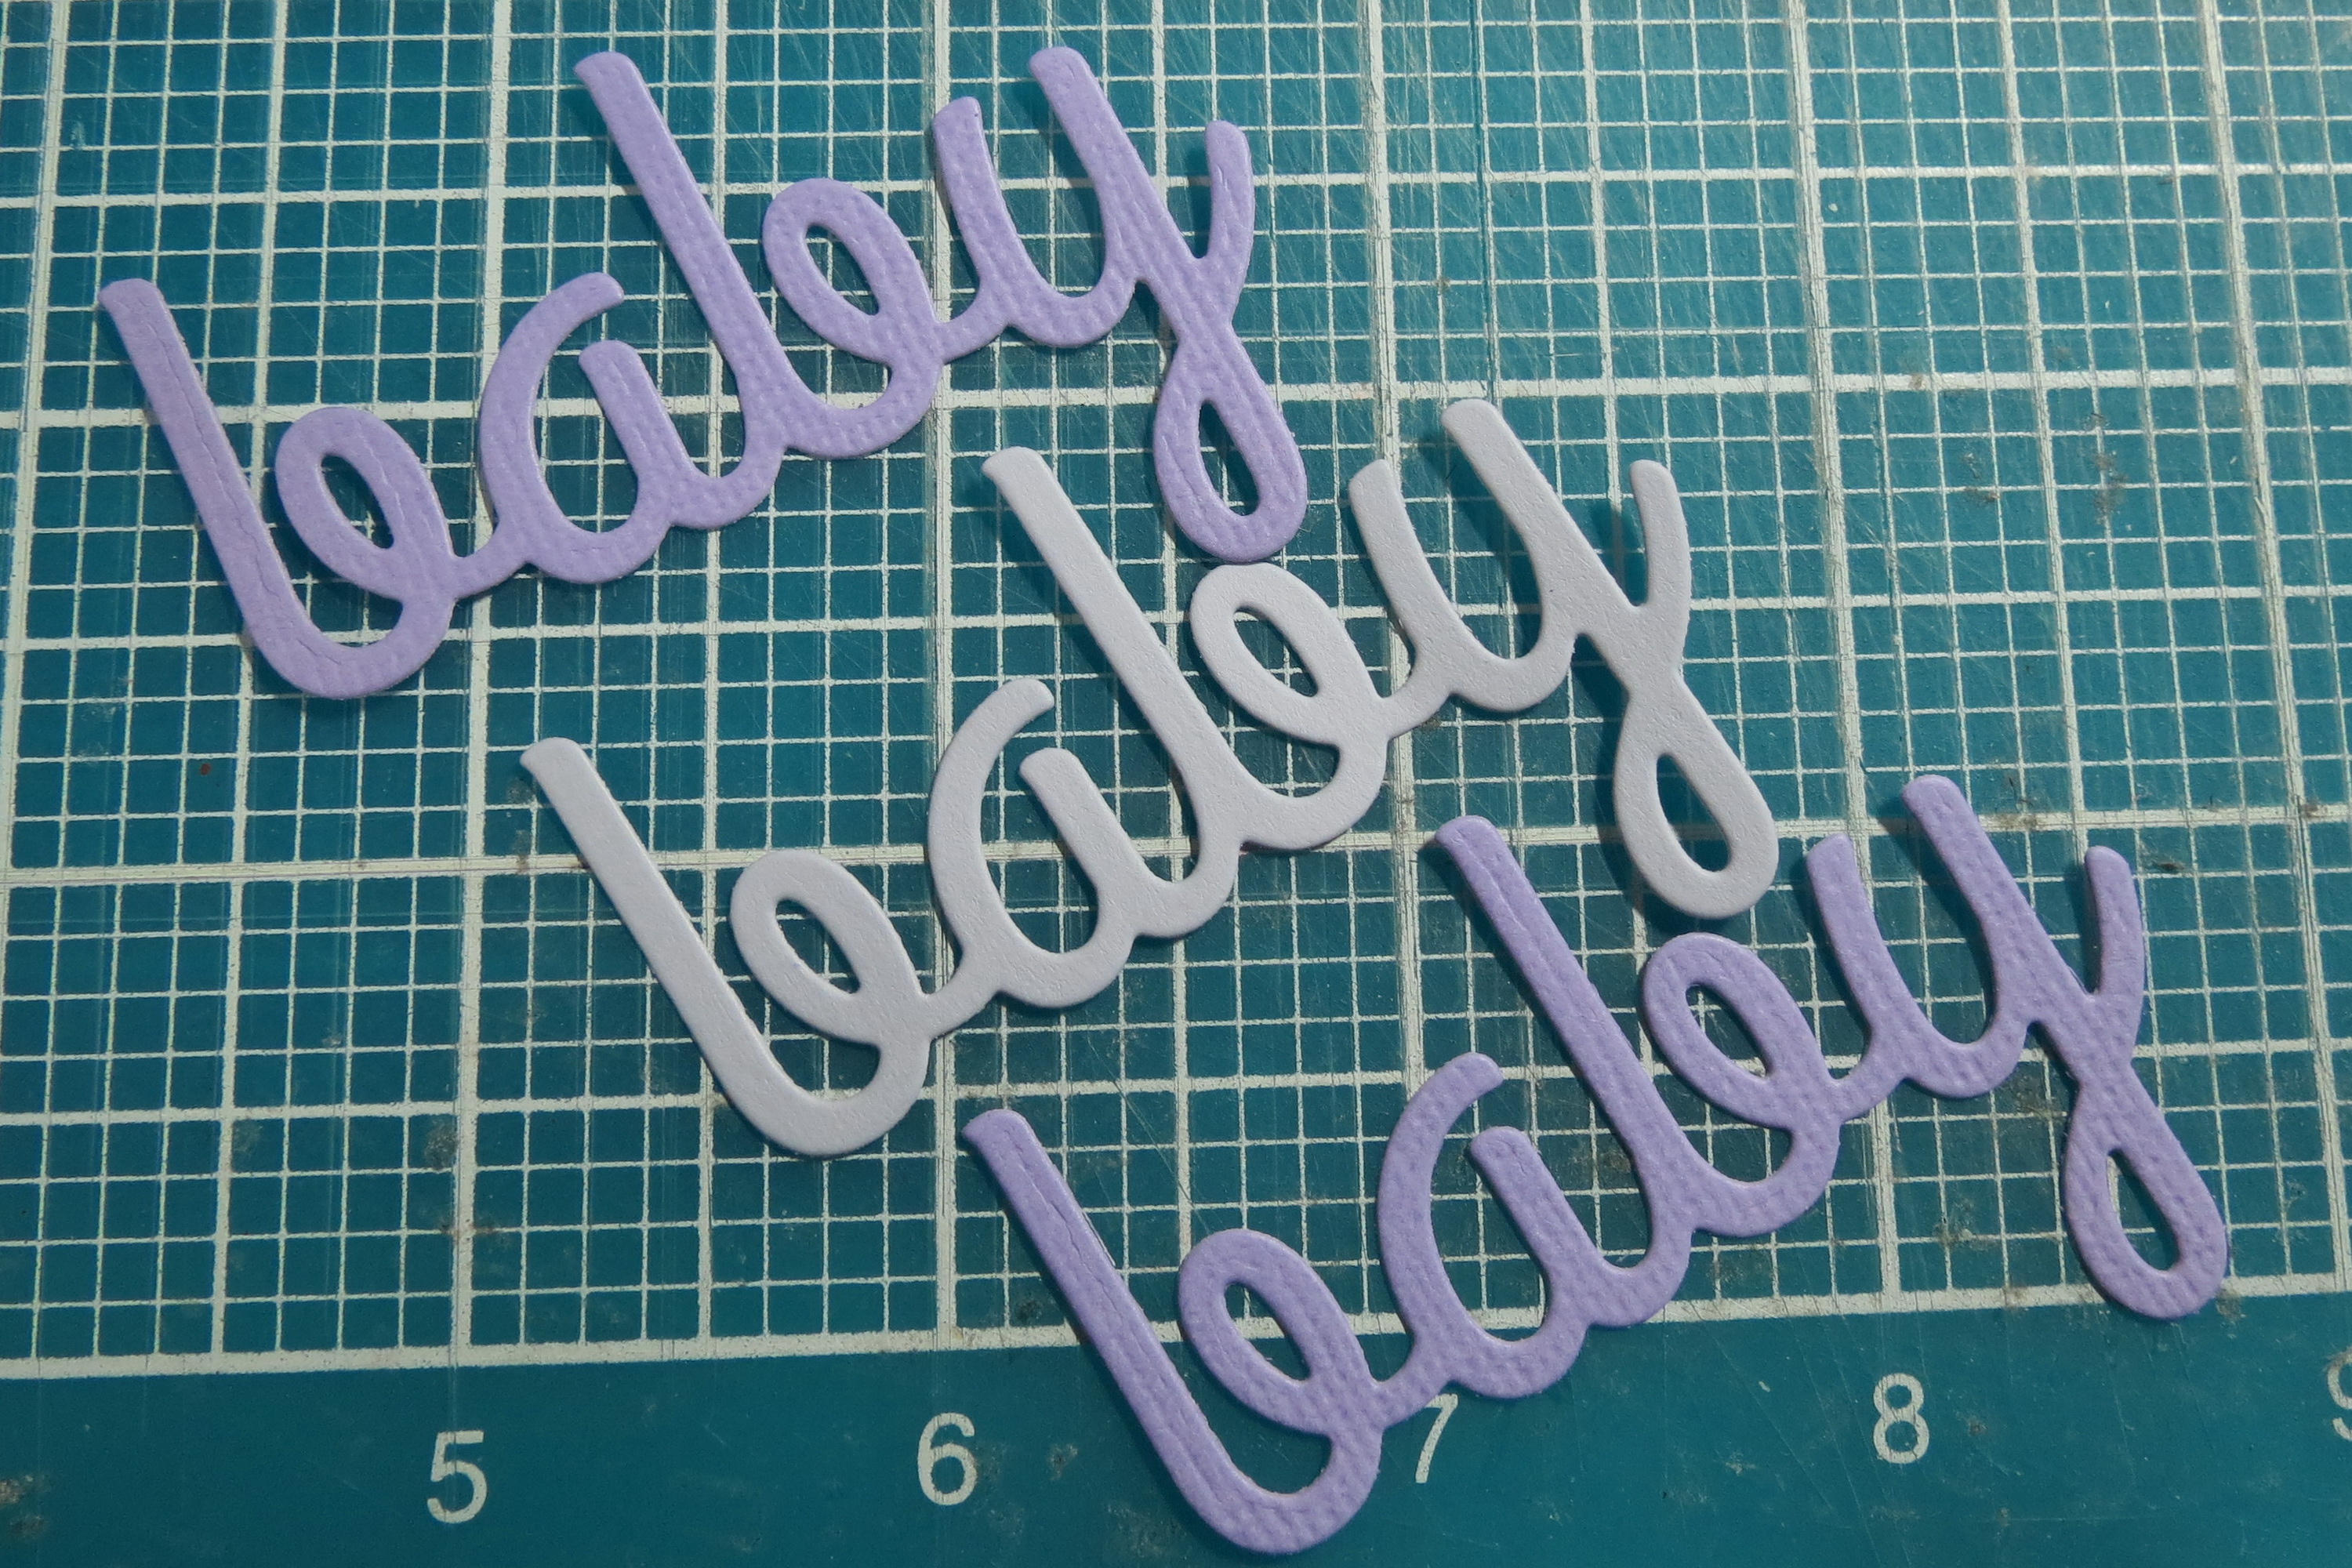
MM-TYS Welcome Baby Title block detail creating Stacked “Baby” element.
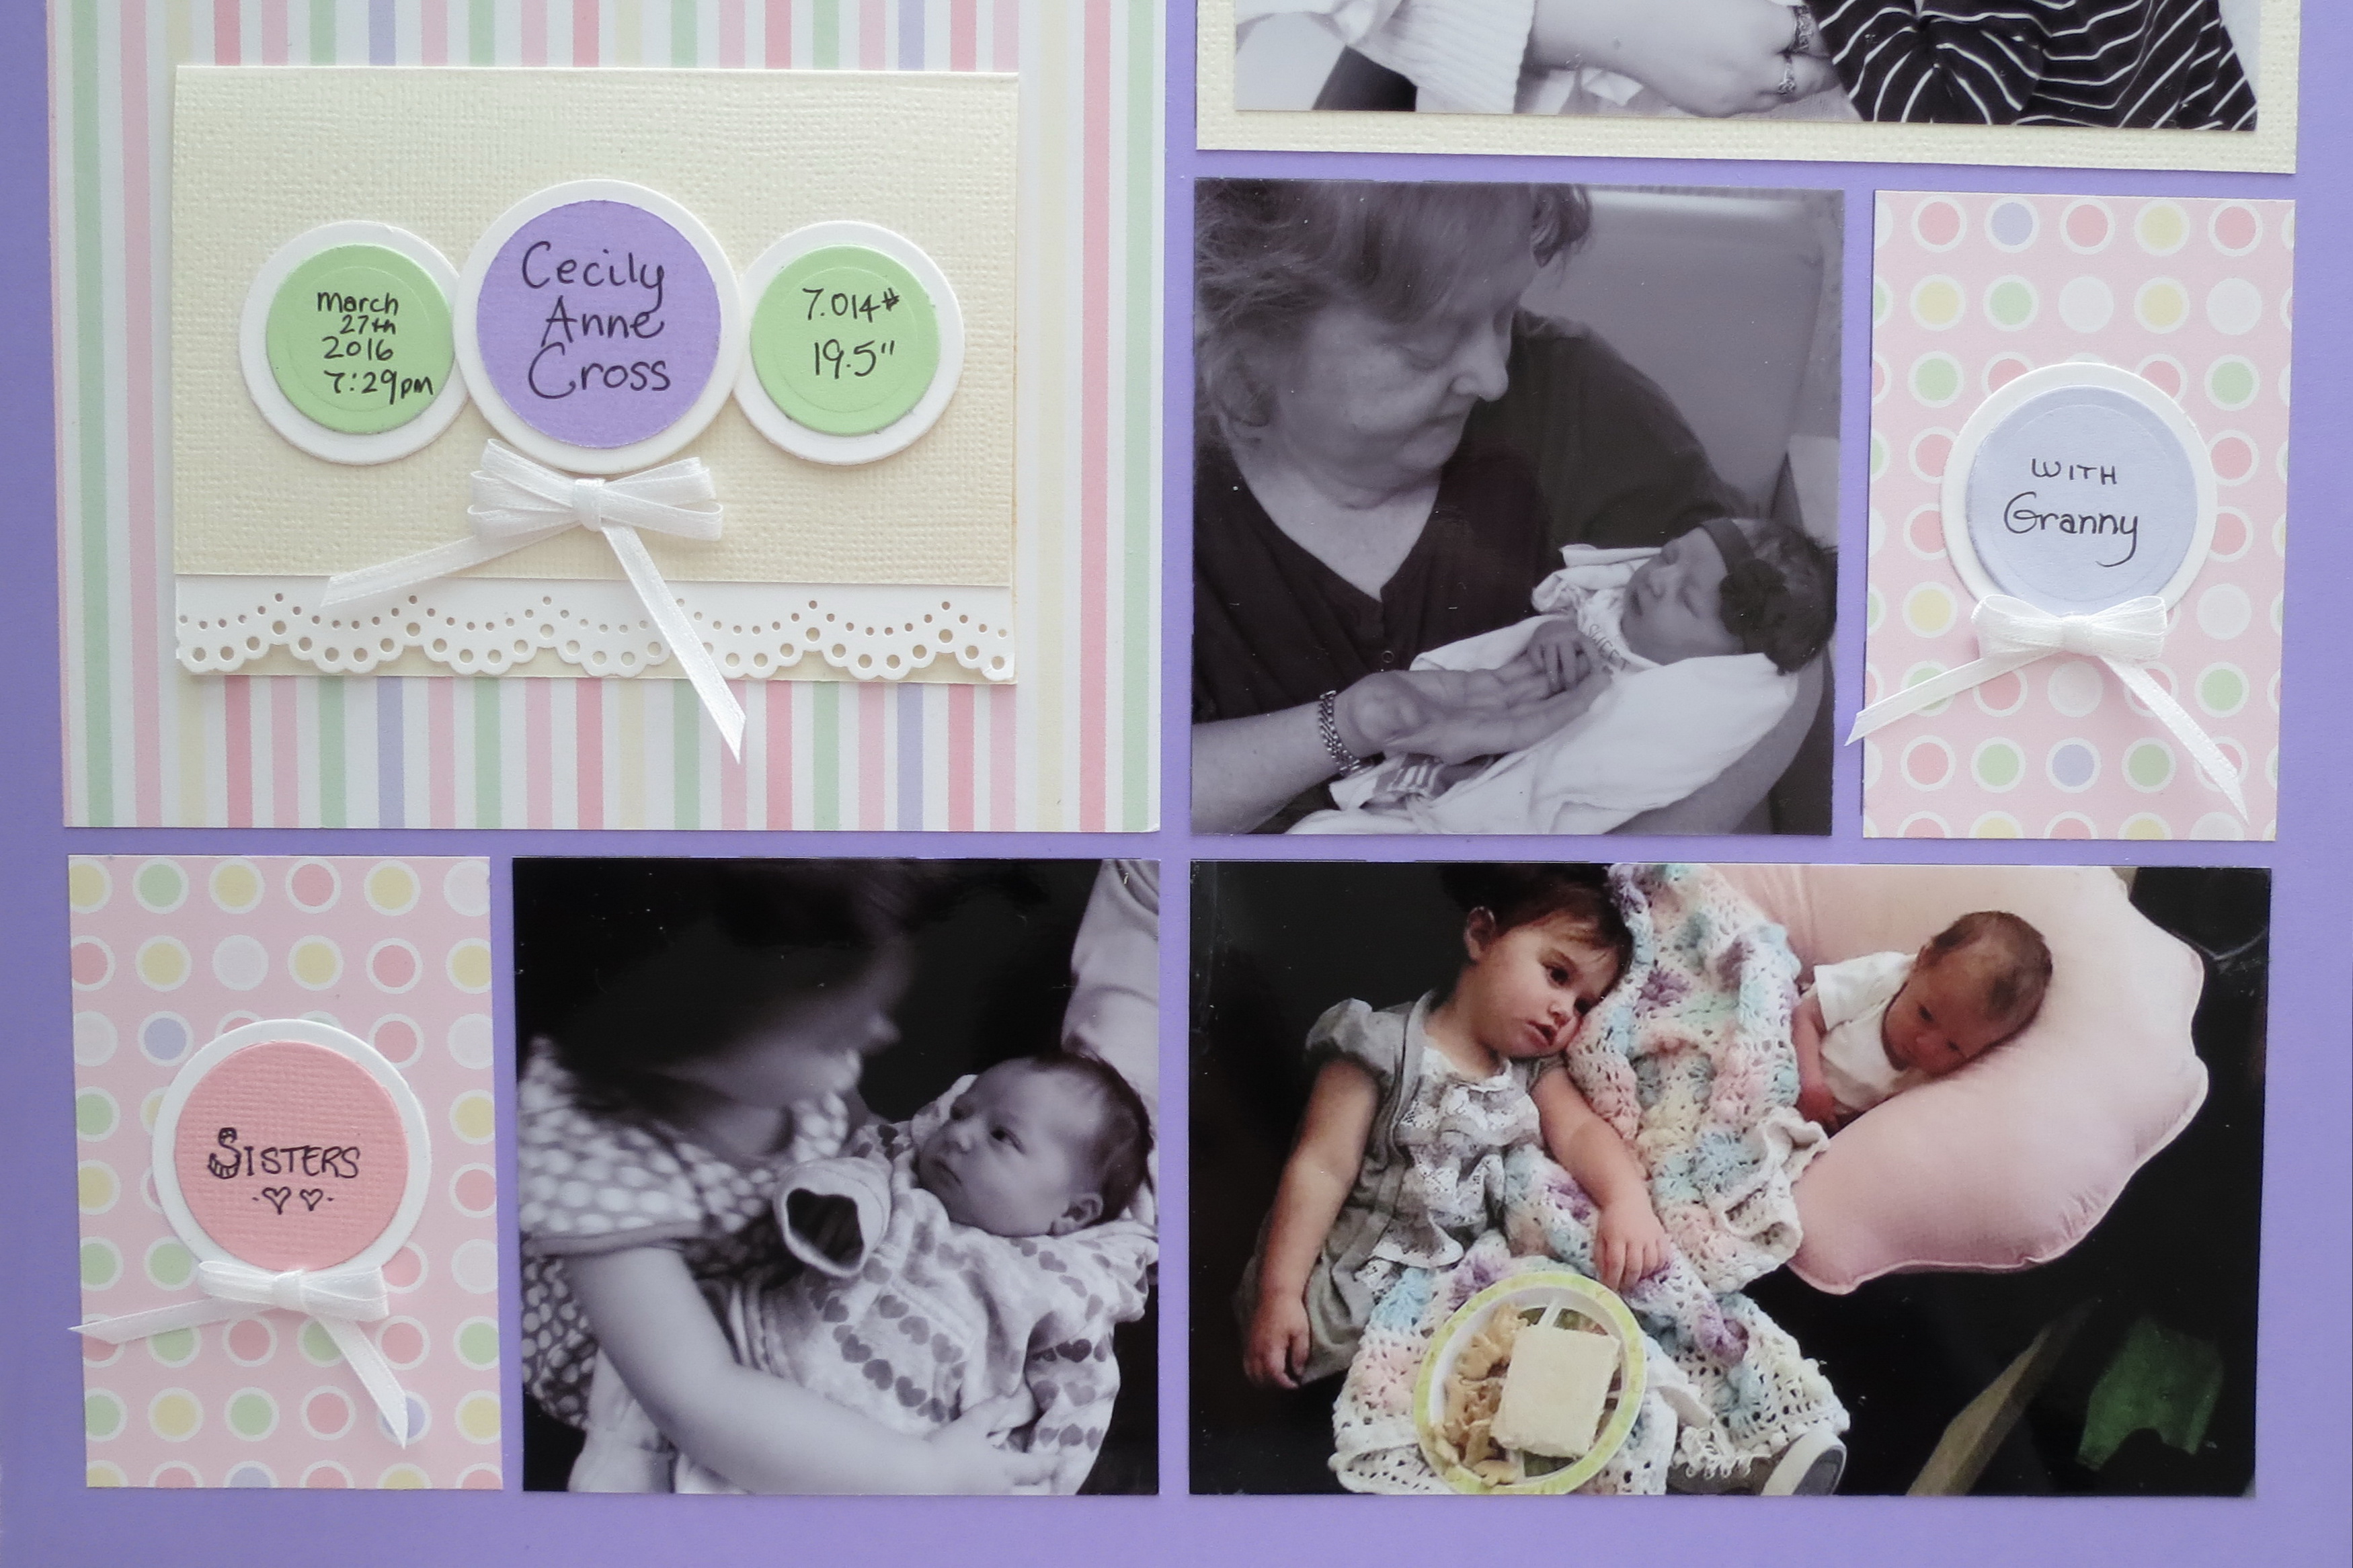
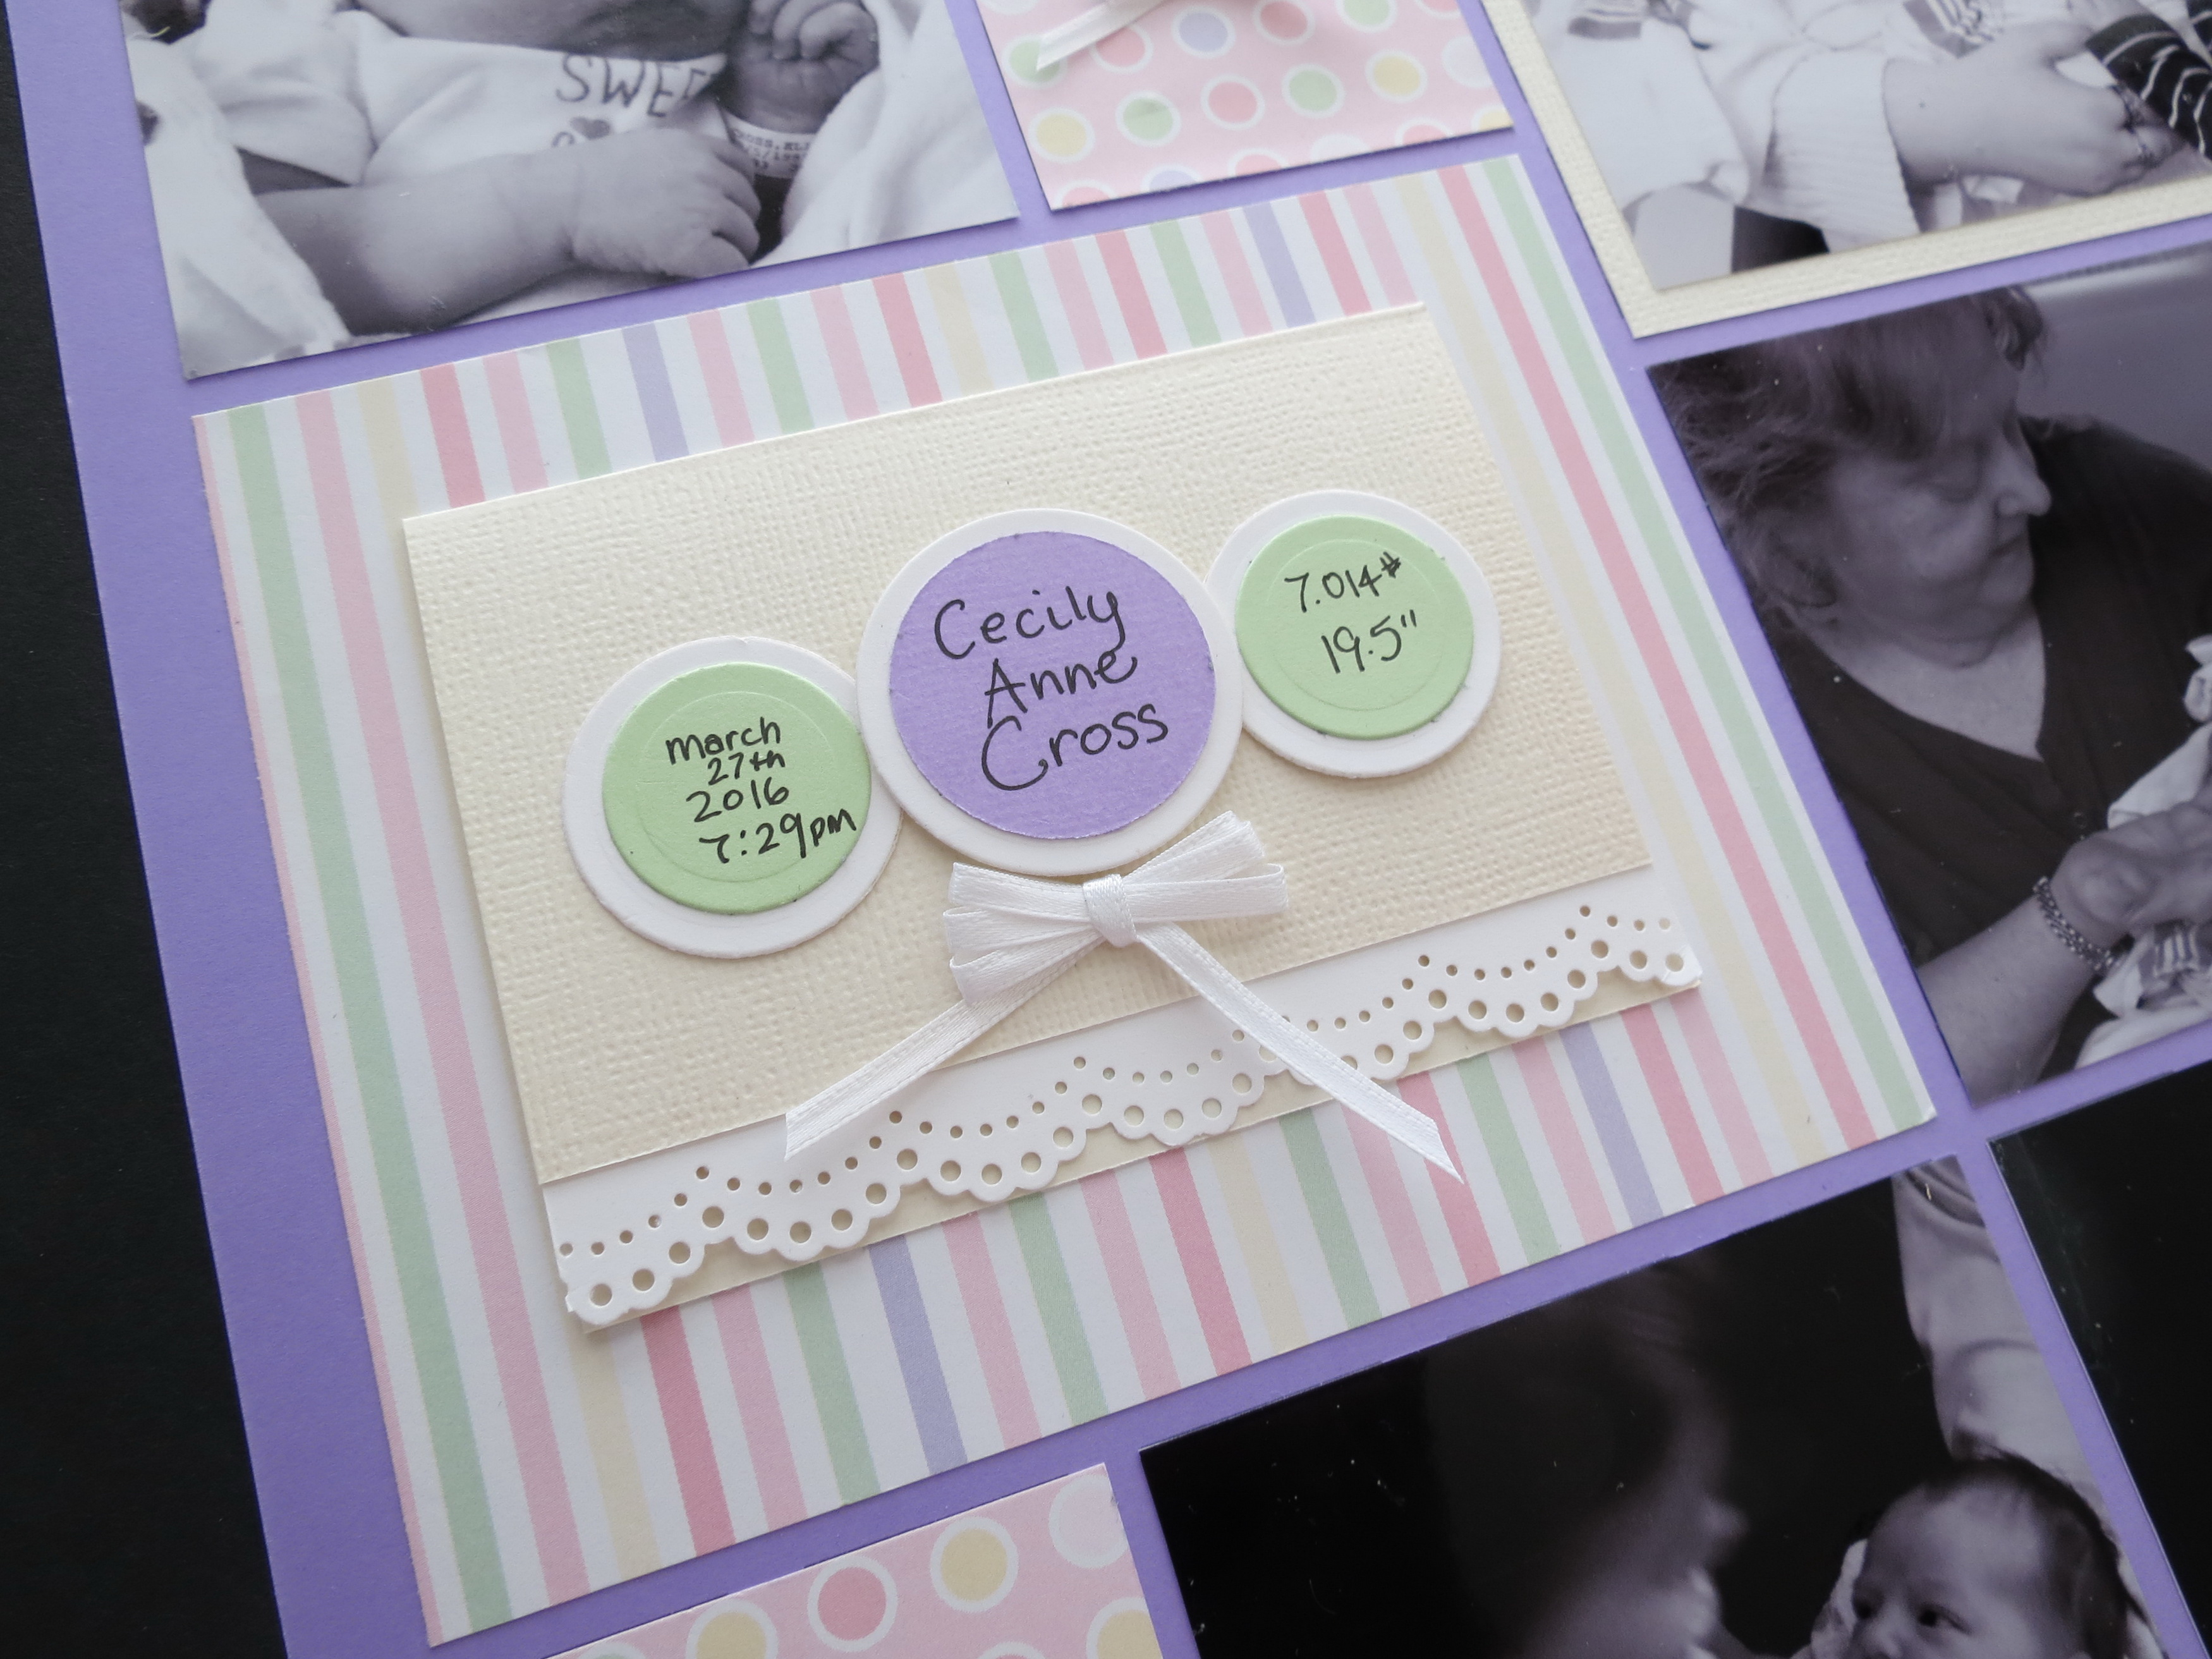
MM-TYS Welcome Baby page two with journal card detail
I have a card-like journaling block on the opposite side to write my story as a note to my newest grand-daughter. On the front her name and her vitals are on each of the circles. A double bow and row of lace border complete the card.
MM-TYS Welcome Baby Journal card
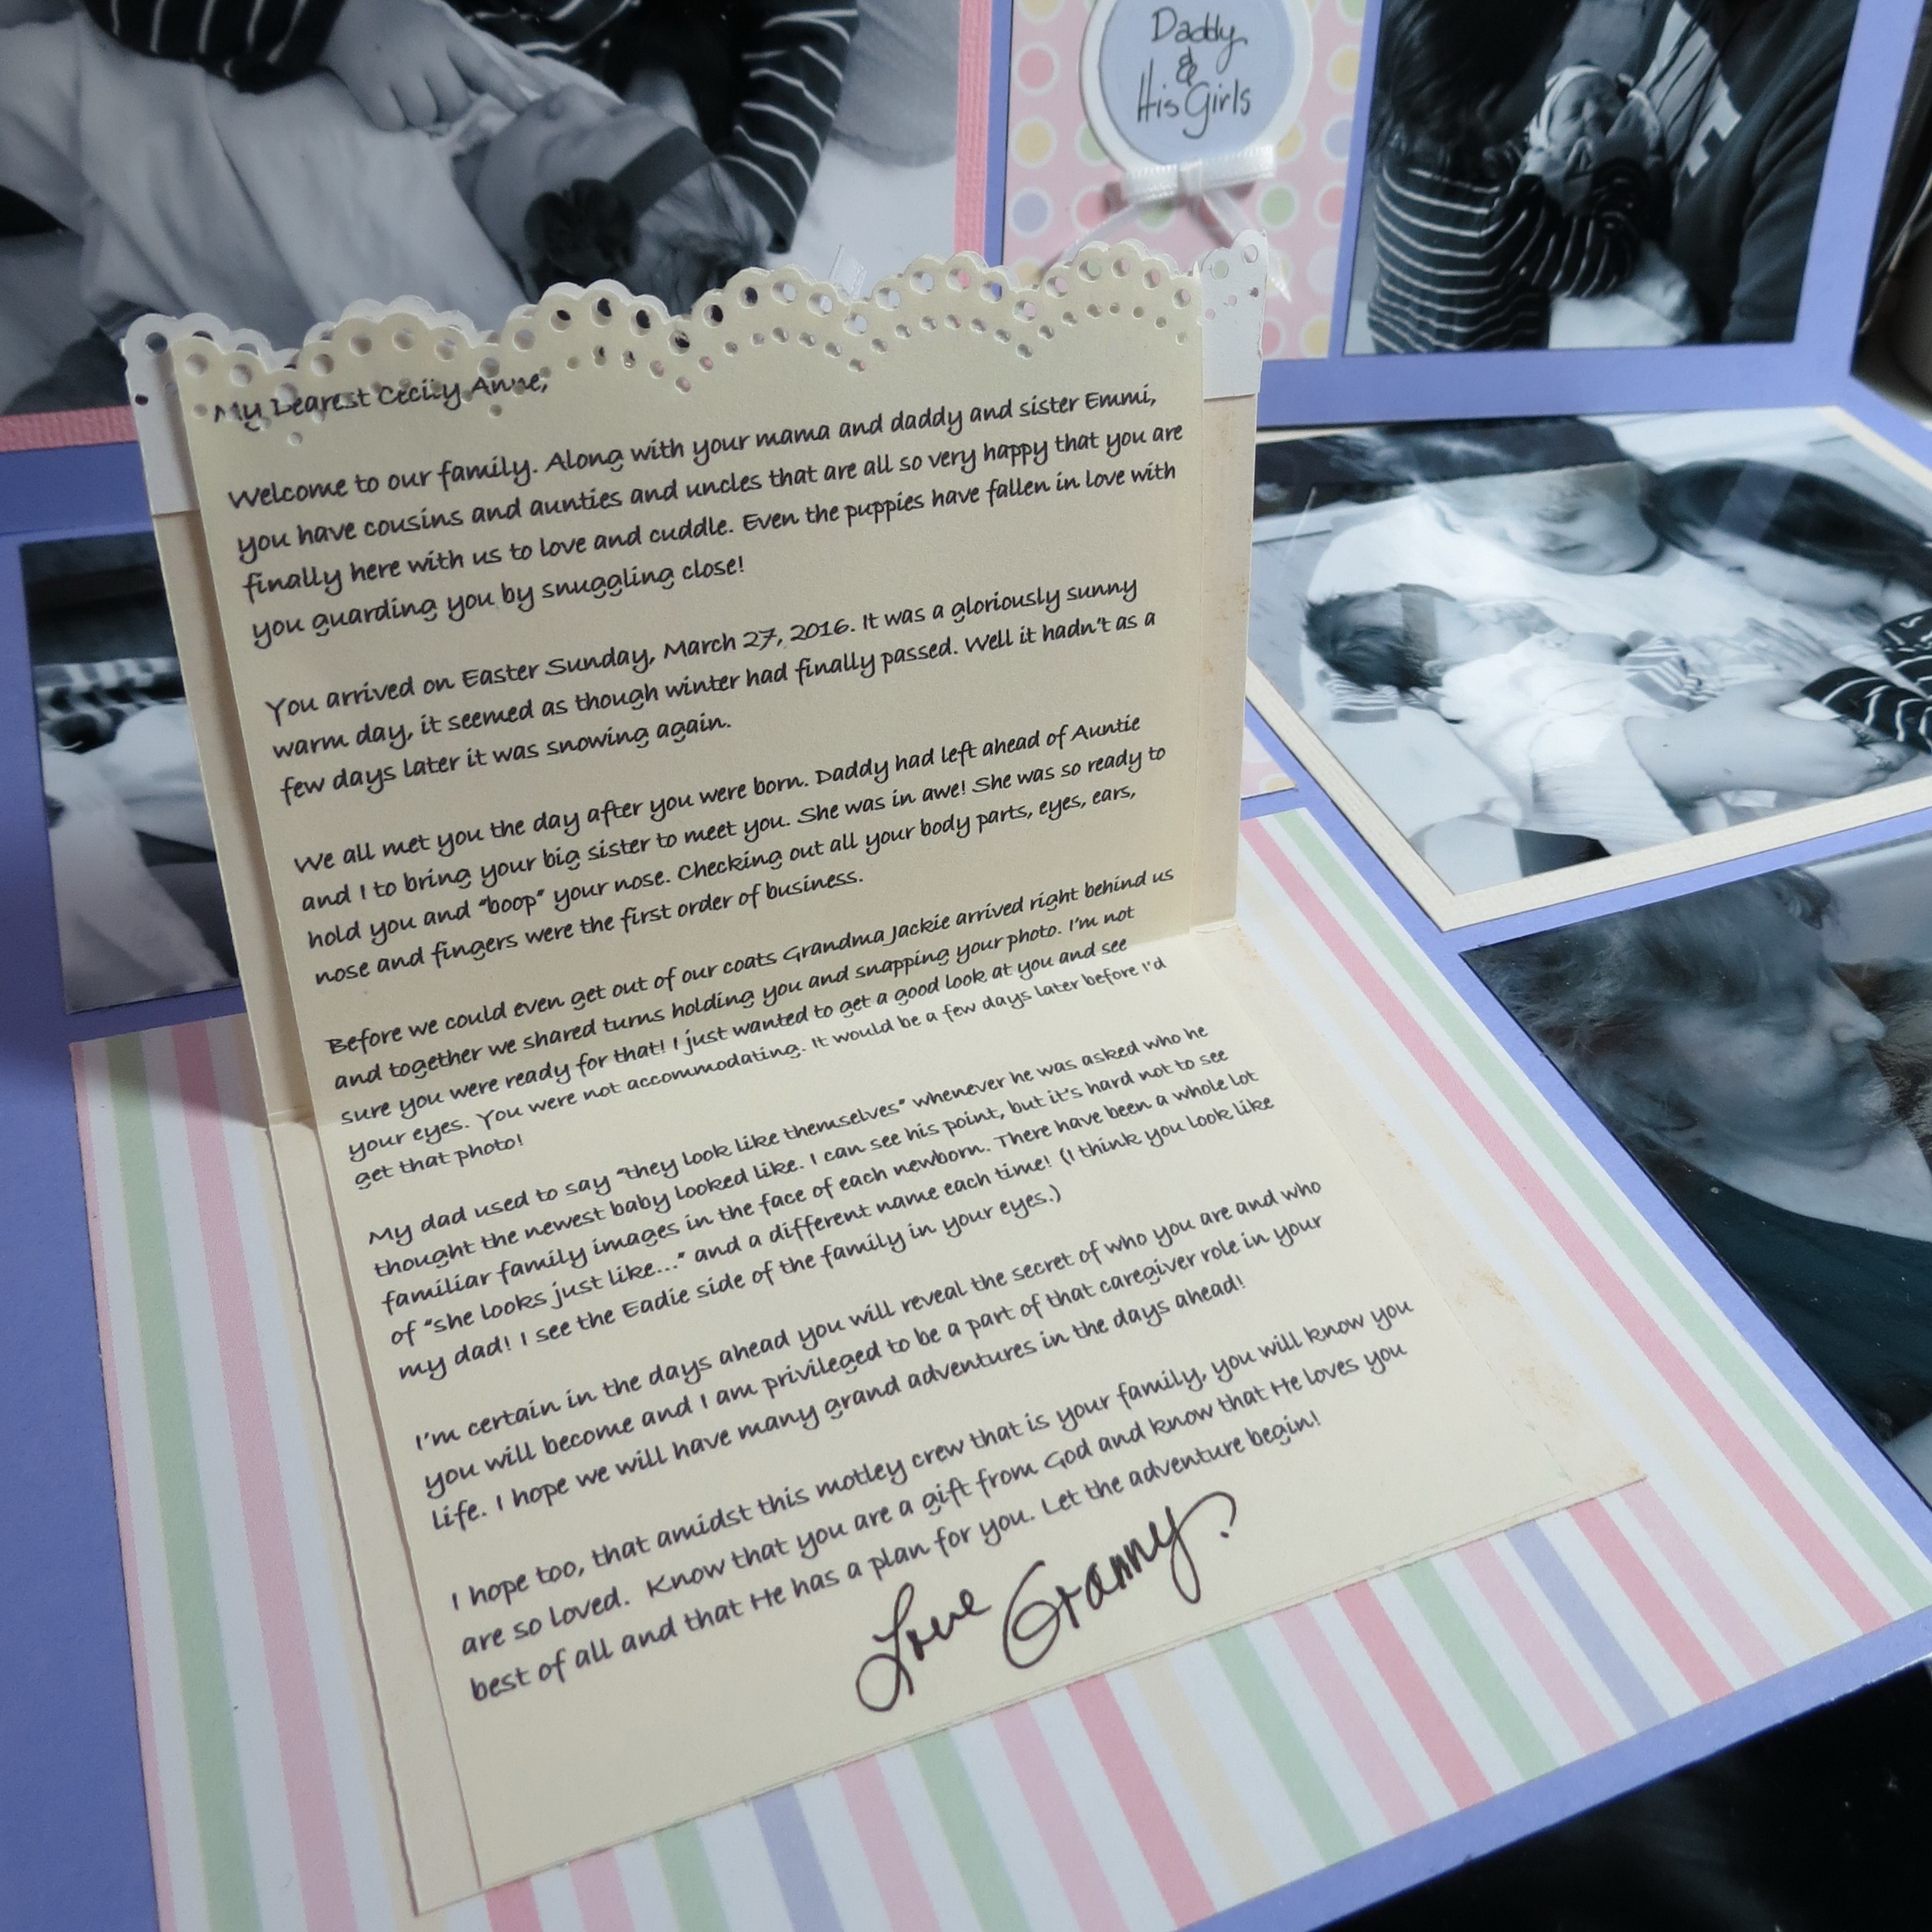
MM-TYS Welcome Baby journaling inside tells a story for the new baby
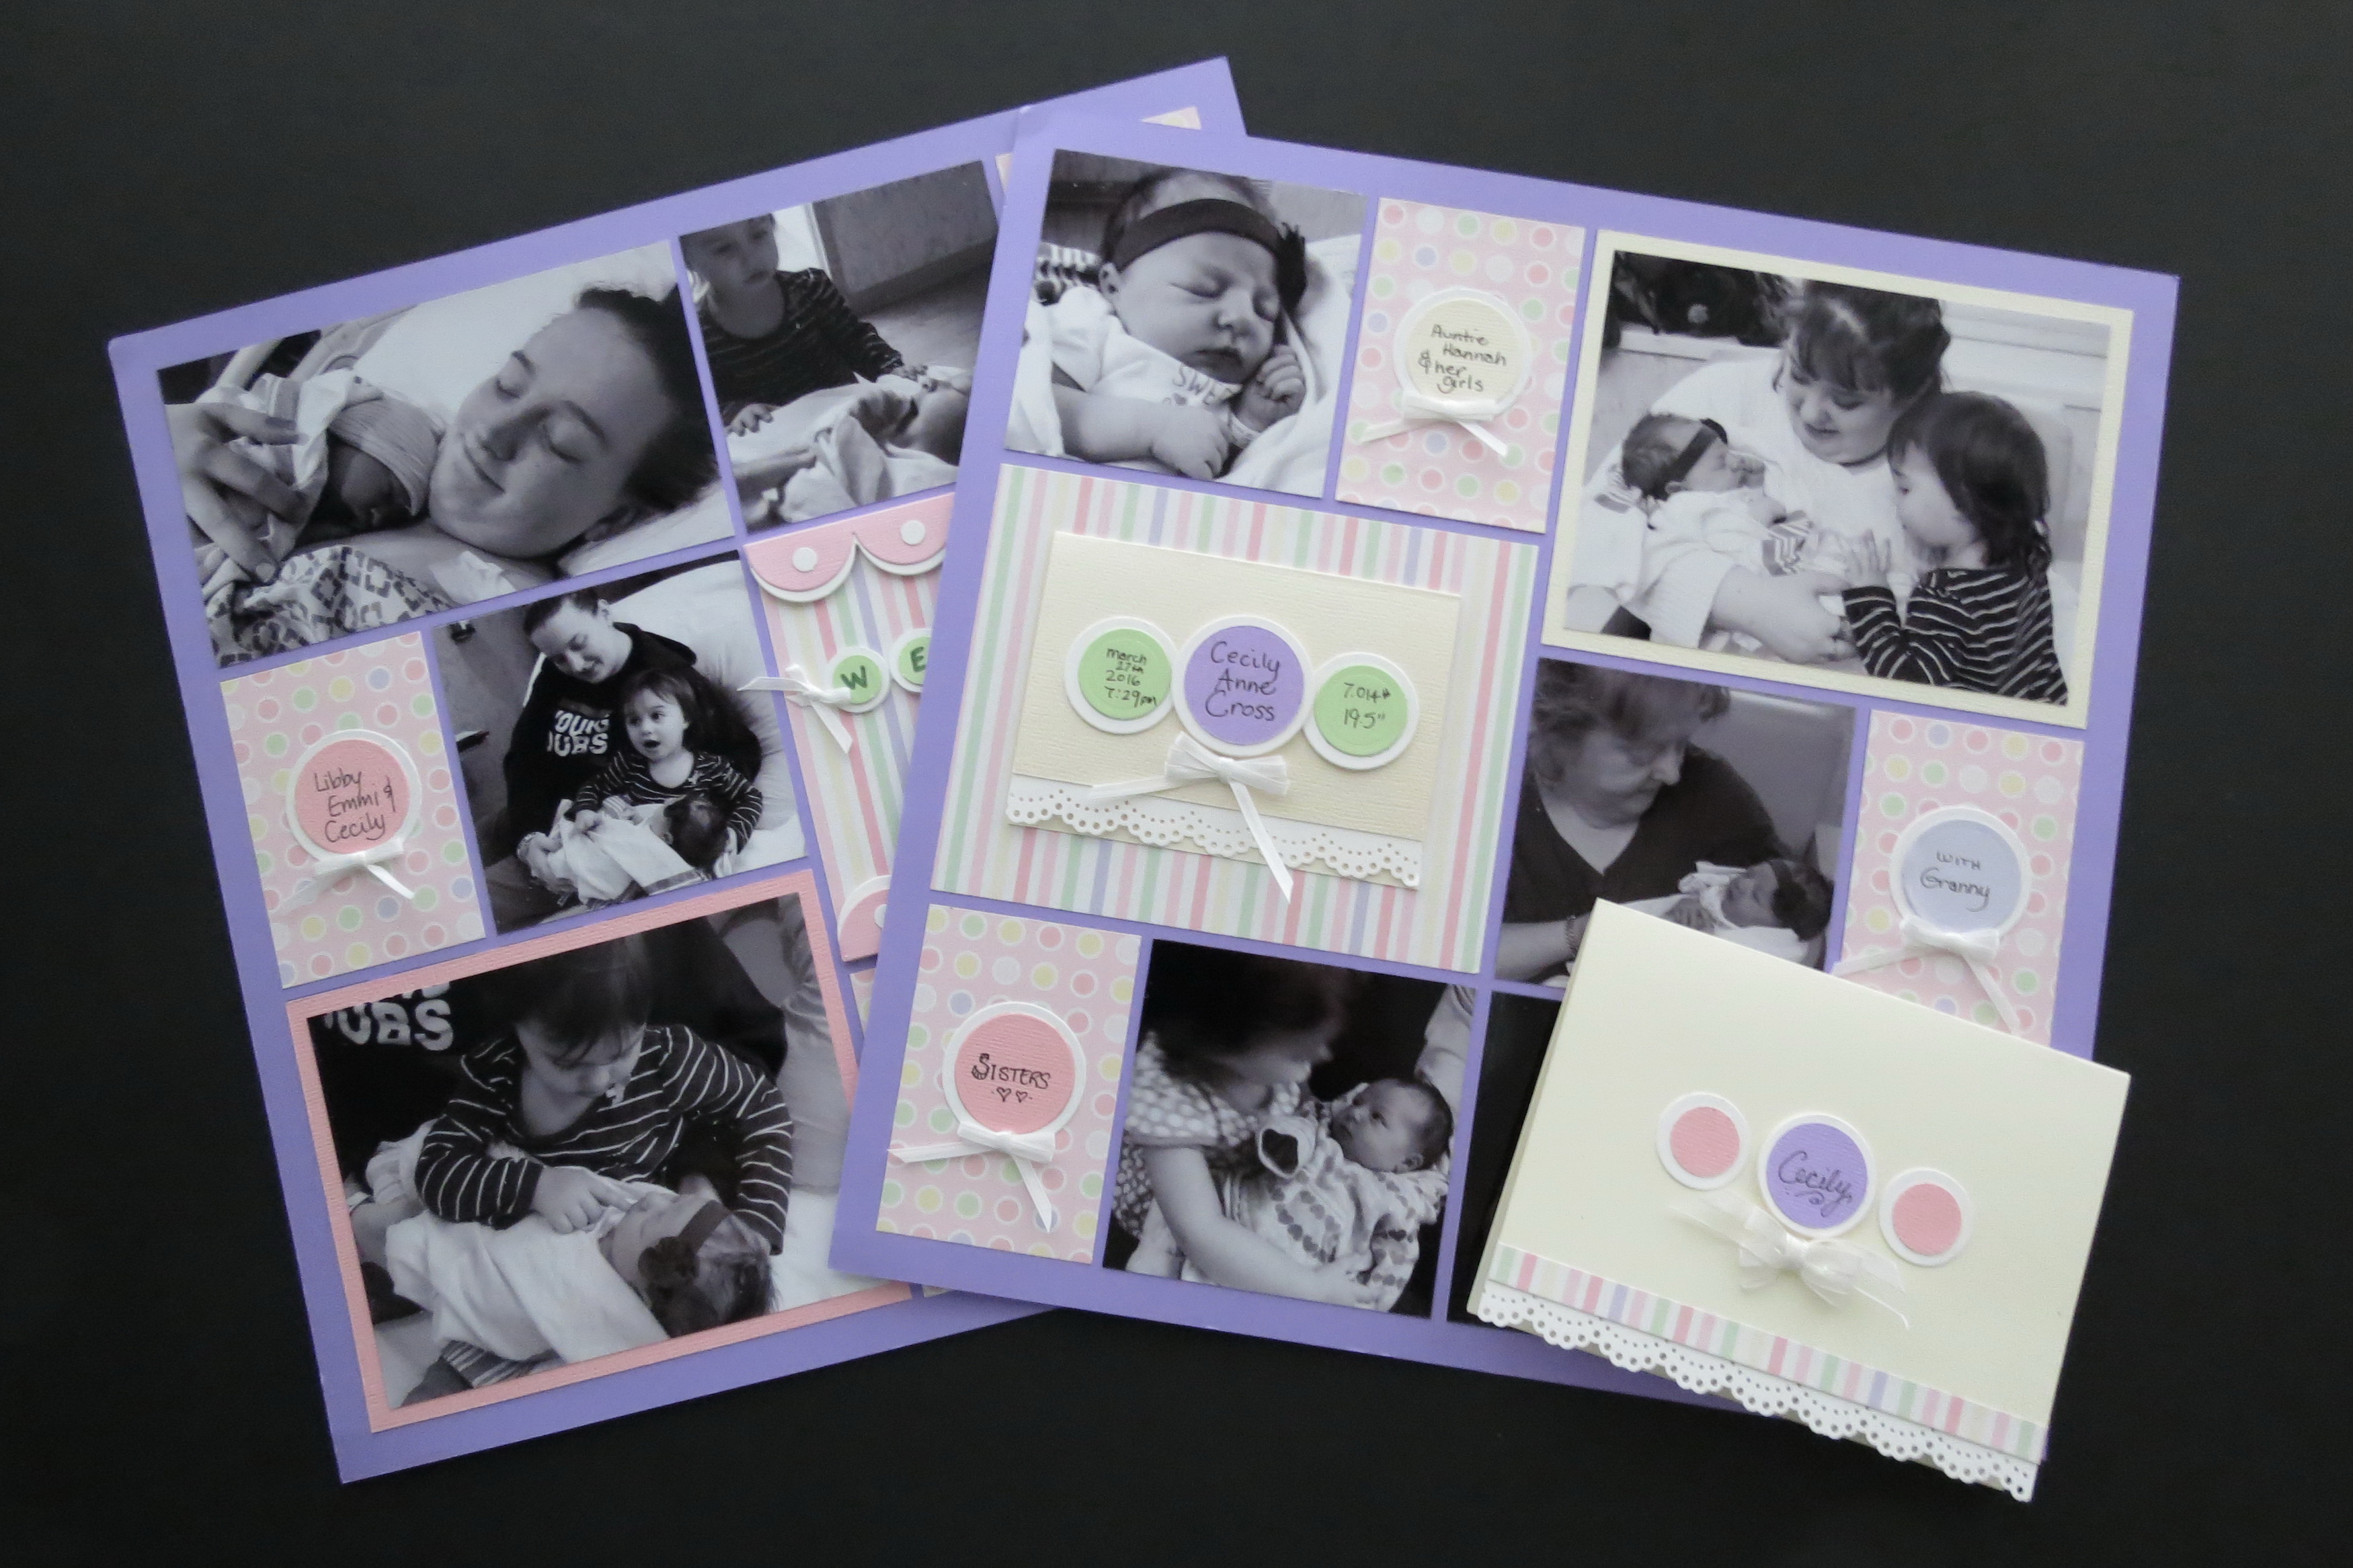
I duplicated the story to be placed inside the card that goes along with the layout.
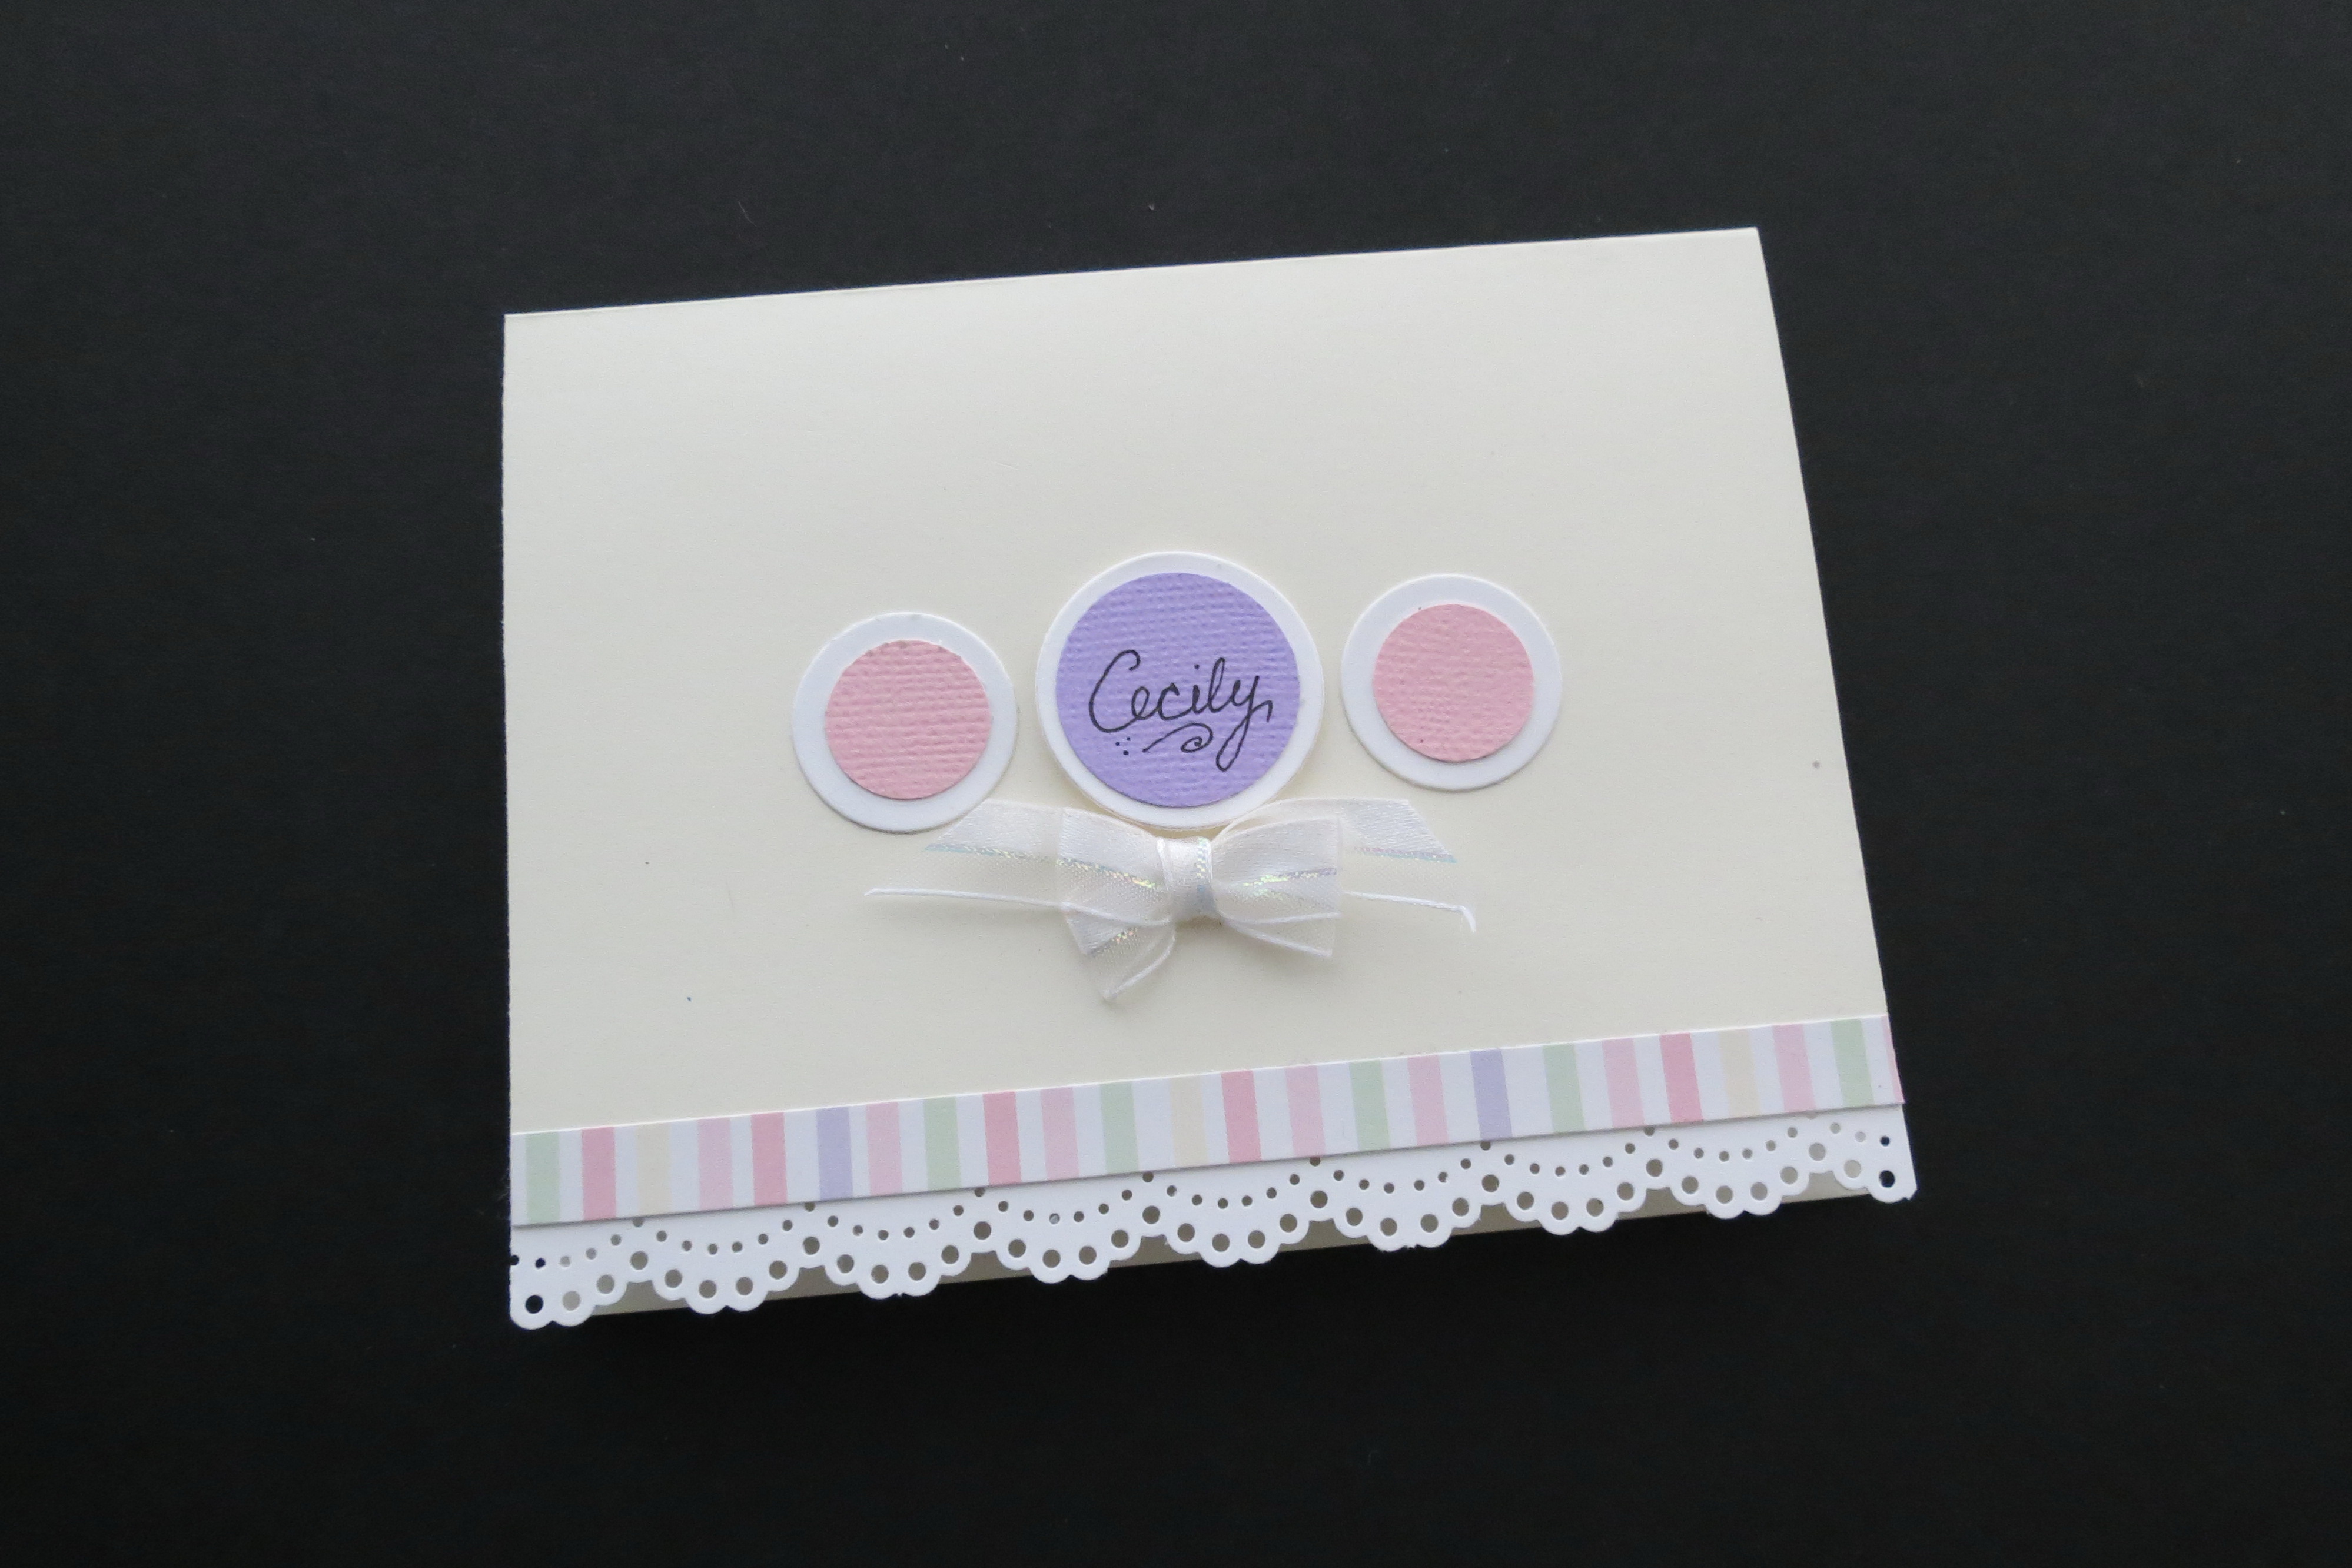
MM-TYS Welcome Baby Card repeating elements of the layout.
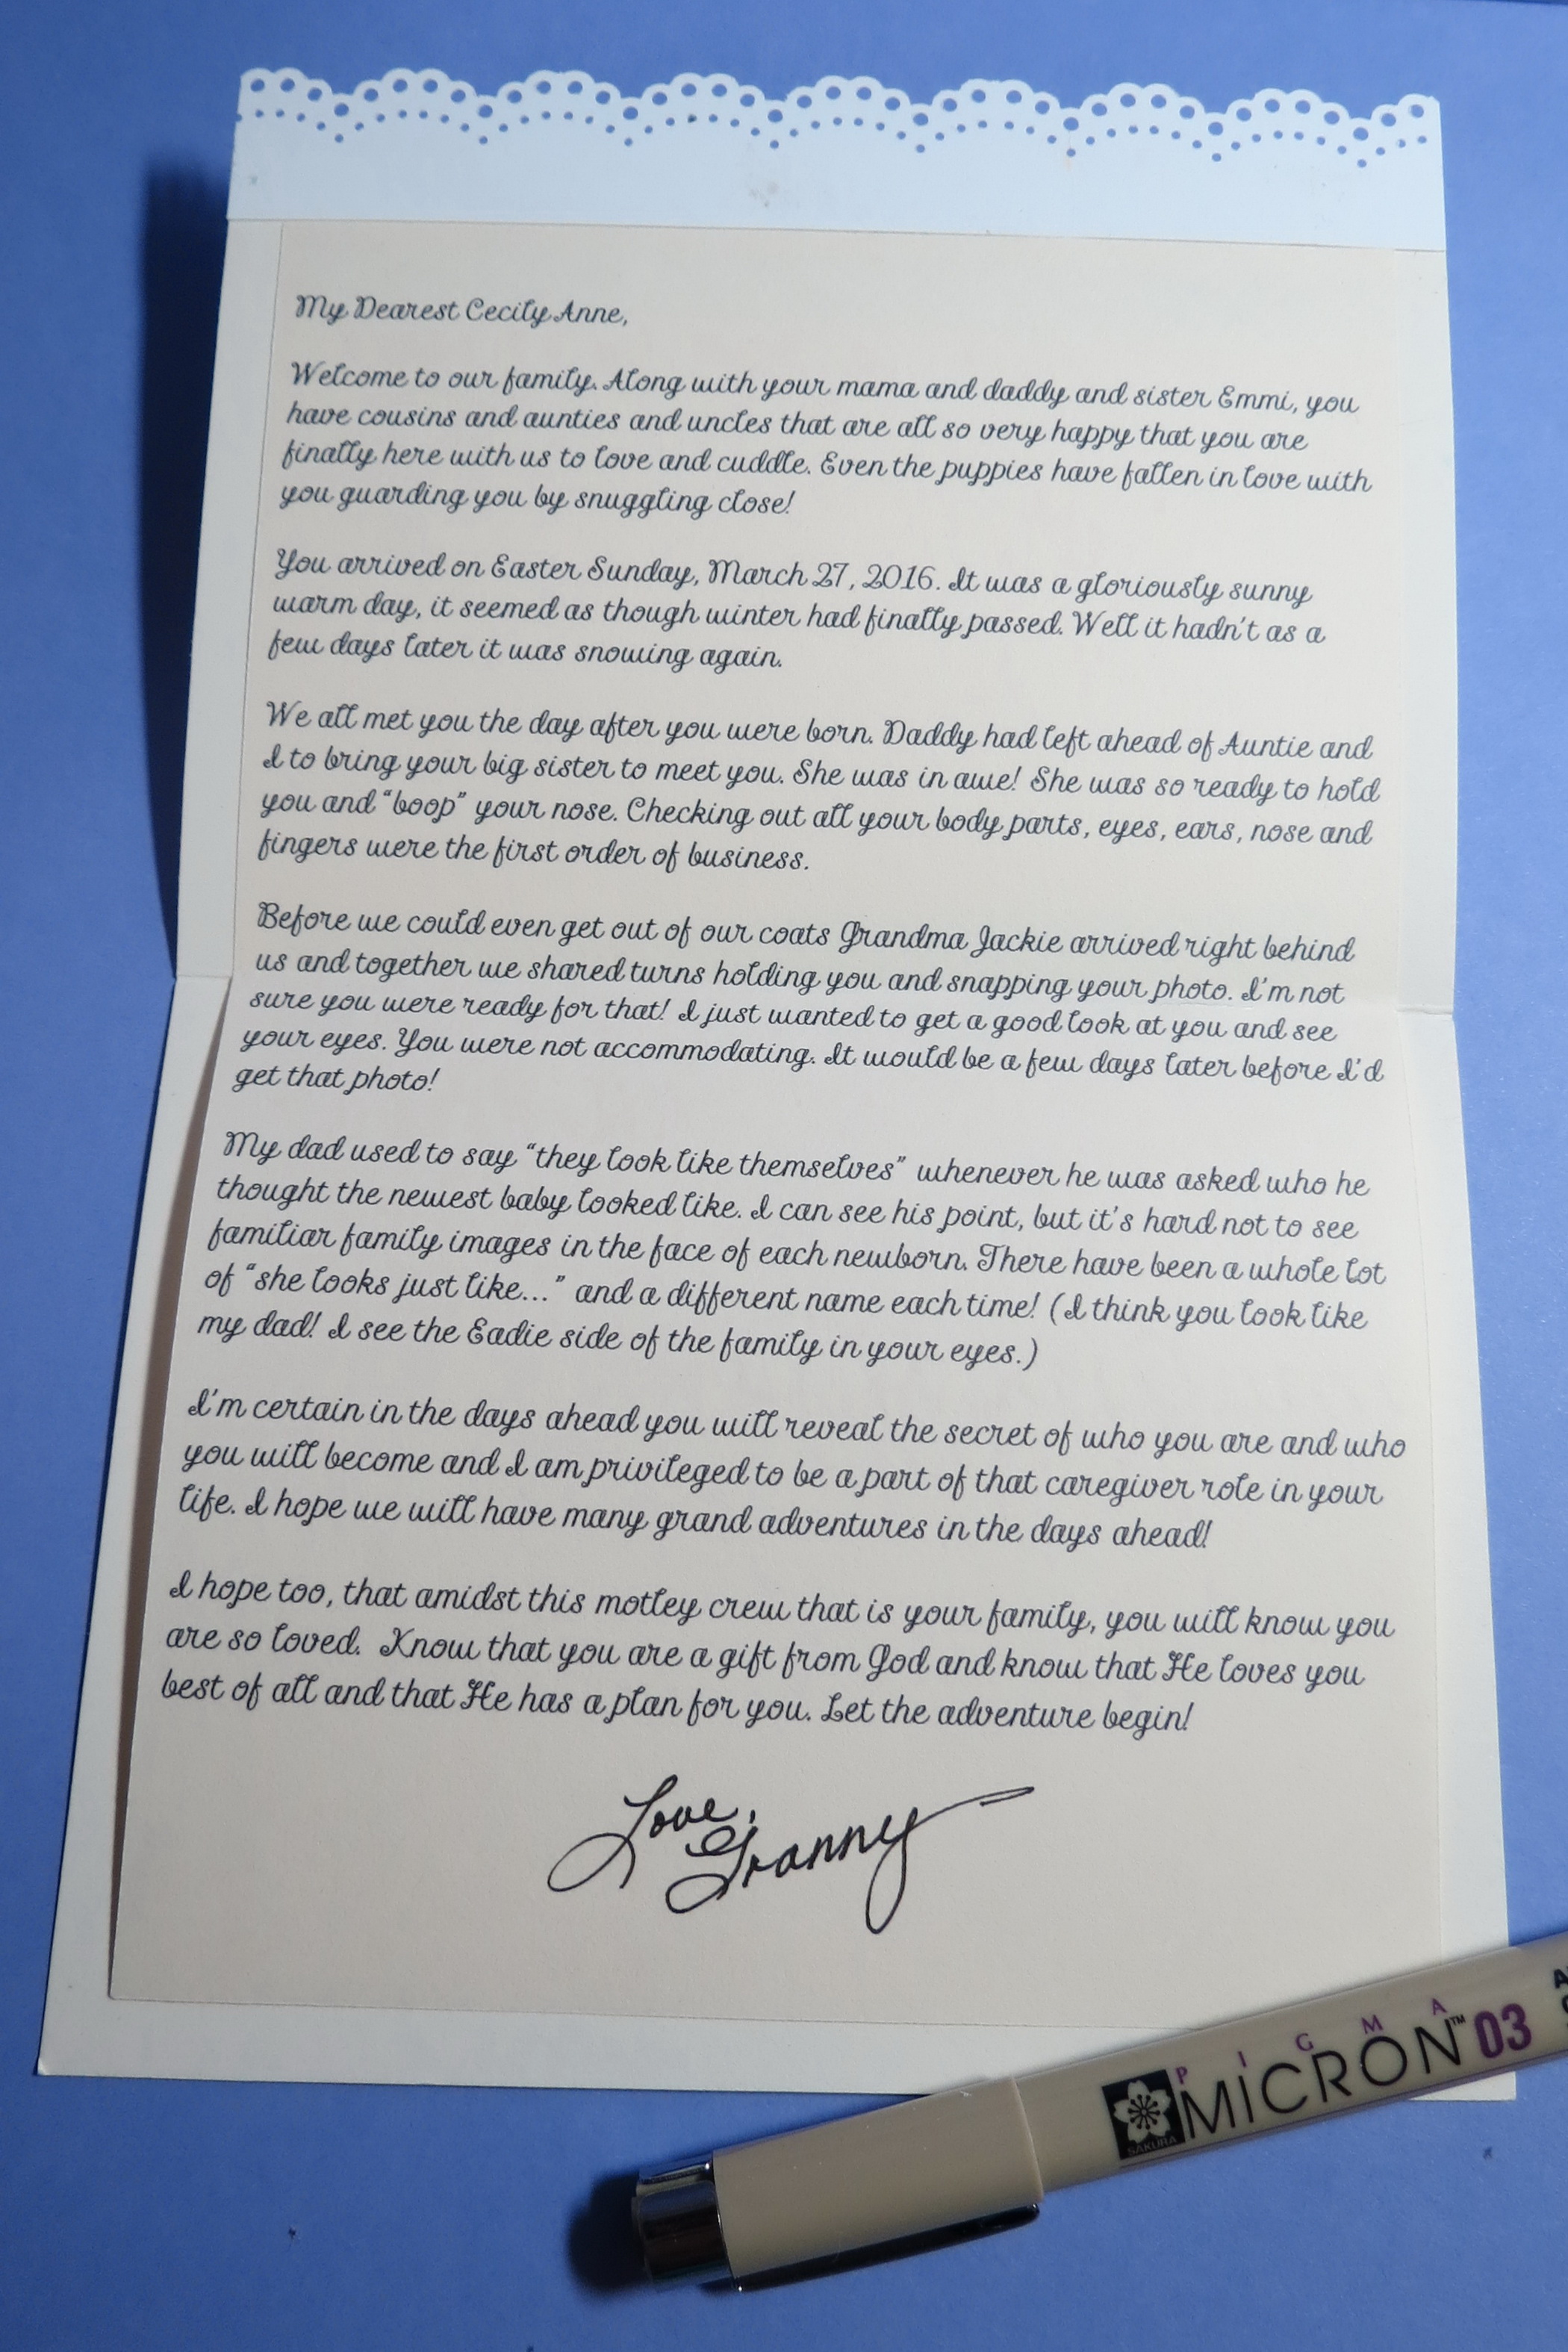
MM-TYS Welcome Baby Card with journaling Telling the Story
Supply List:
• Pattern # 229 mirrored (second page is the original upside down)
• MM Grid Paper: Violet
• Mosaic Moments Paper Tiles: orchid, pear crush
• Mosaic Moments scallop border die
• Patterned Paper: Pebbles Ink Baby Girl Dots and Stripes
• Cardstock: American Crafts Pastels
• Spellbinders Circle dies
• Papertrey Ink: Baby Die
• EK Success punches: ½” and ¾” circles
• Martha Stewart lace scallop border punch
• Zig Writer: Evergreen
• Satin ribbon 1/8”
• Foam mounting tape
• Glue Dots: pop dots, mini and 3/8” dots
Why not take up the challenge to Tell Your Story in a layout?
Find us on Pinterest for more ideas and share with us your pages on our Mosaic Moments Facebook page.
Andrea Fisher
MM-TYS Tell Your Story series continues with this Welcome Baby page and the scallop border banner die from the Border Banner Dies Set