
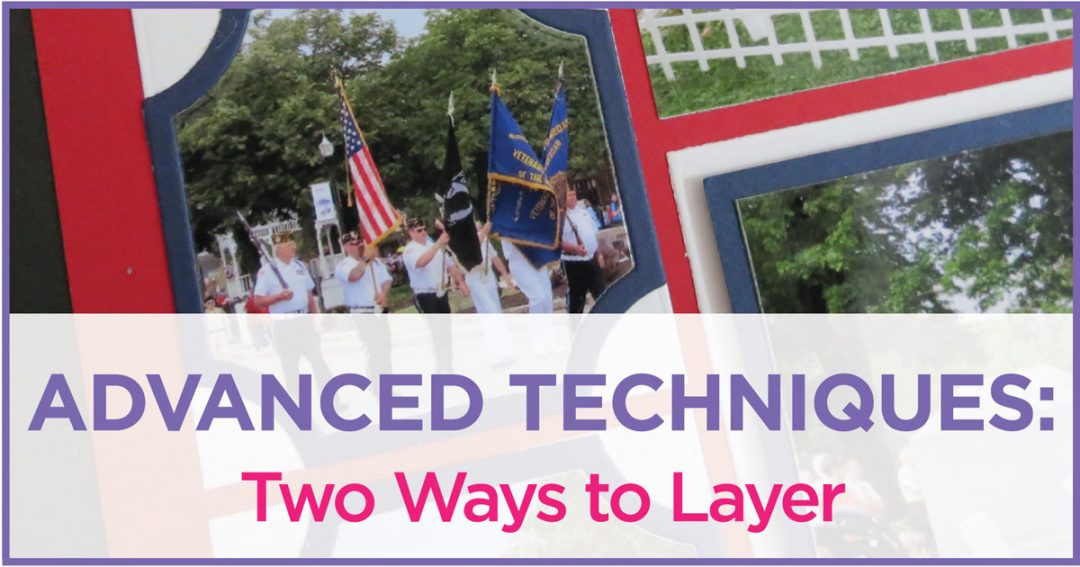
 Advanced Techniques: Layering Two Ways
Memorial Day Parade and Service
Featuring the new soft corners die and soft corner grid die sets
There’s a pair of new die sets that might be a match for some of your great summer events. Today I’ve used the dies to include a group of parade photos. This is a layering die with options!
Mosaic Moments Advanced Techniques: Featuring the Soft Corners Grid and Die Sets
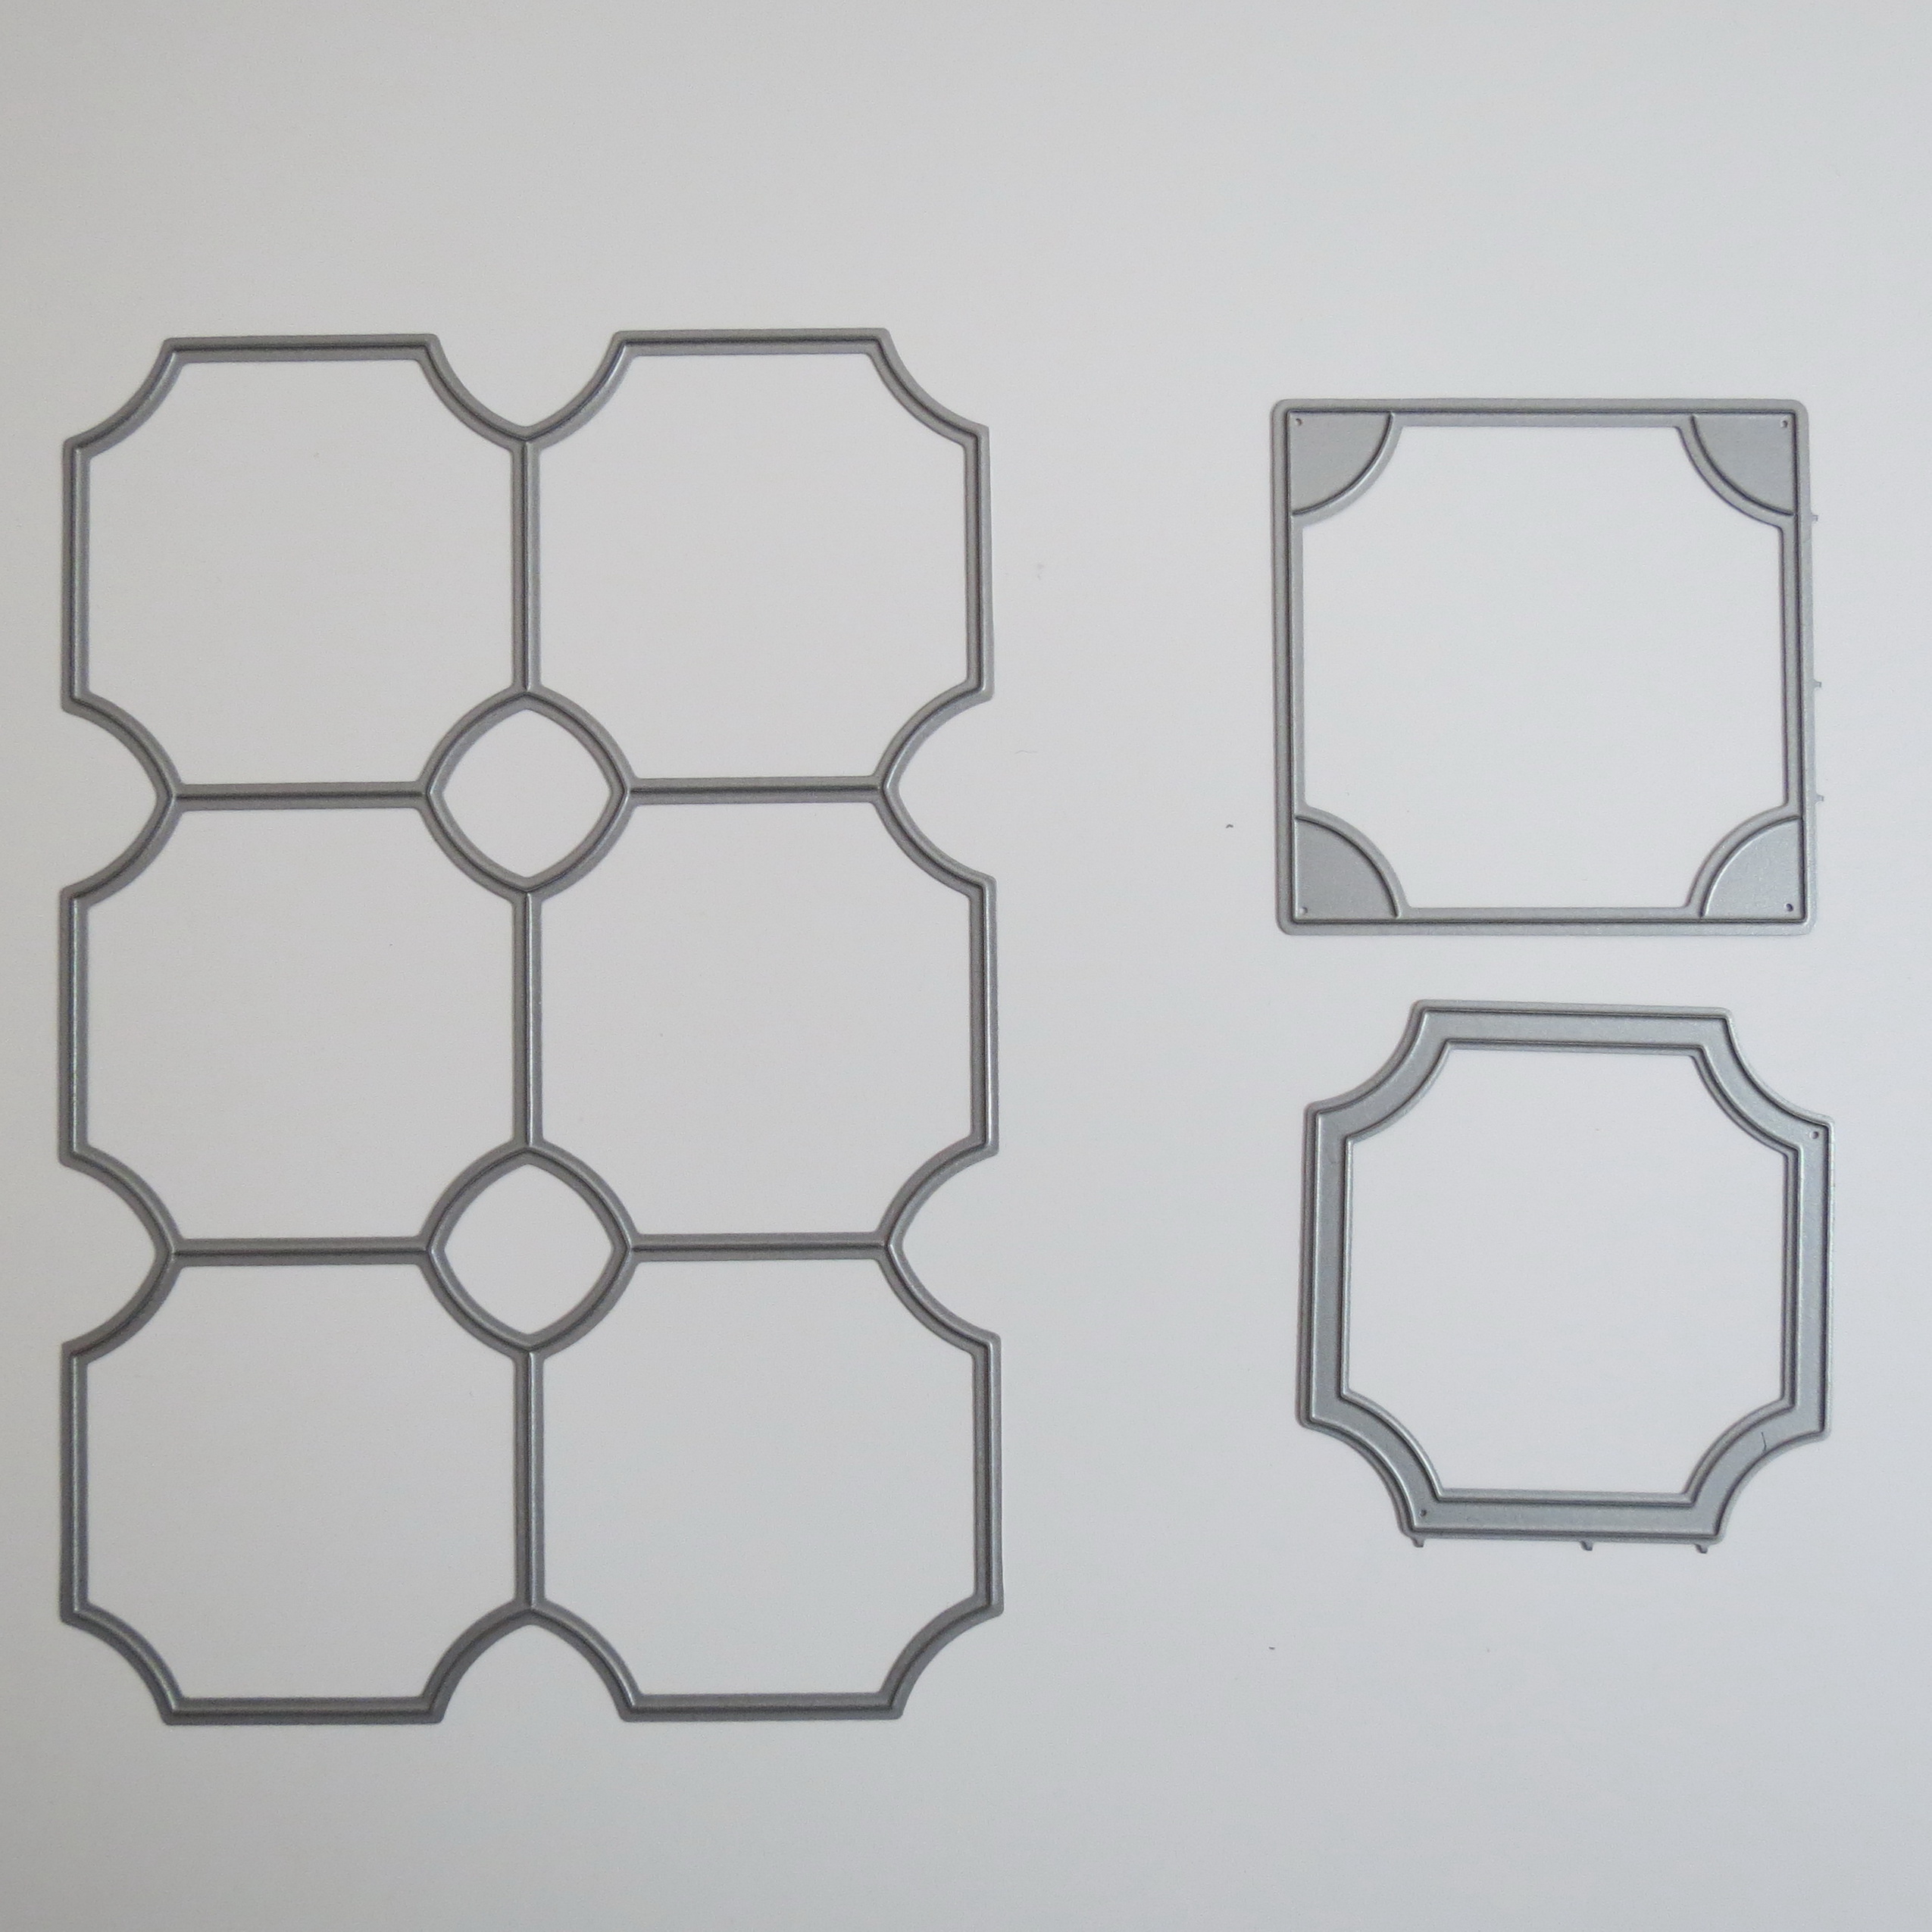
Mosaic Moments Advanced Techniques: Soft Corner Grid and Die Sets, all the pieces
Layering Two Ways: with the Soft Corner Grid Die Sets
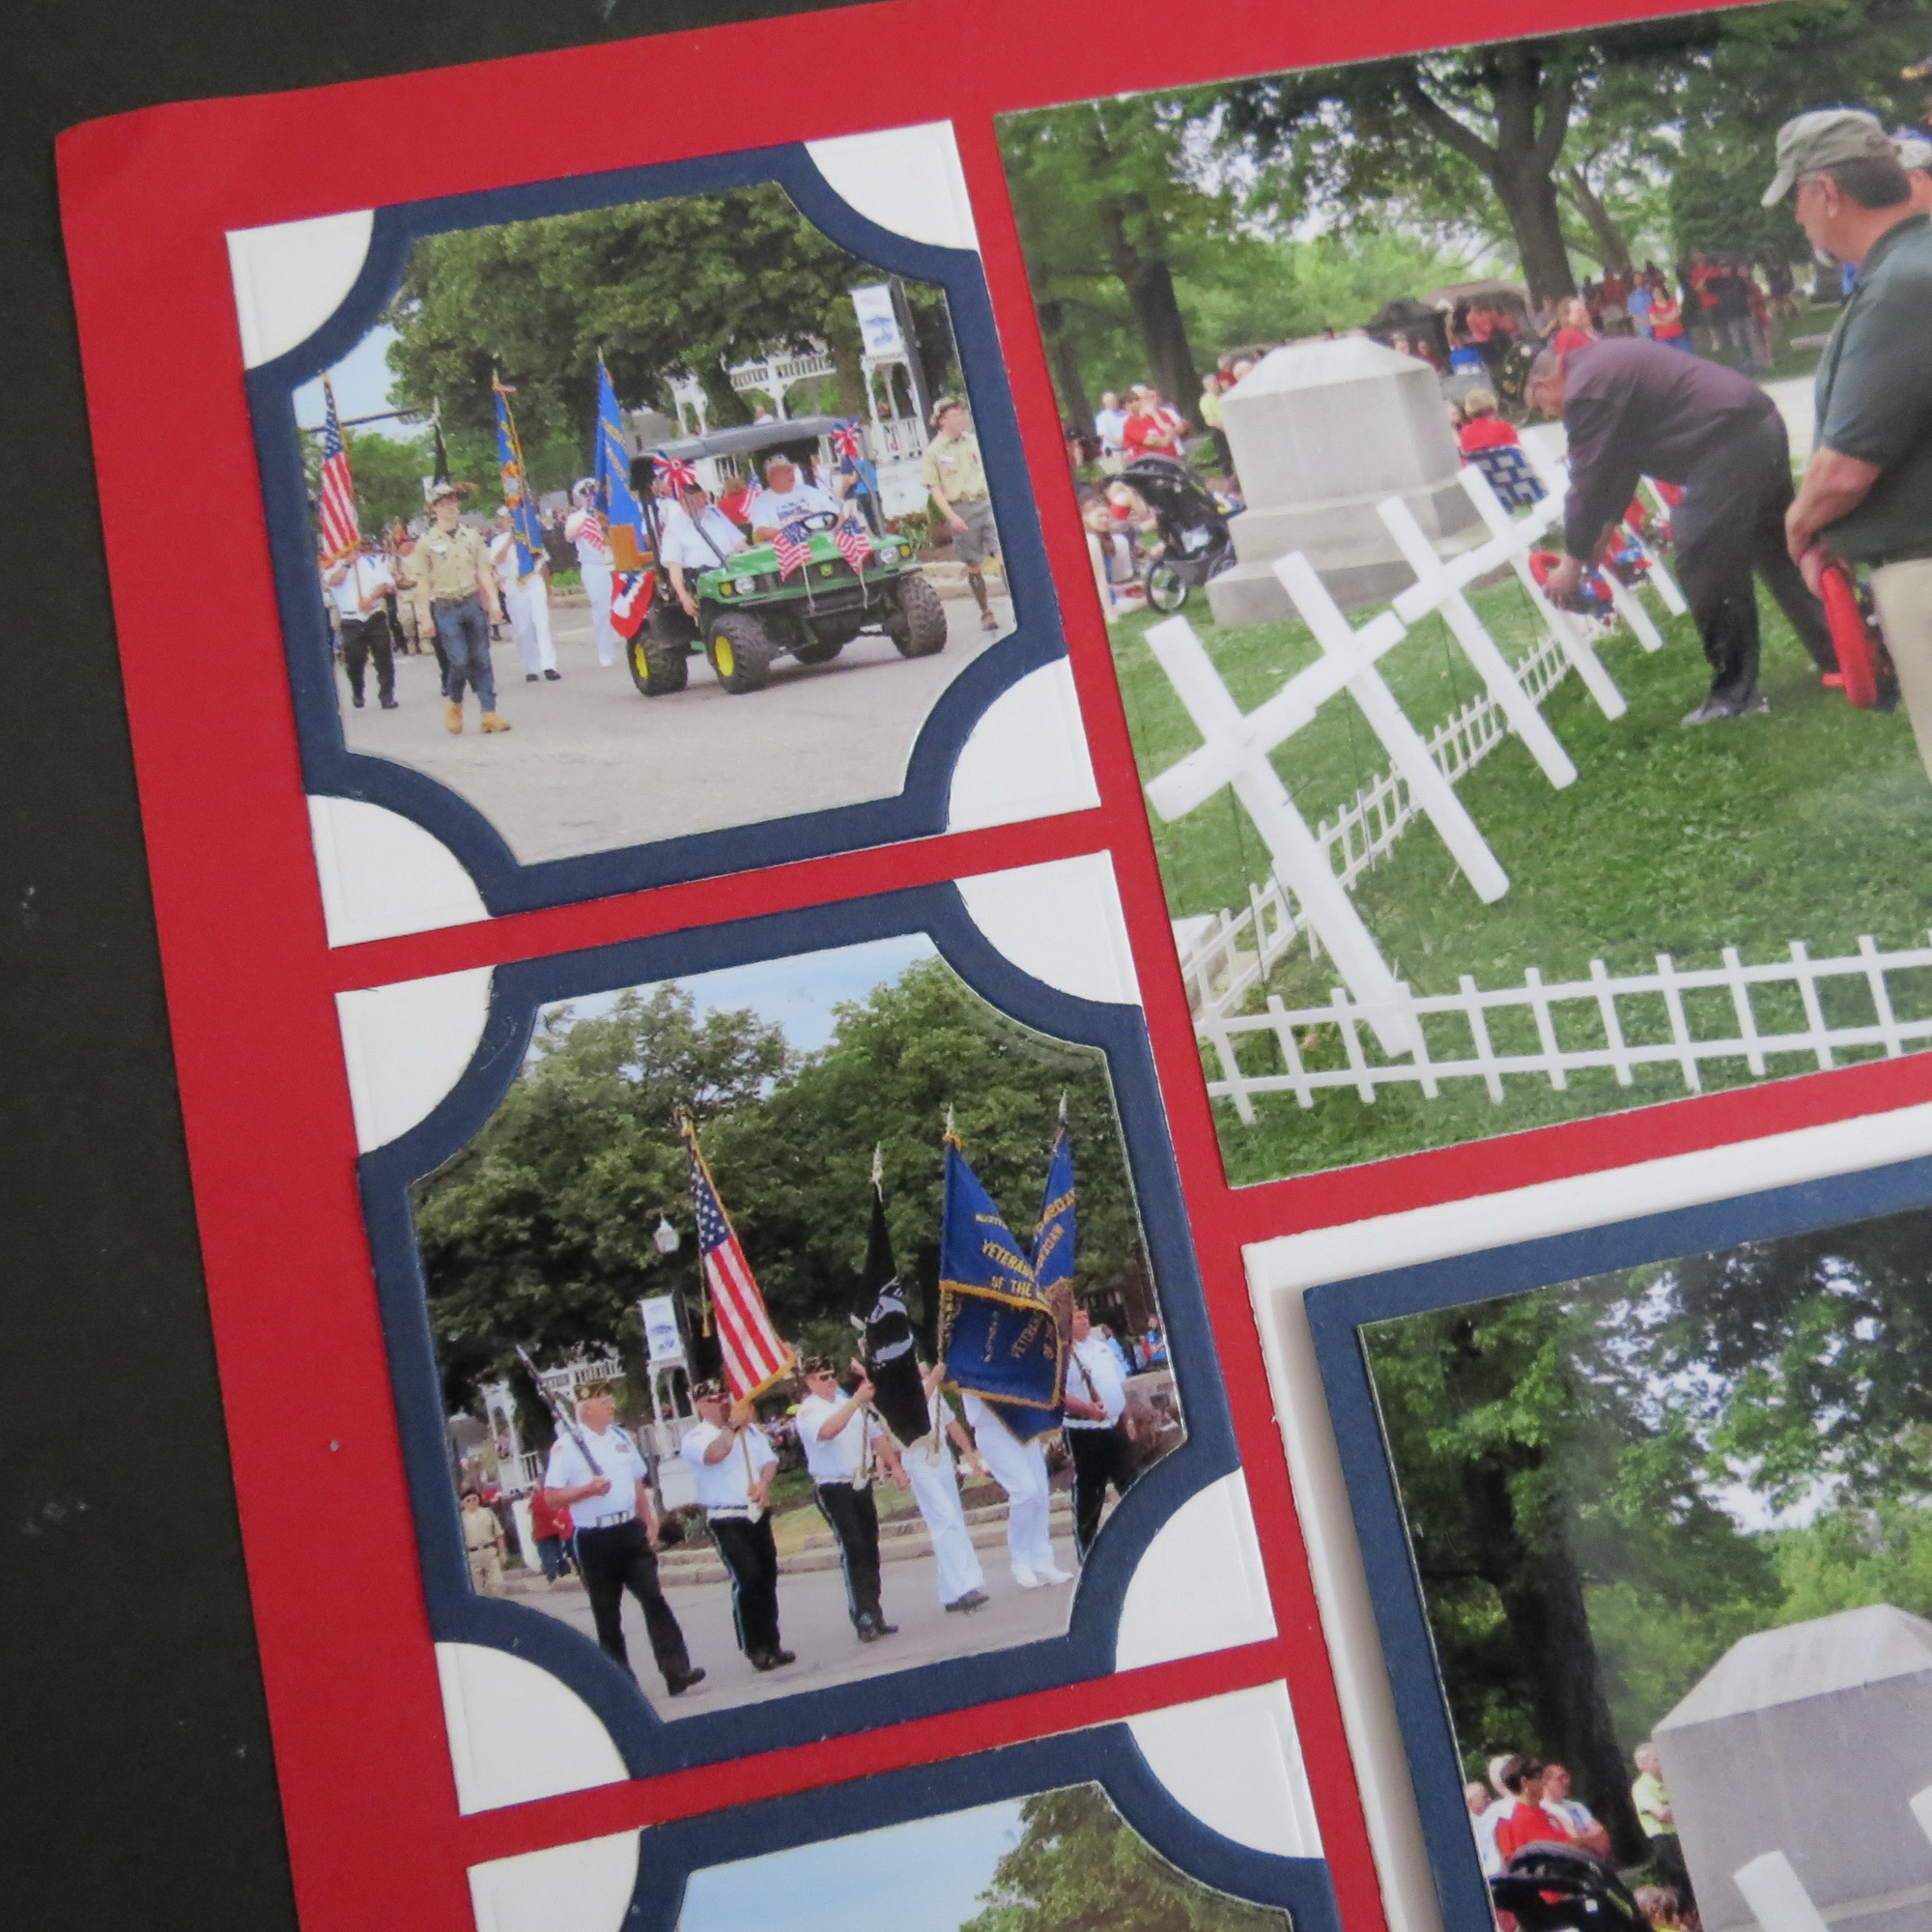
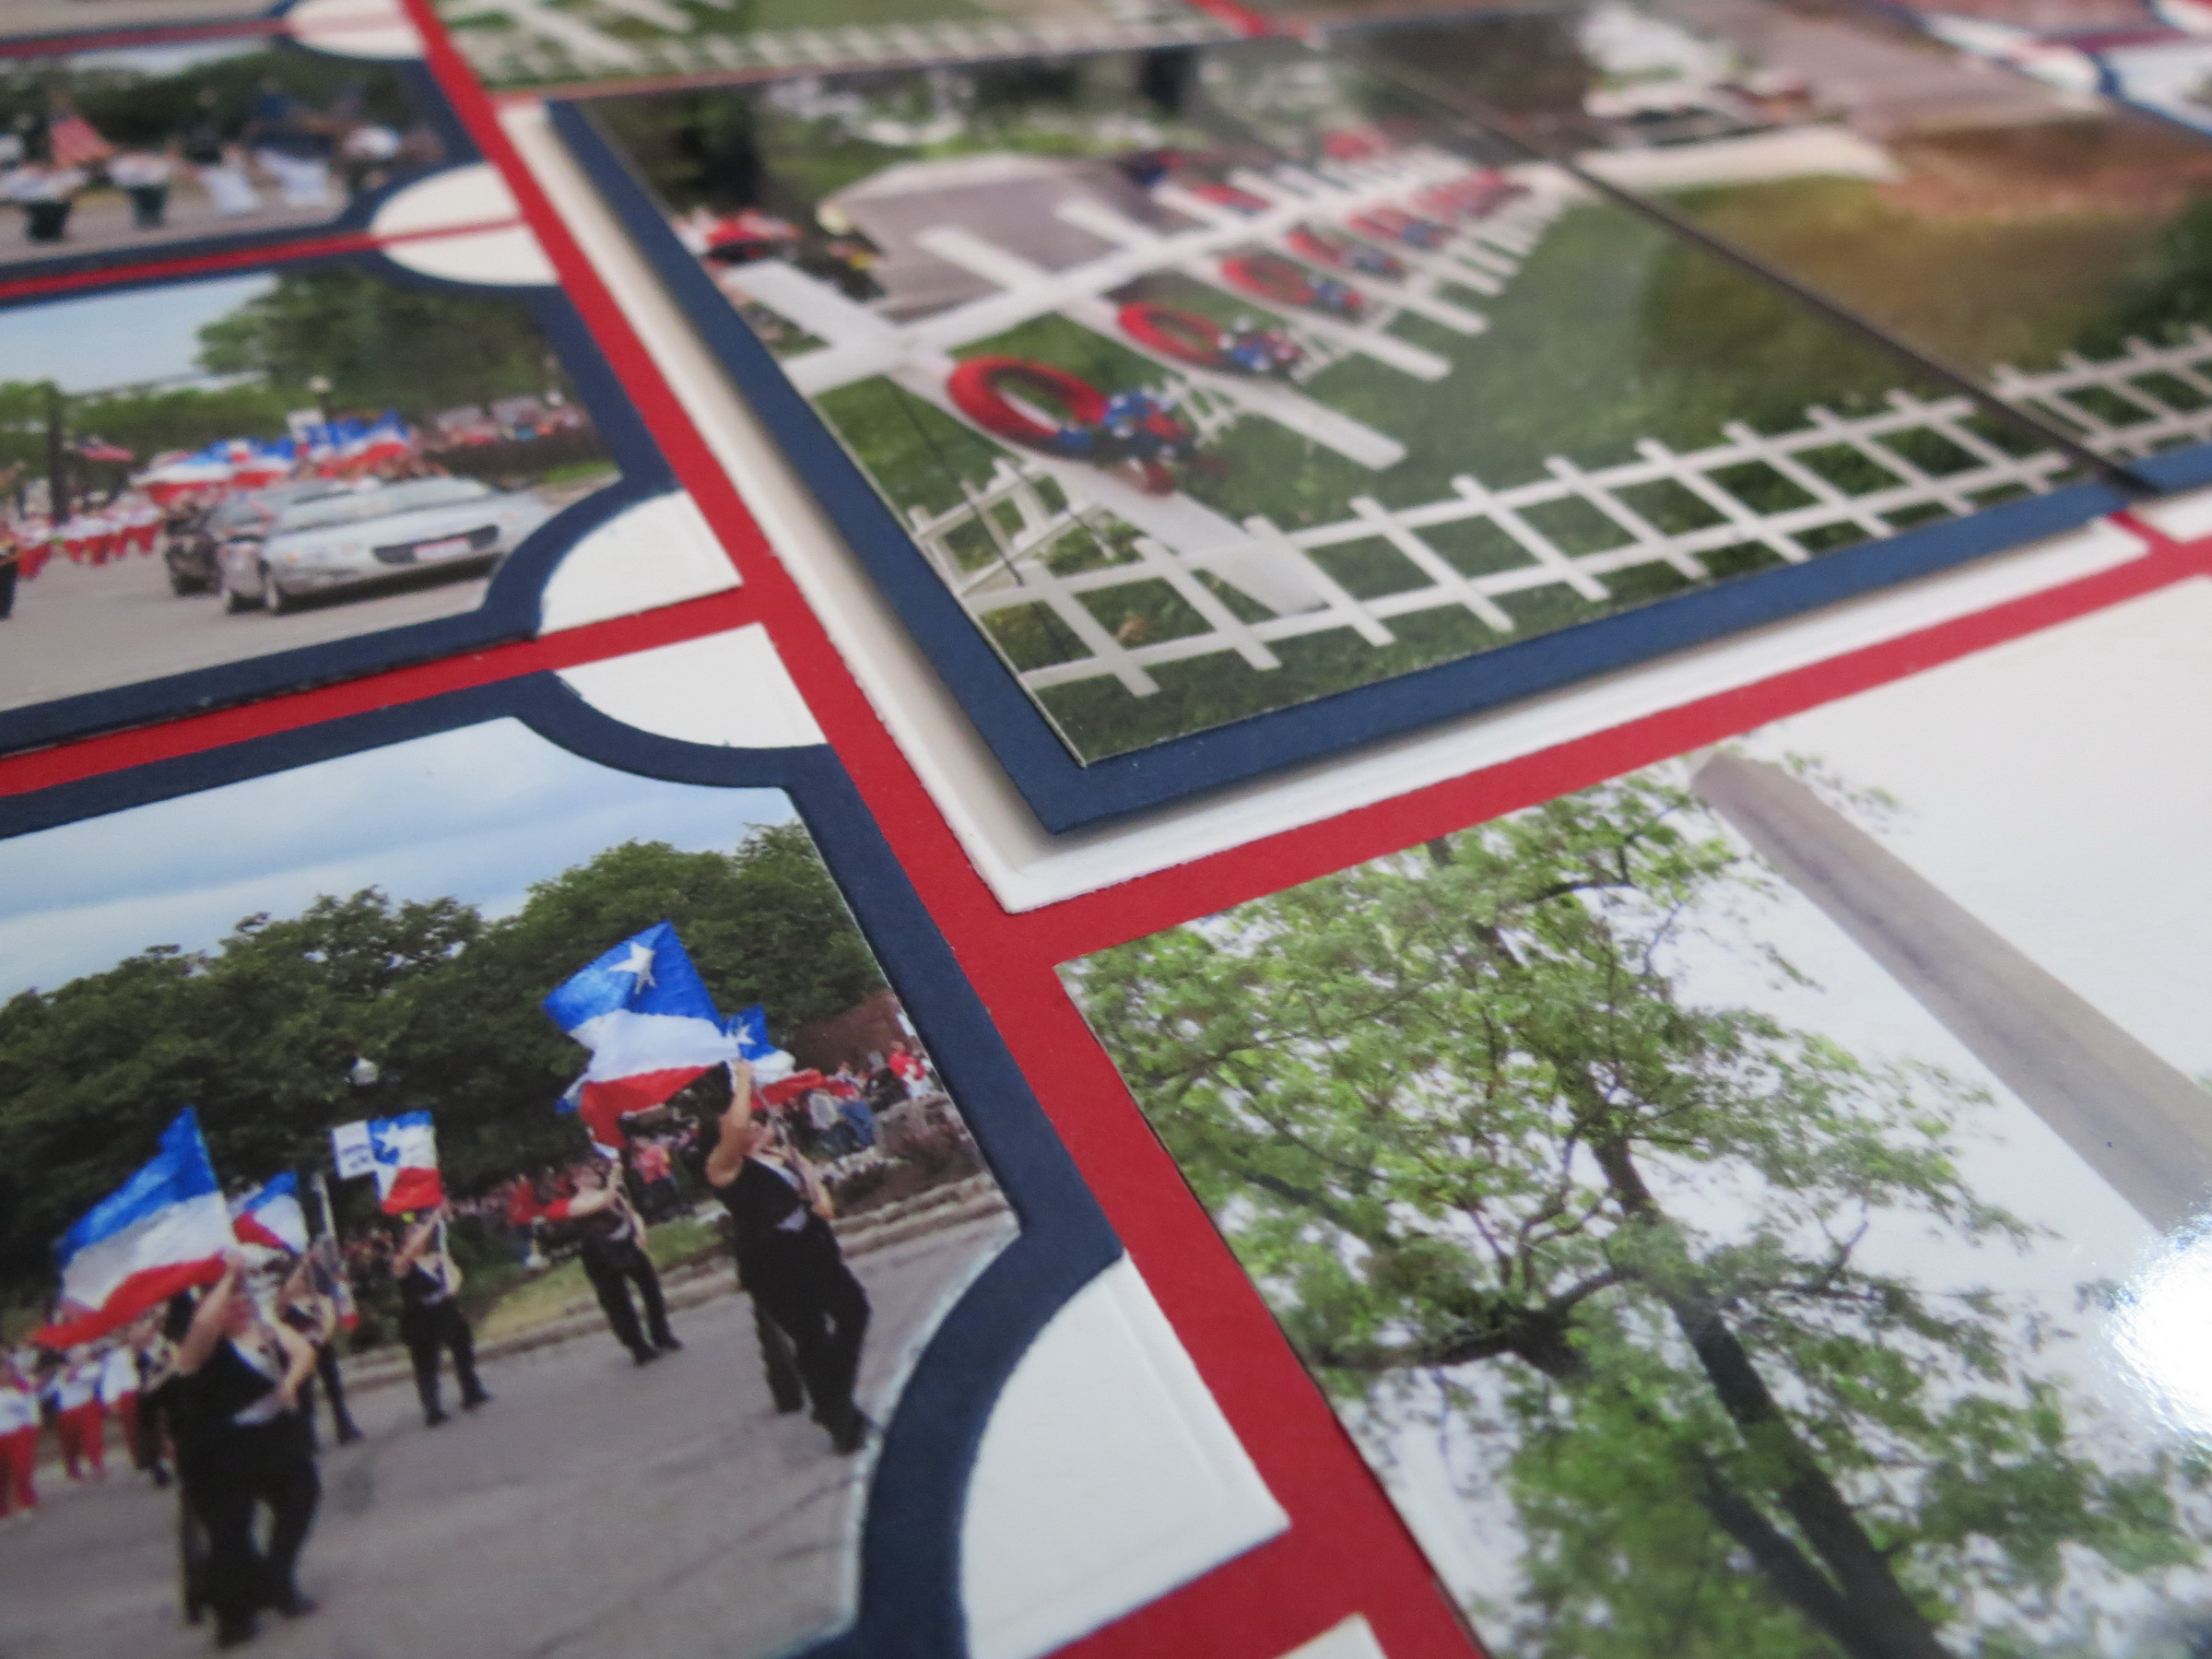
One option is using the soft corners grid die to cut a 4×6 photo into multiple sections and then use the soft corners die to cut mats to mount them on.
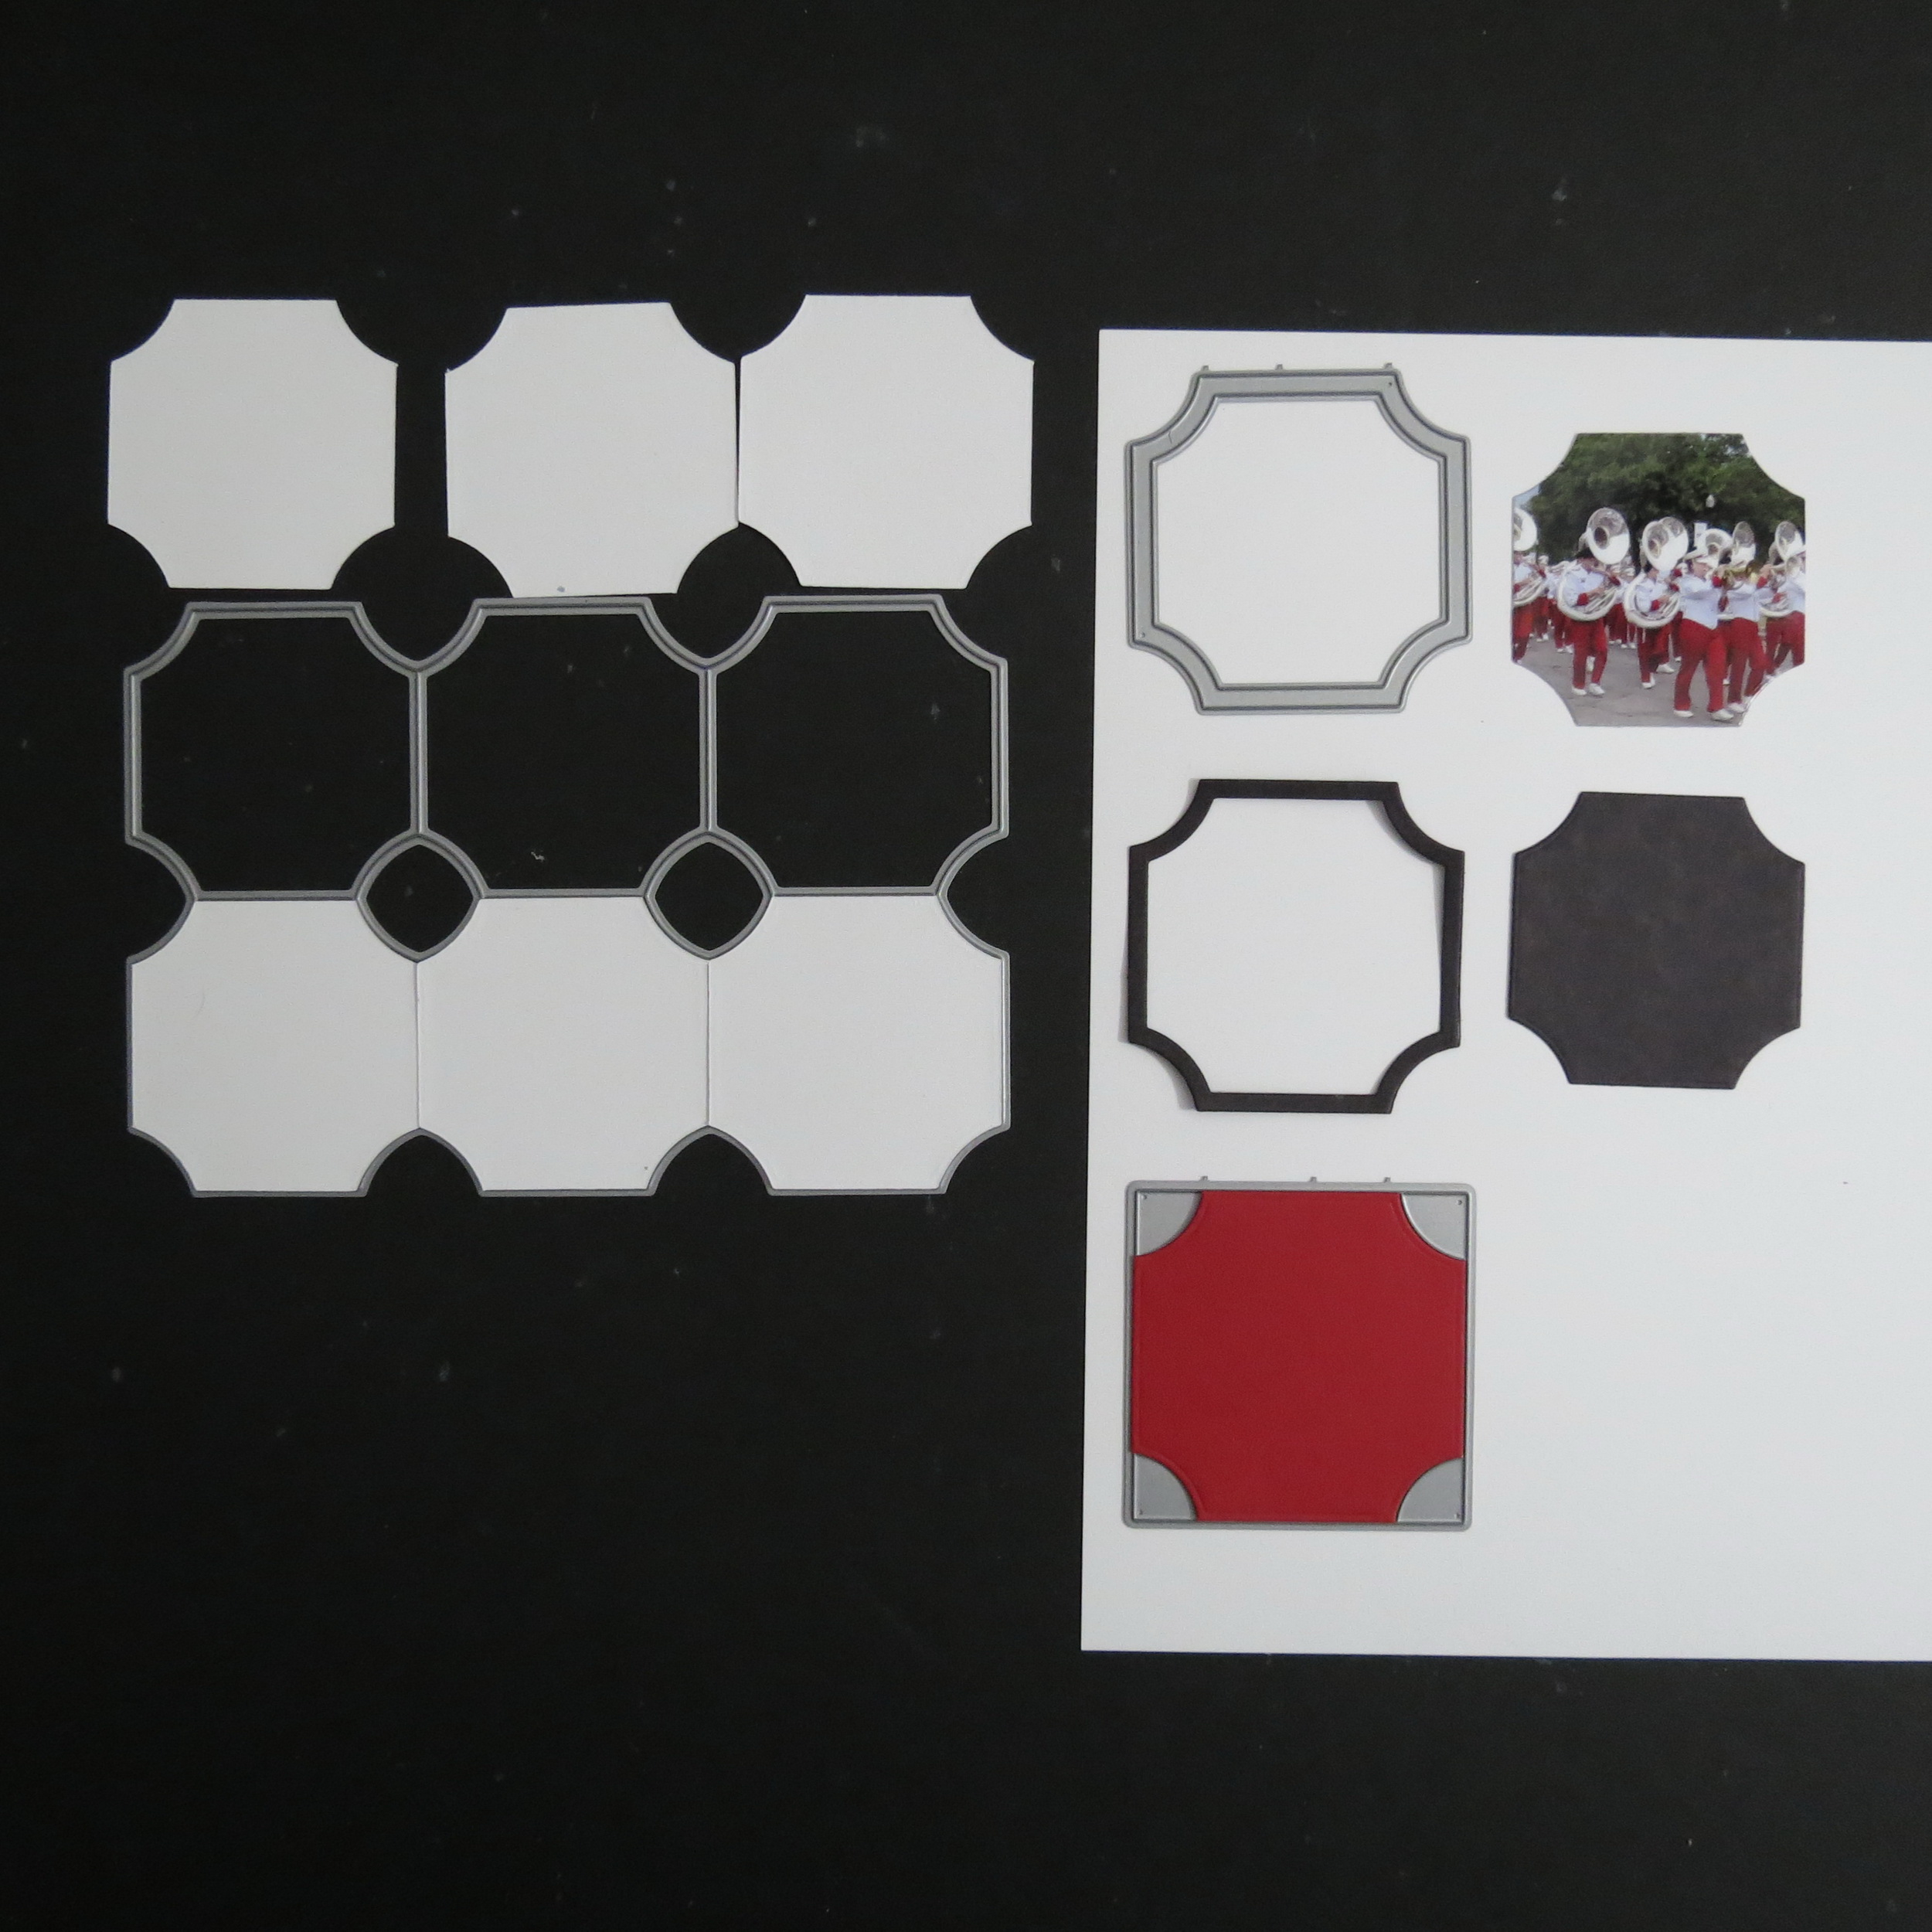
Another option is to use one-half of the soft corners die to cut a narrow frame, and the other to cut your photo. Embed the photo in the frame and mount to the white 2×2 square tile.
Mosaic Moments Advanced Techniques: Layering Two Ways
Mosaic Moments Advanced Techniques: Layering Two Ways
You can also use the corners of the die cut to fill in the corners or mount it all on a 2×2 square. If you choose to do that you can also use the 2.125”x 2.125” grid die to cut multiple sections at once.

Mosaic Moments Pattern #382
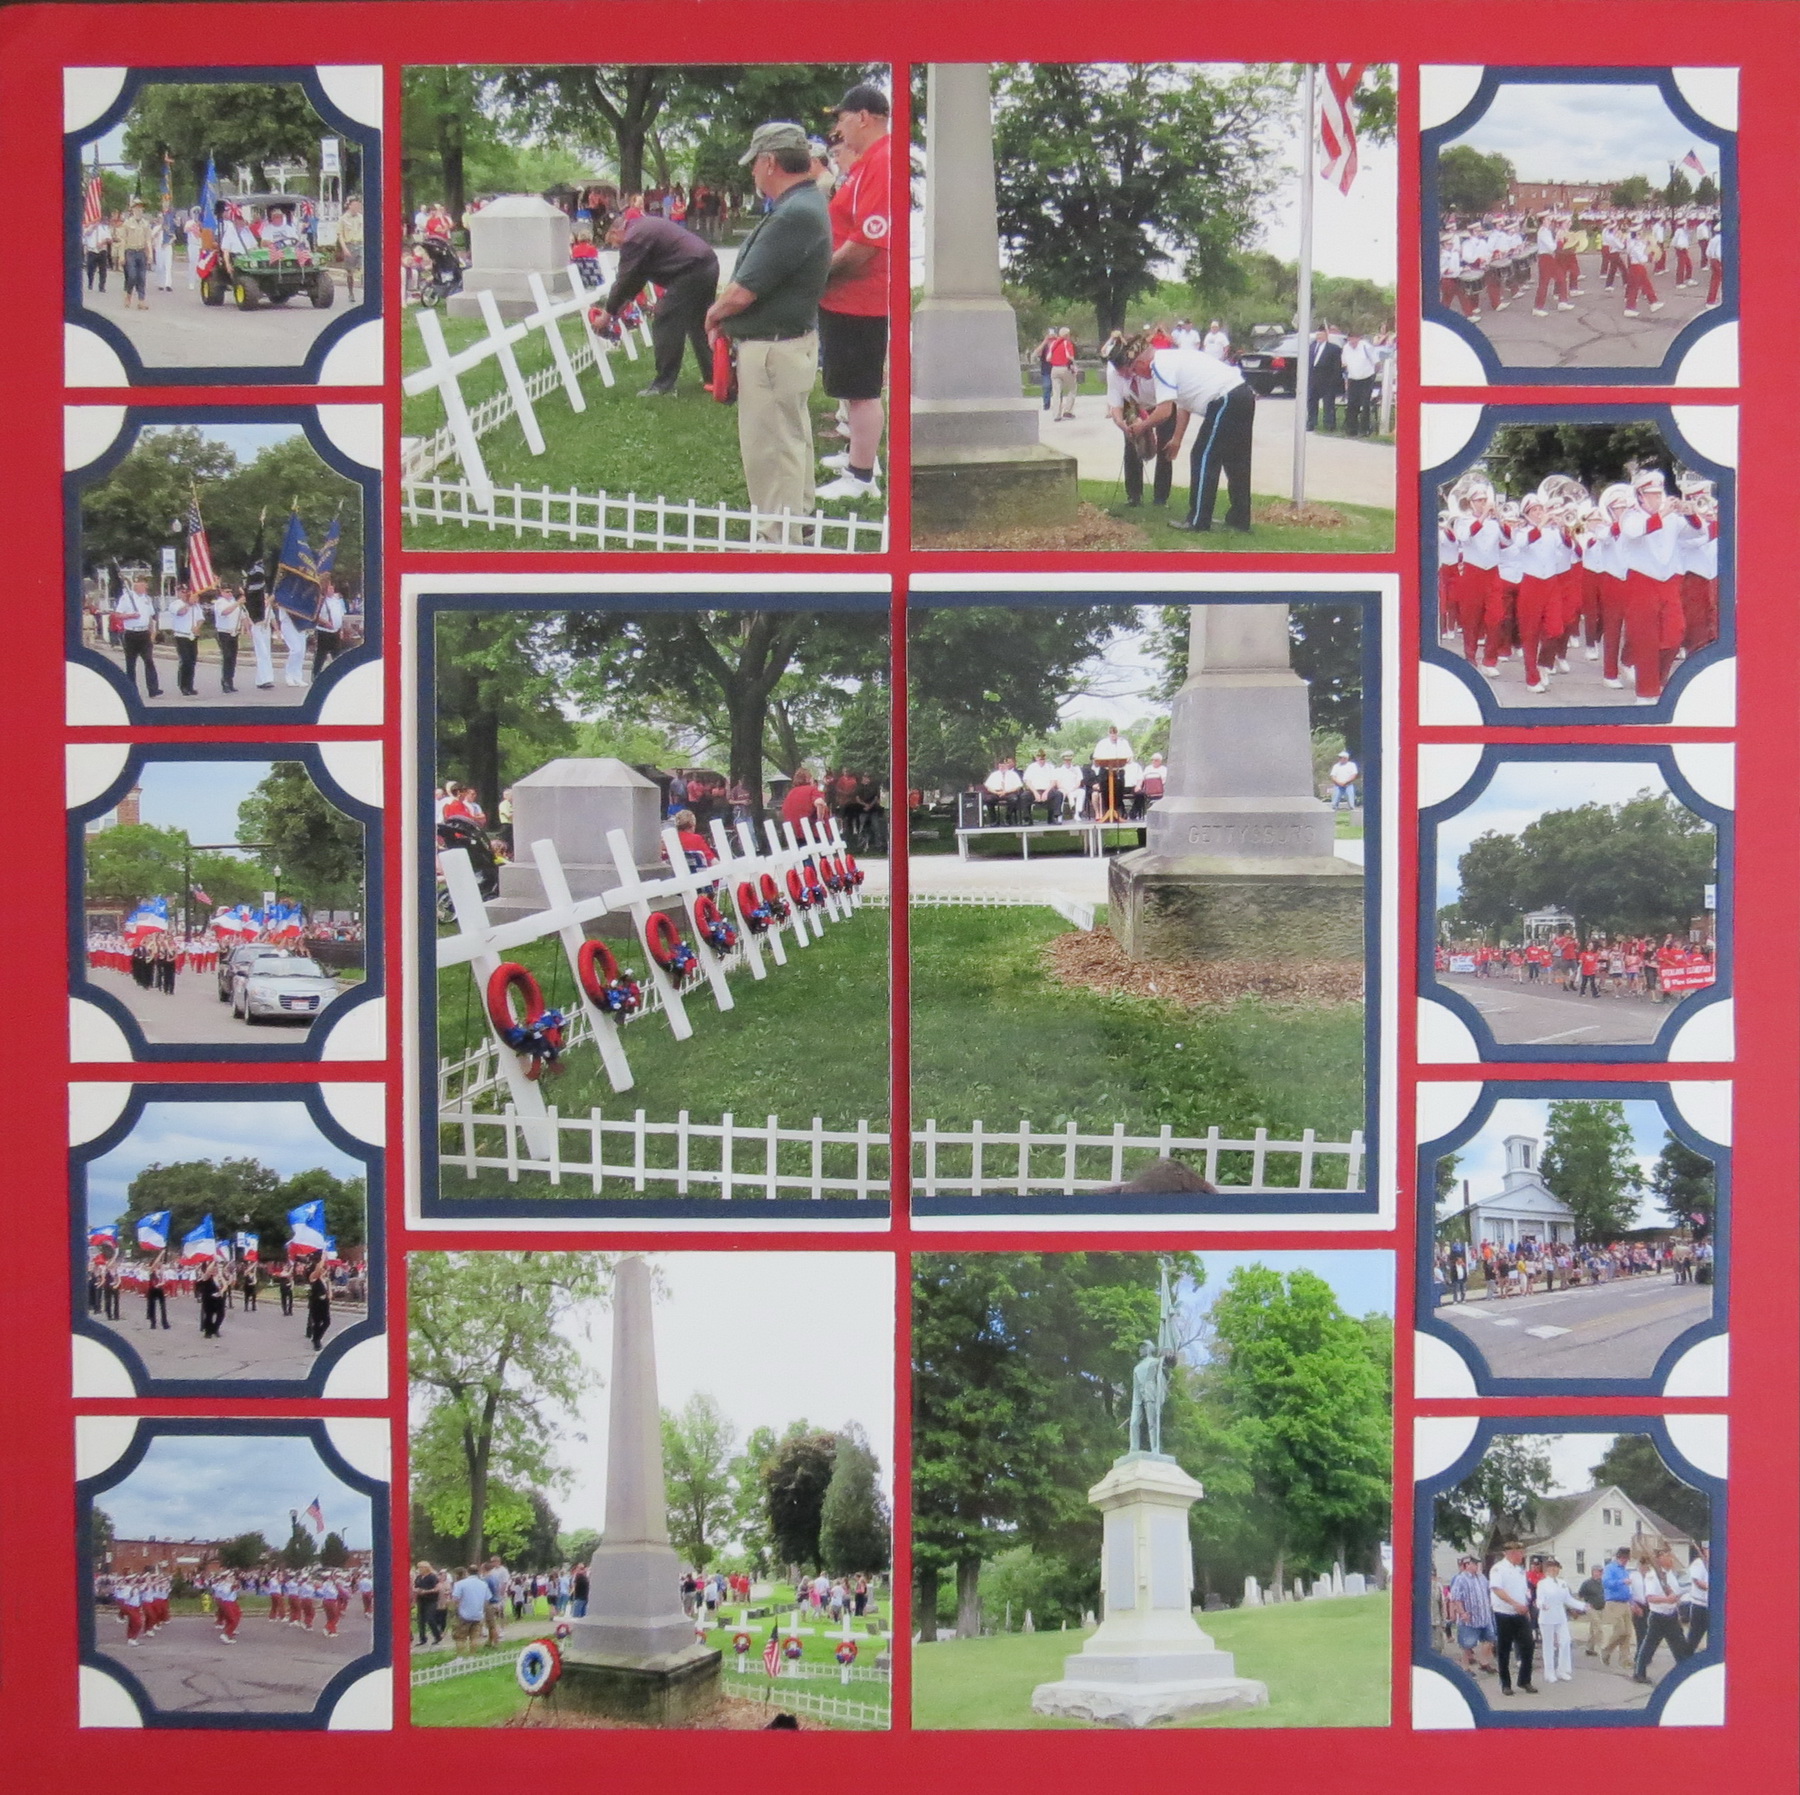
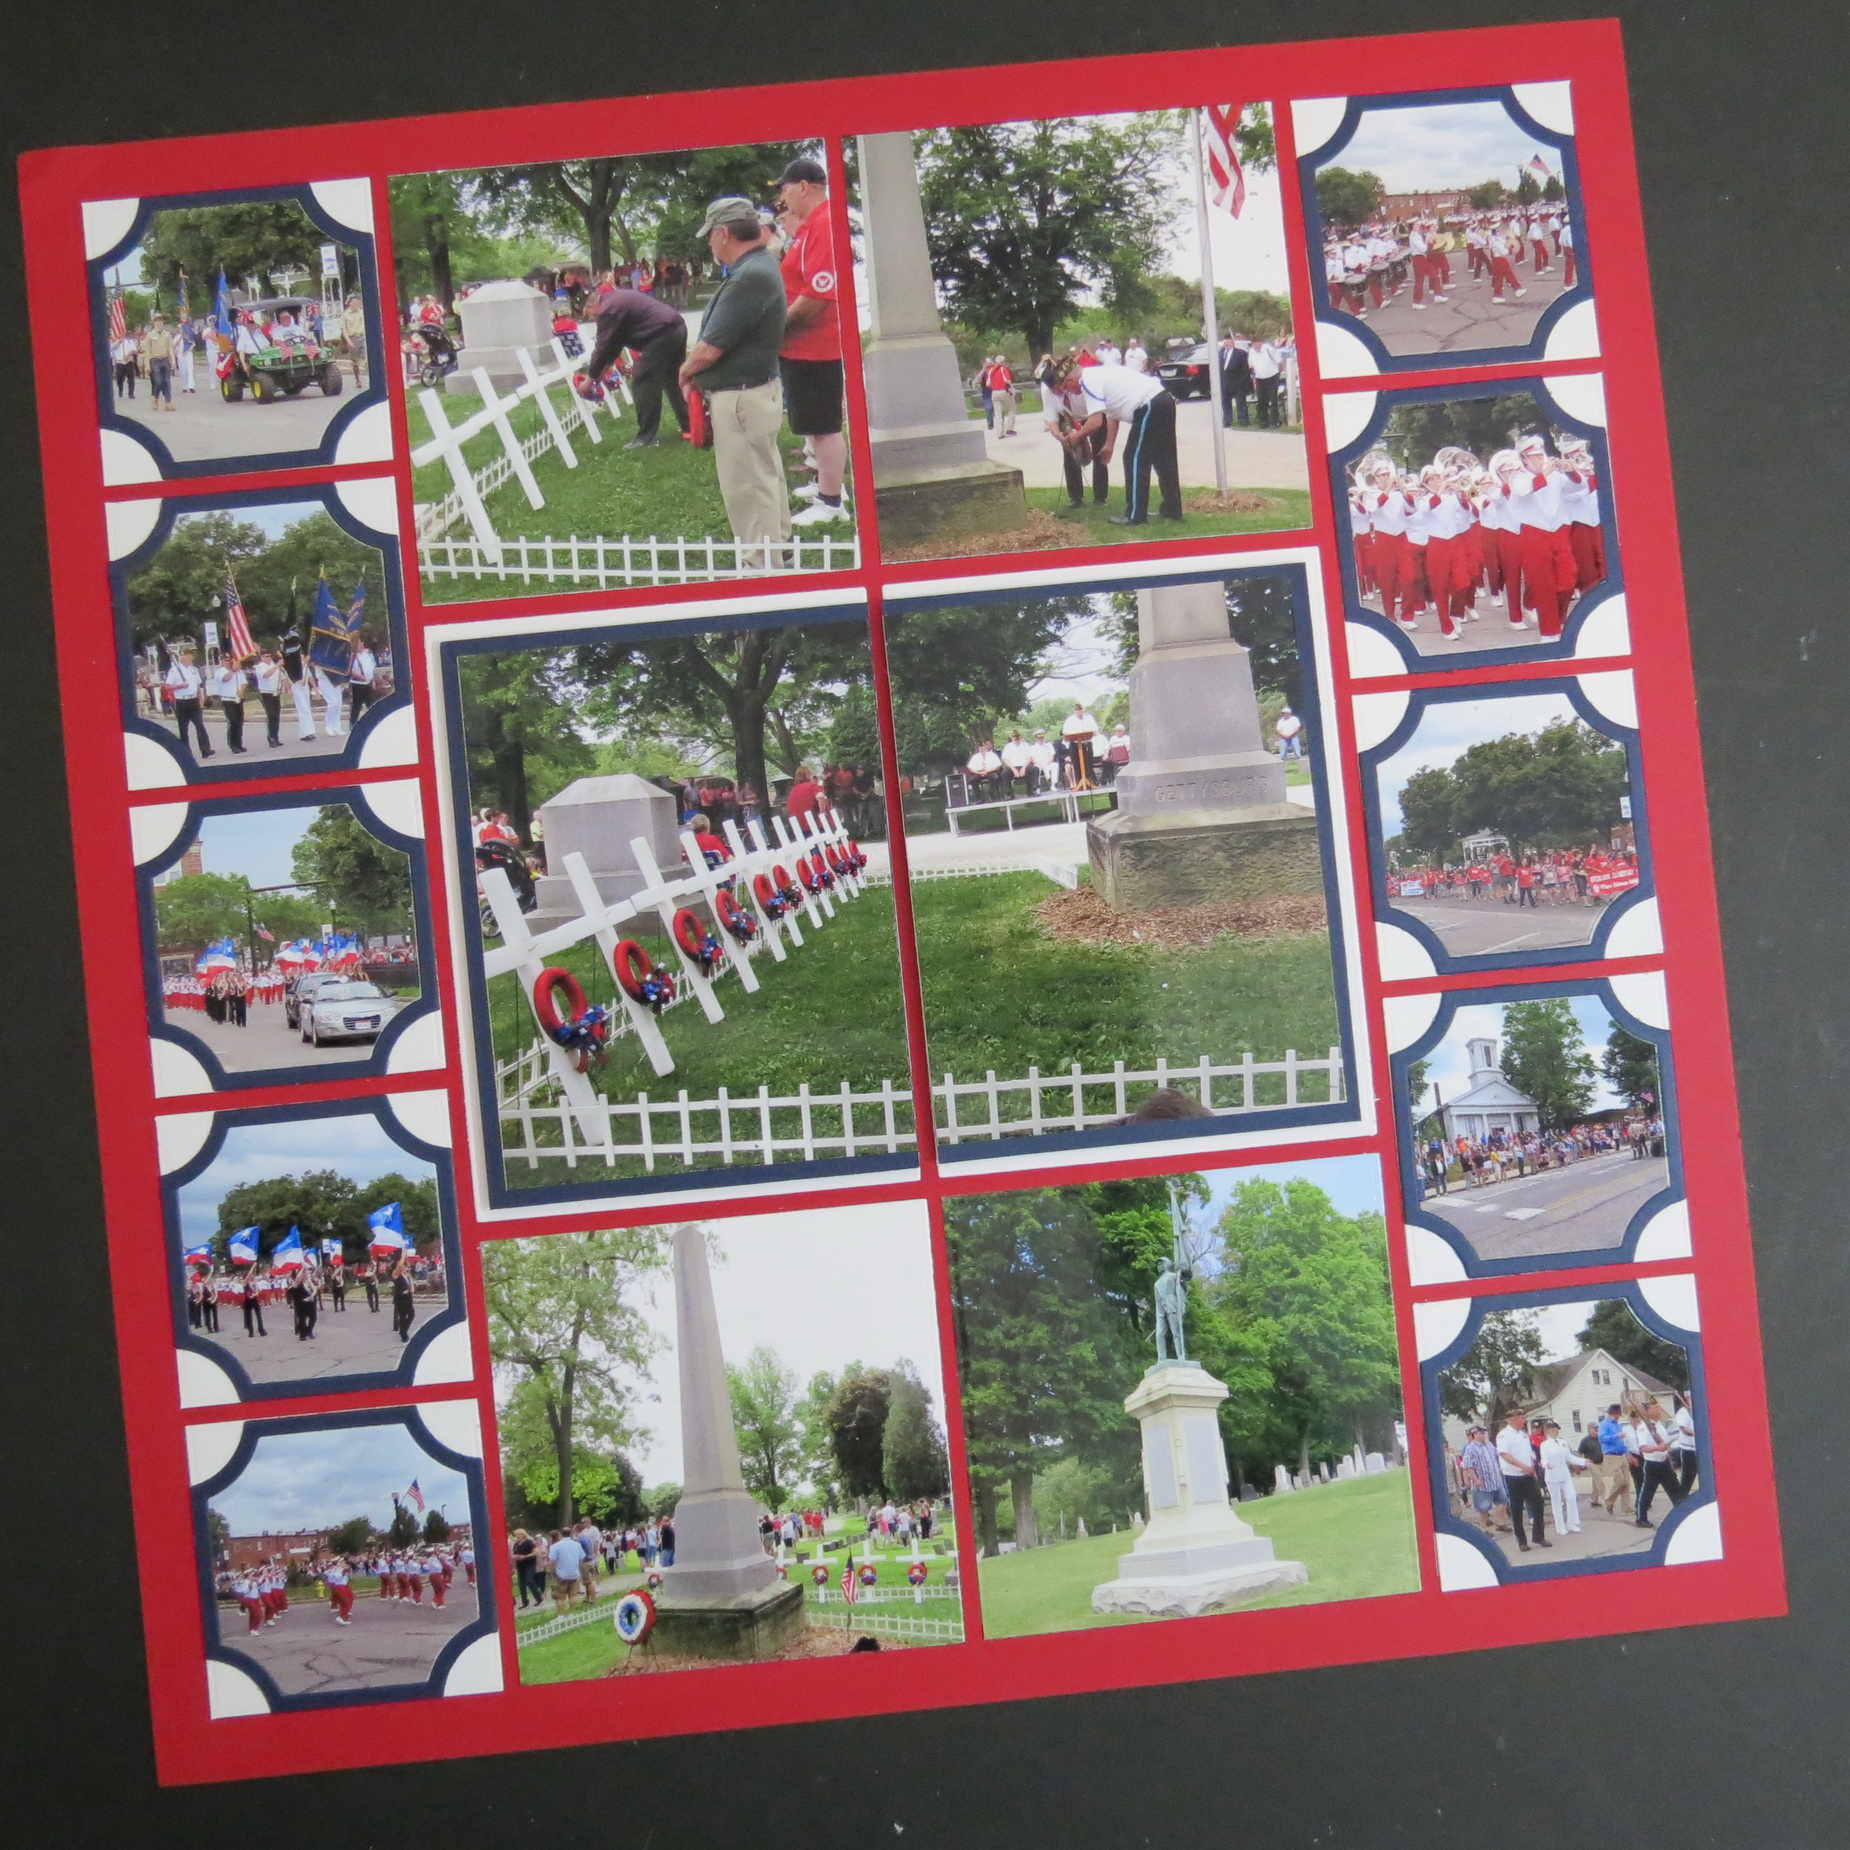
I’ve chosen Pattern #382 for the layout because I can get 10 smaller photos and use the soft corner dies to make them stand out.
Mosaic Moments Advanced Techniques: Layering Two Ways
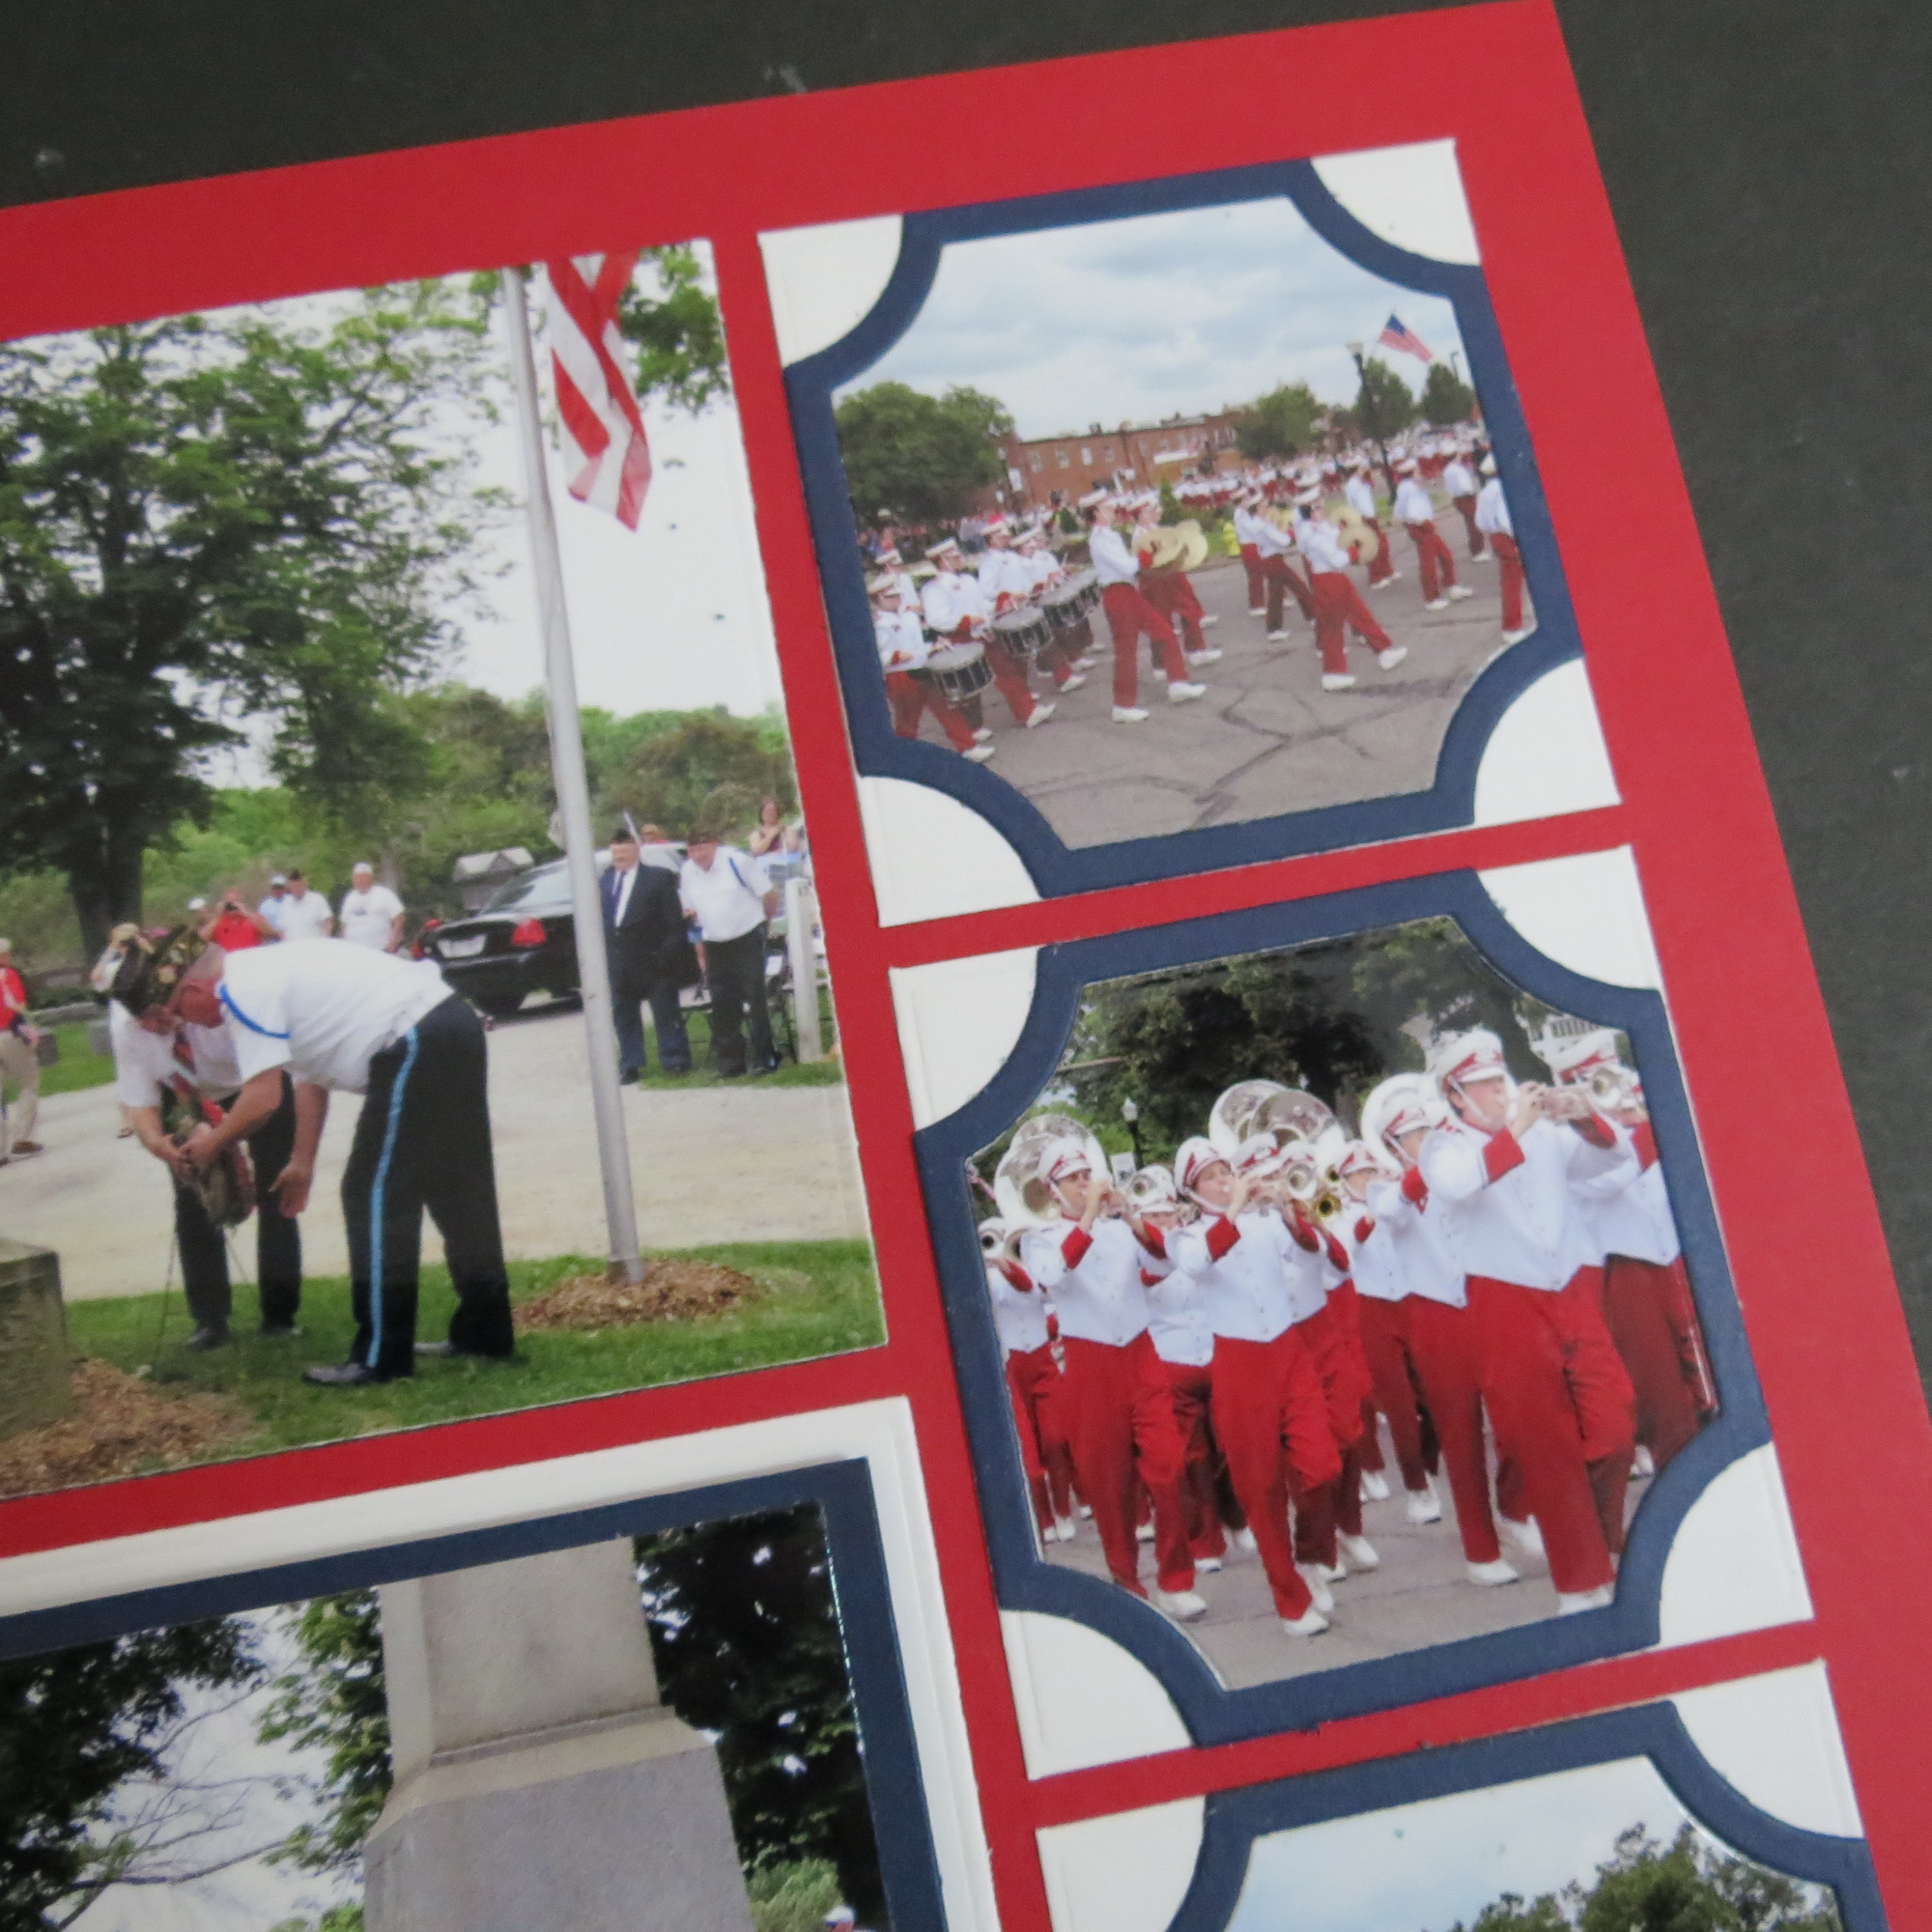
Because this layout is about our town’s Annual Memorial Day Parade and Service I’ve gone with Brick, a nice deep, rich red grid. The photos are mounted on white cardstock and the narrow 1/8” frame is in Navy blue cardstock. All layered together in a Patriotic Red, White, and Blue.
Mosaic Moments Advanced Techniques: Layering Two Ways
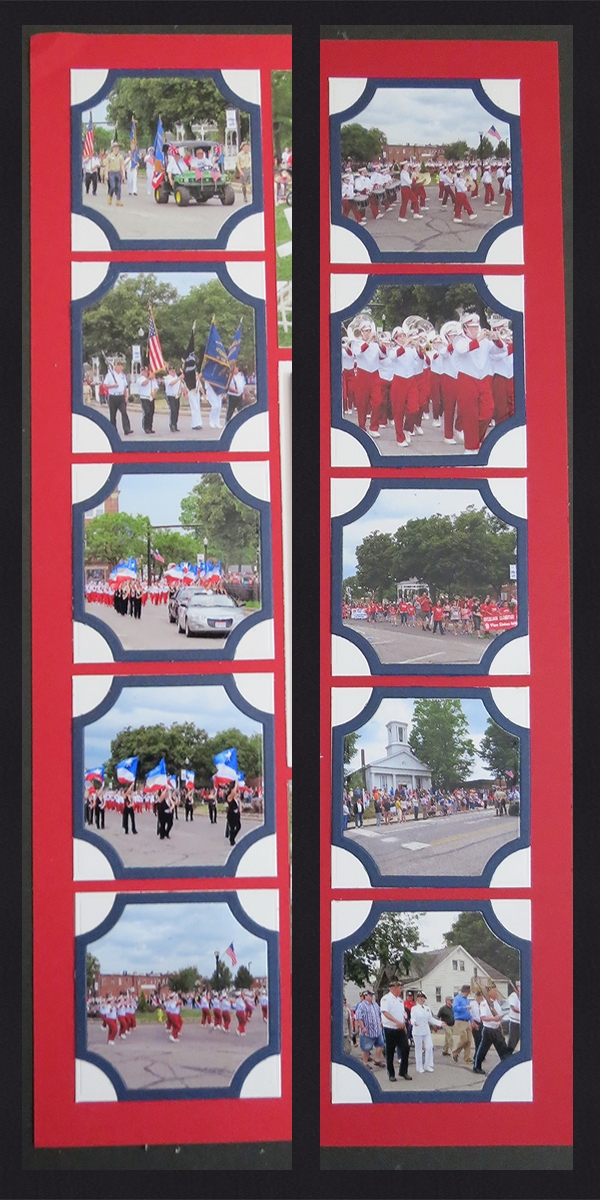
This pattern allows me to include several photos from the parade route in the side squares and use the soft corners die. Almost like mini-film cells, these two strips get a good deal of the action. It’s a perfect pattern for those events where you take lots of photos.
It also lets me separate the two events, the parade, and the memorial ceremonies. I’ve reserved the center section and the larger 3×3 and 3×4 sections to feature photos of the ceremonies at the cemetery.
Layering Two Ways: with a focal photo

Mosaic Moments Advanced Techniques: Layering Two Ways
Instead of two photos for the center of the page, I chose to use one 4×6. Now I could have altered the pattern to accommodate the 4×6 but I wanted to try something a little different. Instead of leaving an even border around each photo section, I’ve divided the photo in half and then mounted it so that the center cut line is even with the inside edge of the pattern. This leaves the mat visible around the outside edges. The photos are double mounted, first to the Navy cardstock and then mounted to the white cardstock using foam mounting tape.
Mosaic Moments Advanced Techniques: Layering Two Ways
This does two things, first, the two center 3×4 sections become a single framed focal point, and second, by adding some elevation it makes it more prominent.
Mosaic Moments Advanced Techniques: Layering Two Ways
These are two simple techniques to take your scrapping up a notch and show off some of your photos. Give them a try along with the New Soft Corner Dies!
Andrea