
Paper & Tools for the Mosaic Moments® Grid System
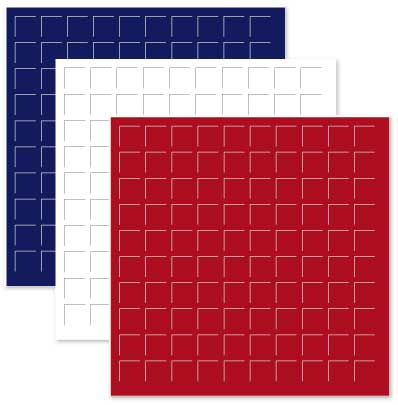
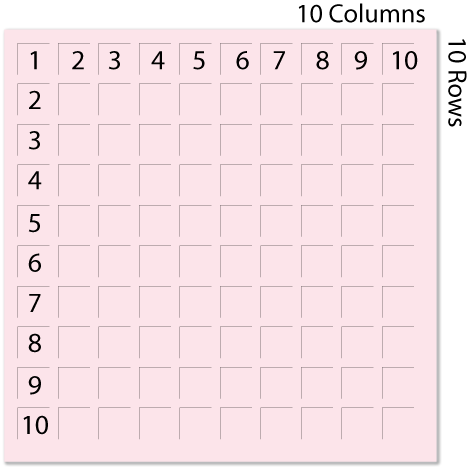
Mosaic Moments™ grid paper is designed with one inch columns and 1/8 inch gaps (space between columns.) The options, when creating on grid paper, are endless. Your finished pages can be anything you want them to be. Mosaic Moments™ Grid Paper can be used whole or in part. It is a product designed to provide you with a foundation that enhances with your creative style.
Mosaic Moments™ Grid Paper is available in a variety of colors and sizes. It can be purchased online at www.snapncrop.com
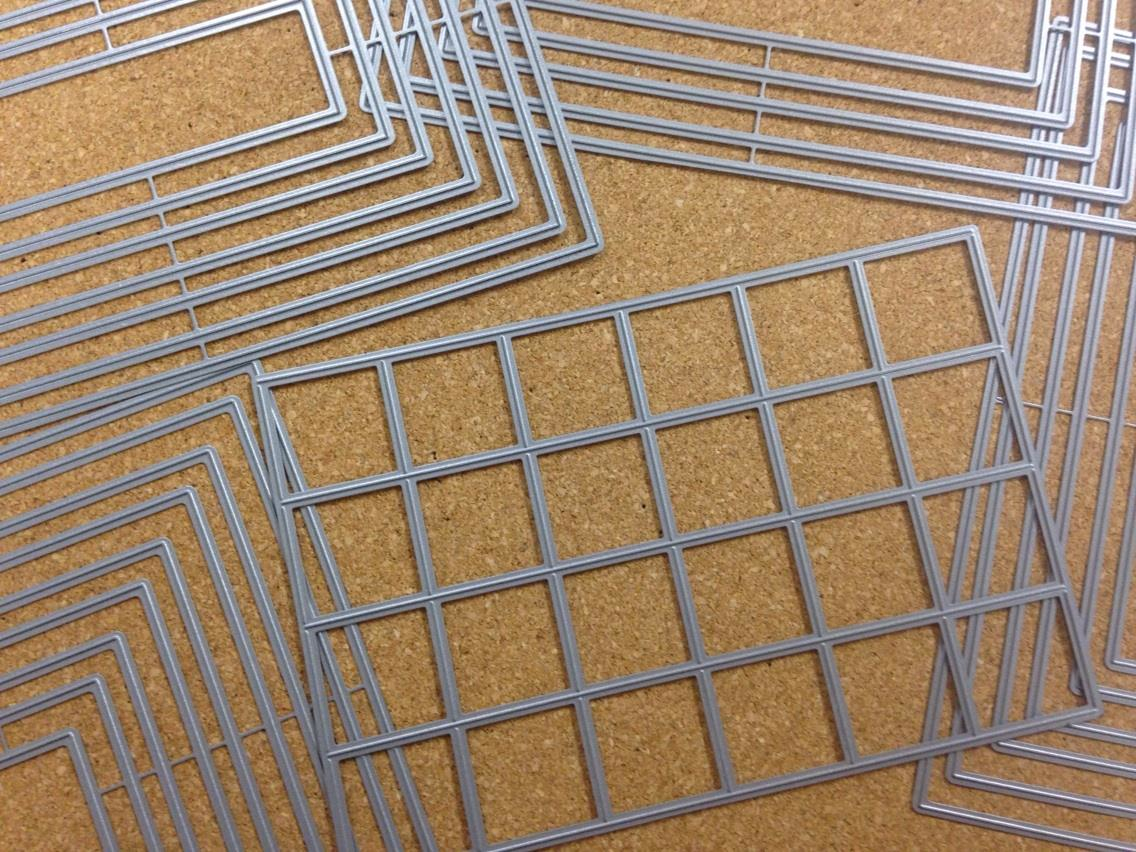
NEW Mosaic Moments™ Dies for Quick & Easy – No Measure Cutting!
MOSAIC MOMENTS™ JUST GOT EASIER! Our NEW Mosaic Moments Dies are quicker and easier than ever for cutting papers and photos to fit the grid. Mosaic Moments Dies are available in sizes to fit the grid from 1″ squares up to 5×6 squares on the grid (5.5″ x 6.625″). They come in 5 rectangular or square nested sets (sets A through E shown here) and the 4×6 Mosaic Die for cutting a 4×6 photo or card stock into 1″ squares (One Inch Grid Die). Each of the nested rectangular sets (A through E) includes 3 to 5 pieces that fit the grid and additional nested pieces to layer on top. Each piece has an open center so you can see exactly what you are cutting.
Sometimes the Best Tools are the Simple Ones
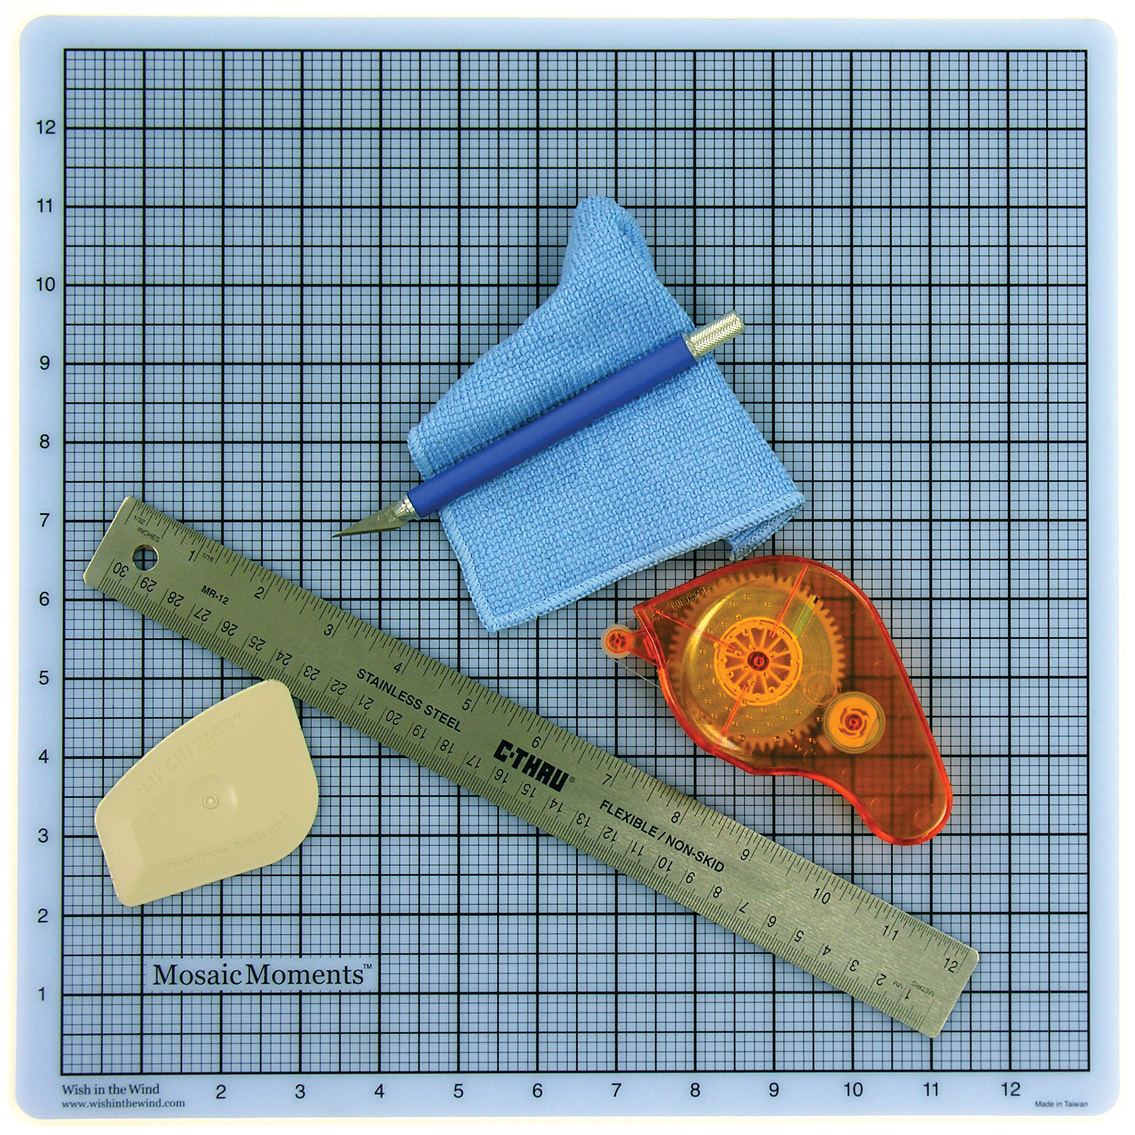
Tools You will need to create a Photo Mosaic:
- Mat – Use Mosaic Moments™ mat with self-healing surface and grid marks every 1/8 inch for flexibility in cutting. Craft
- Knife – Make sure you use a knife with a #11 blade as shown. Do not use a swivel blade knife or a box cutter. Be sure to sharpen or change blades frequently. Make sure your knife is sturdy and sharp!
- Ruler – A metal ruler with non-slip cork backing is essential. The cork backing will help prevent the ruler from slipping out of place while you are cutting. Avoid using non-metal rulers. A craft knife will cut into the edge of plastic and wood rulers.
- Lil´Chizler™ – The beveled edge on the Lil´Chizler™ helps get under photos to lift them off of the mat without damaging edges.
- Photo Cloth – Use a clean photo cloth to wipe finger prints off of photos when the project is finished.
- Adhesive – Herma Dotto™ removable adhesive works great.
- Mosaic Moments™ Grid Paper – Mosaic Moments™ Preprinted grid paper is a wonderful time saver. It is available in a wide range of colors.
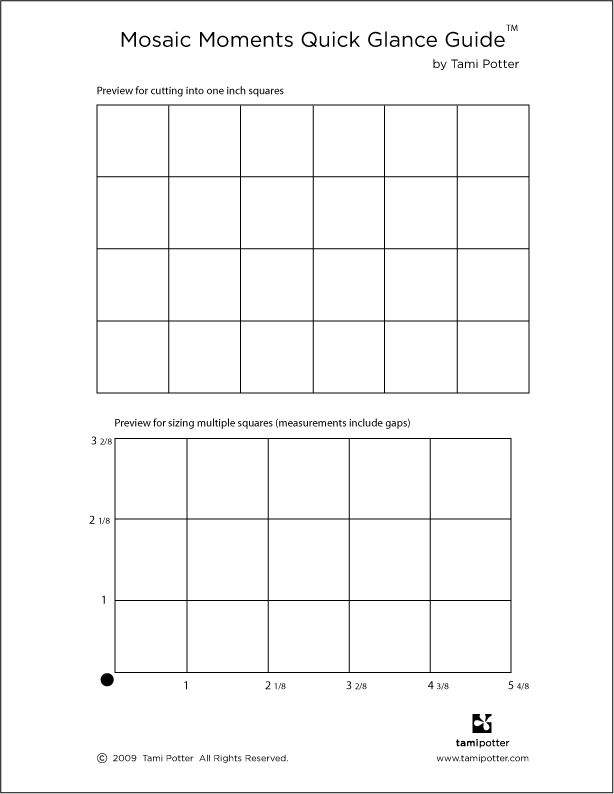
- Mosaic Moments™ Quick Glance Cutting Guide – A transparent grid overlay is helpful when you are determining where to make those first cuts.
Tip: Clean your mat with Goo Gone® and a paper towel. Use a Lil´Chizler™ to scrape up stubborn adhesive residue. Do not use solvents on the printed surface. Do not use abrasive cleaning products or materials. It is easiest to clean the mat immediately after completing a project. The longer the adhesive stays on the mat, the more aggressive the “sticky” gets.NEXT: Simple Count & Cut Technique – for use with basic tools.Tips for Cutting and Cropping