
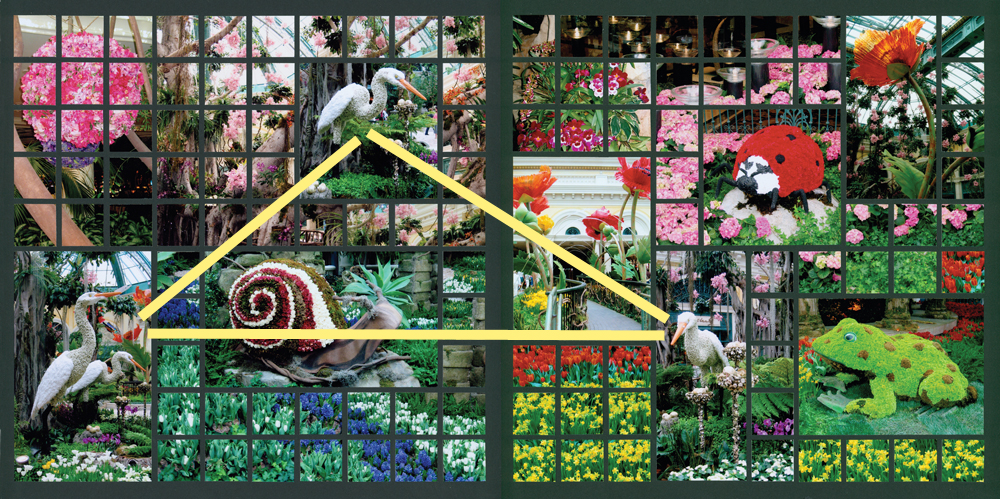
These photographs of floral arrangements offer a symphony of color and texture to be explored. With such vibrant colors and so much going on, it is important to give the viewer direction.
- The triangle, as a compositional tool, is evident in the work of the old masters. Creating groups of three focal points provides the artist/designer with a method for moving the viewer’s attention through the artwork. The eyes are drawn and cannot help from moving between those points. In the spread above, notice how the three white birds make a triangle. Another group of three can be seen in the correlation between the snail, lady bug, and frog.
- Turn the focus inward. Notice that the floral characters (i.e. the snail and the frog) face into the center of the page – not off the page. It keeps the viewer inside the artwork discovering the things they haven’t yet noticed.
- Color can move the eye along or stop it cold. Notice how the lady bug and the red tulips create a triangular flow on the right hand page leading your eye down, across the page, and back up to greet the lady bug again.
- Embedding larger photo blocks into sections of photos cut into 1×1 inch squares creates multiple layers of interest.
One Big Picture
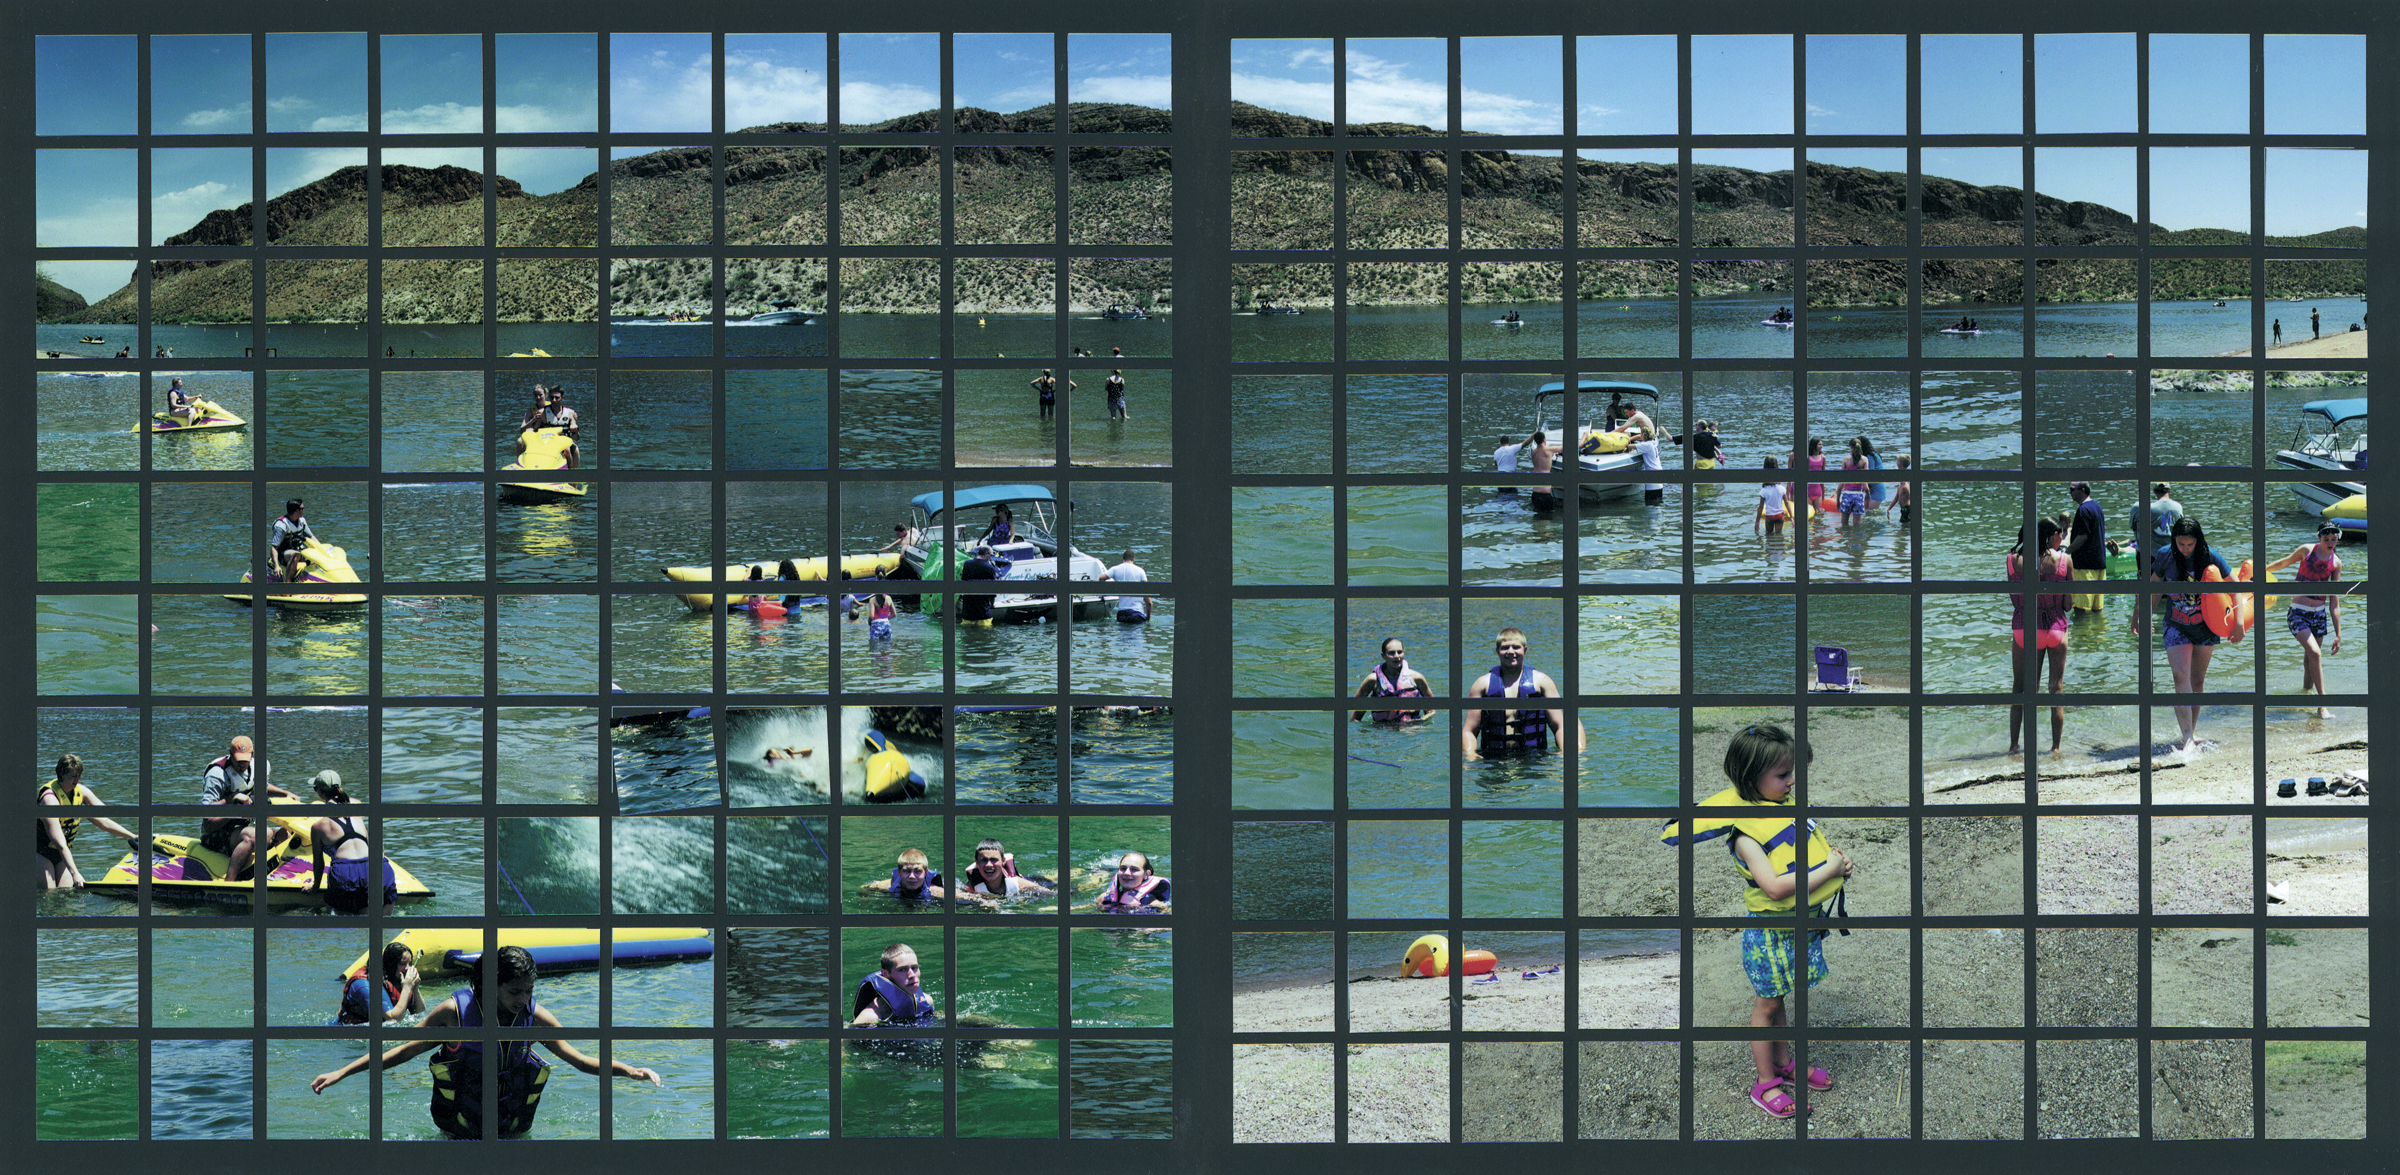
No, this isn’t really one big picture. However, at first glance, it looks like one. Accomplishing this photo mosaic effect is easy; it takes just a bit of planning in advance. To make your page look like it came from a blown up photograph, you need to establish a horizon line. You can create a horizon for your page by taking 4-5 landscape view photos in a horizontal line (like the photos of hills shown in the spread above.) Your digital camera may have a panoramic function to help you keep everything lined up as you click, click, click. If you do not have a panoramic function, do not fret. You can always make adjustments later.
Tips to Create that “One Big Picture” Effect
- Photograph a series of landscape view photos.
- Cut landscape shots into one inch pieces and establish a horizon line across the top of your page. Use the grid lines on your cutting mat to make corrective adjustments before you begin cutting.
- Cut additional photos into one inch squares and arrange them on the page with the close up shots in the foreground (toward bottom of the page) and the more distant shots near the horizon (top of page).
- To obtain a blended look intermingle pieces from multiple photos.