Time to Break Away!
The Break Away Die Set is full of creative possibilities!
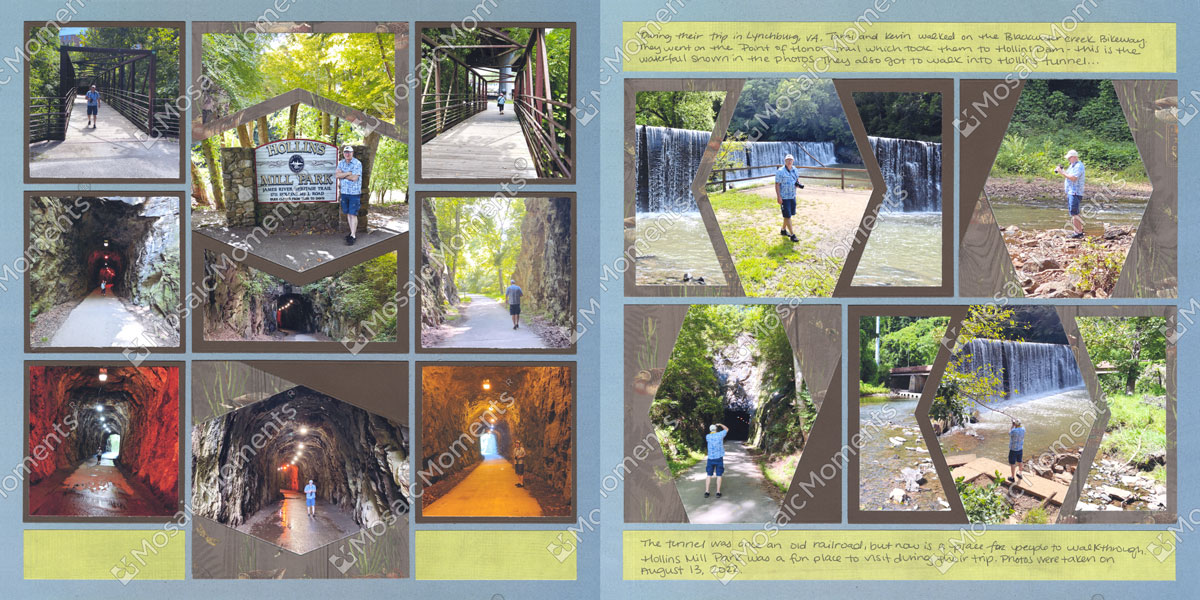
The included pieces can be arranged in a variety of ways while still fitting perfectly on the Mosaic Moments® Grid Paper. Mix and match the shapes to create layouts that feel unique, balanced, and easy to put together.
Below you'll find three ideas that aren't shown on your project cards.
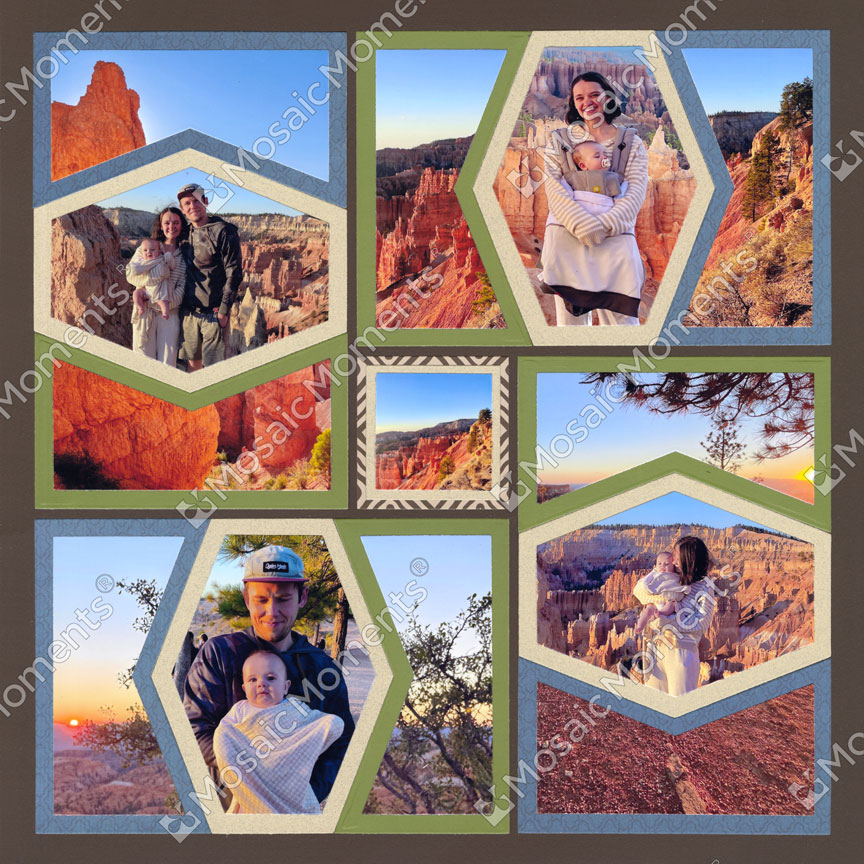
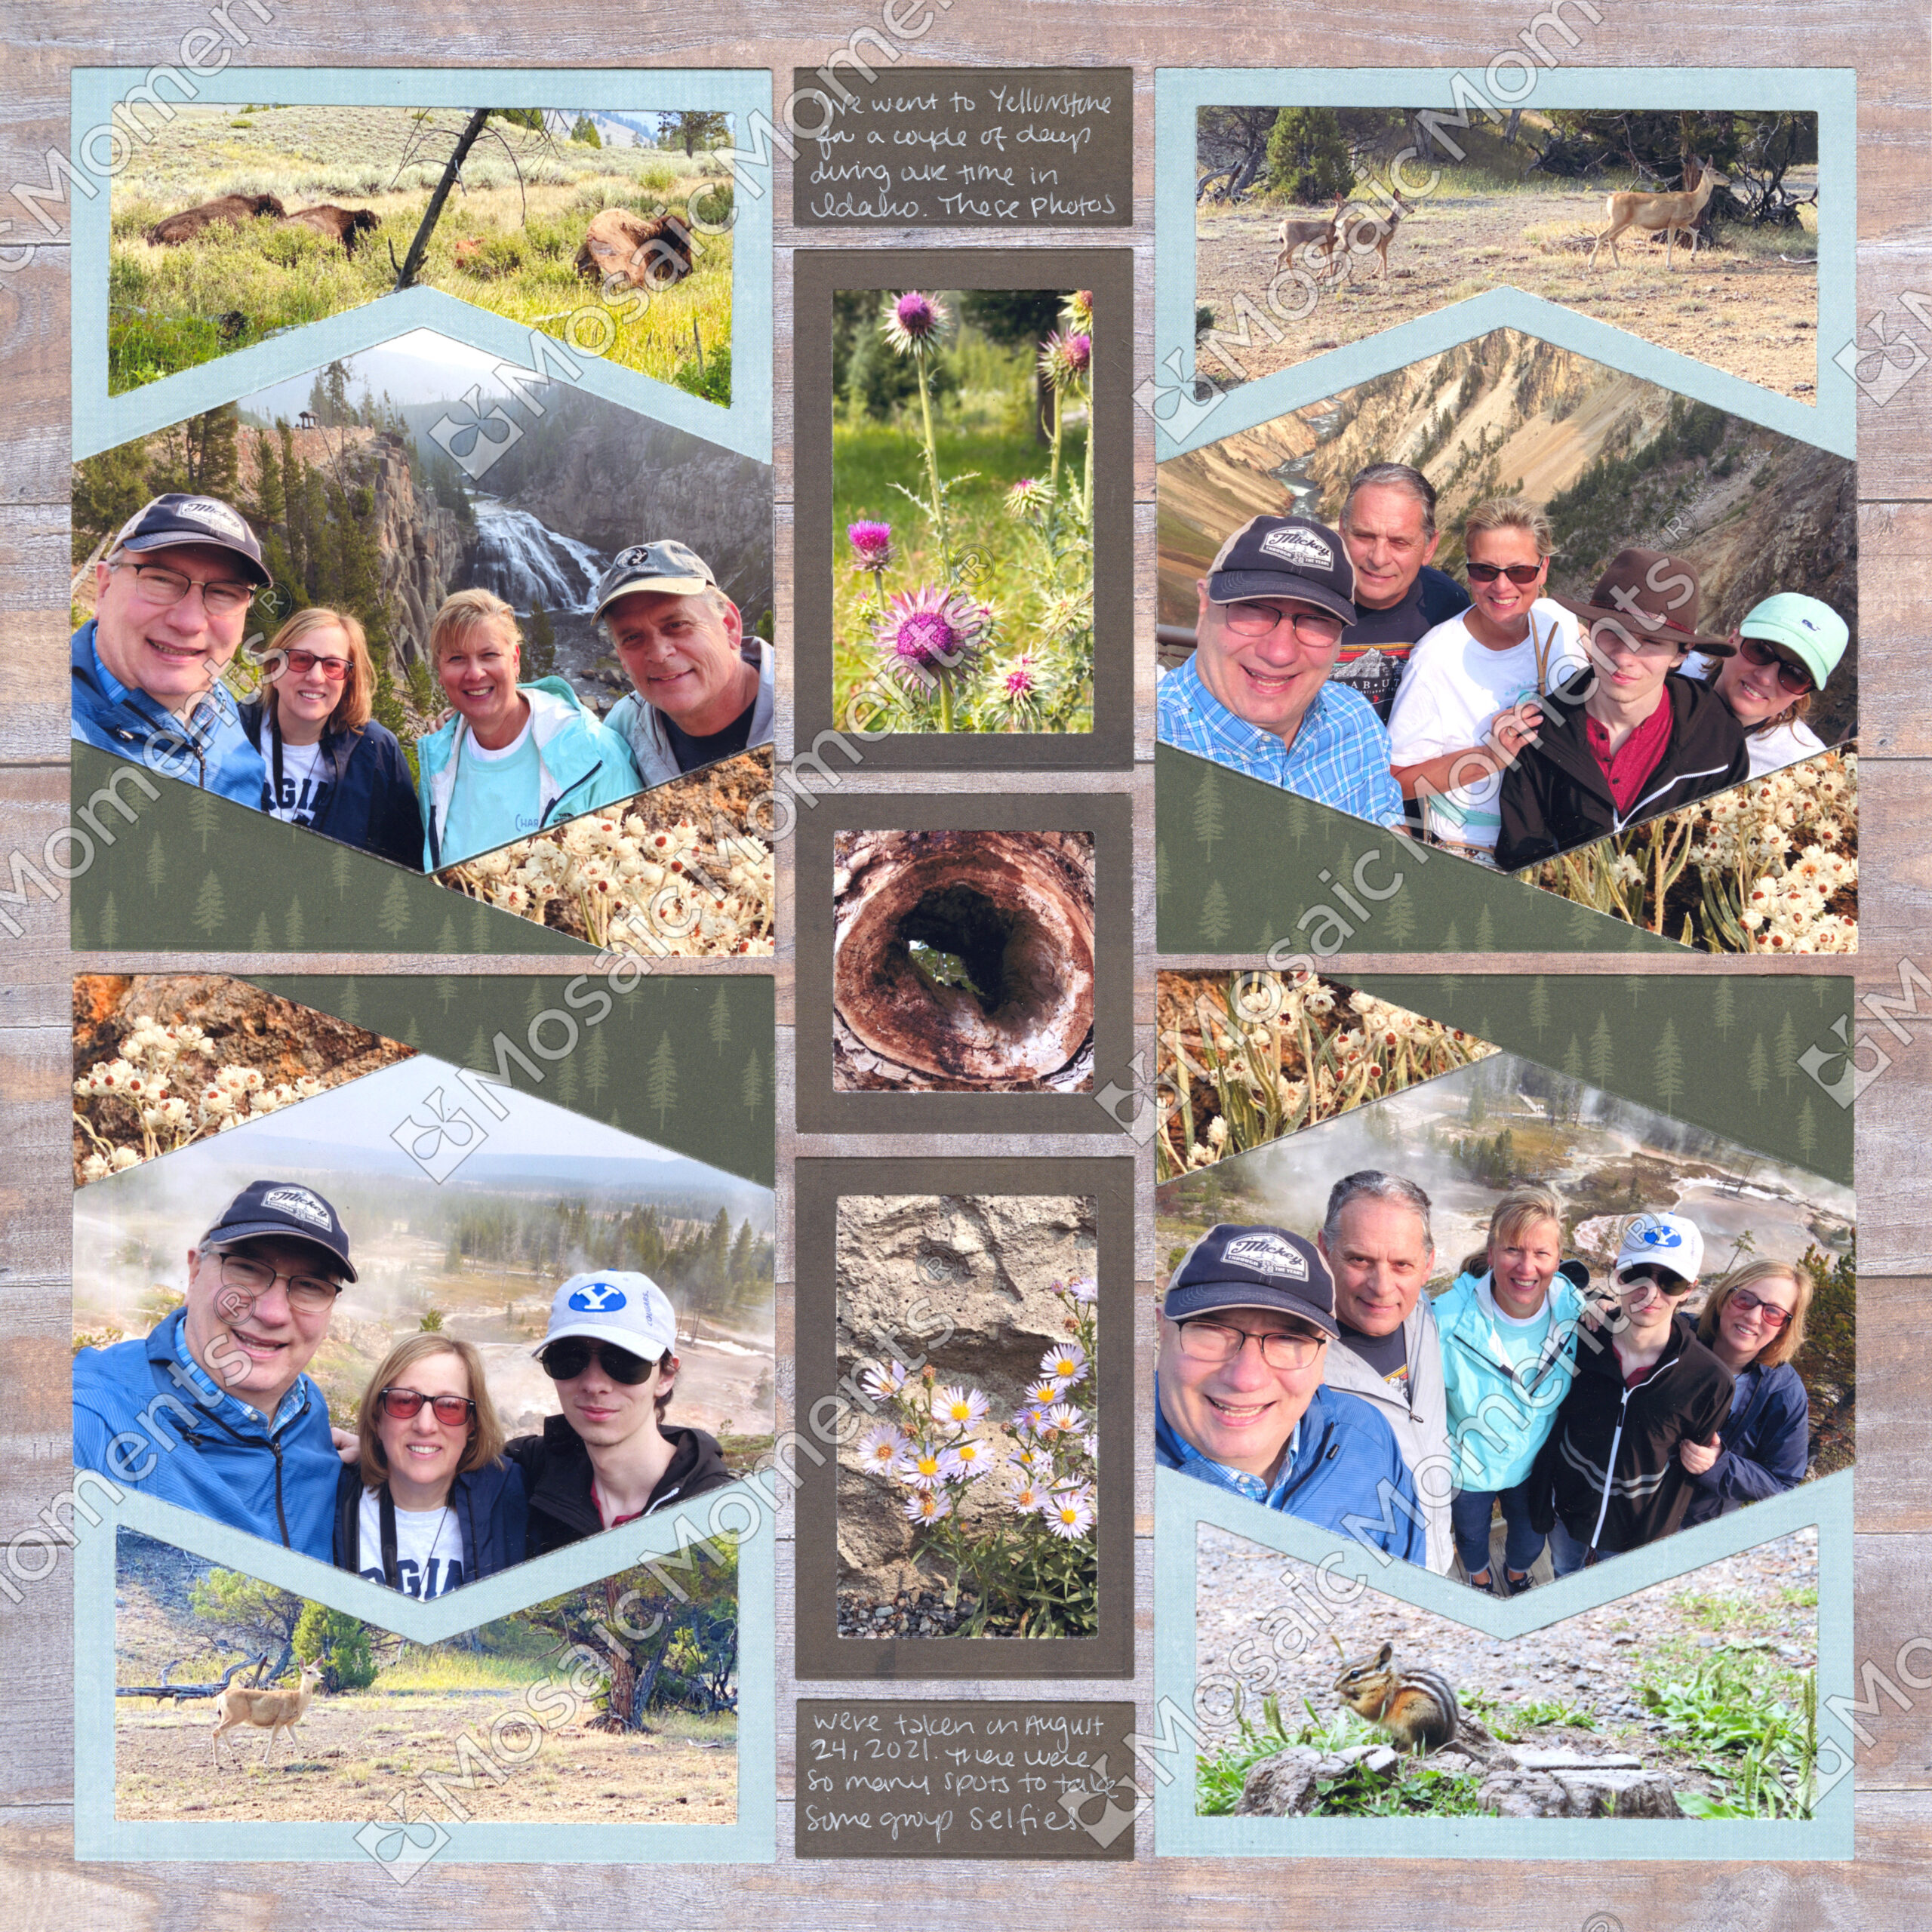
Month Three includes the Break Away Dies.
This die set includes seven dies with multiple layout options.
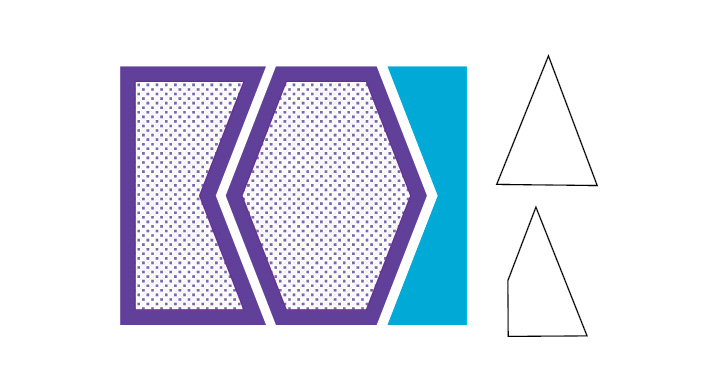
The main pieces (shown in purple and blue) can be combined in different ways to create shapes that fit the Mosaic Moments® Grid Paper. The long hexagon-shaped die is used in every arrangement:
- Use two skinny edge pieces (shown in blue) to create a design that fits 4x4 squares
- Use one skinny edge and one wide edge piece (shown in purple) to create a 4x5 shape
- Use two wide edge pieces to create a shape that fits 4x6 squares
The set also includes:
- Two optional layering dies (shown with purple dots)
- Two accent dies designed to add extra detail and interest to your Break Away layouts.
What You will Learn in this video:
- How to place the Break Away die pieces together to make a 4x6, 4x5, and 4x4 shape.
- How to cut & glue the pieces
- Bonus tip on how to break up a 4x6 photo with the dies
- Various orientations and options with the dies
- How to use the accent dies in the Break Away set
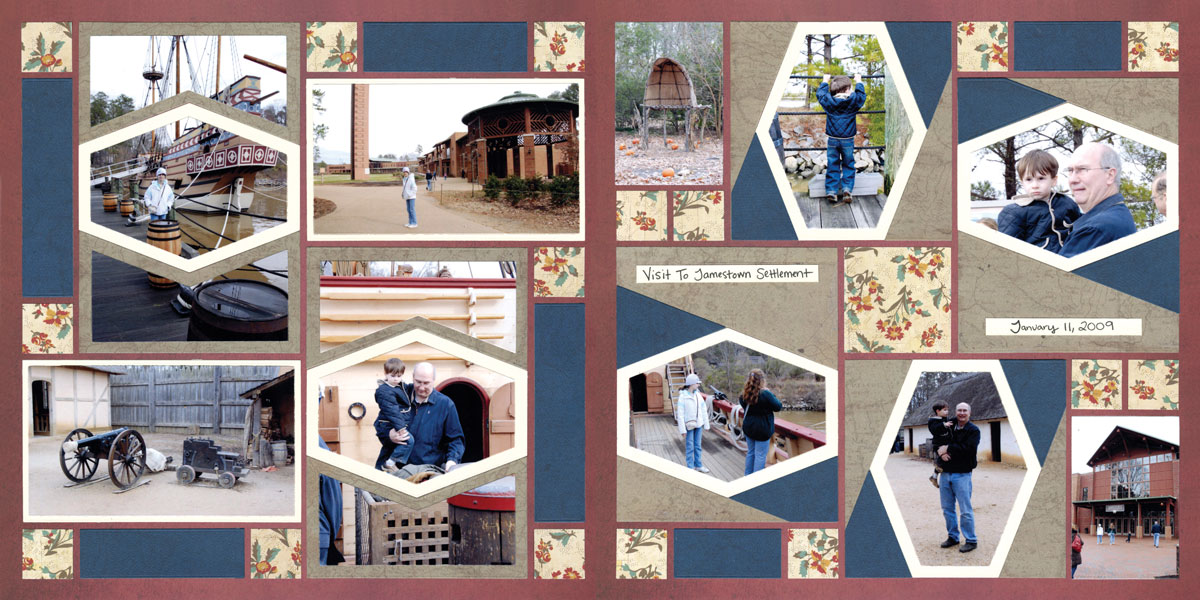


More Ways to Break Away
A Second Look
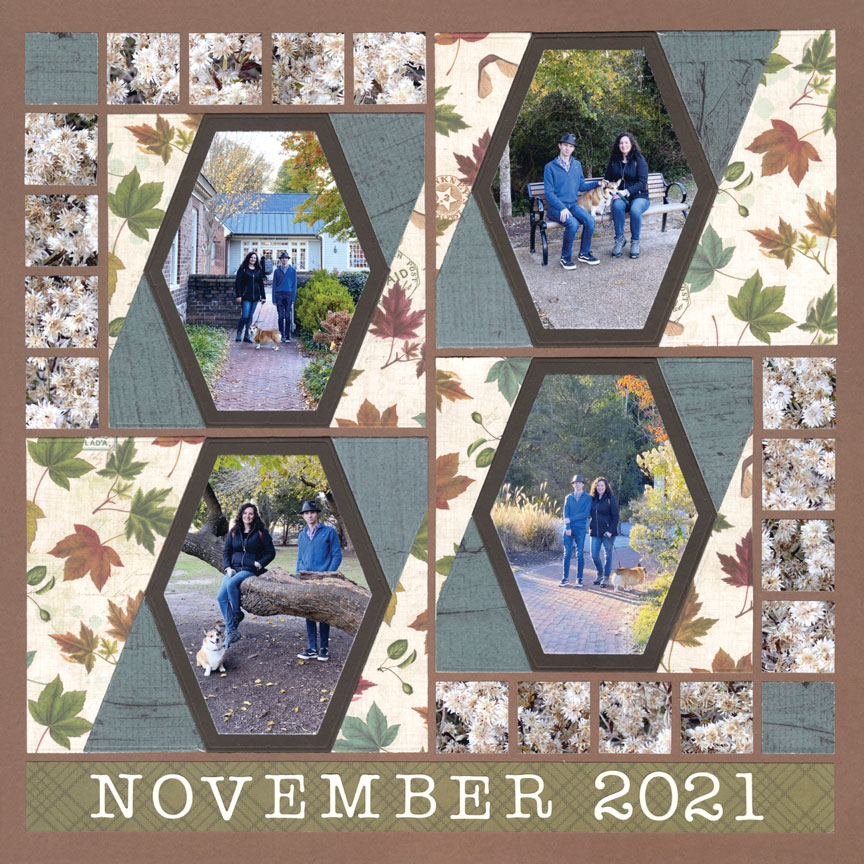
This fall page spread has a alternate ending!
Our first page shows a design with 4x4 and 4x6 mats built with the Break Away Die set.
The companion page, shown below, takes us to a new level with layering.
See how to break away from the basics below.
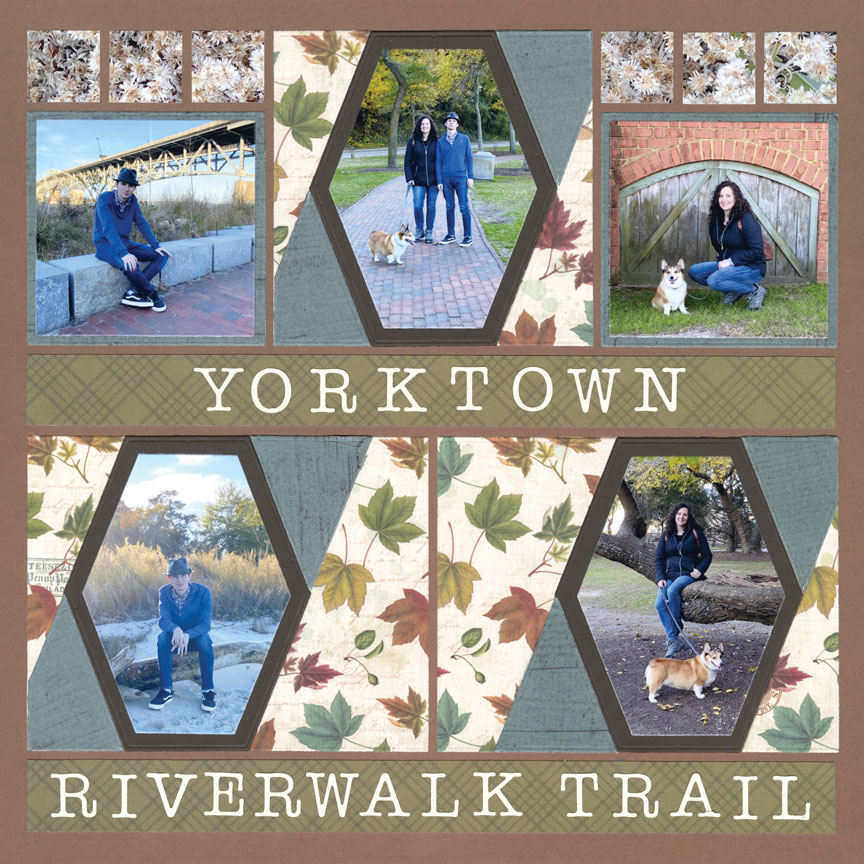
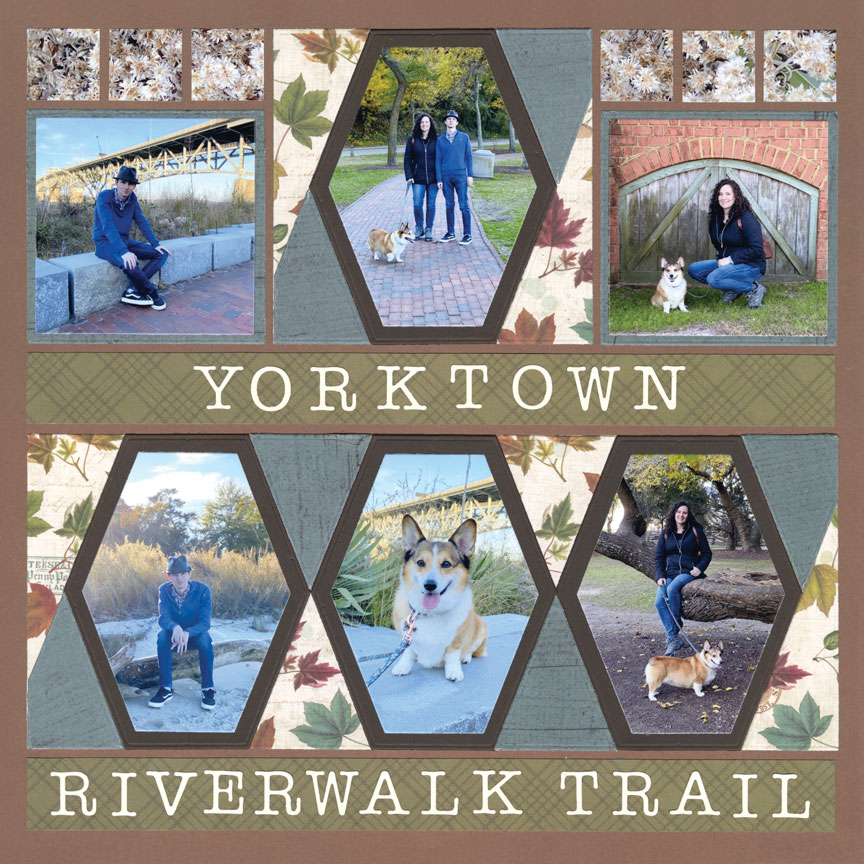
To add an extra hexagon shape to the middle, Paije created two 4x5 sized shapes with the Break Away die set.
Notice the two bottom photos - they are placed to the outer left and outer right of the page.
This will leave space for a third hexagon.


Focus In
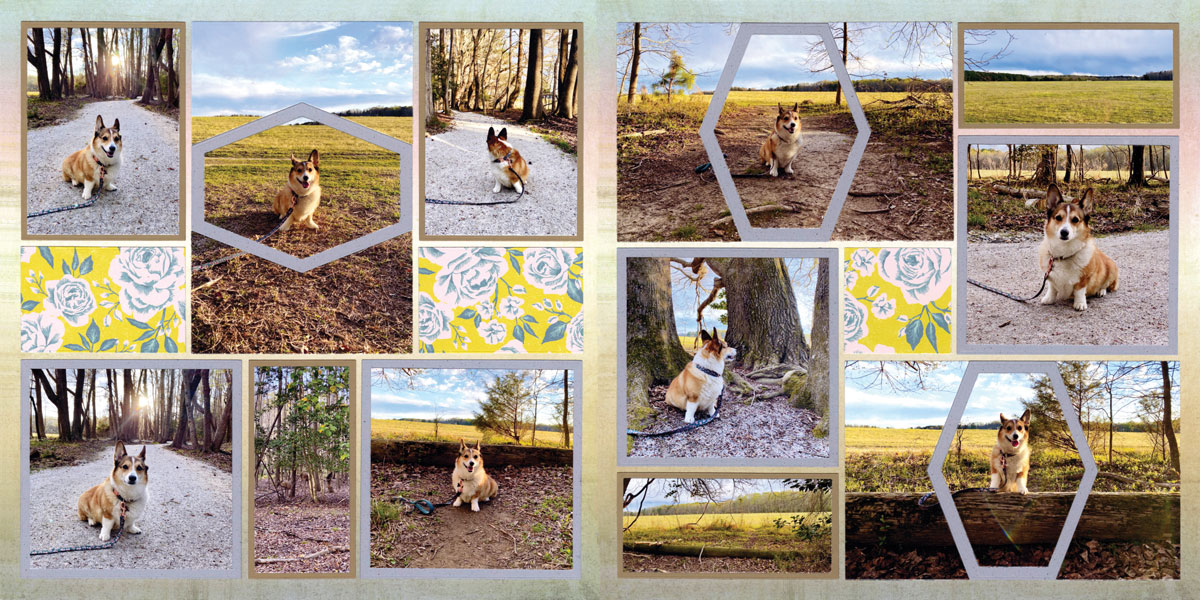


Highlight Specific Photos
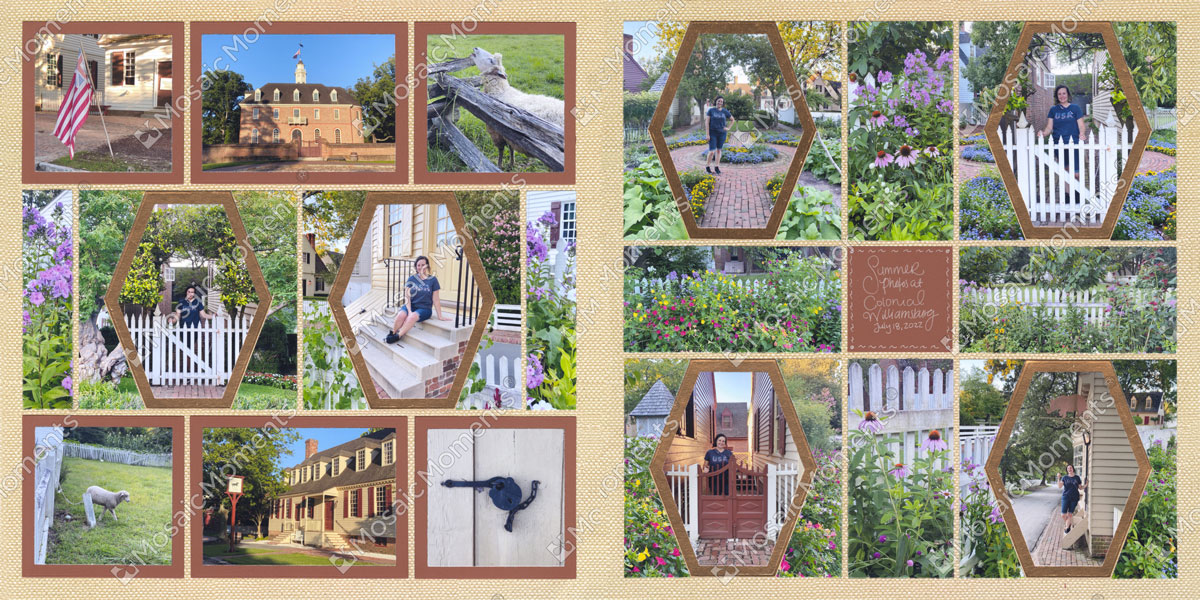


Complete the Column or Row