Design Principle 3: Focal Point

Perhaps the most important element of design is the focal point. This is the "bullseye" of your layout -- the place where the eye goes first. It sets the tone and theme of your layout and has the most visual weight on your page. Focal points are defining, dominant and obvious.

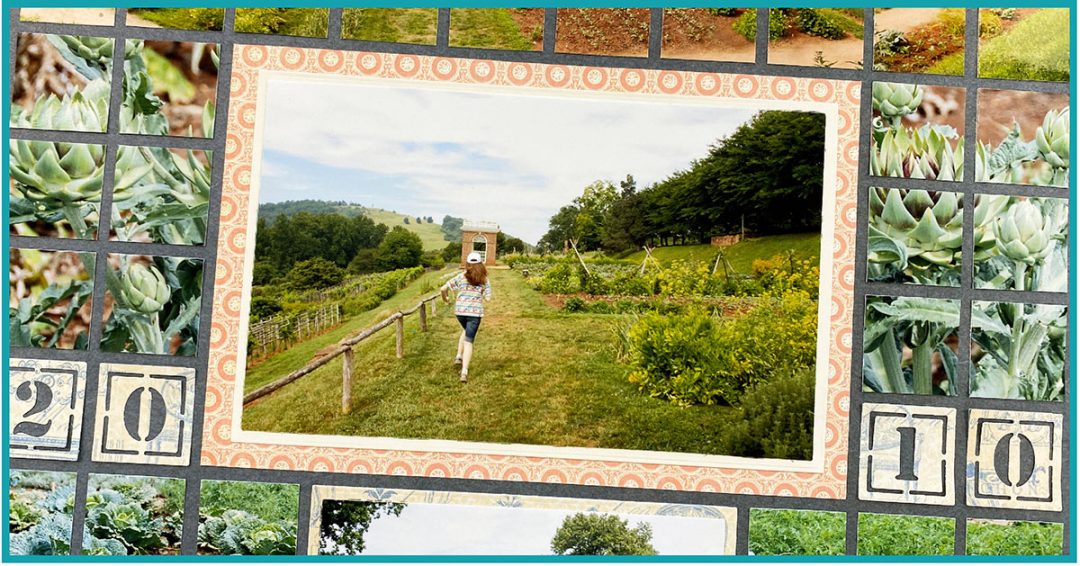
Choose Your Focal Point
The focal point must be selected before you begin the layout. There are three different ways you can do this.

Image

"Monticello Grounds" by Paije - Pattern #232

  1. Pick a photo and make it the largest element on your layout. You can make it stand out by adding a photo mat or two, like Paije did on this layout. The pink pattern paper emphasizes her focal point.


2. Designate a large portion of the layout to journaling. The white paper, brown mat and center location make this journaling block stand out. It is the only matted element on the layout.
Image

"Pacific Coast Surprise" by Tami Potter - Pattern #100


Image

"Eden Volunteering at CW" by Danielle Lawson - Pattern #152

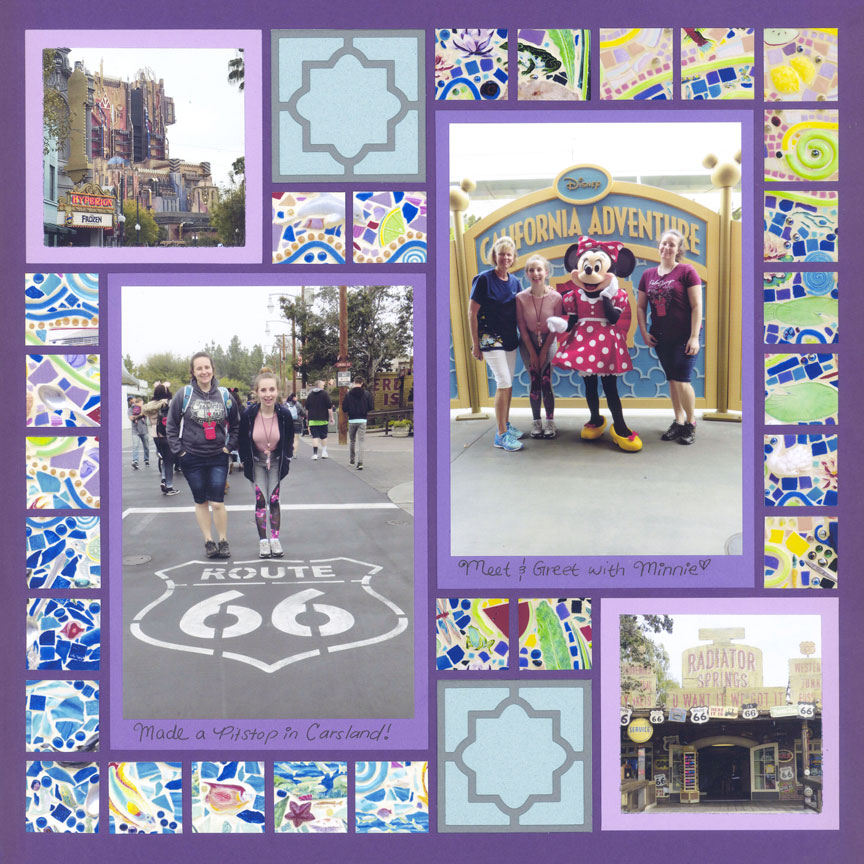
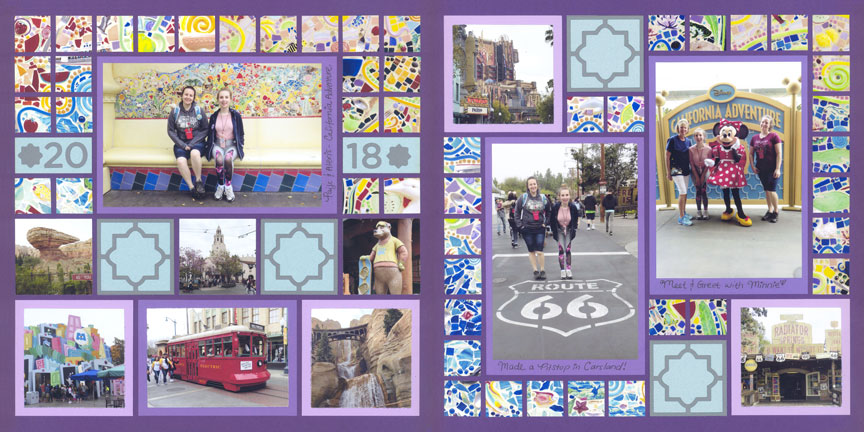
3. Combine embellishments or a die cut to create the focal point. On this layout, the Lucky Charm Die, surrounded in patterned paper, was cut with bright raspberry cardstock to help it stand out.

While this focal point sets the tone for the page, it doesn't define it. So, we recommend a clear, defining focal point on the companion page to further tell the story.

Focus on the Center
Placing the focal point in the center of the layout is generally pleasing to the eye. Here are some ways to make sure it stands out.

  1. Add a detail on the mat. A stamped image along the side of the mat makes this photo stand out even more by creating a bit of white space next to the picture. You could also try a strip of paper, ribbon or washi tape for the same effect.
Image

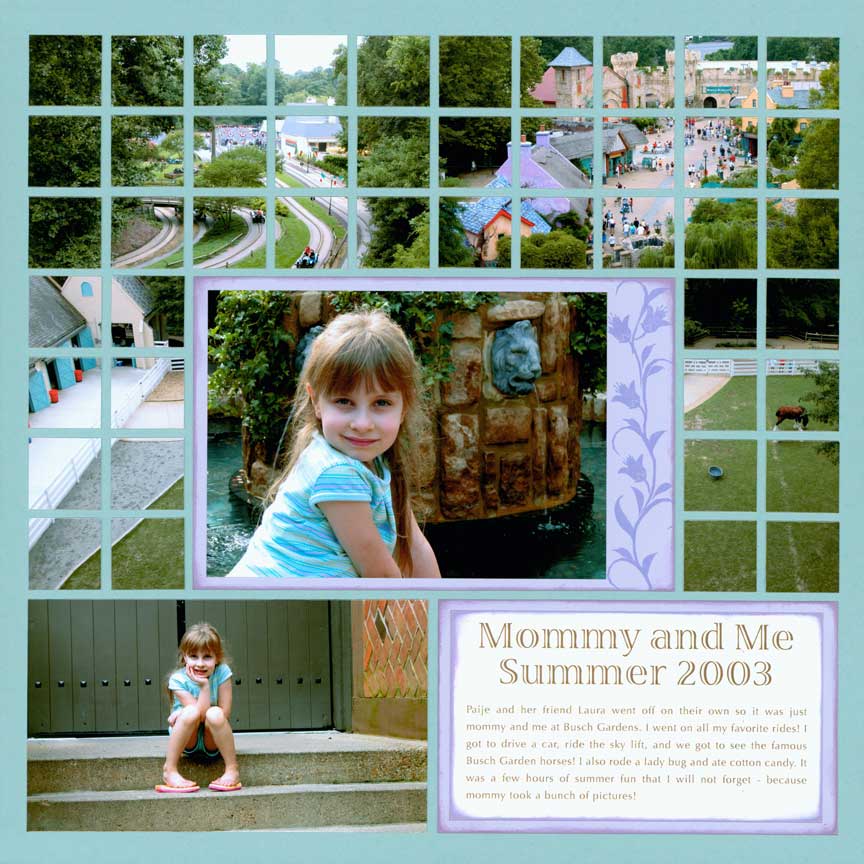
"Mommy & Me" by Tami Potter - Pattern #240


Image

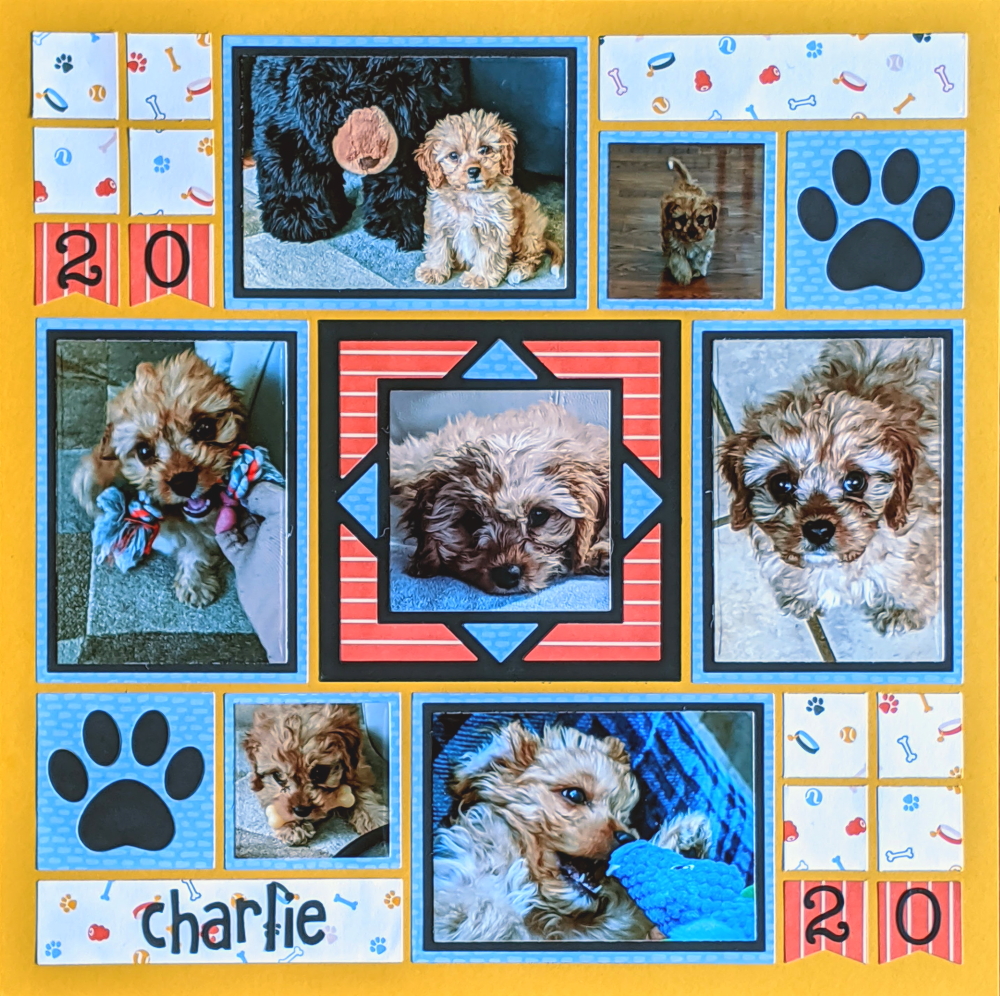
"Charlie" by Candy Spiegel - Pattern #476

2. Use a frame die to add emphasis to a smaller photo to make it the focal point. The dark, contrasting cardstock and bright patterned paper help to draw the eye right in.


3. Placing a photo in the top center of the page can be just as effective. In this case, an oval frame and patterned paper draw the eye.
Image

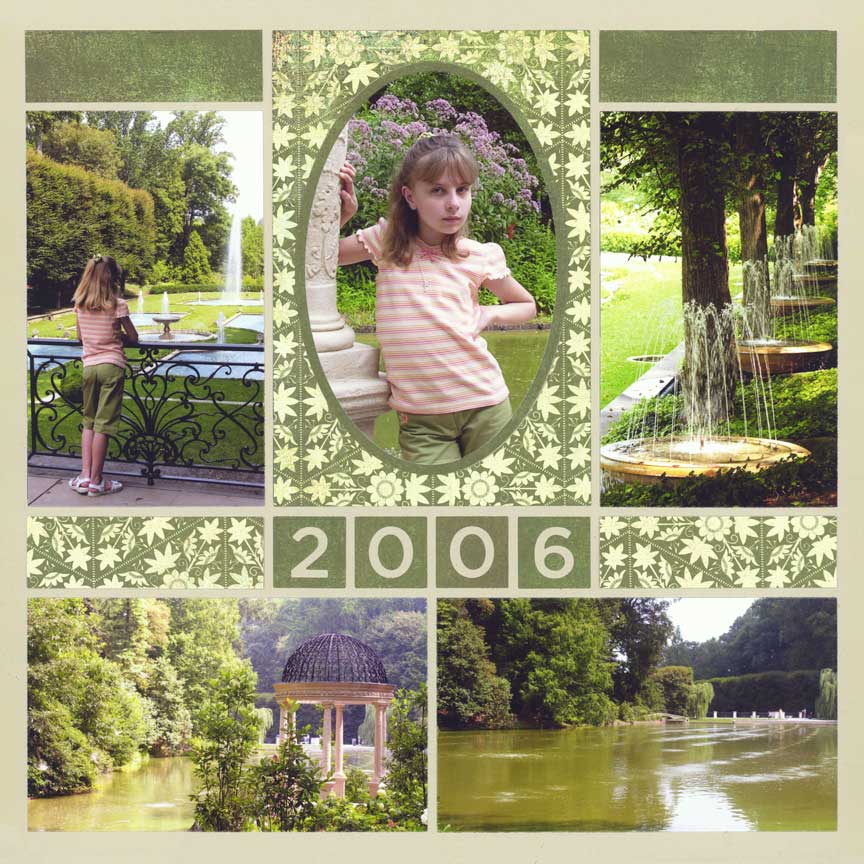
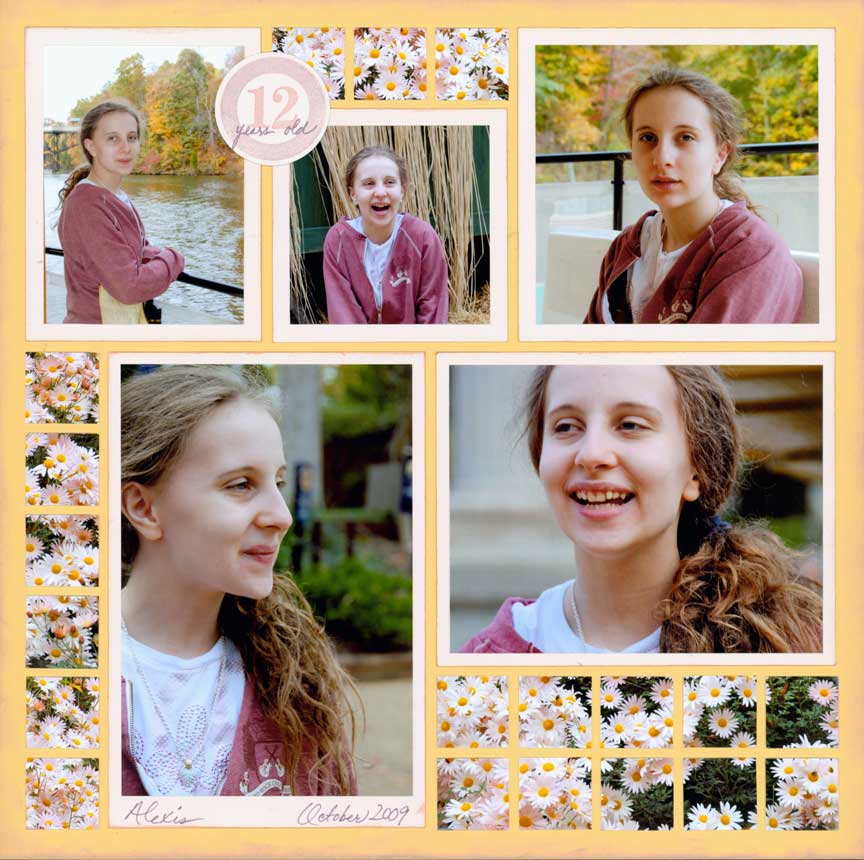
"Alexis at Longwood Gardens" by Tami Potter - Pattern #328


Image

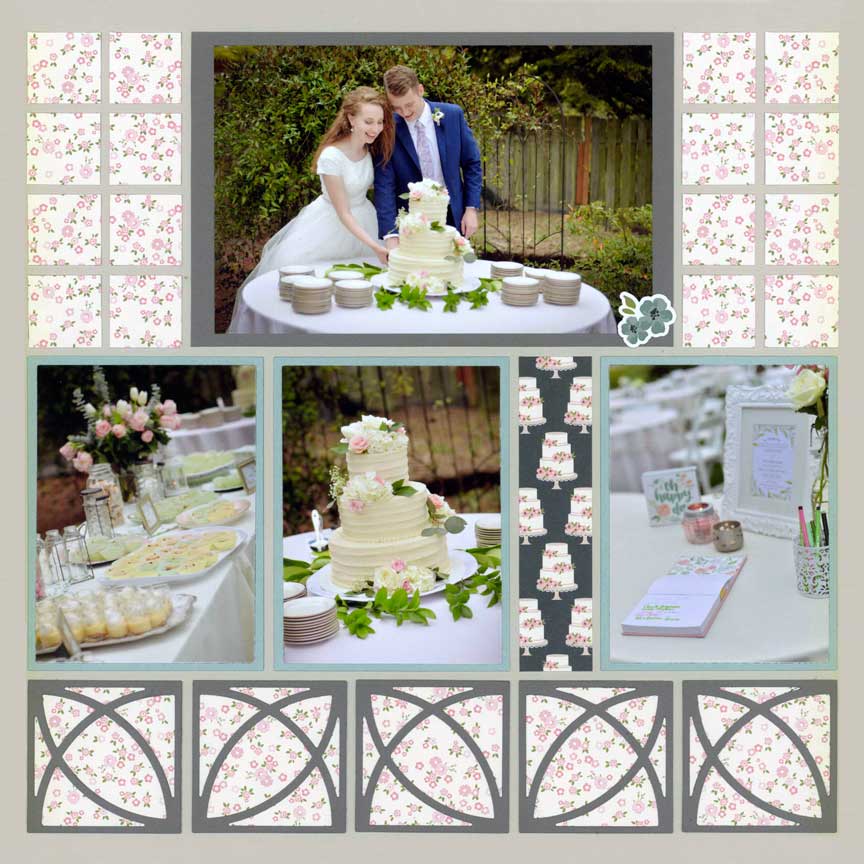
"Wedding Cake" by Paije Potter - Pattern #437

Again, the focal point is not right in the center of the layout, but is centered in the top row. Here a dark paper mat was used as a contrast and a little sticker was added in the corner.


4. Use color to pull the eye to the focal point. Here, the top, center photo of Tami Potter, is the only mainly red element on the layout. The bright red, contrasted with the dark paper along the row of X-Factor die cuts, makes Tami's photo the focal point.
Image

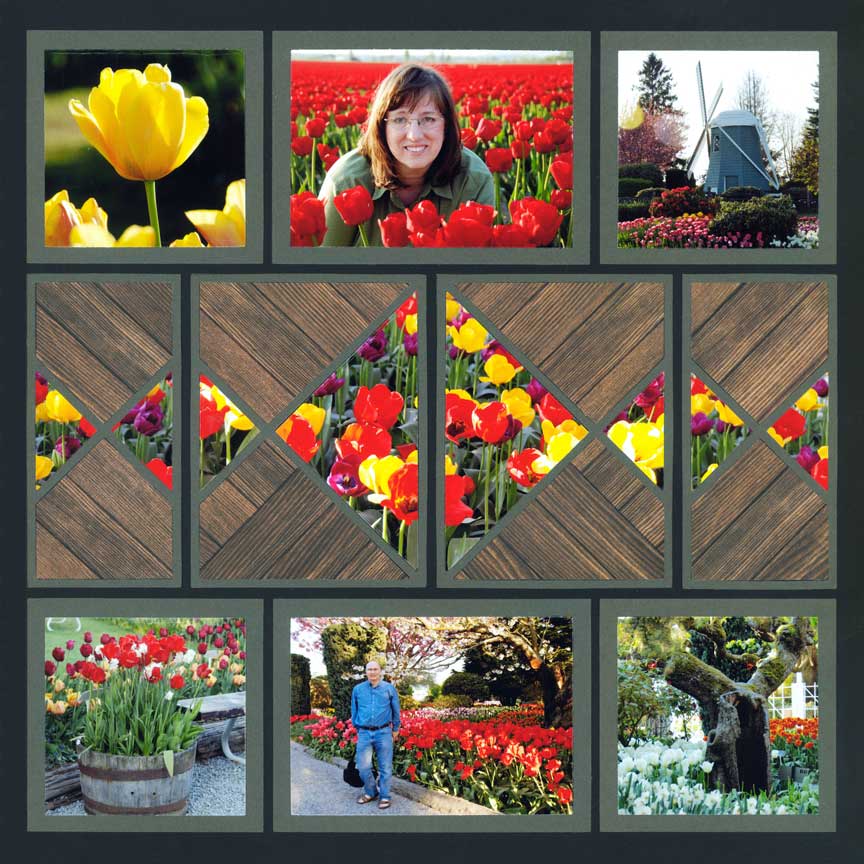
"Tulips" by Paije Potter - Pattern #371


Image

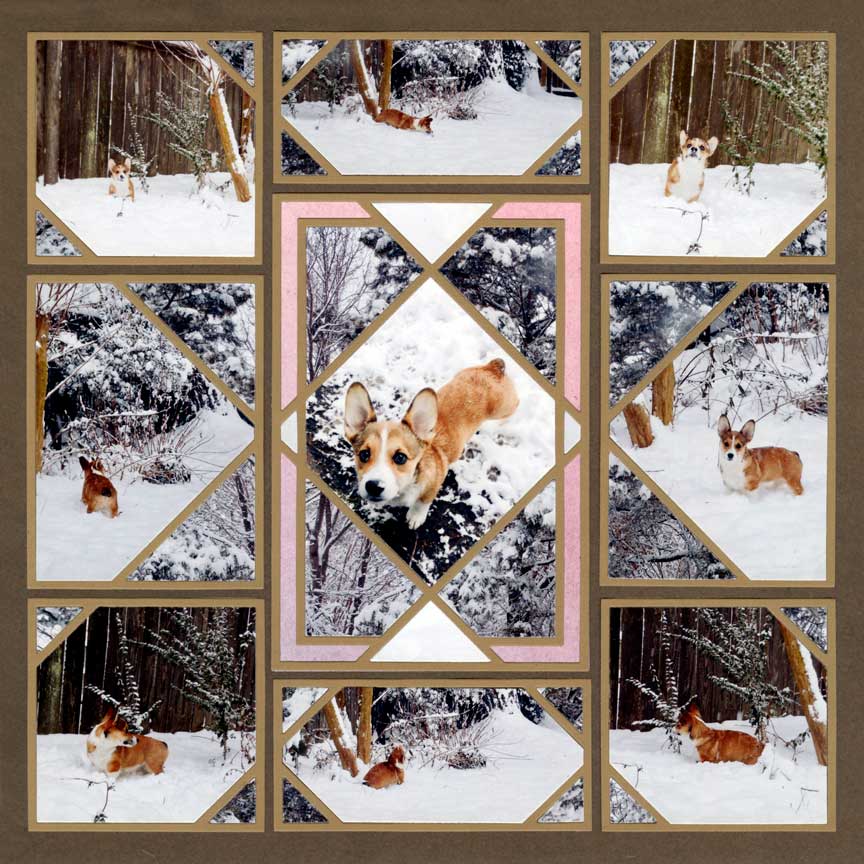
"Playing in the Snow" by Paije Potter - Pattern #477

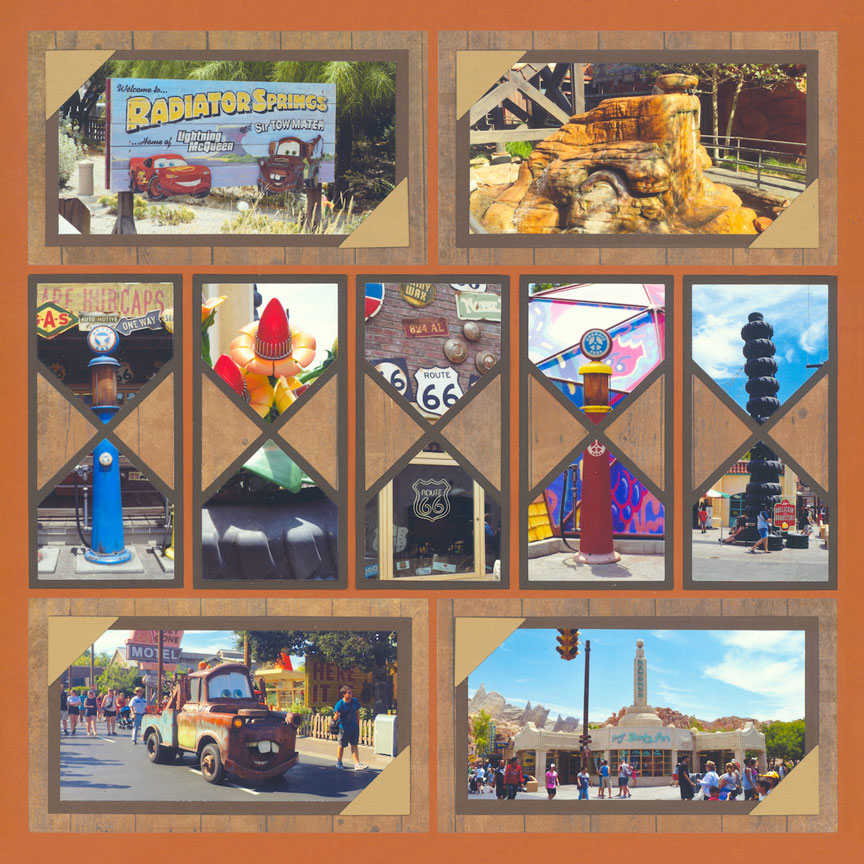
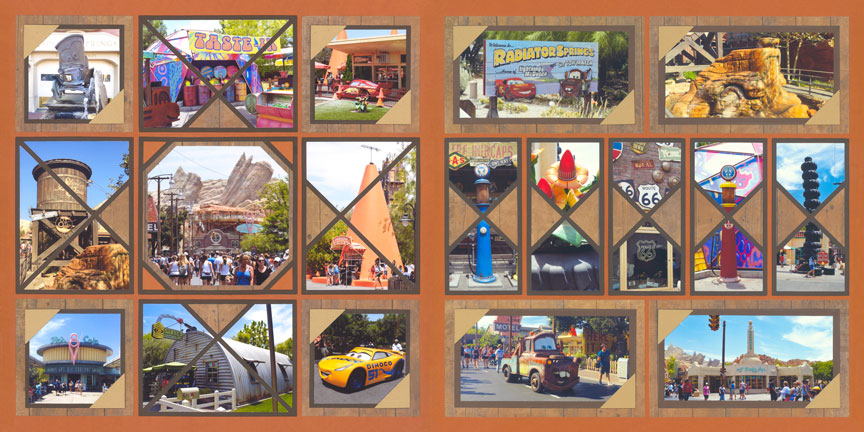
5. Using many of the patterns for the specialty dies, like the Crisscross Die Set shown here, will naturally create a focal point in the center of your layout.

Using a close-up photo, when the rest are shot at a distance, and adding a new color, like the pink here, further helps to create the focal point.

Focus Off Center
Focal points do not have to be centered. Here are some ways to create a focal point that isn't centered.

Image

"Catamaran" by Tami Potter - Pattern #112

  1. Focus on color, like Tami did on this layout. The focal photo is the only one with an ivory mat. She also added a bit of ribbon to help it stand out.


2. Use the largest element as the focal point. Here, Tami added a bit of journaling under the photo to make it stand out even more.
Image

"Alexis Age 12" by Tami Potter - Pattern #132


Image

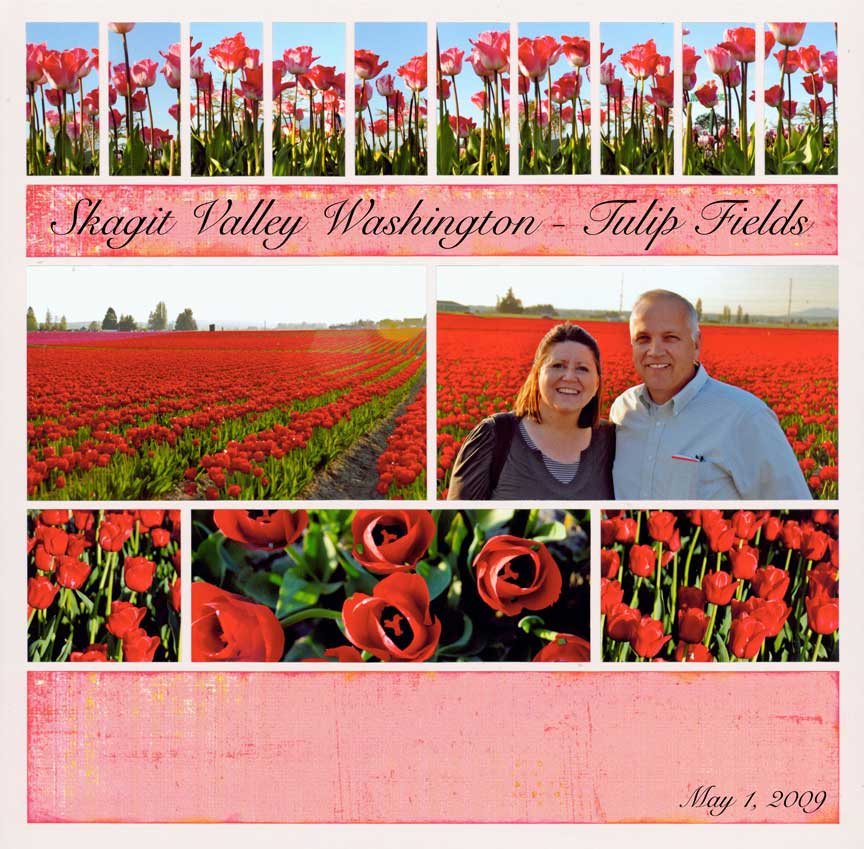
"Skagit Valley" by Tami Potter - Pattern #207

3. Try a weighted photo. When only one photo has people in it, it naturally becomes the focal point. Likewise, a close-up photo, when the rest are at a distance, could also be a focal point.


4. Add an element, like the orange sticker that says "enjoy the day!" to a photo to help it stand out even more. This photo introduces the story -- a father showing his son how to fly a kite.
Image

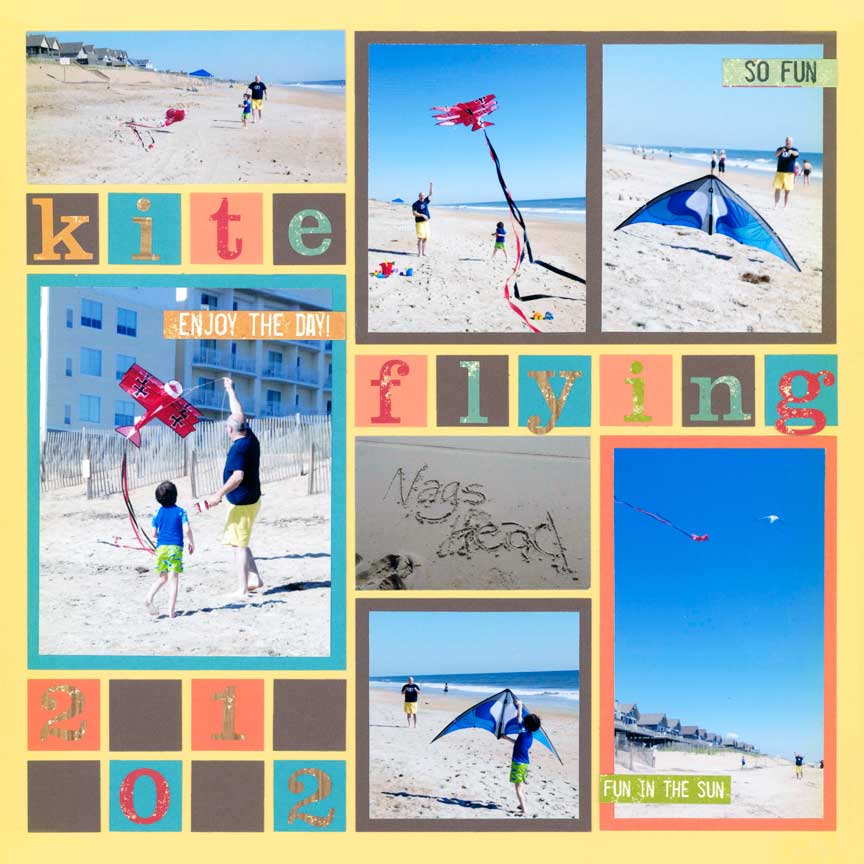
"Kite Flying" by Paije Potter - Pattern #223


Image

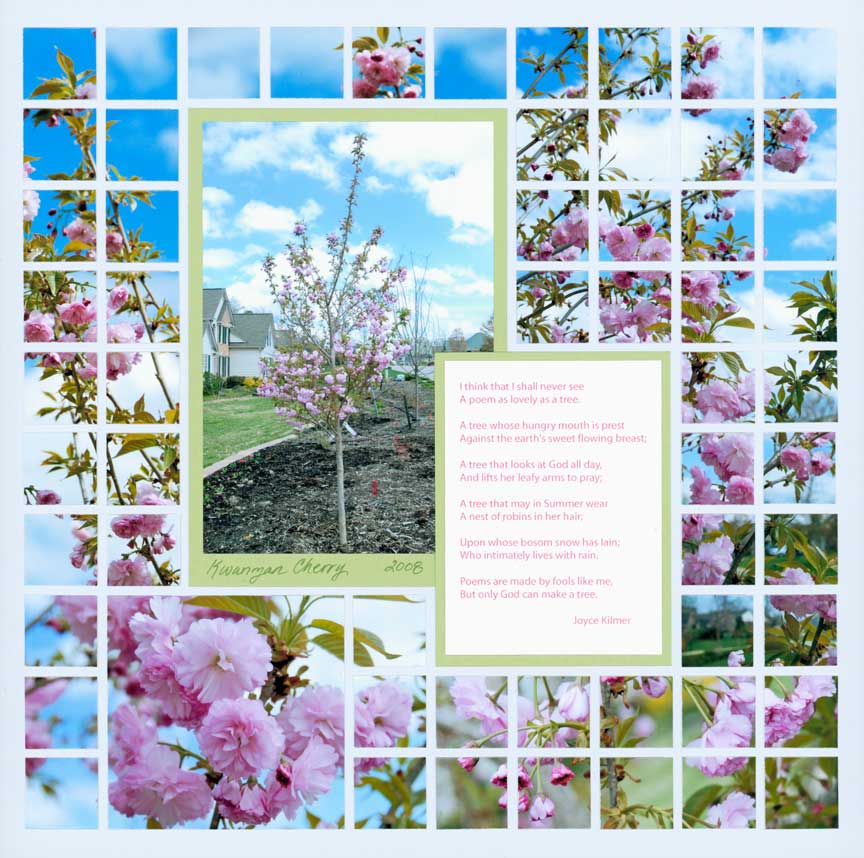
"Kwanzan Cherry Tree" by Tami Potter

5. Overlapping can help two elements become one and create a large focal point. Here both the photo and journaling block have the same colored mats, which blends them together. When using the overlap technique, make sure the element you want to give the most emphasis is on the top.


6. When using a pinwheel design, you do not always want the center to be your focal point. And since pinwheels often have equal-sized photos, the focal point isn't obvious. To draw the eye to the real focal point, Tami added the words, "squirrels beware!" to the large photo at the top right.
Image

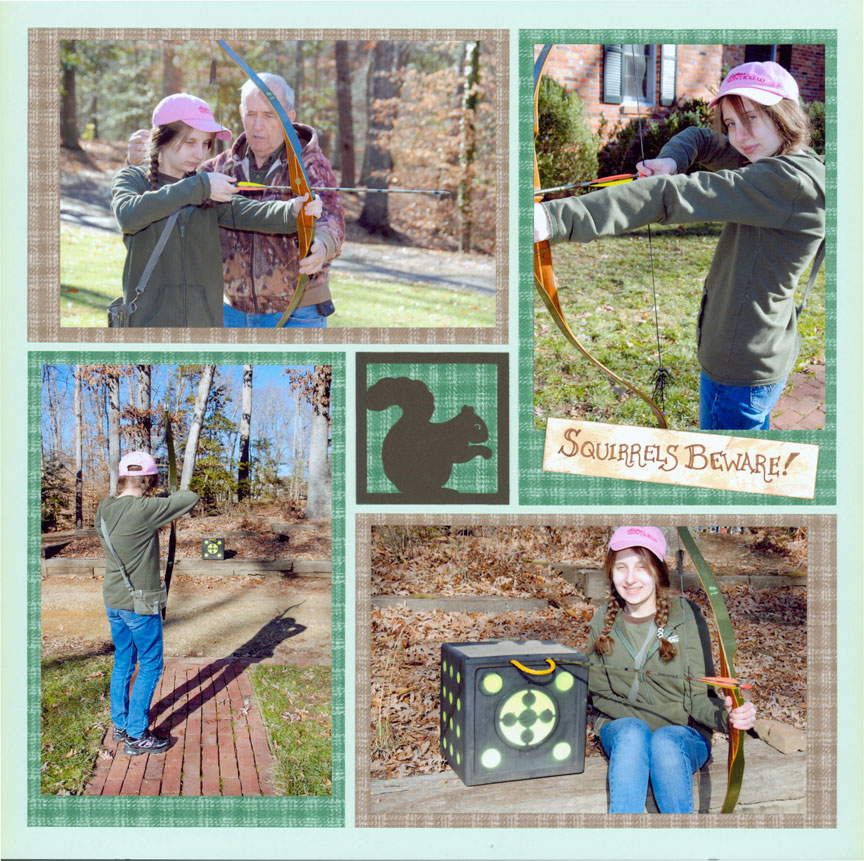
"Squirrels Beware!" by Tami Potter - Pattern #228

No Defined Focal Point

When your layout does not have a defined focal point, you can create one by adding a companion page with a clear focal point. For two-page spreads, you only need one focal point.

Check out some of these examples.


Image
On this layout there is no center and all the elements are equally balanced.

Image

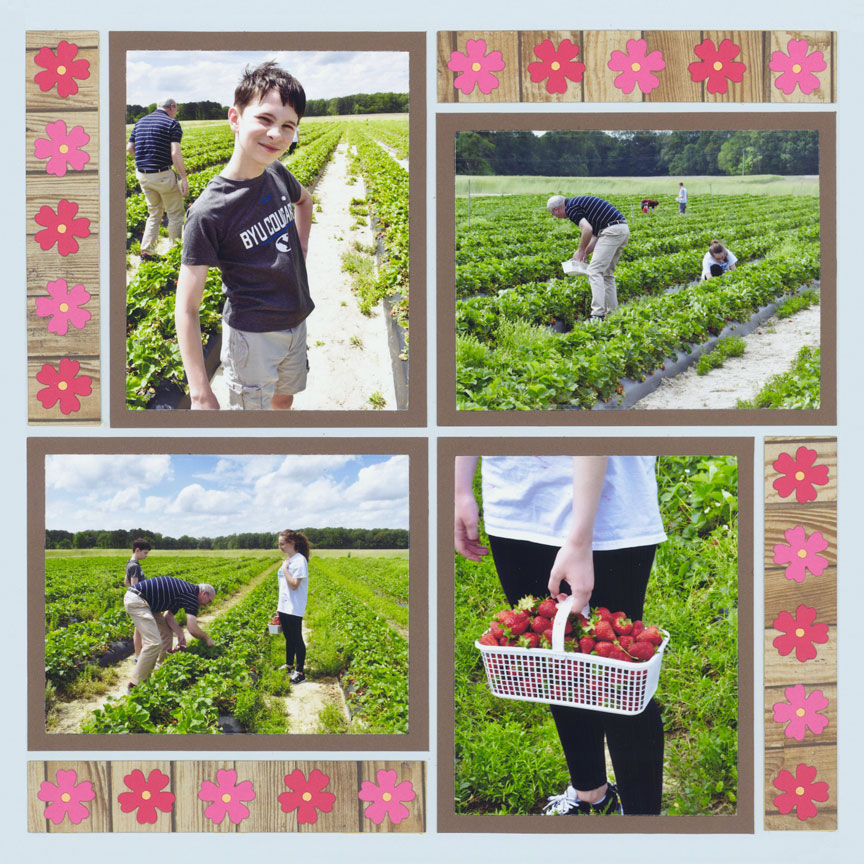
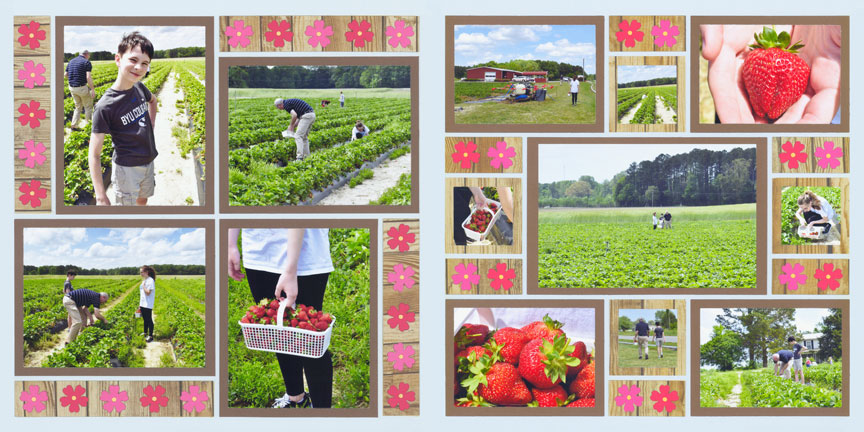
"Strawberry Field" by Paije - Pattern #357 & #202


Even though the left layout does not have a clear focal point, the right layout has the large photo in the center. This focal point gives the eye a place to rest for this two page spread.


Likewise, on this layout, all the elements are equally balanced.
Image

Image

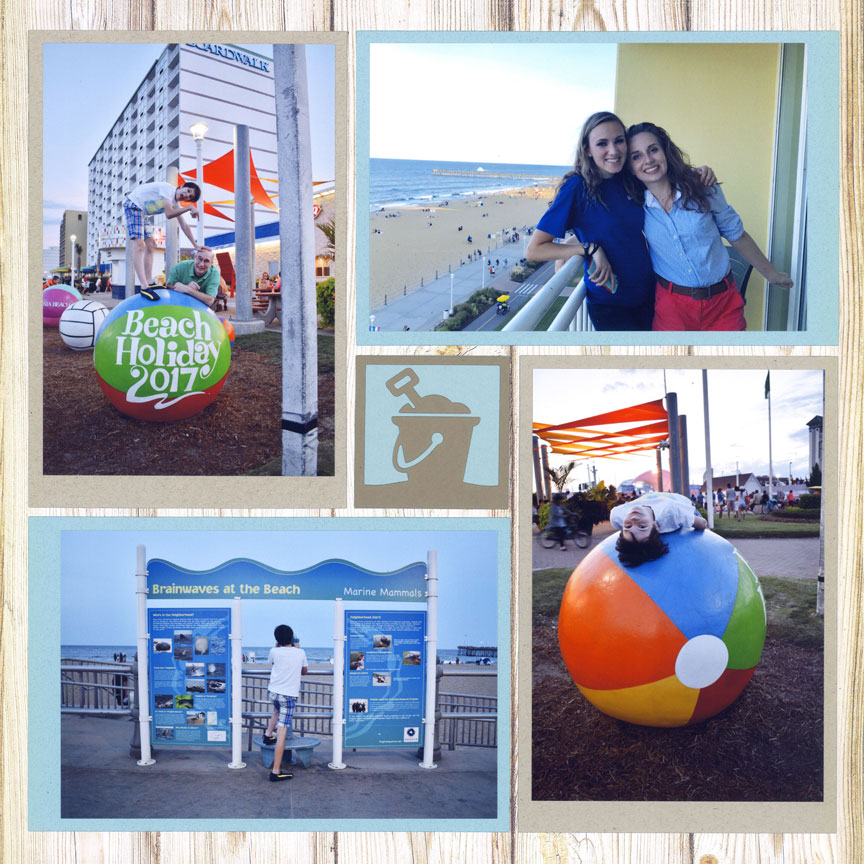
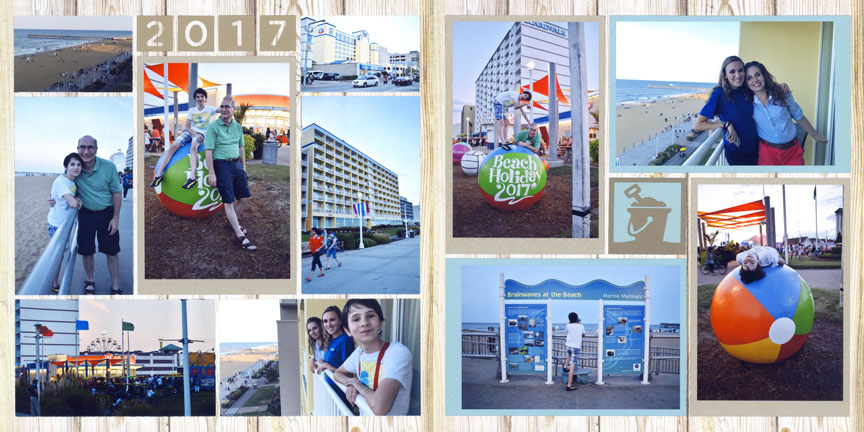
"Virginia Beach 2017" by Tami Potter - Pattern #380 & #228


However, when you add the second page, the focal point is clearly on the left side, below the date.


Image
On this rows layout, the elements repeat, so there is not a clear focal point.

Image

"Carsland" by Paije Potter - Pattern #344 & #345


When matched with a column pattern, the focal point for the entire spread is the the X-Factor design in the center of the left page.


This is a two column layout with a radial balanced design. Radial designs, like pinwheels, don't aways have a clear focal point since the elements are equally balanced on the layout.
Image

Image

"California Trip" by Paije Potter - Pattern #395 on Left


On the left, Paije used a symmetrical design to make sure this two page spread had a clear focal point. It's clear that this page is about two sisters and their trip to California Adventure park.