

The Nested Pocket Dies have been a great tool for making one of our family traditions, a Countdown to Christmas or an Advent celebration calendar, a part of our yearly holiday makes. It’s a way to prepare the kids for celebrating the true meaning of Christmas, and there are so many different options for the contents each year.
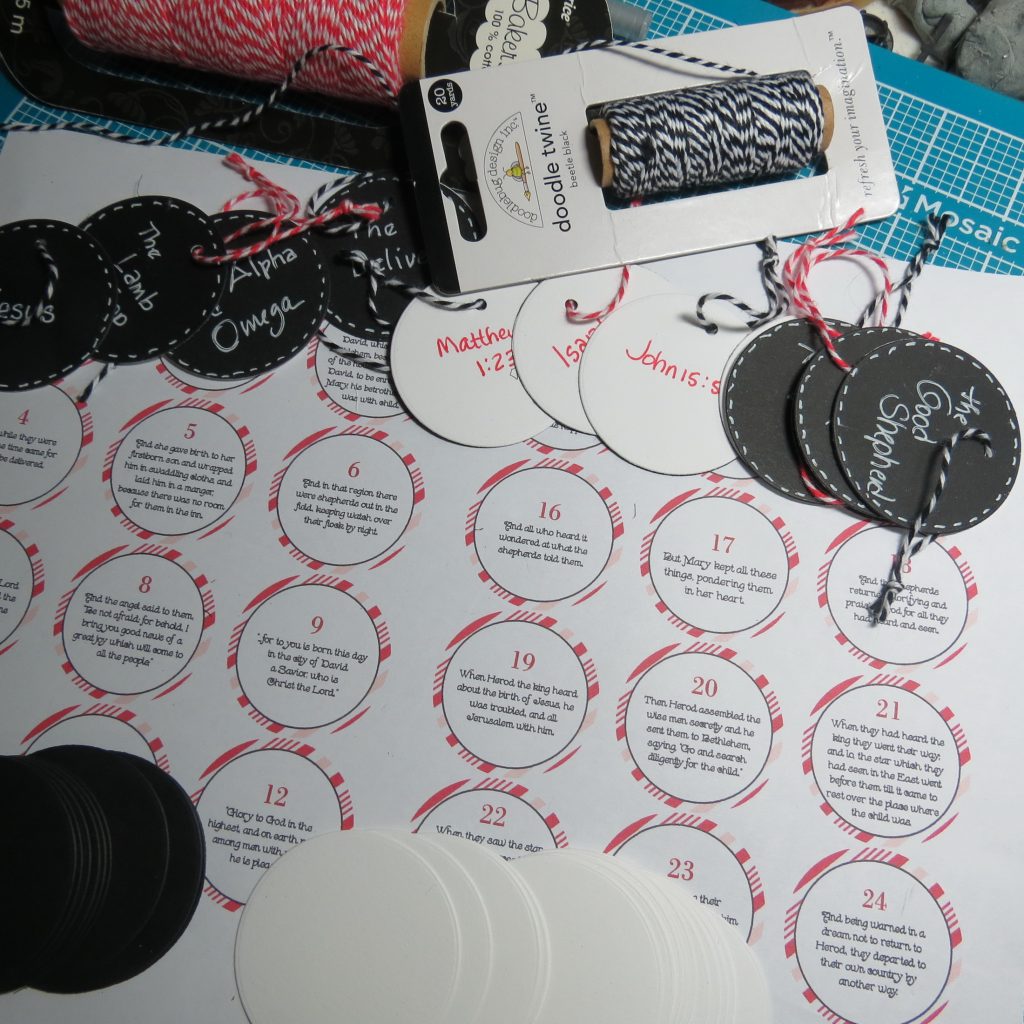
Some years we’ve told the Christmas story a bit each day with verses and activities, some years have been special things to do to help others enjoy the season and learn to enjoy giving to others.
This year I considered a shortened version and make it about 12 cookie recipes to bake, include the recipe and take pictures of each to include. I have done 12 x 12 pages before with a 4×4 pocket. I thought that might be nice for an 8×8 mini album. I may still do that!
We also took on a Jesse Tree tradition with handmade ornaments for each of the images. I think this would be a good way to store the ornaments as you take one a day and hang them on your tree, or on a branch “tree” or another way to display them. Making them a uniform size to fit in the 2×2 pockets is perfect.

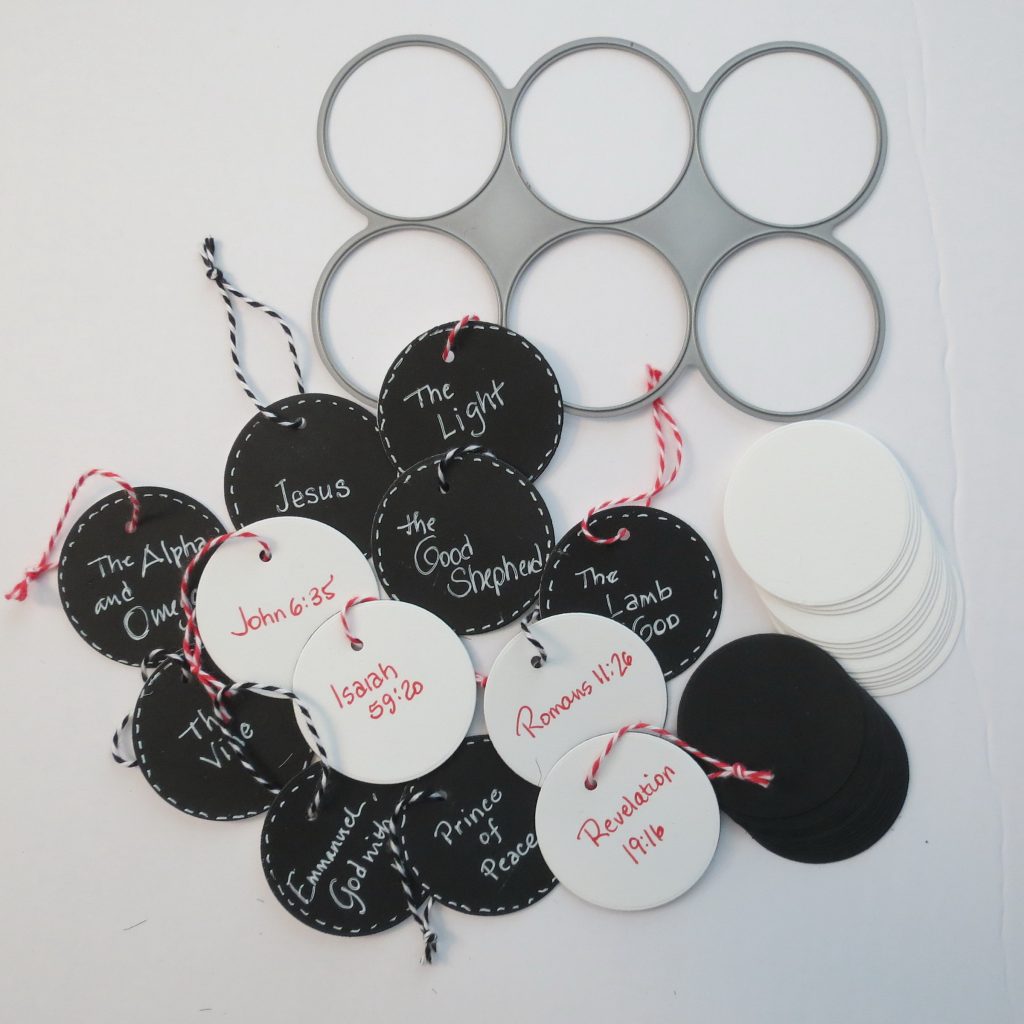
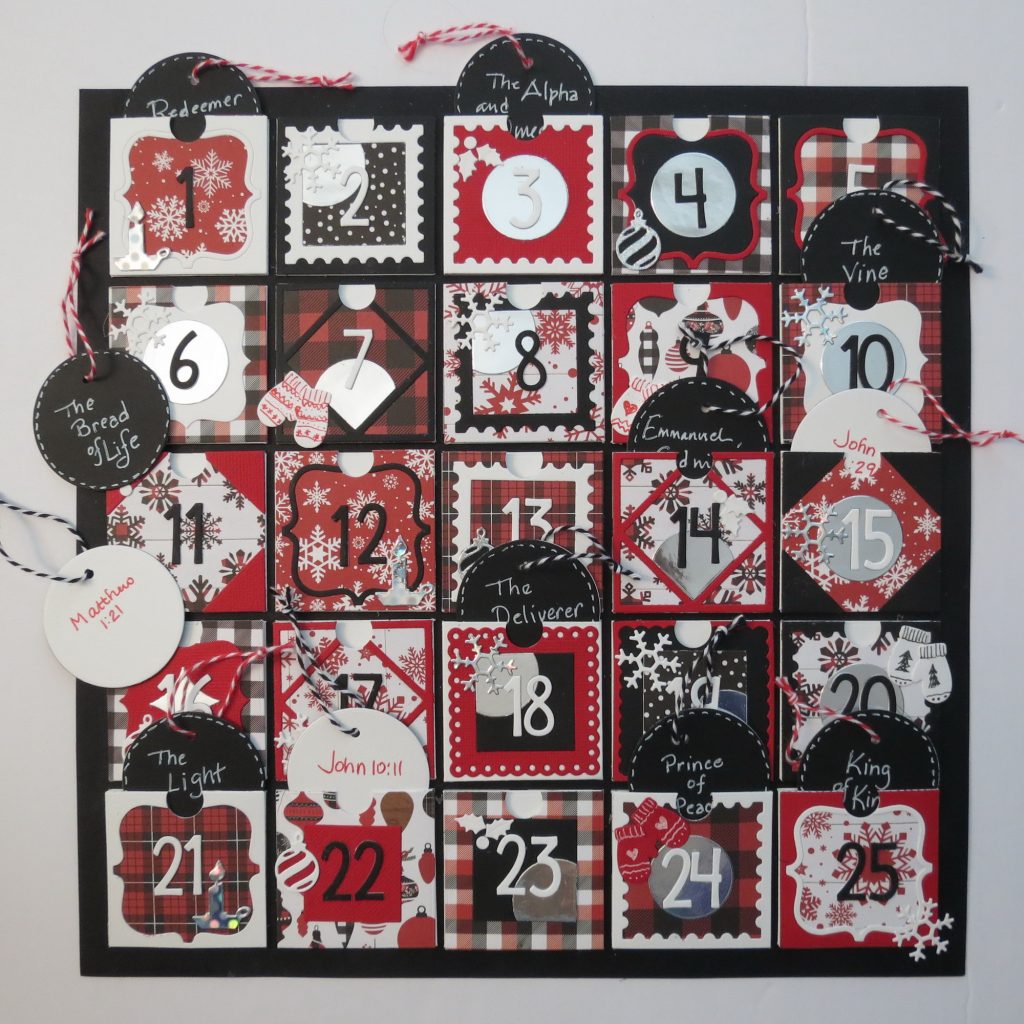
This time I thought it might be nice to put the names of Christ on each tag and a Bible reference for the flip side. I may use this in conjunction with a branch from the yard to hang them on as we do a new one each day. It should stretch us to learn names beyond the verse in Isaiah 9:6 that we often quote each Christmas “and his name shall be called Wonderful, Counsellor, The mighty God, The everlasting Father, The Prince of Peace.” (for a list with the names of Christ you can find it HERE )
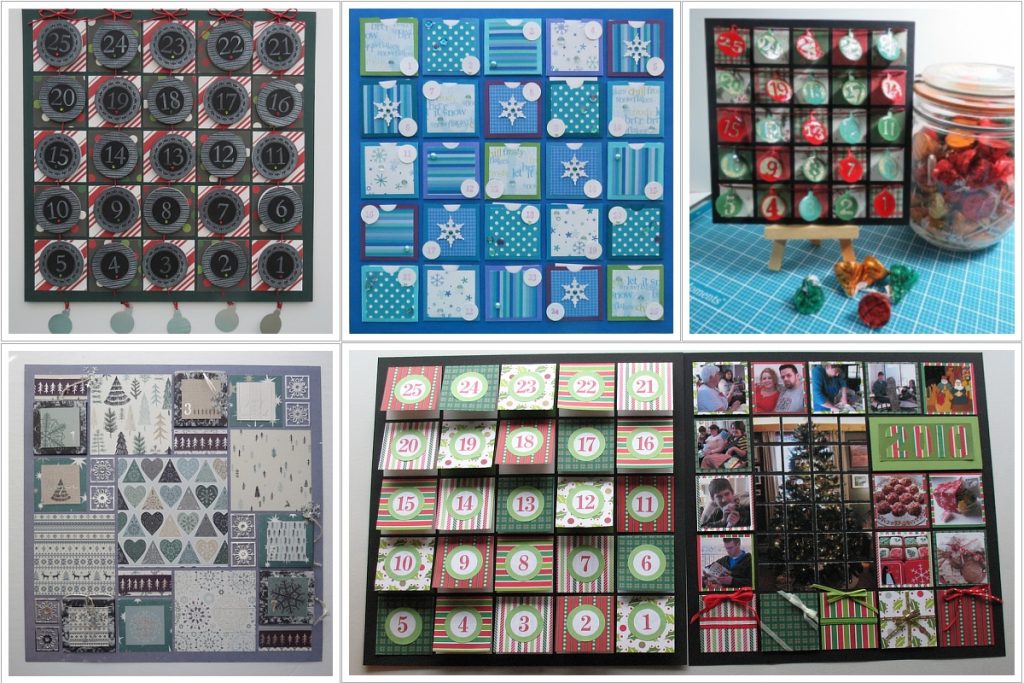
The Countdown can be hung in a 12×12 frame with the glass taken out so you can access the contents of the pockets and at the end of the season, go into a page protector in your scrapbook for the year, or stored to be used again, and restore the glass to be used again.
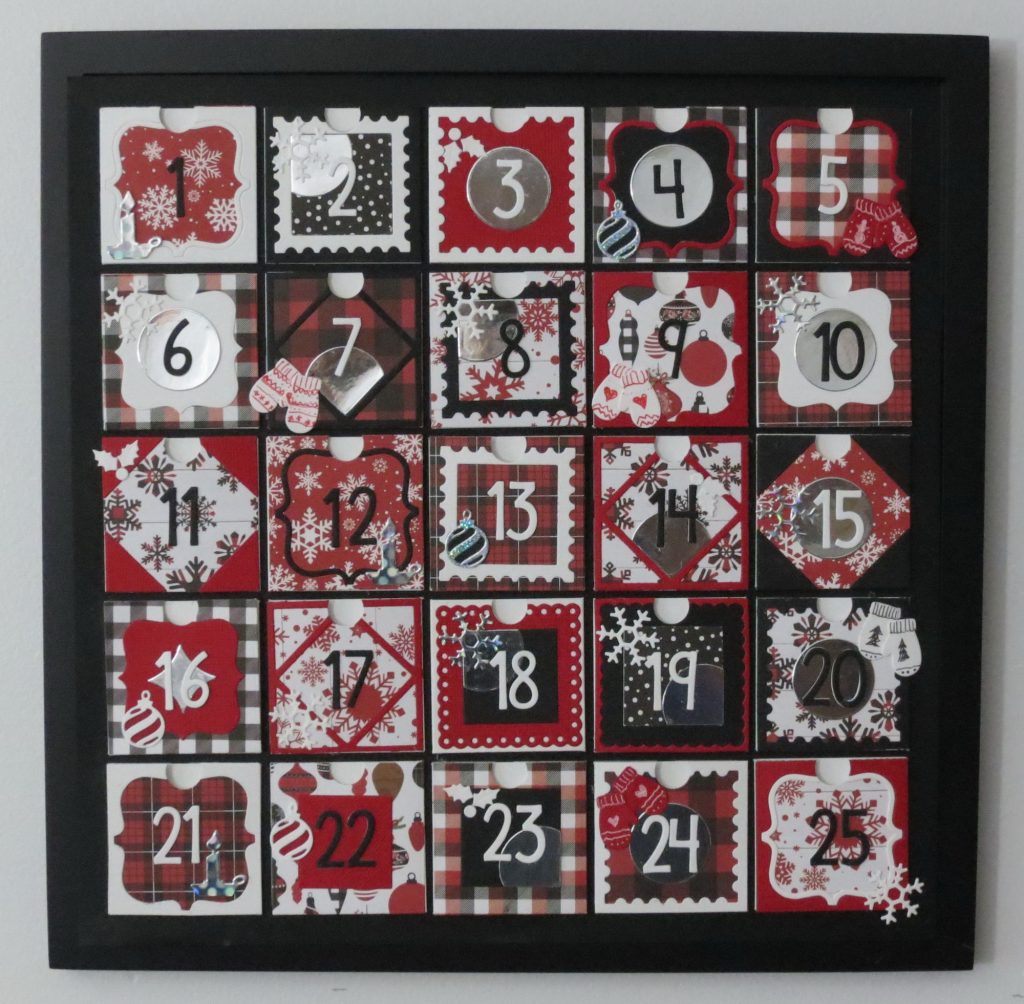
Let’s get on to taking a look at this project and how I’ve used a multitude of Mosaic Moments Dies to make this pocket full of Christmas!
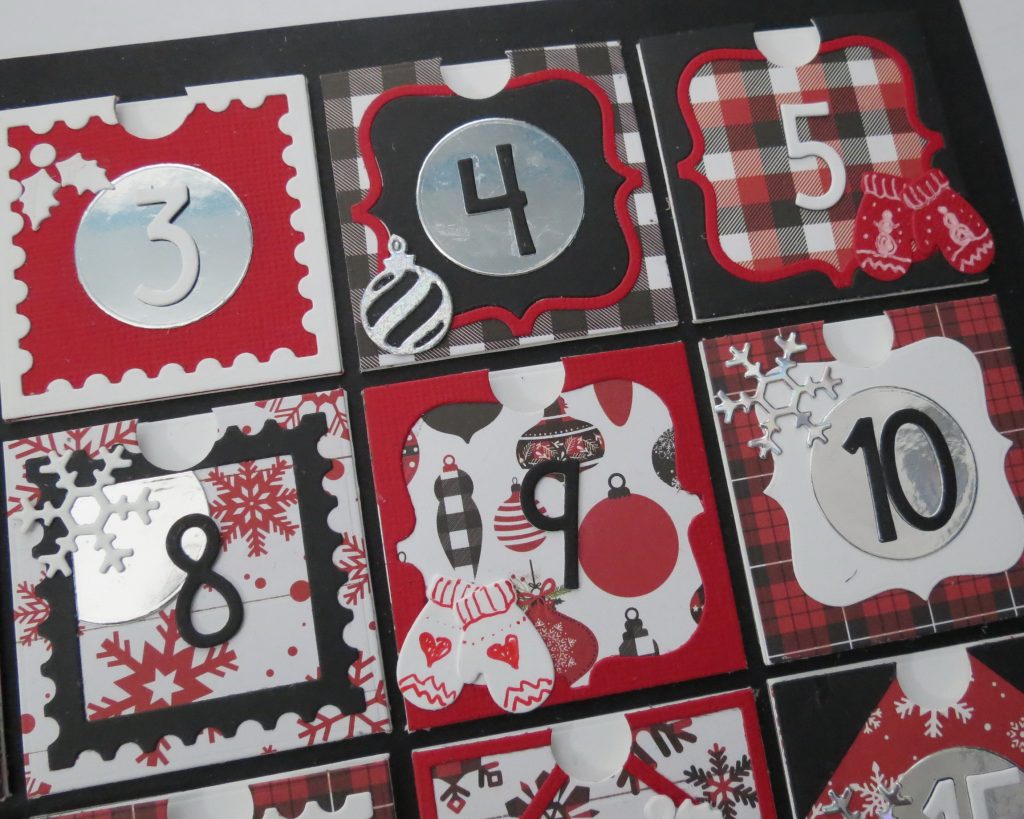
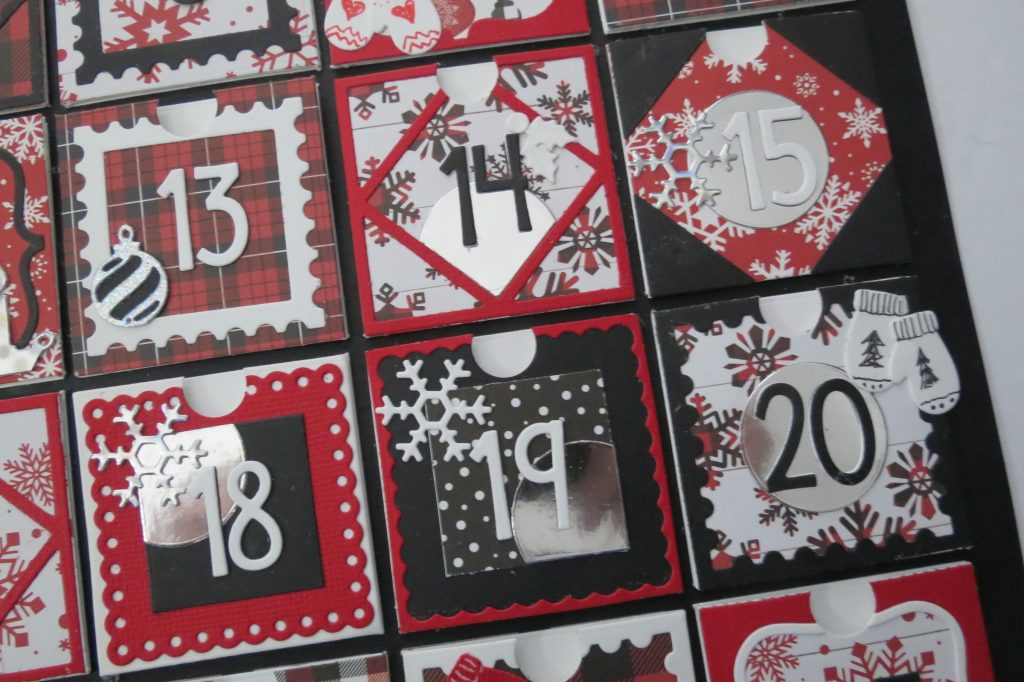
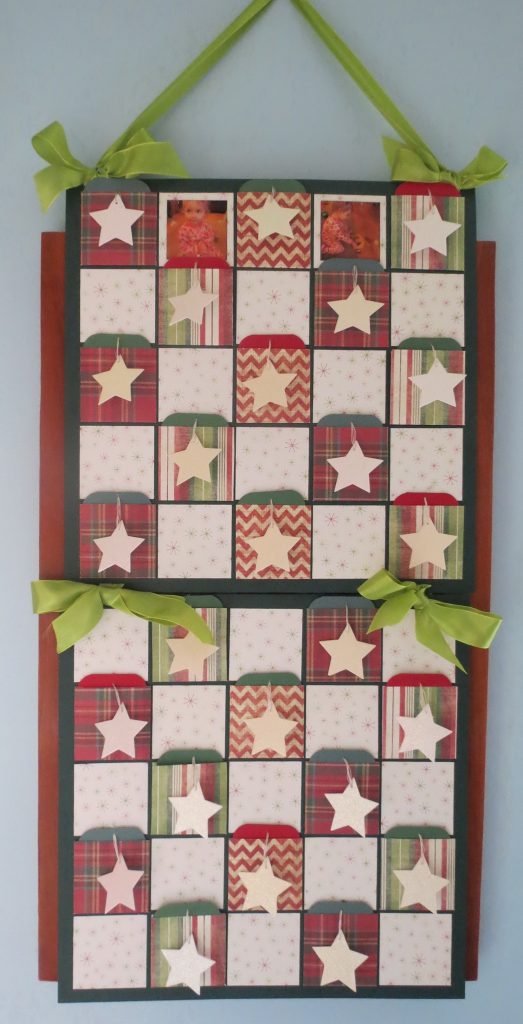
Because Farmhouse Style, Lumberjack themes and Black Christmas trees are on trend at the moment, I thought I’d use patterned papers, cardstock and grid paper to follow that trend. I’ve built my countdown on Black Grid Paper with papers from Echo Park’s Lumberjack Christmas Collection from Lori Whitlock, from a 6×6 paper pack where the scale of the prints are just right for our 2×2 pockets. I also included silver paper and holographic paper for a few of the embellishments. Pattern #101 is our choice for this page.
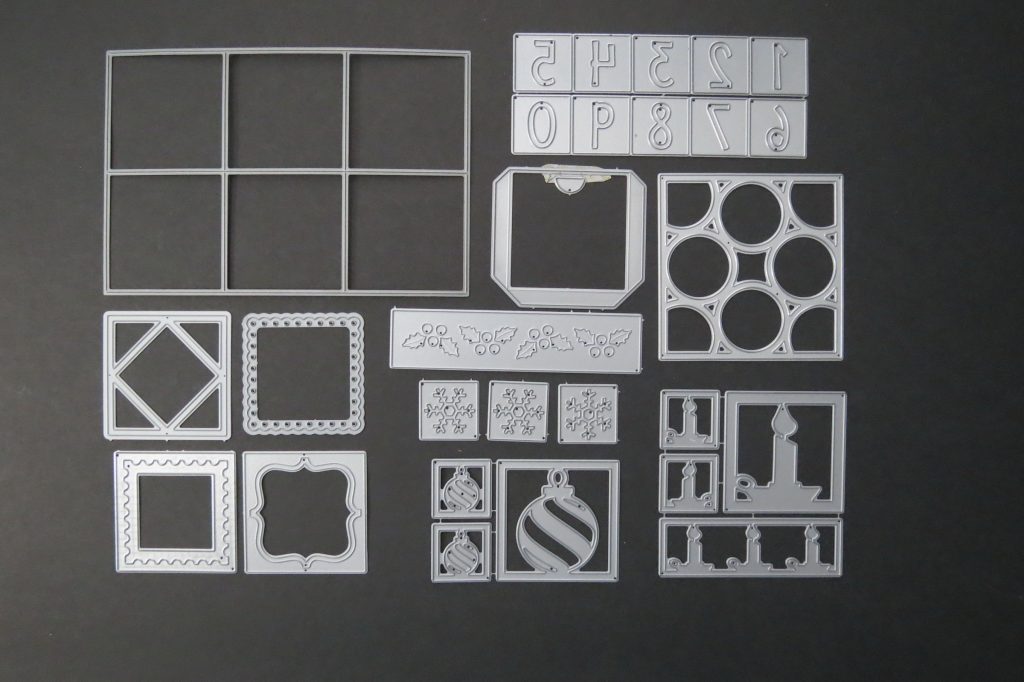
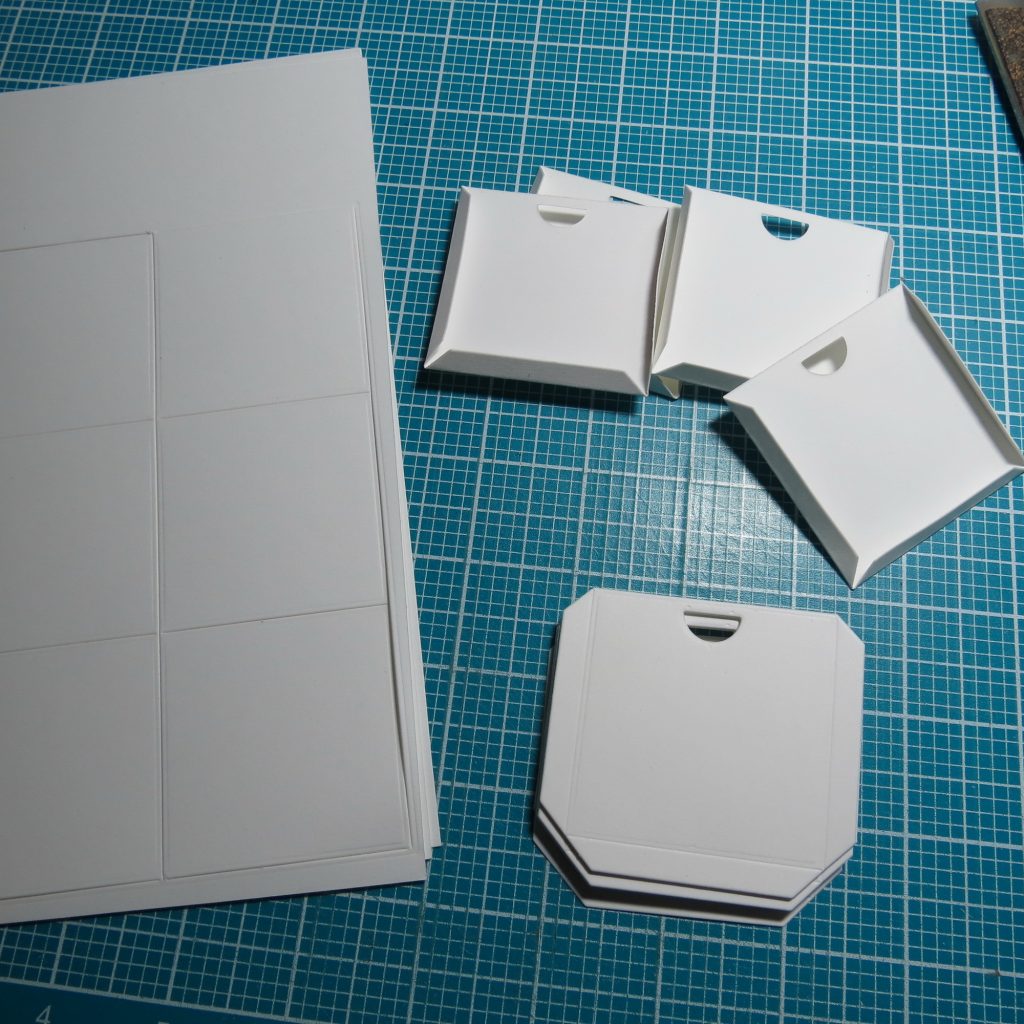
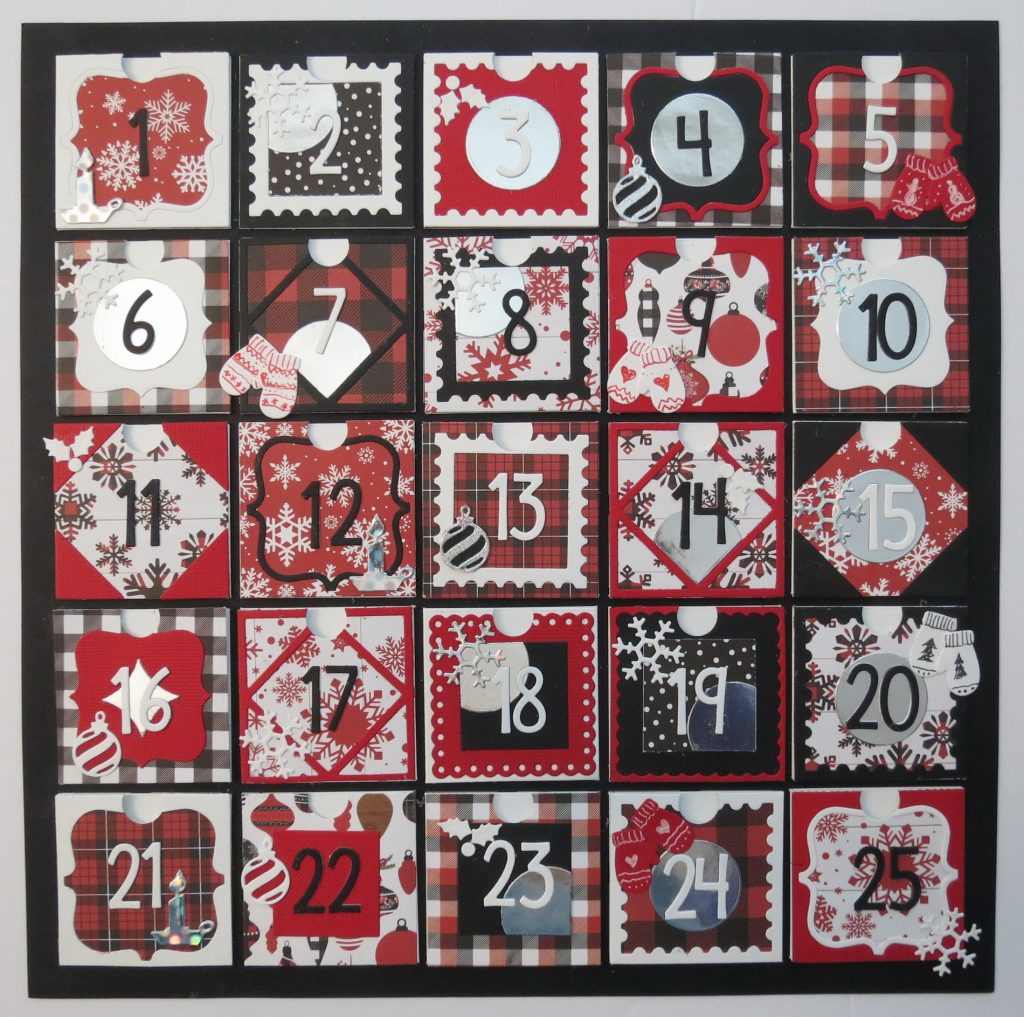
The Nested Pocket Dies have 3 dies, a 4×4, a 3×3 and a 2×2. I cut 25 – 2×2’s in white. The Grid Cut 2.125”x 2.125” let me cut out all the backing pieces for the pockets. I like using backings to mount the pocket to the grid as pockets will get lots of use so I want that strong bond. A liquid glue to form the pocket is one way and then strong tape adhesive to mount to the grid. Then still using the Grid Cut 2.125” die I cut squares from several patterned papers with red, white and black.
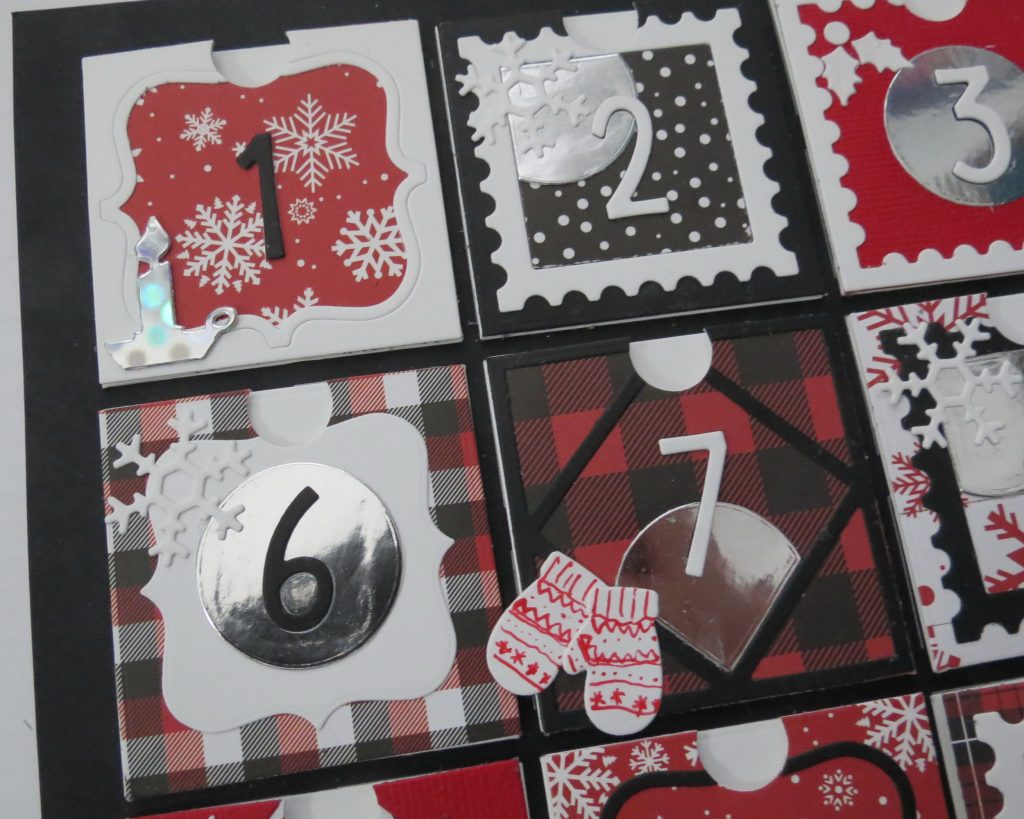
For frames for each of the squares I used these dies: Stamp Die, Scallop Dot Die, the 2×2 from the Nested Scallop Frame Die, Graphic Die Set 1, and the center cut square leftover from the Stamp Die.
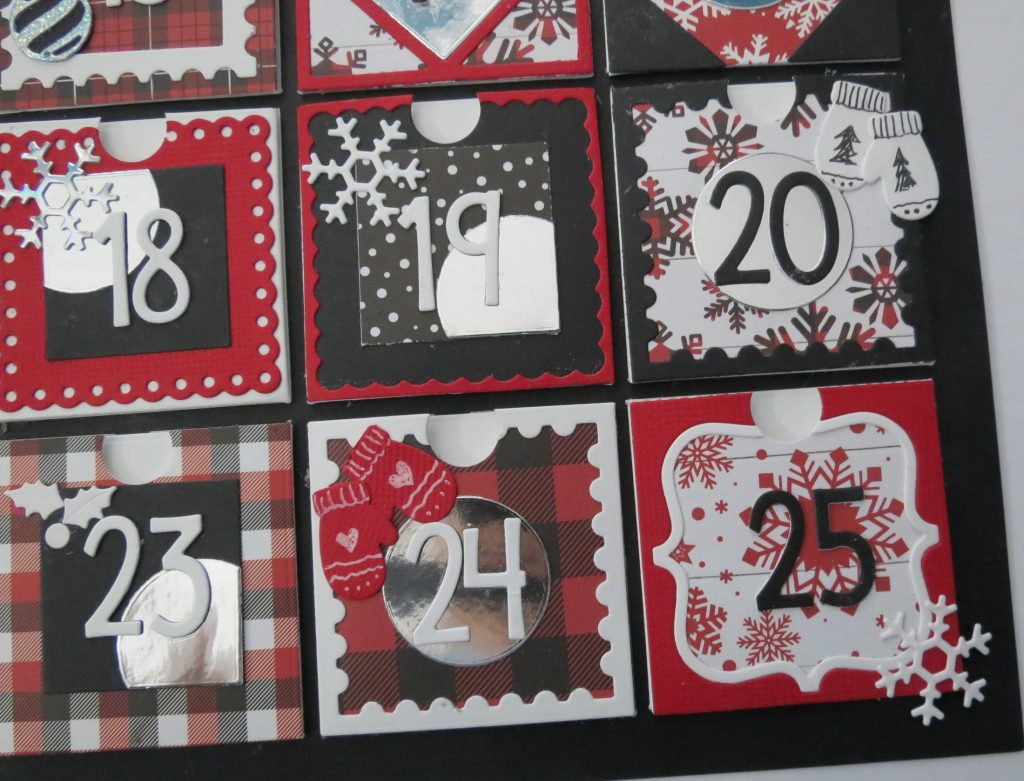
The Circling Around Die (now discontinued) was perfect for cutting the circles and quarter circles I used to set off and mount the numbers.
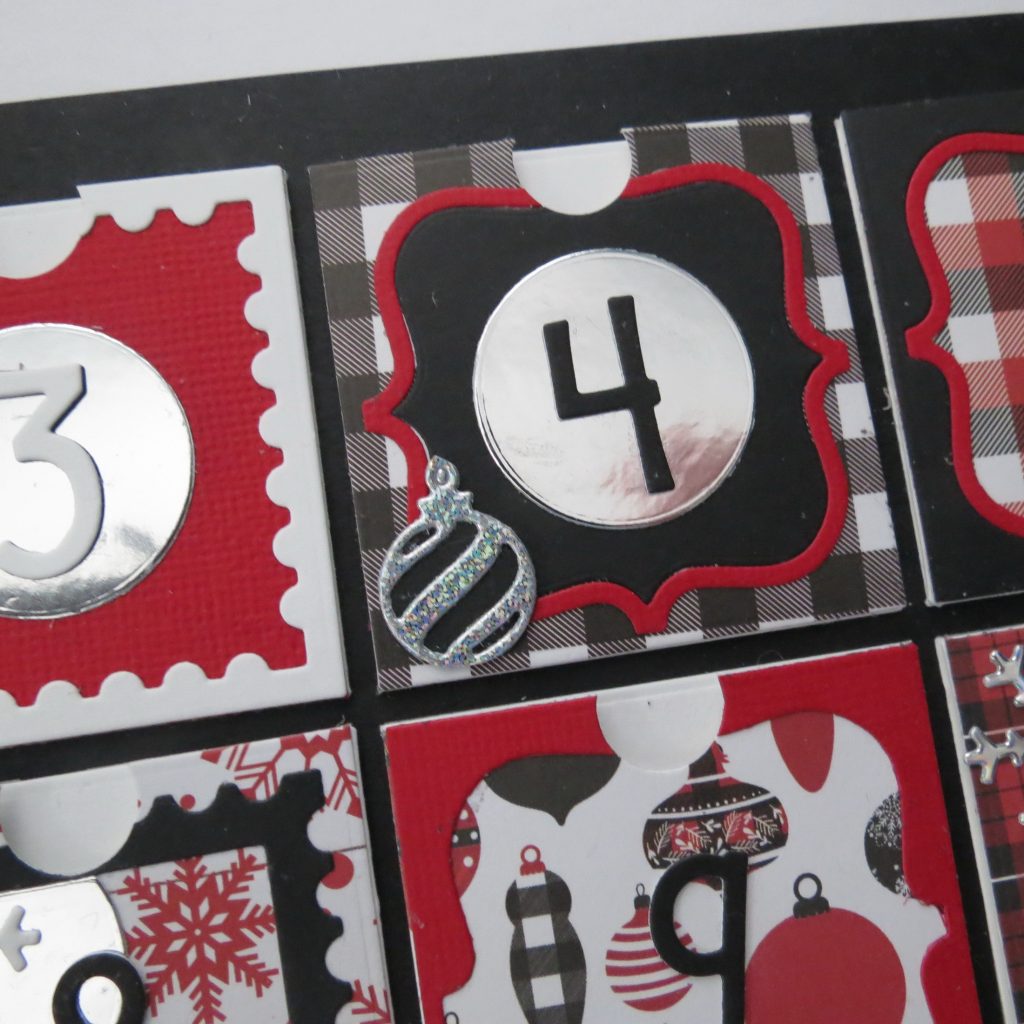
The Numbers 3 die set were cut twice, once in black and once in white. I wanted to stack them for some dimension and this allowed me to choose either the black or the white as the top layer. Whatever looked the best on each was how I made my choice.
To finish each square off I used snowflakes from Mr. Snow & Flakes 1” square die, the Candlelight Die, the Swirl Ornament Die, the Holly Border Die set and the mittens from the Mitten Border Die Set. Cutting a variety in red, white, silver and holographic papers. Adding a few decorative touches with a white gel pen and red and black Uni-ball pens.
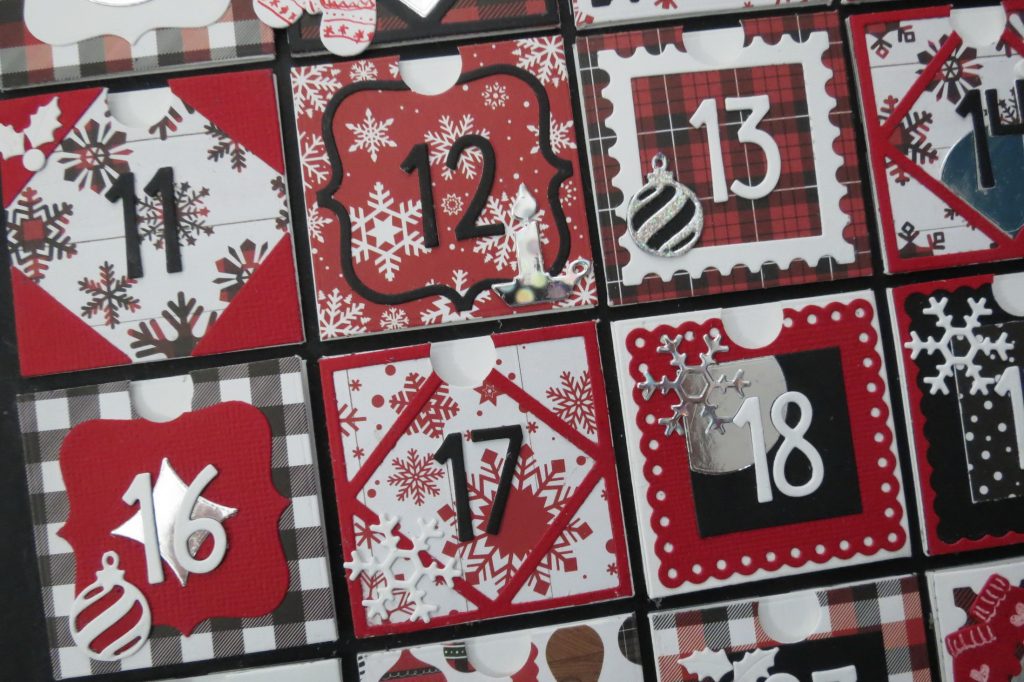
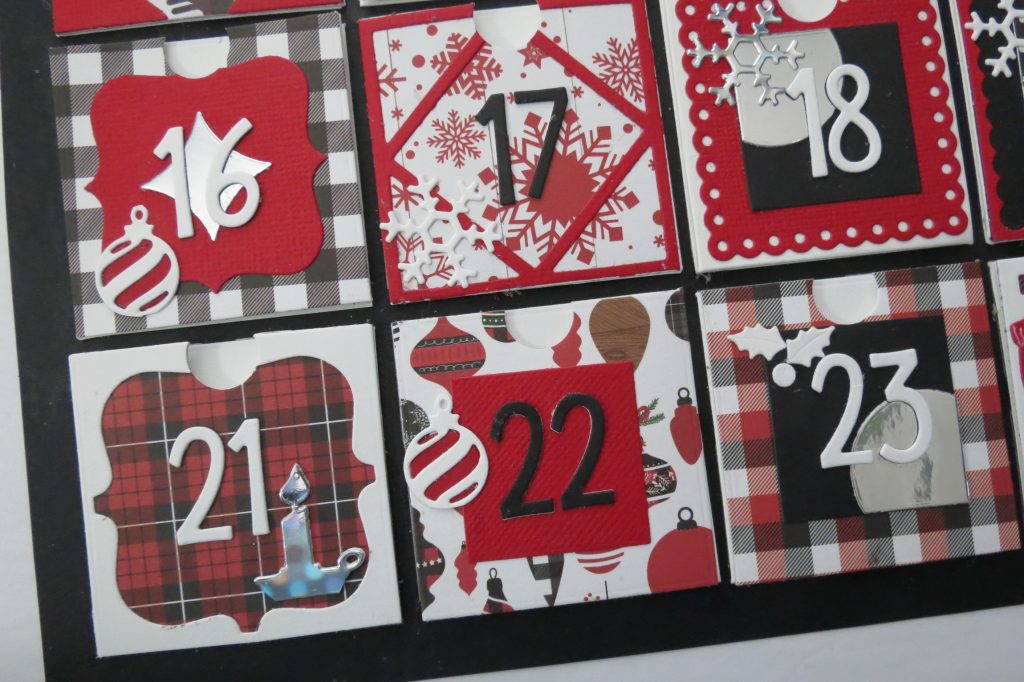
Before adhering, the squares or adding the numbers, I played around with them to check the placement and how the color combos would work.
One of the nice things with these ornaments, they do not need to be in the same order from year to year.
There are more Countdown and Advent ideas from my Pinterest board and we have more ideas here on the blog, be sure to check them out if you’d like more ideas.
More Advent Ideas on Mosaic Moments
Have fun exploring the possibilities that can be created using our Nested Pocket Dies and you too will have Christmas in your Pocket!
Andrea Fisher