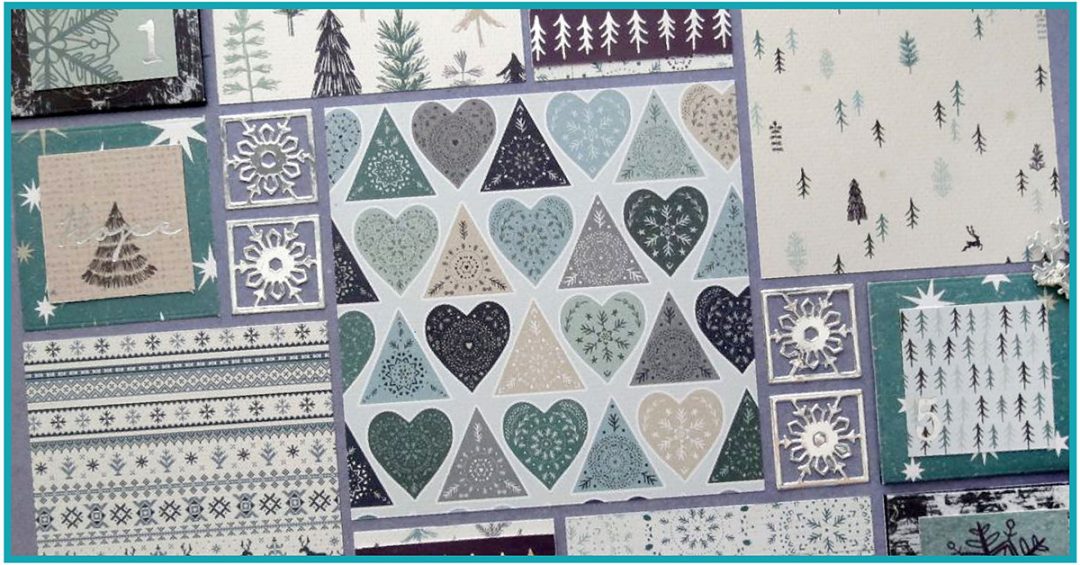
When I was a child one of the much-anticipated activities of the Christmas season was the Advent Calendar picture. Daily, we would get to open a flap to reveal another picture and sometimes even get a treat. It’s a fond memory that has challenged me over the years to find ways to prepare my children and grandchildren for Christmas with the real reason for the season.
We’ve done a variety of Advent calendars and shared them here on the Mosaic Moments blog in past years, and this year I’ve got one I’ve put together using The Nested Pocket Die Set, but I also wanted a layout that would better document each of those days events…some days we bake, some days we make ornaments, and we always have something to read as a part of the Christmas prep. I want to include some random shots of several moments with a nice unified scheme.
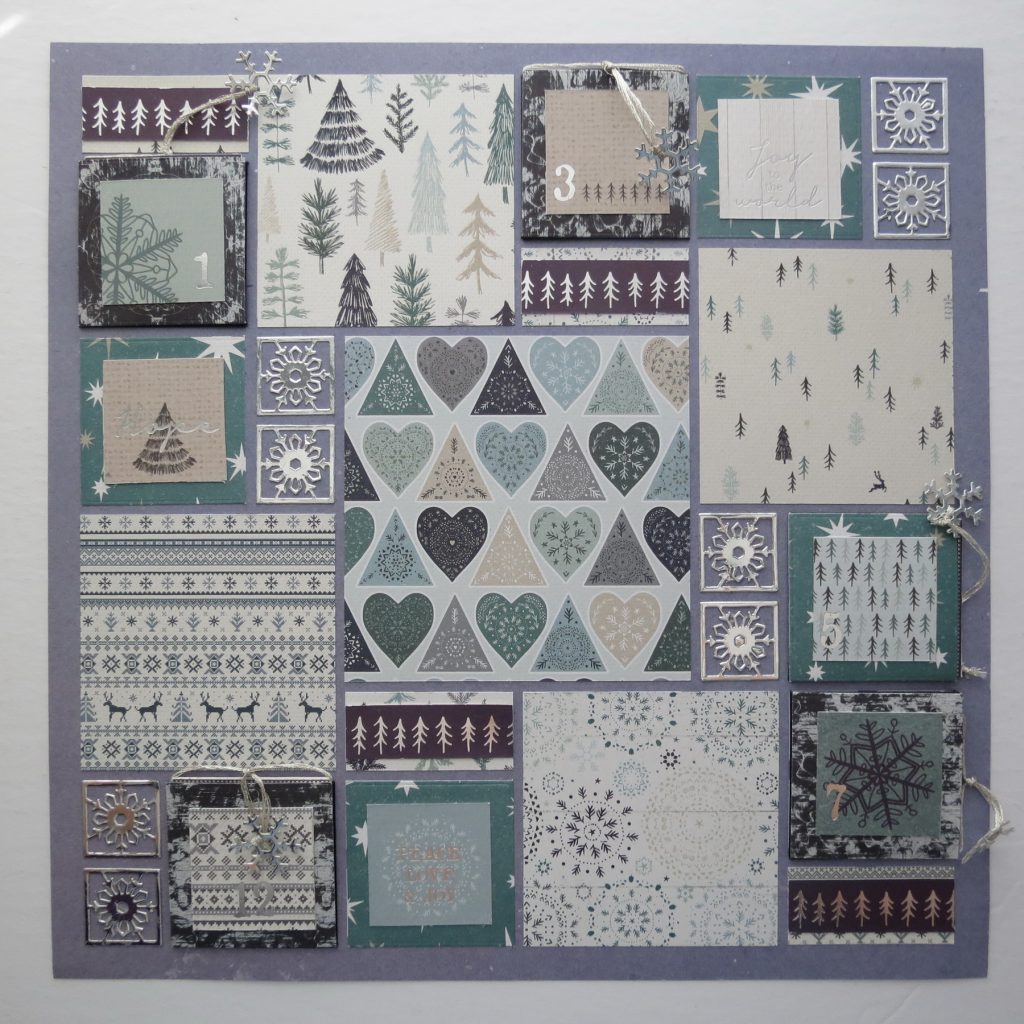
This year there are several great options for Advent pages on the market that come with coordinating papers too.
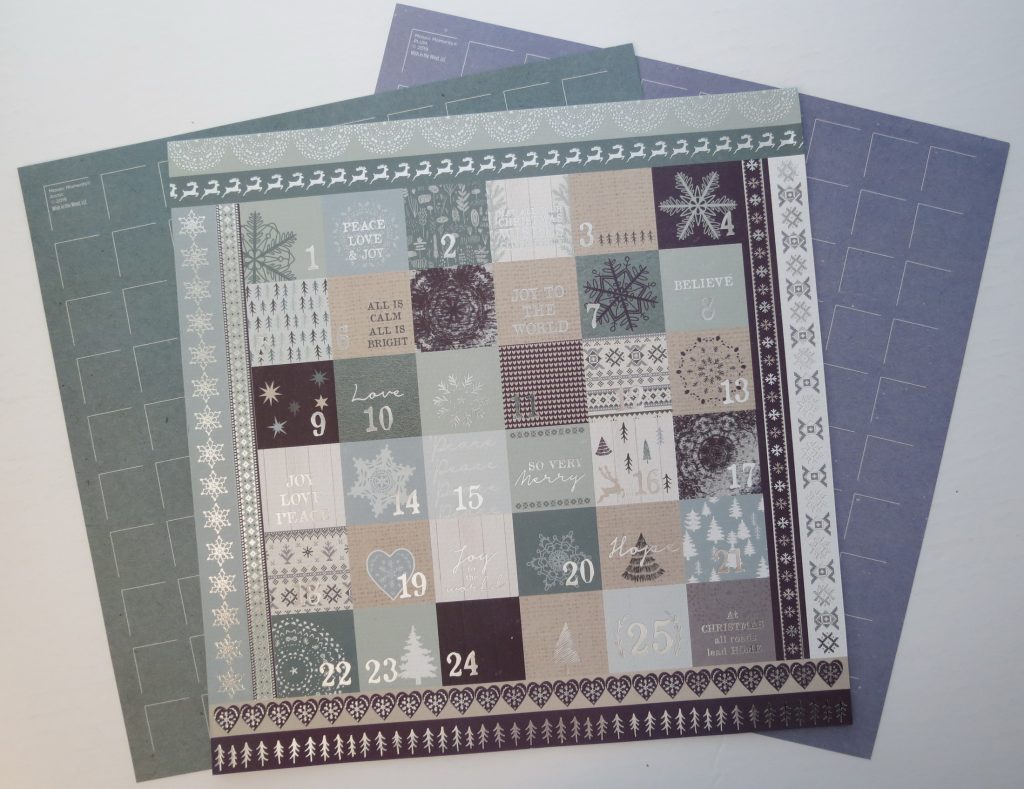
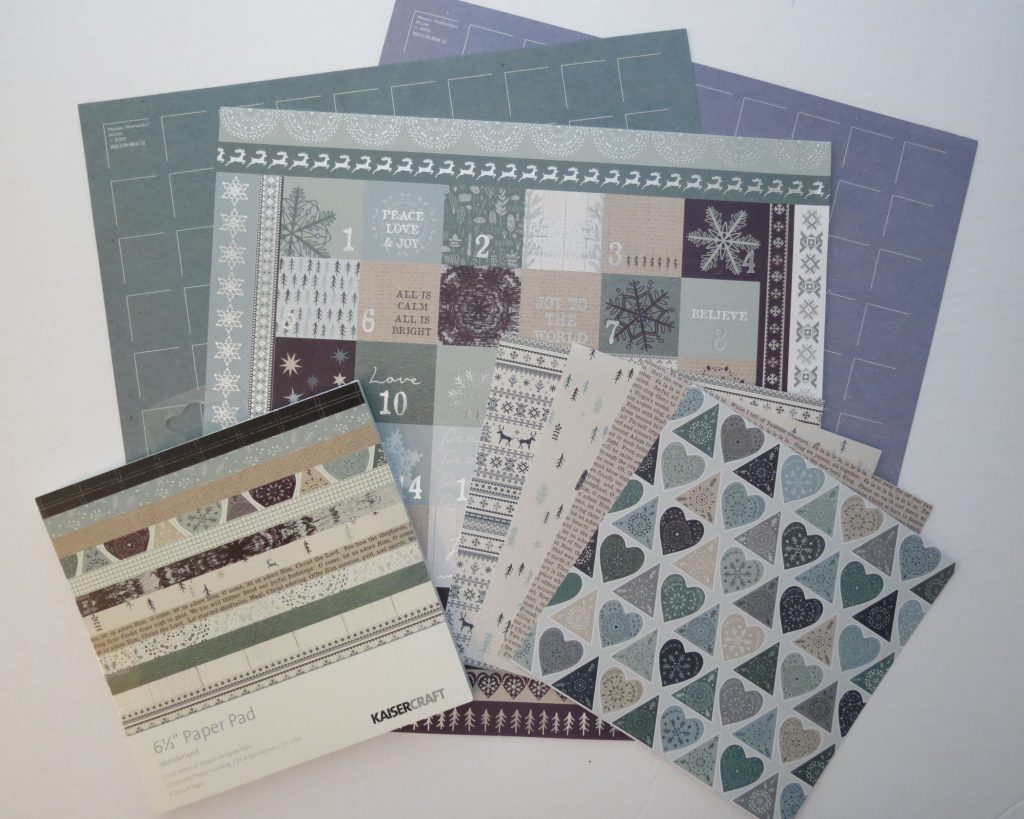
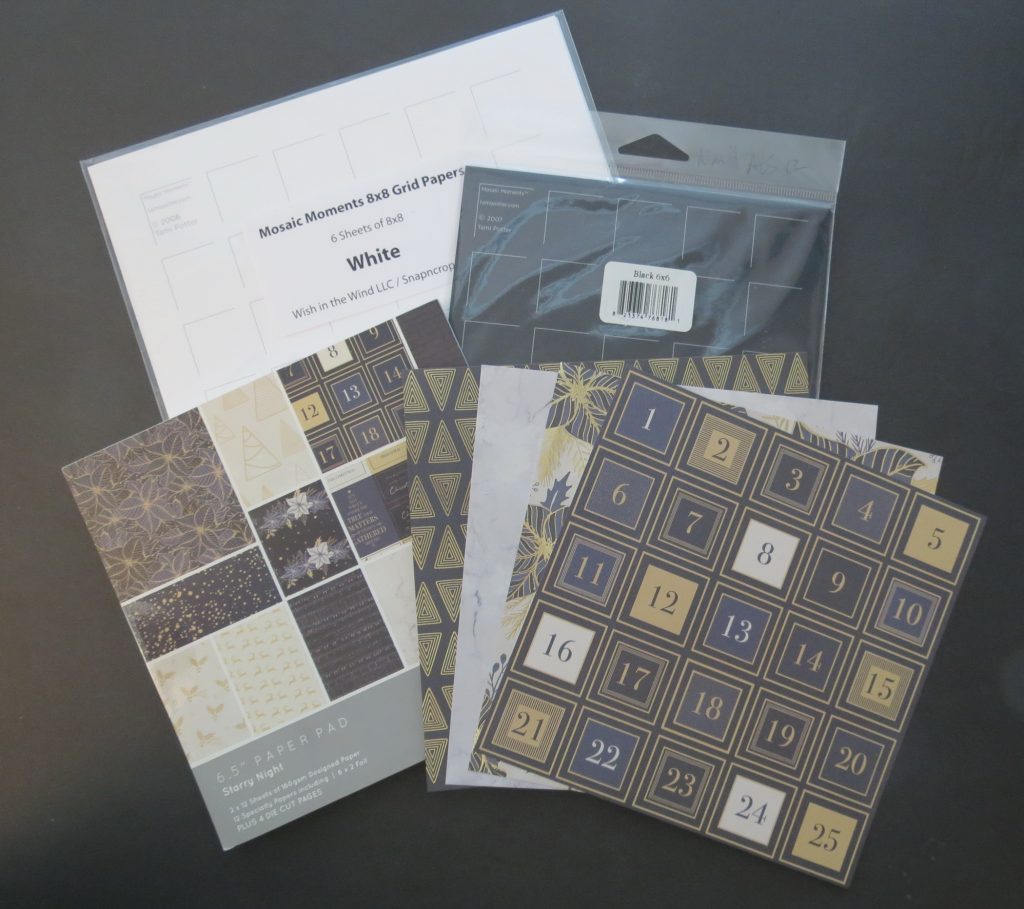
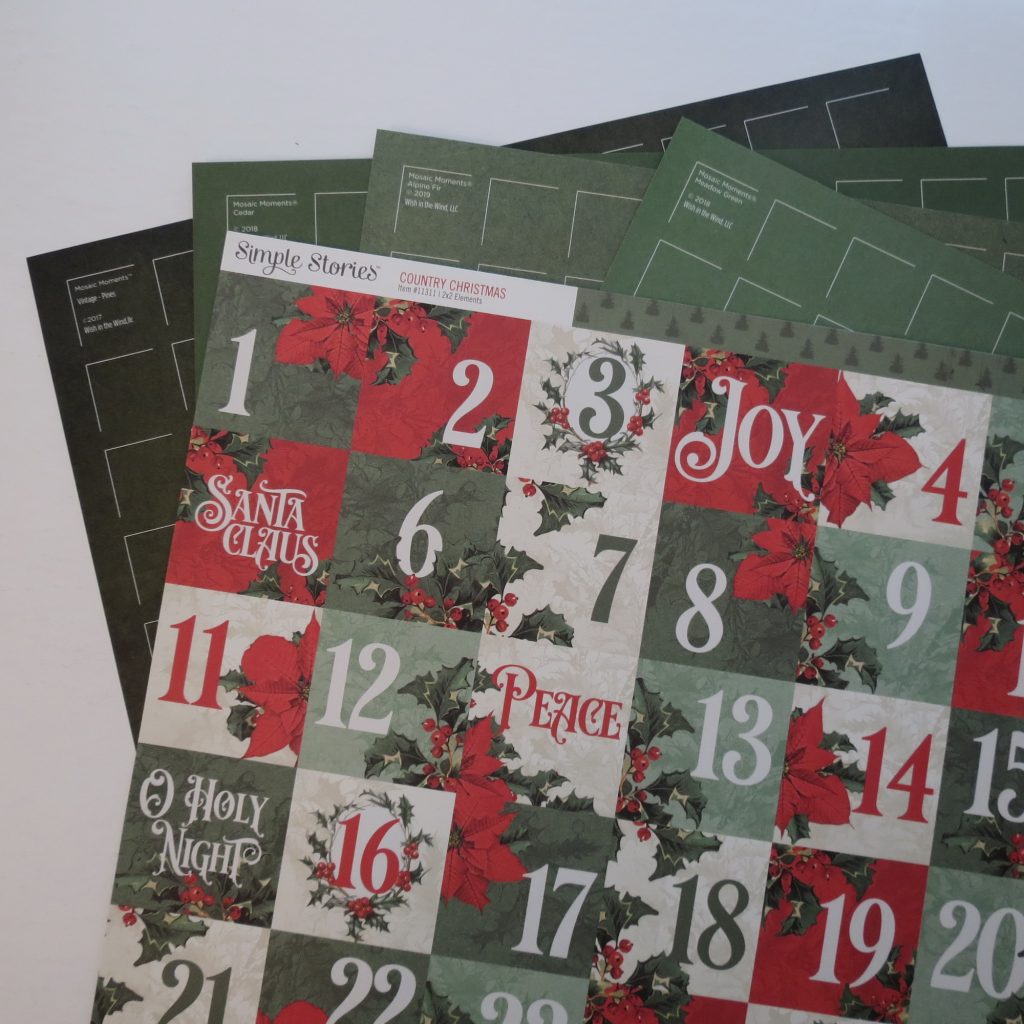
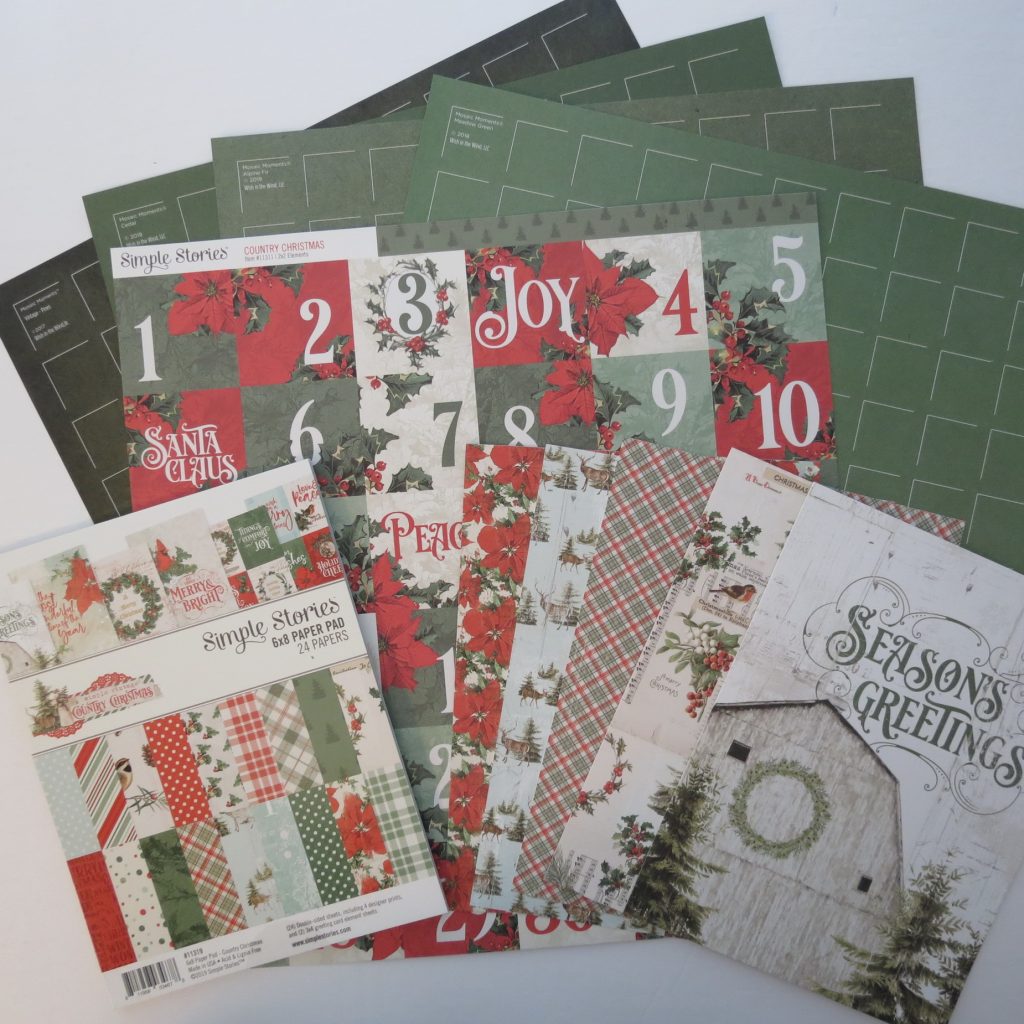
I’ve begun with one from Kaisercraft called Wonderland Collection. The color combos on this are a bit non-traditional, a deep plum, navy, blue-green and silver. Two of our Mosaic Moments grid papers looked really great with these papers, the Artic from the Yukon Collection and Plum from the Fresh & Fruity Collection. I decided to push the non-traditional colors a little further and chose to go with the Plum Grid.
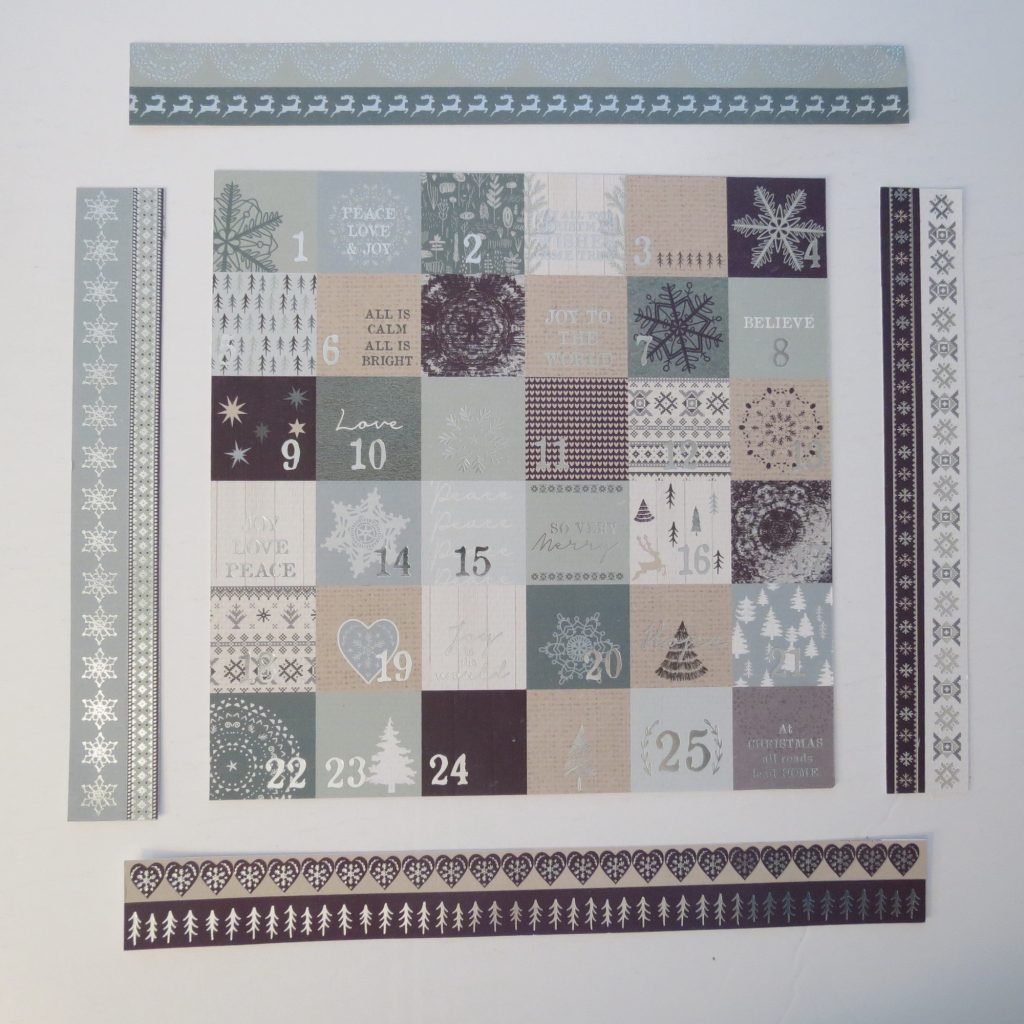
This 12×12 page from Kaisercraft has 36 squares, a combination of numbers, words and designs also provide several sections perfect for borders. The squares are smaller than our 2.125” squares, but that allows for layer options of cardstock or patterned papers. I could put a pocket page together on a single page using only these dated squares, but that doesn’t allow for many photos like I want to include. I actually want my pockets in this layout to hold my journaling about the events covered in the photos. I want these to be the spots that hold the treasures like the flaps on my childhood Advent calendars would.

The pattern I’ve begun with is #311 a pinwheel pattern. This pattern allows for 4 – 3×3 spots and one 4×4 spot plus 8 – 2×2 squares and 8 – 1×2 spots. I want the larger spaces for a few key photos and a 2×2 square where I can add a hidden pocket under the number tile. The numbers I use will coordinate to the day of December that matches the photo I’m including in the layout. Other 2×2 squares use patterned paper and layer word squares on top.
I selected two 6.5” sheets of patterned paper and cut them into squares using the Grid Cut 2.125” x 2.125”die. These will be used on the 2×2’s and then topped with number tiles or word tiles.
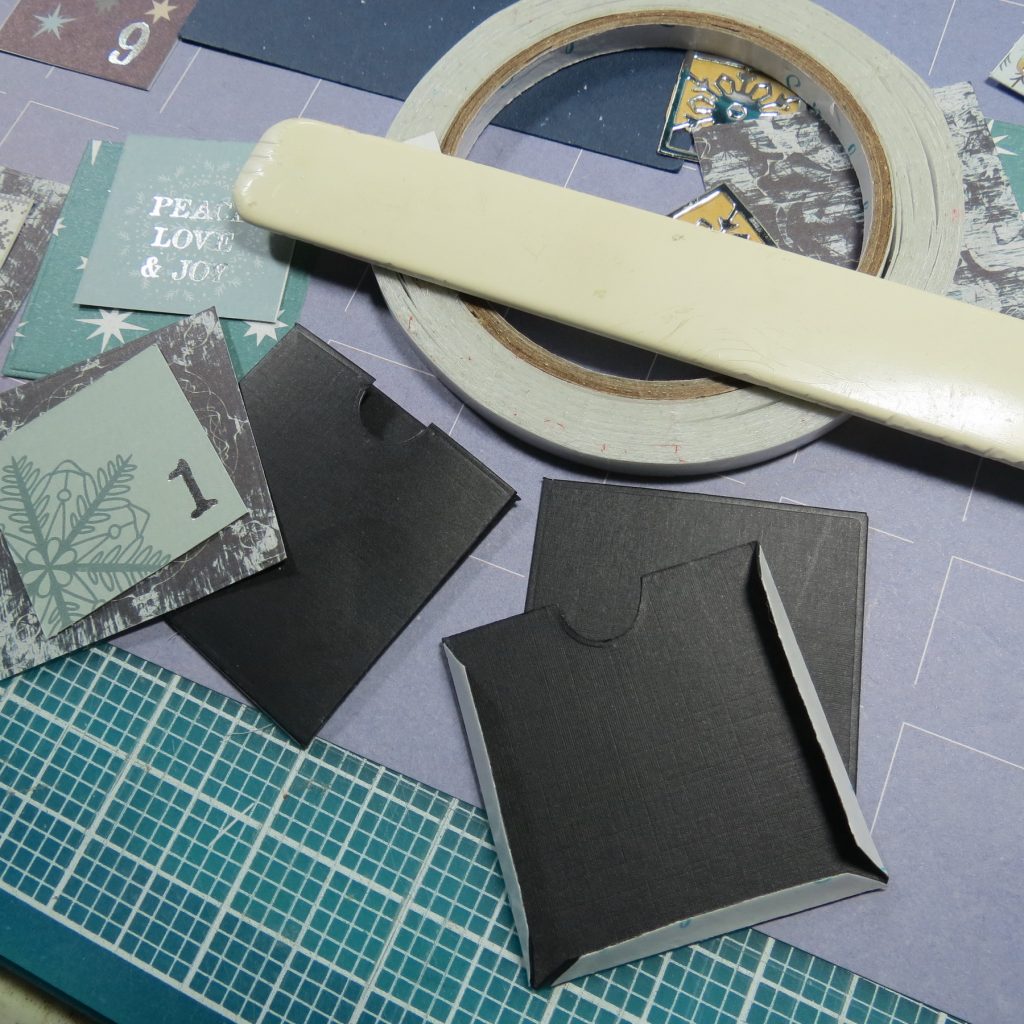
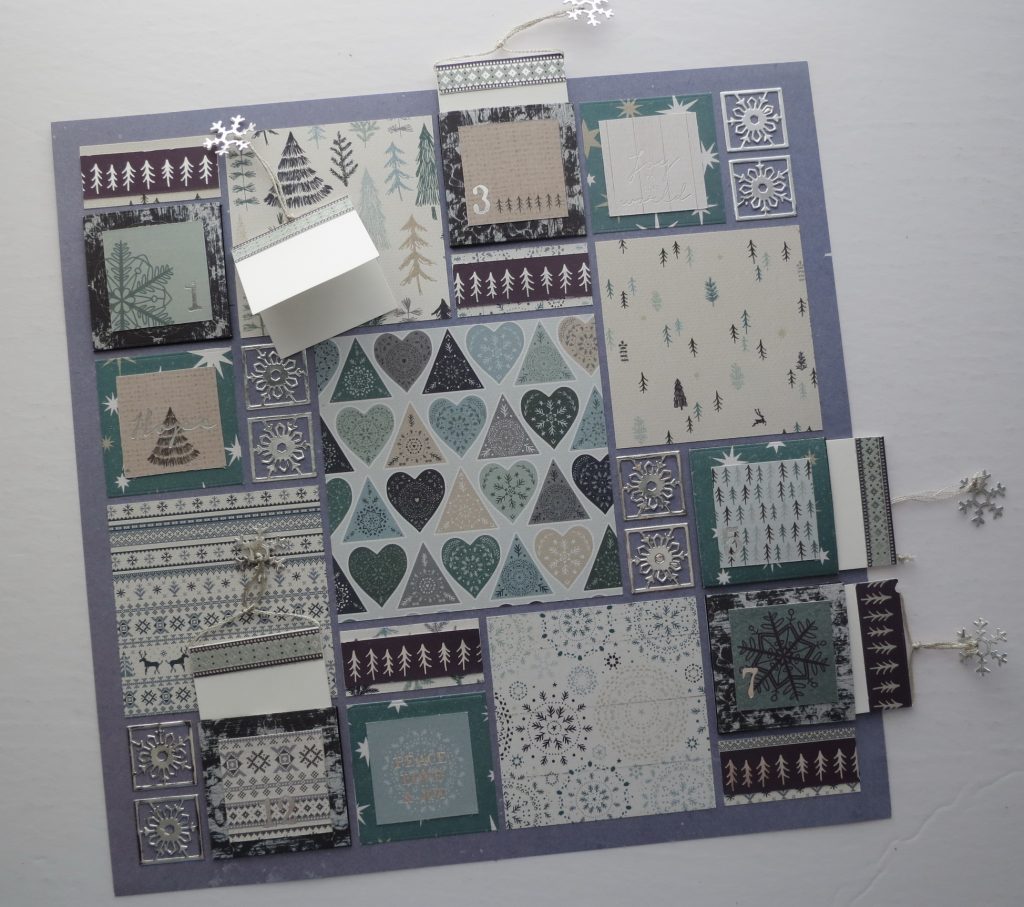
The 2×2 pockets are made with the Nested Pocket Dies this time with the 2×2 size. I also cut 2×2 backs for each pocket. You can apply the pocket directly to the grid, but I like adding the backs to allow a little more flexible room to the pocket. I’ve used Scor-Tape, a strong adhesive, perfect for a pocket that will likely get a lot of use, on the flaps of the pocket and to adhere to the grid.
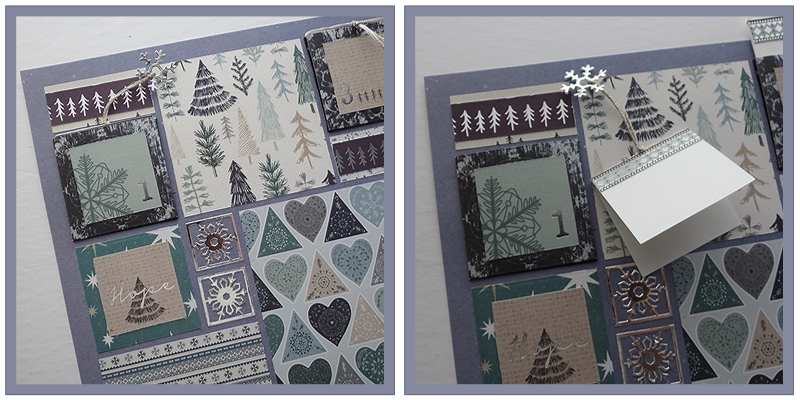
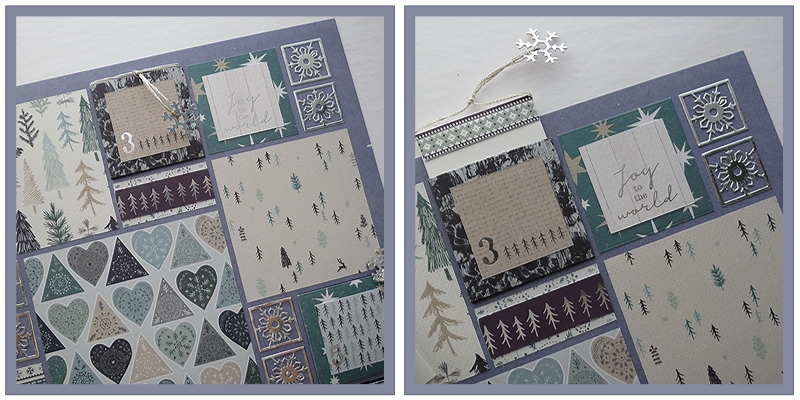
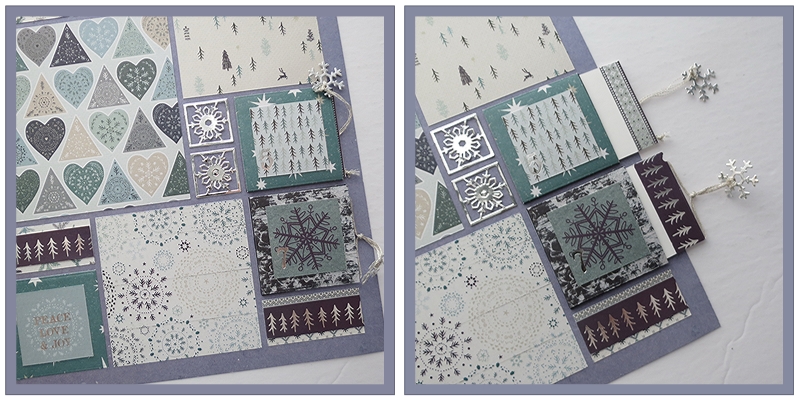
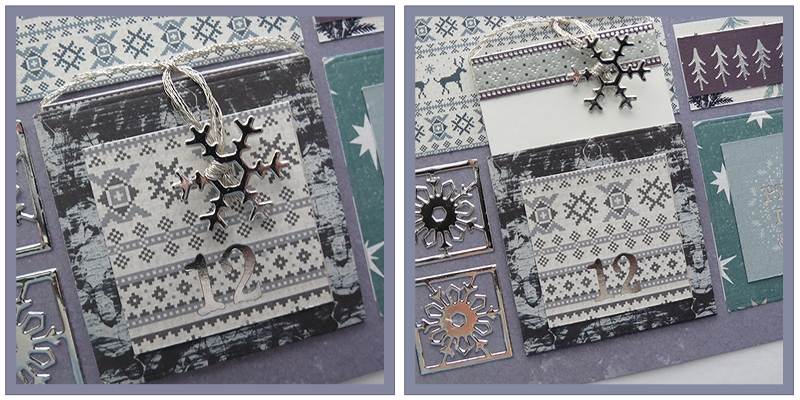
The tags for each pocket are 1 7/8” wide by 3 ¾” folded in half. This provides enough room to write about the day. I’ve used metallic floss for a tag pull and attached a doubled-sided silver snowflake from the Mr. Snow and Flakes Die set. These will assist in removing the tags from the pockets once in a page protector.
To access these tags I’ve slit the page protector to allow the tags to move easily in and out without damaging the photos.
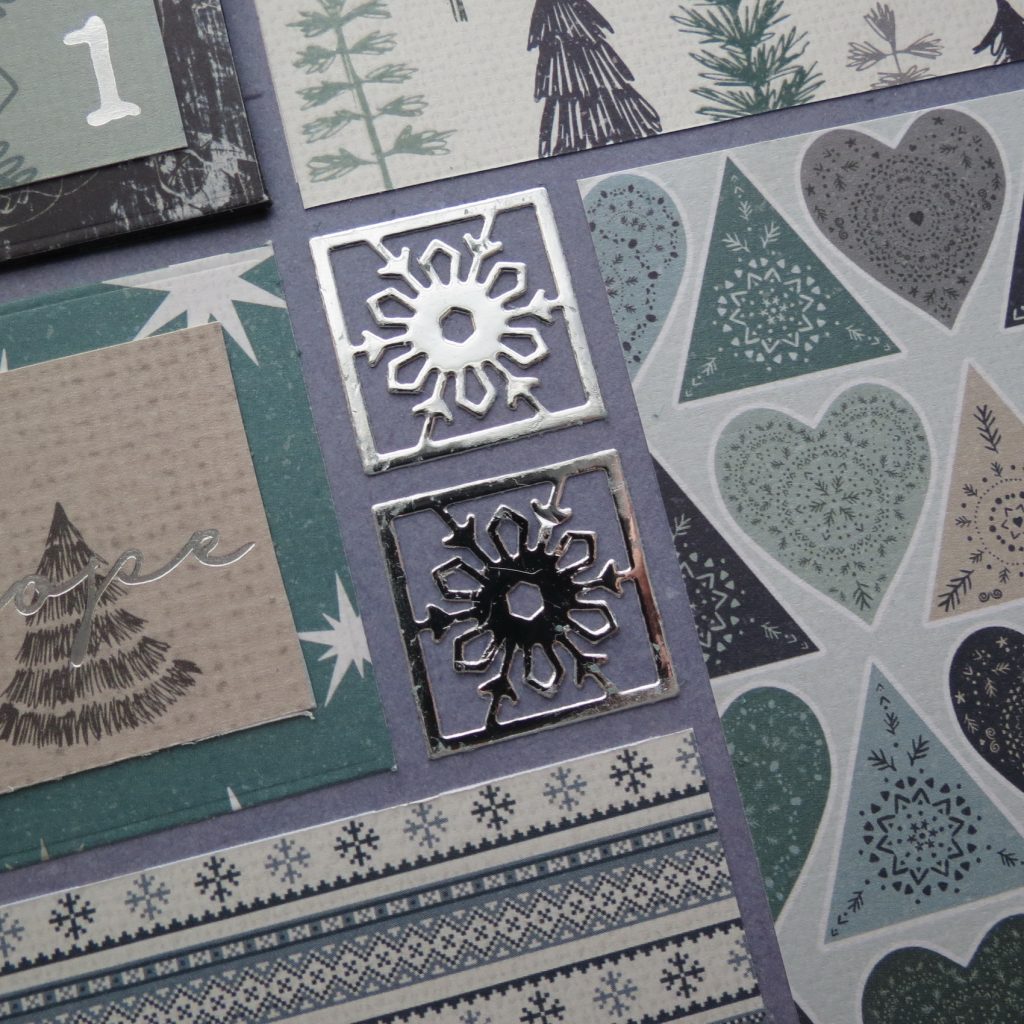
The Frosted Die set 1” squares are used in four of the 1×2 sections cut in silver metallic paper. The other 1×2 spaces I’ve covered each with a portion of the plum border with the silver trees. Remaining border strips were used to edge the tags.

I don’t have photos to add to this yet, but I did want to share the idea for another way to use the many choices for Advent papers on our Grid Papers. This makes it possible to expand to as many pages as needed to cover the entire month with the one collection. It is also easy to prefill some of the areas and add photos and number tiles for the dates at a later time.
Andrea Fisher

