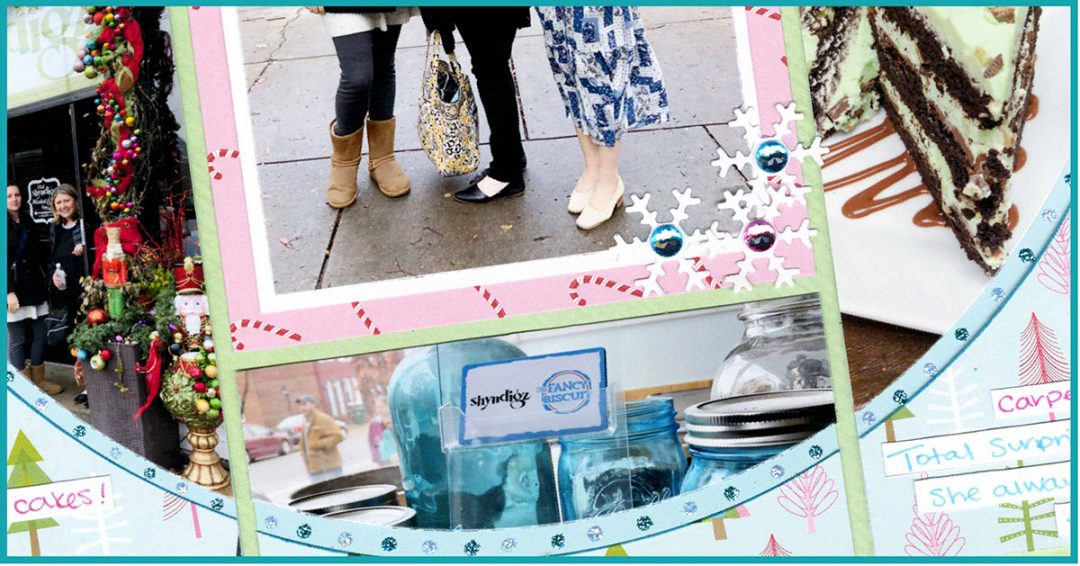
Mosaic Moments® is a photo-centric system of scrapbooking where embellishments are not needed. But, sometimes it can be fun to add embellishments to a layout -- especially during the holidays.
Here are 13 ways to add embellishments to your layouts. And, while these all have a holiday feel, you can certainly use these techniques with any theme.
1. Stickers
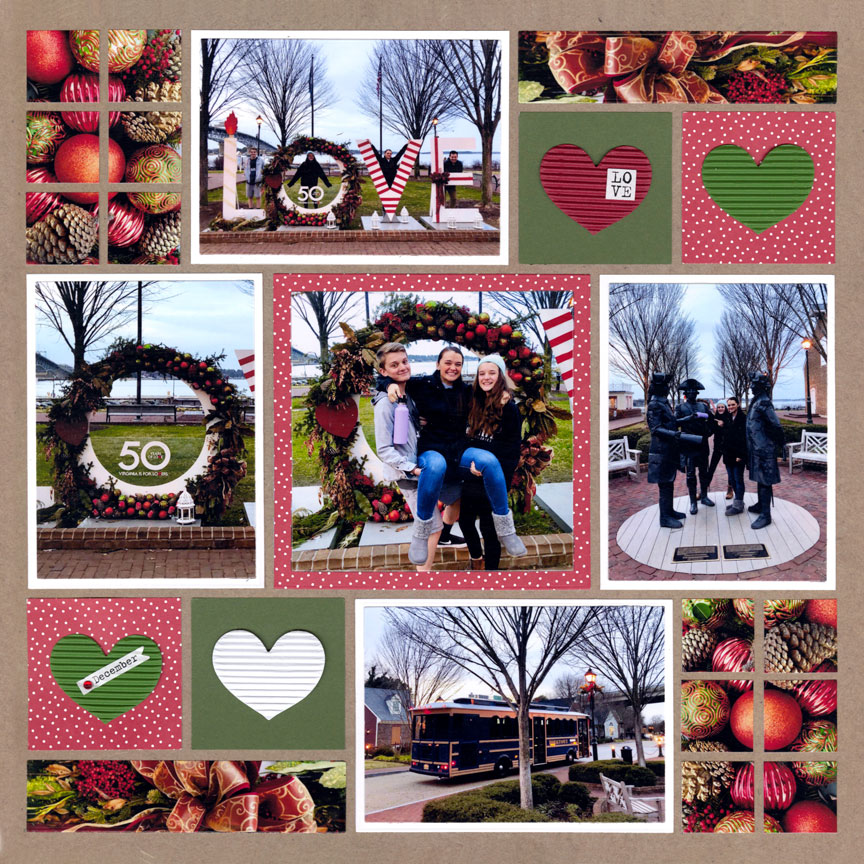
"Love December" by Jodi Benson - Pattern #476
Stickers are easy to stick on a layout.
Here, Jodi added heart stickers and pattern paper from Bella Blvd in place of some of her elements. It's an adorable way to share the love.
2. Washi Tape
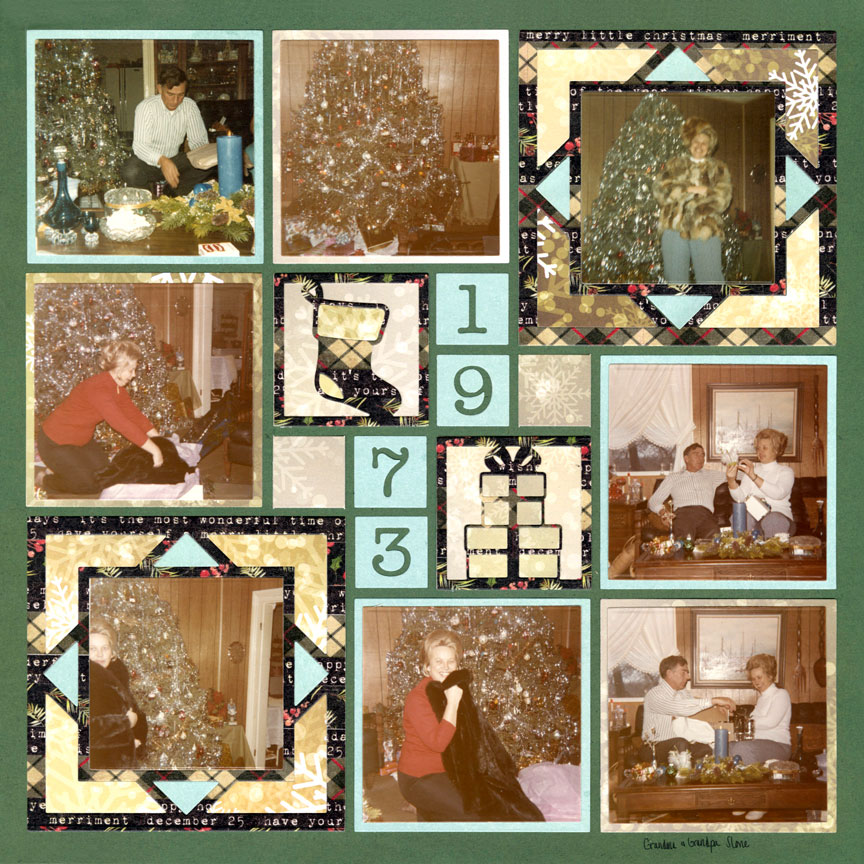
"Christmas 1973" by Candy Spiegel - Pattern #577
For this layout, Candy made her own pattern paper with washi tape, then cut it up with the stocking, presents and frame dies. It gives a unique texture and additional depth to the layout.
To make your own paper, simply adhere strips of coordinating washi tape onto white cardstock until the entire paper is covered. Then, die cut just like you would pattern paper.
It's a great technique to try.
Note: Tim Holtz Washi Tape and Reminisce paper were used.
3. Free Downloads
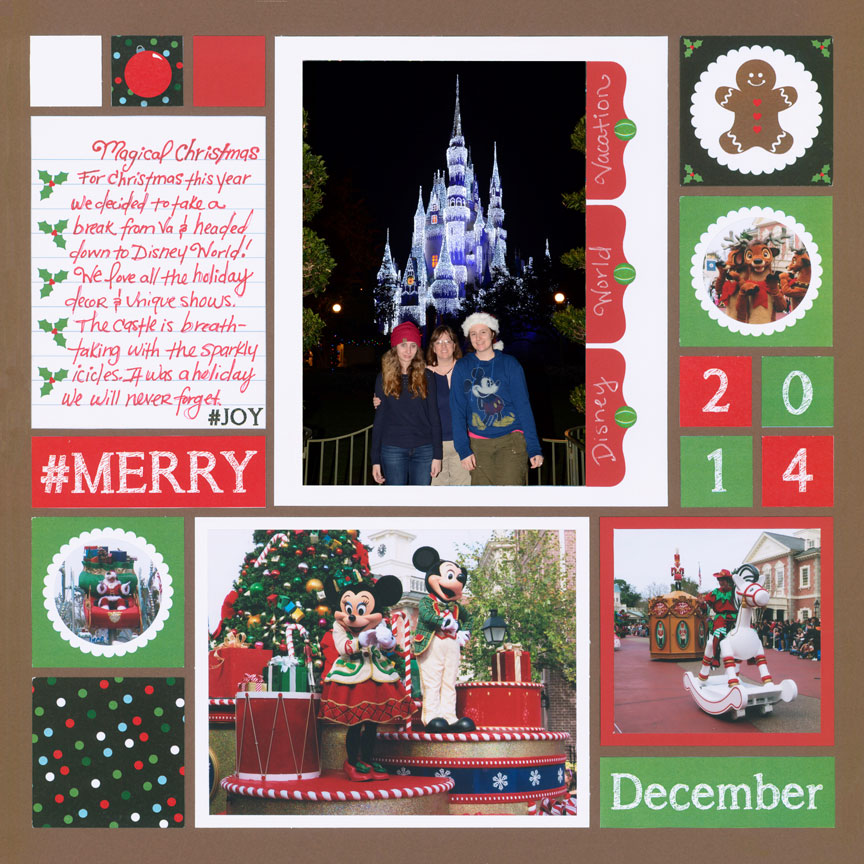
"Magical Christmas" by Paije Potter - Pattern #199
Did you know that Tami Potter has designed dozens of FREE downloads? These designs include numbers, letters, journaling blocks, embellishments and more. They fit the grid when printed at 100%.
You simply visit the SnapNCrop.com store, "buy" them, and then download them after receiving the emailed link. Then you print them, cut them apart and adhere.
This one is called Holiday Blocks. You can find many more, here.
4. Decorate Your Dies
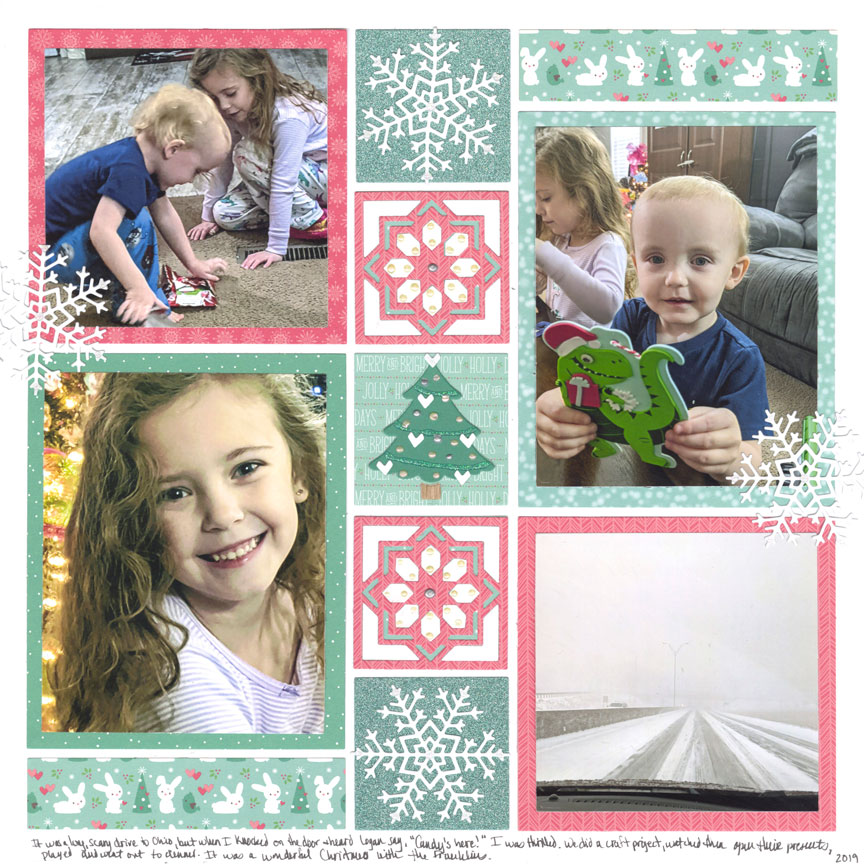
"Christmas with the Franklins" by Candy Spiegel - Pattern #248 (rotated)
Many die cuts can also be enhanced with glitter, ink, chalk, enamel dots, gems and other supplies.
For this one, Candy created garland on the Fir Tree with glitter glue. Then she added tiny paper hearts (pieces that came out of the snowflake die) and Nuvo Dream Drops to make ornaments on the tree.
Nuvo Glitter Drops and Dream Drops were also used to color in and enhance the Crystal Die Cut.
Note: Papers from Lawn Fawn
5. Take them Beyond their Border
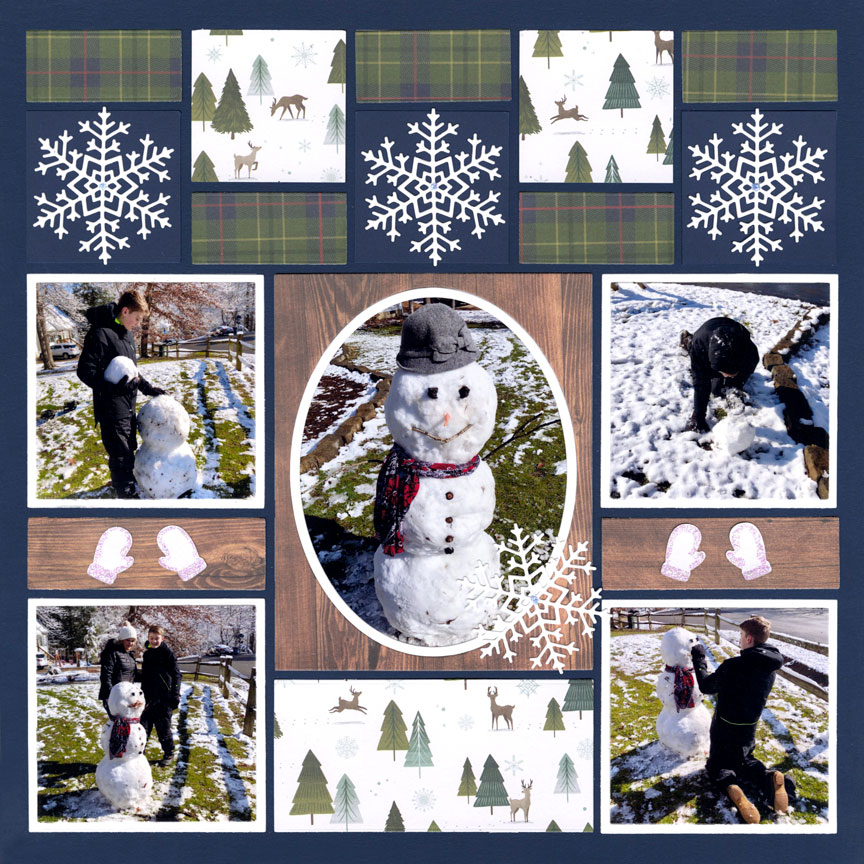
"Frosty" by Jodi Benson - Pattern #408
Many of the dies from Mosaic Moments® have shapes that can be used with or without the border that fits the grid.
Here, Jodi used the Snowflake Die Set on it's own, without it's framed border.
She also used the mittens from the Mittens Border. We love how she colored them and layed them on the woodgrain pattern paper.
Note: Papers from Pink Paislee
6. Pre-Printed Die Cuts

"Icelandic Tradition" by Candy Spiegel - Pattern 604
Many paper companies, including Creative Memories shown here, sell coordinating die cuts with their collections. These elements make fun accents to fill in when you do not have enough photos, like Candy did with the gnomes, here.
She also added a few die-cut words to the photos and used a journaling block, trimmed down with a Mosaic Moments® die, to record her memories.
Remember, the only rule is to cover the grid lines, and once that is done, you can add layers of fun.
7. Layered Titles
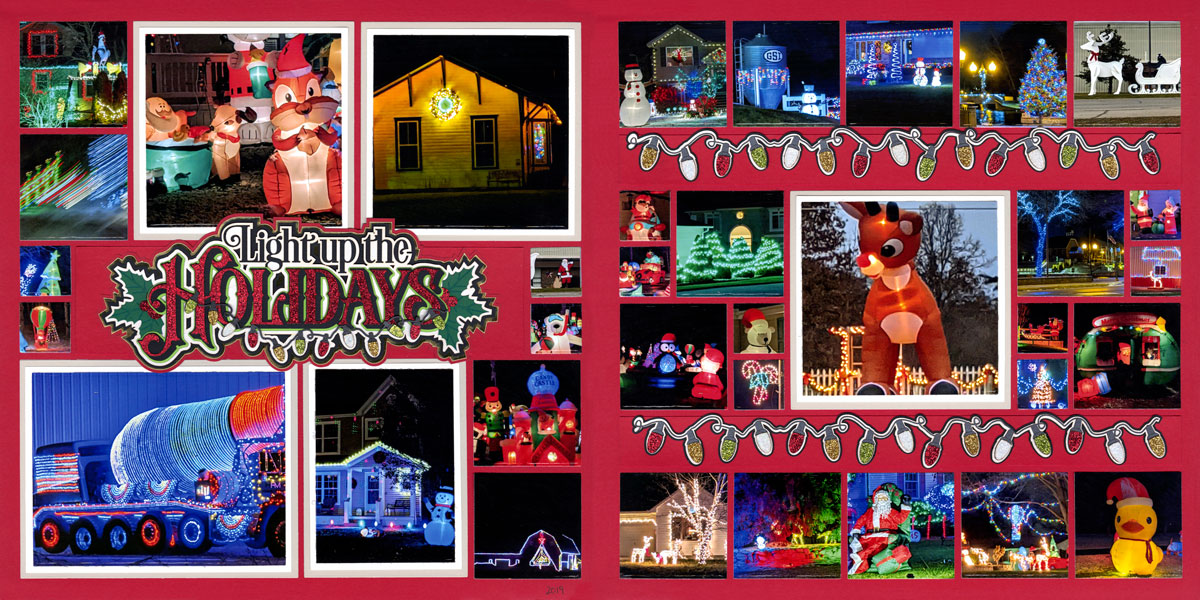
"Light Up the Holidays" by Candy Spiegel - Patterns #300 & #224
Layered titles and elements, like these from Paper Wizard, may also look fabulous on a page.
When planning, look for a page pattern with a large open space or strip that fits your title.
Then, cover the space on your grid paper with cardstock (Candy used the backside of the grid paper so the color matched perfectly) and adhere the title.
You may want to put the title on last, so it can overlap onto photos, if needed.
8. Ribbon or Twine
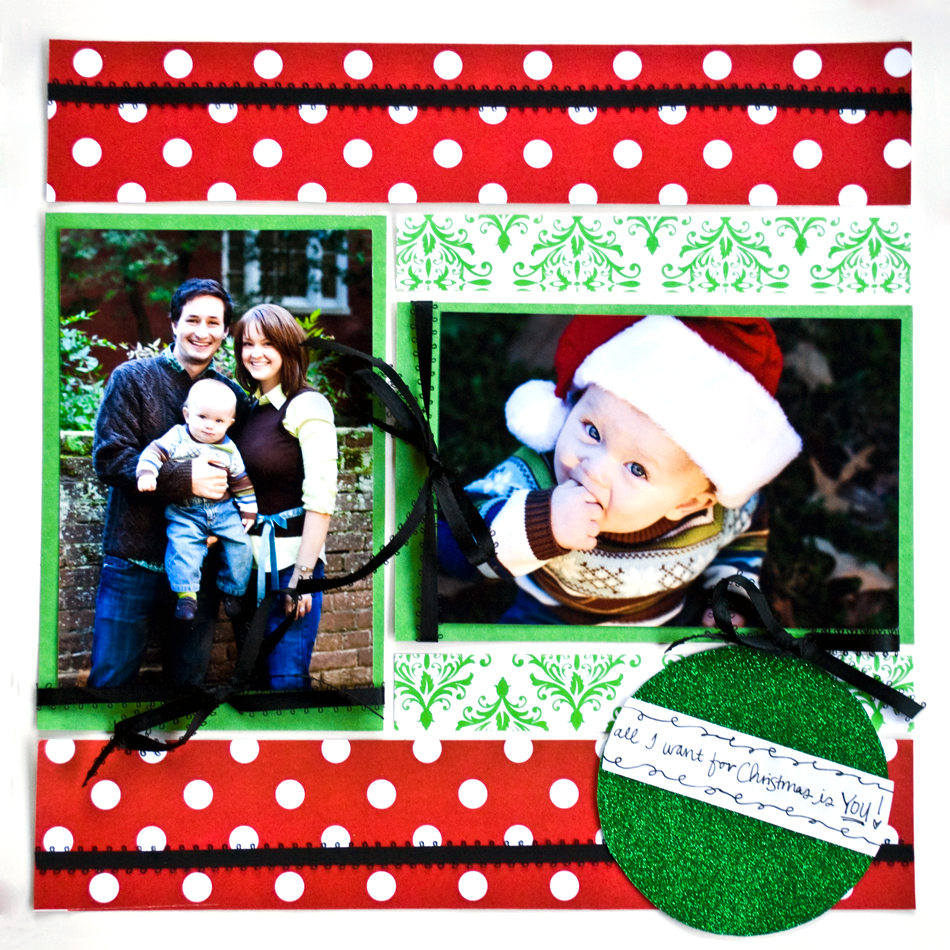
"All I Want For Christmas" By Elizabeth Moon - Pattern #280
Adding ribbon, twine or lace is a great way to make the page special. Try stretching it across the page on your border, or tying it around the photos, like Elizabeth did here.
To hold a bow in place, try Glue Dots or a liquid glue.
When running the ribbon around an element, like a border, picture, or even the entire page, try this tip: Lay the ribbon across the front of the element with an inch or so of extra ribbon on each edge. Flip it all over and use a piece of Scotch tape or washi tape to secure it to the back. Then, adhere the element to the grid paper as you normally would.
9. Make it Sparkle
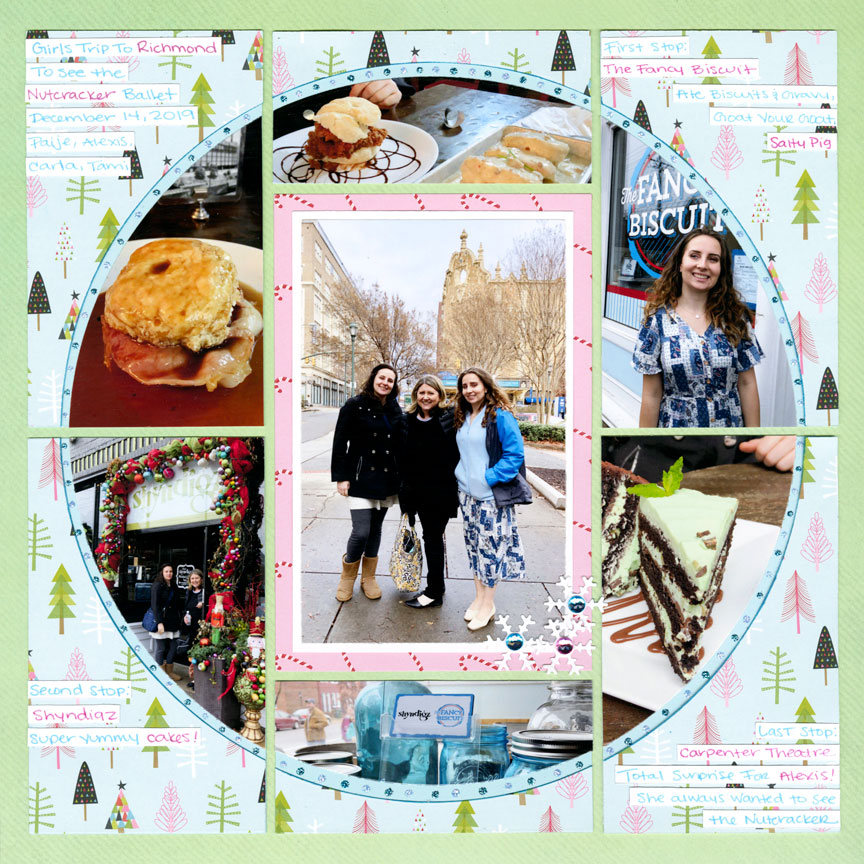
"Day in Richmond" by Paije Potter - Pattern #335
'Tis the season for bling, so go for it.
For this layout, Paije added a circle of Stickles all the way around the circle.
She further enhanced it with gems from Doodlebug Design placed on the snowflakes she added to the focal photo. So much fun!
Note: Pattern Paper from Bella Blvd
10. Decorative Papers
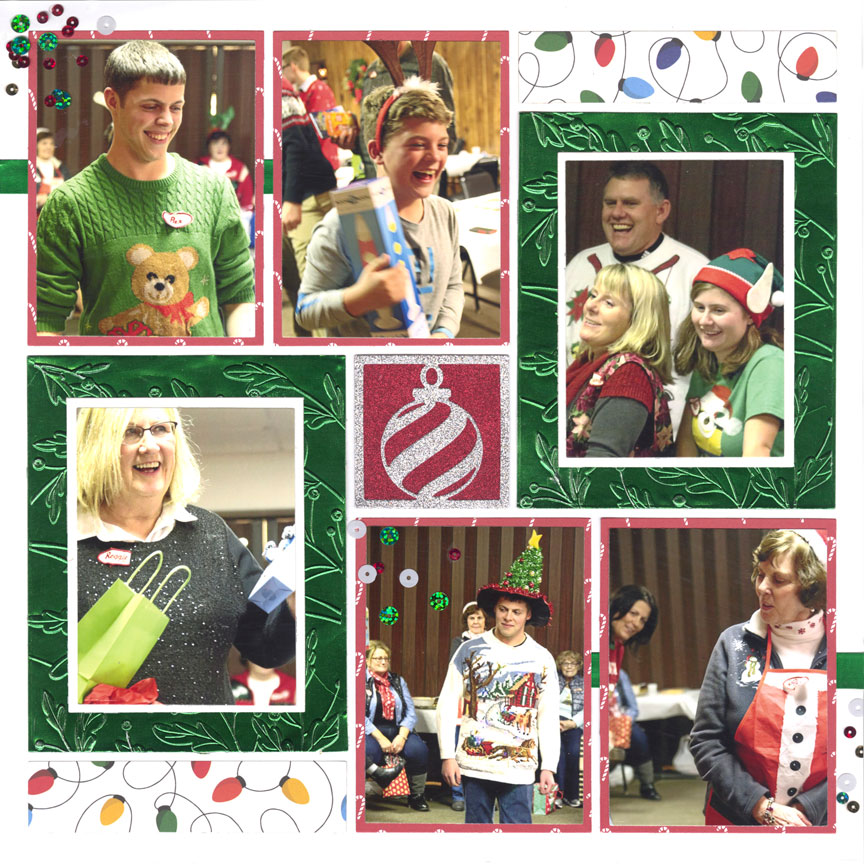
"Ugly Sweater Party" by Candy Spiegel - Pattern #601
Glitter, foil, felt and metallic papers are fun for the holidays.
Candy accented this layout with green foil paper behind some of the photos. She also used red and silver glitter paper to cut out the Swirl Ornament in the center.
When working with decorative papers, you may need a stronger adhesive, like Elizabeth Craft Designs tape or a liquid adhesive.
Note: Papers from PhotoPlay and Rinea.
11. Embossing Folders
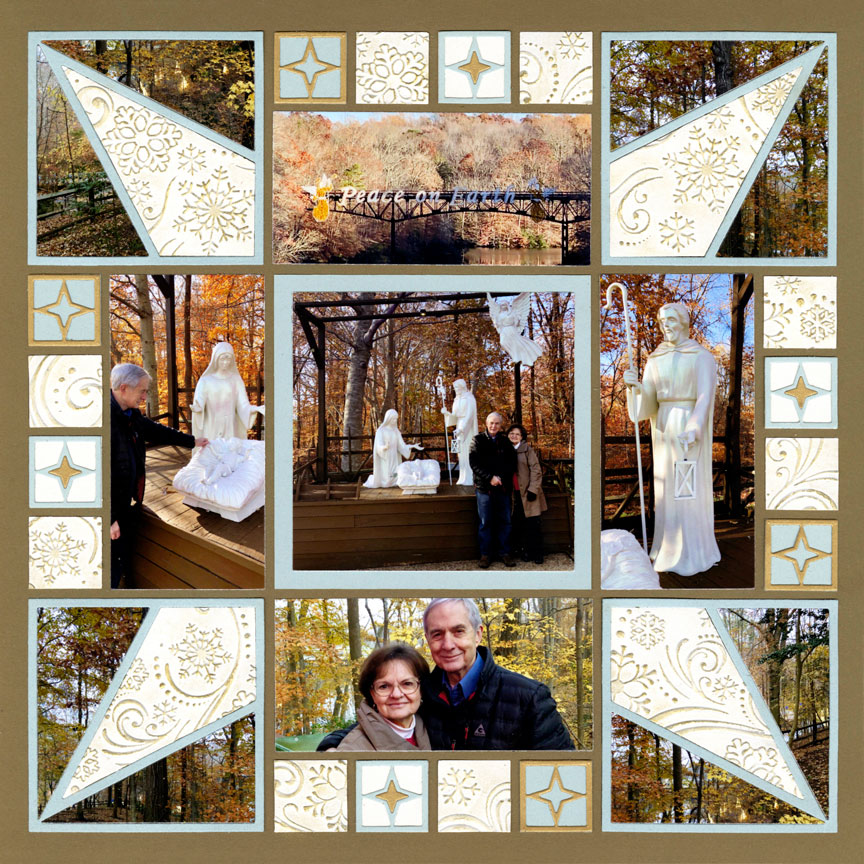
"Nativity" by Jodi Benson - Pattern #360
Embossing folders are plastic folders that you tuck paper inside and then run through your die-cutting machine. They create texture and pattern on your cardstock.
Here, Jodi used a snowflake embossing folder on white cardstock and then cut it using the Prism Die Set and Set A. She enhanced the pattern even more by using gold chalk ink over the texture. When done lightly, it brings out the design. Beautiful!
12. Rubber Stamps
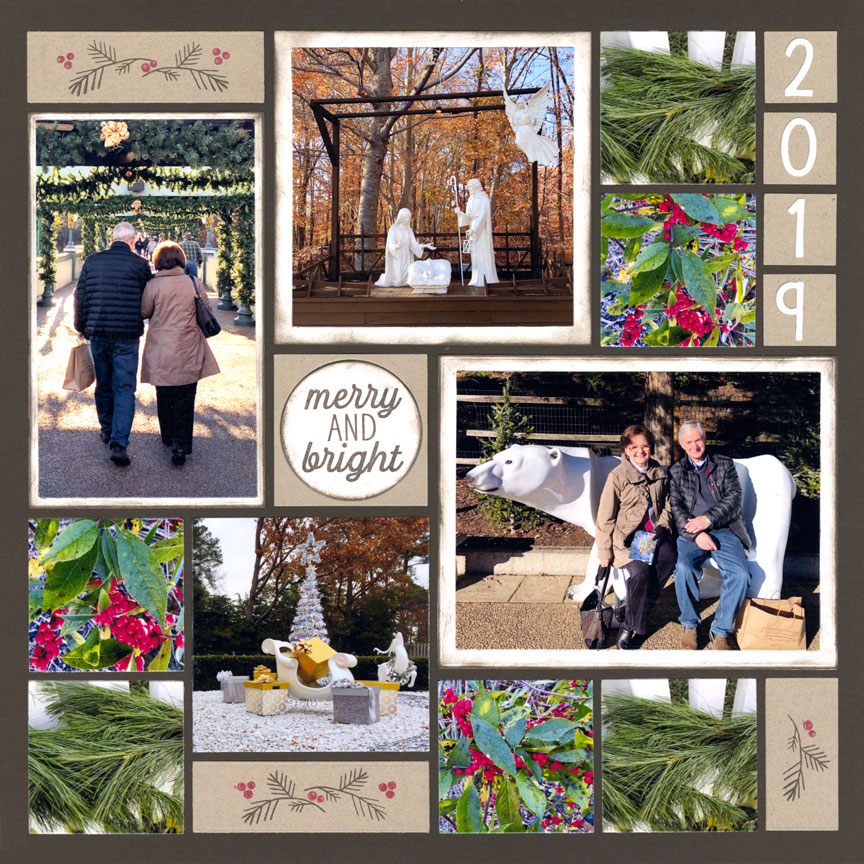
"Merry & Bright" by Jodi Benson - Pattern #178
Rubber stamps can be used to add decorative elements, titles, paper, phrases and more to the layout.
Here, Jodi used stamps from Catherine Pooler Designs to create the little bits of greenery on her layout. She also stamped the title in the middle.
Many stamps can also be used to enhance a journaling block, fill in extra space or even be added to the edges of the grid paper. Give it a try.
13. Buttons and/or Stitching
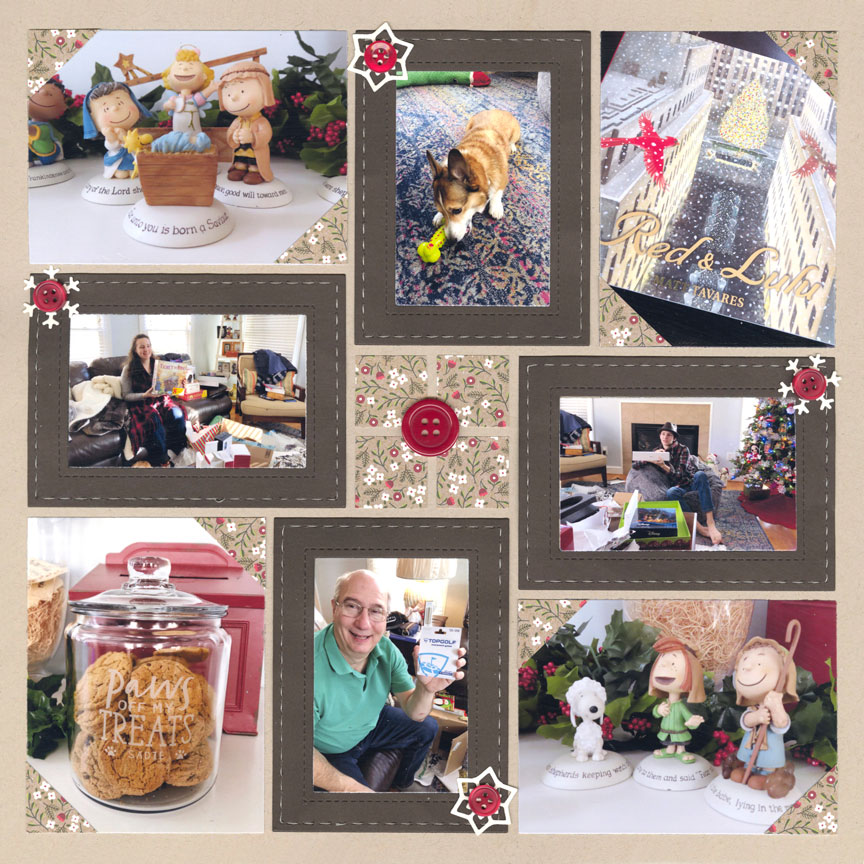
"Christmas Morning" by Paije Potter - Pattern #434
Faux stitching is on trend and buttons are a classic embellishment that never goes out of style. We love how Paije combined the two embellishments with a bit of Mosaic magic on this layout.
She started with the Stitched Frames Dies from Mosaic Moments®. These dies create little tiny holes that resemble stitching.
Paije took it a step further and actually ran thread through those tiny holes all the way around the frame.
Then, she added red buttons to the frames to draw the eye around the page. Incredible!
Note: Pattern Paper from Pebbles

