Article by Candy Spiegel
Mosaic Moments® layouts are known for being clean, crisp and unique. The graphical style is made possible by the invention of grid paper by founder/designer Tami Potter.
Grid paper is a premium card-stock printed on one side with grid lines. This assures that the elements on your layout are not only interchangeable, but are also straight and evenly spaced. Grid lines fit a 1-inch square and have 1/8-inch gap in between each one, with a wide border around the exterior of the paper, but no one needs to remember that. The brilliance of this system is that the measuring is built right in.
Here are a few tips to help you get the most from grid paper:
1. Use the Lines
2. Try the Backside
The grid lines are only printed on the front side of the cardstock. The back is the exact same color as the front, but sans lines. This means when you wish for a perfect match, you can take another sheet of grid paper and use it like cardstock for photo mats, die cuts and more. This is particularly helpful when working with ombre or mottled grid papers.
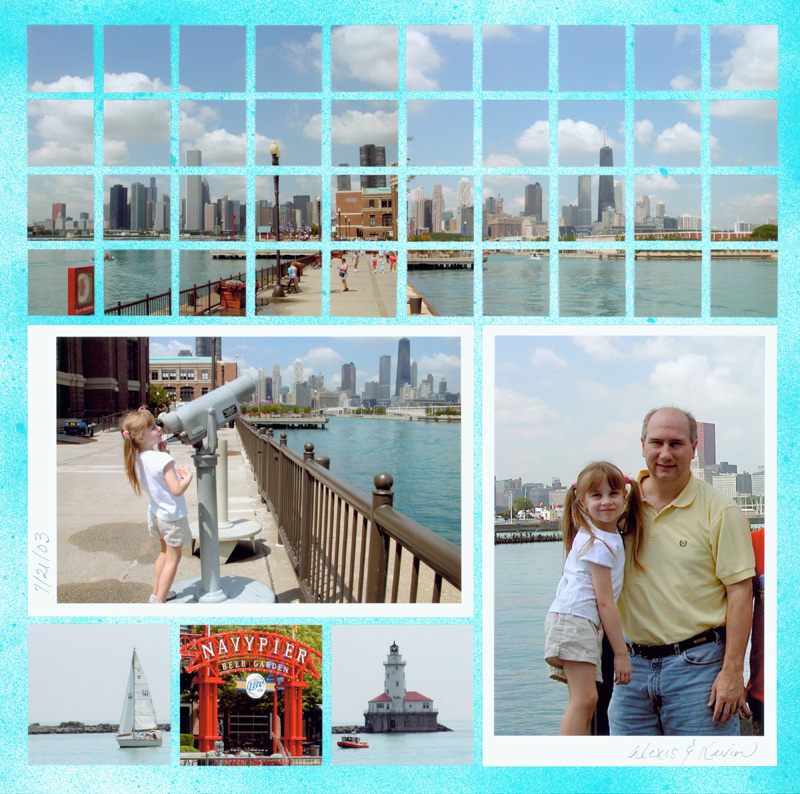
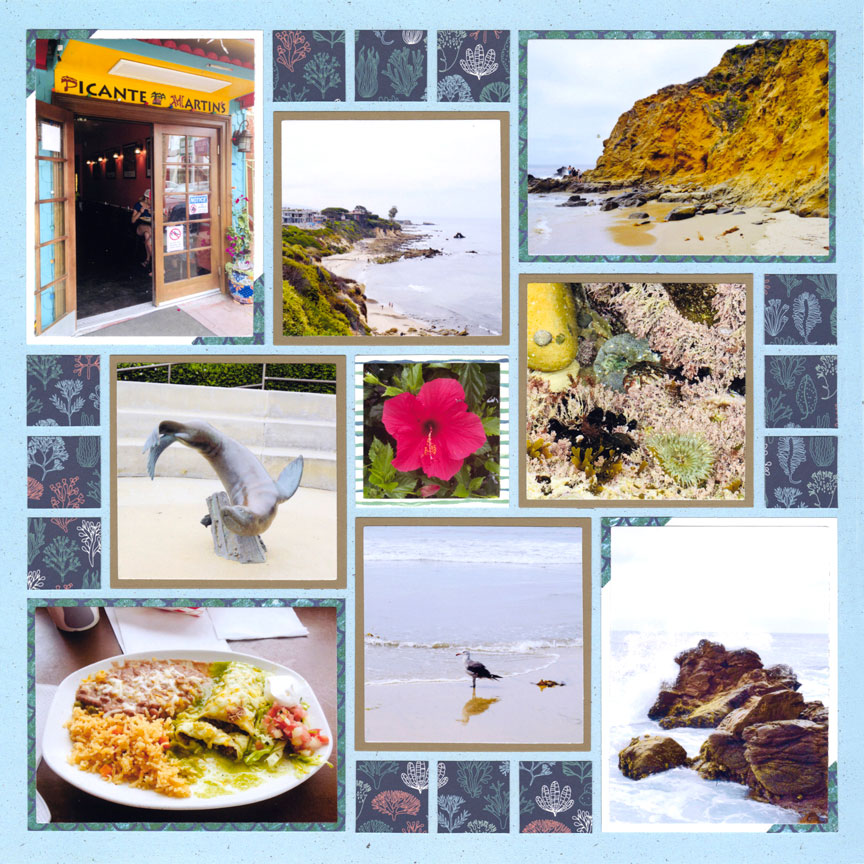
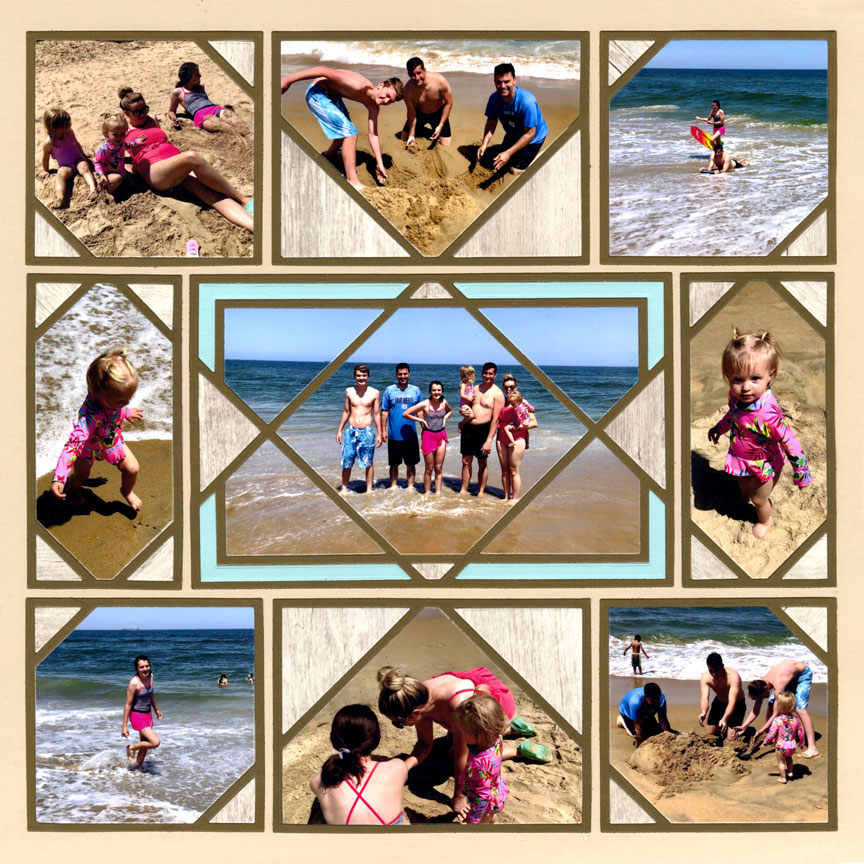
The layout below has orange and purple mats - both are the back of the Grape Fizz and Tangy colors from the Cool Drinks grid collection.
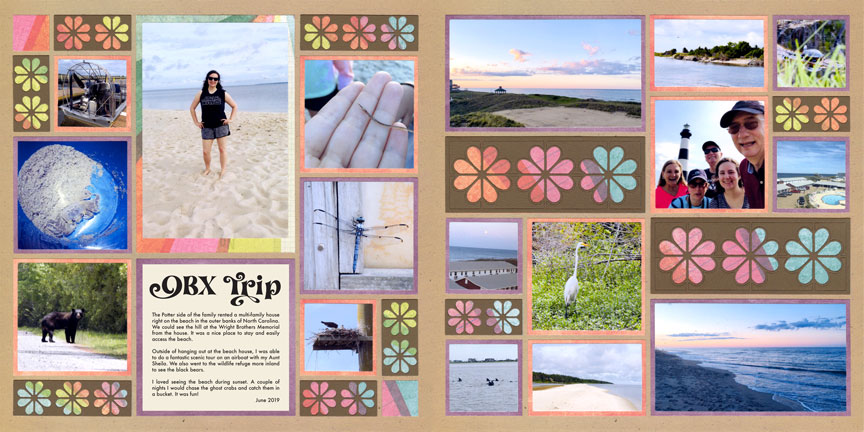
"OBX Trip" by Paije Potter - Patterns #460 and #214 (adjusted)
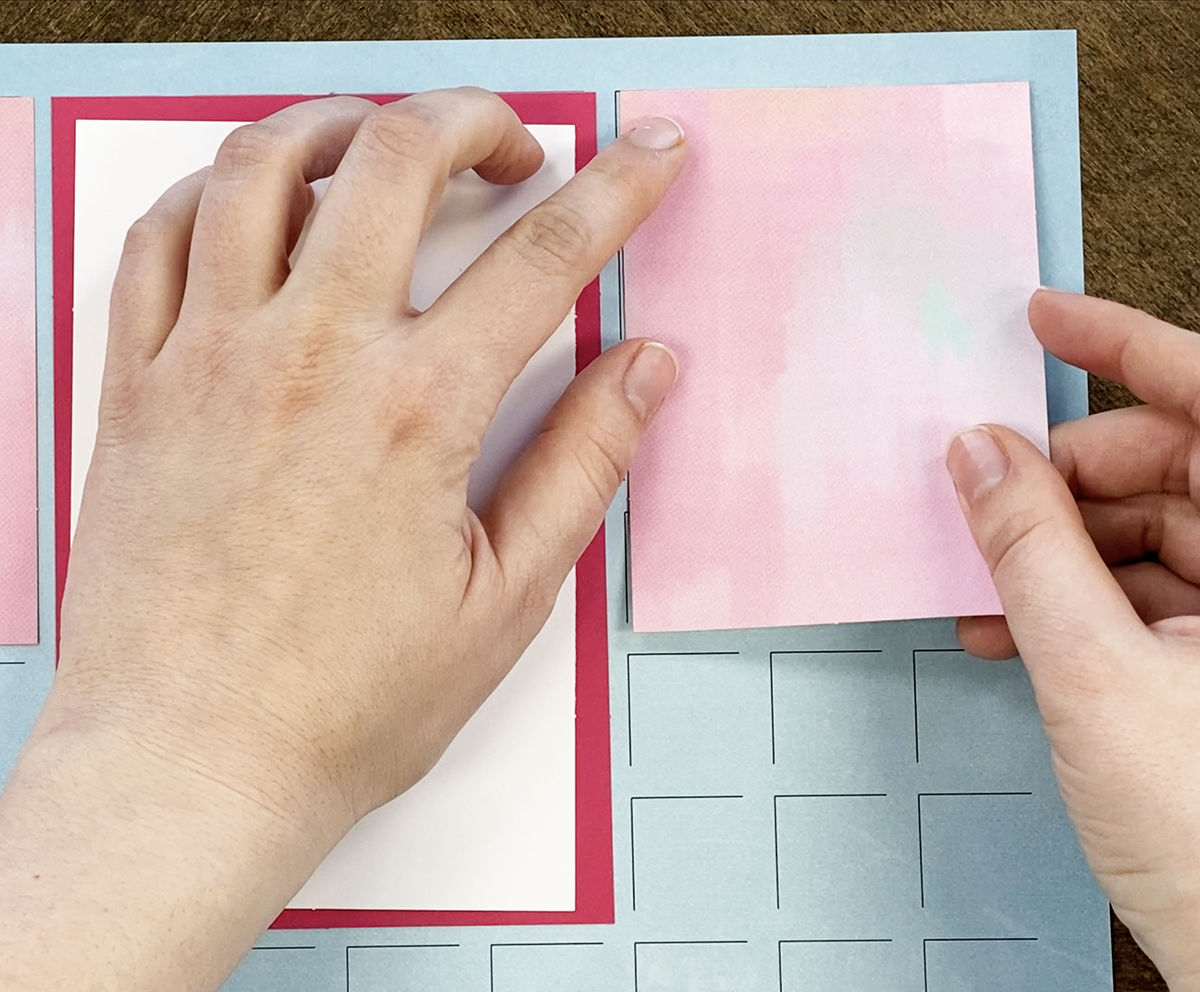
3. Add a Block

If you plan to use a sticker or die cut that does not completely cover the grid lines, add a block of cardstock or pattern paper to the layout first, to cover the lines. Then, you can place your decorative element on top of that.
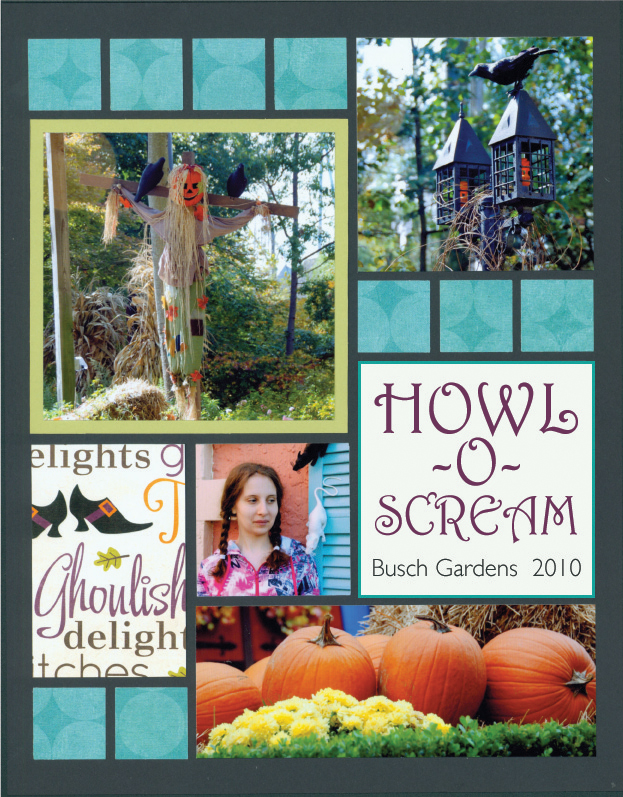
This layout has a laser cut design from Paper Wizard. Since this embellishment would not be able to cover the grid on its own, Tami covered the lines with pattern paper cut into 1x1" squares.
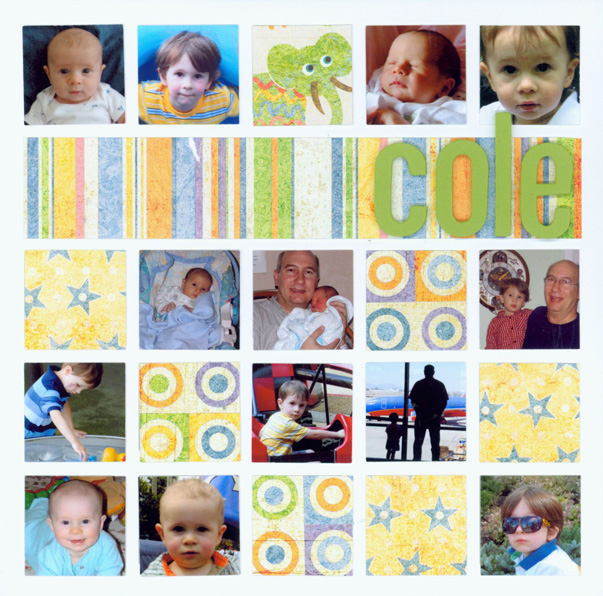
4. Cover It Up
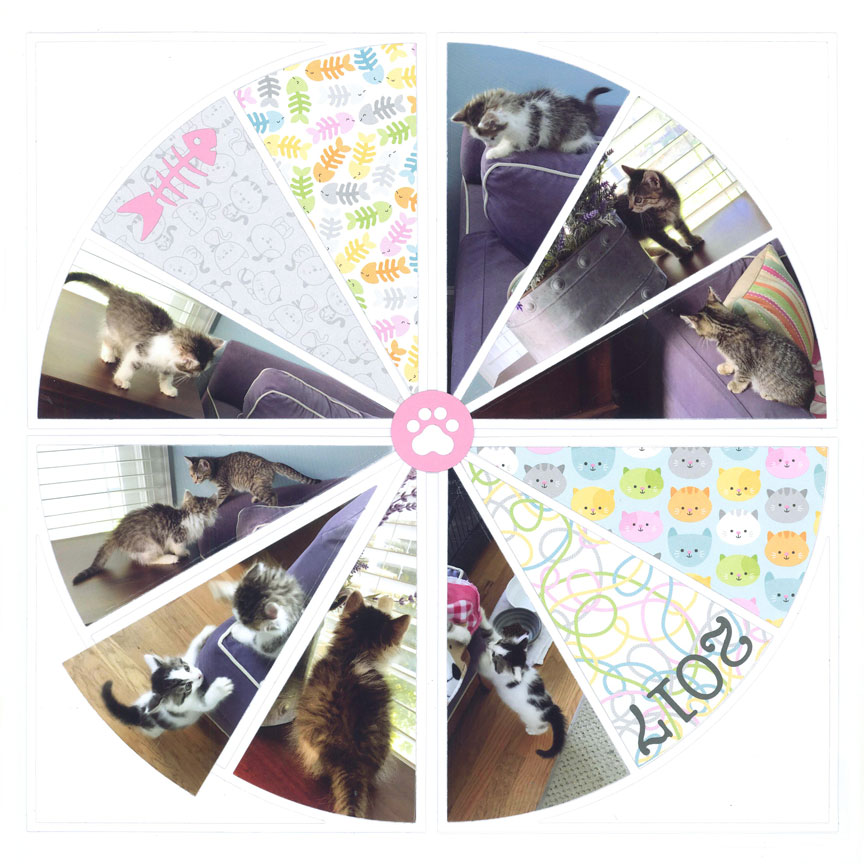
For this layout, Paije cut the pie die frame with White and layered each piece over the White Grid Paper. Plus, she added white in each corner to cover the grid lines.
5. Opt for Different Sizes
Grid paper comes in a few sizes. Because of the unique spacing, it is not possible to cut it to the size you need. However, the dies all work on each size grid, as long as the overall size of the die is not larger than the overall size of the grid paper.
The most popular, 12x12, features 10 1-inch squares across and down the page. All of the colors, as well as many ombres, patterns, and shades, are available in this size.
A few colors also come in 8 1/2x11 sheets. These have seven 1-inch squares across and nine 1-inch squares down the page.
12x12 Grid Paper
8.5x11 Grid Paper
6x6 Grid Paper
6. Use Specialty Dies
Whimsy Dies
Crisscross Die Collection
Some of the specialty die sets, like the Whimsy Set, Dynamic, Horizon or Pie Die Set, are designed to fill the entire 12x12 grid, simply by adding different dies in the set and/or rotating the die. Many of them automatically create a focal point, as well. For more ideas, search the blog for the die you wish to use, or find the die in the Mosaic Moments® store, Snapncrop.com, and look just below the die for sample pages using that set.
Although these dies look complex, usually require multiple cuts, and some consideration of the right photos to use, they actually help you design a spectacular layout without thinking about spacing, and other tedious tasks, of creating a professional-looking page.
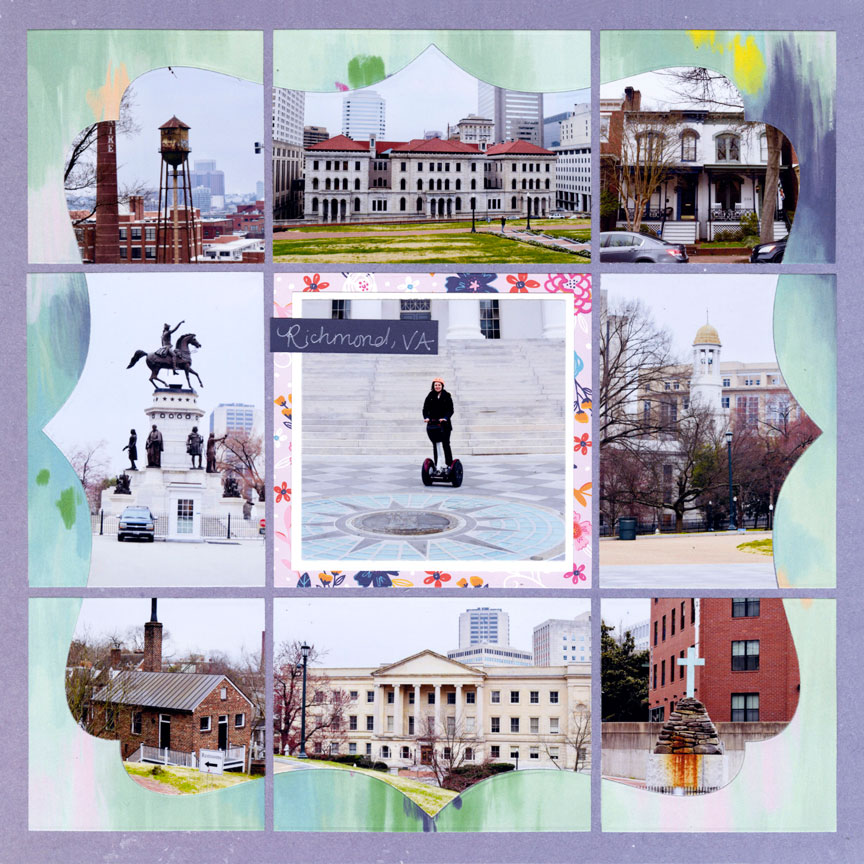
7. Look to Quilt Patterns
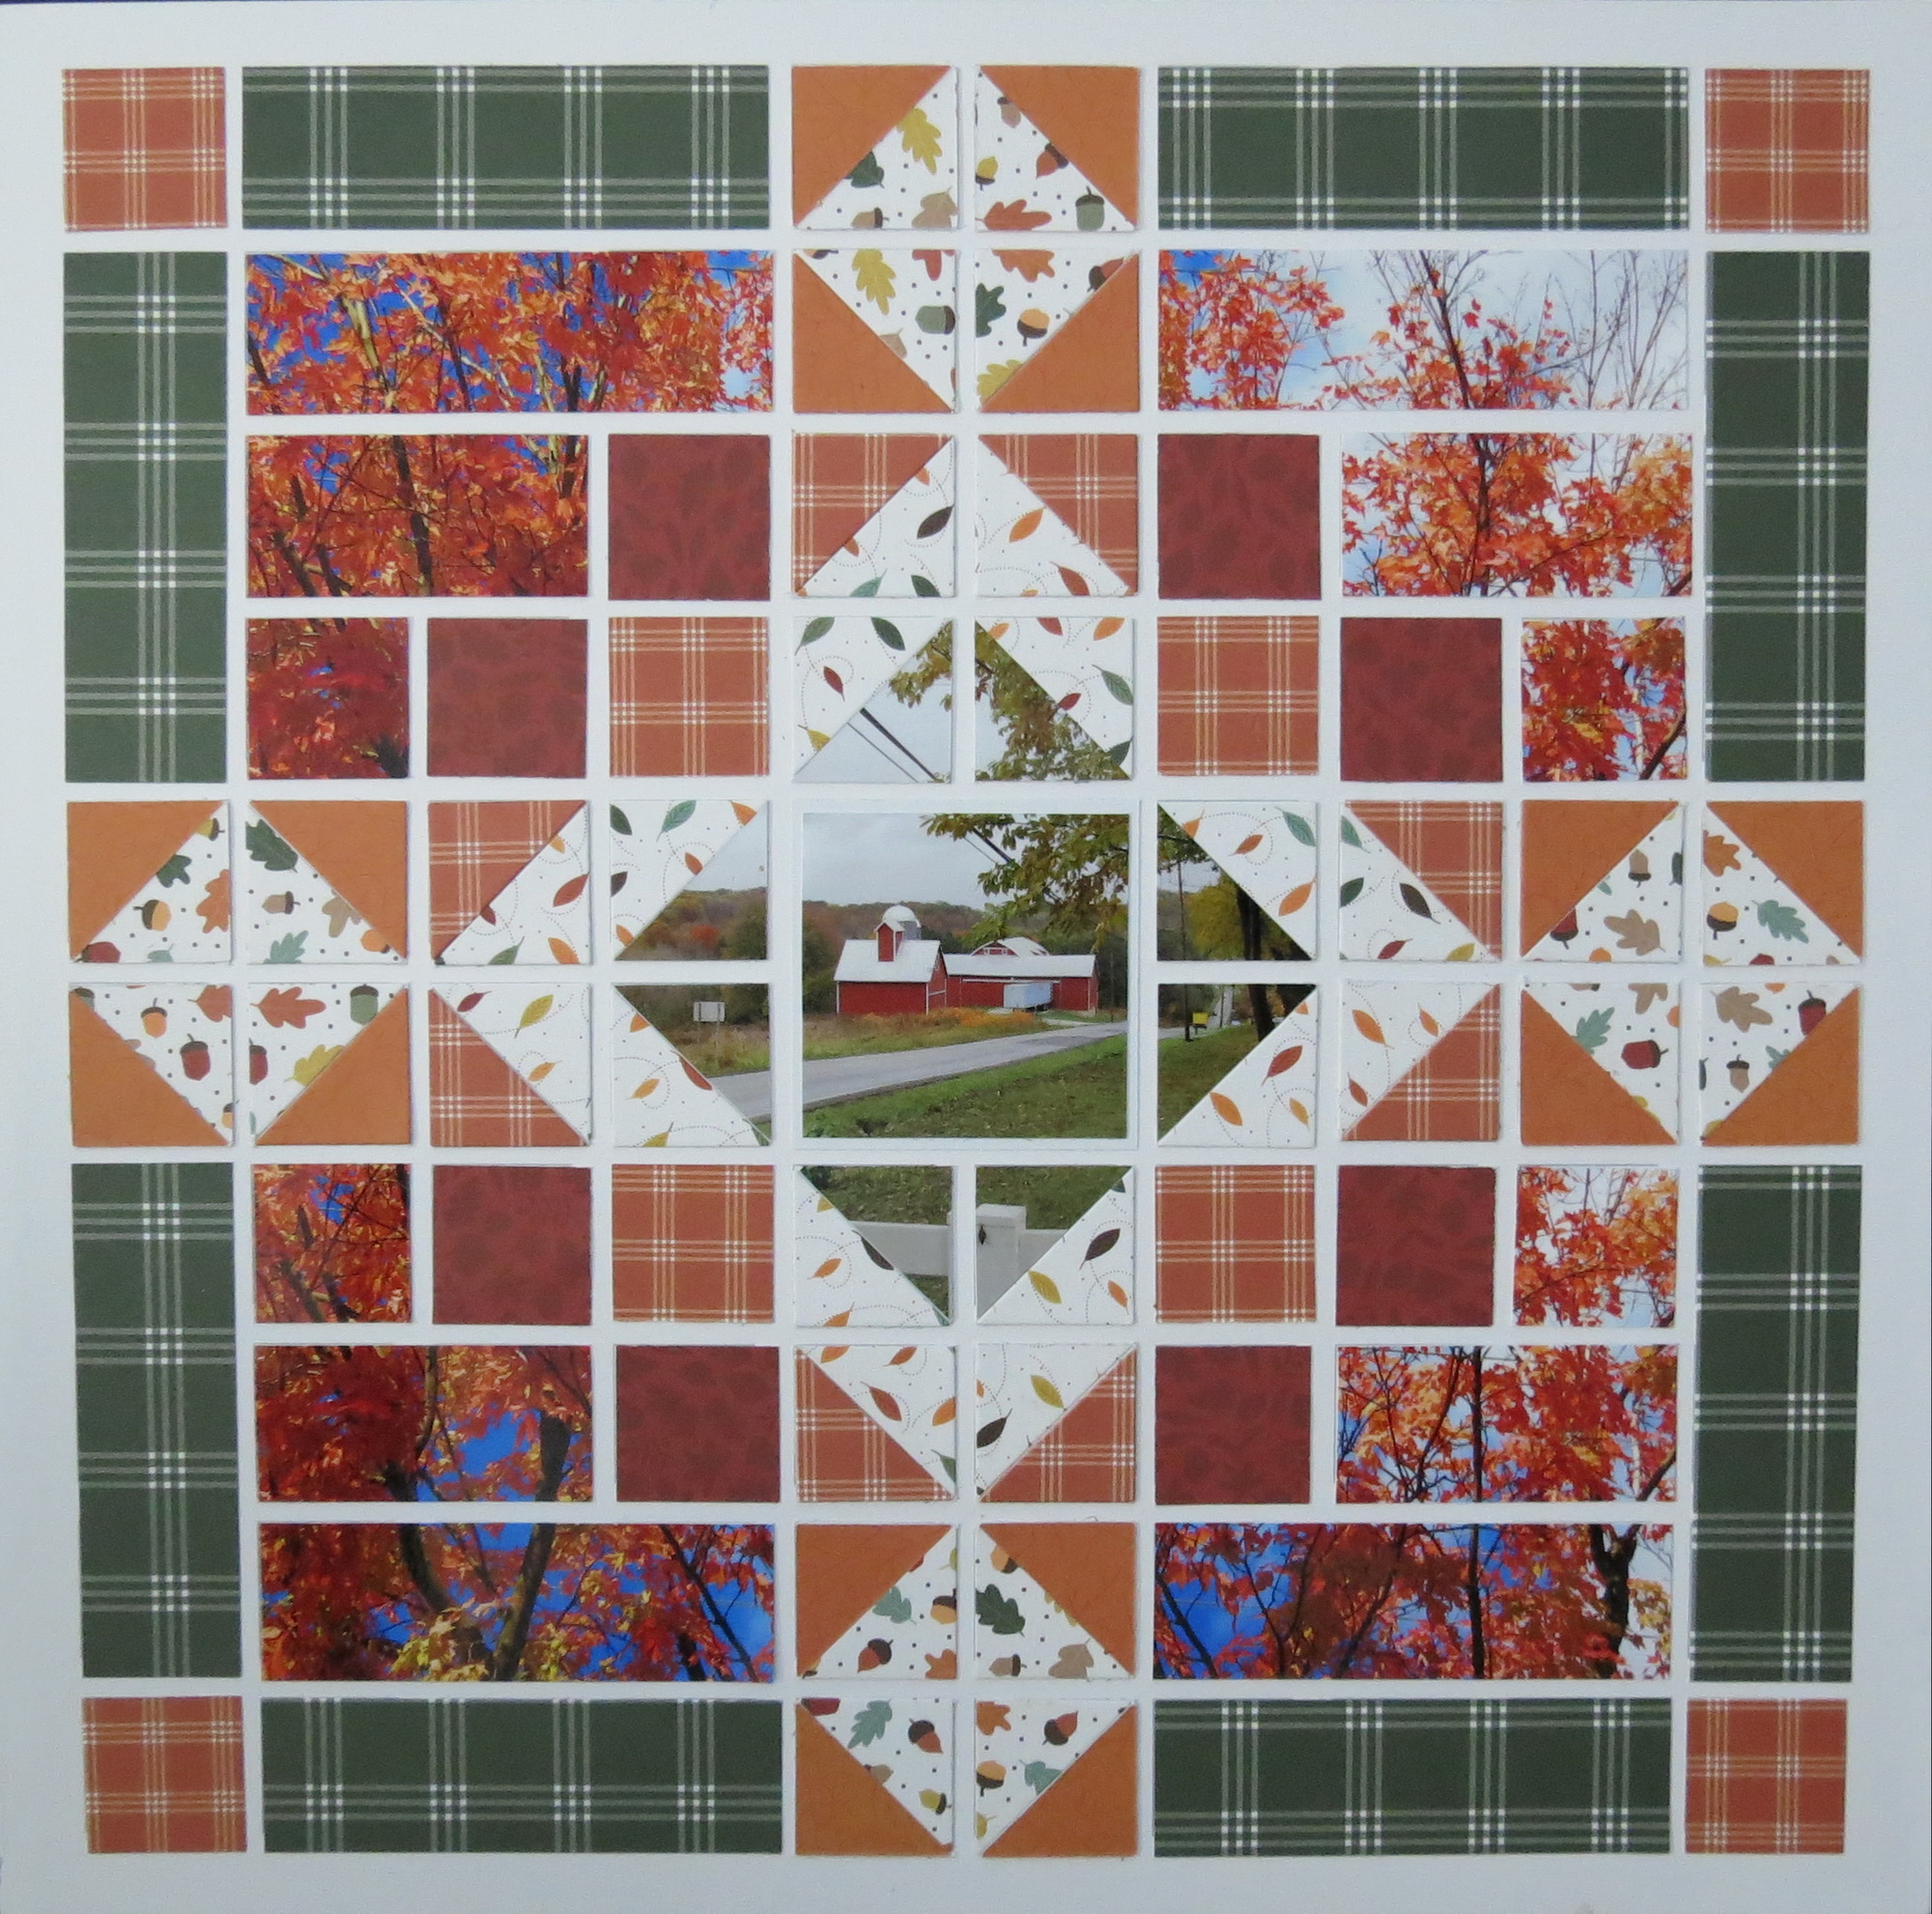
For a unique design, look at quilt patterns online. Since quilt patterns are also built on a grid, many easily translate to Mosaic Moments® layouts – especially if you have a variety of sizes of corner dies.
This layout was created by Andrea Fisher. You can see more layouts inspired by quilt designs here.
8. Try a Trio Pack

Shown here is 12x12 Beach Brights Trio
9. Keep the Scraps
10. Color It
You can use sprays, watercolors, or water-based inks to color your grid paper, if desired. This technique works best on white, but you might try it on other colors as well. Paint and opaque inks will not work, since they will cover the grid lines.
For this layout, Tami sprayed blue Spritz on 12x12 White grid paper to get this look!