
Getting the right fit in the shoes we wear or the clothes we buy is important, but it is no less important when we are selecting our photos to go in our scrapbook layouts, especially if we look to use time saving devices like the Basic Die Sets to fill the grids. So, how do we adjust and resize our photos to get the right fit? Let’s explore some tried and true ideas.
Our standard photo size today is 4×6. So, whether you are printing photos taken on your phone or your digital camera that may have options on the size of the photo you can take, most will be printed to that standard size.
Living in a digital age, means we no longer need to await the return of our photos from the developer to see what actually turned out. It also allows us many options to edit our photos before we order and to customize the picture we will have to work with in the end.
Many of these same things that can be done at a developer can be done easily at home too. I want to show you a few options for you to compare both and decide what will work for you.
The 4×6 photo will need to be matted to fit on the grid, or to fill that spot without a mat your photo will need to be printed as a 5×7 photo and then trimmed down. Die Set B will help you here to create a mat or fit to the grid.
Some of you may still have stacks of 3.5”x 5” photos to scrap and they will work nicely on the grid with the minimum amount of cropping or need for mats. That size works well with the Die Set C and the 3×4 space in patterns.
Die Set C and CL (layering dies) has two sizes 4×5 and 3×4 that are easy to use without losing too much of your photo and often help to zero in on your focal point.
The various layering dies are a huge help in giving you extra options for cropping and displaying your photos and adjusting to almost any pattern you want to use.
WITH A DEVELOPER
If you rely on an outside company to process and print, you will have to work within their parameters.
When you placed your order, did you take the time to use the feature many have to crop your own photos? If you are shooting with a digital camera, as most of us are, or even your phone’s camera, these are not necessarily the size of the photo standard of 4×6. It requires you to crop and determine what you want printed.
I’m sure at least once you’ve taken a “great” photo only to find during printing, something has been cut off or it just doesn’t look like you imagined. Take the time to crop your photo and have them print the view you want to have. Get the best of what you’ve shot, edit out what isn’t necessary or is distracting, and you will be happier in the end.
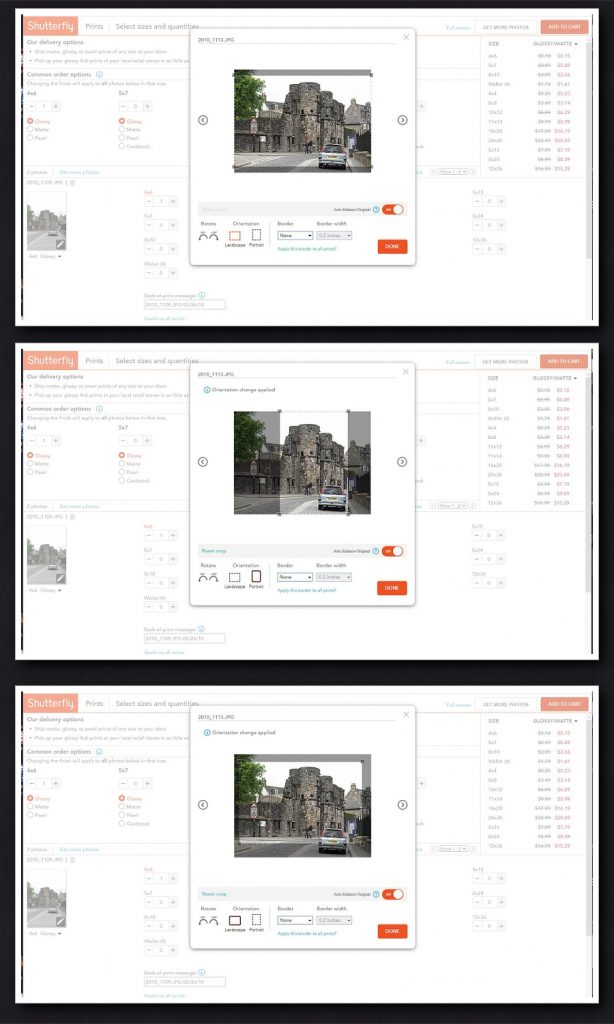
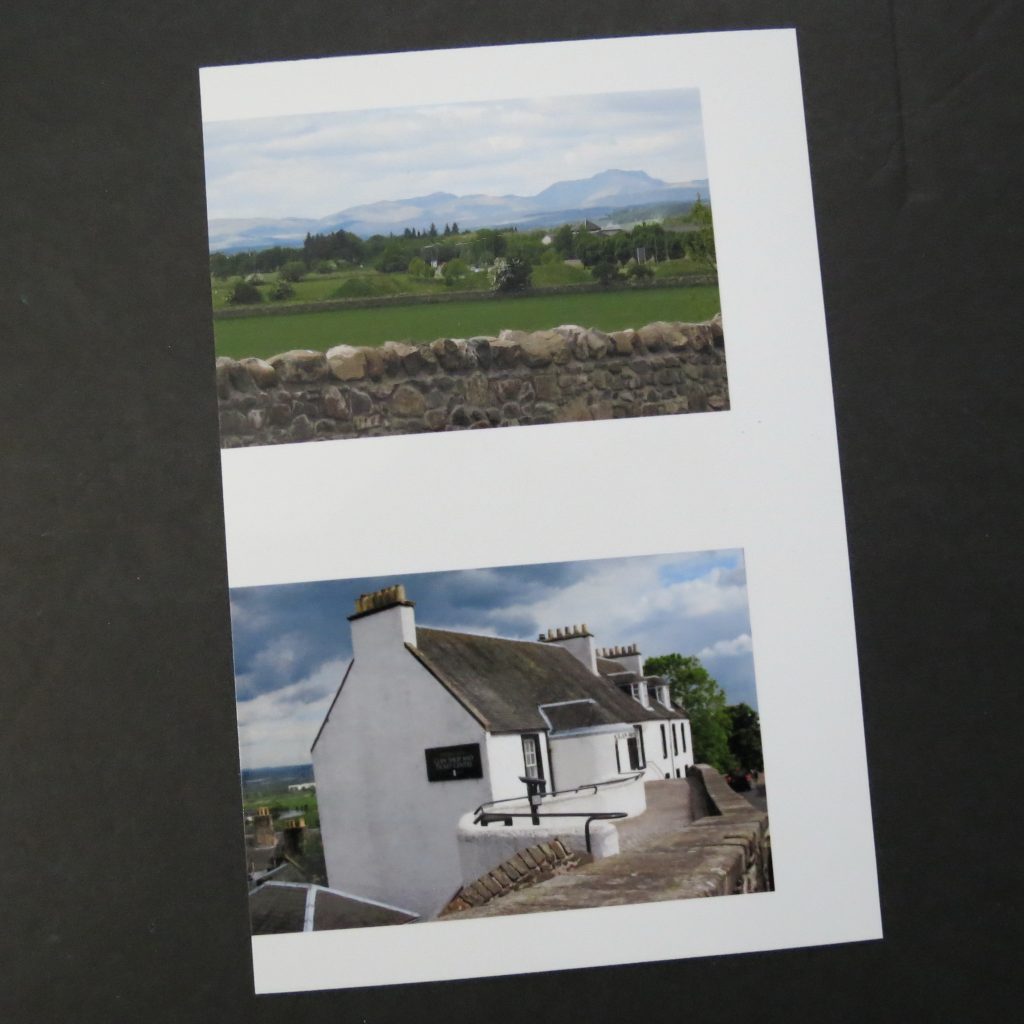
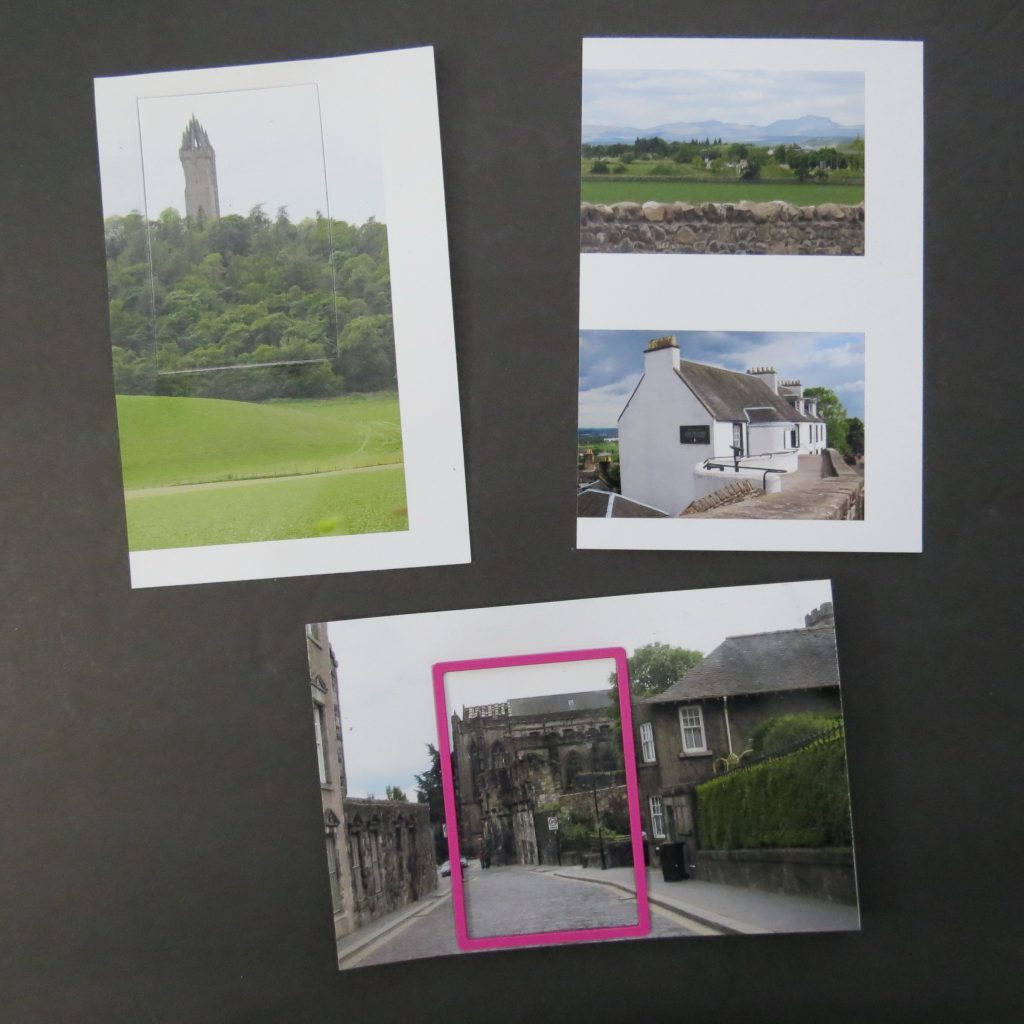
2. Center photo shows the option to crop a vertical 4×6.
3. Bottom photo shows an option for a horizontal print.
If you’ve cropped too much you will be given a warning that it won’t print well and you can redo your area to print.
DEVELOPING AT HOME
If you are up to printing your own photos your options for formatting the size of your photos to fit the dies and places on your patterns are many. Let me show you a few.
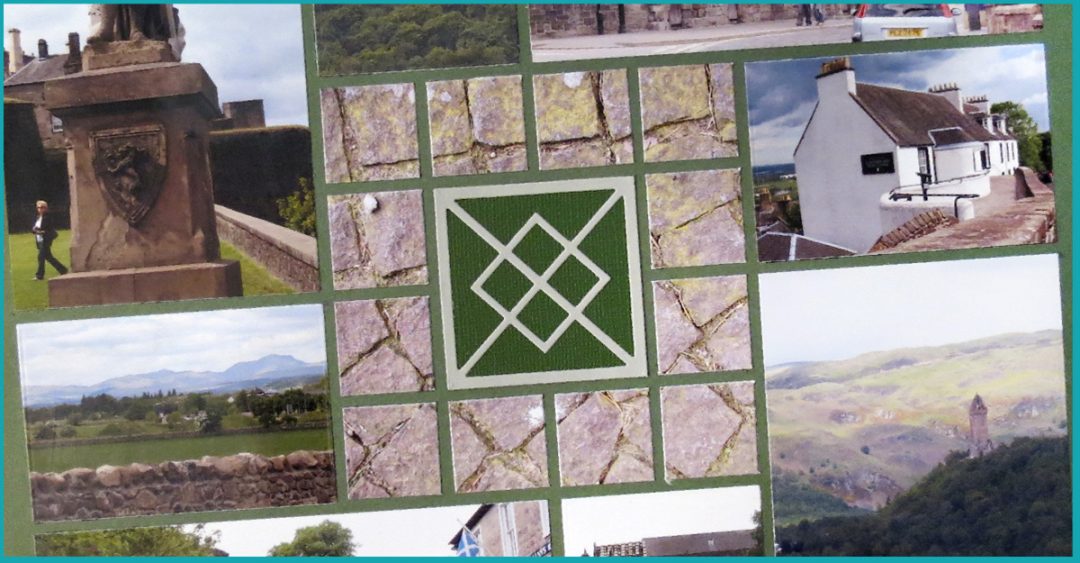
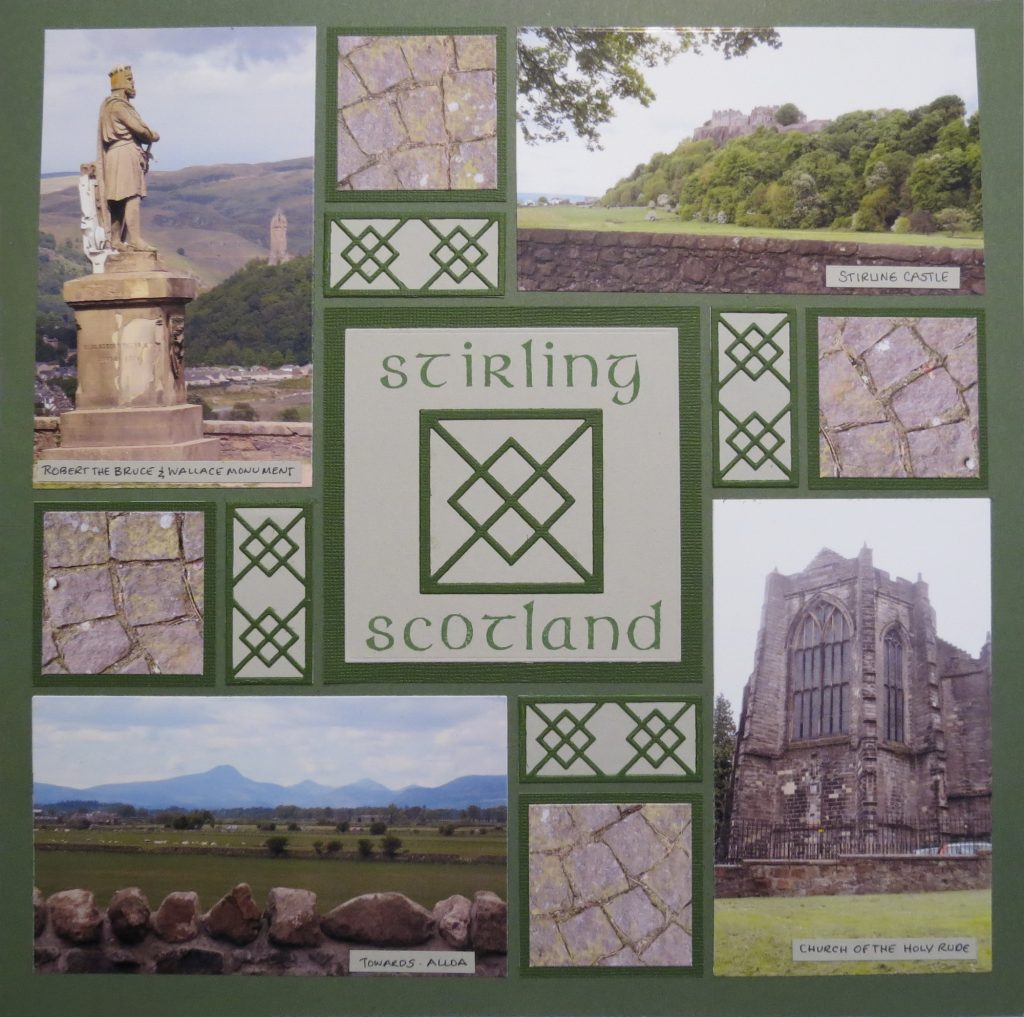
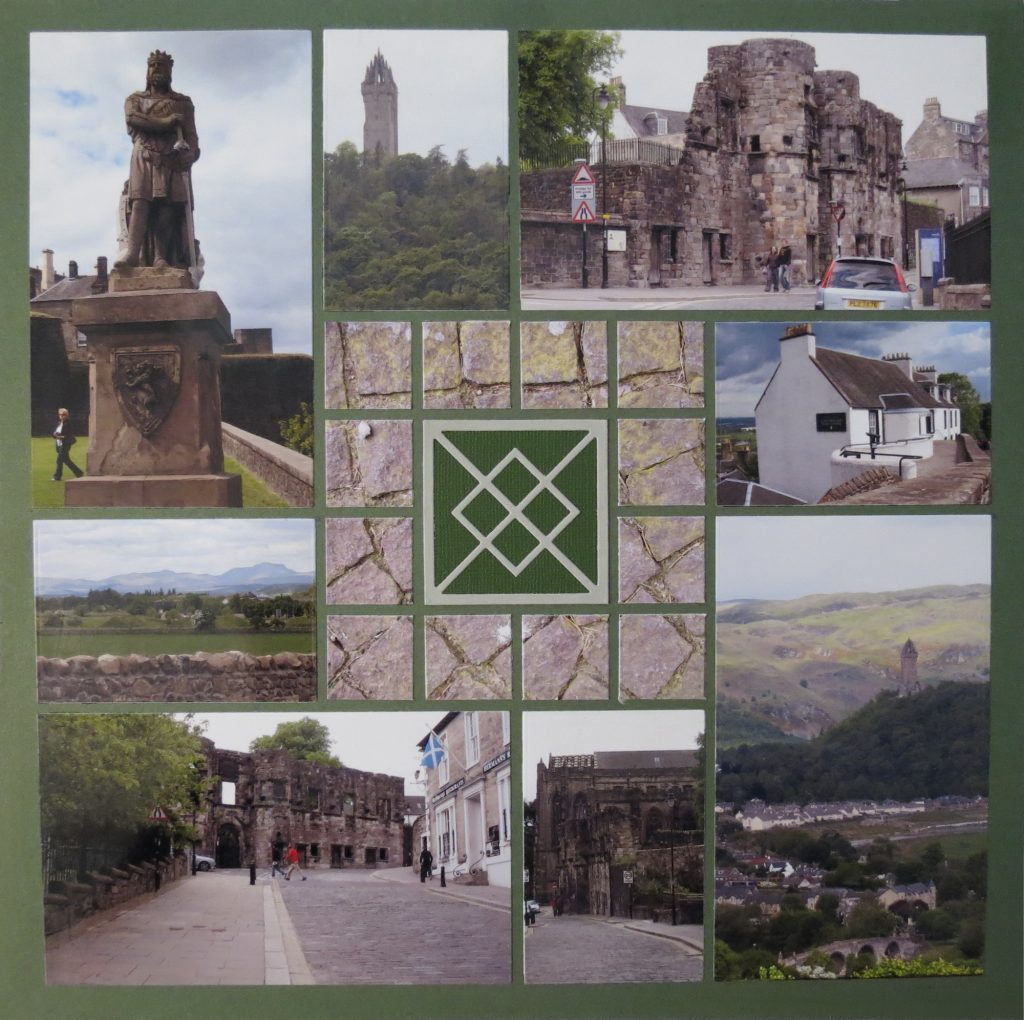
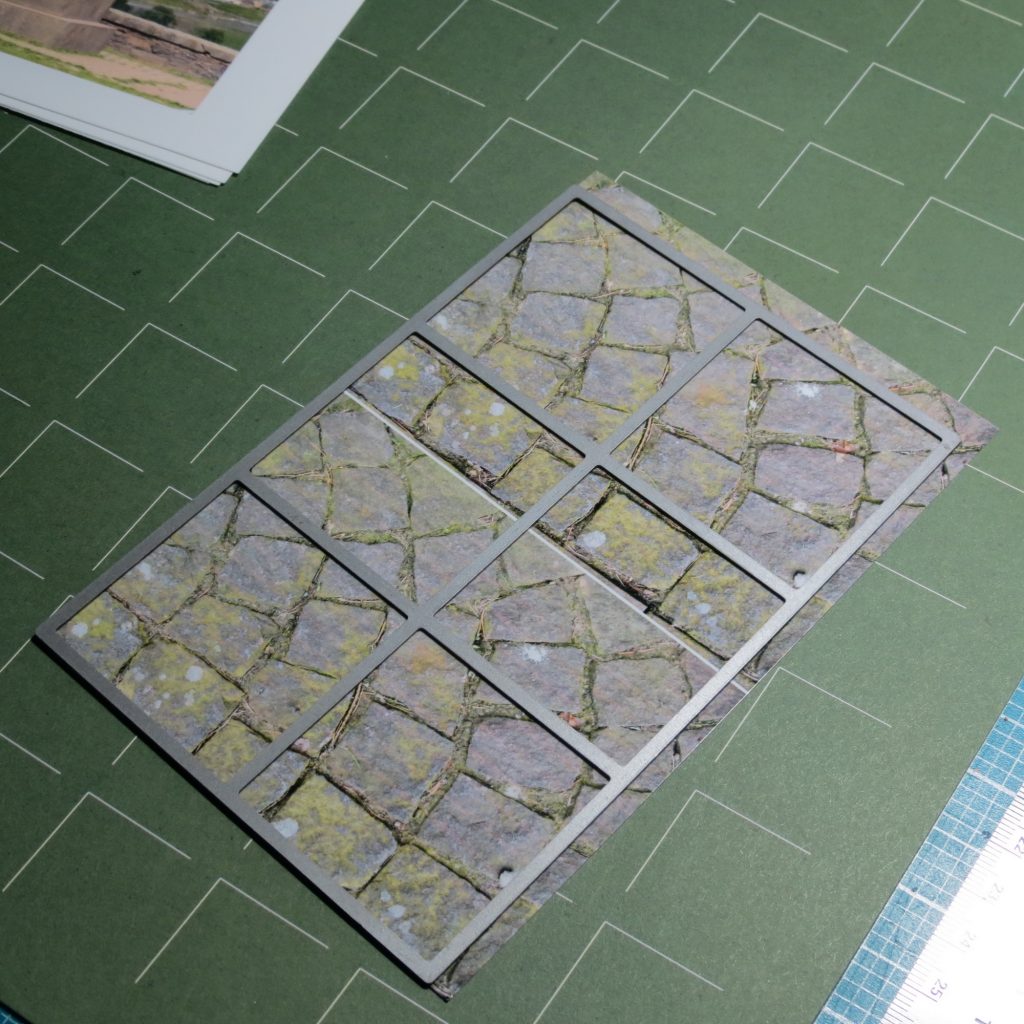
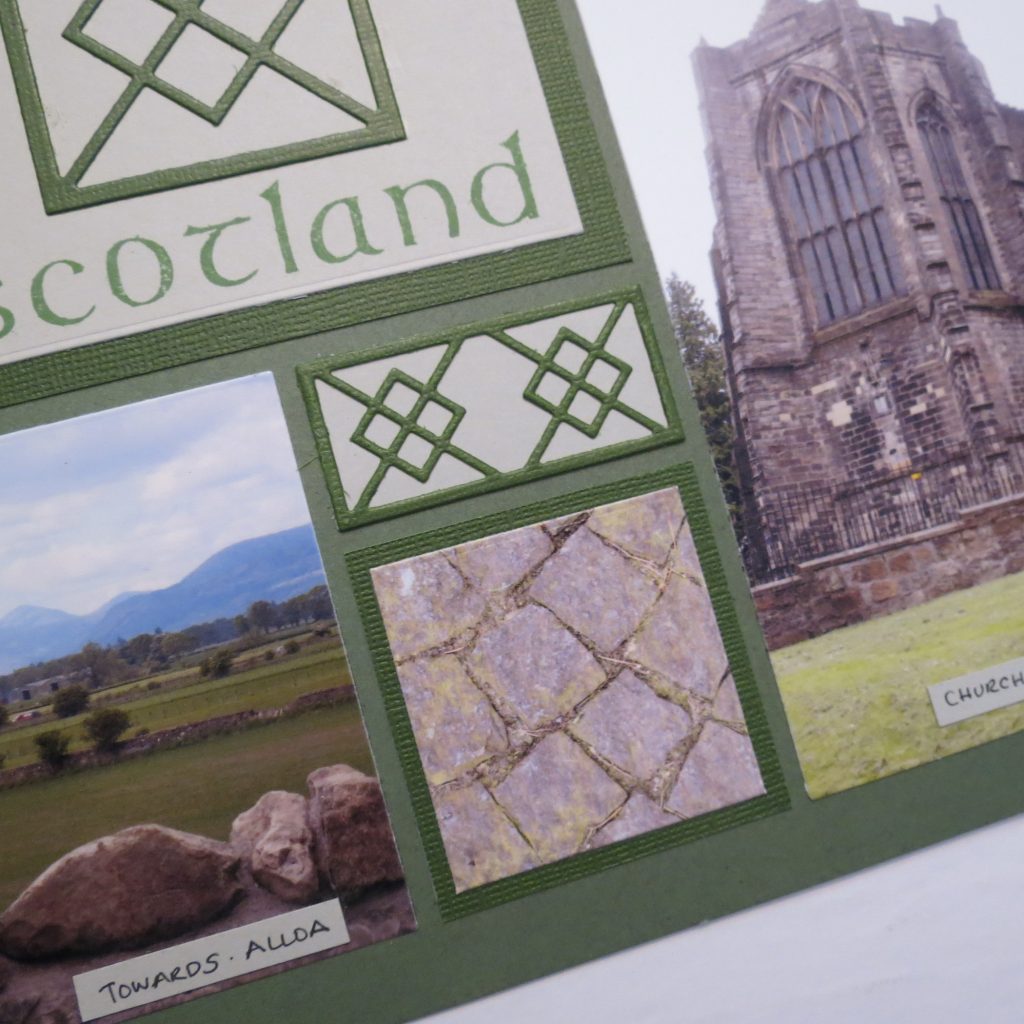
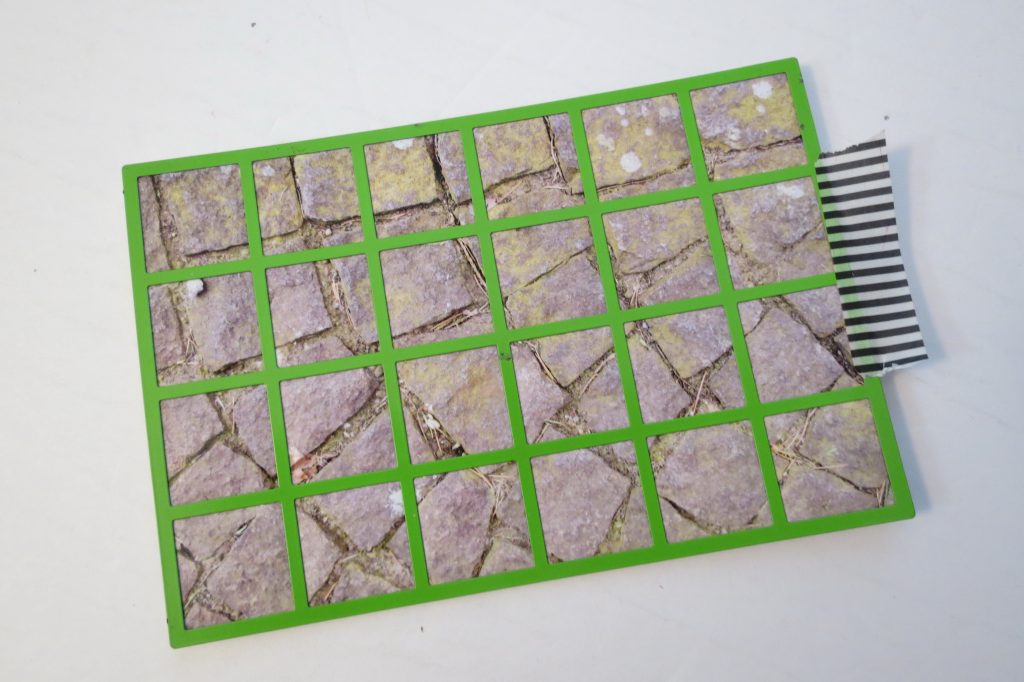
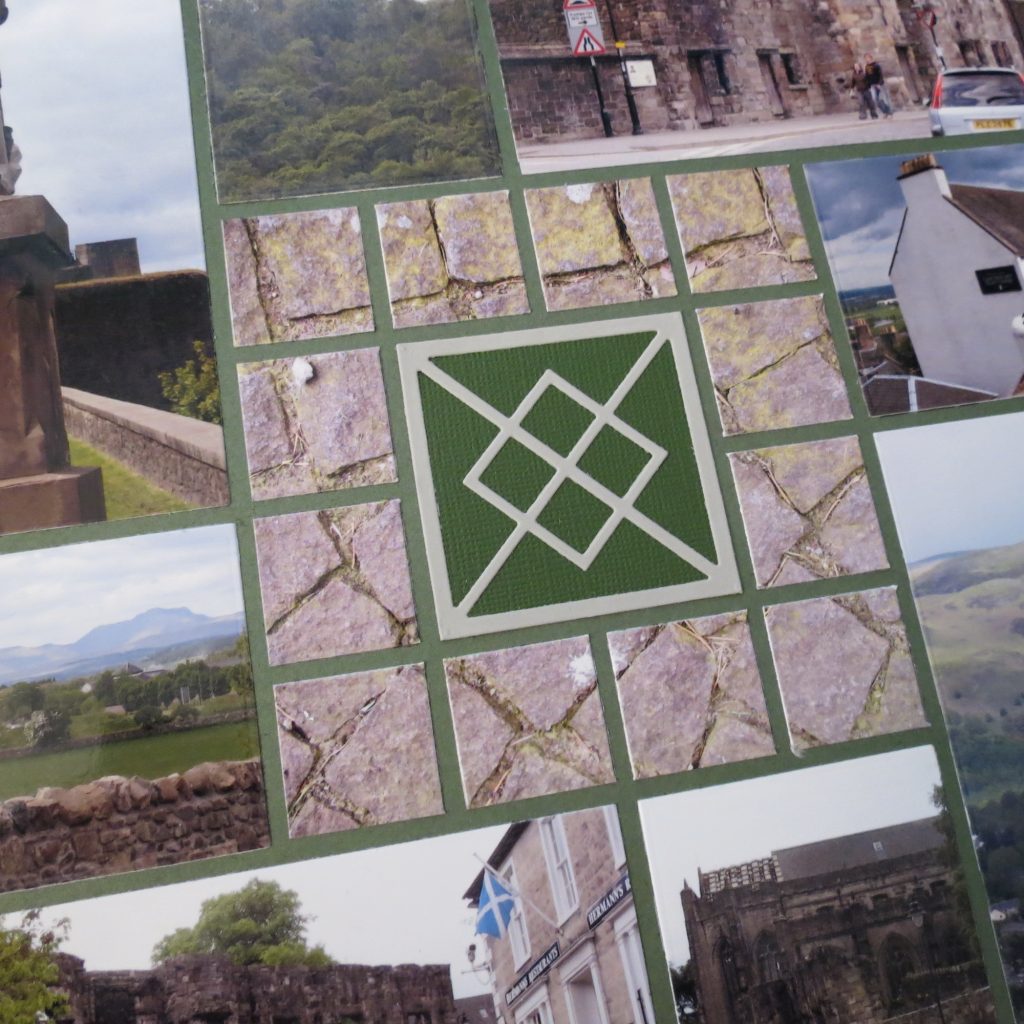
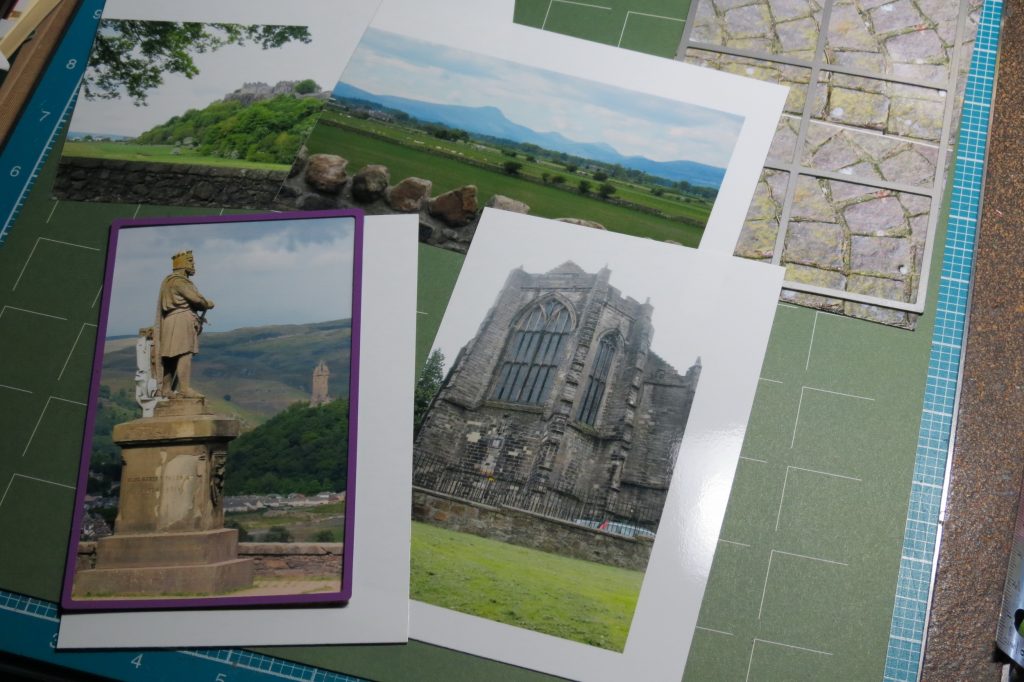
Many times, you can easily crop out portions of your photo and apply them to the grid. If you get in the habit of taking what we refer to as filler photos, you will be able to use a variety of portions and often more than one in your layouts. These photos are often close-up pictures of other related items. Like flowers, cobblestone roads, signs, ornaments, lights, etc. They work well in 2×2 and 2×3 spots instead of patterned paper adding to the story and bringing interest and textures.
Some crops are easy to make before printing, like turning your 4×6 into a 4×4. Some have camera settings that allow you to shoot in a square format to begin with and frame your subject without cropping after. If you are printing these on your own, doing this ahead of printing saves you ink. Doing it with a print, it’s still easy by hand-cutting and using the Double-sided Craft Mat. It’s equally easy to use Die Set A and any of the layering dies and place your photo on a mat cut to fit the grid.
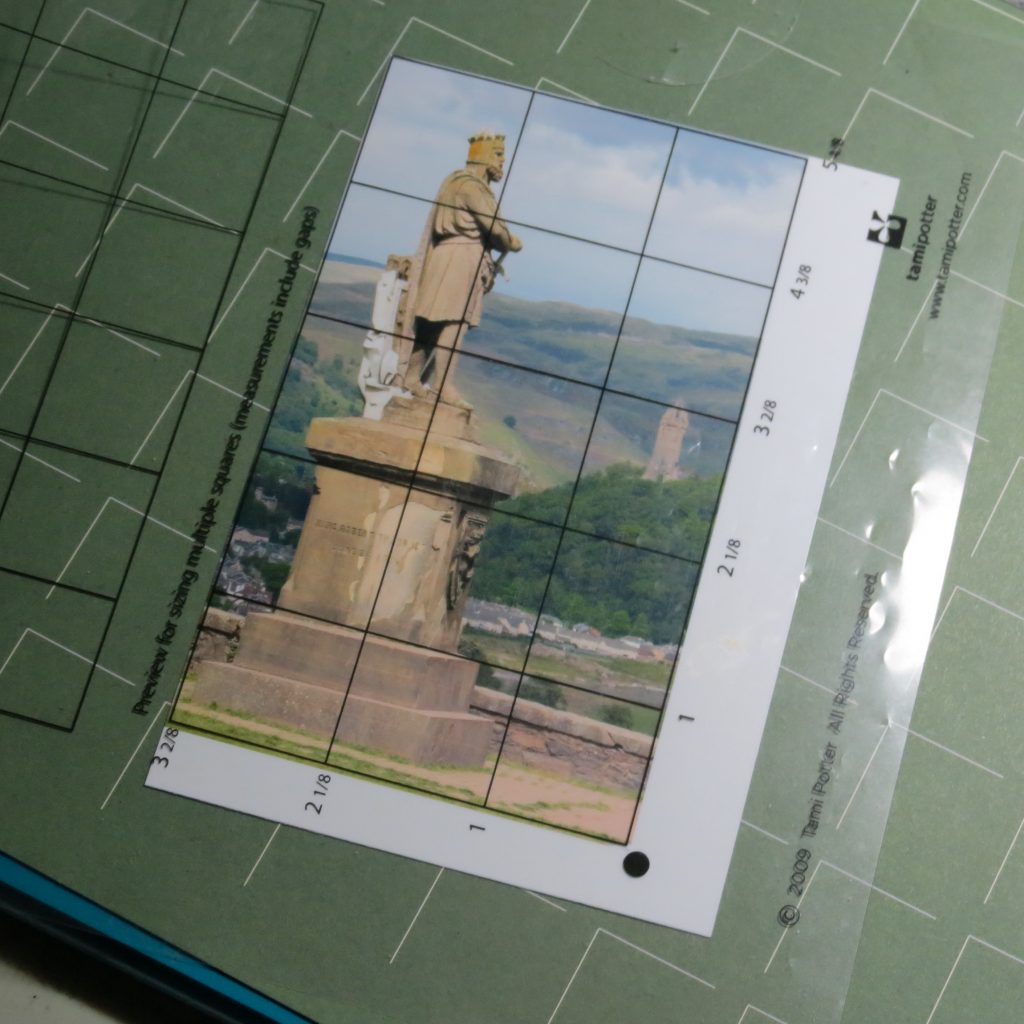
TIP: Now’s the time to use your Quick Glance Guide to help you see the portion of the photo you want to save and where to cut away what you don’t need. It’s a quick way without pulling several dies to “see” your area. With just this tool you can determine if you’d like to go with a square or rectangle, 3×3 or 4×4 or even a 3×4, at a “quick glance”. If you hand cut, you can easily line up on the grid and cut where necessary or pull out the appropriate die to use and cut.
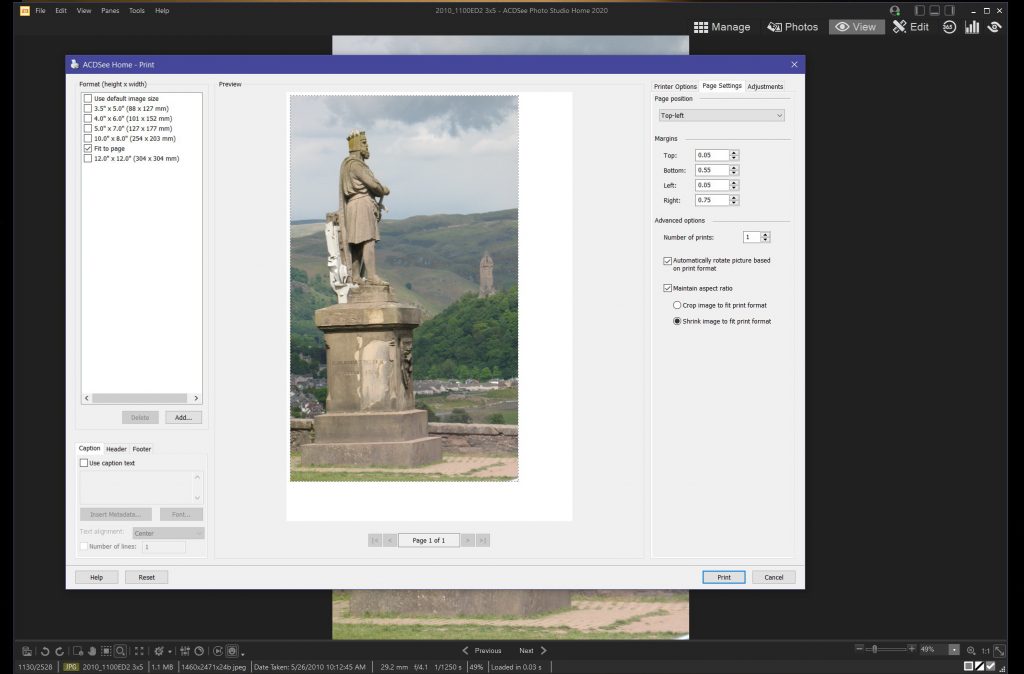
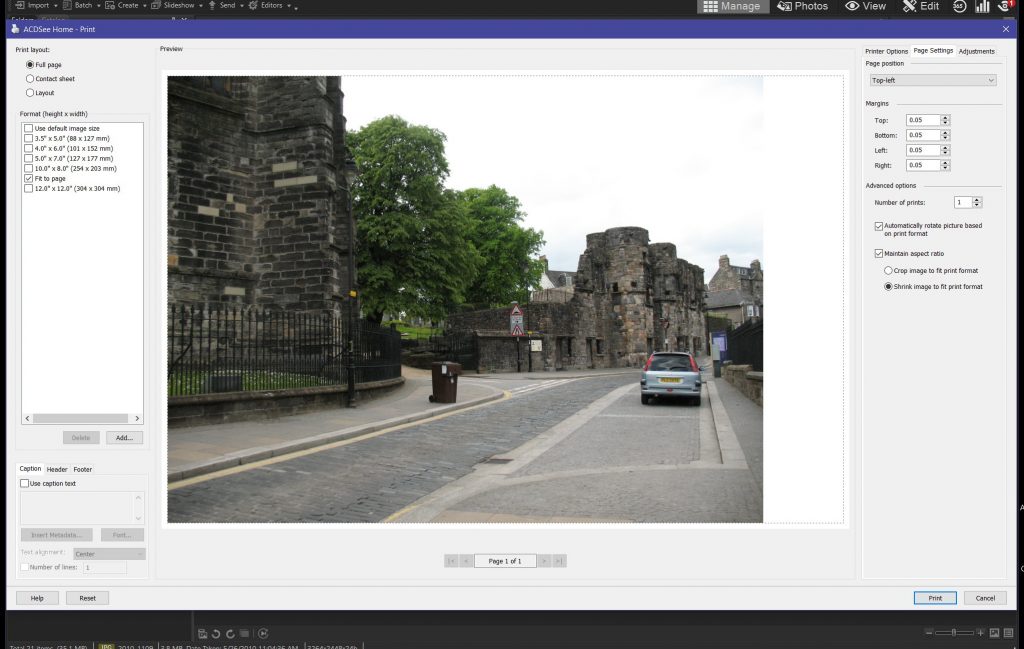
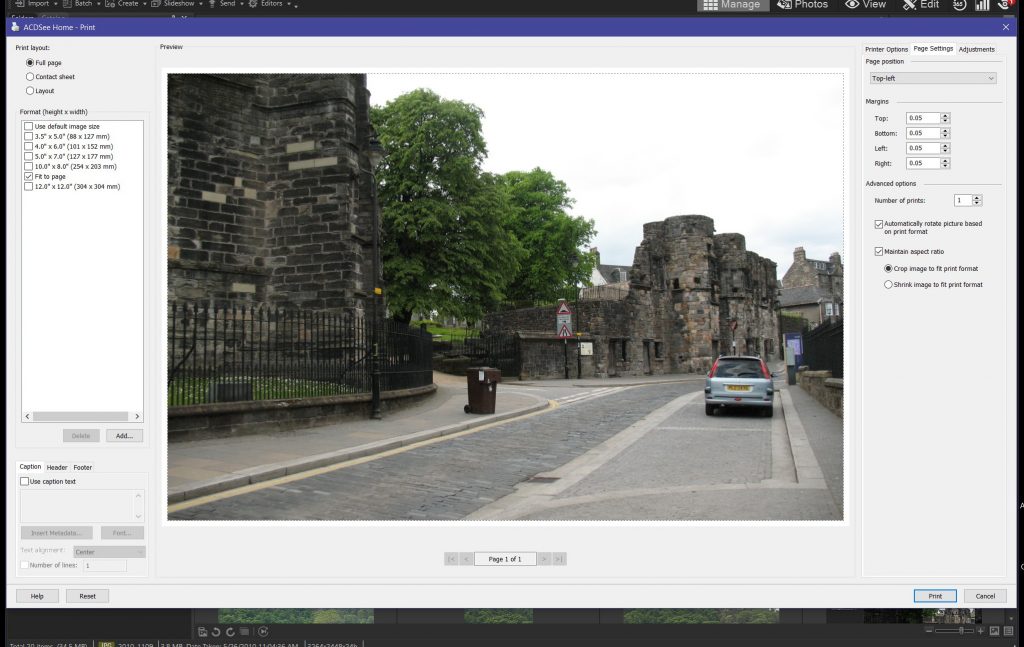
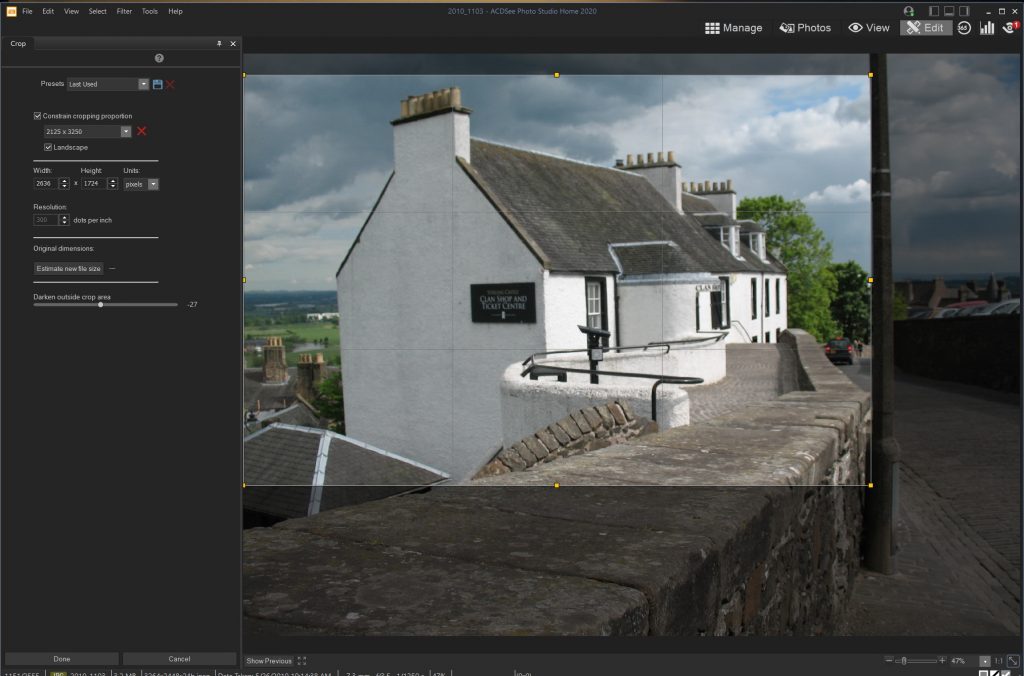
I have worked with a photo editing program for many years, (ACDSee Photo Studio Home 2020) and it helps me to crop my photos before printing. I imagine if you have a camera, you have software for the computer that will do some of these things, you just might have to play around and explore and learn how to use it if you never have before. Your computer may even have come with a program that you can try out.
I’ll show a few of the ways I use to print a photo very close to the size I need, that allows me to adjust my photo to get the best portion to print. It might be something you’d like to try out. Remember, software will vary, but some things should be basic for all.
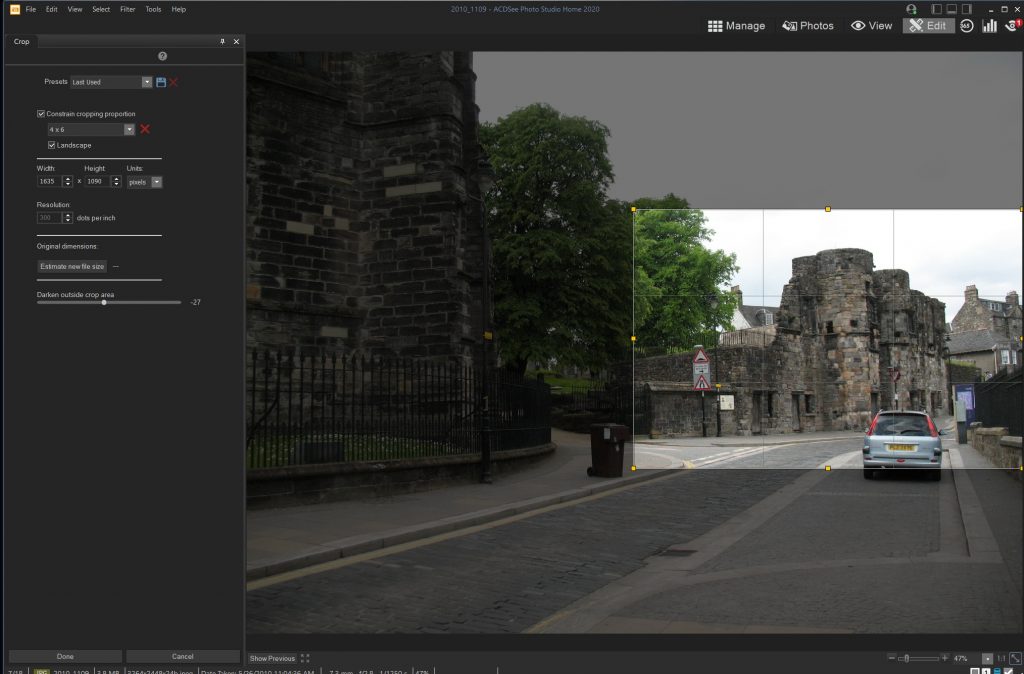
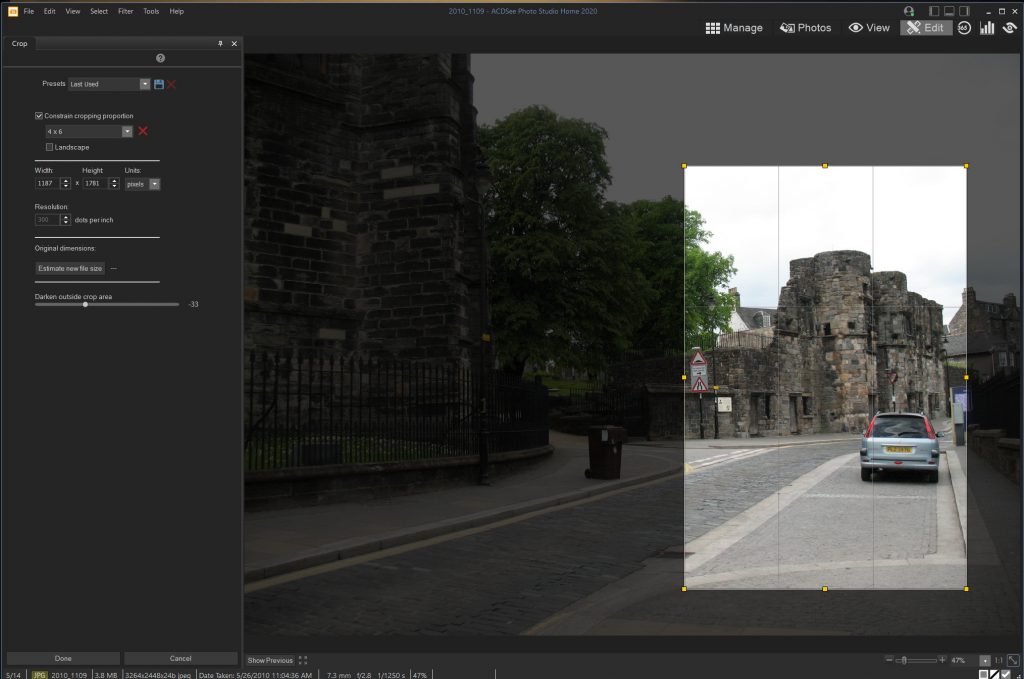
I can also edit a photo to get a better picture. For example, I have this photo where the tree is smack dab in the middle of the photo, a portion of the car and more of the road than I want and even the telephone pole is a distraction. I’ve cropped it to get a better 3×3 and where I can also have two separate photos that can be used side by side for a semi-panoramic look. I reduce the gray skies, the car and a portion of the road. I keep the stone wall, the mountains and the wind turbines on the hills on the far right. What a mix of old and new.
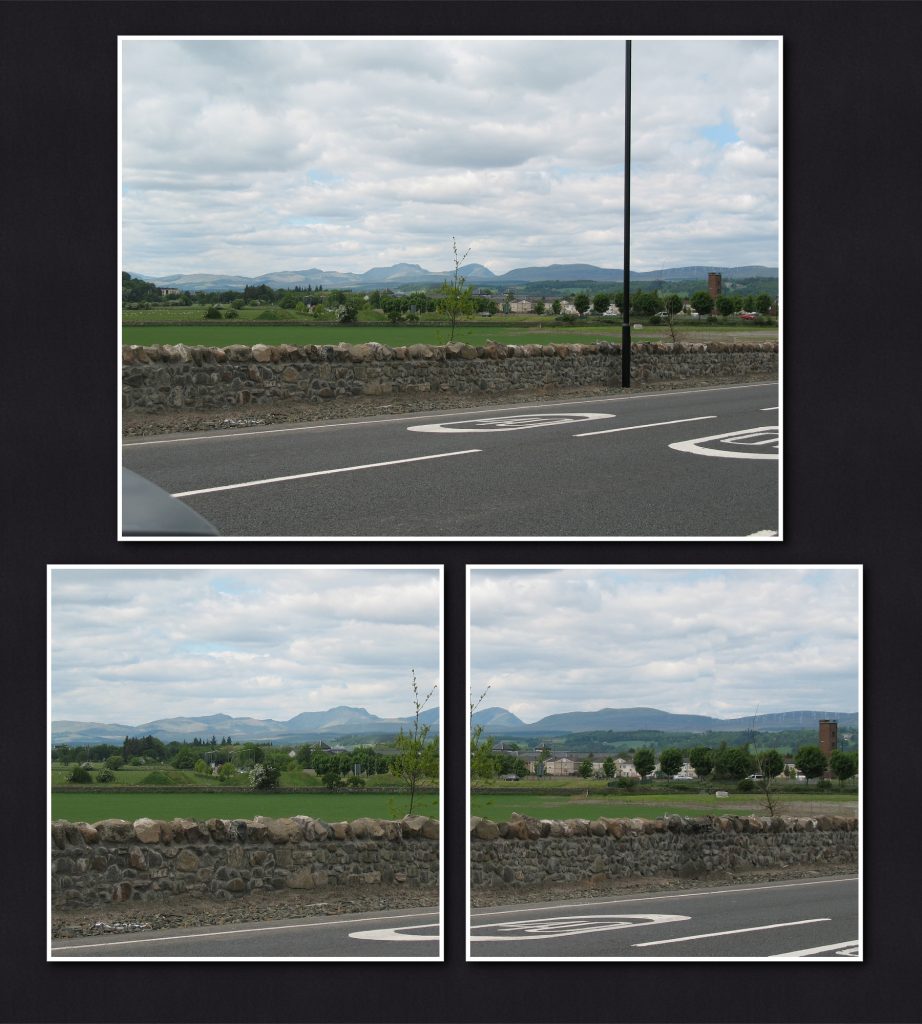
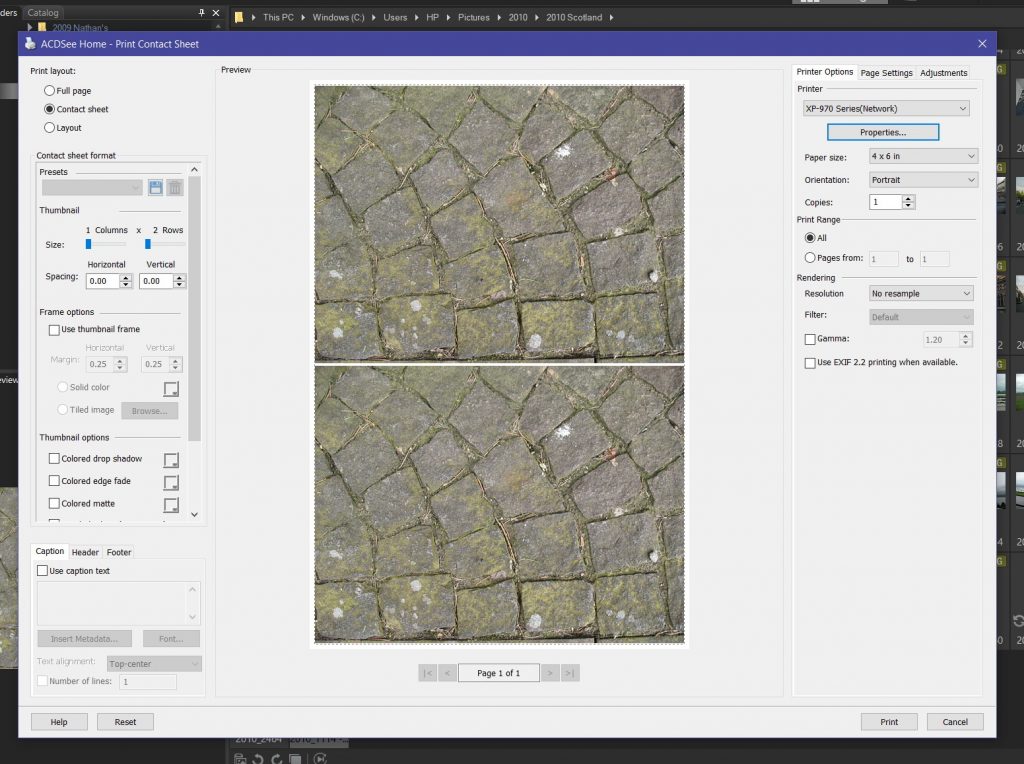
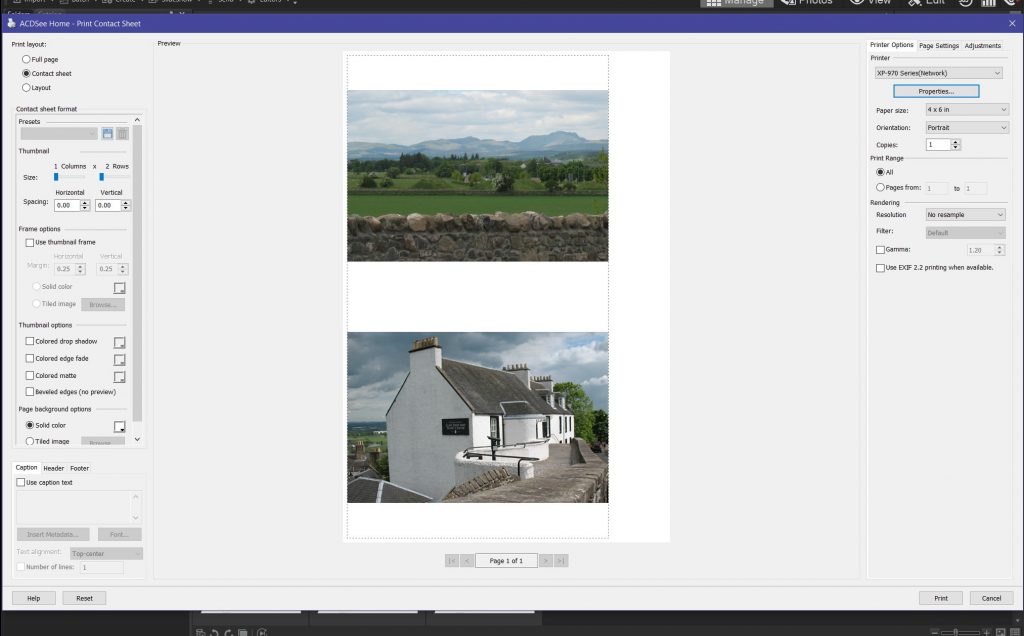
Changing direction from vertical to horizontal or vice versa are easy edits before you print. You can edit to get a smaller sized photo to print, I print two on one 4×6. I can also crop from the 4×6 the portion I want and it can be either vertical or horizontal.
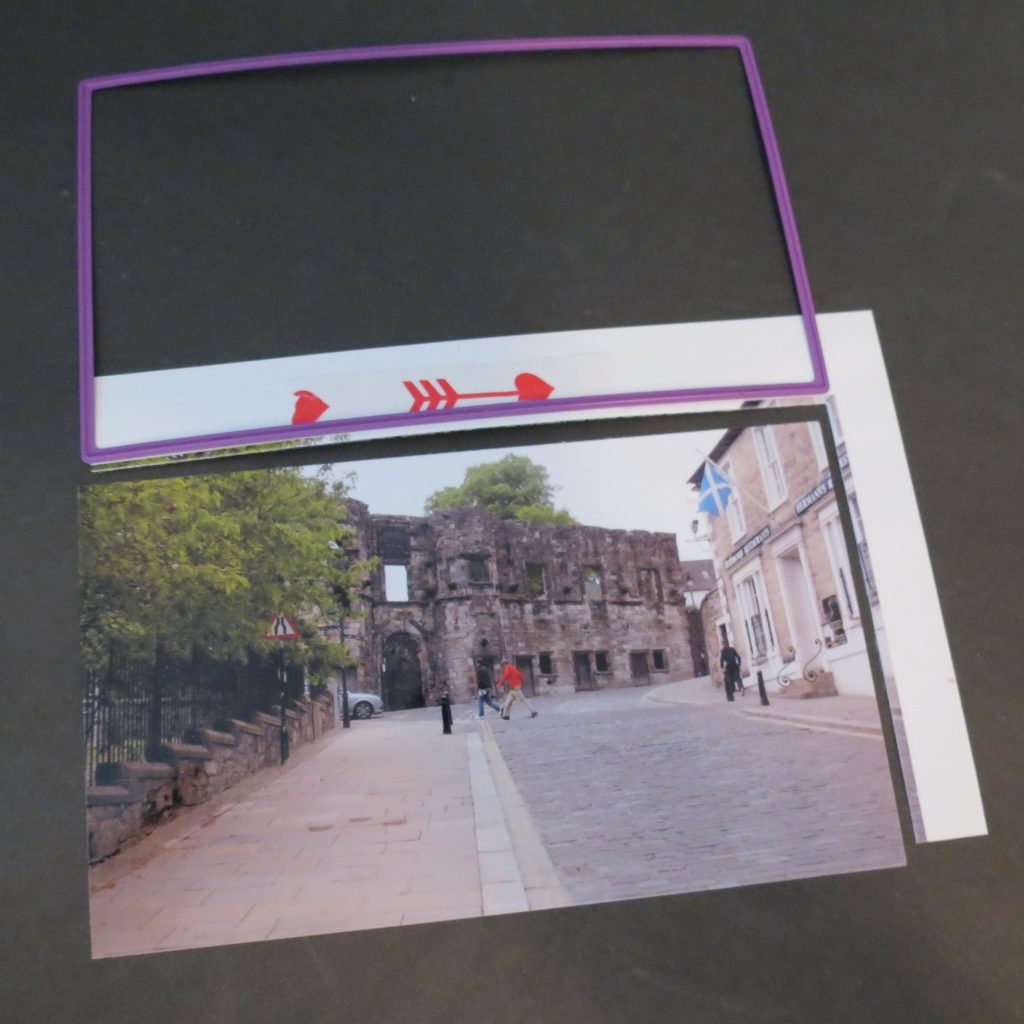
When I use the computer to crop my photos “to fit” there is usually a small difference that allows me to crop and leave a small portion of the photo behind, instead of a white edge because I came too close.
One huge advantage that I love is being able to improve the shot I took by cropping it. Many times, I can enhance the photo by reducing the content and focusing in on the subject. You can learn to improve your photography skills by improving your editing skills.
In the end if you try some of these tips, I hope you will be able to get the right fit for every photo in every layout and have fun reliving those moments you are scrapping!
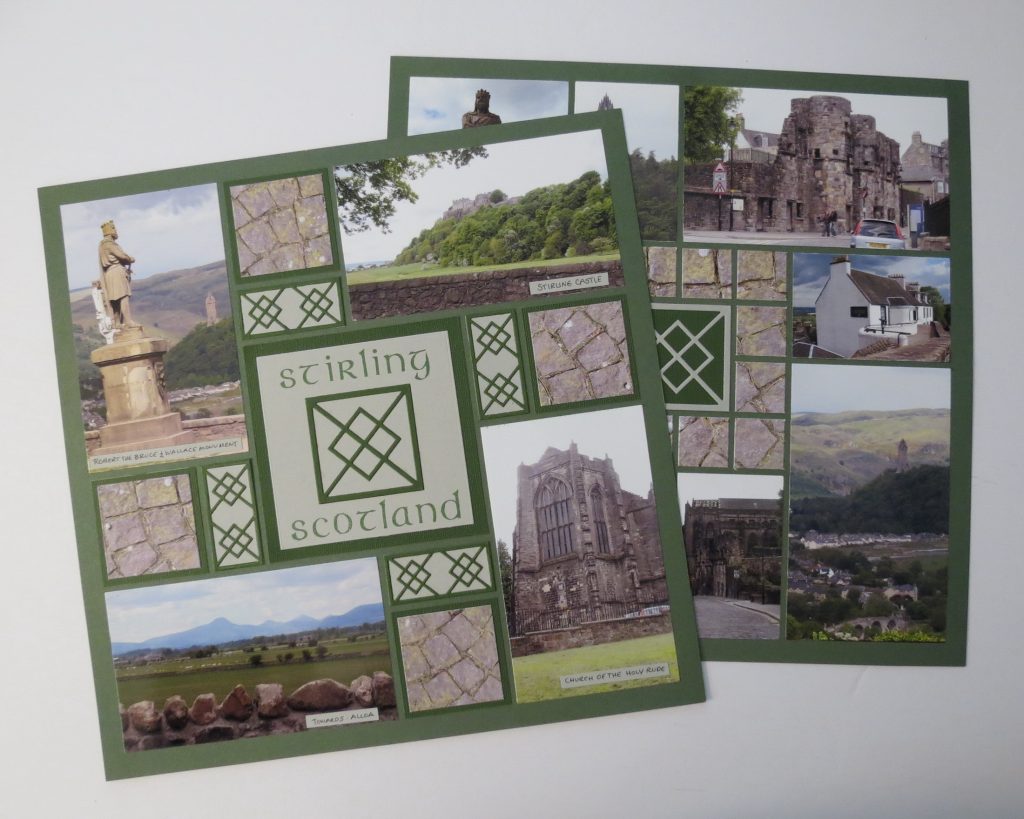
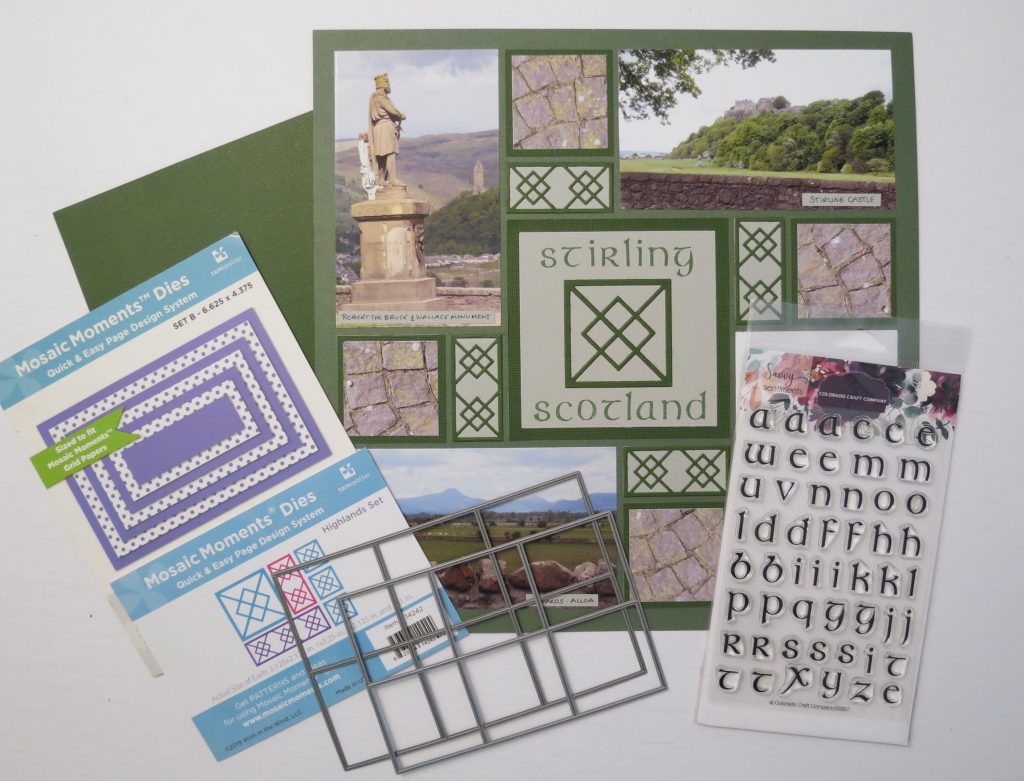
Supplies used this week:
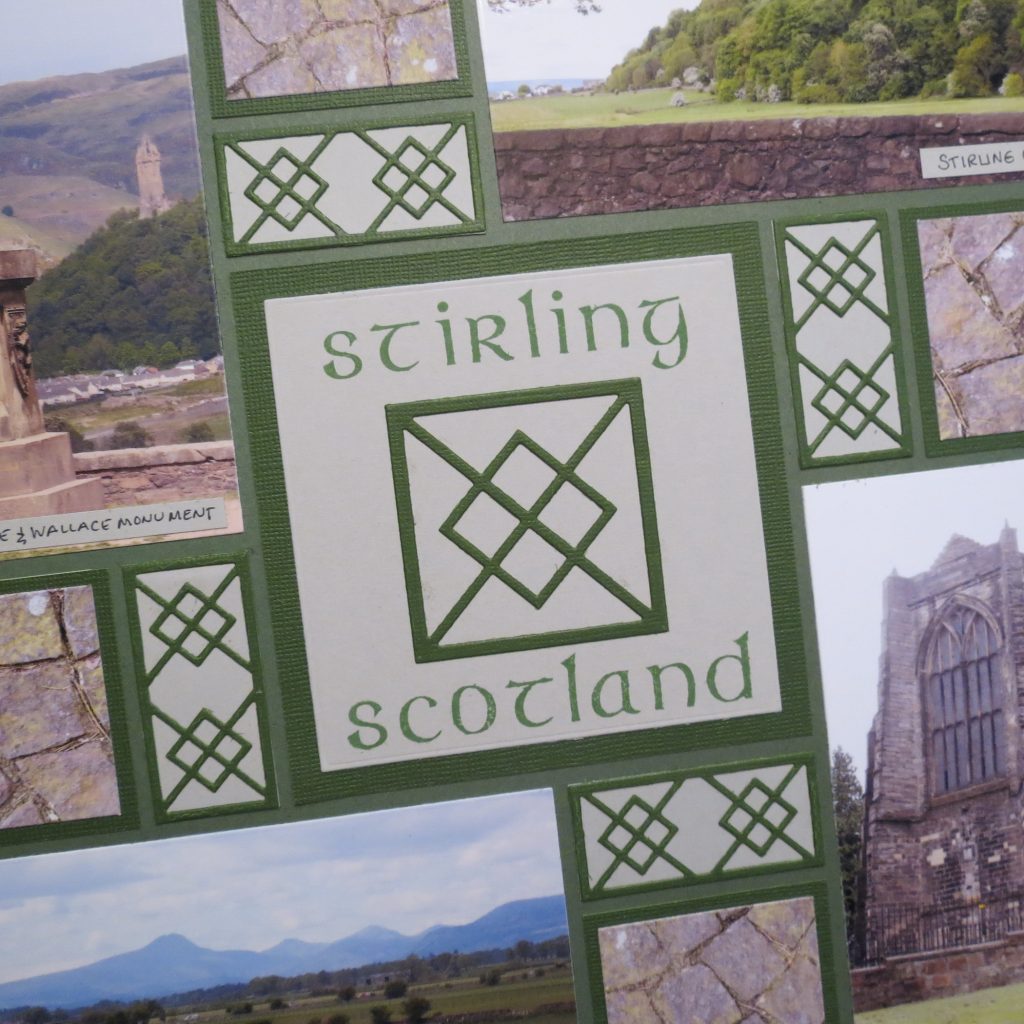
- Grid Paper: Kale from the Mosaic Moments Harvest Grid Collection
- Cardstock: Forest, Light Gray
- Stamps: Celtic Lowercase from Colorado Craft Company
- Ink: Ranger Adirondack Meadow
- Dies: Basic Die Set B, Grid Cut 2.125” x 2.125” Die and 1.875 Squares Layering Die, Highlands Die Set
Andrea Fisher