
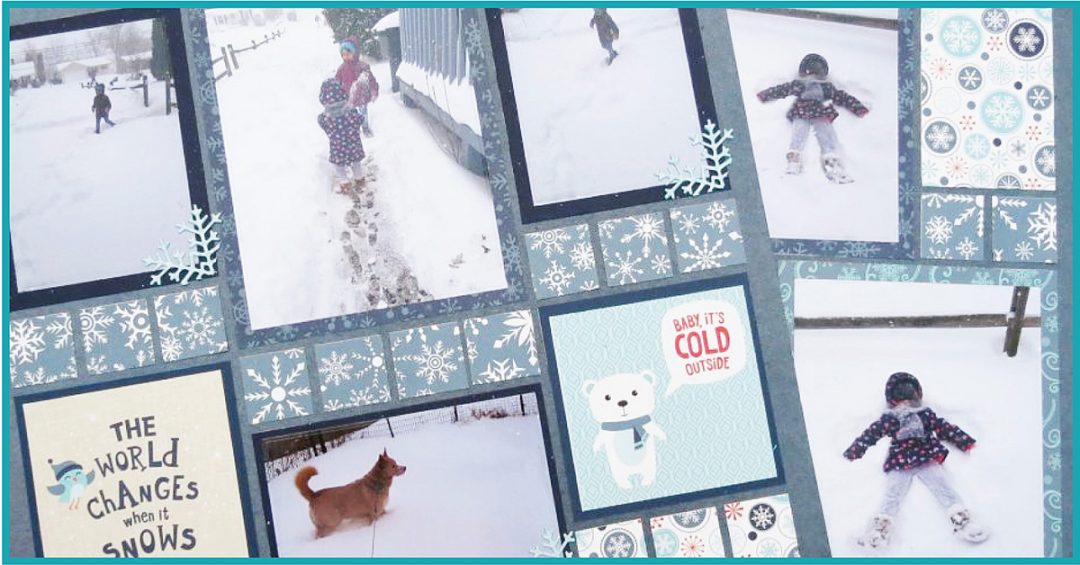
First Snow
Thought I’d bring a few winter layers to warm up your imagination for this week’s layouts with the two Basic Die sets that we have at Mosaic Moments.
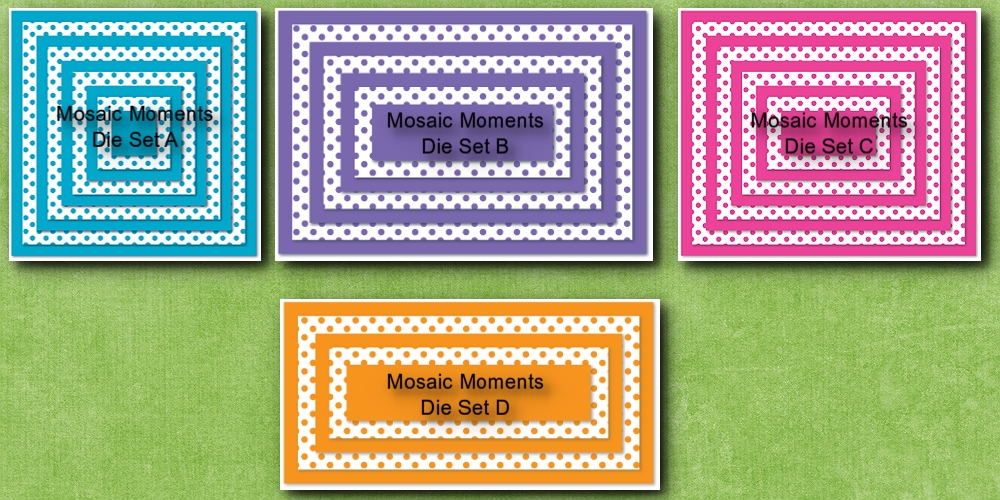
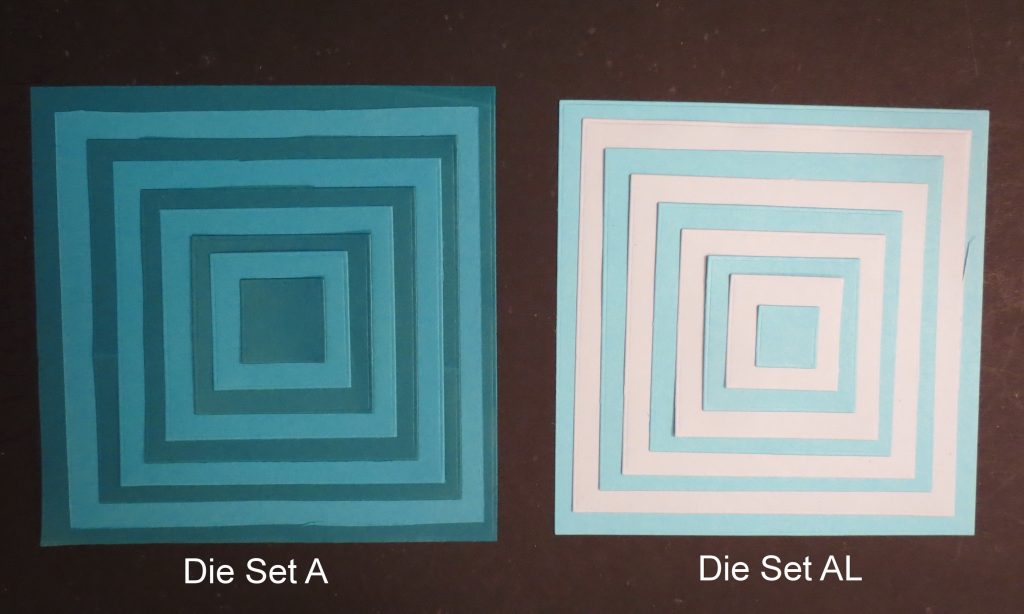
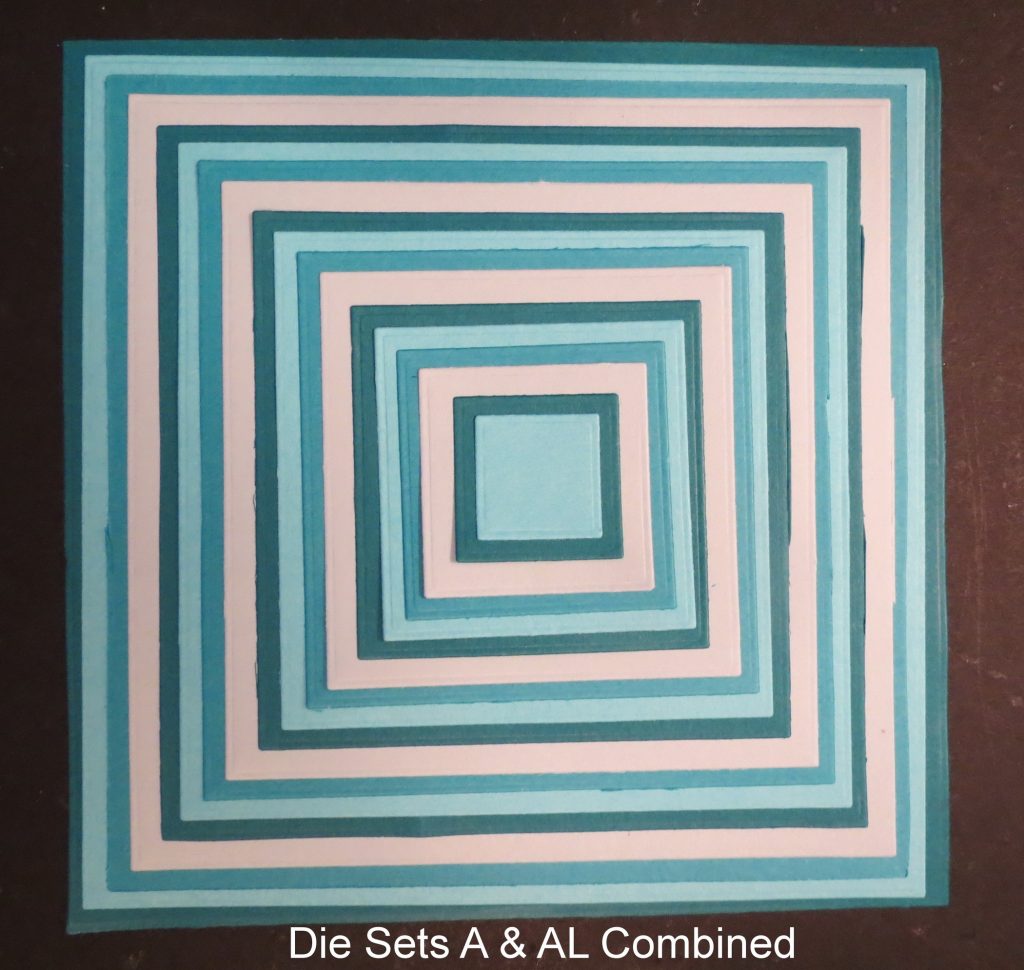
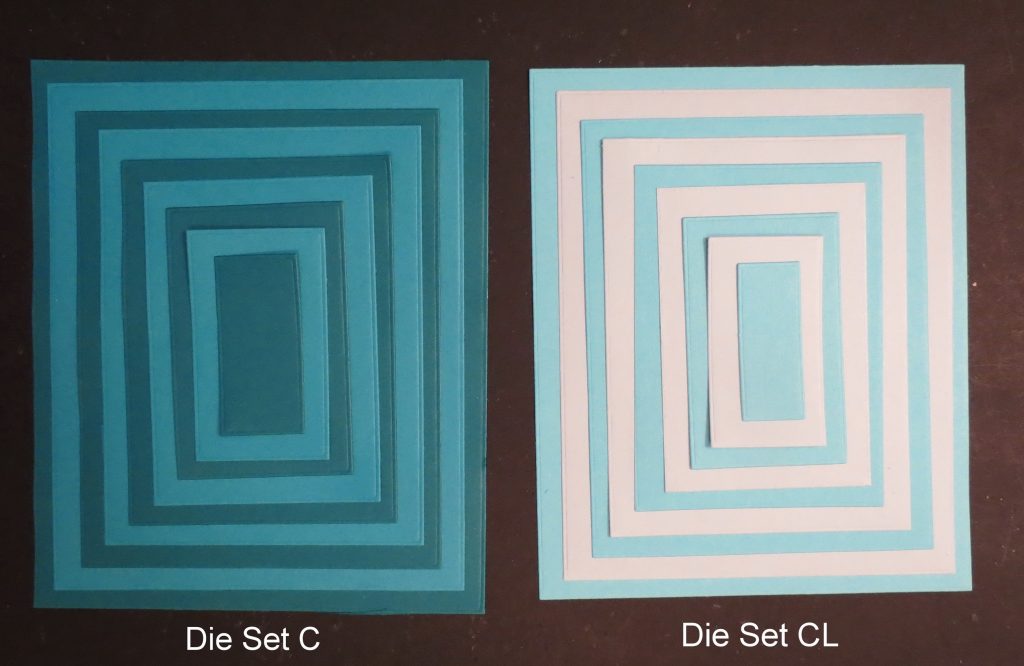
A question that is often asked is how the Basic Dies and The Layering Dies differ or how they work together. I find that a visual example always helps. I’ve prepared an example for each of the sets that I share with my classes, but for today’s example I’ll use Die Set A and C because that’s what I have used in this pair of scrapbook pages. I hope it helps you to see the differences.
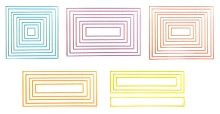
The layering dies are sized in 1/8” increments. In the Basic set you receive the base die that fits to the grid and one layering die. It gives you a ¼” border around the mounted photo. The Layering sets give you two dies for each base in the original set. The first will give you a 1/8” border reveal around the photo while the second layering die will allow for a 3/8” mat reveal.
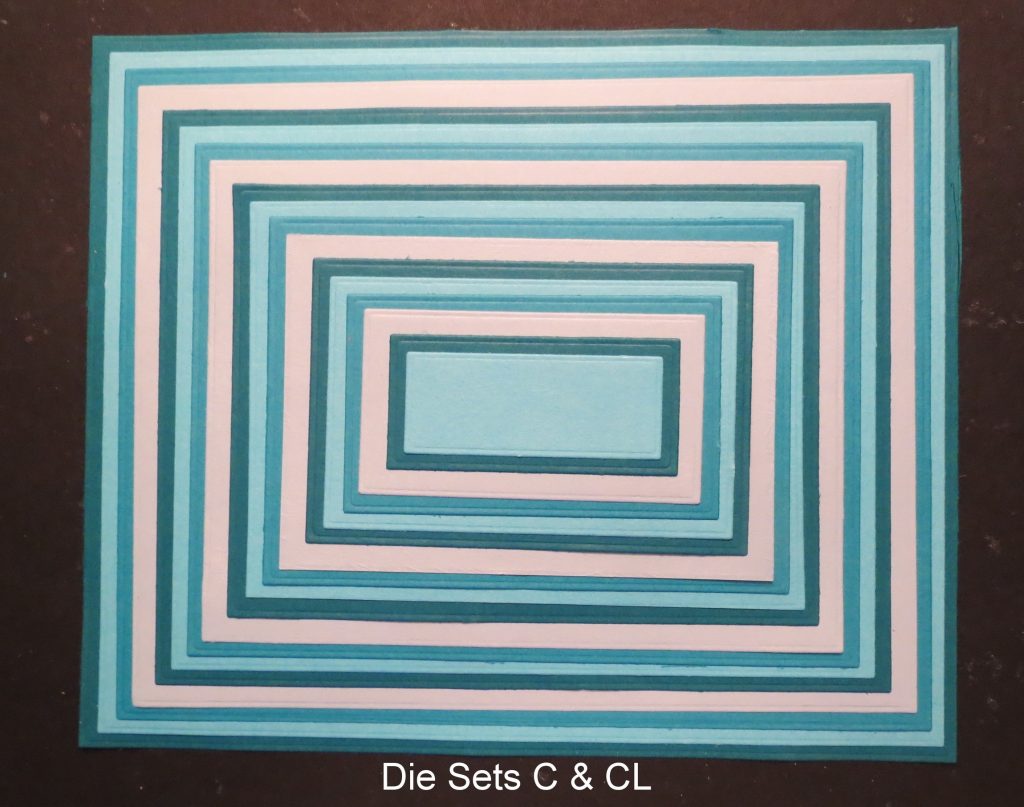
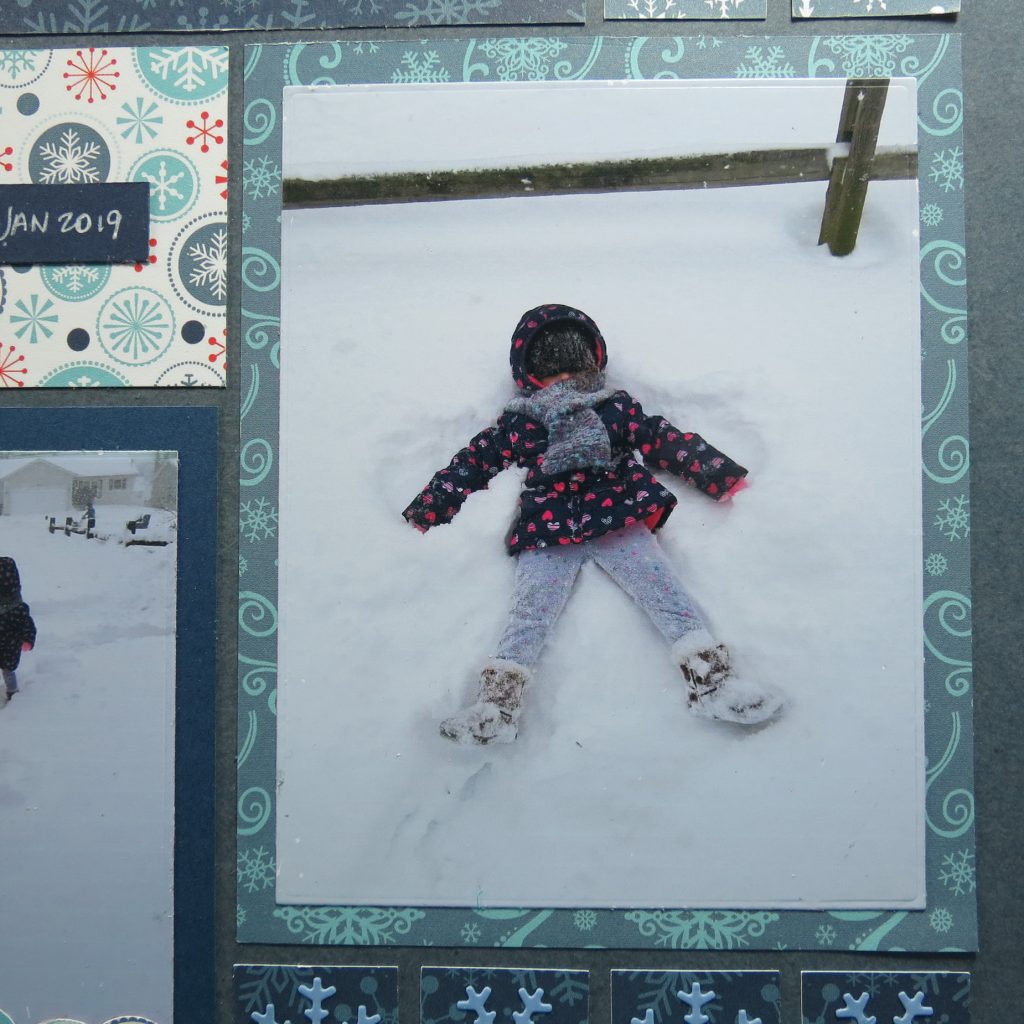
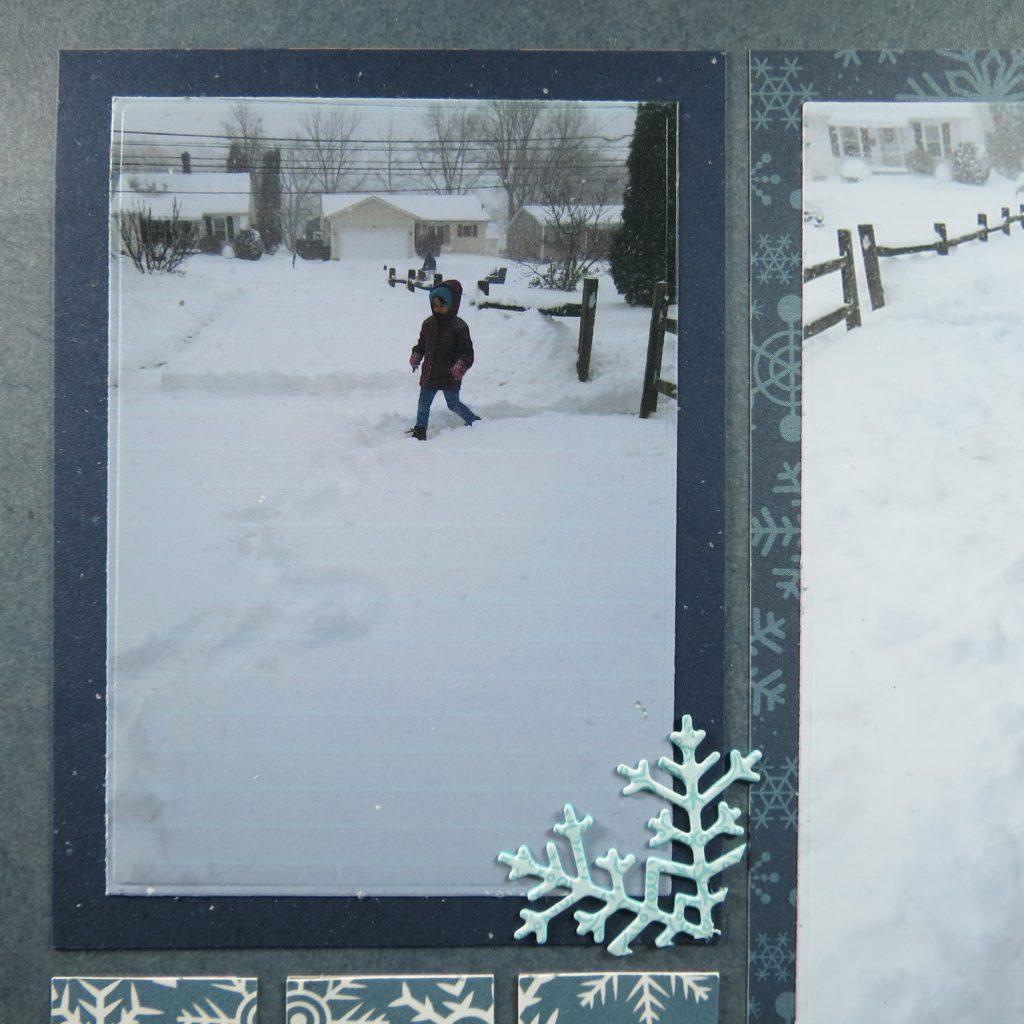
In this layout I’ve used both the 1/8” and ¼” layering dies. I like using the wider ¼” layering die when I’m using a patterned paper as a mat when I can. Although it may not show off a lot, it’s enough of a peek to catch your eye.
TIP: I also try to repeat the patterned paper in the layout in an area that shows it off more, as 1” tiles or even strips.
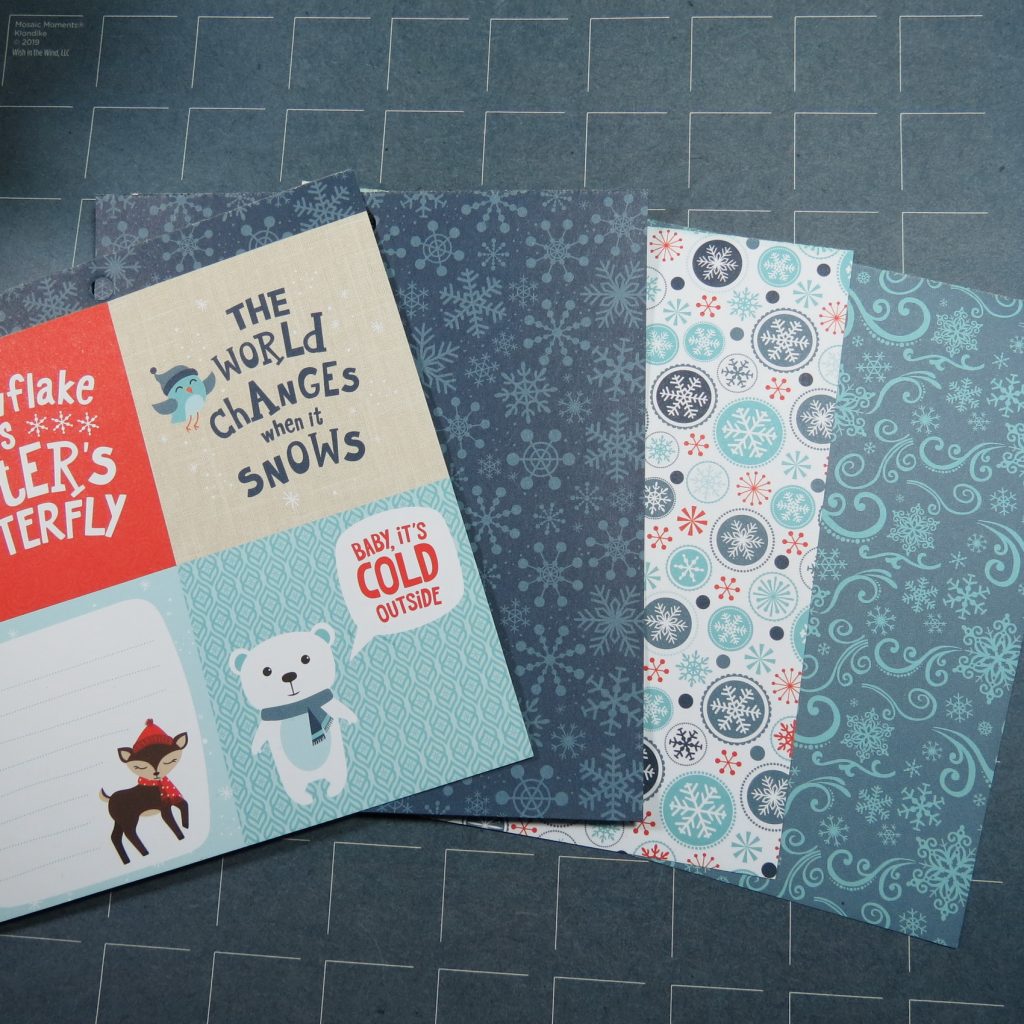
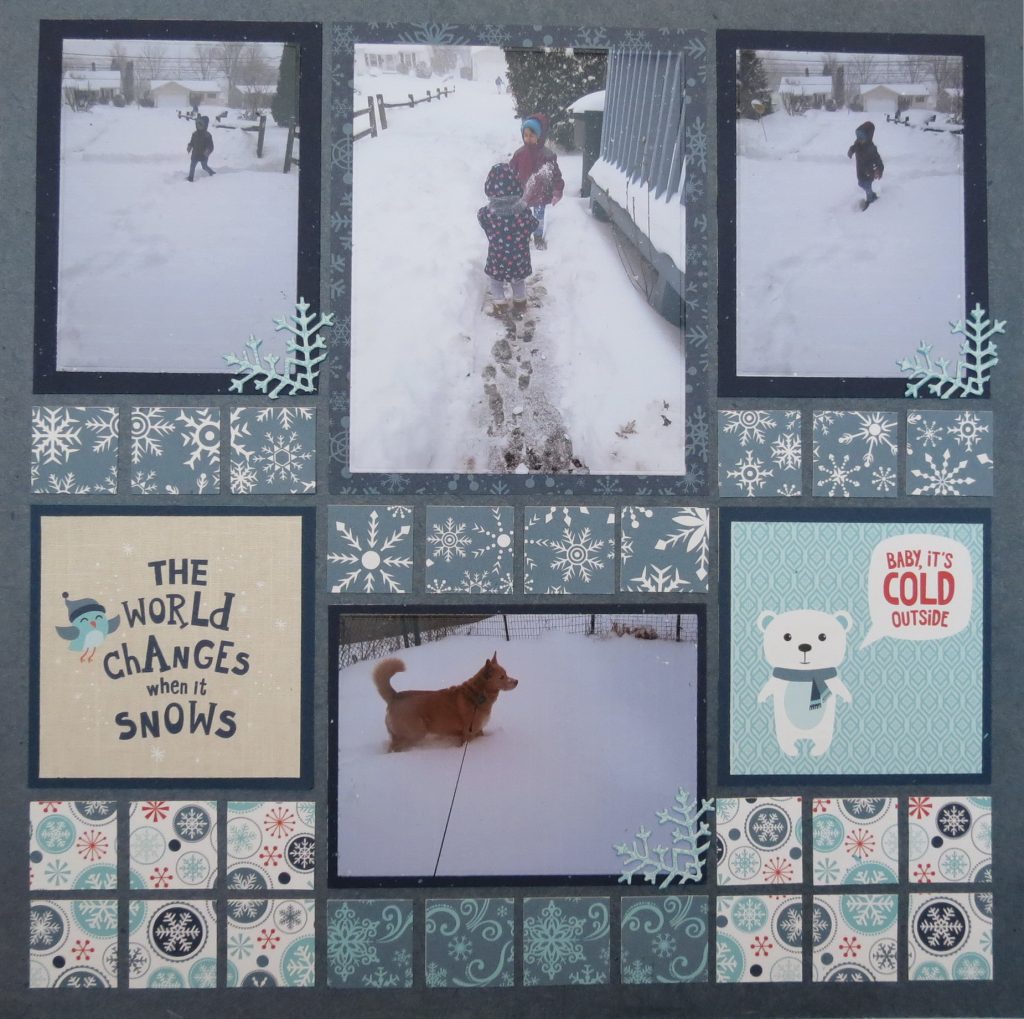
For my mats I’ve used navy cardstock tiles and navy with white flecks cardstock for the mats. they’re slightly darker than my Mosaic Moments Klondike 12×12 Grid Paper from the new Yukon Territory Collection. Additional patterned papers from the Celebrate Winter by Lori Whitlock for Echo Park Paper Company make the remaining mats.
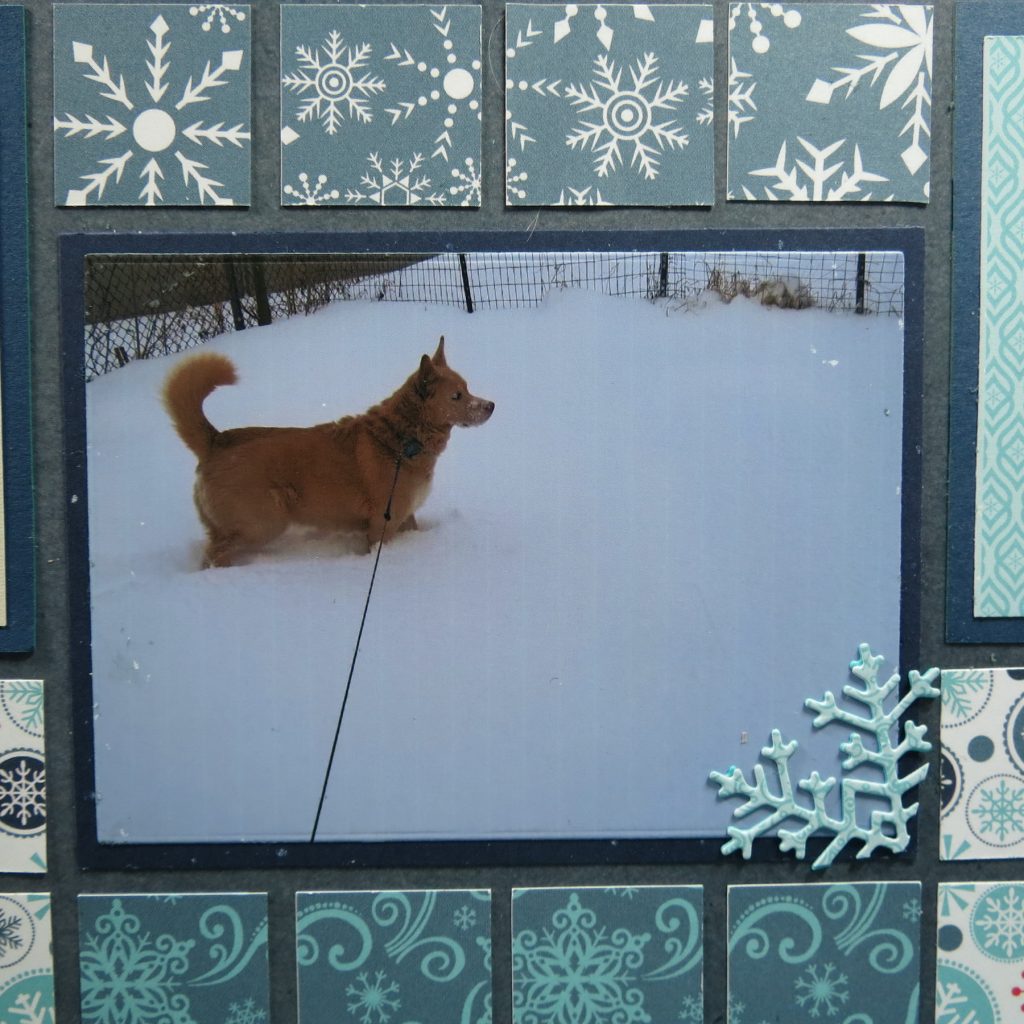
Using the darker colors helps to keep the snow looking bright and white and compliments some of the blue shadows on the snow as well as defines the photos.
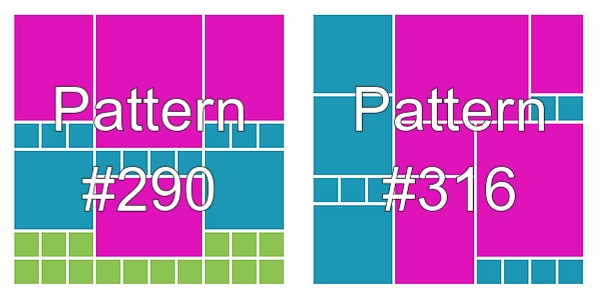
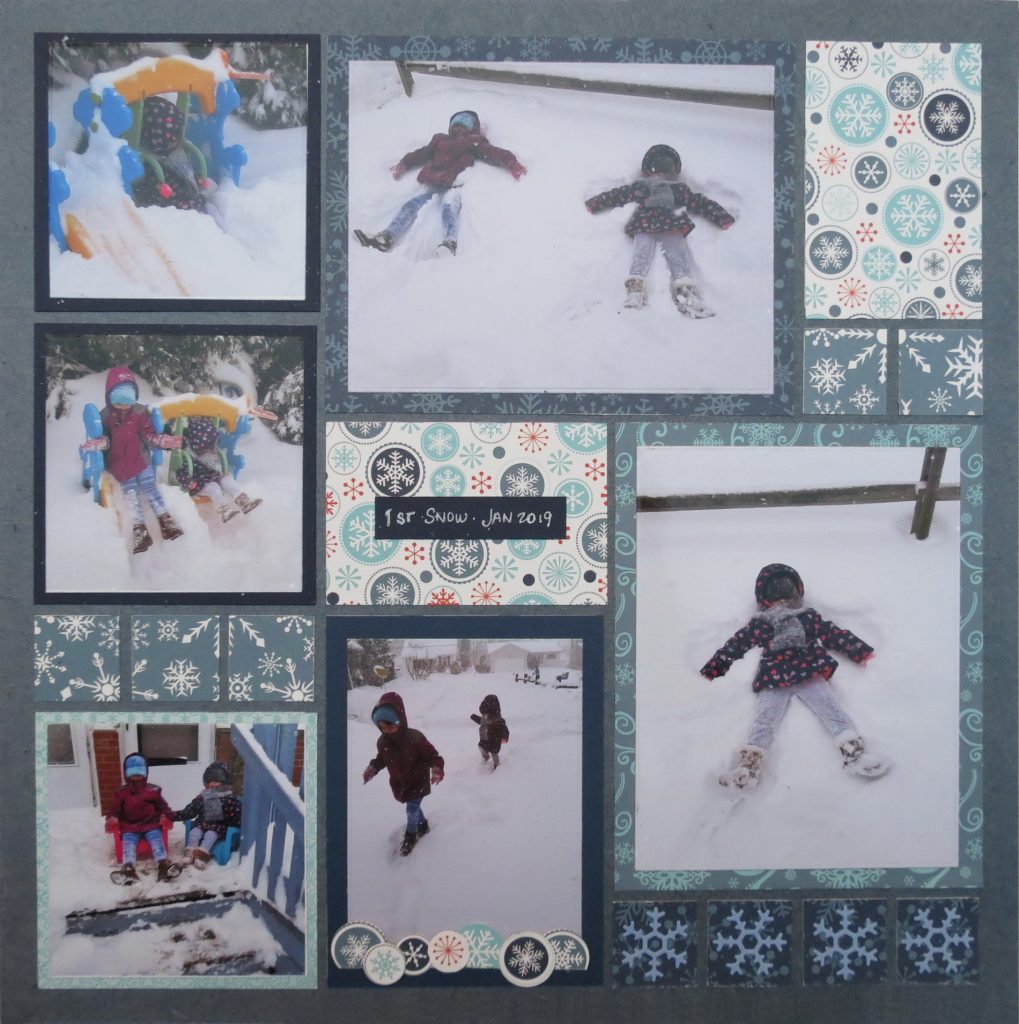
From the Pattern Gallery two patterns stood out to be good for the photos with which I was working, Patterns #290 and #316 gave me the several vertical spaces, several squares and several 1” square spots.

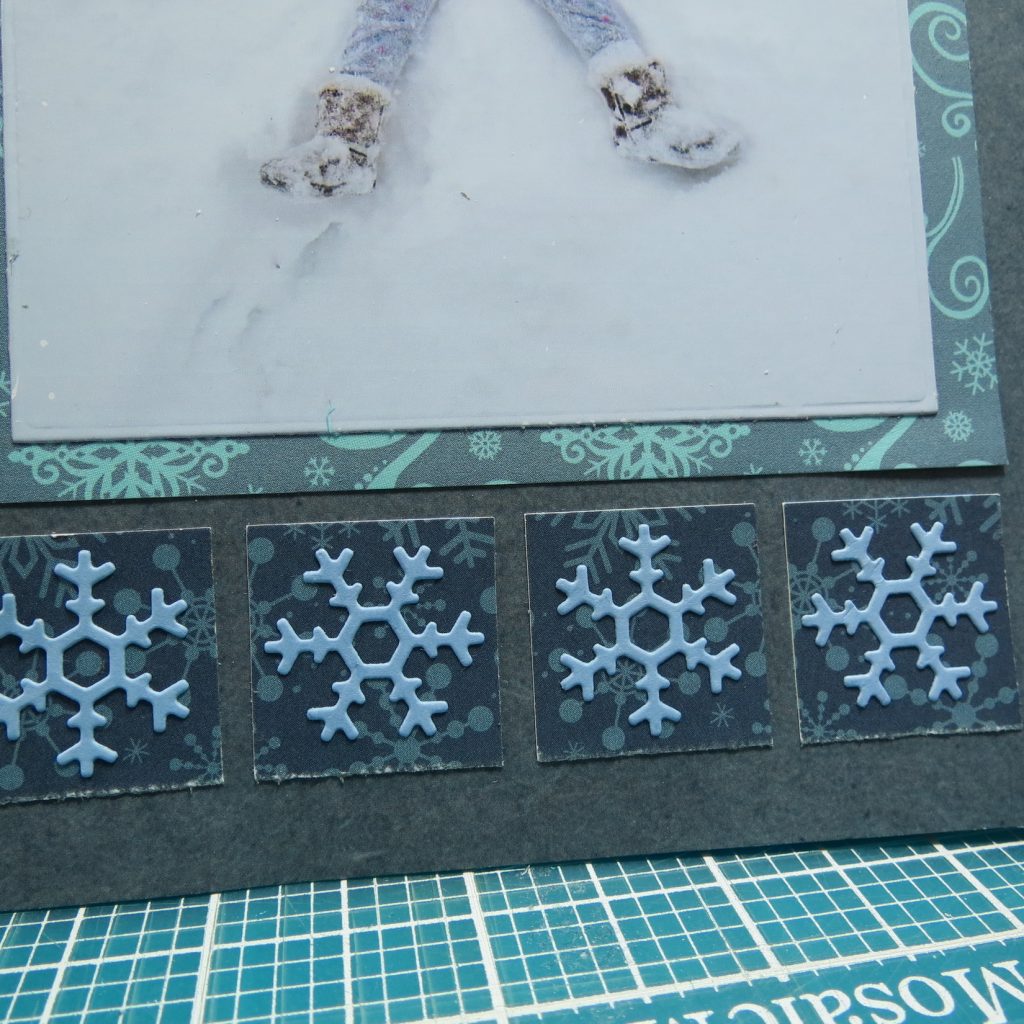
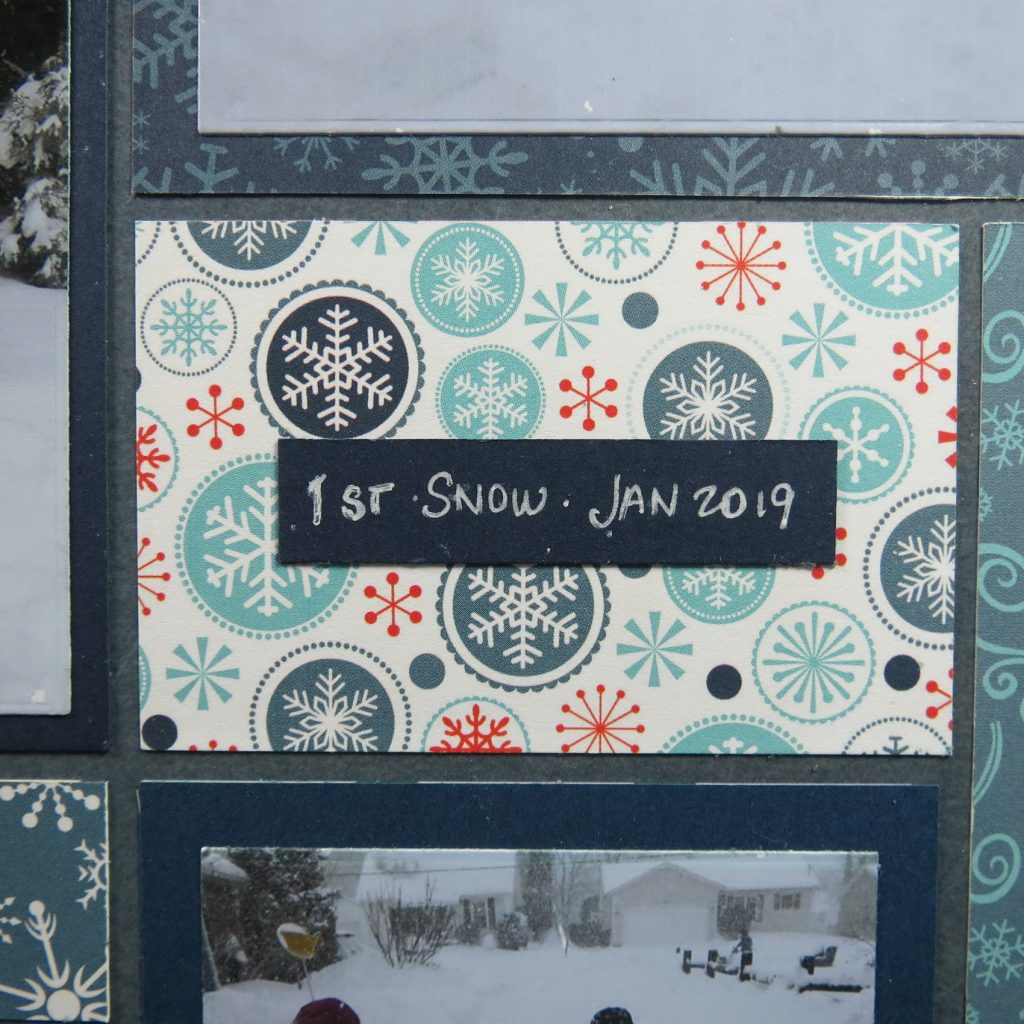
On each pattern there are two spots that fill 2×3. One is a group of 6 – 1” squares while the other is a solid 2×3 block. I chose to use the same pattern paper in both spots for a balance in colors and patterns. The paper I’ve chosen is lighter than the rest with a white base and multiple colors of snowflakes in the pattern.
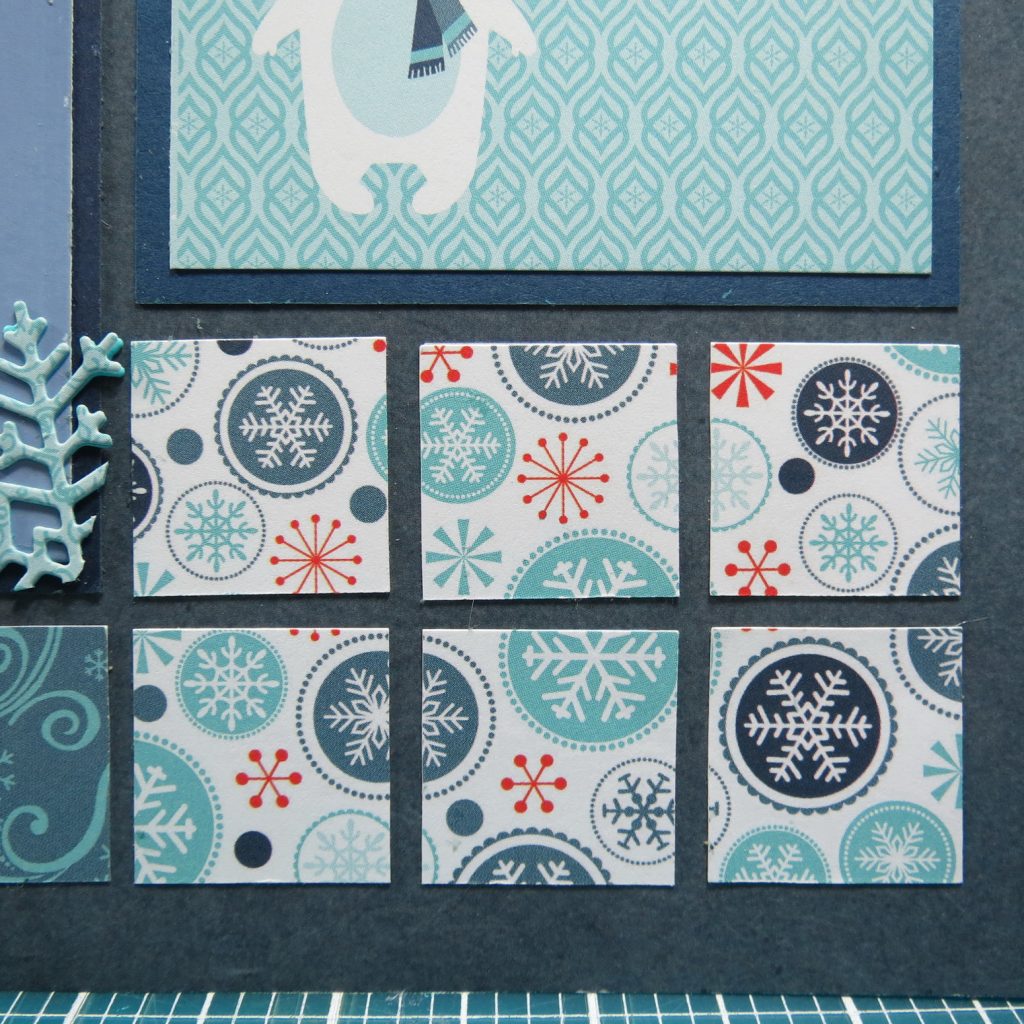
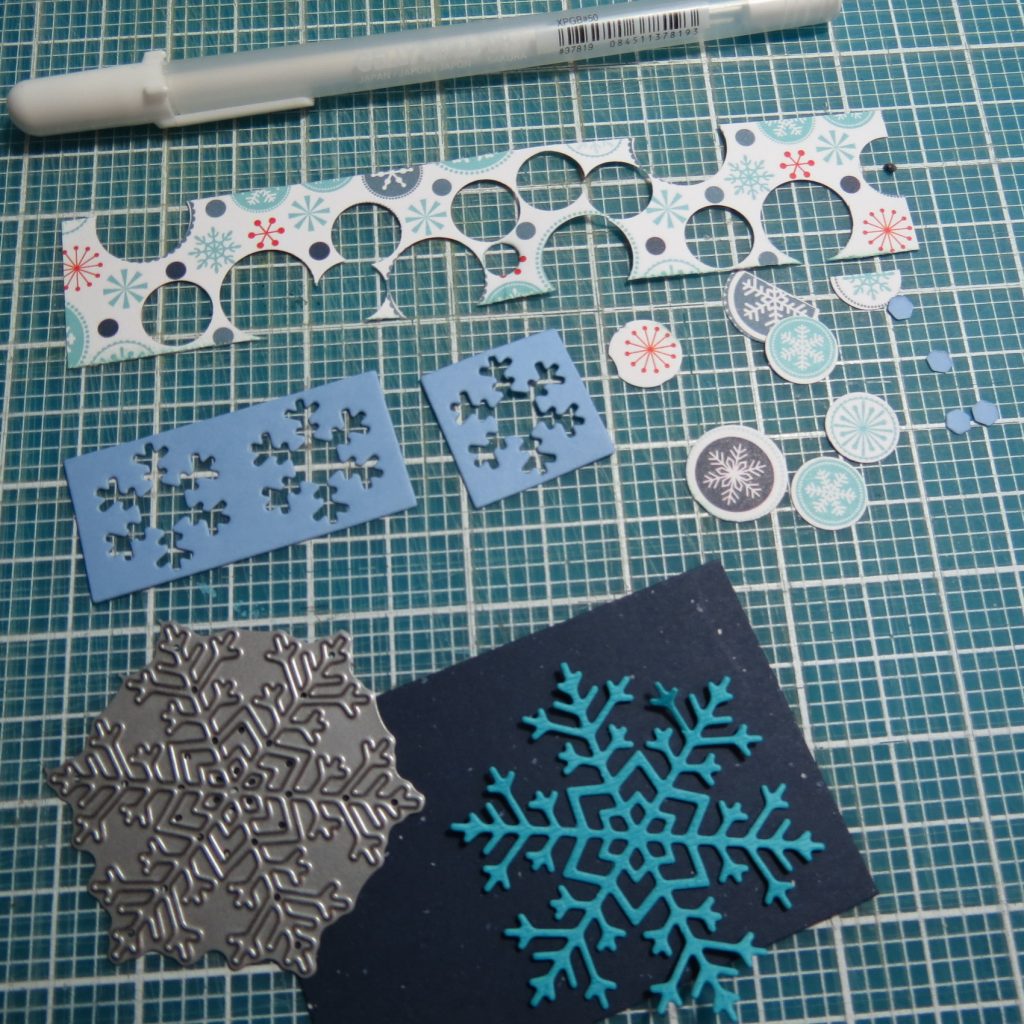
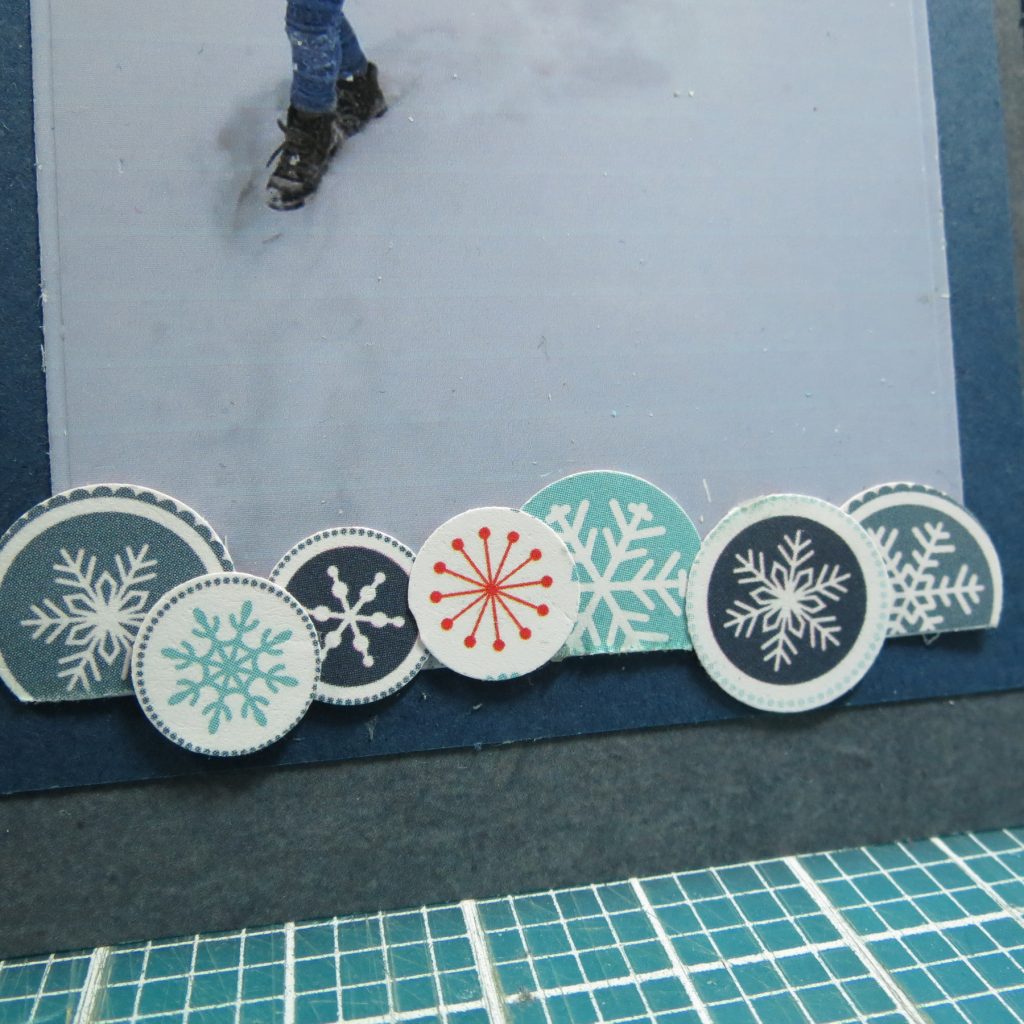
I’ve also punched some of those snowflakes out to use as a border along the bottom of one of the photos. I’ve attached them with Glue Dots.


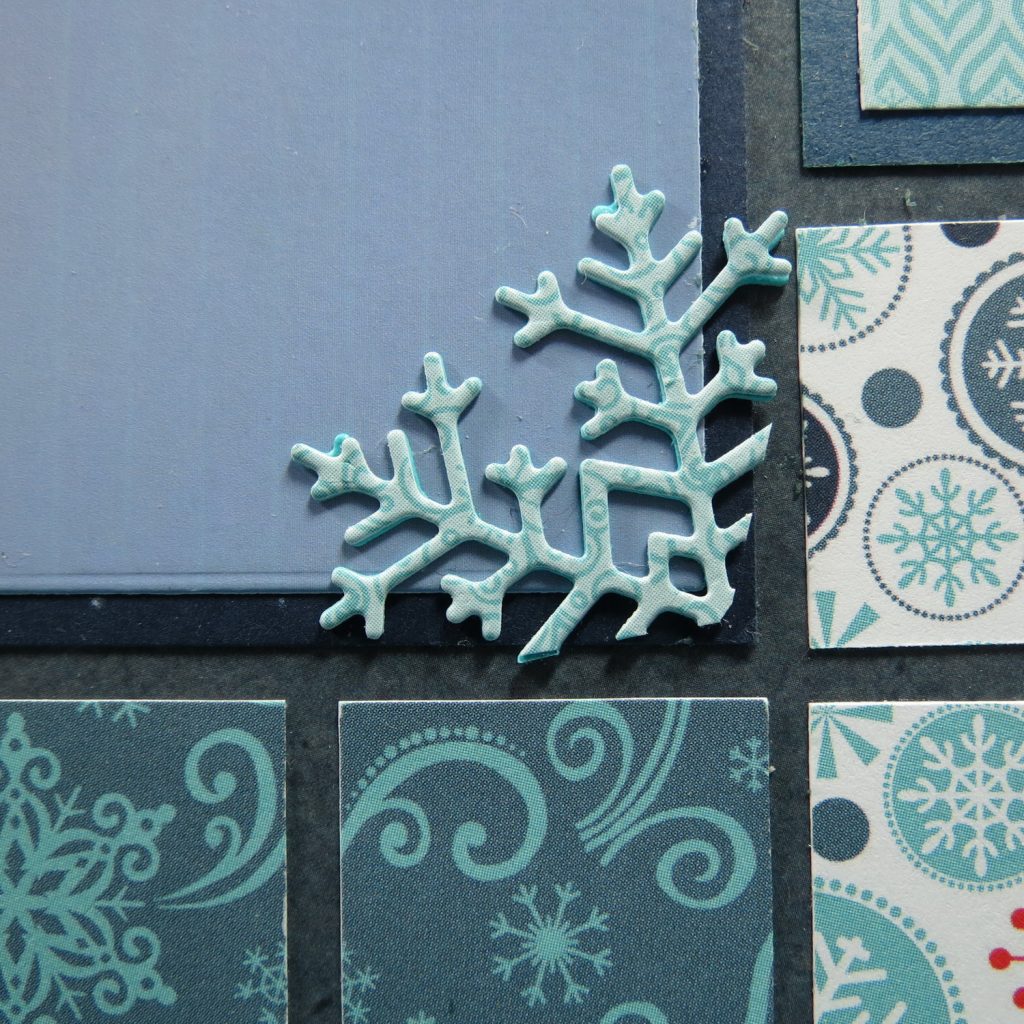
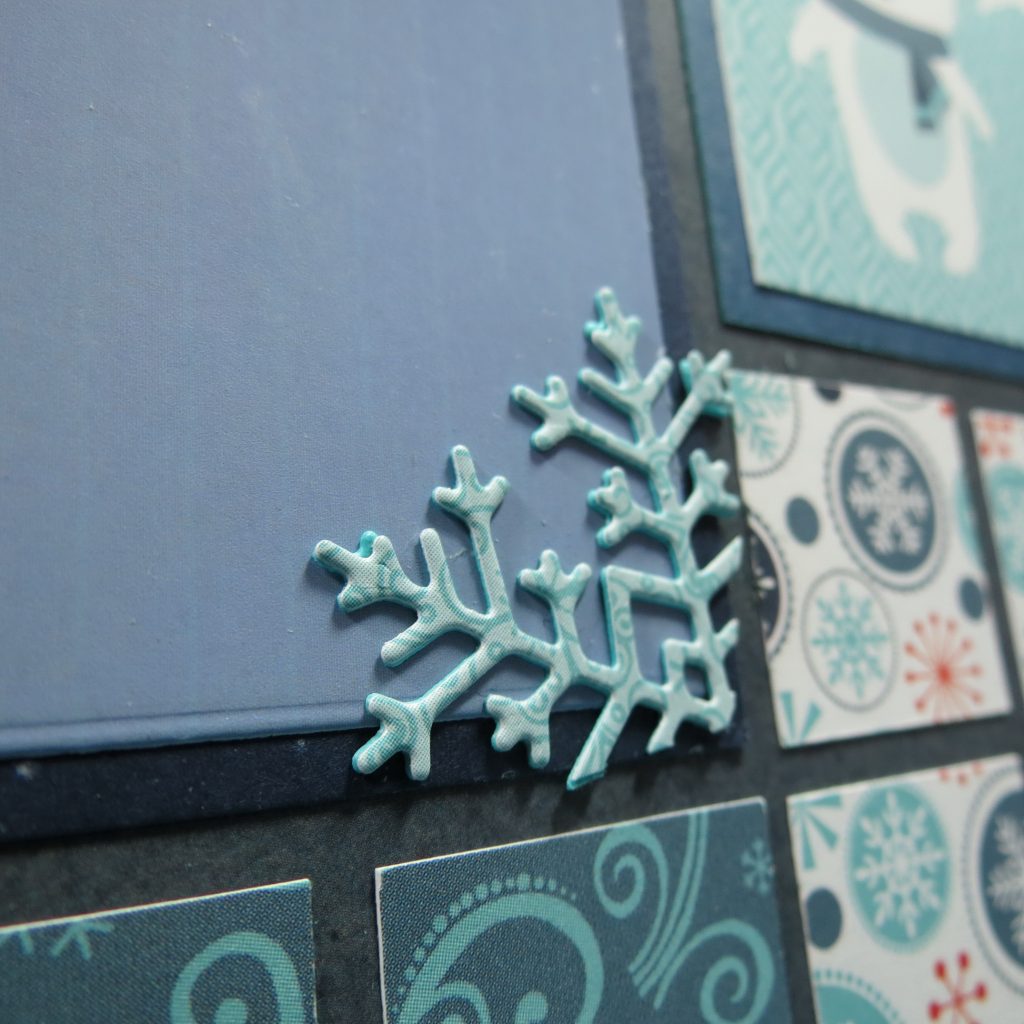
Additional embellishments for the page are made with snowflakes from the Mr. Snow and Flakes die and the freestanding flake from the Snowflake Set 1.
For this die I cut two to layer together and cut into three sections and add to the corner of three photos as a partial photo corner.
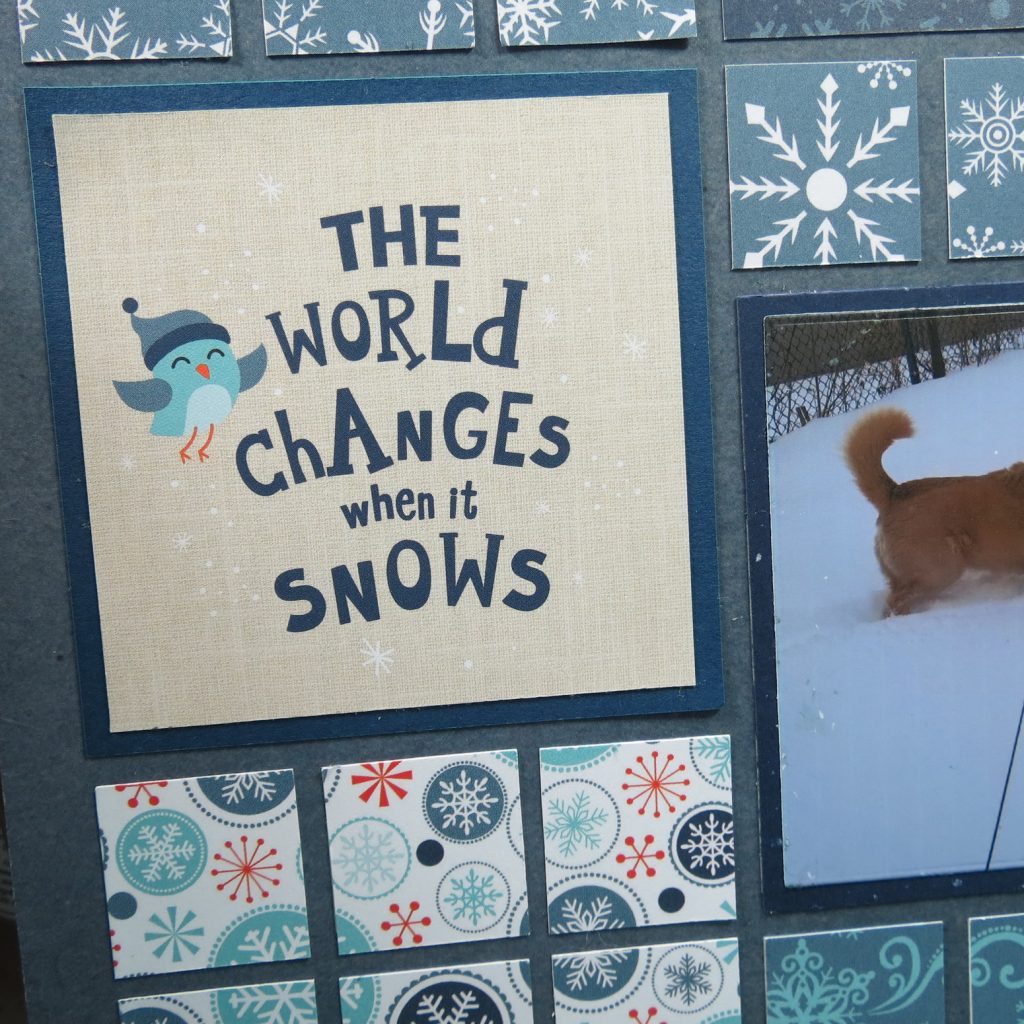
One of the extras that came with my paper was a sheet with several word blocks. I cut two out to go on the first page. They are about 3” square so the mat border around each is very narrow. The truth of how a big snow storm can change our world seemed appropriate to include, and I couldn’t resist using the “Baby it’s cold outside” tag, just because.
In the center of the 2×3 block I’ve used a ½” strip of blue cardstock to briefly write the event and date with a white gel pen.
Depending on the look you wish to create whether a single mat or several layers of mats for a special photo, or maybe just a decorative touch you will find you can accomplish it all with these versatile sets of dies. If you have tried them out, now is a good time to bundle up and try a few winter layers.

Andrea Fisher