

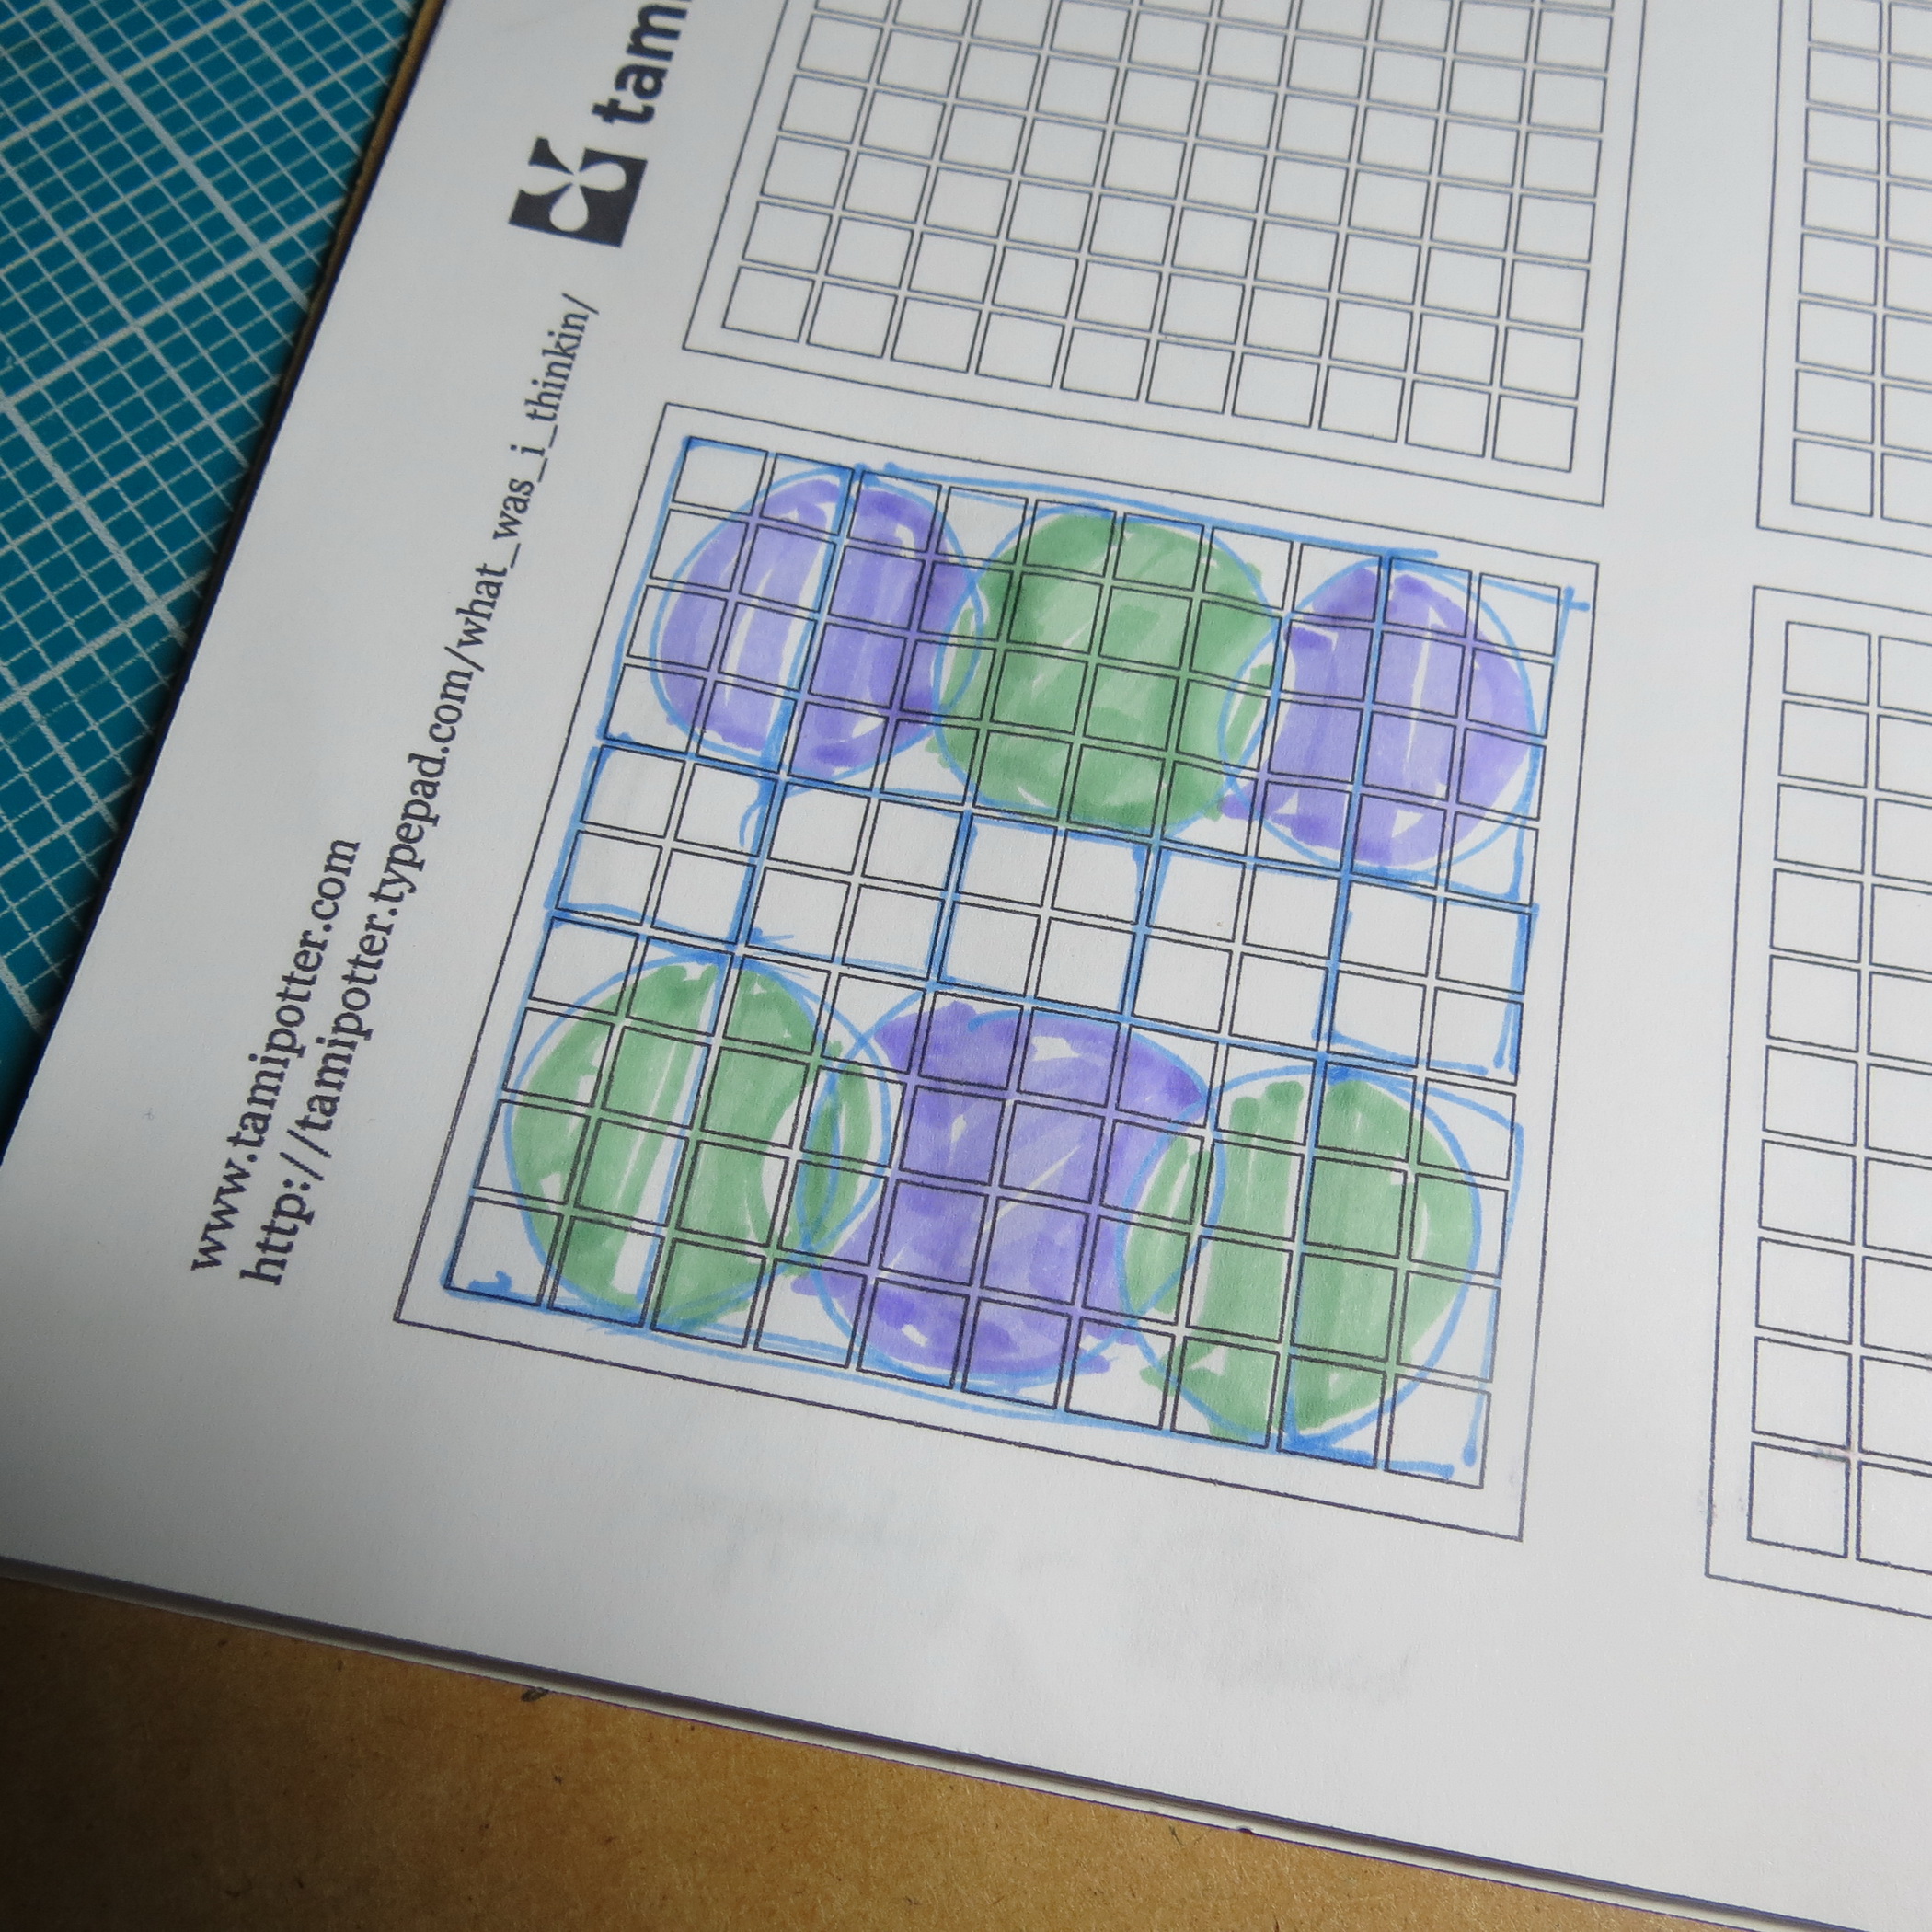
Let’s take a new look at these Charming Dies in a new design.
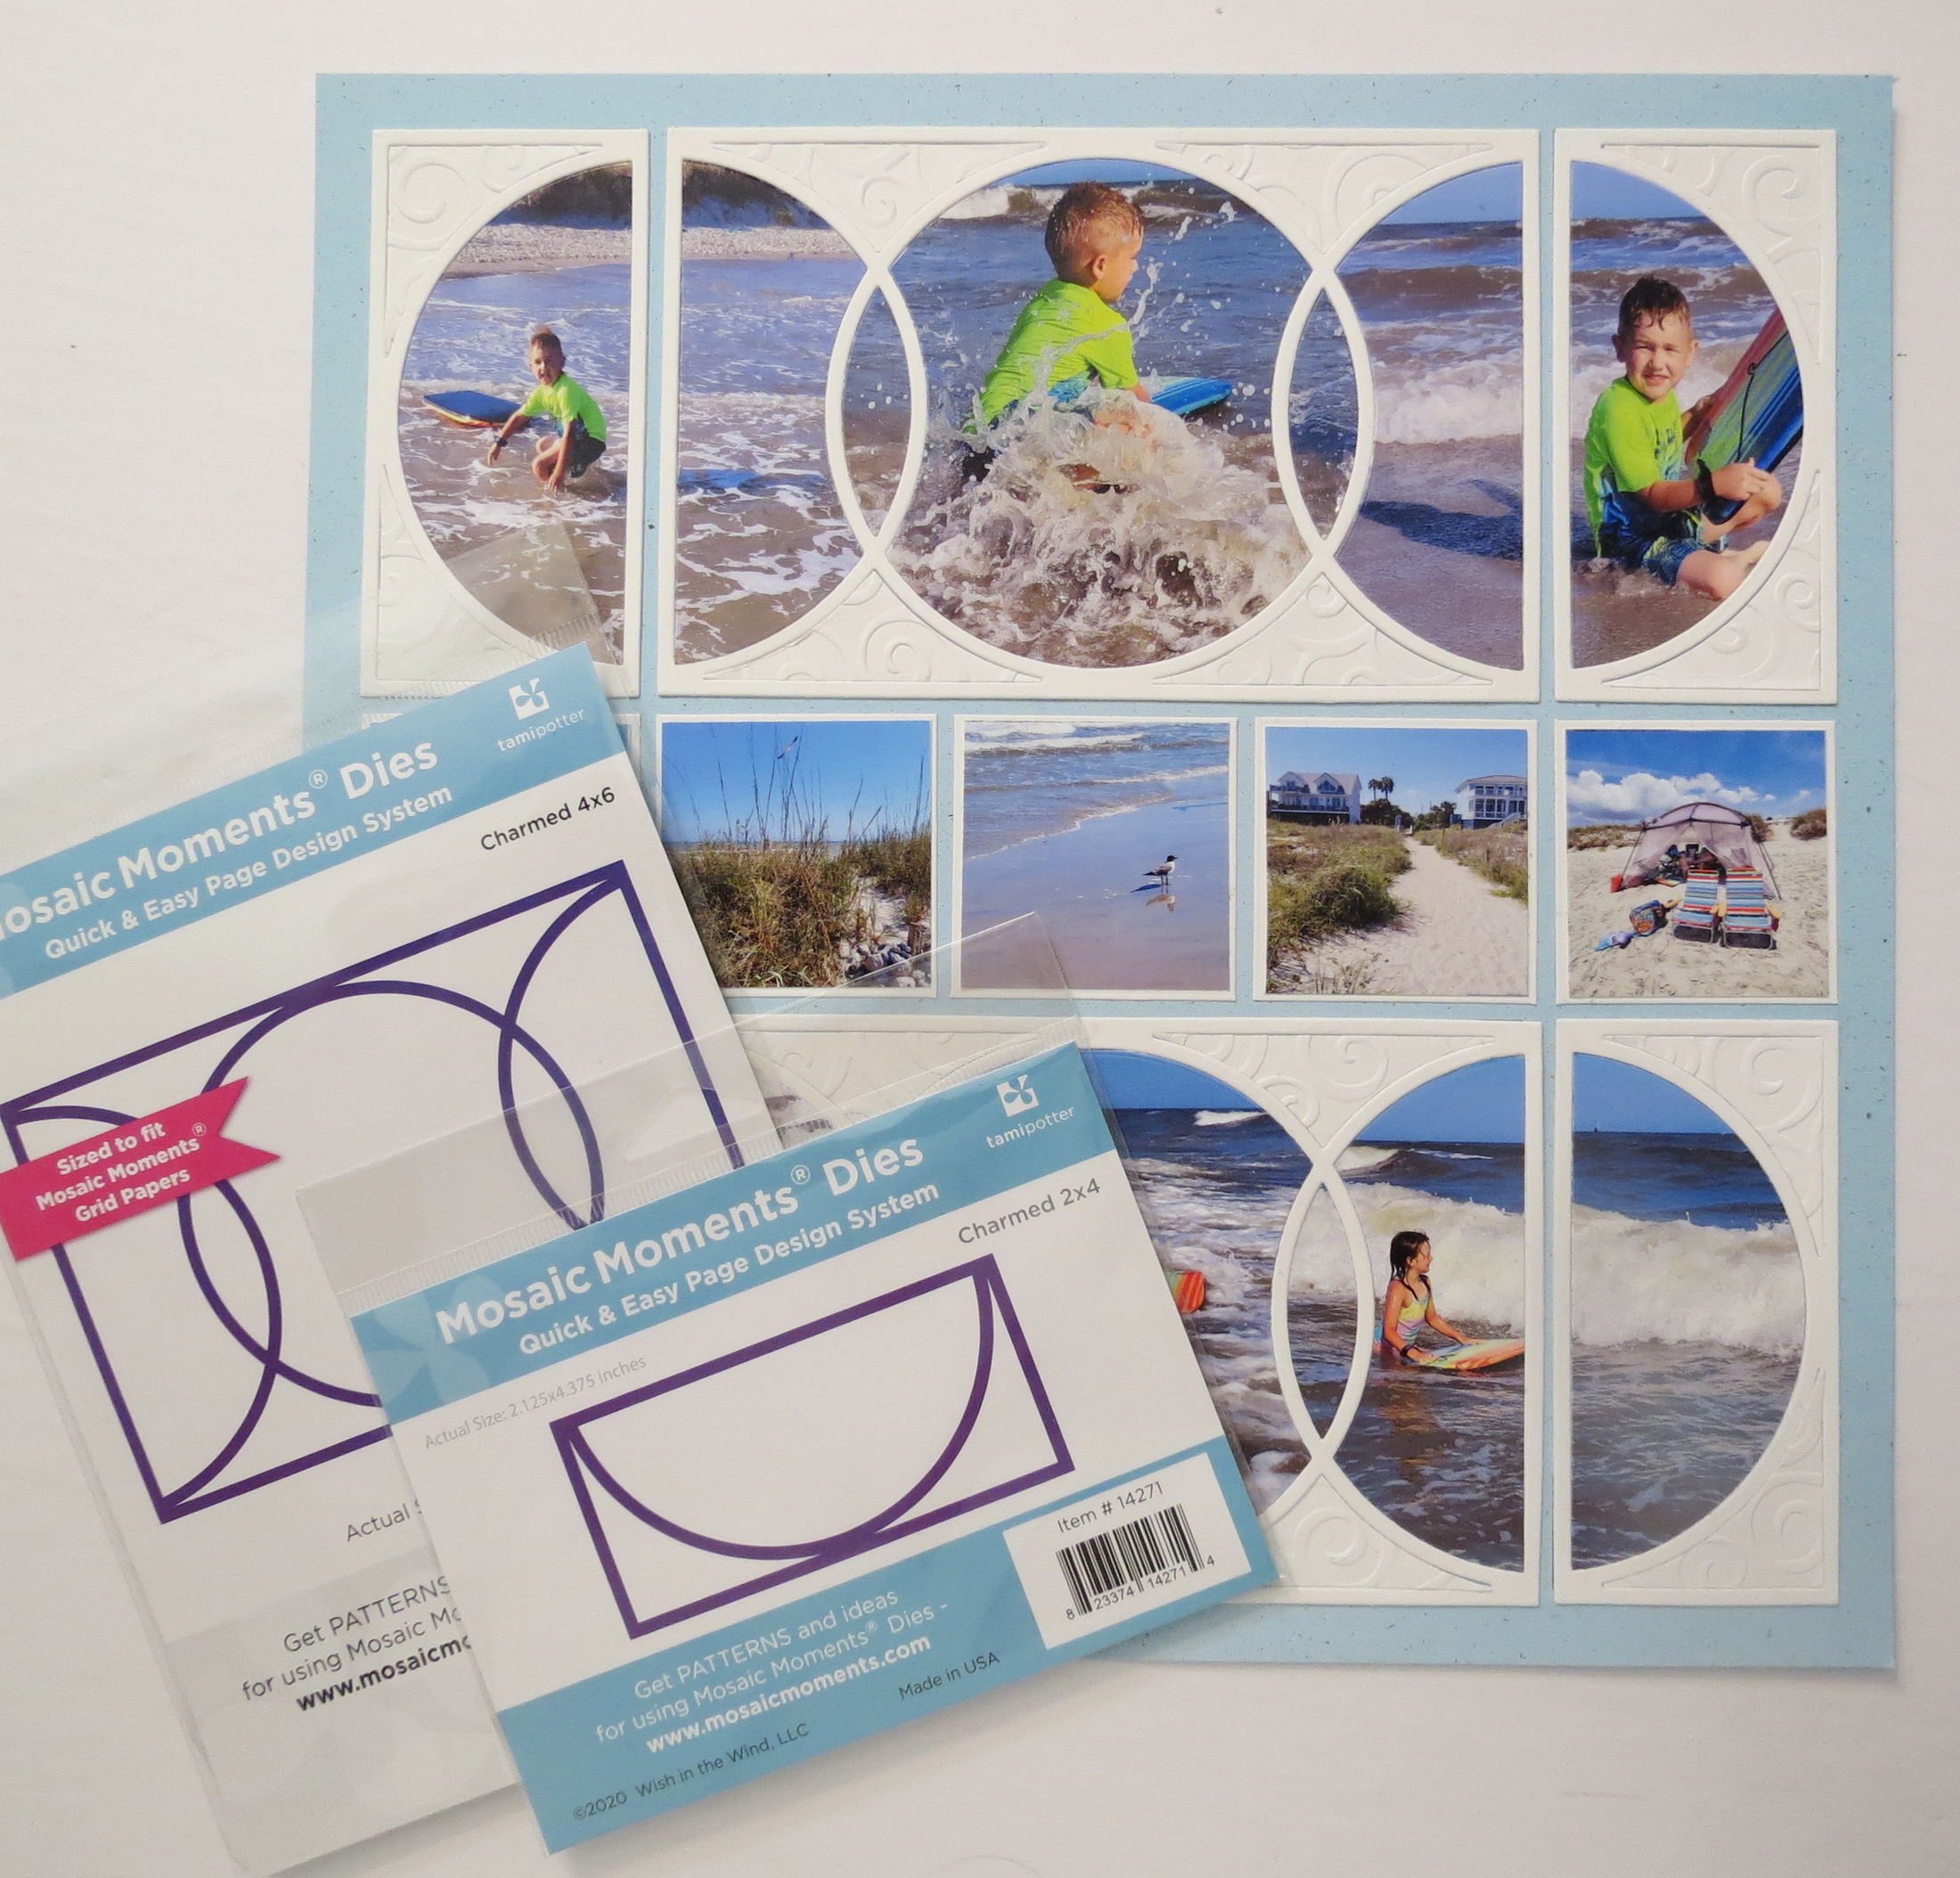
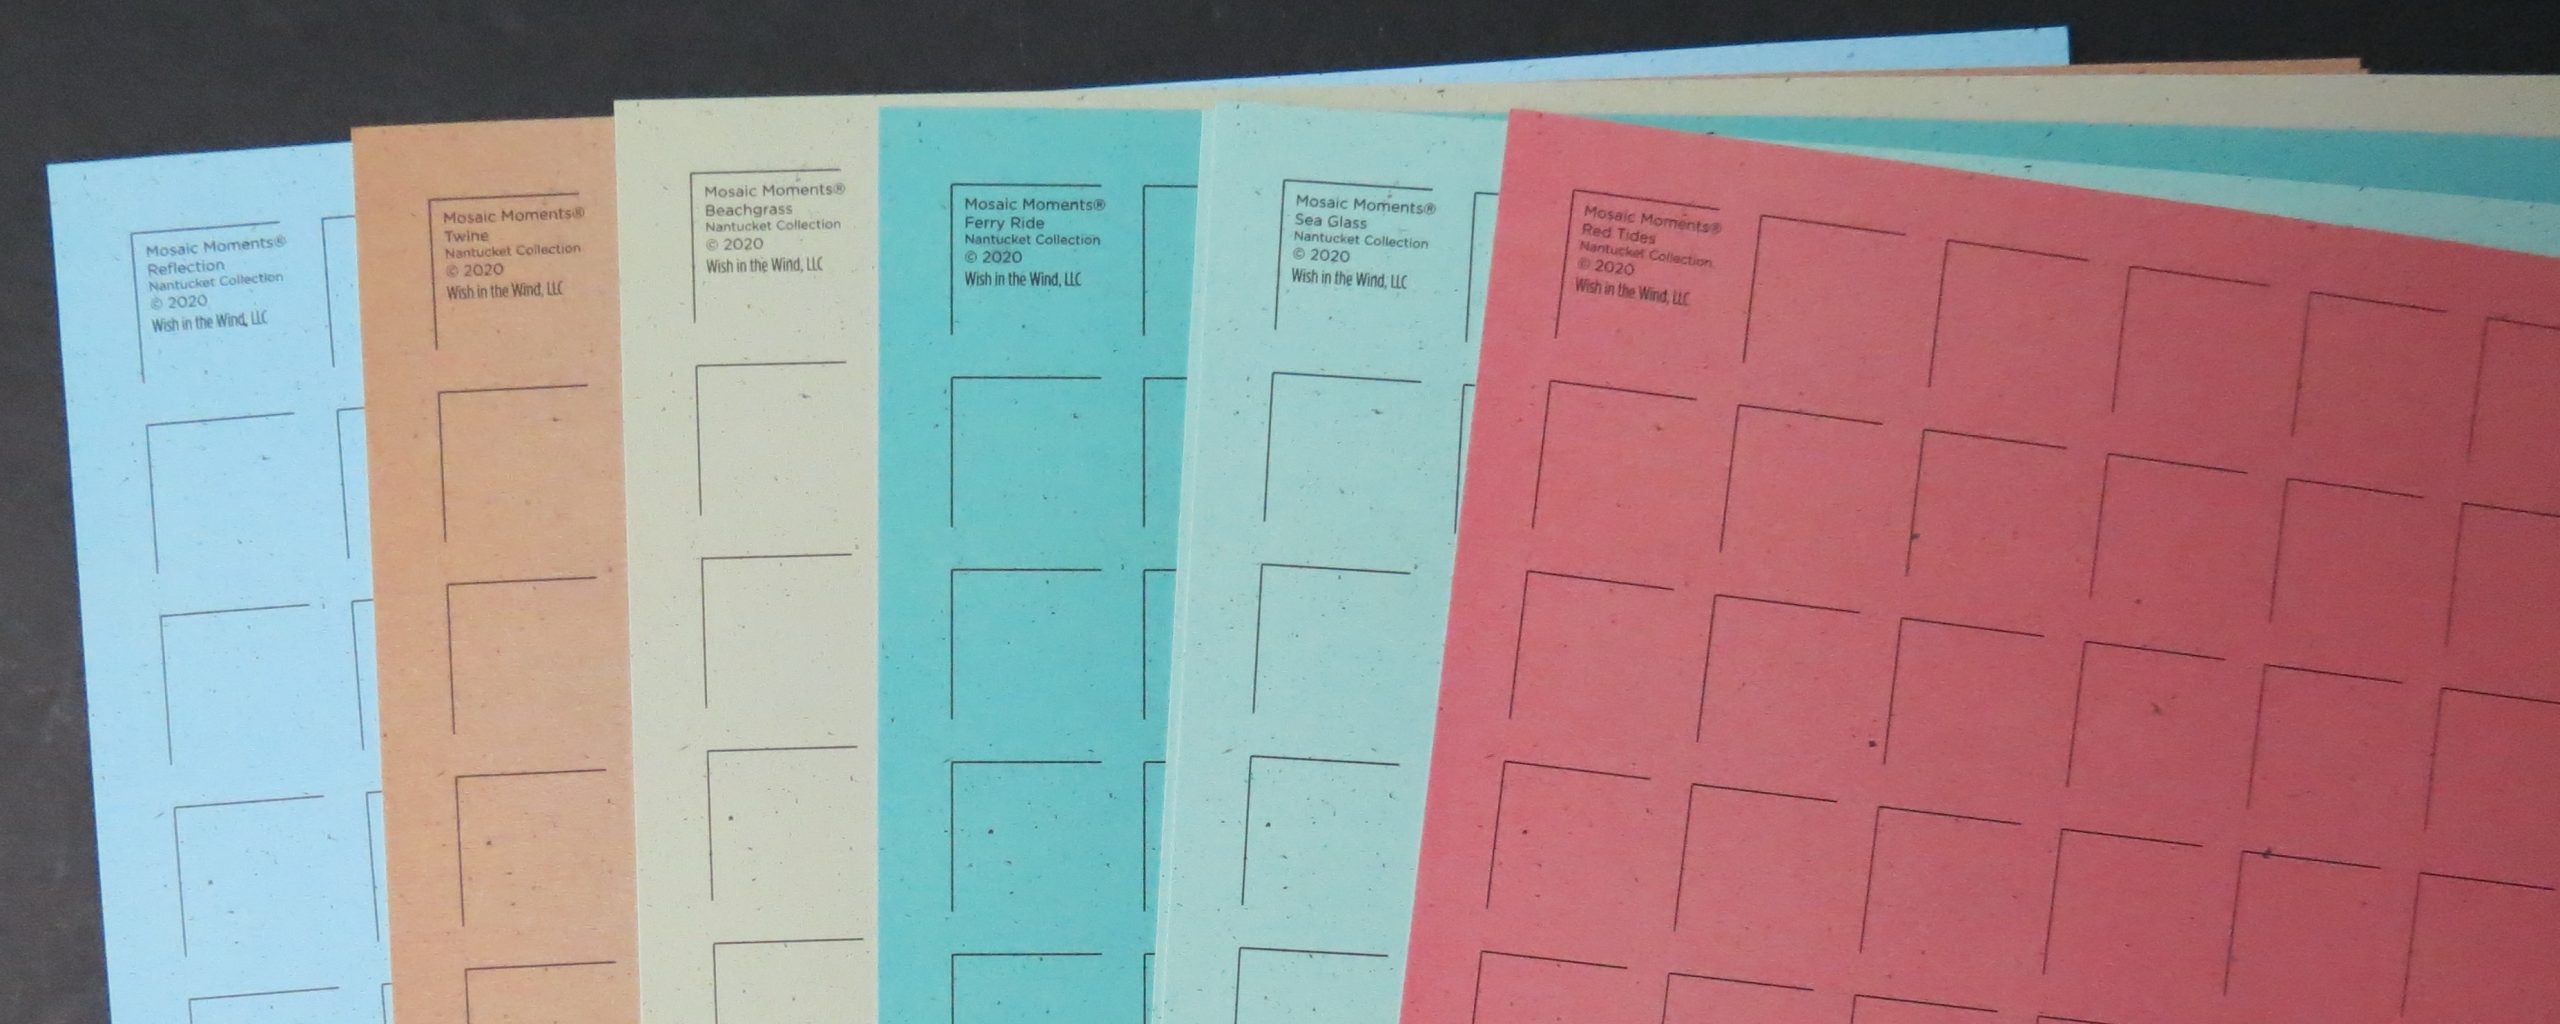
I’ve placed a row on top and bottom of my grid paper, Reflections, from the Nantucket Collection, that begins and ends with the 2×4 Charmed die and places in the center the 4×6 Charmed die.
I have cut each die piece in white cards stock twice so I can stack them together for a beefier look. I then took the outtakes and ran them through the Provo Craft D’Vine Swirls. Then I placed them back into the space and it’s now recessed, even while it’s raised with the embossing!
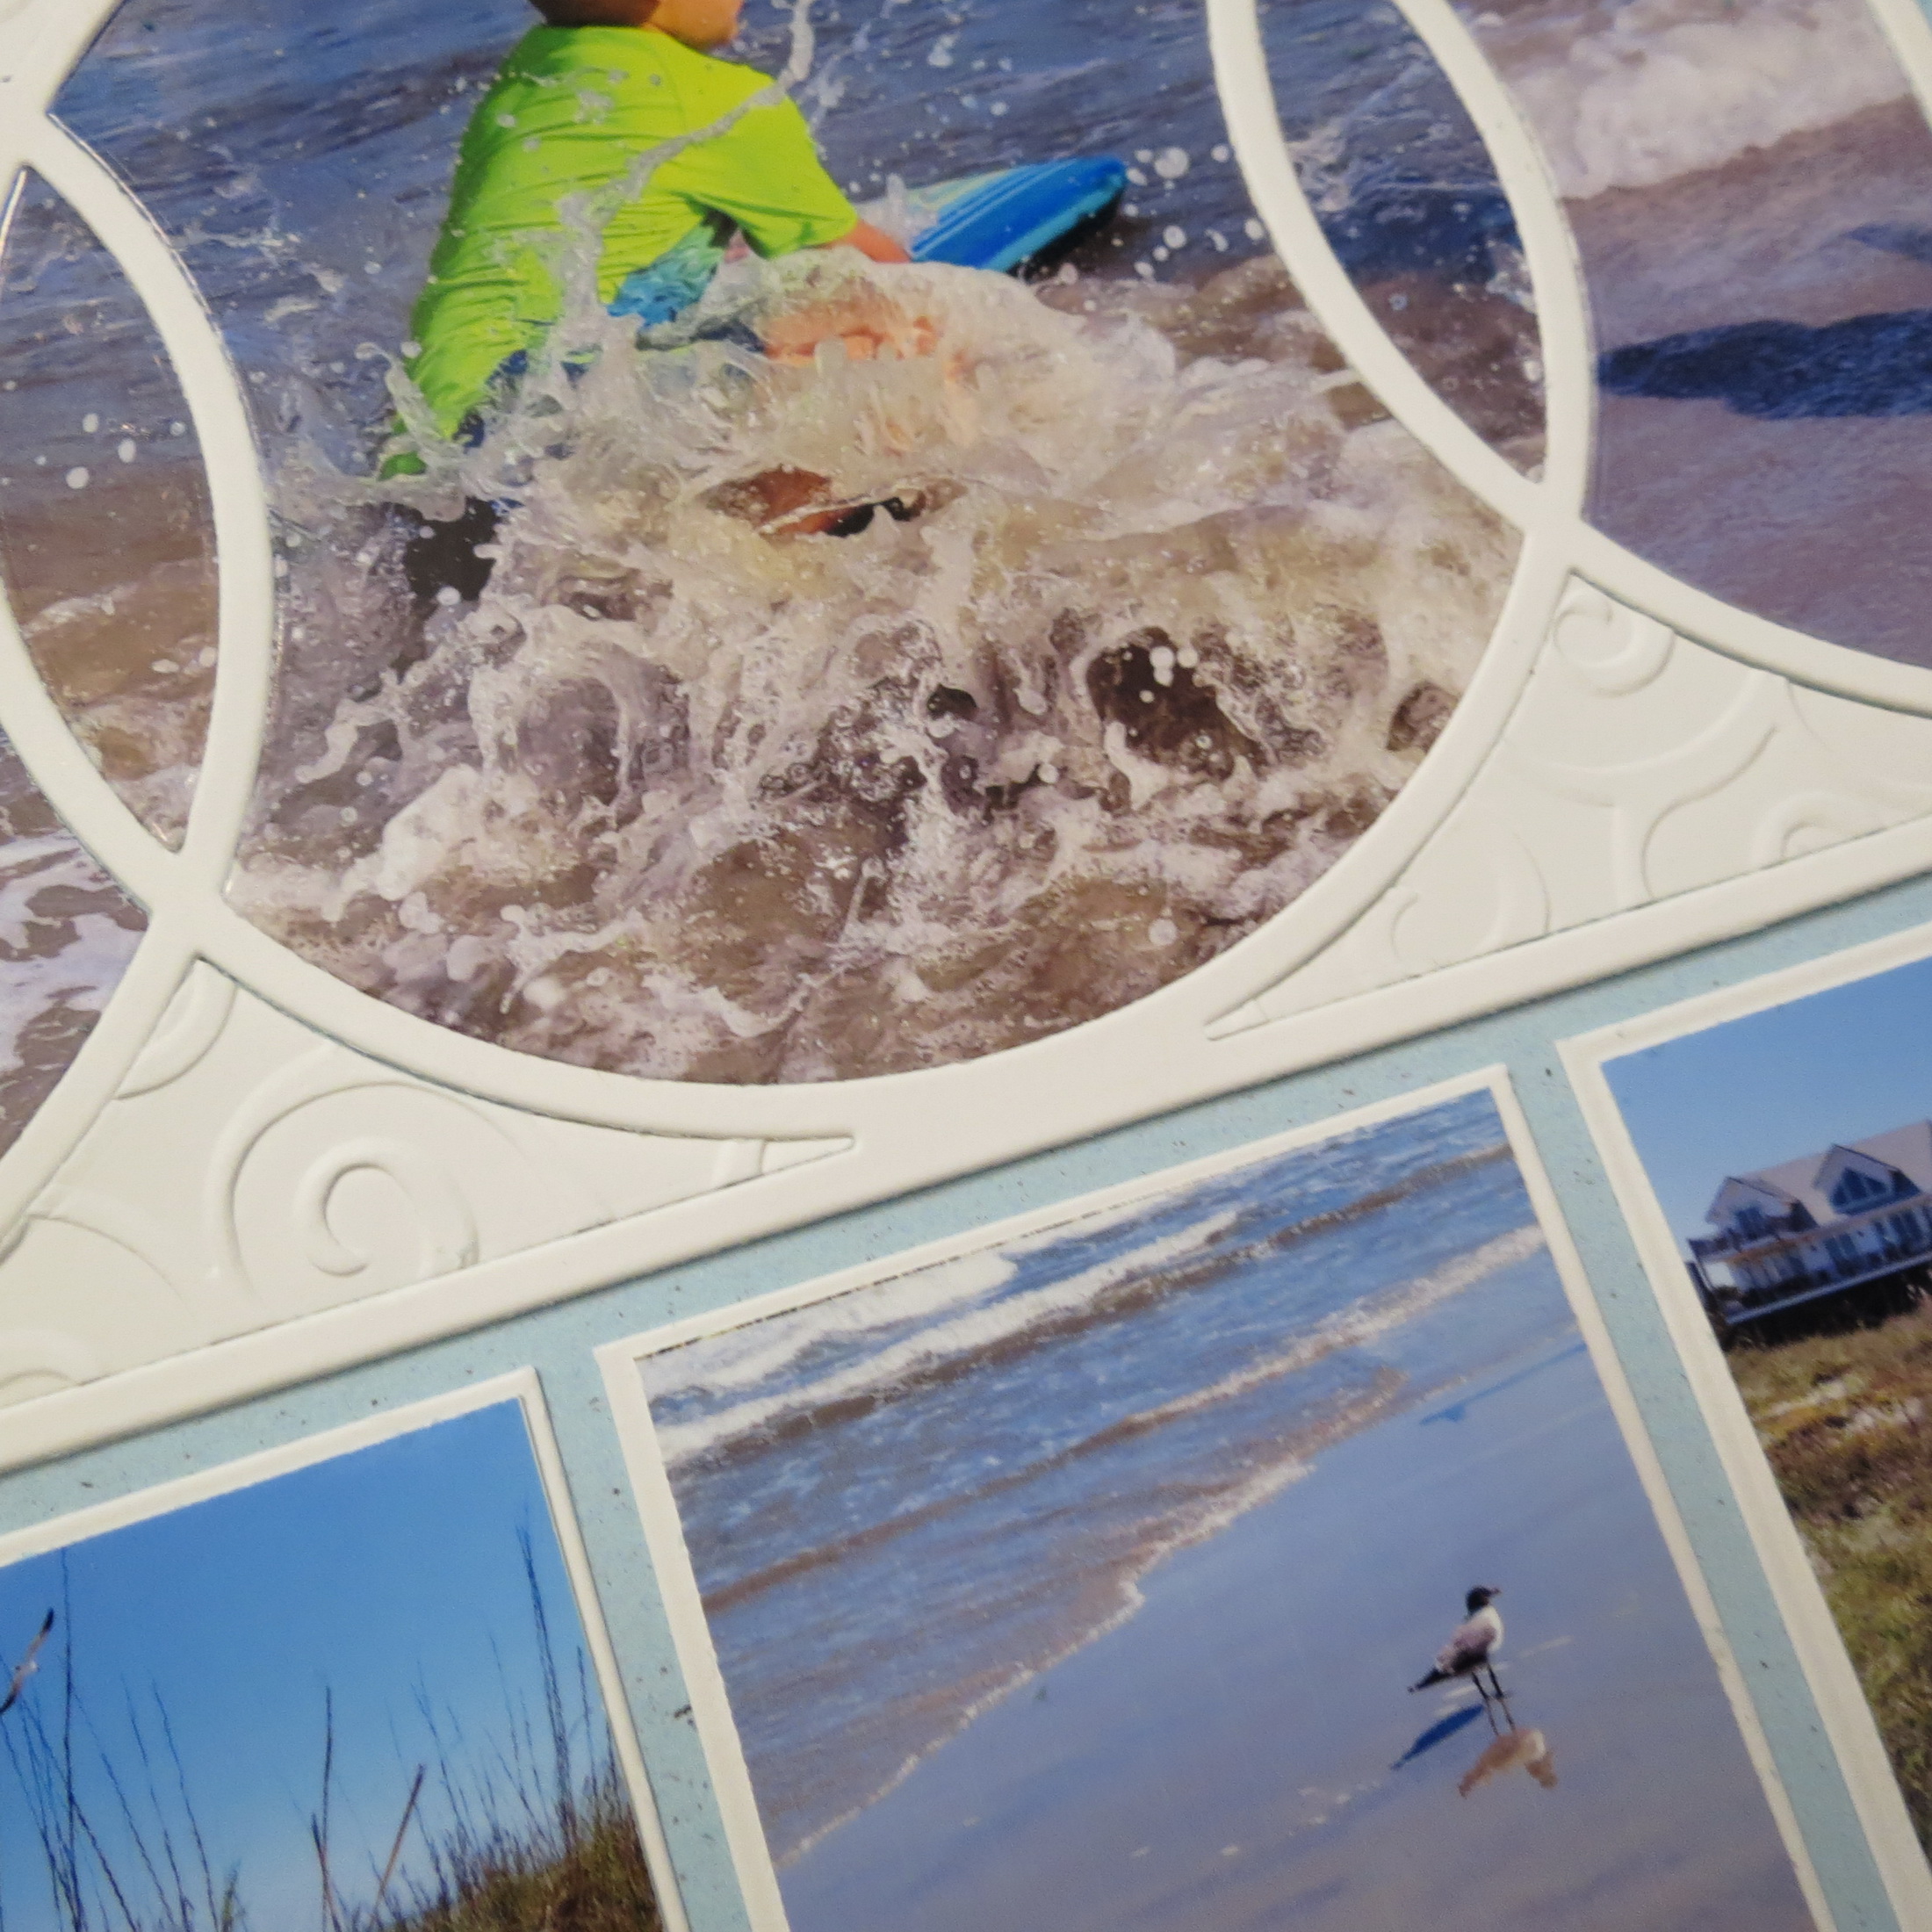
On the top row of photos my center photo spills into the outside photos. In the bottom row the outer photos flow into the center photo sections.
My center row contains five 2×2 photos that are mounted on white cardstock leaving a narrow white border. I cut the 2×2 squares using the Grid Cut 2.125” die.
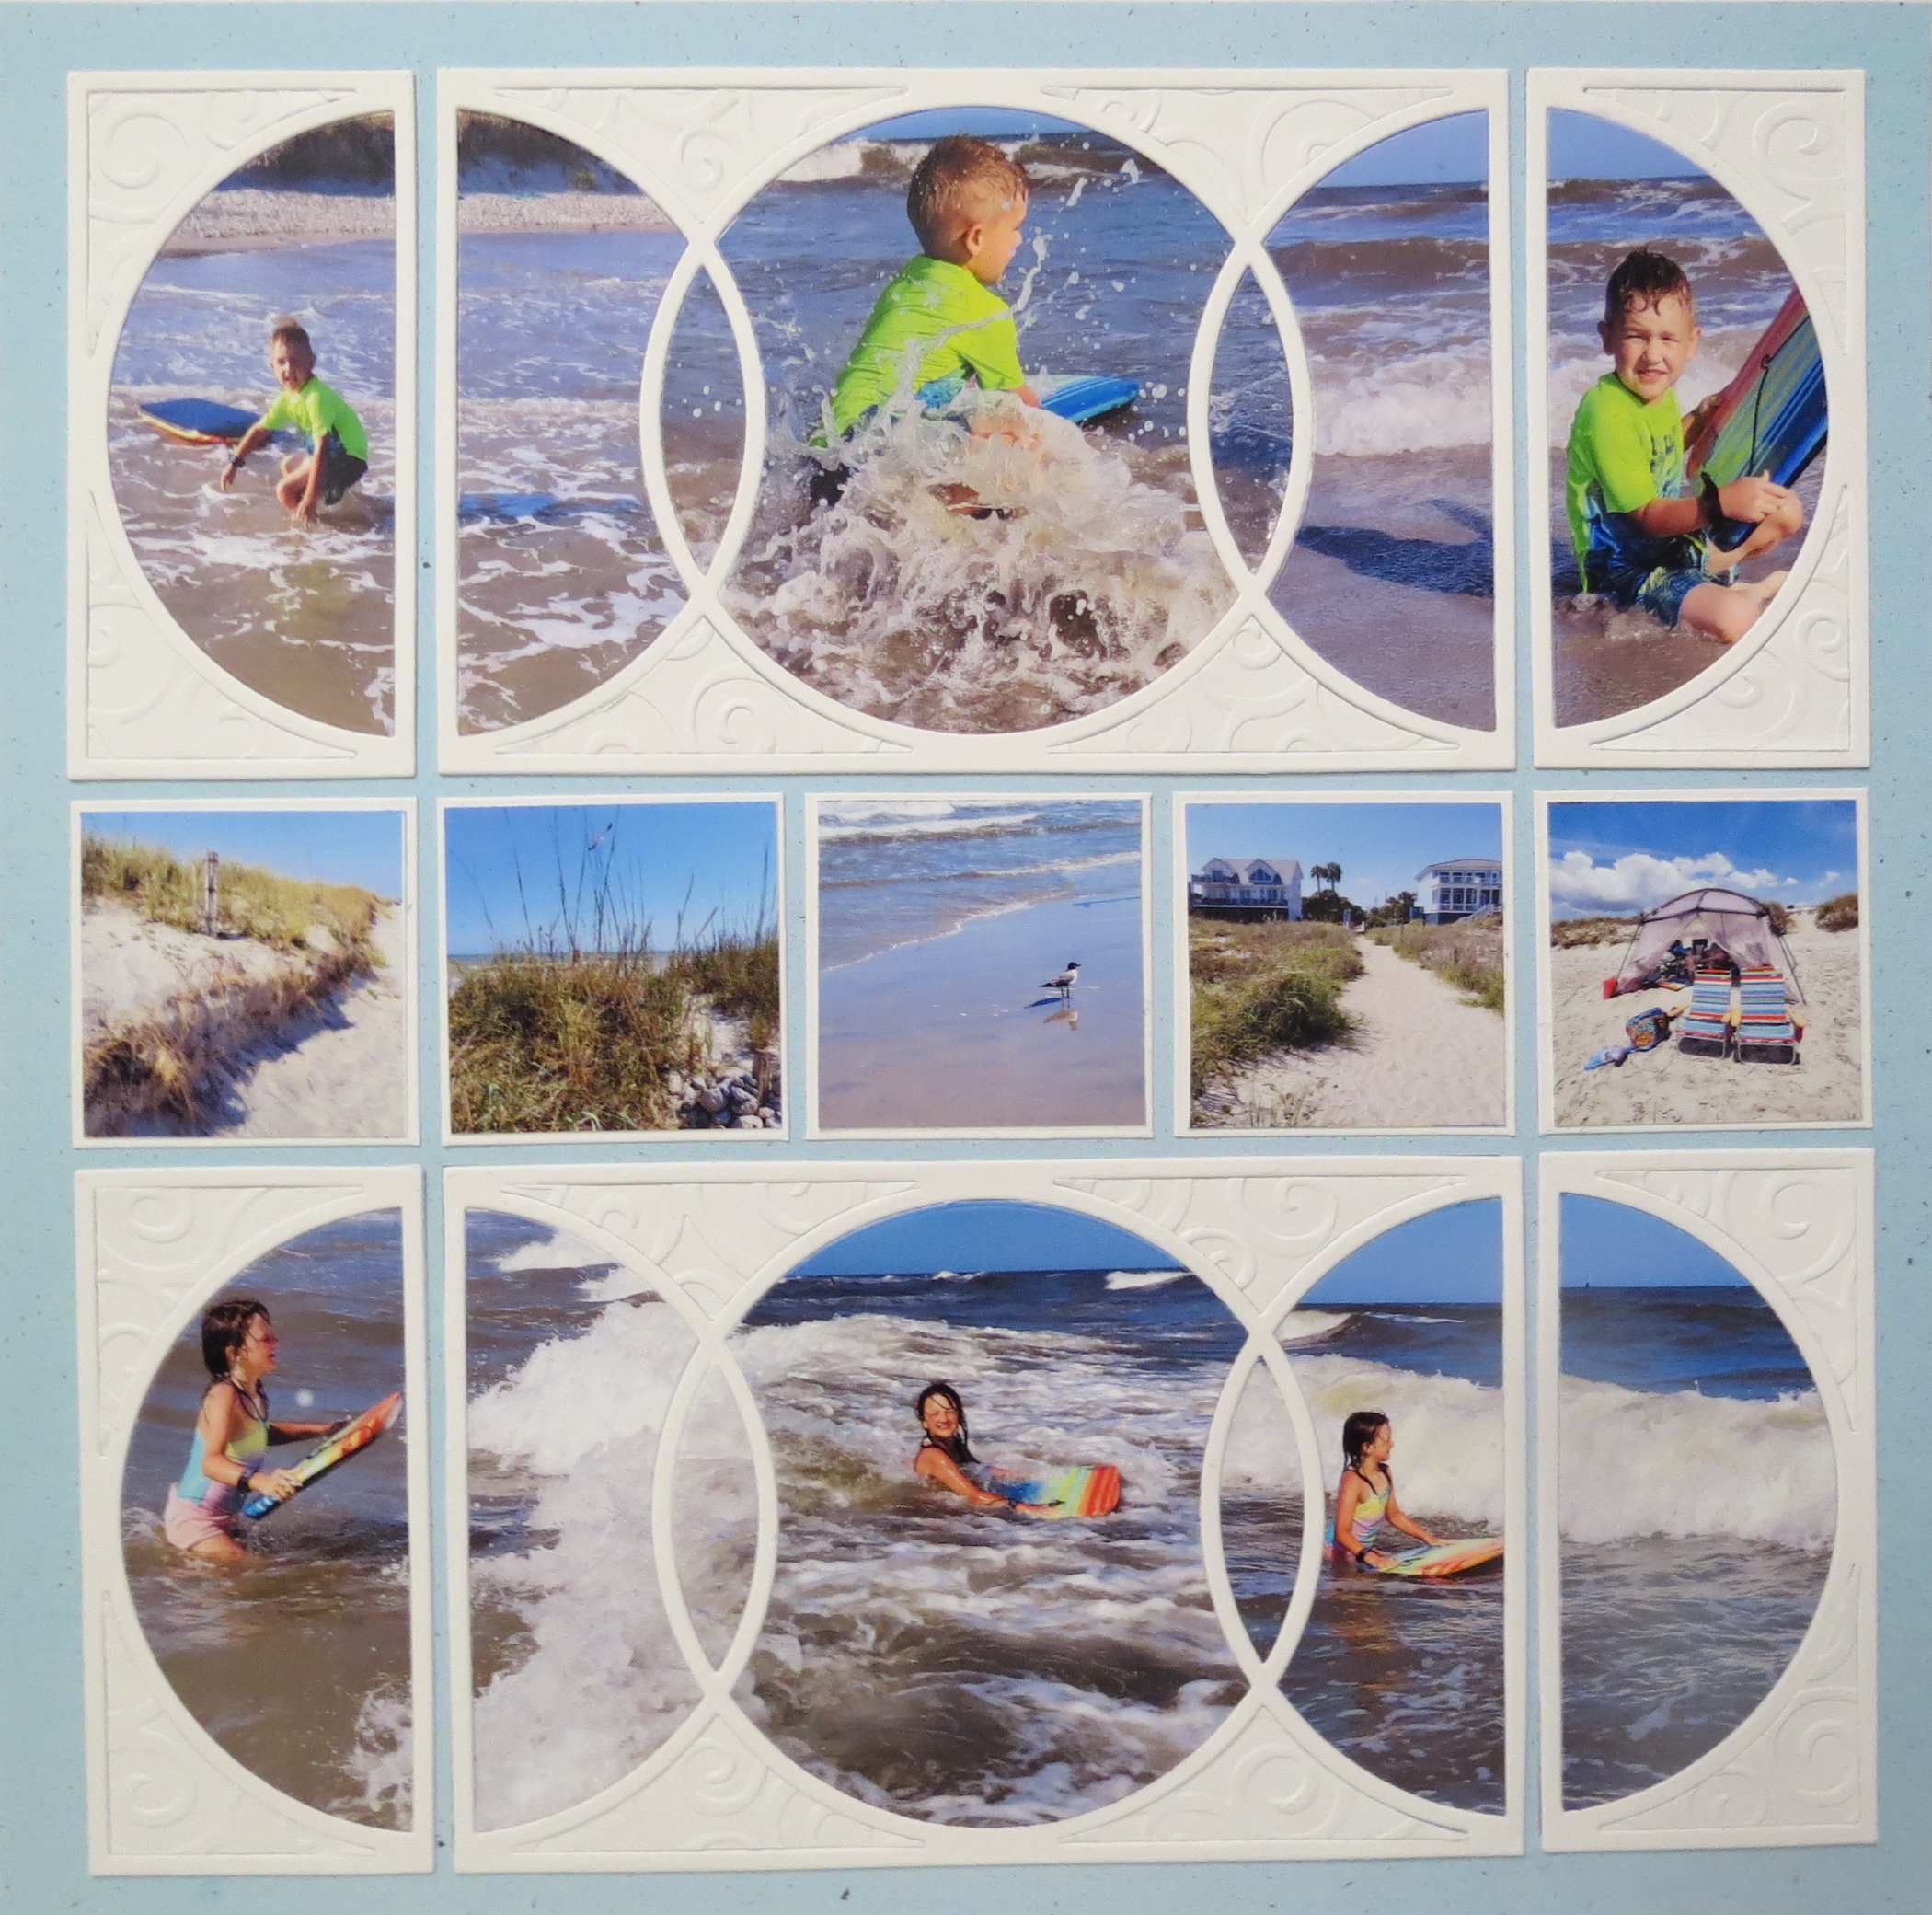
It’s a simple design and easy to put together with any embossing folder replacing the swirls I chose to mimic the ocean. It works well for a series of photos from one event.
I hope you might find this an idea you can use with your photos as you try new ways to use your Charming Dies!
Andrea