
Maps add an excellent graphic element to your travel pages!
They also help tell the story of where you went and possibly how you got there. They even help add to the theme of your layout. Maps infuse color and dimension to your pages.
We show how you can document your trips with maps on your scrapbook pages with these ideas below, keep scrolling to see them all!
Photograph the Map
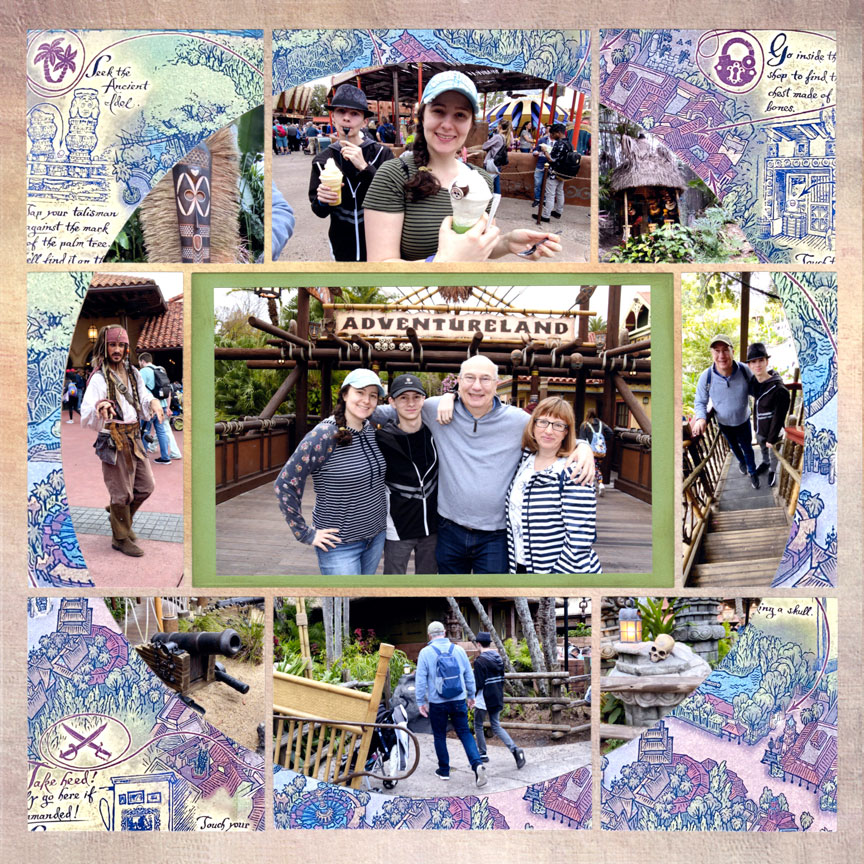
"Adventureland" by Paije Potter - Pattern #651
Tami took photos of a map of Adventureland during a trip to Disney World.
This map was bright and colorful and was the perfect embellishment for this Horizon layout. Using her computer, Paije zoomed into various sections of this photo in order to fit it all on the layout. Photos were each only 4x6 in. that she printed out to crop with the Horizon dies.
I love the unusual purple and blue tones of this map, don't you?
This Layout Features: Weathered Pink 12x12 grid paper from the Dockside Collection, the Horizon Die Set, and the Basic Die Bundle.
Make a Panoramic Strip of a Map!
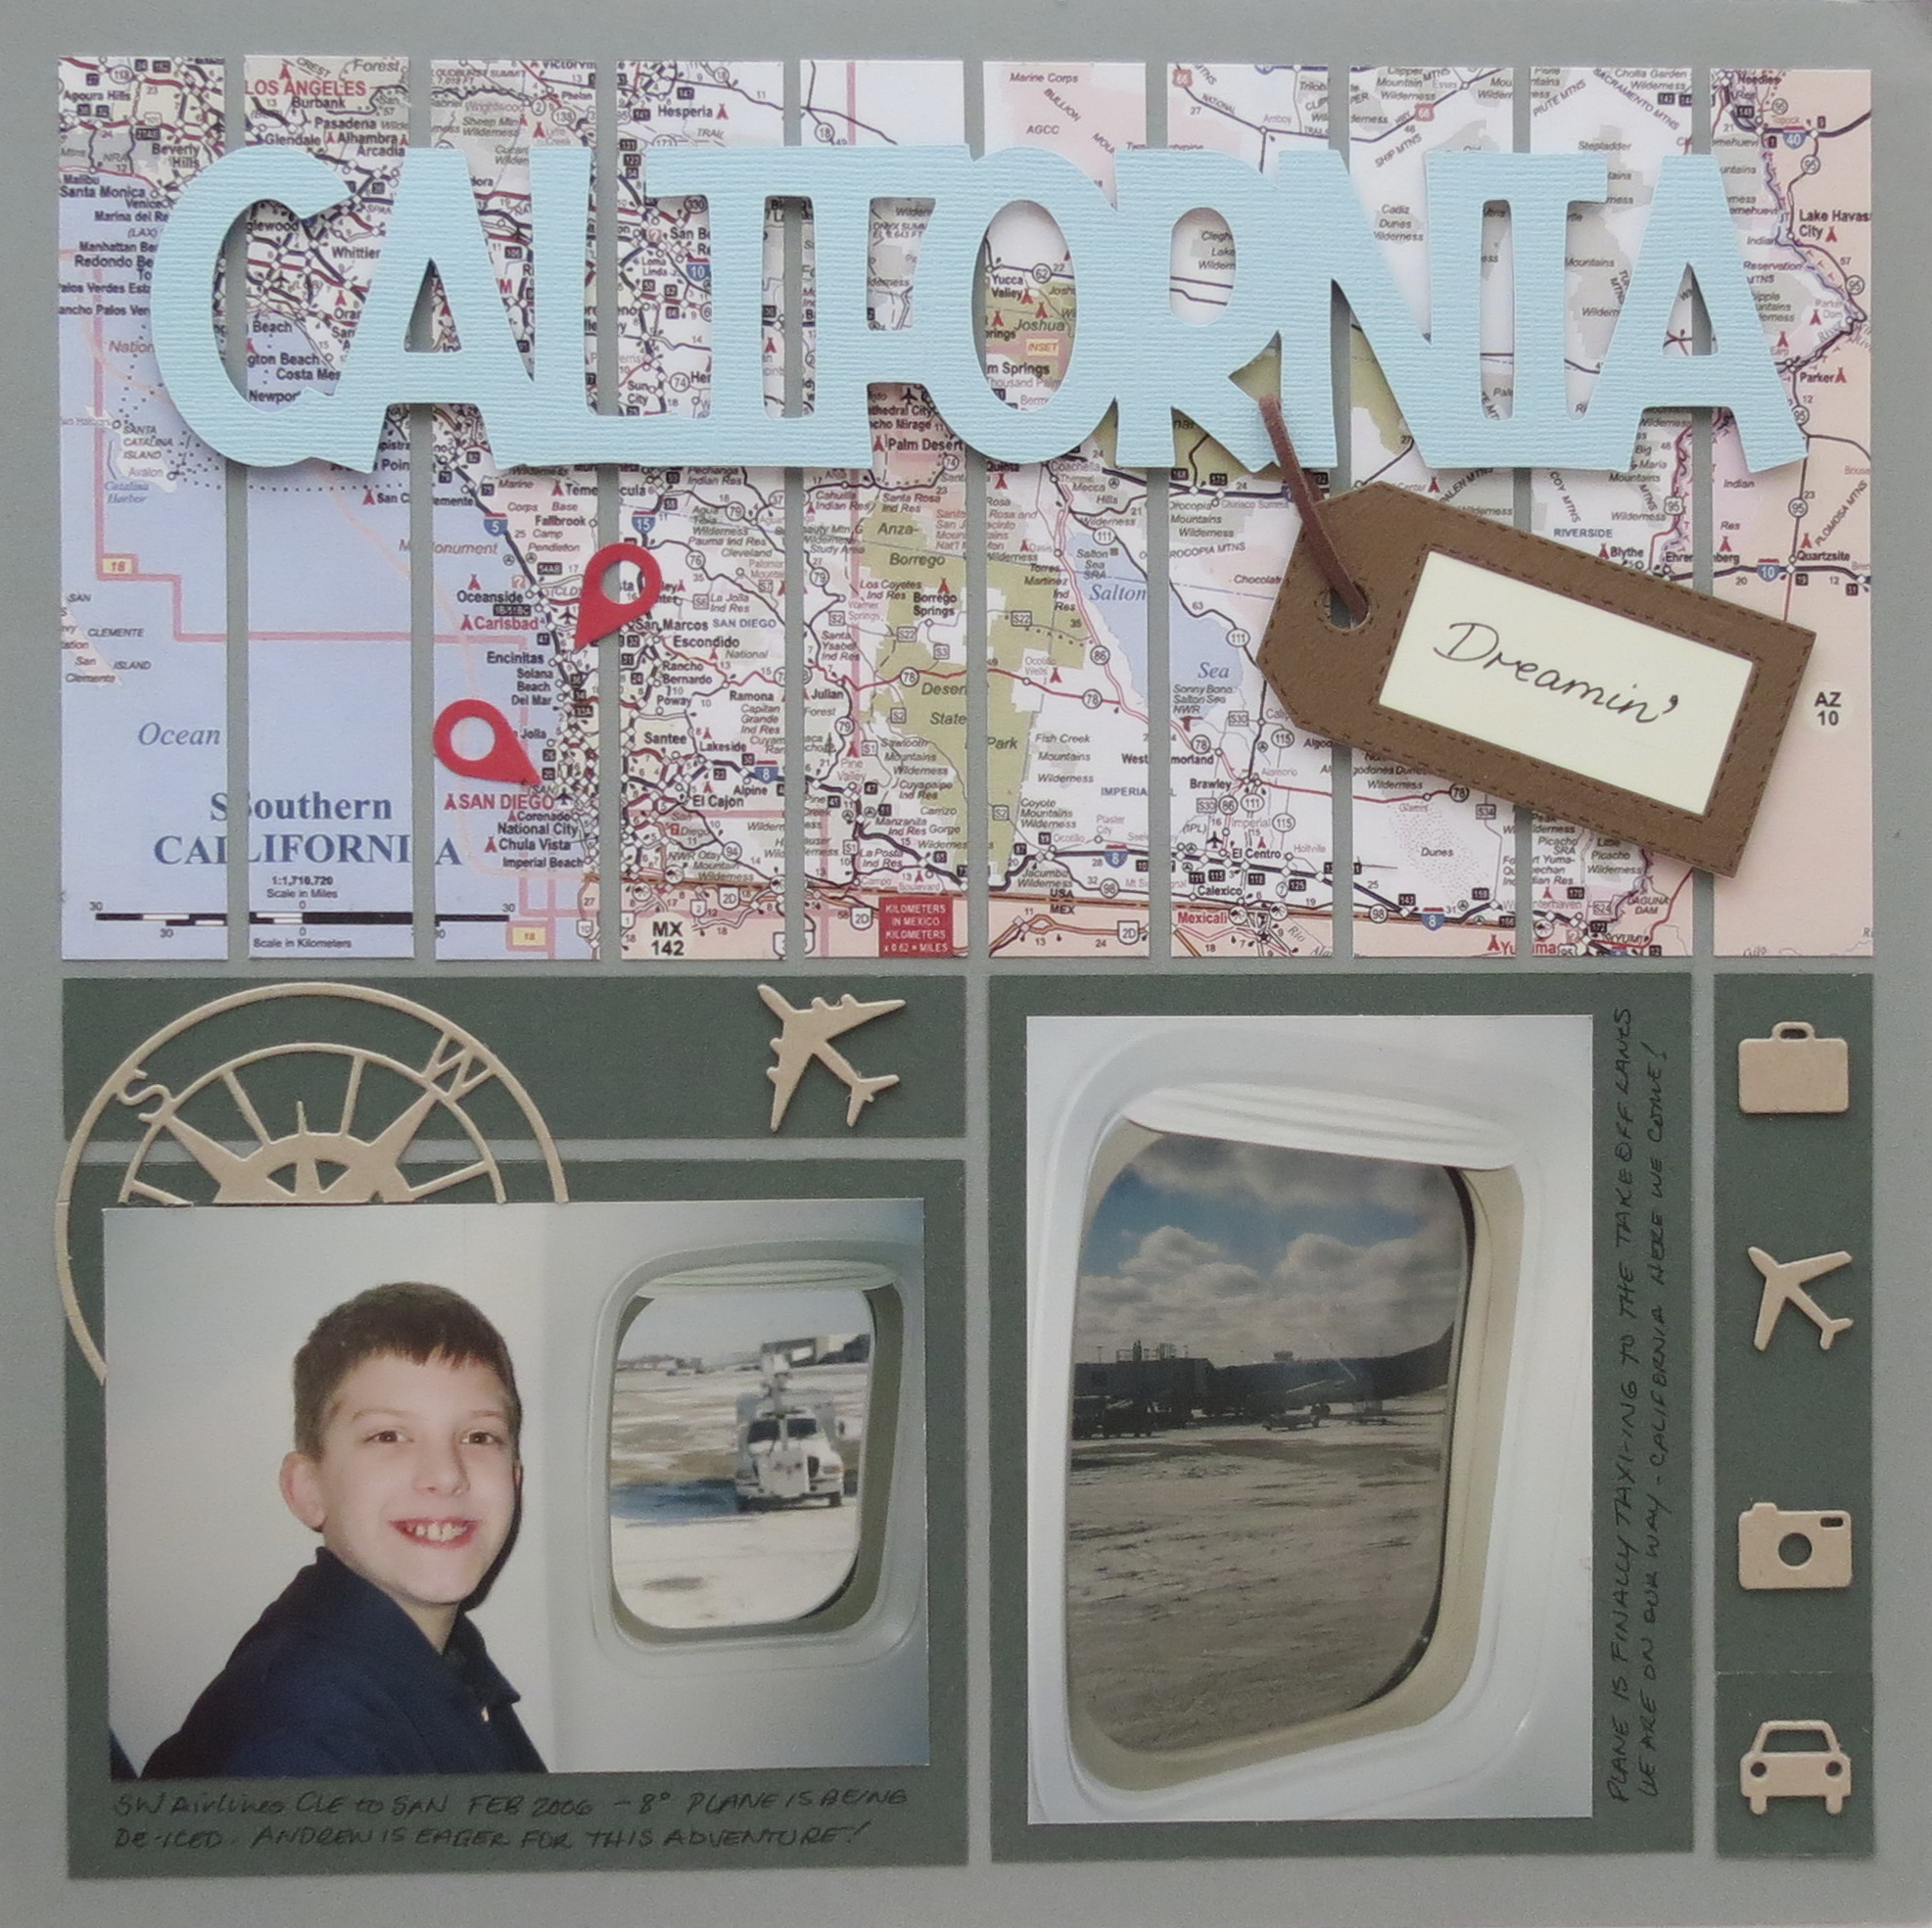
"California Dreamin'" by Andrea Fisher
The top section includes 1x5 strips of a map of Southern California!
The original map was a bit too bright for the photos, so Andrea used the sepia effect on the computer and then changed the opacity until she got the muted colors she wanted. She then printed it on matte photo paper.
It makes the perfect background for her extraordinary title!
This Layout Features: Steel Blue 12x12 Grid paper, 1x5 Strips Die, and Basic Die Bundle.
Use a Map as Patterned Paper!
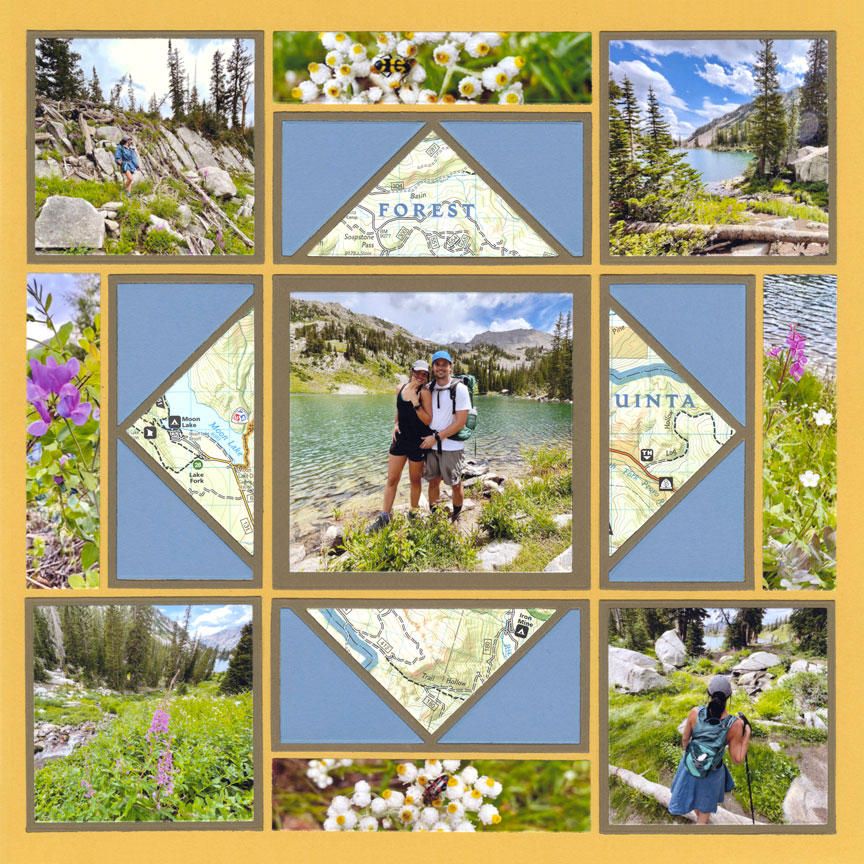
"Ty & Mariah's Happy Place" by Jodi Benson - Pattern #360
No need to find patterned paper - use a map instead!
On your next trip, grab a map or a brochure and use it to embellish your page. The map doubles as a great embellishment and enhances the memories of a specific place.
If you don't want to use the physical map, you can always take a photo of it first!
This Layout Features: Solid Gold 12x12 Grid paper, 2x4 Angles Die, Layering Die Bundle, and Basic Die Bundle.
Put a Map in a Prime Design Spot!
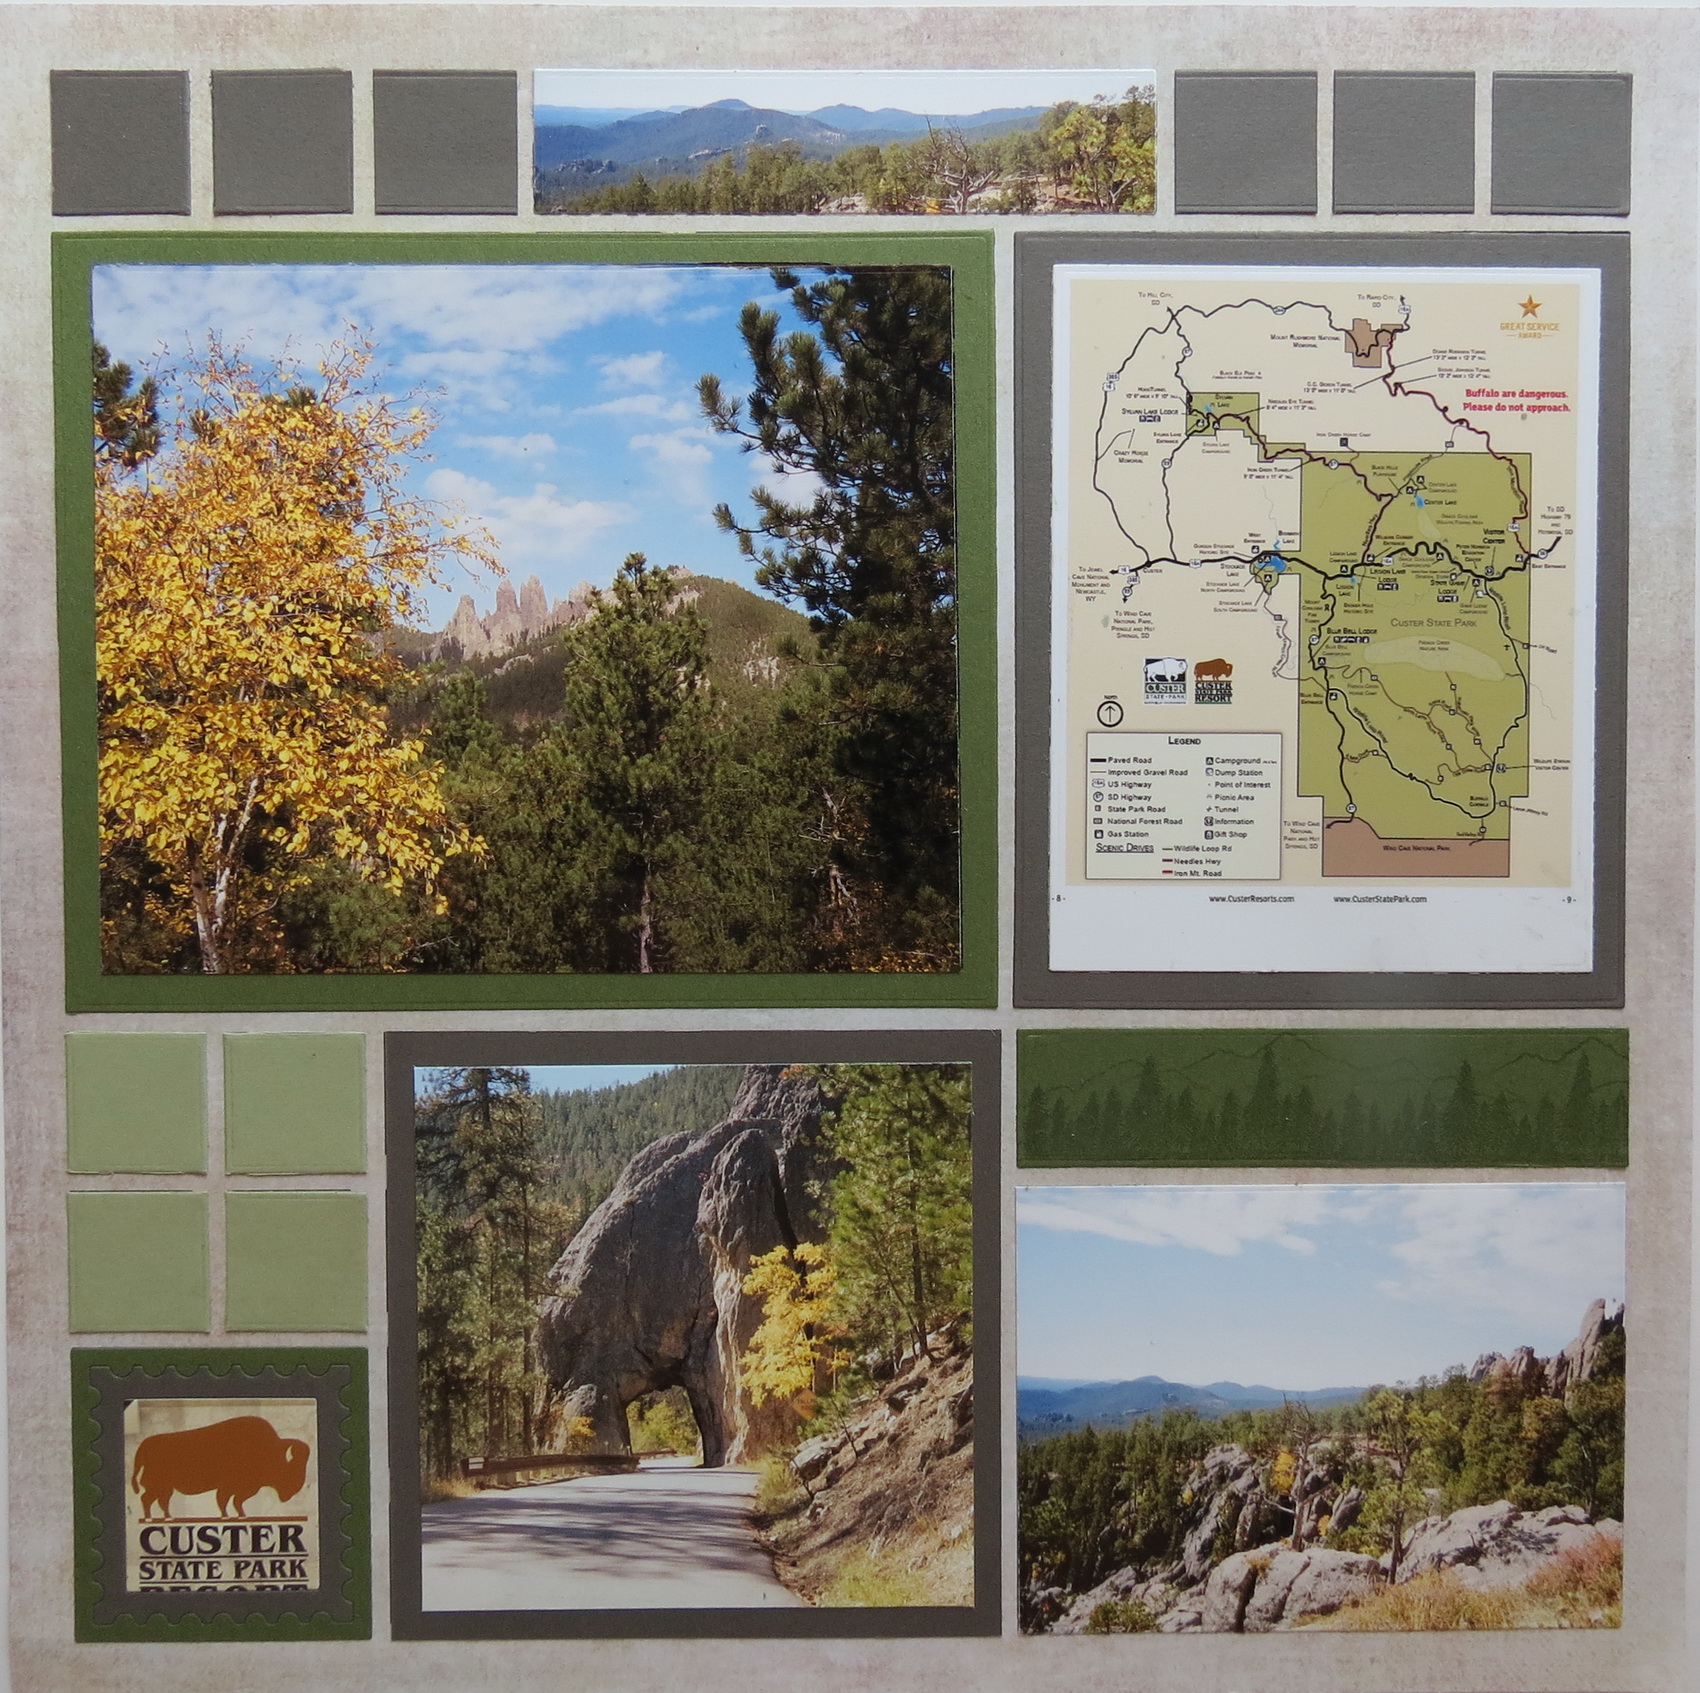
"Custer State Park" by Andrea Fisher - Pattern #111
The title properly identifies the “where” for this layout (see bottom left) and if that wasn’t enough, Andrea printed a brochure map out on photo paper to show off the entire route!
When you have several photos from an area you might want to recall the place and the route you took. It helps to put your journey into perspective when you add a map.
Use a photo of a map as another picture on your next travel layout!
This Layout Features: Rain 12x12 grid paper, Stamp Die Set, and Basic Die Bundle.
Use Map Patterned Paper!
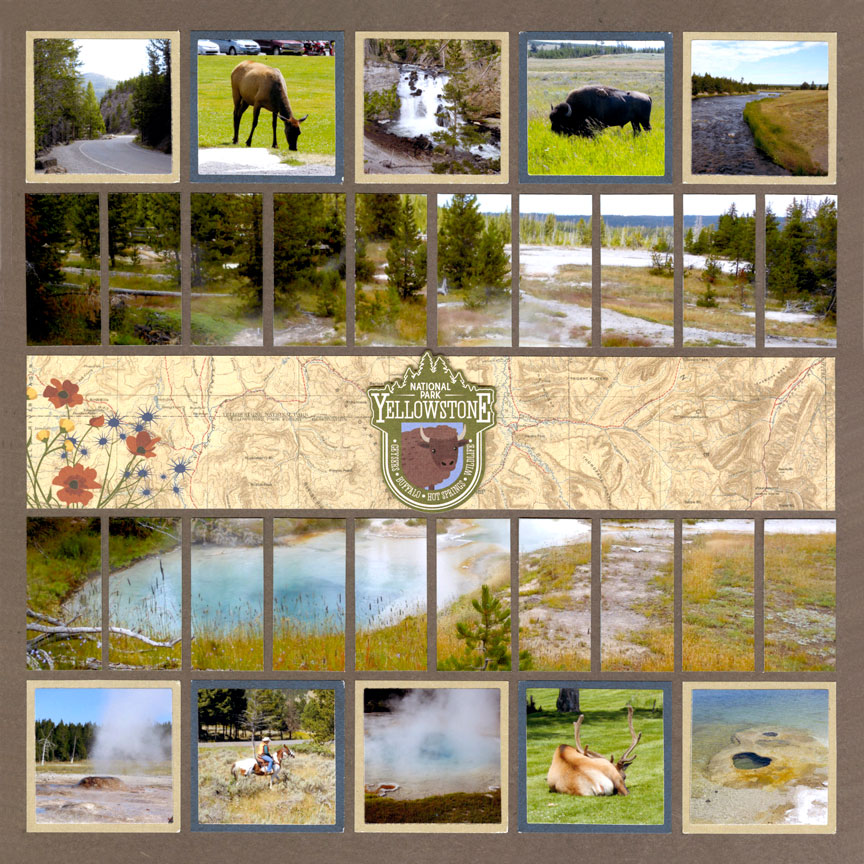
"Yellowstone National Park" by Paije Potter - Pattern #578
Sometimes you luck out and can find patterned paper with the map of your destination!
Paije used pattern paper from PhotoPlay of her Yellowstone collection which was perfect for her Yellowstone layout. Not only was it a map of Yellowstone but the brown neutral colors went well with the tones in her photos.
Look at how this map breaks up the top and bottom of the strip dies - making this scene look even bigger!
This Layout Features: Walking Path 12x12 grid paper from the Renaissance Revival Collection, the Layering Die Bundle, Strips 1x2.125 Die Set, and the Basic Die Bundle.
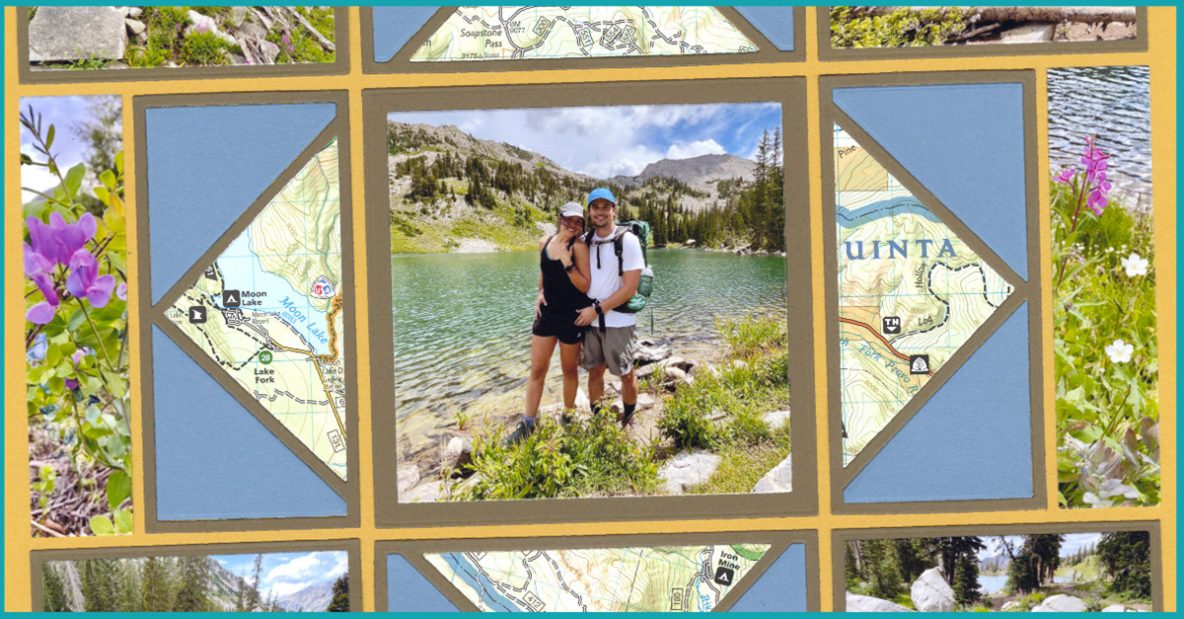
Use a Map in an Adventure Die Layout!
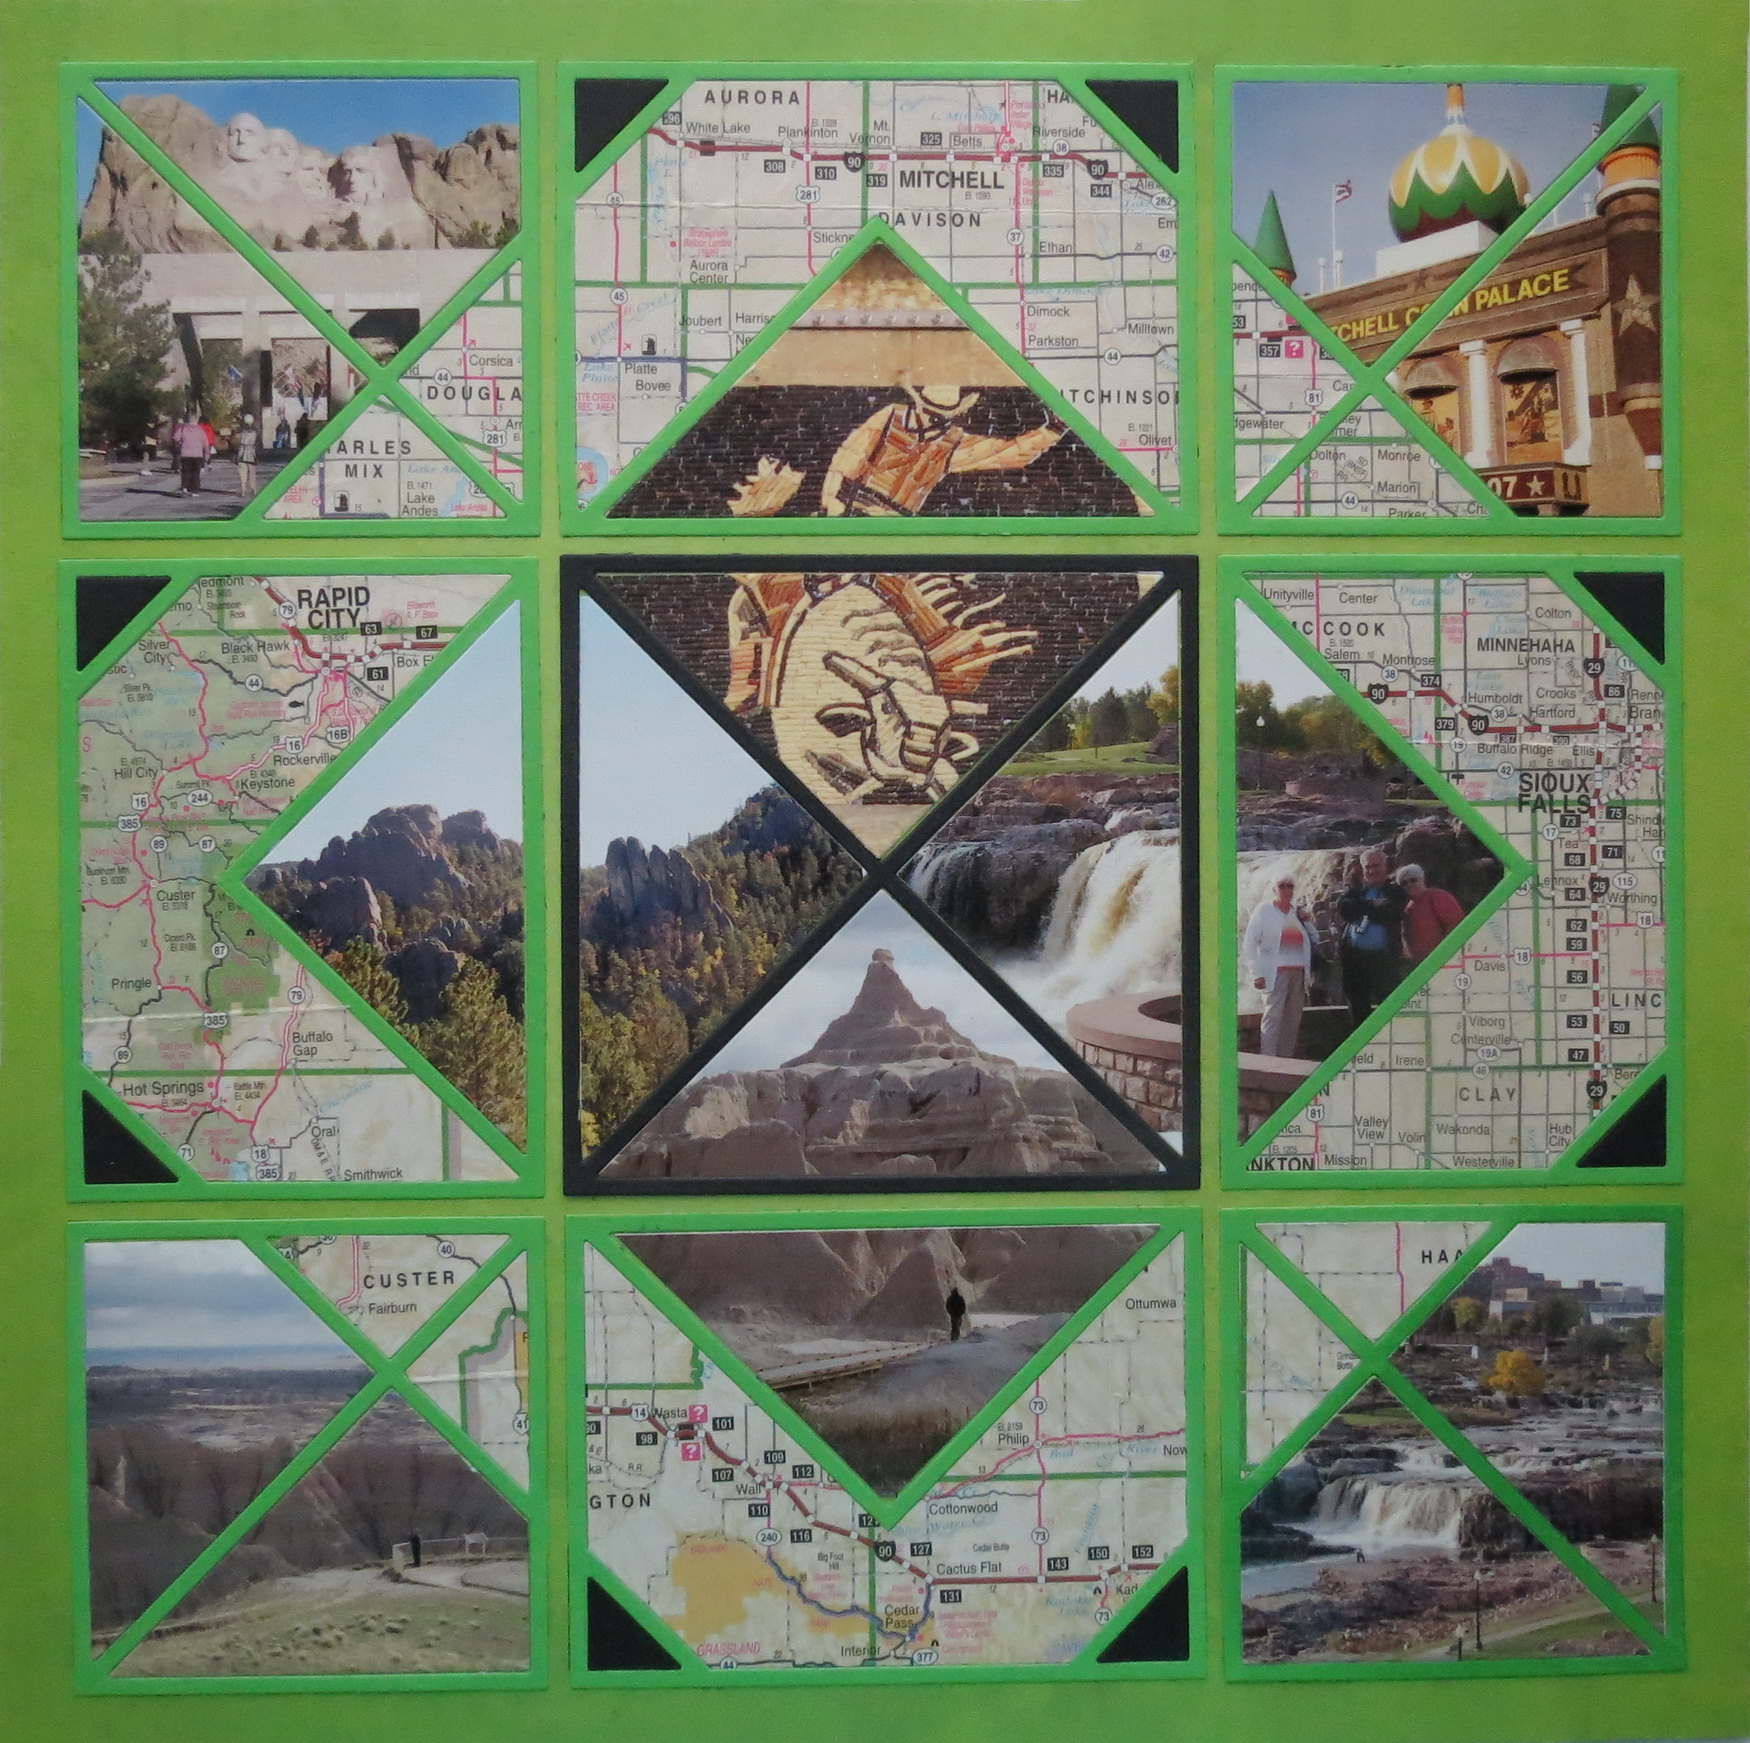
"On the Road Through South Dakota" by Andrea Fisher - Pattern #344
Andrea incorporated one of her favorite additions -- a map, in this Diamond Mine layout!
She used a travel guide map from South Dakota to surround her photos and create that fascinating diamond shape. She really made her photos pop by using a similar green as the green grid for her dies.
Notice how she cropped her photos with each section of the 4x4 and 3x4 triangle sections to create 4 diamond mosaics in the center of her page!
This Layout Features: Spring Green 12x12 grid paper, the Diamond Mine 4x4 Die, the Diamond Mine 3x4 Die, and the Diamond Mine Cross Die.
Maps Can be Your Focal Point!
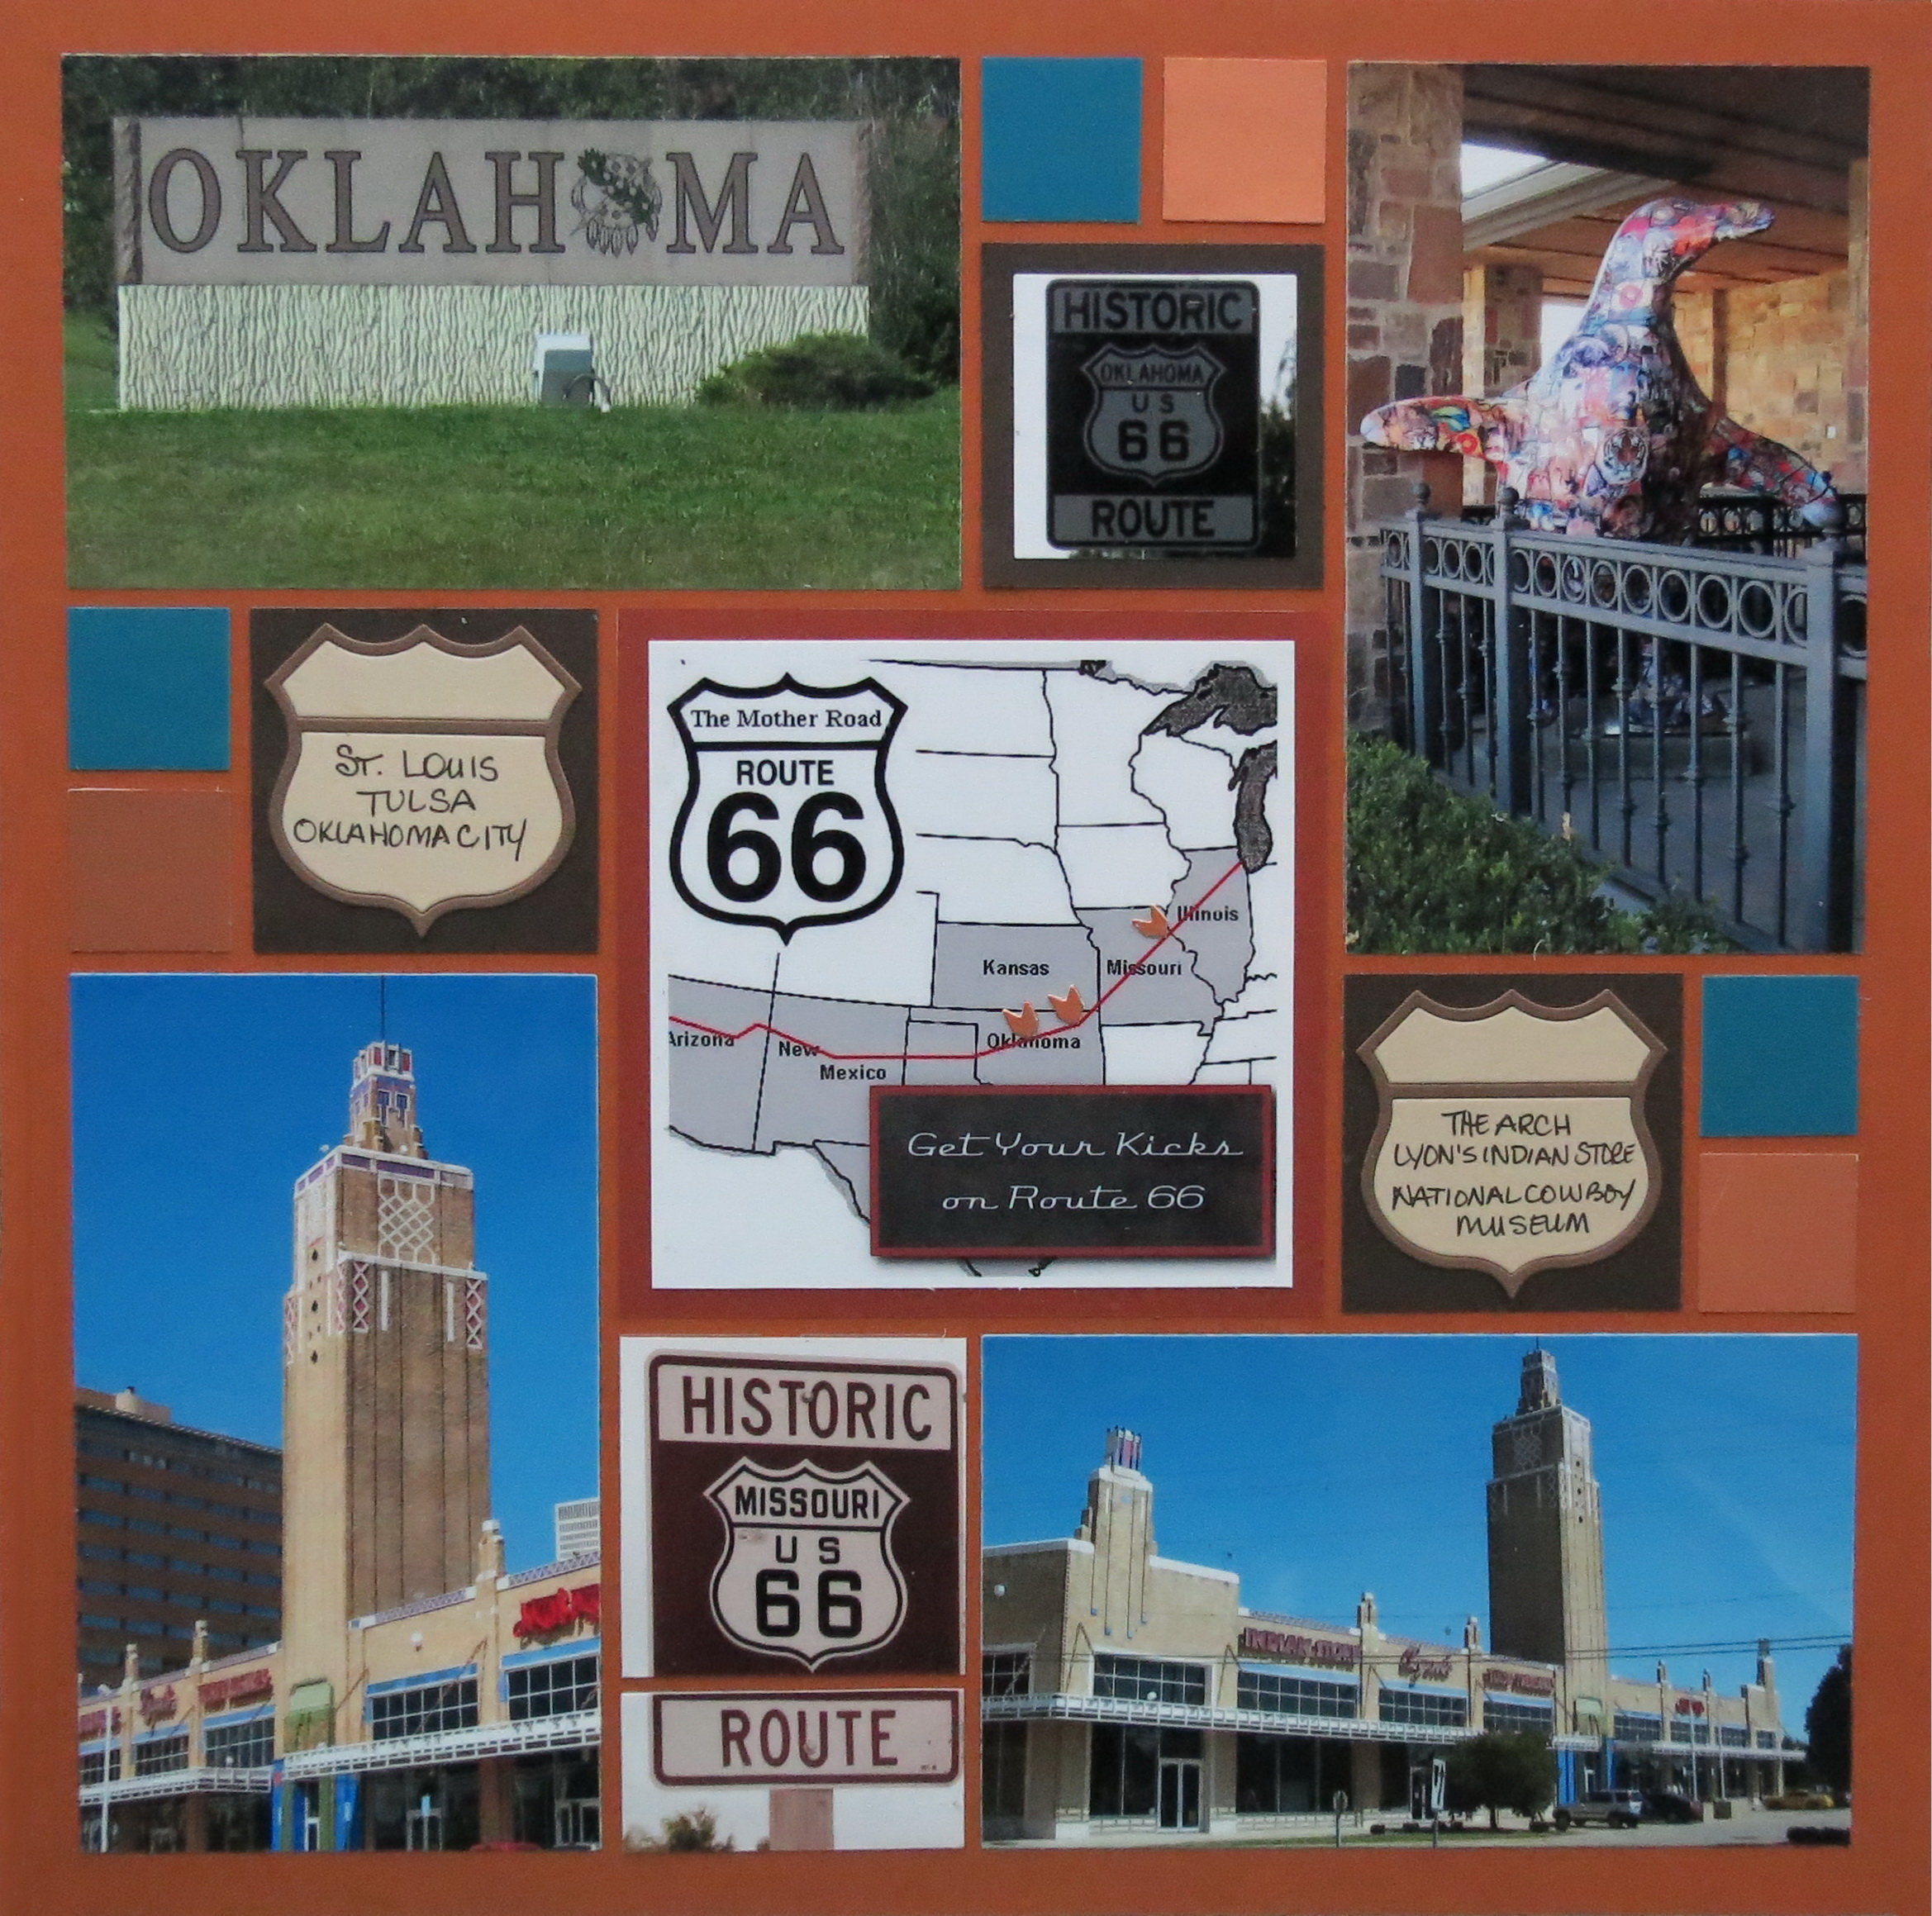
"Get Your Kicks on Route 66" by Andrea Fisher - Pattern #107
Andrea's focal point title block was created digitally using a portion of a map of RT 66 as it passes through several states.
She added a block with the title then marked the road and the stops along the way of the photos in the layout using the copper out-takes of the Southwest die for the markers.
This is a fantastic use of the pinwheel pattern 107 to have the map and title 'front and center'!
This Layout Features: Cinnamon 12x12 grid paper, the Southwest Die, Highway Signs Die Set, and the Basic Die Bundle.
Map as a Focal Point with a Die Frame!
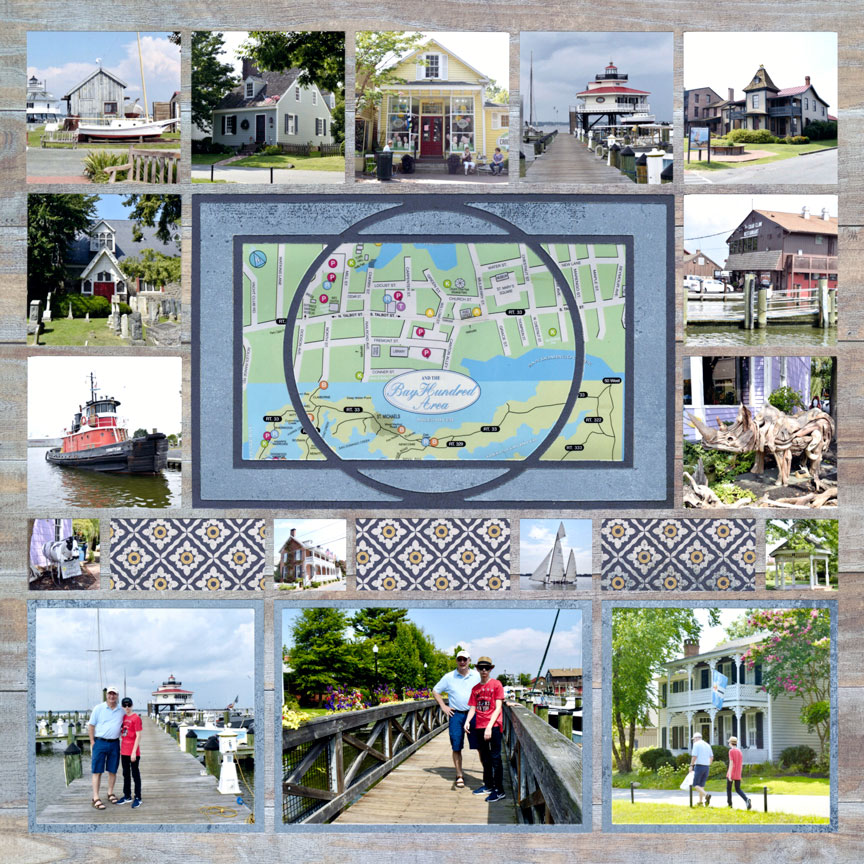
"Saint Michaels" by Paije Potter - Pattern #630
If a single picture of a map seems kind of boring - use a fancy die such as the Daybreak for a frame as shown above!
Some locations will have maps or directories - be sure to take photos of maps when you come across them. On this layout, the map is the focal point and helps tell the story about the location these photos were taken. It's the attention to details like that, that really make this page.
Don't you love the 1x1 photo blocks Paije took the time to make?
This Layout Features: Cabin Wood 12x12 grid paper from the Lazy Days Collection, the Daybreak Die, the Layering Die Bundle, and the Basic Die Bundle.